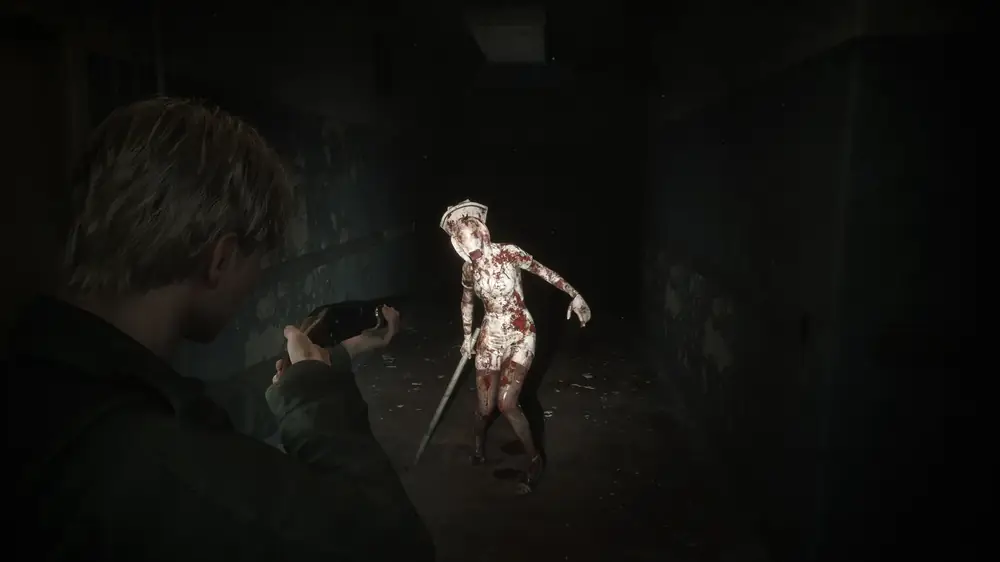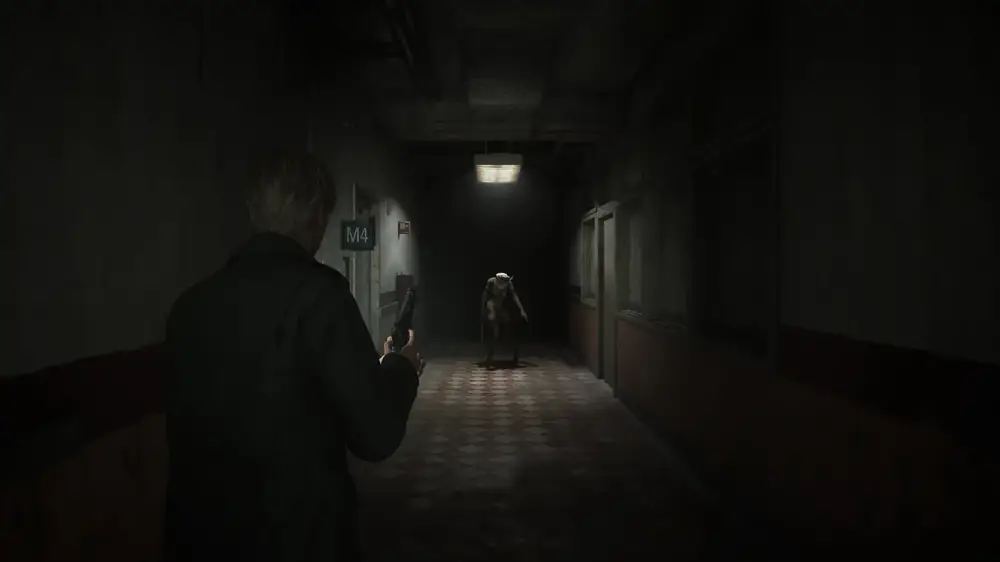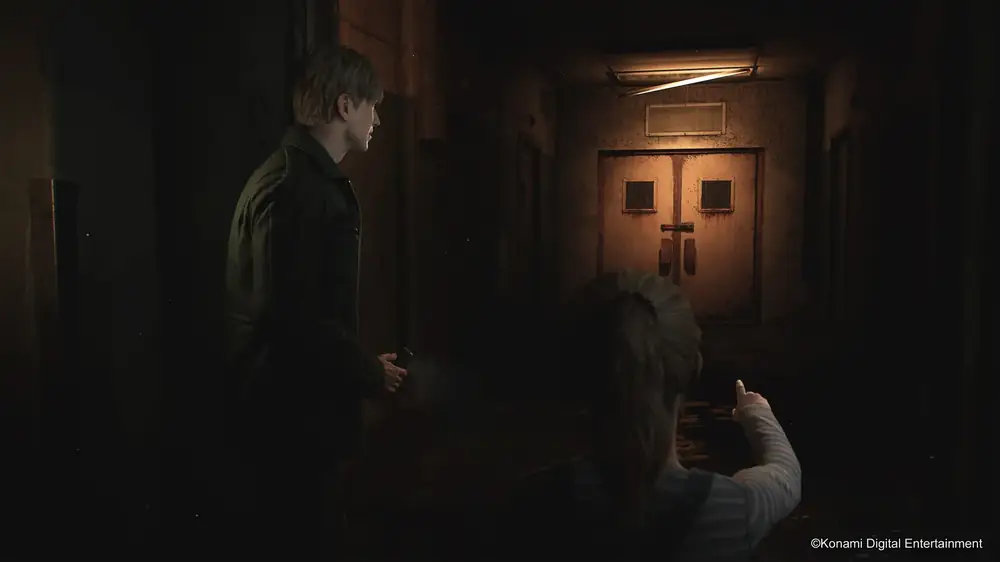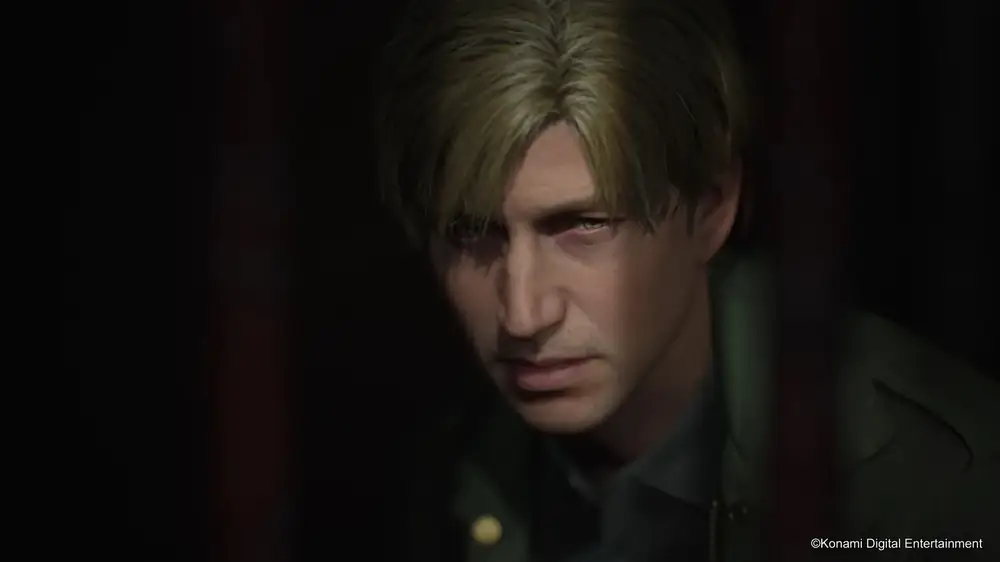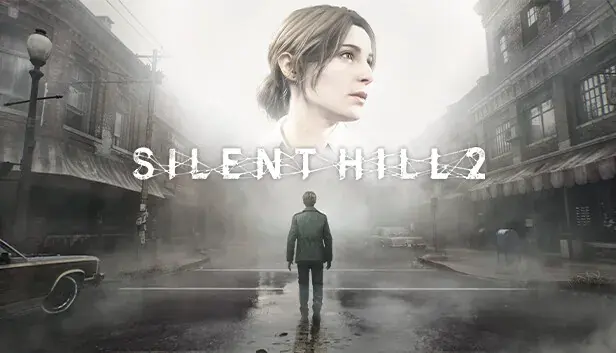
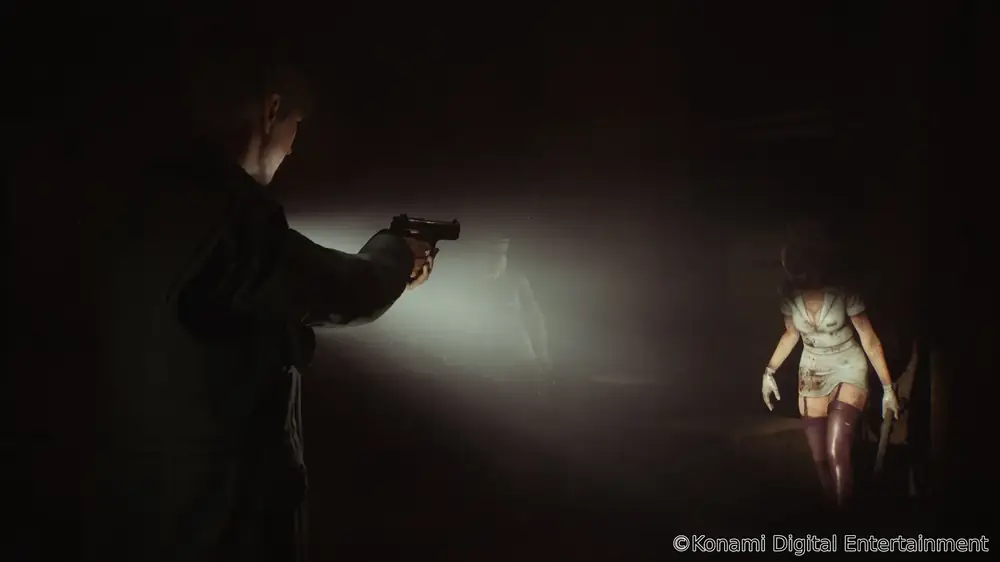
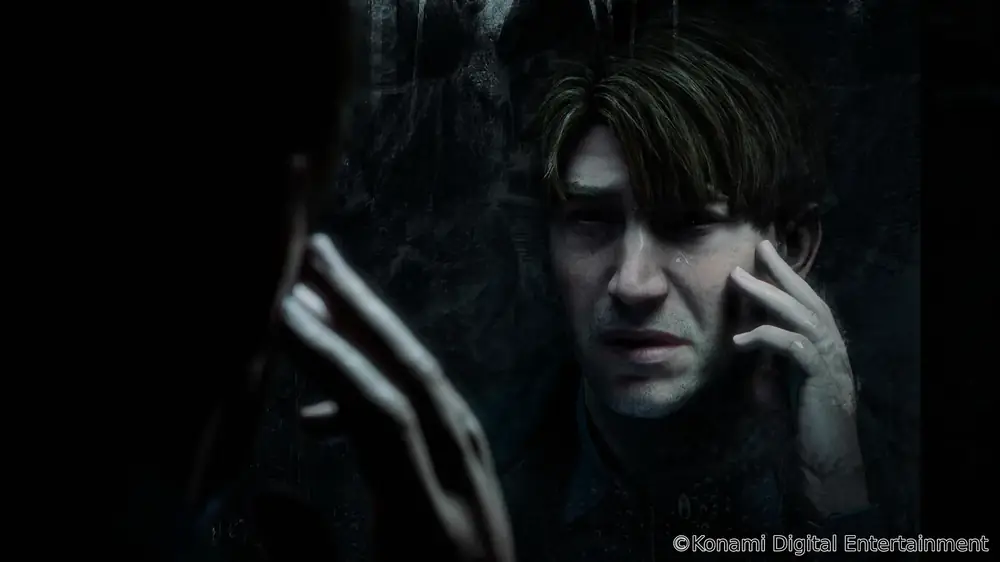
Silent Hill 2 Remake cover art

Silent Hill 2 Remake

Complete 100% Completion Guide
8
Endings
120
Collectibles
44
Trophies
~20h
100% Time

Game Overview

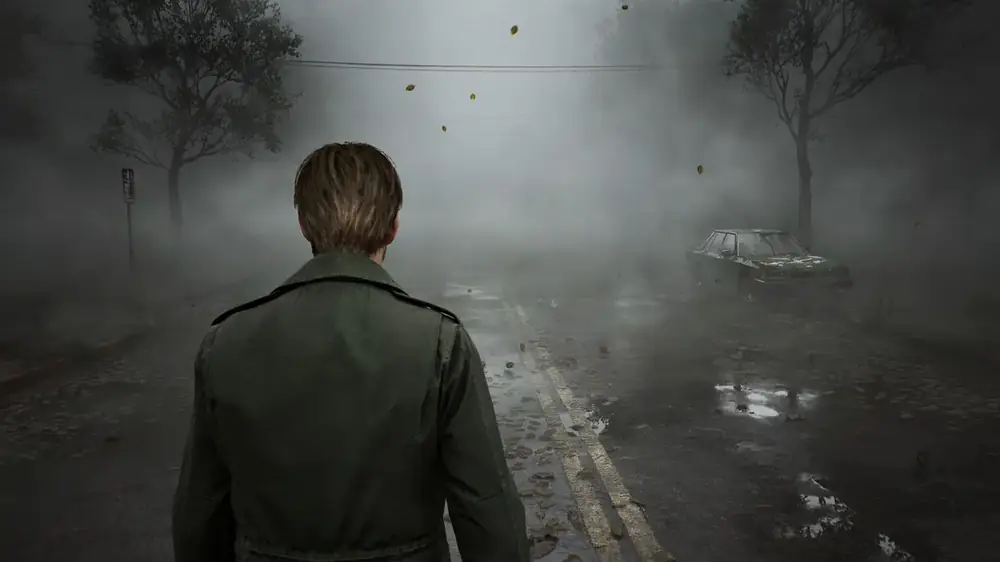
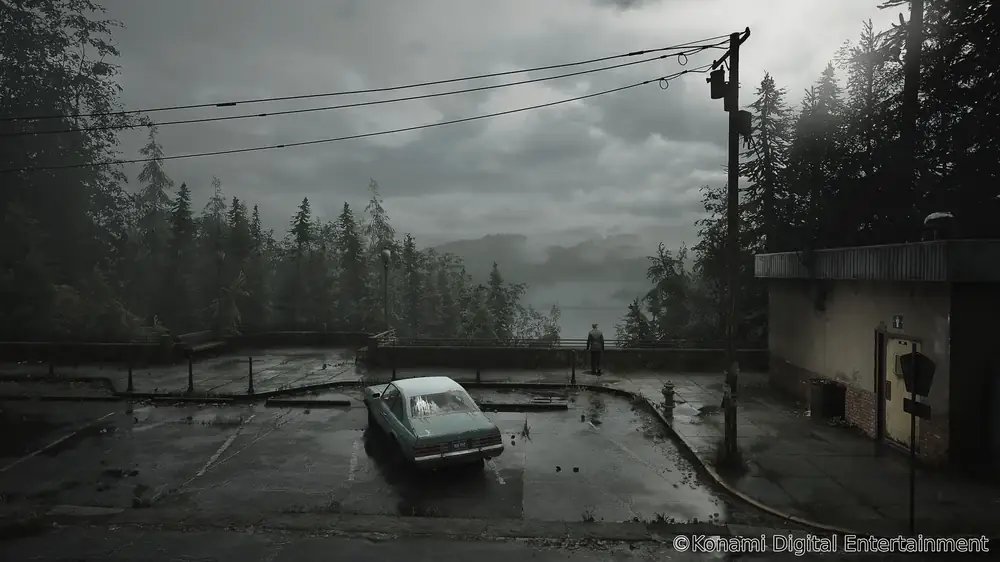
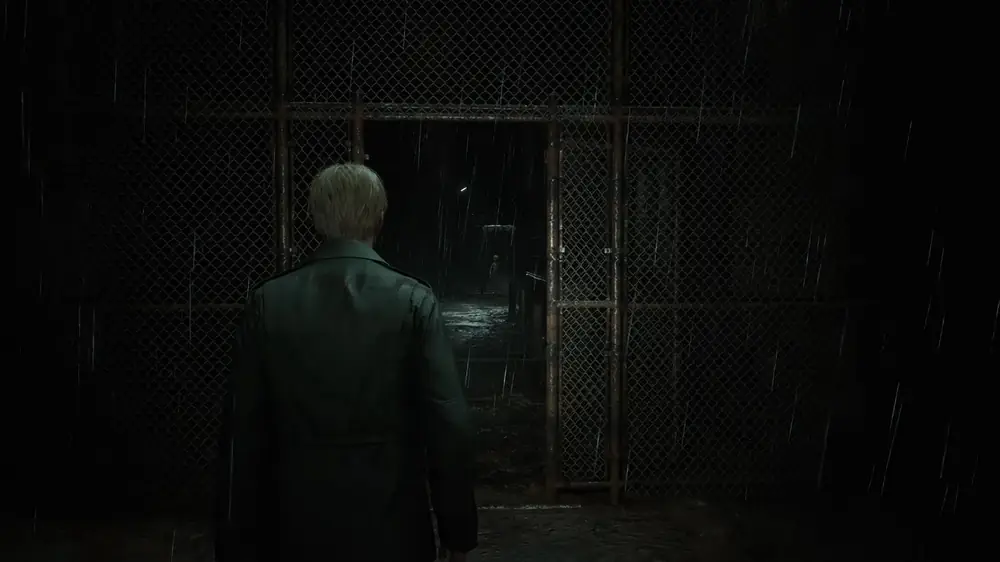
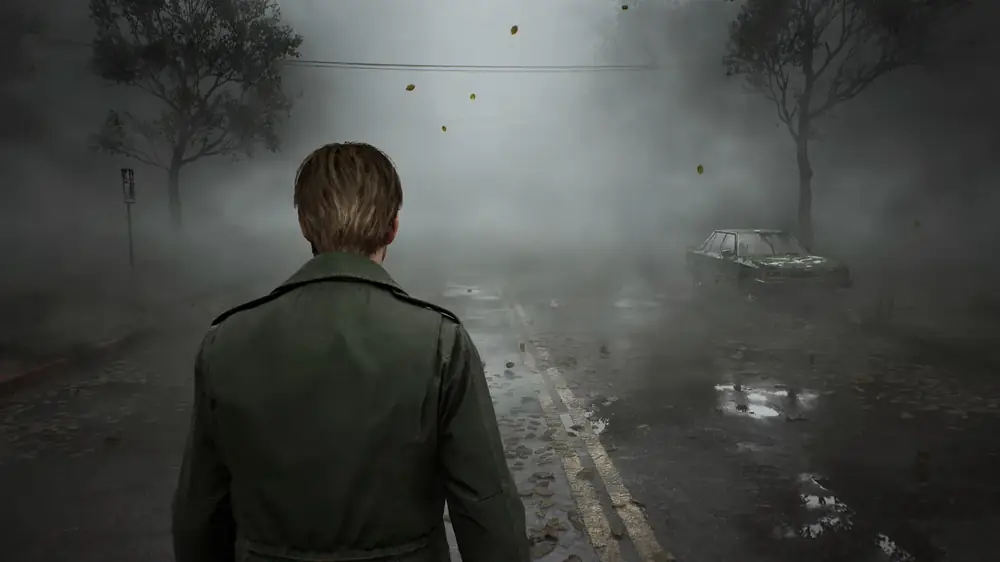
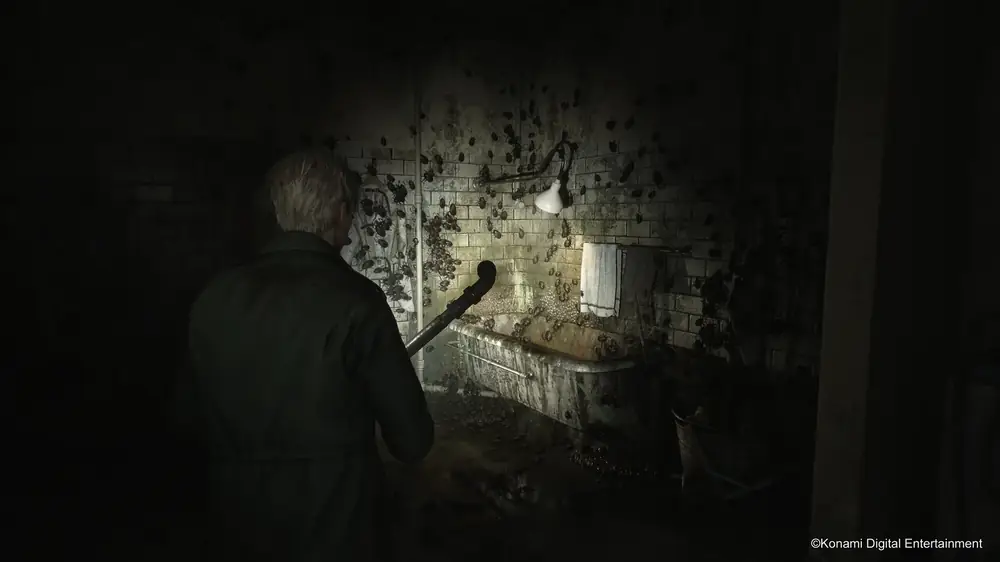
Silent Hill 2 Remake - James exploring the foggy town

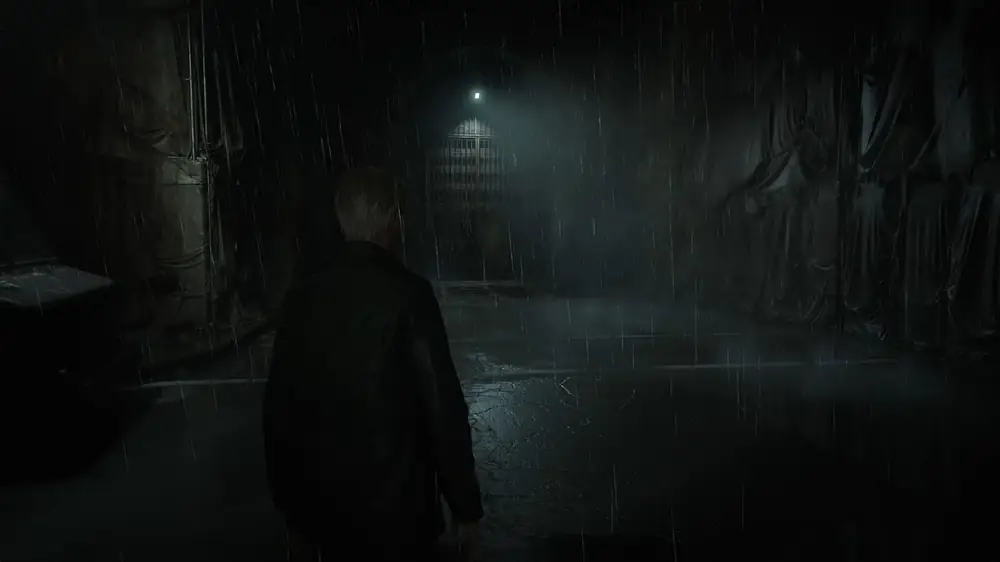
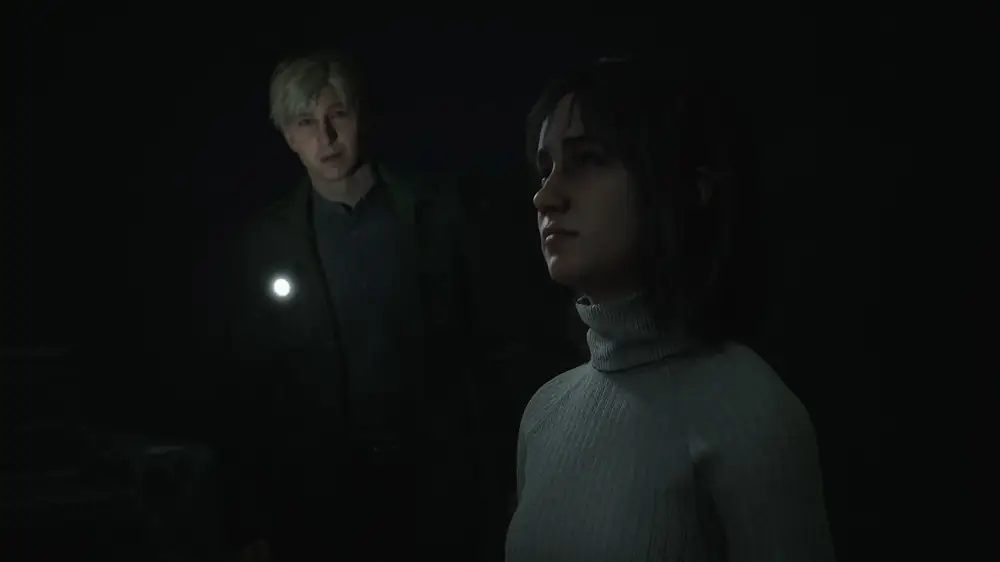
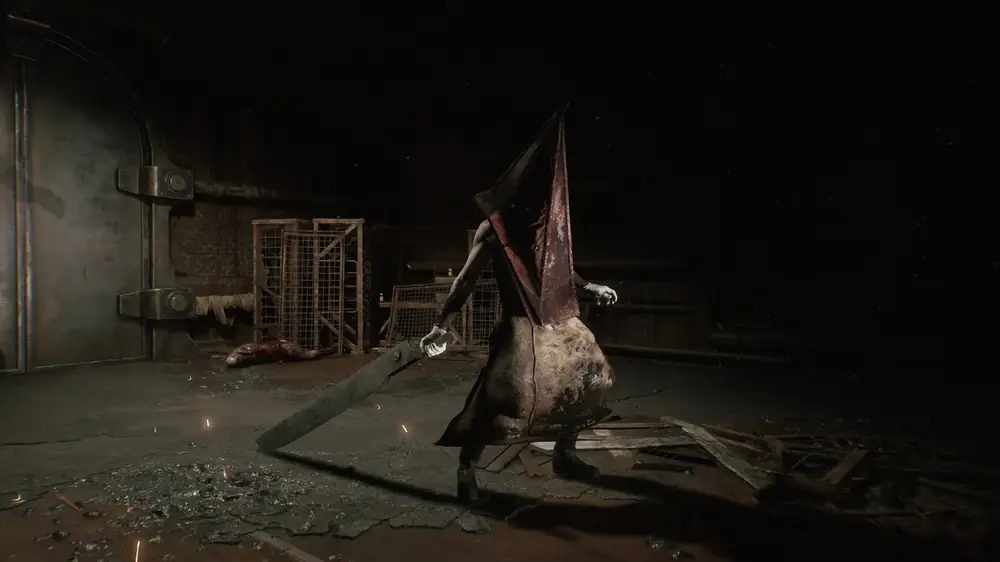
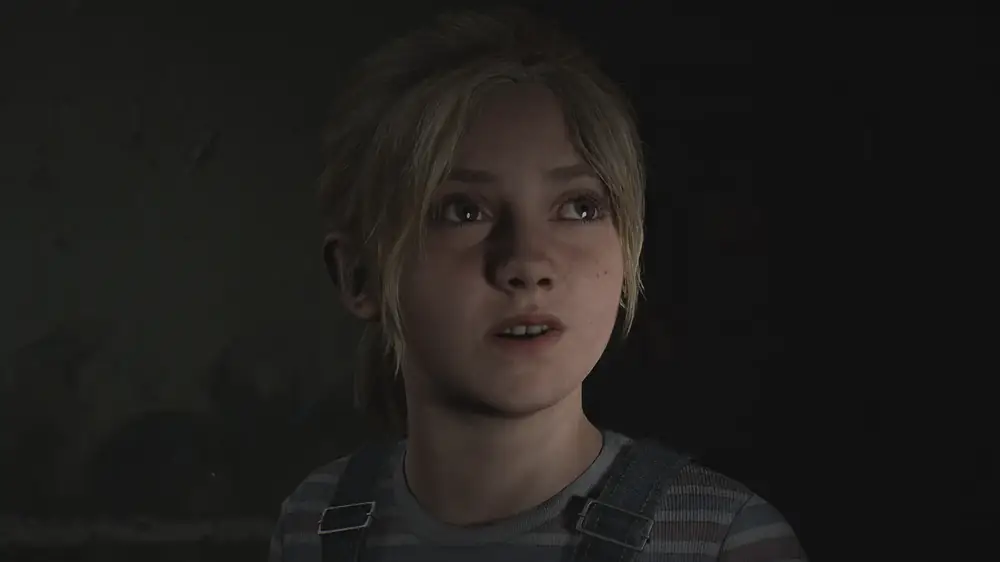
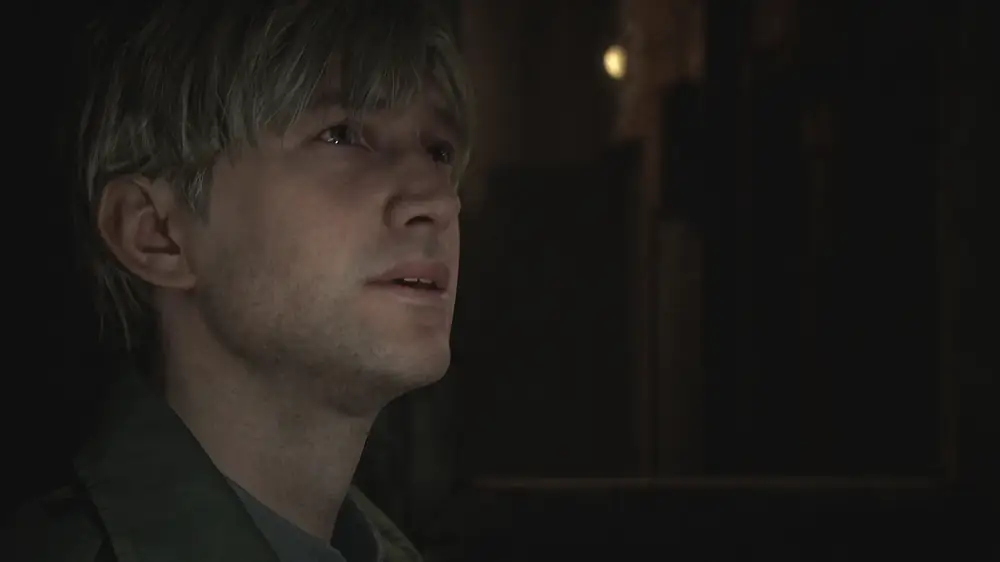
Silent Hill 2 Remake is a 2024 reimagining of the 2001 PS2 classic, developed by Bloober Team and published by Konami. You play as James Sunderland, a man who receives a letter from his deceased wife Mary summoning him to the fog-shrouded town of Silent Hill. As James explores the town, he confronts manifestations of guilt, grief, and repressed desire, including the relentless Pyramid Head and the mysterious Maria who looks exactly like his late wife.

Roadmap to 100%

  1. Playthrough 1 (New Game): Collect all 120 collectibles (68 Memos, 26 Strange Photos, 26 Glimpses of the Past). Aim for one of the three standard endings - Leave, In Water, or Maria. Turn off the radio immediately after the first enemy for the Radio Silence trophy.
  2. Playthrough 2 (New Game+): Collect NG+ exclusive items for the Rebirth, Dog, UFO, Stillness, and Bliss endings. These items only spawn on a NG+ save and unlock five additional endings.
  3. Cleanup & Save Backups: Use manual save backups before the final boss to unlock multiple endings in a single run. There are 9 red save squares at the final save point, allowing plenty of backup slots.
Tip: Use all 10 manual save slots. Save in a new slot at every save point. If you miss a collectible, reload the nearest save. There is NO chapter select or free-roam after the story.
CRITICAL: All collectibles must be obtained in a single playthrough. Once you leave an area, you cannot go back. Everything is missable.

Key Facts

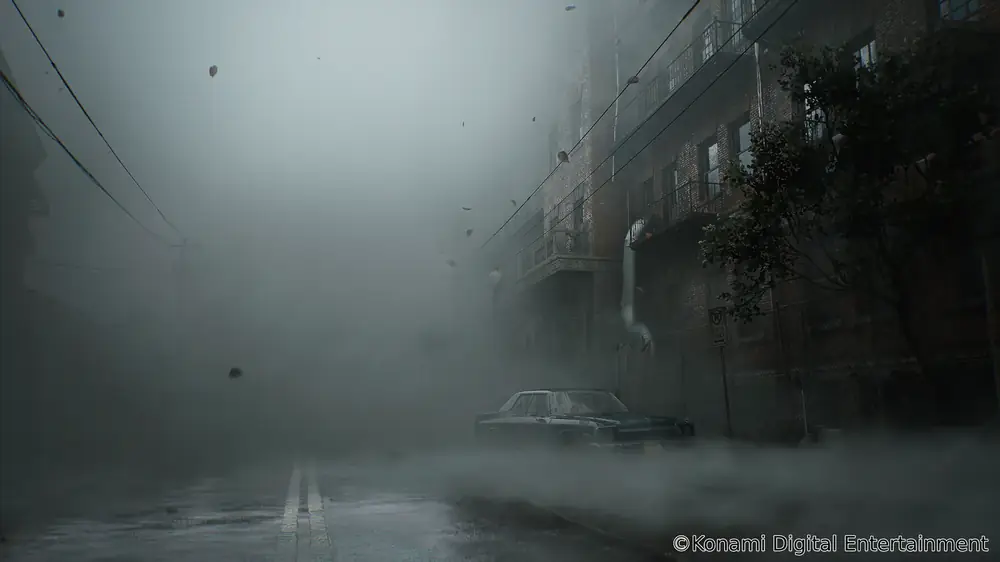
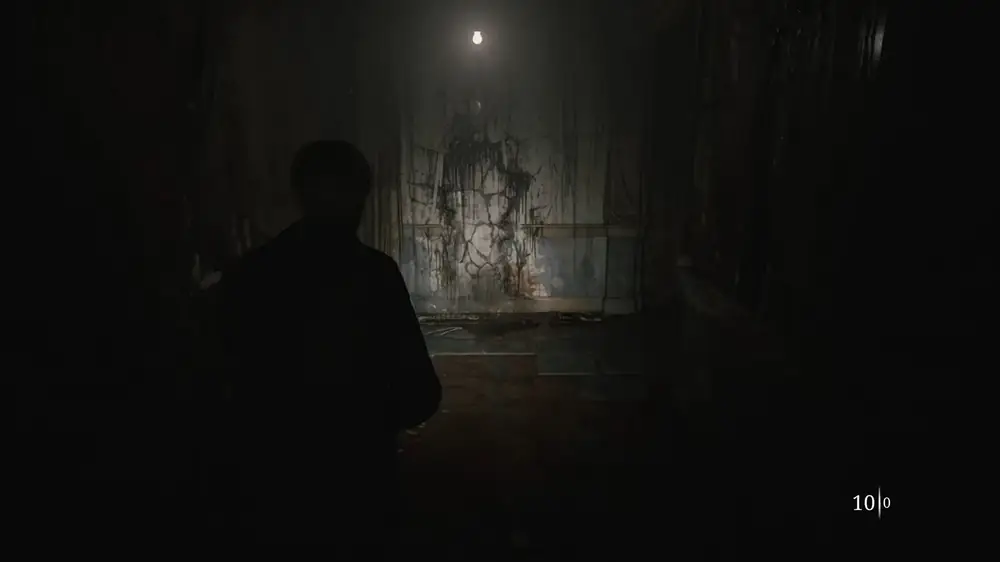
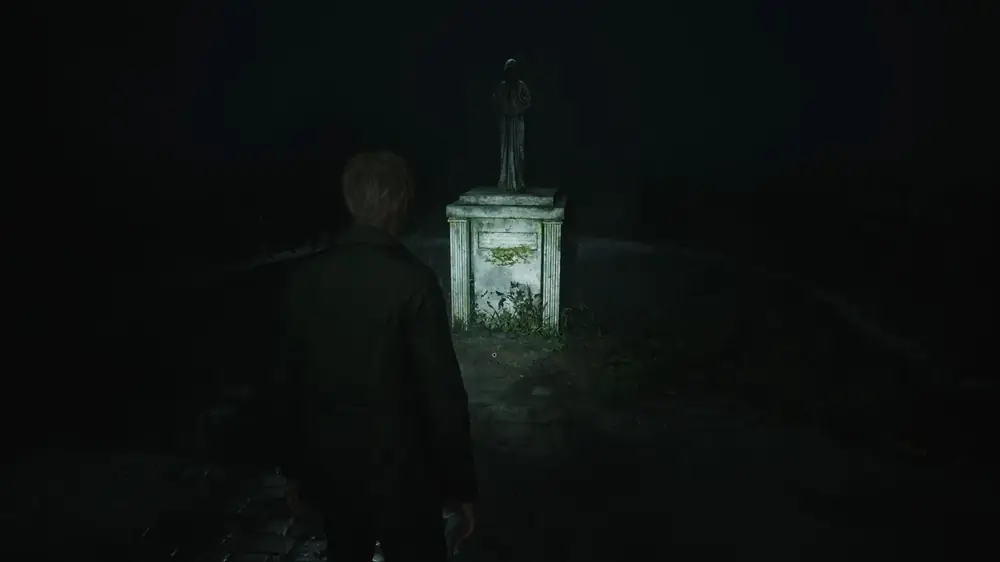
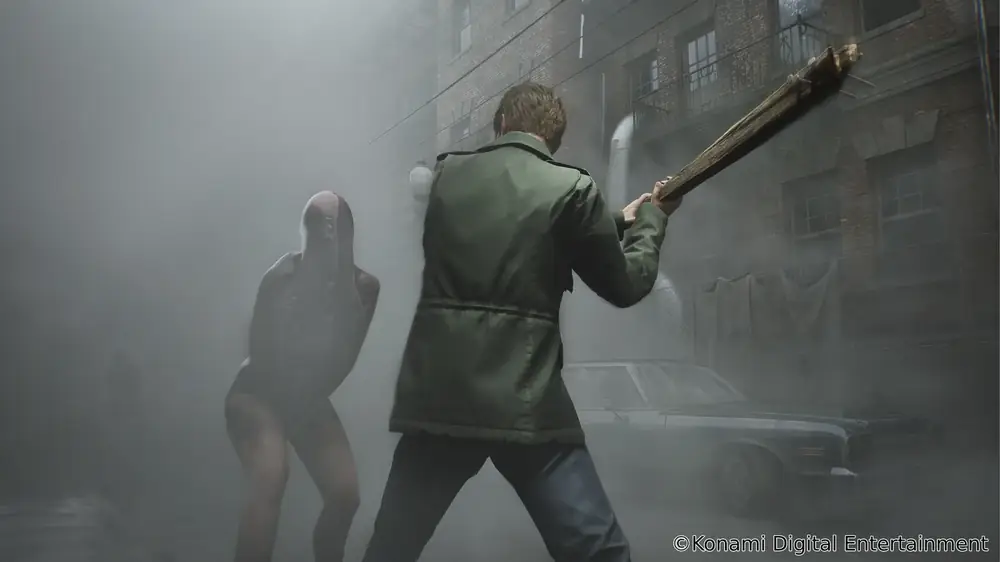
Silent Hill 2 Remake atmosphere
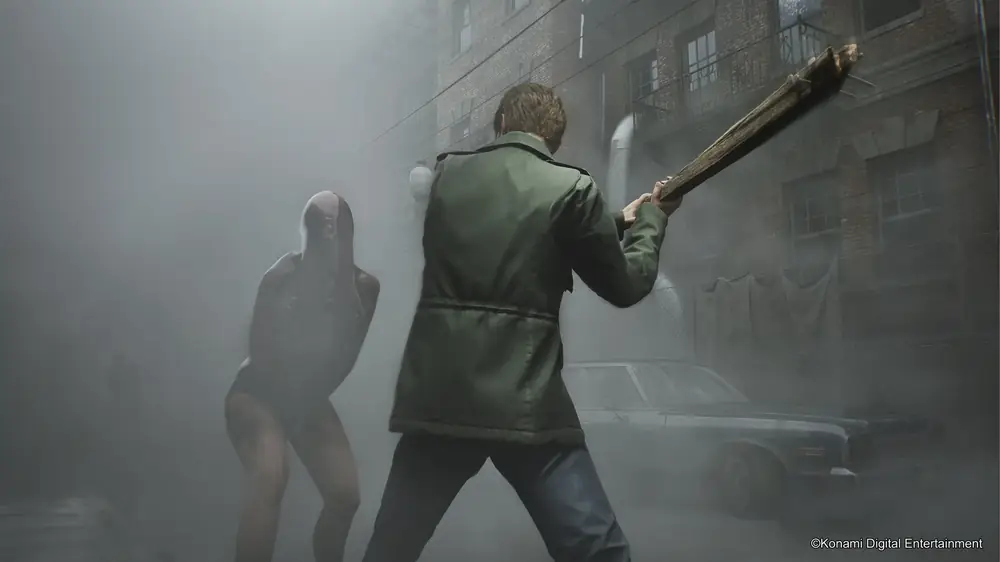
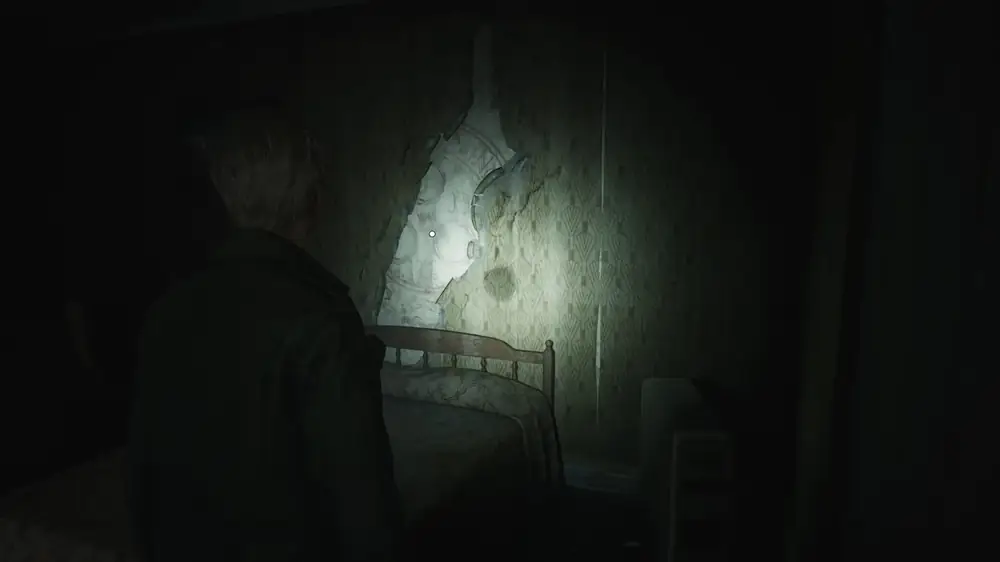
Silent Hill 2 Remake gameplay
  • Developer: Bloober Team
  • Publisher: Konami
  • Release: October 8, 2024
  • Platforms: PlayStation 5, PC (Steam)
  • Endings: 8 total (3 standard + 5 NG+)
  • Collectibles: 120 total (68 Memos, 26 Strange Photos, 26 Glimpses)
  • Trophies: 44 (including Platinum)
  • Approx. 100% Time: ~20 hours across 2 playthroughs

Tips & Tricks

  • High Contrast Mode: Turn on in Graphics Settings. Makes collectibles glow and easier to spot in dark areas.
  • Stomp enemies: Downed enemies can be stomped for a kill - saves ammo. Needed for the Merciless trophy (50 stomp kills).
  • Radio off: Turn off the radio immediately after the first enemy fight for the Radio Silence trophy.
  • Save ammo: Melee enemies when possible. Stomp downed enemies. Reserve shotgun and rifle ammo for bosses.
  • Mixed kills: Kill at least one enemy with each weapon type for the James of All Trades trophy.

The 14 Areas (Chapters)

  1. South Vale (East)
  2. Wood Side Apartments
  3. Blue Creek Apartments
  4. South Vale (West)
  5. Brookhaven Hospital
  6. Brookhaven Hospital (Otherworld)
  7. South Vale (Otherworld)
  8. South Vale (West Revisited)
  9. Silent Hill Historical Society
  10. Toluca Prison
  11. Labyrinth
  12. Toluca Lake
  13. Lakeview Hotel
  14. Lakeview Hotel (Otherworld)

The 8 Endings

  • Leave - Examine Mary's photo and letter, keep health high, don't examine Angela's knife, protect Maria. The default 'good' ending.
  • In Water - Examine Angela's knife, keep health low during the final stretch, read the hospital rooftop diary. James chooses to end it all in Toluca Lake.
  • Maria - Protect Maria throughout, don't examine Mary's photo, spend time with Maria in town. Maria is a manifestation that replaces Mary.
  • Rebirth (NG+) - Collect all 4 Rebirth items: Crimson Ceremony, White Chrism, Obsidian Goblet, Lost Memories. James attempts to bring Mary back through a dark ritual.
  • Dog (NG+) - Find the Dog Key (combine Broken Key Parts from Pet Center and Katz St dog house). Use it on the Observation Room door before Room 312. A joke ending.
  • UFO (NG+) - Collect the Blue Gem (jewelry box in the Jewellers next to the Pet Center). Use it at 4 locations: Saul Street Apartments roof, Rosewater Park pier, after the boat on Toluca Lake, and Room 312.
  • Stillness (NG+, New) - First unlock the In Water ending. Then on a NG+, find the Key of Sorrow (green car on Wiltse Rd past the metal gate; requires the chainsaw). Unlock the Manager's Office safe with code 314 to get the Toluca Postcard. A new ending added in the remake.
  • Bliss (NG+, New) - Find the Rusted Key and White Claudia. The Rusted Key is in the Pete's Bowl-O-Rama safe (code 1887). It opens a chest in the Brookhaven Hospital gazebo, yielding the White Claudia. Use the White Claudia in Room 312. A new ending added in the remake.
WARNING: All 120 collectibles are missable. There is no chapter select and no free-roam after completing the story. Each area is permanently left behind once you progress past its point of no return.

Chapter 1: South Vale (East)

James arrives at the Silent Hill observation deck

The opening chapter introduces James Sunderland as he descends from the observation deck into the foggy town of Silent Hill. This is a large explorable area packed with collectibles - 18 Memos, 2 Strange Photos, and 5 Glimpses of the Past. Take your time before entering Wood Side Apartments, as leaving this area is a point of no return.
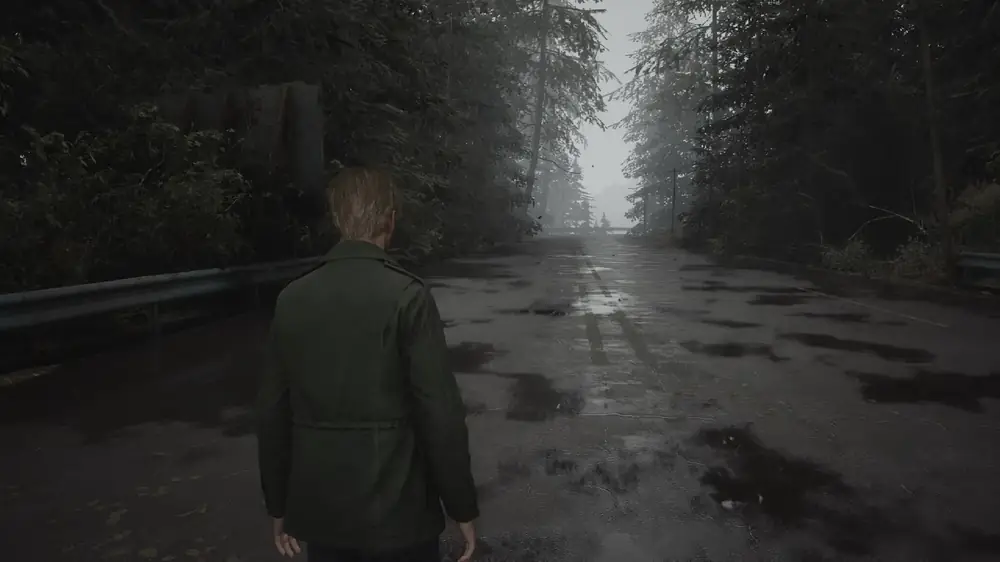
Approaching the foggy streets of South Vale
1
Trophy "No Turning Back Now": At the very start, after the intro cutscene, turn around and follow the road to the left all the way to the end. Interact with the barricade to trigger the trophy.
No Turning Back Now trophy location
2
Key Item Mary's Letter: Automatically in your inventory from the start. Do not inspect it if you are aiming for the Maria ending.
3
Key Item Photo of Mary: Automatically in your inventory from the start. Do not inspect it if you are aiming for the Maria ending.
4
Key Item Map of South Vale: Found in James' car at the starting area (the turquoise car).
5
Key Item Auto Parts key: Inside the 'Best Auto Parts' building, found in a drawer.
6
Collectible Glimpse #1: After the locked door, head straight ahead and interact with the barricaded tunnel.
7
Key Item Map of east/west South Vale: Automatically obtained during a cutscene at Wiltse Rd.
8
Trophy "Enjoy Your Stay": Automatically obtained during a cutscene as you enter town.
South Vale street corner
9
Memo #1 Flower Shop Message: After the cutscene, turn left to the flower shop; the memo is on a table.
10
Collectible Glimpse #2: At Vachss Rd, interact with the 'Do not enter' sign on the barbed fence.
11
Equipment Radio + Wooden Plank: Automatically obtained during the story.
12
Collectible Glimpse #3: After your first enemy encounter, exit the building, go through the garden gate, turn right, and examine the blood on the floor.
13
Memo #2 Matchbook: On a corpse on Martin St.
14
Memo #3 Martin Street Note: A few steps north of the corpse.
15
Key Item Neely's Bar Coin: In the Texan Cafe, examine the cash register, turn the key, then press the bottom right button.
16
Memo #4 Big Jay's Note: In Big Jay's Cafe, on a table.
17
Memo #5 Record Store Note: In the Groovy Music shop, on the counter.
18
Key Items Broken Vinyl Record (1) + Vinyl Glue: In the Groovy Music shop, smash the window, climb to the locked room; both items are on a table.
19
Memo #6 Texan Cafe Flyer: On Katz St., next to Wood Side Apartments; the flyer is on the left.
20
Collectible Glimpse #4: Right of the Wood Side Apartments door, interact with the blue dumpster.
21
Strange Photo #1 "So many people here!": Left of the Wood Side door, behind the fence, in the corner on the ground.
22
Memo #7 Barrier Note: At the end of Katz St., on the ground near the barricade by a corpse.
23
Collectible Glimpse #5: At the end of Katz St., interact with the gap in the white barricade.
24
Strange Photo #2 "I've been happy": South of Neely St, smash the shop window right of The Dance Company.
25
Memo #8 Old Map: West on Saul St., on a corpse outside the gate to the Motor Home.
26
Memos #9-11 Saul Street Notes (1-3): Follow the blood trail.
27
Memo #12 Motor Home Note: Inside the Motor Home, on a table.
28
Memo #13 Small Note: In the Saul Street Apartments, ground floor; move the shelf, then on a table.
29
Key Item Apartment Key: Turn around from the memo; it is hanging on the wall.
30
Memo #14 Tenant's Note: Upstairs, crawl through the vent by Apt 7; on a table.
31
Key Item Jukebox button: Use the key on Apt 5, go through broken walls, out the window, up the stairs; in the bathroom, interact with the hole 3 times.
32
Memo #15 Code Note: Halfway along Sanders St., next to the truck/corpse.
33
Memo #16 Sanders Street Note: On the other side of the corpse.
34
Memo #17 Neely's Bar Note: Inside Neely's Bar, on the counter.
35
Key Item Broken Vinyl Record (2): In Neely's Bar, interact with the jukebox under the cloth.
36
Key Item Glued Up Vinyl Record: Combine the vinyl glue + two broken records.
37
Key Item Neely's Bar Key: Insert the glued vinyl + jukebox button + coin in the jukebox, then press C and 2.
Neely's Bar area
Neely's Bar area
38
Memo #18 Back Room Letter: Use the key on the locked door in Neely's Bar, move the trolley, climb the hatch; on a table.
39
Key Item Wood Side Apartments Key: Through the backyard, through the door, examine the bloody clothes.
40
WARNING: Storm starts after picking up the key, some buildings close.
41
Grand Market code: 4442 (Light) / 4444 (Standard) - medicine and ammo inside.
42
Trophy "Nice and Cozy": Enter Wood Side Apartments.
The foggy streets of South Vale at night
POINT OF NO RETURN: Once you enter Wood Side Apartments, you cannot return to South Vale (East). Make sure all collectibles here are collected!
Neely's Bar Jukebox Puzzle
Insert the Glued Up Vinyl Record + Jukebox Button + Neely's Bar Coin into the jukebox, then press C and 2 to unlock the back room.
Grand Market Door Code
Light: 4442  |  Standard: 4444. Contains medicine and ammo.

Chapter 2: Wood Side Apartments

Wood Side Apartments - dark hallway
Wood Side Apartments exterior

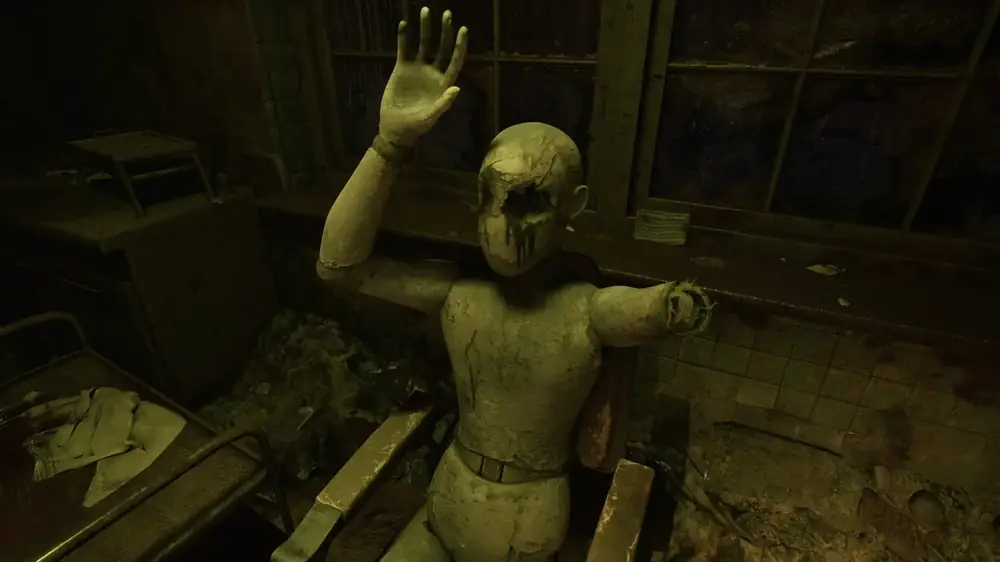
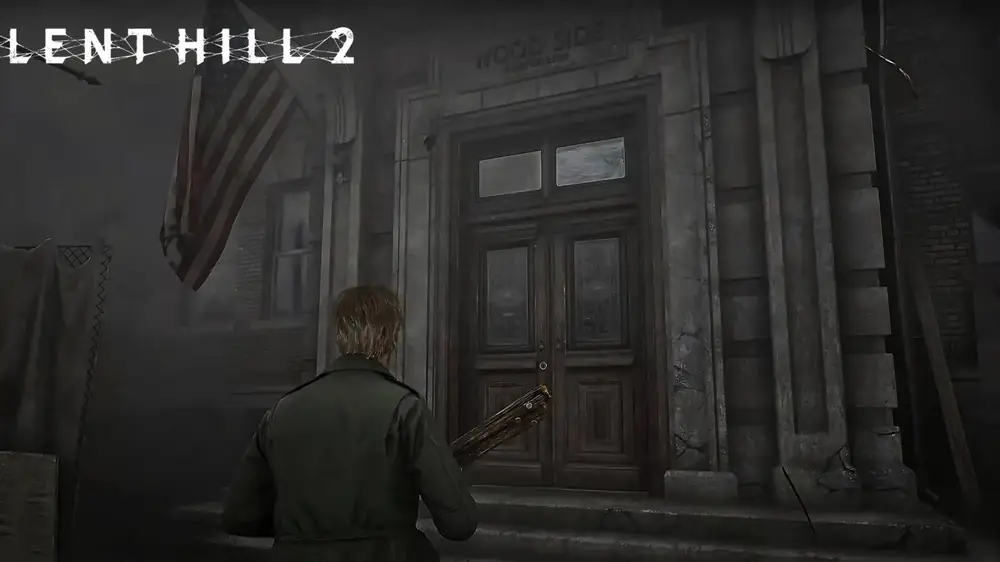
The Wood Side Apartments are the first major interior dungeon. This area is dense with key items, puzzles, and the first unkillable Pyramid Head encounter. Collect the map, flashlight, handgun, and solve the coin puzzle before descending into the Otherworld via the red door.
Wood Side Apartments lobby
1
Map On the wall at reception.
2
Memo #19 Administration Note: Under the stairs in a locker.
3
Equipment Flashlight: 2nd floor Apt 202, from the mannequin.
Apartment room interior
4
Key Item Chute Courtyard Key: In the drawer behind the mannequin.
5
Key Item 2F Hallway Key: Use the Chute key, go to the courtyard, pull the trolley, climb the window, go through the dark corridor; the key is behind bars (triggers a cutscene). Backtrack to reception; a new corridor has opened.
6
Key Item Golden Apple Handle: Apt 108, wardrobe with golden handles.
7
Strange Photo #3 "Valentine's Day": Apt 102, on the trolley by the TV.
8
Collectible Glimpse #6: Apt 213, scratched wall in the bedroom.
9
Equipment Handgun: In the red shopping cart in Apt 217. Don't waste ammo - you need 11 rounds for the balloons.
Apartment 206 - the safe location
10
Key Item Apt 212 Key: On the stand next to the TV in Apt 213.
11
Strange Photo #4 "Career's humble beginnings": Through Apt 212 to 210 via the balcony, on the last windowsill.
12
Trophy "Let's NOT Party!": Apt 207, shoot all 11 balloons. Ammo locations: 7 in 217, 2 in 210, 3 in 207, 1 in 208, 3 in 205, 3 in Reception.
13
Key Items Coin [Man] + Steel Key: Safe in Apt 206, via the Golden Apple Wardrobe in 208.
Safe in Apartment 206
14
Key Item 2F Small Staircase Key: On a chair in Apt 205.
15
Memo #20 Strange Note: Through the gap in 213, use the key on the door, up the stairs to 3F; in the drawer before Apt 310.
16
Memo #21 Sinister Note: On the wall in Apt 312, via Apt 310 and the balcony.
17
Key Item Canned Juice: Crawl through the vent to the laundry room.
18
Key Item Coin [Woman]: Use the Canned Juice on the garbage chute; the coin drops to the courtyard 1F.
19
Key Item Coin [Snake]: Apt 116, cutscene, climb the window to the courtyard with the empty pool; in the baby stroller.
Coin puzzle solved
Coin puzzle solved
Safe in Apartment 206
Light: 15 Right, 11 Left, 13 Right
Standard: 13 Right, 7 Left, 11 Right
Contains the Coin (Man) and Steel Key.
Apartment 206 safe
Apartment 206 safe
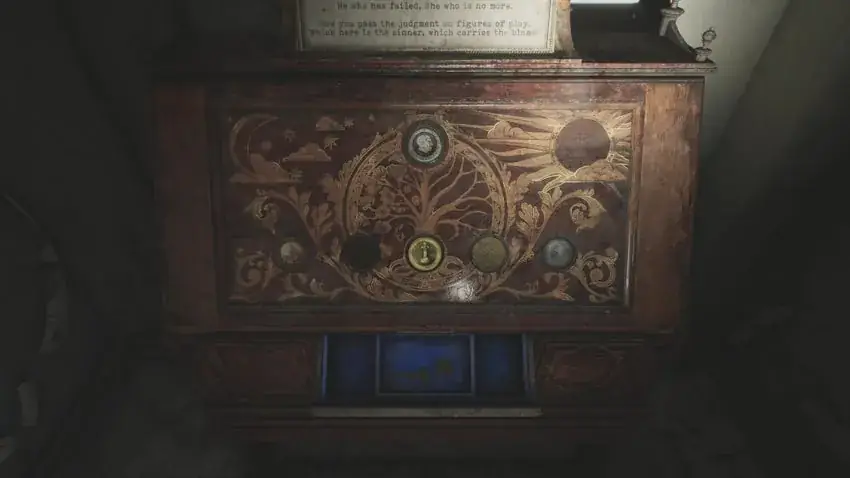
Coin Puzzle (Wood Side Apartments)
Place Man in the first slot, Woman in the third slot, Snake in the fifth slot.
Light: rotate Snake to Flower, Man to Sword, Flower back to Snake, switch to first slot, rotate Sword to Man, Woman to Grave, move Snake to top.
Standard: rotate Snake to Flower, move Woman to fourth slot, rotate Man to Sword and move to second slot, rotate all three coins and move Man to third slot, move Snake to top slot.
Coin puzzle solution
WARNING: Interacting with the Handkerchief locks you out of further exploration in this area. Collect everything else first.
20
Personal Handkerchief: Apt 201, on the desk. Triggers a cutscene.
21
Trophy "Otherworldly": Through the red door to the Otherworld.
The grandfather clock puzzle
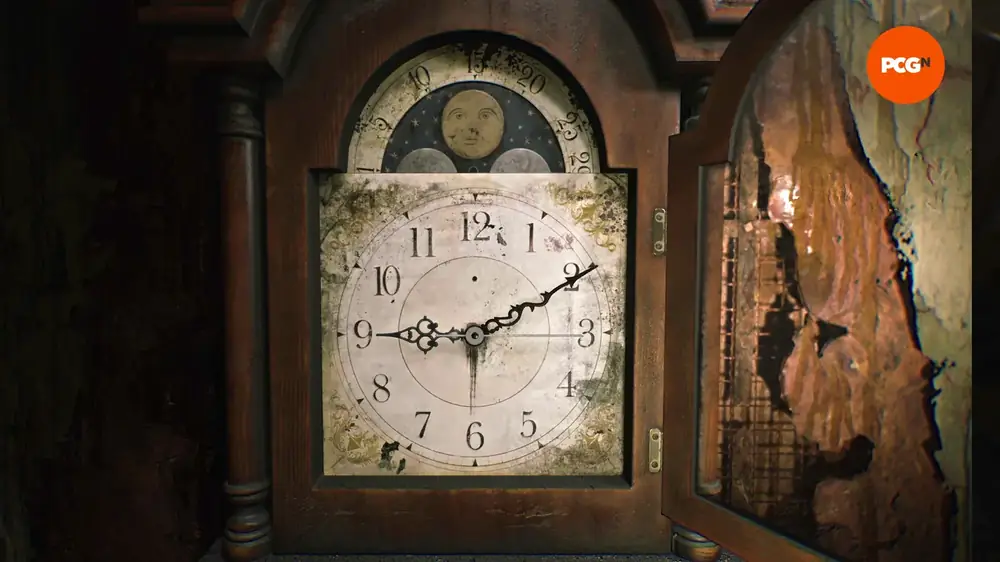
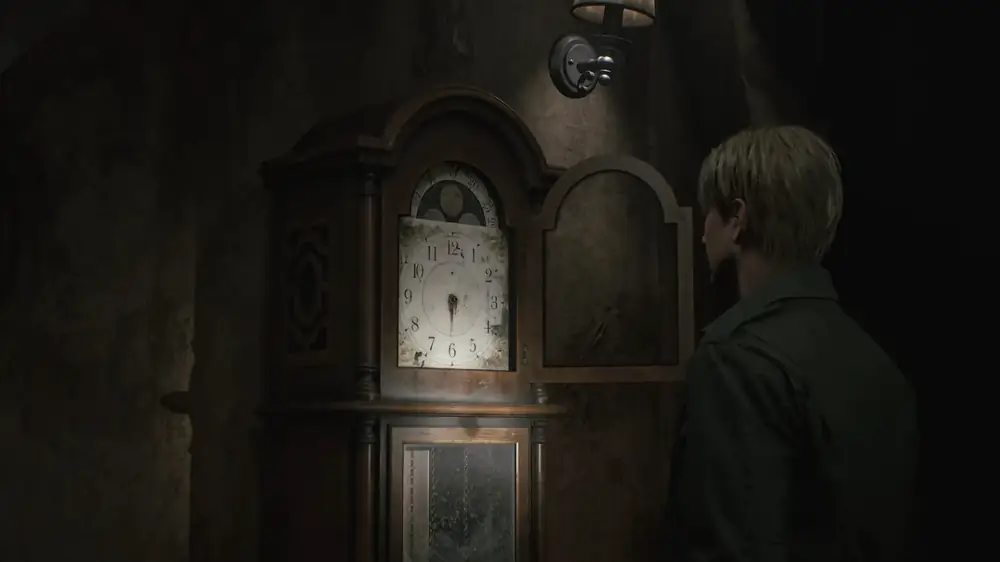
Clock Puzzle (Blue Creek Apartments)
Place the Hour Hand on 9 and the Minute Hand on 2 to set 9:10 (unlocks the M door). Then place the Second Hand on 3 to set 9:10:15 (unlocks the S door 1F).
Grandfather clock puzzle

Chapter 3: Blue Creek Apartments, South Vale (West) & Brookhaven Hospital

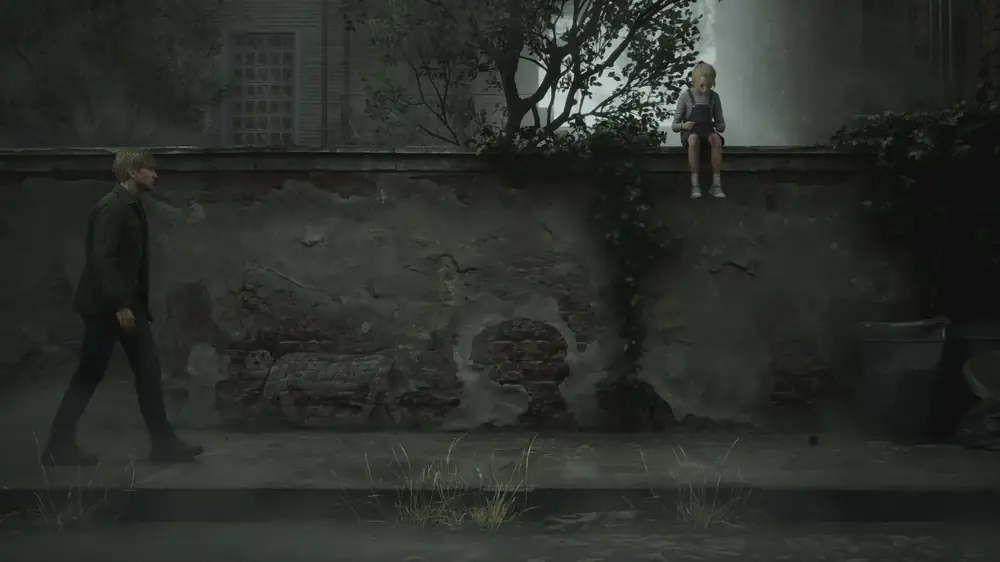
Laura drawing on the wall

This chapter spans three major areas: the Blue Creek Apartments (with the clock puzzle and Flesh Lip boss), South Vale (West) - the second town exploration section - and the sprawling Brookhaven Hospital, one of the largest and most collectible-dense areas in the game.

Blue Creek Apartments

1
Map On the wall in the corridor.
2
Key Item Apt 306 Key: Apt 307 with the hanging radio, through the balcony to Apt 305 back rooms.
3
Key Item Valve: On the wall in Apt 304, via 306.
4
Key Item The Hour Hand: Return to 307, use the Valve to drop the radio.
5
Key Item The Minute Hand: Apt 210 behind the H Door. Place the Hour Hand on the clock in 212, set to 9. Enter 210, break the kitchen wall, search the toilet 3 times.
6
Key Item Pigeon Figurine: Leave the bathroom, the apartment is corrupted; on a cabinet shelf.
7
Key Item Wooden Swan Head: Apt 211, shadow on the wall, in the corner.
8
Key Item Malformed Figurine Part: Apt 209, bathroom, break the glass on the bathtub.
9
Key Item Swan Figurine: Combine the Wooden Swan Head + Malformed Part.
10
Key Item Winged Key: Place the Swan and Pigeon on the seesaw in 210; Swan in the second notch.
11
Collectible Glimpse #7: Jump down the hole to Apt 110, broken TV stand.
12
Personal Angela's Knife: Automatically after the cutscene in 109. Do not inspect for the Maria ending.
13
Key Item Key of Resilience: On the table after the cutscene.
14
Strange Photo #5 "Forever together": Stairwell 1F, next to the barrel.
15
Key Item The Second Hand: Place the minute hand on 2, time 9:10, unlock Apt 202 (M door). Moth code: 582 (Light) / 373 (Standard). Search the hole 3 times.
Moth puzzle
Moth puzzle
16
Strange Photo #6 "How the time flies": Clock room corrupted, bedroom, on the floor.
17
Collectible Glimpse #8: Place the second hand on 3, time 9:10:15, unlock the S door 1F. Stairwell, examine the corpse.
POINT OF NO RETURN: Interacting with the S door triggers the Flesh Lip boss fight. After defeating it, you cannot return to Blue Creek Apartments.
18
Boss Flesh Lip: Bed frame body. Shoot the head, dodge the tentacles, use the shotgun. Trophy "Nightmare Fuel".
Blue Creek Apartments transition
Trophy "Passed" - awarded after the boss fight.
Clock Puzzle + Moth Puzzle (Blue Creek Apartments)
Door meanings: H=Hour, M=Minutes, S=Seconds.
1. Get Valve in Apt 304, use on radio in Apt 307 to get Hour Hand.
2. Set clock to 9:00 (Hour Hand at 9) to open H door.
3. Inside H door: break kitchen wall, examine hole in bathroom 3 times to get Minute Hand.
4. Set clock to 9:10 (Hour at 9, Minute at 2) to open M door.
5. Inside M door: solve Moth Puzzle. Light: 582 | Standard: 373.
6. Get Second Hand.
7. Set clock to 9:10:15 (Hour at 9, Minute at 2, Second at 3) to open S door on 1F.
Clock puzzle
Clock puzzle

South Vale (West)

1
Trophy "Uncanny": After the cutscene at the Rosewater Park docks.
2
Strange Photo #7 "So far from home": Rosewater Park, right side, first nook, stone bench.
3
Memo #22 Bloody Note: West along Nathan Ave., next to the corpse at the road end.
4
Trophy "Leftovers": Pete's Bowl-O-Rama, pizza on the bench back left. Also counts as Glimpse #9.
5
NG+ Memo Cryptic Letter: Safe in Bowl-O-Rama, code 1887.
6
Collectible Glimpse #10: South of Bowl-O-Rama, stairs to the barred gate, examine.
7
Key Item Garage Jack Lever: Back lot of Octantis Fuels, green car.
8
Strange Photo #8 "made it!": Use the lever on the Garage Jack, inside the garage, red cabinet.
9
Memo #23 Reception Desk Note: Jack's Inn reception, bulletin board.
10
Key Item Gate Key: Safe in Jack's Inn, code 0451.
11
Memo #24 Toolbox Memo: Upstairs Jack's Inn, Room 108 via the window, break the wall to 107, on a table.
12
WARNING: Heading west on Katz St. locks previous areas.
13
Equipment Steel Pipe: Automatically after a cutscene.
14
MISSABLE Strange Photo #9 "Ready to kill it!": Heaven's Night, dressing room mirror. Missable before Moonlight Grove.
15
MISSABLE Strange Photo #10 "Church entrance": Moonlight Grove, southern path by the fountain. Missable before the theater.
16
MISSABLE Strange Photo #11 "Best Flavor!": Reverie Theater, right side seats behind Eddie. Missable before leaving.
17
Trophy "Admitted": Reach Brookhaven Hospital.

Brookhaven Hospital

Brookhaven Hospital interior
Brookhaven Hospital hallway
1
Map On the newspaper holder at the entrance.
2
Memo #25 Key Locker Note: Noticeboard in Reception.
3
Key Item Basement Key: Reception Office, key cabinet code 287 (Light) / 724 (Standard).
4
Memo #26 Nurse's Memo: Exam Room 3, break the window, next room, desk.
5
Map Hospital Basement Map: Down the staircase SE, directly in front in the basement.
6
Key Item Empty Fuel Can: Pallets in the Boiler Room.
7
Key Item Filled Fuel Can: Use the Empty Can on the red hose in Storage (move the laundry trolley, climb the gap).
8
Memo #27 Staff Memo: Use the Fuel Can in the Generator Room, press the button. Use the elevator to 2F. On the Nurses' Station window.
9
Strange Photo #12 "Her drawings": Observation Room, desk. Crawl through the vent to Room L3.
10
Collectible Glimpse #11: 2F Laundry Room, blue fabric in the bin.
11
Memos #28-30 Evaluation Cards (Patient #0050, #0090, #0130): Director's Office, counter.
12
Memo #31 Interview Transcript: Room C1, interact with the poster, search.
13
Collectible Glimpse #12: Bed in Room M1.
14
Key Item Bent Needle: Women's Locker Room, teddy bear on a chair.
15
Equipment Shotgun: First open locker in the same room.
16
Key Item L1 Room Key: Nurses' Lounge, coffee table.
17
Memo #32 Scribbled Note: Medical Records 1F, via wall space from Room L1 2F, on the ground.
18
Collectible Glimpse #13: Same room, typewriter.
19
Key Item Marked Bracelet: Same room, on a red book.
20
Key Item 1F Inner Ward Key: 3F Exam Room 5, smash the window, on a desk.
21
Memo #33 X-ray Memo: Bench in the X-Ray Room.
22
Key Item Radiograph of a Pelvis: Under the memo.
23
Strange Photo #13 "At least she was there": 1F Exam Room 1 (now unlocked), drawer.
24
Memo #34 Keypad Combination Note: Doctors' Lounge bulletin board (unlocks the Inner Ward door in the lobby).
25
Key Item Medical Tube: Dayroom > Pharmacy (climb window) > Garden > Greenhouse > Pool > Shower Room, on the faucet.
26
Key Item Medical Tube with Bent Needle: Combine the items.
27
Key Item Maintenance Key: Use the combined item on the drain in the Pharmacy.
28
Key Item Bloodstained Bracelet: Pool, use the key on the hatch to drain, smash the wall with the crying eye.
29
Key Item Mold Remover: Kitchen, west side 1F.
30
Memo #35 Treatment Room Note: 2F, unlock the Nurses' Station code 3578, through to the Treatment Room, bench.
31
Key Item Moldy Radiograph: Bathtub in the same room.
32
Key Item Cleaned Up Radiograph: Combine the Moldy Radiograph + Mold Remover.
33
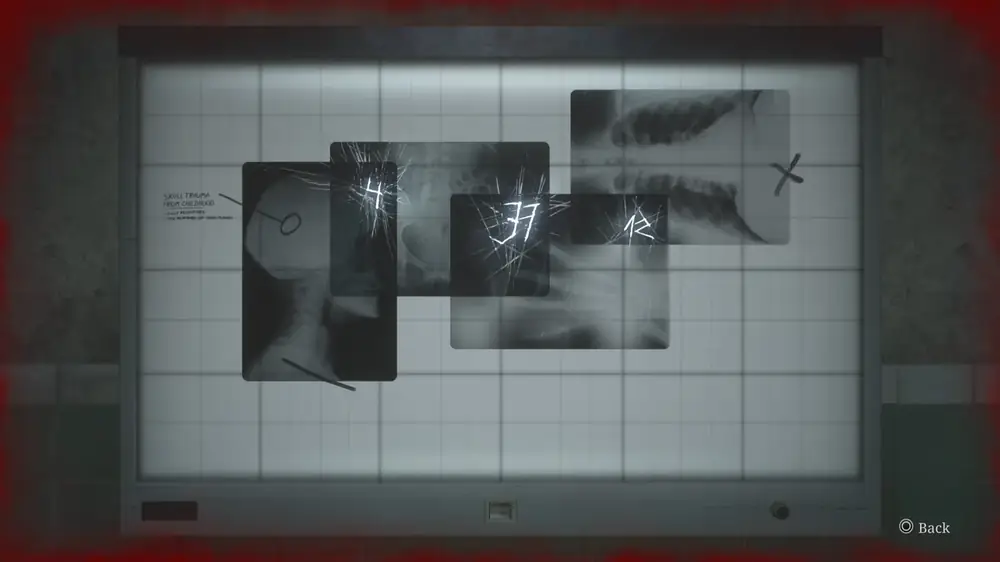
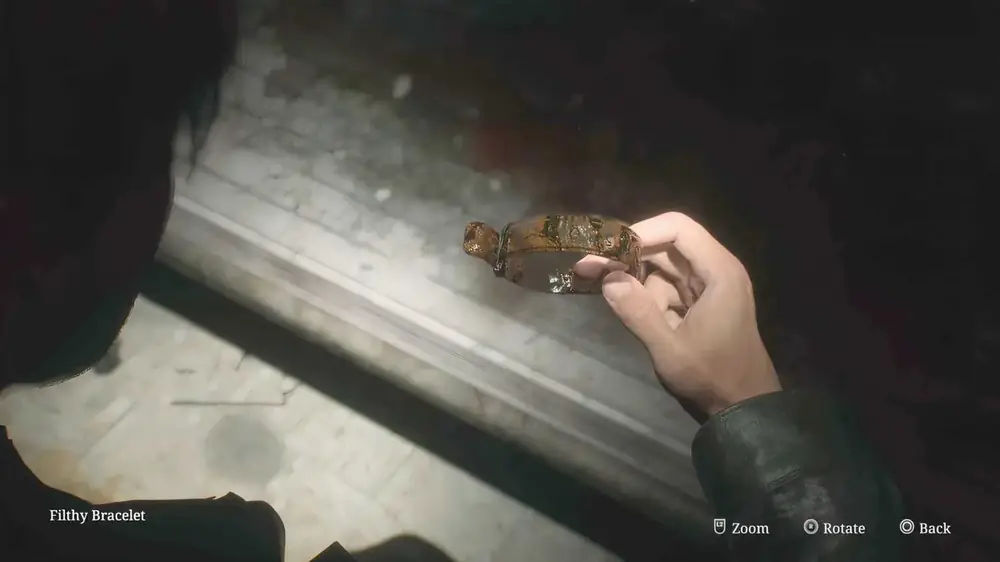
Key Item Filthy Bracelet: X-Ray Room 3F, use the Radiographs on the viewer, rotate to match. Code 4R, 37L, 12R. Room D1, interact with the bed.
34
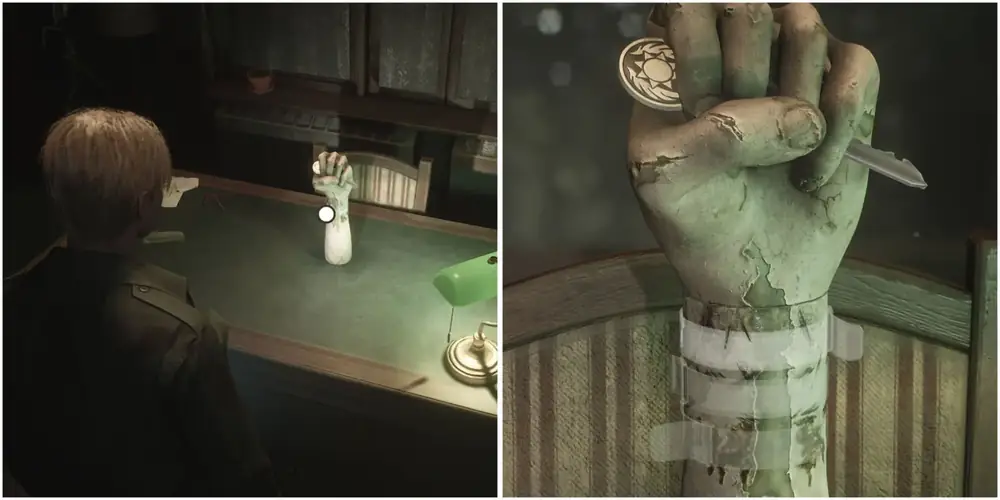
Key Item Director's Storage Room Key: Director's Office, place 3 bracelets on the mannequin hand: Bloodstained (Top), Marked (Mid), Filthy (Bottom). Rotate to 92-45-71.
35
Key Item Safe Button: Use the key on the room next to the save point.
36
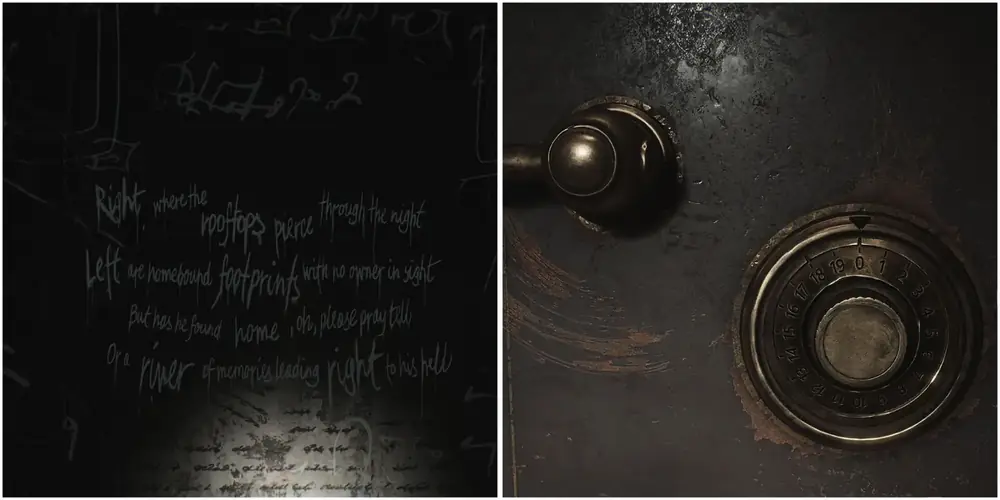
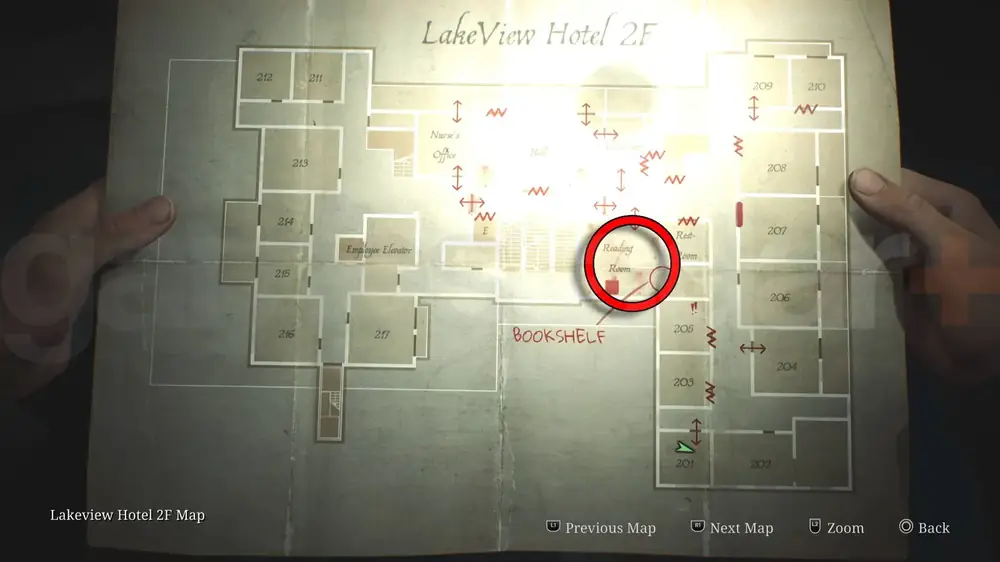
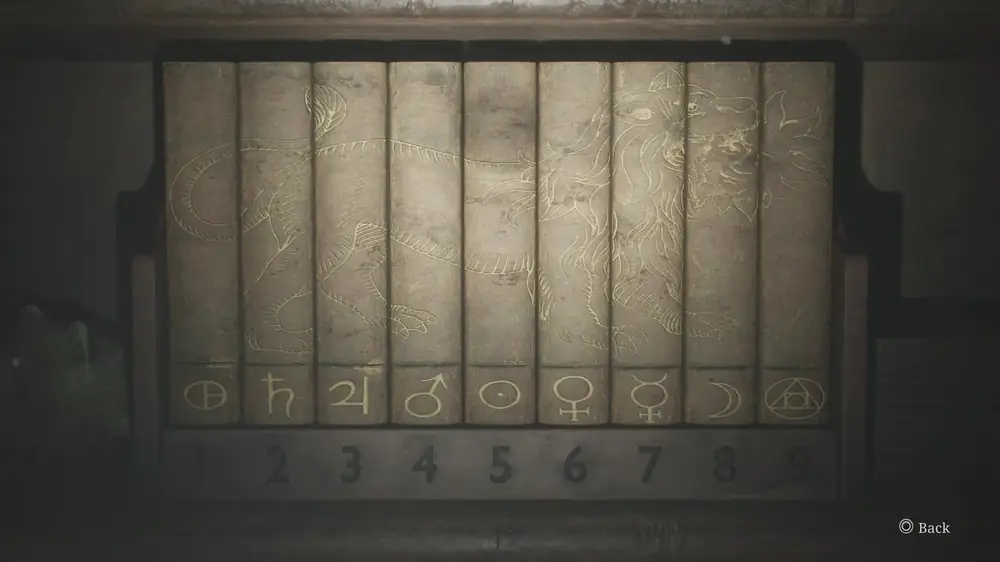
Key Item Rooftop Key: Organize the books on the shelf, match the lion. Safe code: Triangle in Circle, h, Circle with Arrow, Circle with Dot, Stickman with Horns, Circle with Lines.
37
Memo #36 Safe Note: In the safe.
38
Collectible Glimpse #14: Rooftop, catwalk opposite the door. HIGHLY MISSABLE.
39
Memo #37 Page From A Diary: On the floor re-entering from the Rooftop. HIGHLY MISSABLE.
40
Collectible Glimpse #15: After the cutscene, Room I3, blood-stained wall behind the door.
Laura running to the hospital
Hospital bookcase puzzle
Hospital generator room
Reception Office Cabinet
Light: 287 | Standard: 724. Contains the Basement Key.
Hospital lock code
Hospital lock code
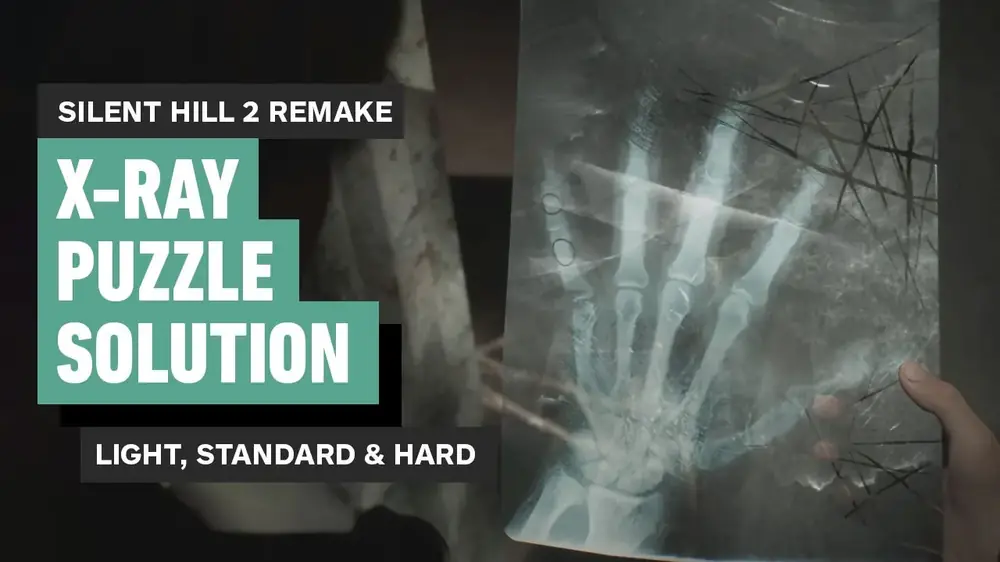
X-Ray Puzzle + D1 Door
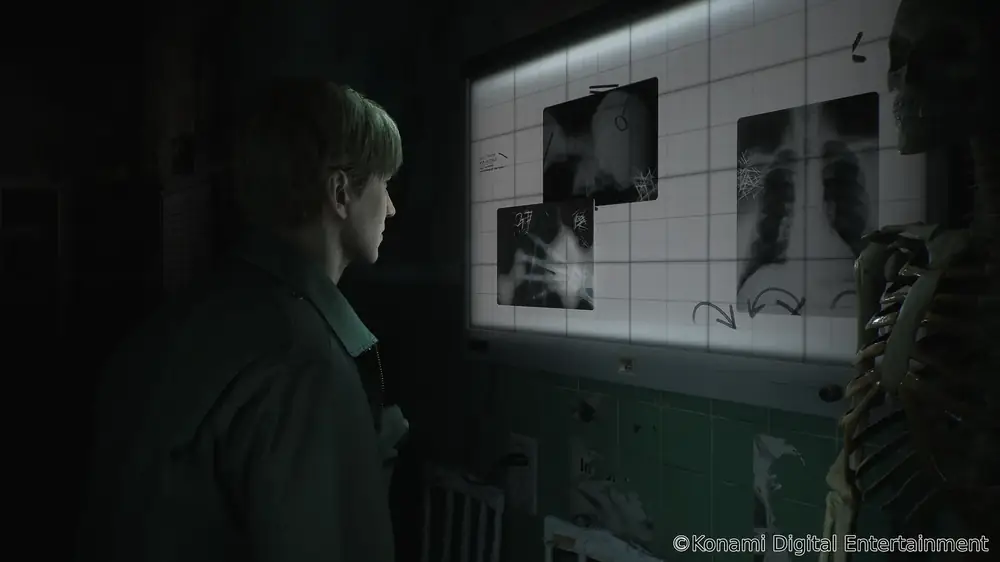
Collect 3 X-Rays from the room + 1 from bathtub in Nurse's Station (clean with Mold Remover from Kitchen). Place 4 X-Rays on viewer, rotate to align. Code: 4 Right, 37 Left, 12 Right (both difficulties).
X-ray puzzle
X-ray puzzle
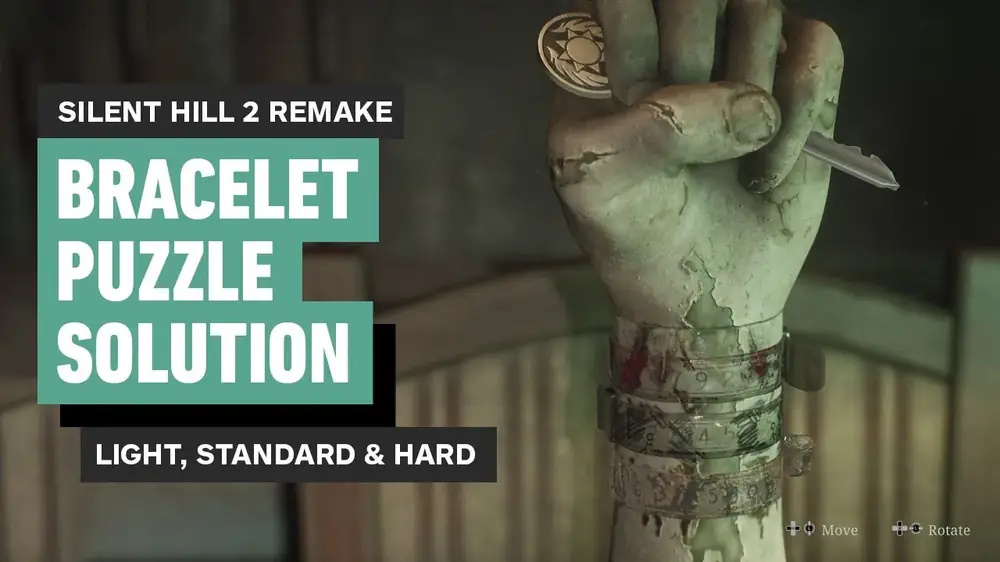
3 Bracelets (Director's Office)
Place bracelets on mannequin hand: Bloodstained = Top, Marked = Mid, Filthy = Bottom. Rotate to code 92-45-71.
Bracelet puzzle
Bracelet puzzle
Director's Safe (symbol sequence)
Triangle in Circle, h, Circle with Arrow, Circle with Dot, Stickman with Horns, Circle with Lines.
POINT OF NO RETURN: Going towards Laura triggers the boss fight. Complete all collectibles first.
41
Boss Abstract Daddy: Head to Laura, watch the cutscene, then complete the fight. Trophy "Nightmare Fuel" / "Unforgivable".

Chapter 4: Otherworld Hospital, South Vale Otherworld & West Revisited

Otherworld Hospital - rusted decay

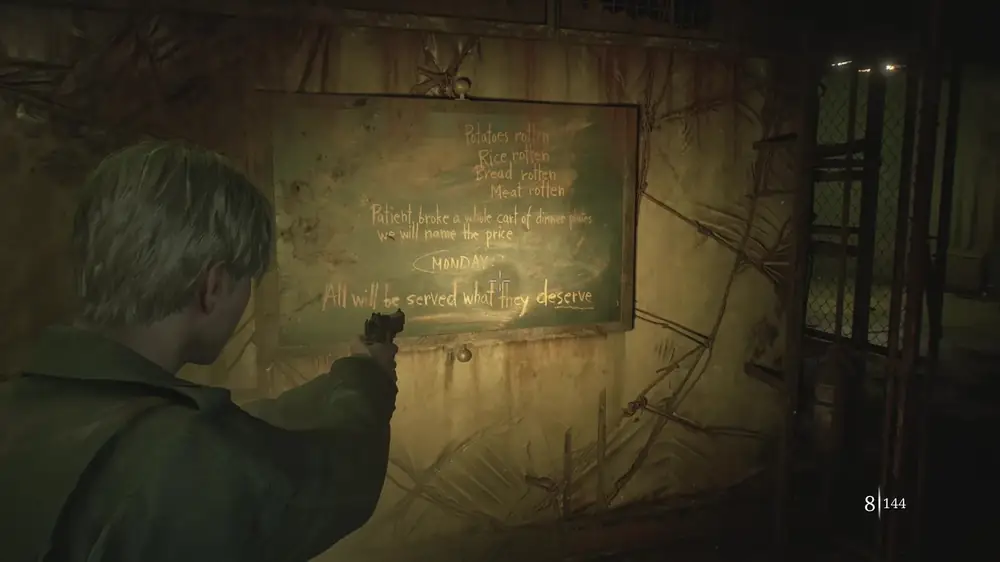
After the Abstract Daddy fight, the hospital transforms into its Otherworld form - rusted walls, blood, and decay. James must escape, then navigate the transformed streets of South Vale before revisiting the west side and finally reaching the Historical Society.

Otherworld Hospital
1
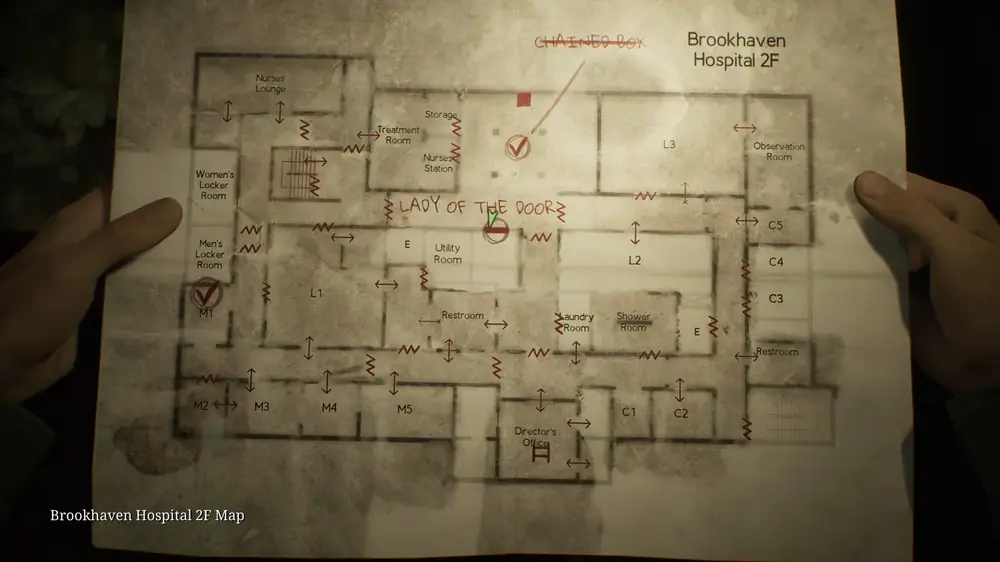
The hospital transforms - rusted walls, decay, blood-stained floors.
2
Key Item Find the Lapis Eye Key.
The Lapis Eye Key
The Lapis Eye Key
3
Nurses Station Keypad - code from the bracelet (varies by difficulty).
Lapis Eye Key location
4
3rd Floor Hospital Door - code from the bracelet.
5
Chase sequence - run, don't fight. Keep moving forward.
6
Exit to South Vale Otherworld.

South Vale Otherworld

1
Navigate the transformed streets - everything is rusted and decayed.
First tunnel in the Otherworld
2
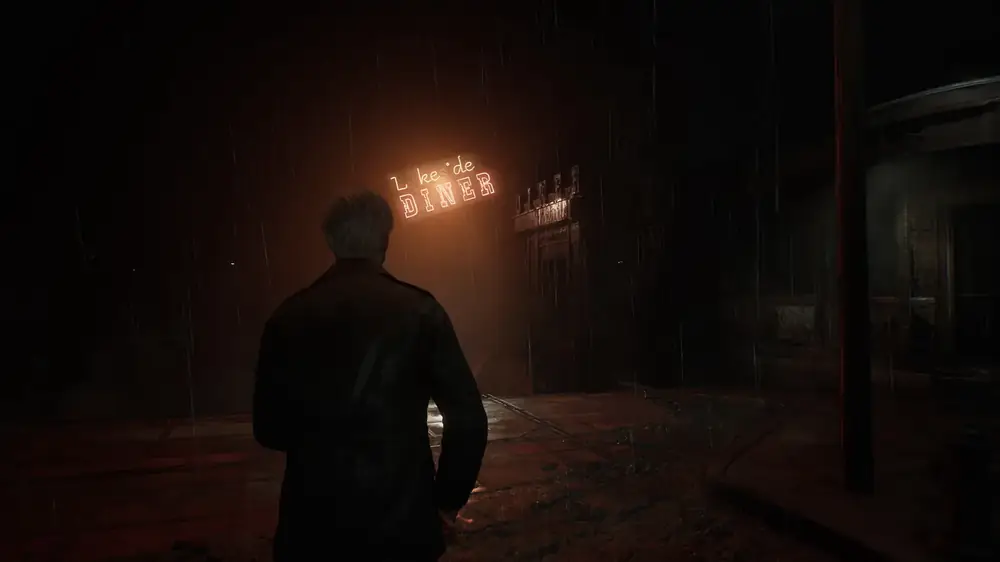
Reach the Lakeside Diner.
3
Collectible Glimpse: First tunnel.
4
Cutscene Laura running away.
Laura running away
Laura running away

South Vale West Revisited

1
Cutscene Meet Angela in Rosewater Park.
Meeting Angela in Rosewater Park
2
Key Item Historical Society Key.
Historical Society Key
3
Trophy "All Seems in Order": Jack's Inn Room 106, damaged wall.
All Seems in Order trophy
4
Head to the Historical Society.

Chapter 5: Historical Society, Toluca Prison & Labyrinth

Historical Society entrance

This chapter covers the descent into the Historical Society, the oppressive Toluca Prison with its scale puzzles, and the surreal Labyrinth below. It contains the Eddie boss fight and ends with the second Angela encounter.

Historical Society

1
MISSABLE Strange Photo #17 "The new clock": 2nd room on the left, behind the glass of the cabinet. HIGHLY MISSABLE before the stairs.
2
Trophy "Into the Abyss": After the long stairs.
3
Key Item Spiral-writing Key: Jump in the well, break the wall, through the tunnel, doors on the right twice; on the ground by the red light.
4
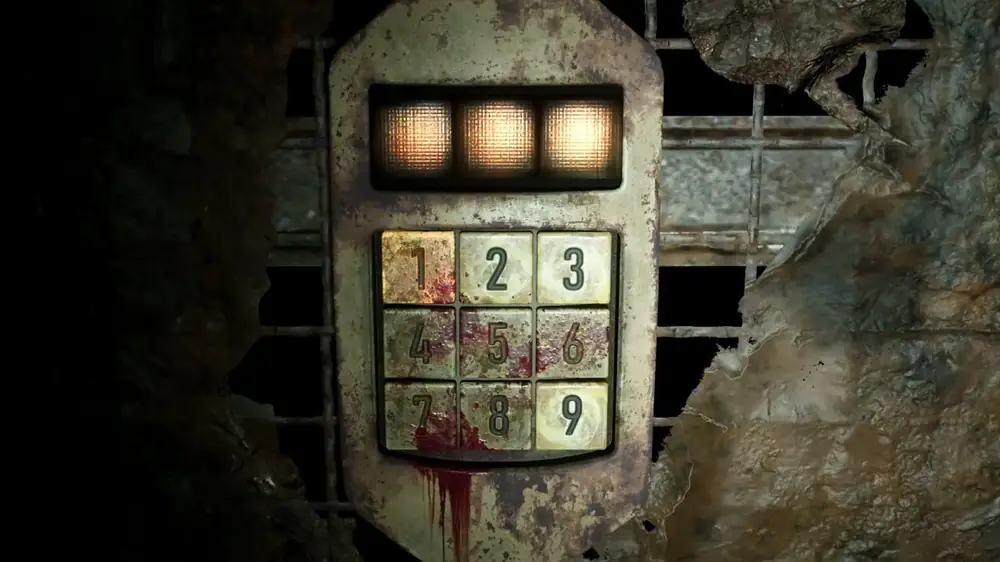
Bug Room Code - 3-digit code from the non-blood-spattered numbers (2, 3, 9). All combos: 239, 293, 329, 392, 923, 932.
Bug room code
Bug room code

Toluca Prison

Toluca Prison interior
Toluca Prison halls
Toluca Prison halls
1
Collectible Glimpse #18: Canteen, right side, dining table.
2
Map Armory wall.
3
Memo #49 Gun Cabinet Notice: Armory, next to the gun cabinet.
4
Key Item The Heaviest Weight: Altar in the Chapel.
5
Collectible Glimpse #19: Cell A3, shrine on the wall.
6
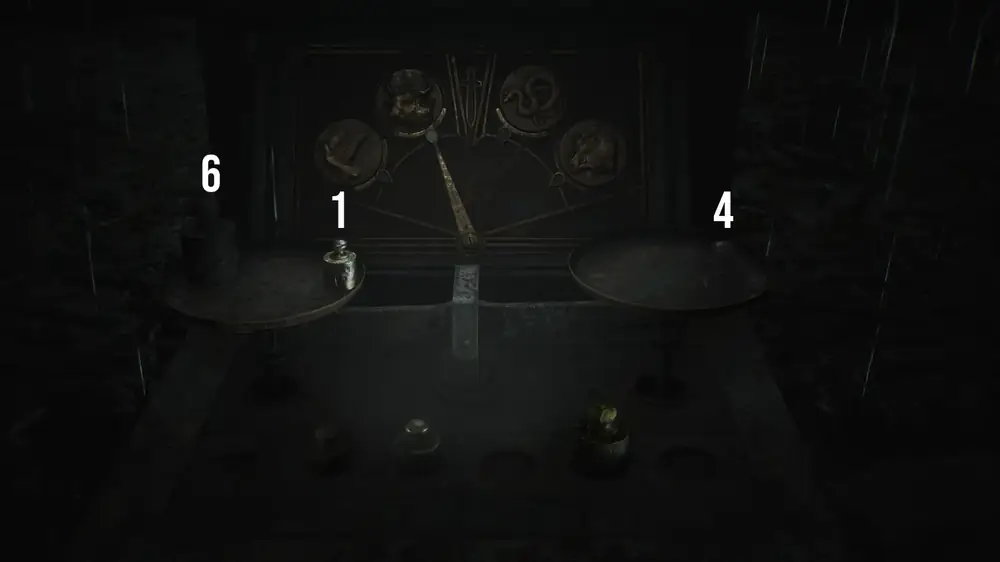
Scale Puzzle 1 - heaviest on right, lightest on left = Serpent Door.
7
Memo #50 Family Photo: Through the Serpent Door, Death Row, Cell E4 bed.
8
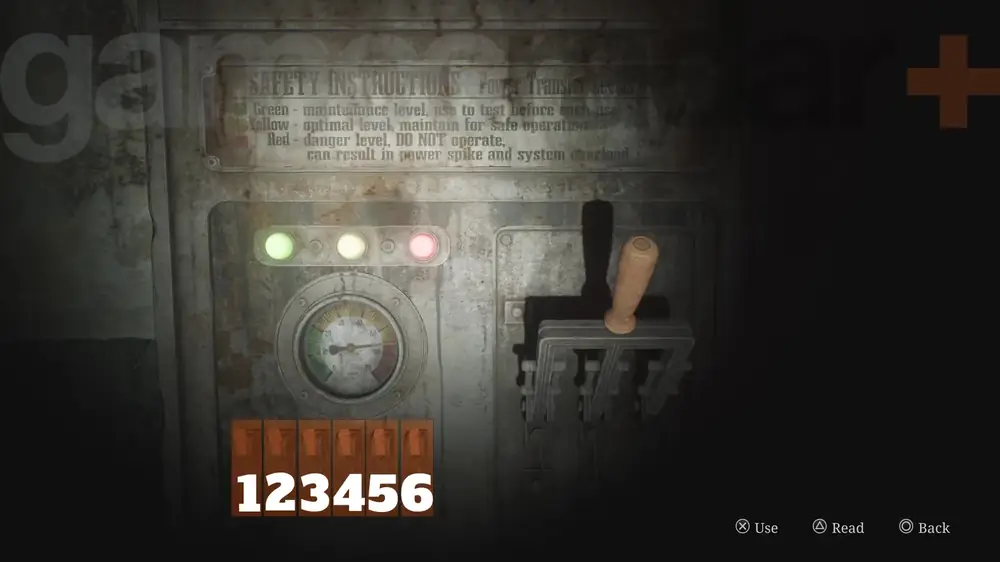
Key Item Medium Weight: Witness Room, generator panel, all switches on, flip the lever, power failure, cells unlock, Death Chamber chair.
9
Strange Photo #18 "Four months to go": Cell E1, break the wall, Cell E13, shelf.
10
Key Item Armory Key: Witness Checkpoint, via broken wall Cell E10, key cabinet.
11
Equipment Hunting Rifle: Armory, use the key.
12
Scale Puzzle 2 - heaviest + lightest on left, medium on right = Ox Door.
13
Memo #51 Guard's Letter: Through the Ox Door Block A 2F, posted next to the locked door.
14
Key Item Block D Key: Guardroom end of Block C, desk drawer.
15
Memo #52 Threatening Note: Cell D5 Block D, blood-covered wall.
16
Key Item Shiv Key: Orange container in the same cell.
17
Memo #53 Paranoid Note: Unlock Cell C4 with the Shiv, crawl through the hole, on the pipes.
18
Memo #54 Crumpled Note: Bench in the Changing Room.
19
Collectible Glimpse #20: Showers, right, along the wall, broken section, tablet on cloth.
20
Key Item Heavy Weight: Back of the Showers, search the hole in the wall 3 times.
21
Scale Puzzle 3 - lightest on left, all others on right = Boar Door.
22
Strange Photo #19 "Old man's always prepared": Through the Boar Door Block B, Warehouse from the rear door, desk.
23
Memo #55 Prisoner's Letter: Taped to the glass cubicle 7, Visitation Room.
24
Collectible Glimpse #21: SW of the Break Room, object on the ground.
25
Key Item Upper Floor Key: Room behind the Infirmary, desk.
26
Memo #56 Unfinished Report: Another desk in the same room.
27
Key Item Light Weight: Warden's Office 3F, interact with the typewriter, press any button 4 times, the drawer opens.
28
Scale Puzzle 4 - medium on right, all others on left = Dove Door.
29
Memo #57 Confession: Downstairs through the Dove Door, Basement, unlock Cell F6, on the wall.
30
Key Item The Lightest Weight: Floor in the same cell.
POINT OF NO RETURN: The Execution Lever puzzle is the final step of the prison.
31
Key Item Execution Lever: Place 3 weights on each side of the scales to balance them.
Electric chair in prison
32
Hangman Puzzle: Connect the poem lines that rhyme. Pull the noose from the crime committed without malicious intent.
Scale Puzzles (Prison)
There are 4 weights: Heaviest, Heavy, Medium, Light, Lightest.
Puzzle 1 (Serpent Door): Heaviest on right, Lightest on left.
Puzzle 2 (Ox Door): Heaviest + Lightest on left, Medium on right.
Puzzle 3 (Boar Door): Lightest on left, all others on right.
Puzzle 4 (Dove Door): Medium on right, all others on left.
Final: 3 weights each side to balance.
Scales puzzle
Scales puzzle
Hangman Puzzle
Read the poem on the wall and connect the lines that rhyme. Pull the noose corresponding to the crime committed without malicious intent - the crime of passion/mercy rather than premeditated murder.

Labyrinth

The Labyrinth
The Labyrinth
Labyrinth corridors
Labyrinth corridors
Labyrinth cube puzzle
1
Rotating Cube Puzzle (Stage 1): Spin sideways and up/down until the door lines up with the floor. Spin to the door with two Triangle icons.
2
Rotating Cube Puzzle (Stage 2): Spin to the face with 2 infinity icons. Go up the right stairs.
3
Rotating Cube Puzzle (Stage 3): Rotate up twice (scratched symbols below door). Go downstairs for Strange Photo. Rotate left twice to face with two downward triangles. Exit through the back.
4
Cutscene Meet Angela in the burning staircase.
Rotating Cube Puzzle (Labyrinth)
Stage 1: Spin sideways and up/down until door lines up with floor. Spin to door with two Triangle icons.
Stage 2: Spin to face with 2 infinity icons. Go up right stairs.
Stage 3: Rotate up twice (scratched symbols below door). Go downstairs for Strange Photo. Rotate left twice to face with two downward triangles. Exit through back.

Chapter 6: Toluca Lake, Lakeview Hotel & Hotel Otherworld

Lakeview Hotel exterior

The final chapter. After a boat ride across Toluca Lake, James arrives at the Lakeview Hotel - the last place he and Mary visited together. This area is enormous, with the mirror puzzle, gemstone puzzle, music box puzzle, and the climactic dual Pyramid Head fight. The chapter ends with the final boss and your chosen ending.

Toluca Lake & Lakeview Hotel
1
Map Garden Map: After the boat, on the wall to the right.
2
Trophy "Glimmer of Hope": Enter the garden.
3
Key Item Rotten Apple: Bench by the tree, right path.
4
Collectible Glimpse #23: North from the Apple, fountain, back, broken object.
5
Map Hotel Map: Right when entering the hotel.
6
Memo #58 Cleaning Staff Memo #1: Downstairs, Utility Room, table.
7
Memo #59 Laura's Letter: Automatically after the cutscene in the Lake Shore Restaurant.
8
Memo #60 Receptionist Memo: 1F Check-in counter.
9
Key Items Room 312 Key + Ornamental Key: Same room, key cabinet.
10
Key Item Key to Room 102: Behind the bar in Cafe Toluca.
11
Memo #61 Lost & Found Note (NG ONLY): Lost & Found shelf, break the wall in Cafe Toluca.
12
Strange Photo #23 "aftermath...": Room 104, bedside table.
13
Key Item Sunrise Wing Key: Utility Room desk.
14
Key Items 4 Books: Reading Room 2F: "Pride Before the Fall", "Revelations", "Stalwart to the End", "The One Who Soared".
Book puzzle
Book puzzle
15
Memos #62-64 Door/Stain/Gate Photos: Place books on shelf: Revelations, One Who Soared, Stalwart, Pride (top-left to bottom-right).
16
Key Item Key to Room 202: Hall couch, via the Cloakroom.
17
Key Item Ripe Apple: Small table, back corner of the Hall.
18
Key Item Mirror Shard: Bed in Room 202.
19
Mirror Puzzle: Snow White Figurine - fix the mirror with shards, place the apple (Ripe = Maria ending, Rotten = In Water ending).
20
Collectible Glimpse #24: Room 212, suitcase on the floor.
21
Memo #65 Cleaning Staff Note #2 + Key to Room 107: Fireplace, Conference Room 3F.
22
Key Item Boltcutters: Shelf, 3F Utility Room.
23
Key Item Can Opener: 2F balcony Room 217, book on the skylight, falls to the restaurant.
24
Key Item Light Bulb: Garden, use the boltcutters on the gate, fish statue.
25
Memo #66 Cleaning Staff Note #3: Room 107, immediately in front.
26
Key Item Fireplace Key: Gazebo in the garden via Room 107.
27
Key Item Cinderella Figurine: Conference Room 3F, use the key on the fireplace.
28
Key Item Paint Can: Room 318 coffee table, via wall break Room 316 from the Conference Room.
29
Key Item Open Paint Can: Combine the paint can + can opener.
30
Key Item Red Light Bulb: Combine the light bulb + open paint can.
31
Key Item Employee Elevator Key: Reading Room 2F hidden room, red bulb on the mirror = DARK WISH (Light) / DEED DONE (Standard).
32
Map Employee Section Map: Enter the elevator (put all items in the cabinet), break room wall.
33
Collectible Glimpse #25: Pantry shelf.
34
Key Item Blue Gemstone: Open the freezer, Freezer Room.
35
Trophy "It's Bread": Examine the bread trays in the Kitchen (crawl through the vent from the Freezer).
36
Key Item Green Gemstone: Kitchen counter.
37
Key Item Red Gemstone: Fancy box, Manager's Room (push the cabinet in the TV Room).
38
Memo #67 Keypad Numbers Memo: Gemstones on the puzzle box: Green = Top Left, Red = Top Right, Blue = Bottom Left.
39
Key Items Video Tape + Basement Key: Safe in the Break Room, code 7414.
40
Key Item Pump Valve: Use the Basement Key on the staircase, Maintenance Room through the crack, desk.
41
Key Item Venus Tears Bar Key: Boiler Room, taped to the red pipe (use the valve).
42
WARNING: Pump Valve in Venus Tears Kitchen = Point of No Return.
43
Strange Photo #24 "Better leave...": Through the Venus Tears Kitchen, right, drink shelf behind the bar.
44
Key Item The Little Mermaid Figurine: In front of the jukebox in the bar.
45
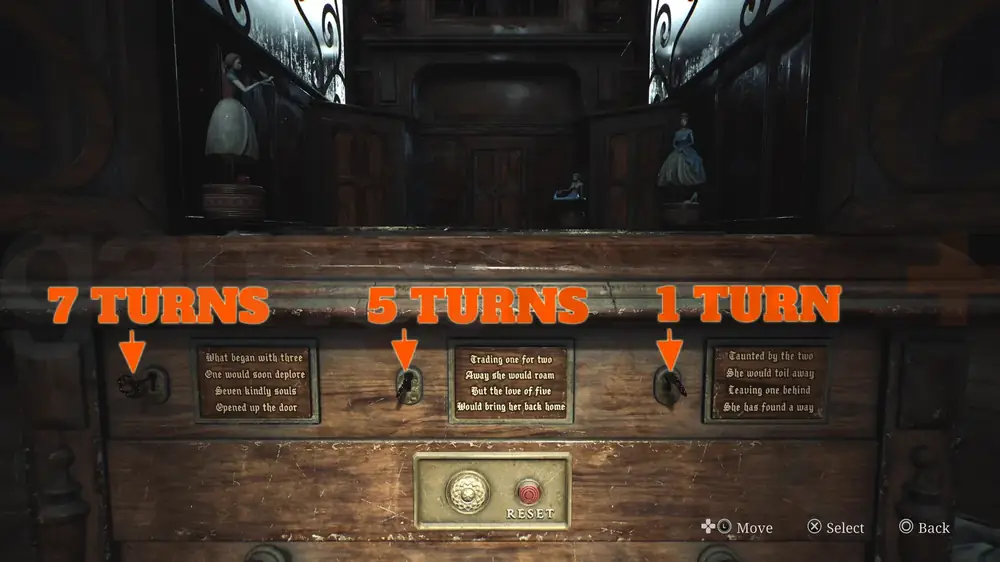
Key Item 3F Corridor Key: Music box: Little Mermaid (Top), Cinderella (Right), Snow White (Left). Keys: 7-2-1 (Light) / 7-5-1 (Standard).
Music box puzzle
Music box puzzle
46
Trophy "Truly Special": Enter Room 312.
47
WARNING: Putting the video tape in the VCR = Point of No Return.
Lakeview Hotel lobby

Hotel corridor
Hotel corridor
Hotel room detail
Hotel room detail
Hotel Book Puzzle
Place the 4 books on the shelf in this order (top-left to bottom-right): Revelations, The One Who Soared, Stalwart to the End, Pride Before the Fall.
Book puzzle
Book puzzle
Mirror Puzzle (Snow White)
Fix the mirror using the Mirror Shards. Then place an apple on the Snow White figurine: Ripe Apple = Maria ending, Rotten Apple = In Water ending.
Red Light Bulb / Mirror Code
Place the Red Light Bulb on the mirror in the Reading Room 2F hidden room. Code: DARK WISH (Light) / DEED DONE (Standard).
Gemstone Puzzle
Place gemstones on the puzzle box: Green = Top Left, Red = Top Right, Blue = Bottom Left.
Hotel Safe (Break Room)
Code: 7414. Contains the Video Tape and Basement Key.
Music Box Puzzle
Place figurines: Little Mermaid (Top), Cinderella (Right), Snow White (Left). Then enter the keys: 7-2-1 (Light) / 7-5-1 (Standard).
Music box puzzle
Music box puzzle

Hotel Otherworld

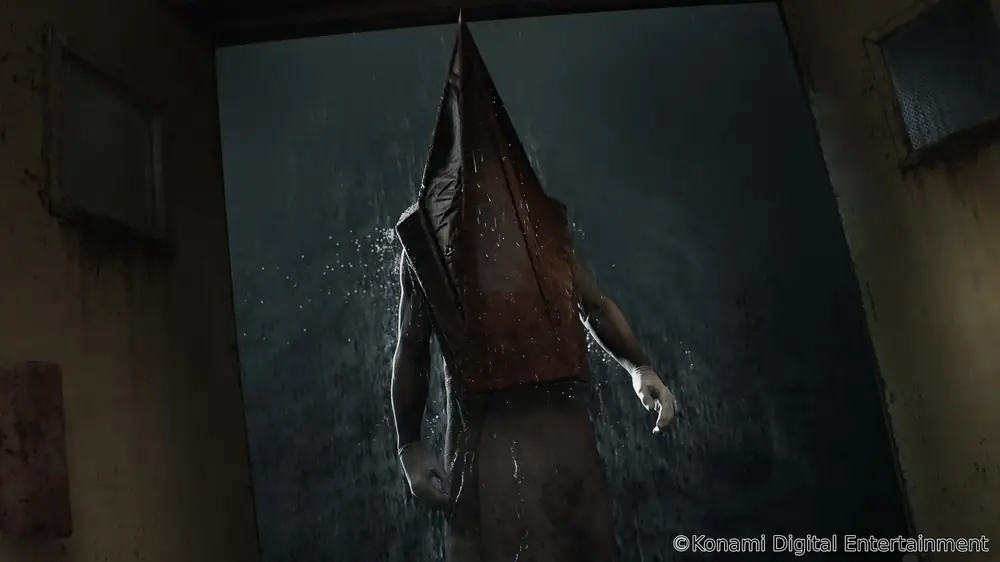
Pyramid Head
Pyramid Head
1
Strange Photo #25 "Still can't get it right": Bathroom Room 302, move the trolley.
2
Collectible Glimpse #26: Push the trolley in the hallway Room 304, the floor breaks, jump to 2F, couch in the Reading Room.
3
Memo #68 Burned Note: Elevator 2F to basement, flooded basement, up to the Employee Section, Manager's Office desk.
4
Boss Dual Pyramid Heads: Survive the fight in the lobby. Trophy "Obsolete".
5
Key Items Scarlet Egg + Rust-Colored Egg: From the Pyramid Heads. Scarlet = Maria ending, Rust = In Water ending.
6
Strange Photo #26 "SHAPE FORCES THE MIND": Long hallway, catwalk, right before the stairs into the water.
7
Final Boss Maria/Her: Trophy "That Part of Me".
Final boss encounter
Hotel Otherworld descent
Otherworld hotel corridor
Final area approach
Final area approach
The final confrontation
Ending sequence
Ending sequence

NG+ Extras (Final Area)

1
NG+ Manager's safe - Key of Sorrow + code 314 = Toluca Postcard (Stillness ending).
2
NG+ Room 312 - Blue Gem (UFO), White Claudia (Bliss), Dog Key (Dog).
Save backup strategy: There are 9 red save squares at the final save point. Save in multiple slots before the final boss so you can reload and trigger different endings without replaying the whole game.

Enemies & Bosses

Pyramid Head - the unkillable threat
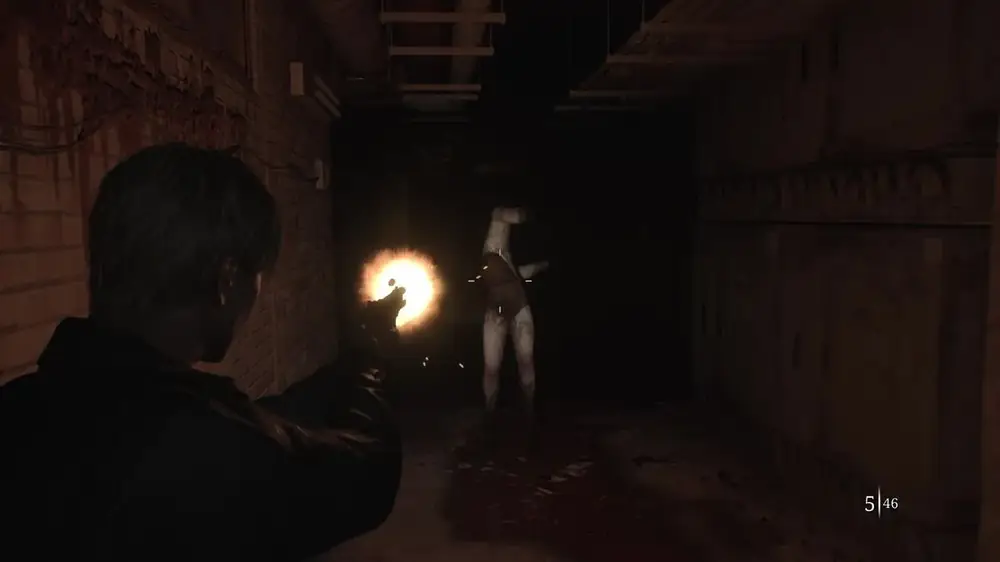
Enemy encounter
Enemy encounter

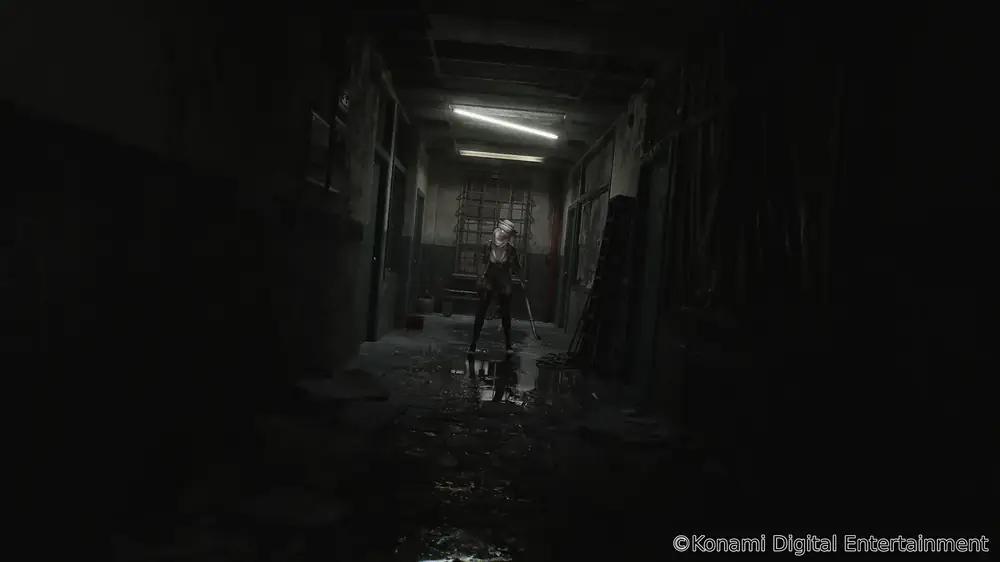
Silent Hill 2 Remake features a variety of grotesque enemies, each representing an aspect of James' psyche. Below is every normal enemy and boss, with strategies for dealing with each.

Normal Enemies

Lying Figure
A figure wrapped in a straitjacket of its own flesh. Spits acid from a distance and lunges when close. Strategy: dodge its spit, then attack from behind with melee. Stomp when downed.
Mannequin
A creature with two pairs of legs - one serving as its head. Appears disguised as a mannequin and springs to life. Fast and erratic. Strategy: use the handgun at range; if cornered, dodge and counter with the steel pipe.
Bubble Head Nurse
Nurses with swollen, twitching heads found throughout the hospital. They attack in groups and wield pipes. Strategy: use the steel pipe or handgun; watch for group flanking.
Creeper
Small cockroach-like creatures that swarm on the floor. Low threat individually but annoying in numbers. Strategy: stomp them (counts toward the Merciless trophy).
Mandarin
Ceiling-dwelling creatures that reach down with long tongues to grab you. Strategy: dodge the tongue lash, then shoot from a distance with the handgun or shotgun.

Bosses

Boss Flesh Lip Blue Creek Apartments
A creature fused with a bed frame, encountered after the Blue Creek Apartments. It has tentacle attacks and lunging grabs. Strategy: shoot the head, dodge the tentacles, use the shotgun for burst damage.
Boss Abstract Daddy Brookhaven Hospital
A large creature mounted on a bed frame, fought after the hospital Otherworld trigger. Strategy: use the shotgun at close range, dodge its grabs, and keep moving.
Boss Abstract Daddy x2 Toluca Prison
Two Abstract Daddies fought simultaneously in the prison. Strategy: keep moving, focus on one at a time, alternate between the shotgun and rifle.
Boss Eddie Historical Society
A shootout against Eddie in a frozen meat locker. Phase 1: hide behind pillars and return fire with the handgun. Phase 2: Eddie moves faster; switch to the rifle and keep your distance.
Boss Pyramid Head Multiple
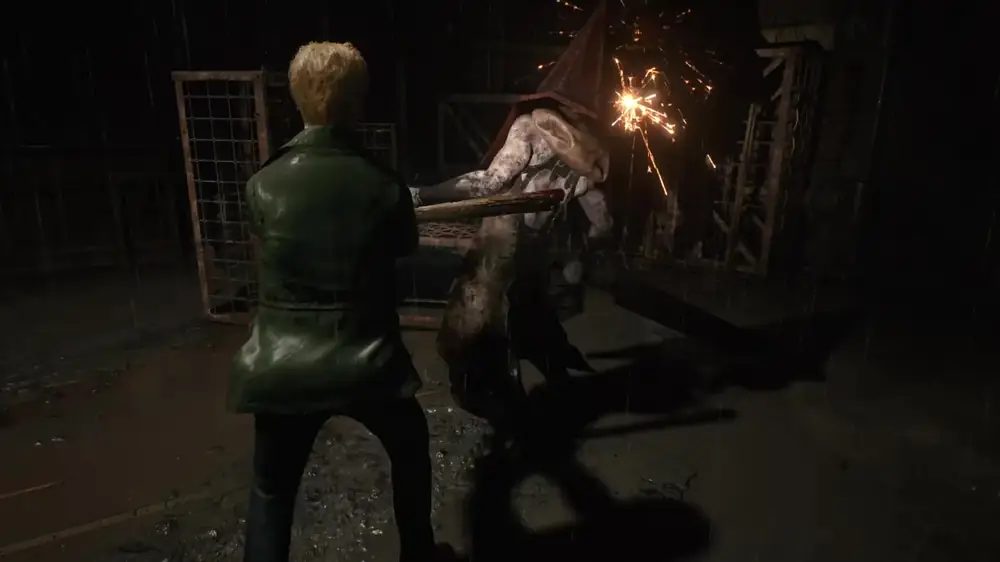
An unkillable, relentless threat. Apartment stairwell encounter: just run and survive. Final encounter (Hotel): survive for 2-3 minutes; eventually the two Pyramid Heads impale themselves on their own spears.
Boss Maria / Her Final Boss
The final boss, encountered at the end of the Hotel Otherworld. Phase 1: shoot the head. Phase 2: dodge the tentacle sweep and shoot the growth. Phase 3: dodge the Great Knife swings and finish her with sustained firepower.
General combat tips: Conserve ammo by meleeing normal enemies and stomping them when downed. Save shotgun and rifle ammo for bosses. Use the dodge mechanic liberally - it has generous i-frames and is essential for surviving boss grabs.

Collectibles

Collectible found in the environment

There are 120 collectibles in total, split across three categories. All are missable - there is no chapter select and no free-roam after the story.

  • 68 Memos - notes, letters, and documents found throughout the game.
  • 26 Strange Photos - photographs hidden in the environment.
  • 26 Glimpses of the Past - interactive environmental story moments.
WARNING: All collectibles are missable. Once you leave an area, you cannot return. Use the High Contrast Mode setting to make collectibles glow, and save frequently in new slots.

NG+ Exclusive Items

These items only appear on a New Game+ save and are required for the five NG+ endings (Rebirth, Dog, UFO, Stillness, Bliss).

Crimson Ceremony
Purpose: Rebirth (1/4)
Location: Graveyard where you meet Angela; a lone grave on the shore by a tree.
White Chrism
Purpose: Rebirth (2/4)
Location: Outside the Baldwin Mansion; on a table after Jack's Inn.
Obsidian Goblet
Purpose: Rebirth (3/4)
Location: Historical Society; in a wall crevice in the Pyramid Head painting room.
Lost Memories
Purpose: Rebirth (4/4)
Location: Lakeview Hotel Lost & Found (replaces the NG Lost & Found Note).
Blue Gem
Purpose: UFO
Location: Jewellers next to the Pet Center; smash the window, take the jewelry box.
Dog Key
Purpose: Dog
Location: Broken Key Part 1 from the Pet Center back room + Part 2 from the dog house on Katz St. Combine them.
Key of Sorrow
Purpose: Stillness
Location: Green car on Wiltse Rd after the metal gate. Need the chainsaw. Requires the In Water ending to be unlocked first.
Rusted Key + White Claudia
Purpose: Bliss
Location: Safe in Pete's Bowl-O-Rama (code 1887). Opens a chest in the Brookhaven Hospital gazebo.
Chainsaw
Purpose: Weapon
Location: Stuck in logs past the Silent Hill Ranch sign.
Toluca Postcard
Purpose: Stillness
Location: Manager's Office safe; Key of Sorrow + code 314.

Blue Gem (UFO) Steps

  1. Saul Street Apartments roof (eye graffiti).
  2. Rosewater Park pier.
  3. After the boat on Toluca Lake.
  4. Room 312.

Puzzle Solutions

Every puzzle solution in Silent Hill 2 Remake, organized by area. Many codes differ between Light and Standard difficulty. Each entry includes step-by-step instructions for both difficulty levels where applicable.

South Vale (East)

1. Neely's Bar Jukebox
Required items: Broken Vinyl Record (2 halves), Vinyl Glue, Jukebox Button, Neely's Bar Coin.

Step-by-step:
  1. Get Broken Vinyl Record half 1 from Groovy Music Shop (break window to reach backroom).
  2. Get Vinyl Glue from the same room.
  3. Get Jukebox Button from Saul Street Apartments (push shelf, get key, use on door upstairs, squeeze through gaps, search hole in wall 3 times).
  4. Get Neely's Bar Coin from Texan Cafe cash register (interact with key top right, press button bottom right).
  5. At Neely's Bar jukebox: get Broken Vinyl Record half 2.
  6. Combine both halves with Vinyl Glue.
  7. Fix the right half of the jukebox (move machinery back).
  8. Pull out the vinyl holder (3 interactable parts).
  9. Insert the repaired Vinyl.
  10. Use the Jukebox Button on the left side.
  11. Use the Neely's Bar Coin on the right side.
  12. Select record C2 to get the key.
2. Grand Market Door Code
Light: 4442
Standard: 4444
Contains medicine and ammo.

Wood Side Apartments

3. Safe in Apartment 206
Light: 15 Right, 11 Left, 13 Right
Standard: 13 Right, 7 Left, 11 Right
Contains the Coin (Man) and Steel Key.
Apartment 206 safe
Apartment 206 safe
4. Coin Puzzle
Coin locations:
  • Coin (Man): Inside safe in Apt 206.
  • Coin (Woman): Use Canned Juice on 3F garbage chute, coin drops to courtyard 1F.
  • Coin (Snake): Apt 116, cutscene, climb window to courtyard with empty pool, in baby stroller.
Light Difficulty Solution:
  1. Rotate Snake to Flower
  2. Rotate Man to Sword
  3. Rotate Flower back to Snake
  4. Switch Snake to first Slot (Sword becomes fifth)
  5. Rotate Sword back to Man
  6. Rotate Woman to Grave
  7. Switch Snake to top slot
Standard Difficulty Solution:
  1. Rotate Snake to Flower
  2. Move Woman to fourth slot
  3. Rotate Man to Sword, move to second slot
  4. Rotate all three coins, move Man to third slot
  5. Move Snake to top slot
Coin puzzle solution

Blue Creek Apartments

5. Clock Puzzle + Moth Puzzle
Door meanings: H = Hour, M = Minutes, S = Seconds

Step-by-step:
  1. Get Valve in Apt 304, use on radio in Apt 307 to get Hour Hand.
  2. Set clock to 9:00 (Hour Hand at 9) to open the H door.
  3. Inside H door: break kitchen wall, examine hole in bathroom 3 times to get Minute Hand.
  4. Set clock to 9:10 (Hour at 9, Minute at 2) to open the M door.
  5. Inside M door: solve Moth Puzzle on wall.
  6. Get Second Hand.
  7. Set clock to 9:10:15 (Hour at 9, Minute at 2, Second at 3) to open the S door on 1F.
Grandfather clock puzzle
5b. Moth Puzzle (Apt 202)
Count the moths on the wall (circular = wings, body segments = digits).
Light: 582
Standard: 373
Moth puzzle
Moth puzzle

South Vale (West)

6. Jack's Inn Safe Code
Code: 0451 (both difficulties).
Contains the Gate Key.

Brookhaven Hospital

7. Reception Office Cabinet
Light: 287
Standard: 724
Contains the Basement Key.
8. Nurse's Station Keypad
Code: 3578 (both difficulties).
Unlocks the Inner Ward door in the lobby.
9. X-Ray Puzzle + D1 Door
Step-by-step:
  1. Collect 3 X-Rays from the X-Ray Room.
  2. Get the 4th X-Ray from the bathtub in the Nurse's Station.
  3. Clean the moldy X-Ray with Mold Remover (found in the Kitchen).
  4. Place all 4 X-Rays on the viewer.
  5. Rotate each X-Ray to align the markings.
  6. The combined image reveals the safe code.
Safe Code: 4 Right, 37 Left, 12 Right (both difficulties)
Room D1: interact with the bed to get the Filthy Bracelet.
X-ray puzzle
X-ray puzzle
X-ray viewer detail
X-ray viewer detail
10. 3 Bracelets (Director's Office)
Place the bracelets on the mannequin hand in this order:
Bloodstained Bracelet: Top
Marked Bracelet: Mid
Filthy Bracelet: Bottom

Rotate to code: 92-45-71
Bracelet puzzle
Bracelet puzzle
Bracelet solution detail
11. Director's Safe (symbol sequence)
Enter the symbols in this exact order:
  1. Triangle in Circle
  2. h (lowercase)
  3. Circle with Arrow
  4. Circle with Dot
  5. Stickman with Horns
  6. Circle with Lines
Contains the Rooftop Key.

Brookhaven Hospital (Otherworld)

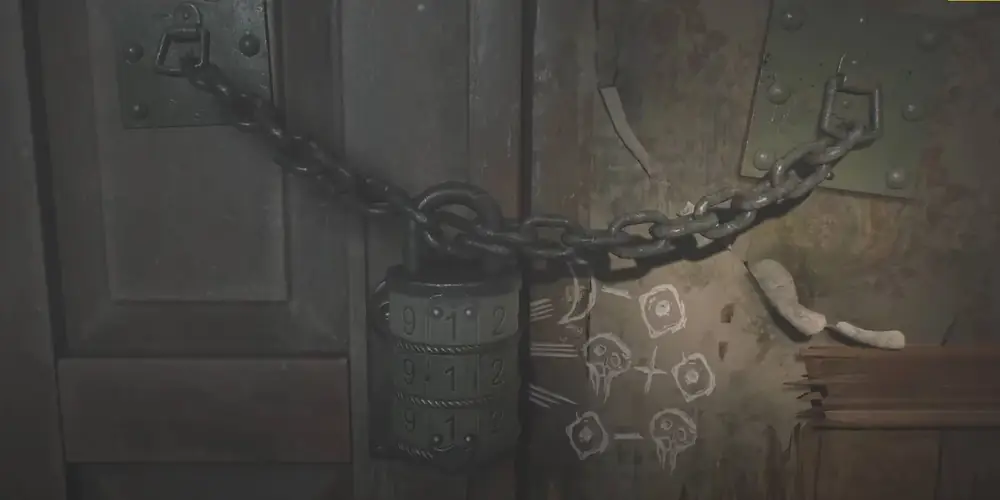
12. Chained Box - Left Lock
Standard: 1622
(Not present on Light difficulty)
13. Chained Box - Right Lock
Code: 9659 (both difficulties).
14. Pharmacy Jeweled Box
Rotate the sections to align:
Q1 = 2
Q2 = 3
Q3 = 1

Silent Hill Historical Society

15. Bug Room Code
The code comes from the non-blood-spattered numbers on the wall (2, 3, 9).
The exact combination is randomized. Try all permutations:
239, 293, 329, 392, 923, 932
Bug room code
Bug room code

Toluca Prison

16. Witness Room
Press all the switches so they stay on simultaneously, then pull the lever. This causes a power failure, unlocking the cells and granting access to the Death Chamber.
Electric chair
Electric chair
17. Scales Puzzle (4 configurations)
There are 5 weights: Heaviest, Heavy, Medium, Light, Lightest.

Configuration 1 (Serpent Door): Heaviest on right, Lightest on left.
Configuration 2 (Ox Door): Heaviest + Lightest on left, Medium on right.
Configuration 3 (Boar Door): Lightest on left, all others on right.
Configuration 4 (Dove Door): Medium on right, all others on left.
Final (Execution Lever): Equal weights on both sides (3 weights each).
Scales puzzle
Scales puzzle
18. Hangman Puzzle
Read the poem on the wall and connect the lines that rhyme. Pull the noose corresponding to the crime committed without malicious intent - the crime of passion/mercy rather than premeditated murder.

Note: The poems vary each playthrough, so read them carefully and match rhyming pairs.

Labyrinth

19. Rotating Cube Puzzle (3 stages)
Stage 1: Spin sideways and up/down until the door lines up with the floor. Spin to the door with two Triangle icons.

Stage 2: Spin to the face with 2 infinity icons. Go up the right stairs.

Stage 3: Rotate up twice (scratched symbols below the door). Go downstairs for the Strange Photo. Rotate left twice to the face with two downward triangles. Exit through the back.

Lakeview Hotel
20. Reading Room Books
Place the 4 books on the shelf in this order (top-left to bottom-right):
  1. Revelations
  2. The One Who Soared
  3. Stalwart to the End
  4. Pride Before the Fall
Book puzzle
Book puzzle
21. Suitcase Code
Light: DARK WISH
Standard: DEED DONE
Found in the Reading Room 2F hidden room after placing the Red Light Bulb on the mirror.
22. Mirror Puzzle (Snow White)
Fix the mirror using the Mirror Shards. Then place an apple on the Snow White figurine:
Ripe Apple = Maria ending
Rotten Apple = In Water ending
23. Gemstone Puzzle
Place gemstones on the puzzle box in these positions:
Green = Top Left
Red = Top Right
Blue = Bottom Left
24. Employee Safe (Break Room)
Code: 7414 (both difficulties).
Contains the Video Tape and Basement Key.
25. Music Box Puzzle
Figurine placement:
Little Mermaid = Top
Cinderella = Right
Snow White = Left

Light: Key 1 = 7 times, Key 2 = 2 times, Key 3 = 1 time
Standard: Key 1 = 7 times, Key 2 = 5 times, Key 3 = 1 time
Music box puzzle
Music box puzzle

NG+ Only

26. Pete's Bowl-O-Rama Safe (NG+)
Code: 1887 (both difficulties).
Contains the Rusted Key (required for the Bliss ending).
27. Manager's Office Safe (NG+)
Requires the Key of Sorrow + code 314.
Contains the Toluca Postcard (required for the Stillness ending).

The Key of Sorrow is found in the green car on Wiltse Rd (past the metal gate, requires the chainsaw). You must first unlock the In Water ending before this item appears.

Achievements / Trophies

Trophy earned
Trophy earned

There are 44 trophies in Silent Hill 2 Remake (including the Platinum). Below they are organized by category. Story trophies are unmissable; collectible and ending trophies are missable.

Story (Automatic)

  • No Turning Back Now
  • Enjoy Your Stay
  • Nice and Cozy
  • Otherworldly
  • Passed
  • Uncanny
  • Admitted
  • Into the Abyss
  • Glimmer of Hope
  • Truly Special

Combat

  • Nightmare Fuel - Defeat Flesh Lip (Blue Creek Apartments boss).
  • Unforgivable - Defeat Abstract Daddy (Hospital boss).
  • A Human Being - Defeat Eddie (Historical Society boss).
  • That Part of Me - Defeat the final boss.
  • Alone Again - Story-related combat milestone.
  • Merciless - Stomp 50 downed enemies.
  • No Big Deal - Defeat 75 enemies with ranged weapons.
  • Blunt Force Trauma - Defeat 75 enemies with melee weapons.
  • James of All Trades - Kill at least one enemy with each weapon type.
  • Shattered - Break 50 windows.
  • You Never Know - Open 50 locked doors.

Collectibles (Missable)

  • Pieces Unarranged - Collect all 26 Strange Photos.
  • Archivist - Collect all 68 Memos.
  • Echoes - Find all 26 Glimpses of the Past.

Endings (Missable)

  • Making Peace - Unlock the Leave ending.
  • Vicious Circle - Unlock the Maria ending.
  • Only Way Out - Unlock the In Water ending.
  • Defy Even Death - Unlock the Rebirth ending (NG+).
  • The Goodest Boi - Unlock the Dog ending (NG+).
  • Tinfoil Hat - Unlock the UFO ending (NG+).
  • Party Like It's 2001 - Unlock all endings.

Miscellaneous

  • Let's NOT Party! - Shoot all 11 balloons in Wood Side Apartments Apt 207.
  • All Seems in Order - Inspect the damaged wall in Jack's Inn Room 106.
  • Leftovers - Find the pizza at Pete's Bowl-O-Rama.
  • Scourge of Toluca Lake - Spend 10 minutes on the lake (boat section).
  • It's Bread - Examine the bread trays in the Hotel Kitchen.
  • Obsolete - Survive the dual Pyramid Head fight in the Hotel lobby.
  • Lumberjack - Find the chainsaw (NG+, past the Silent Hill Ranch sign).
  • Radio Silence - Complete the game with the radio turned off.
  • Faster Than Fog - Complete the game in under 10 hours.
  • As Close As You Like - Complete the game on the hardest difficulty.
  • I Saw That Town - Complete a New Game+ playthrough.

More 100% guides

Heartworm guideHeartwormRetro Survival HorrorResident Evil 4 Remake guideResident Evil 4 RemakeSurvival HorrorElden Ring guideElden RingOpen-World Action RPGParasite Eve guideParasite EveSurvival Horror RPGDevil May Cry 2 guideDevil May Cry 2Stylish ActionDark Cloud 2 guideDark Cloud 2Action RPGBaba Is You guideBaba Is YouPuzzle

Prefer to watch it?

Every puzzle and boss on this site is also solved on video — no commentary, straight to the answer.

Subscribe on YouTube