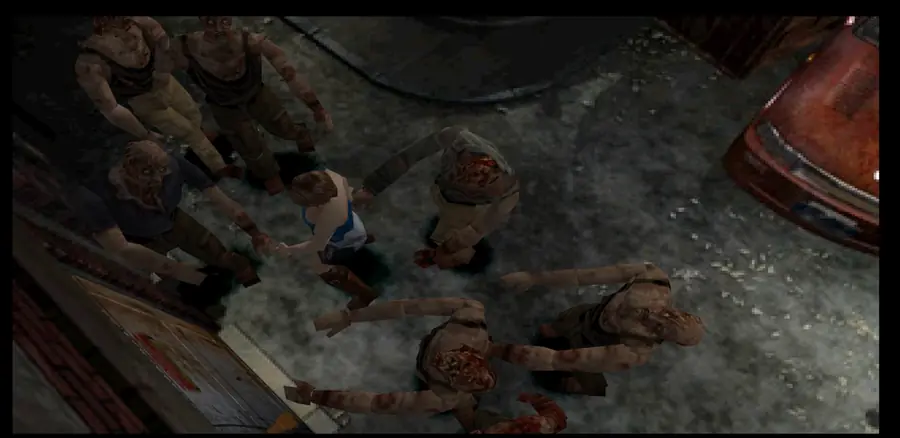
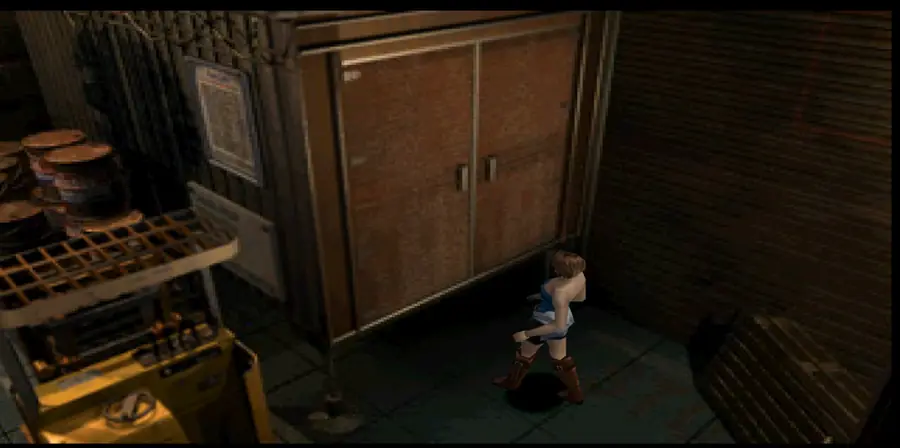
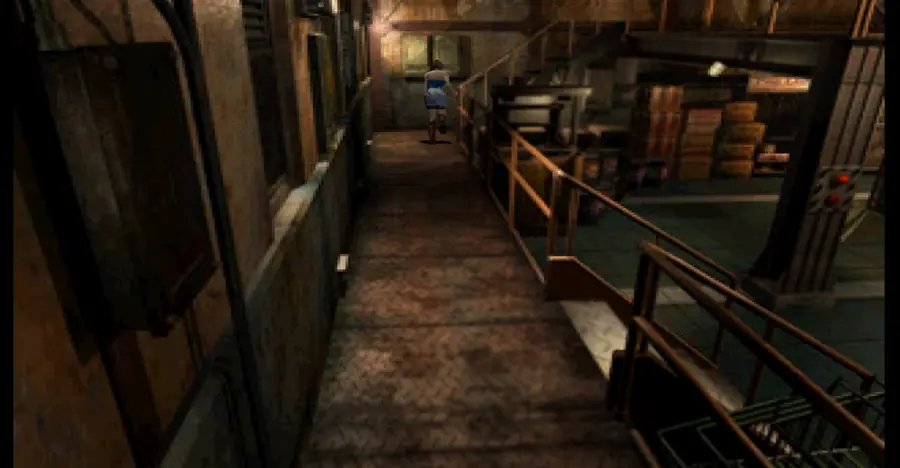
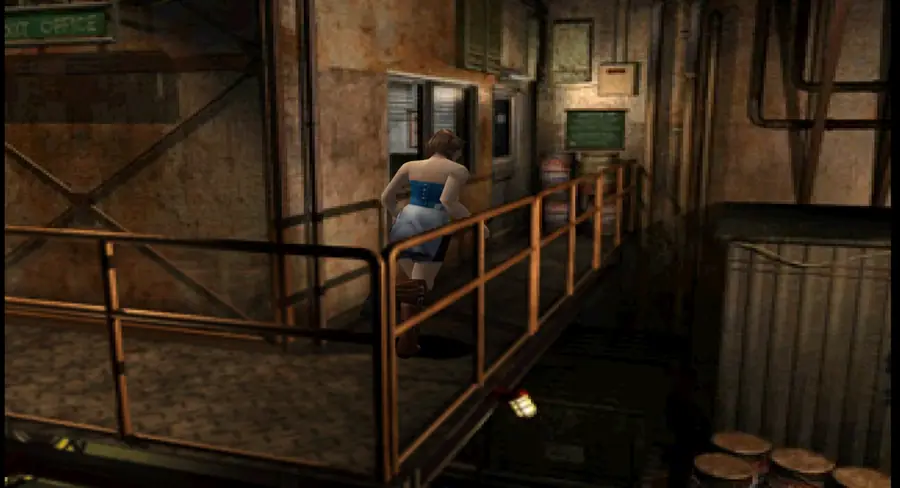
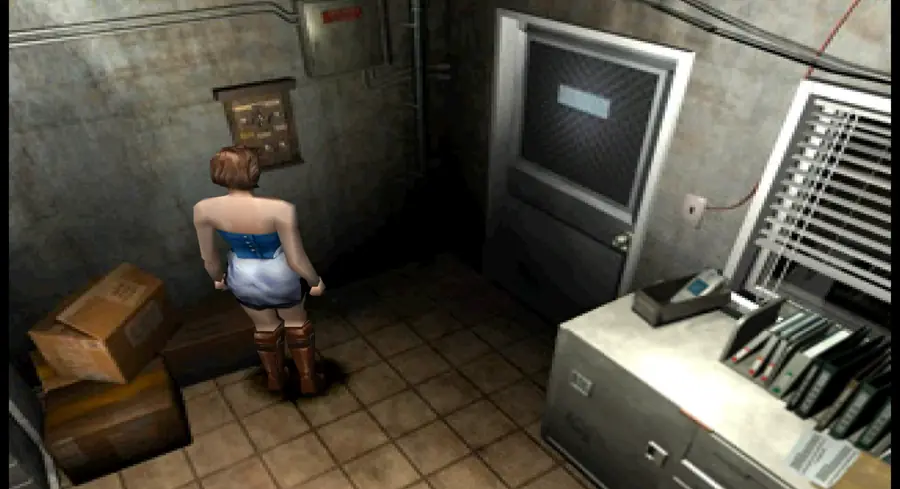
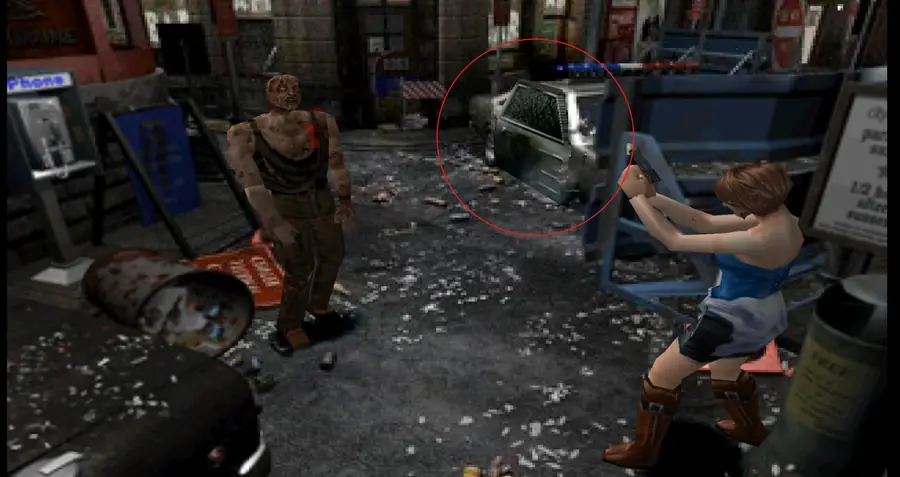
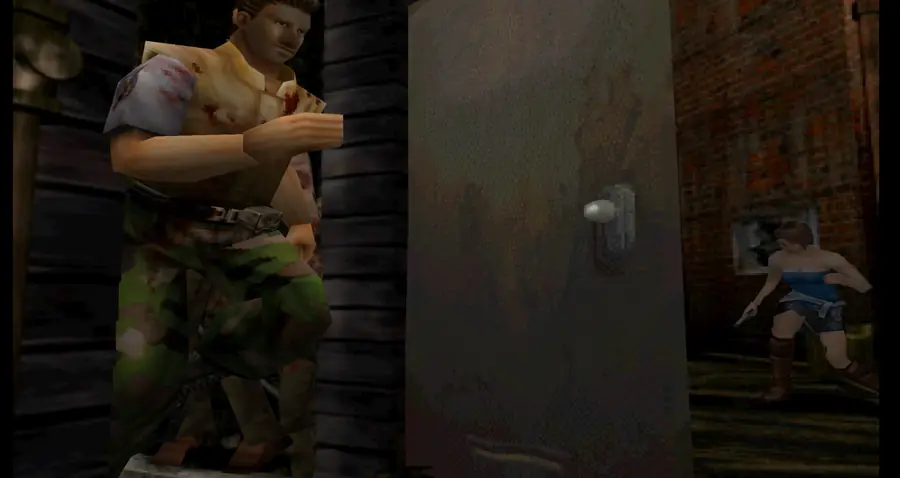
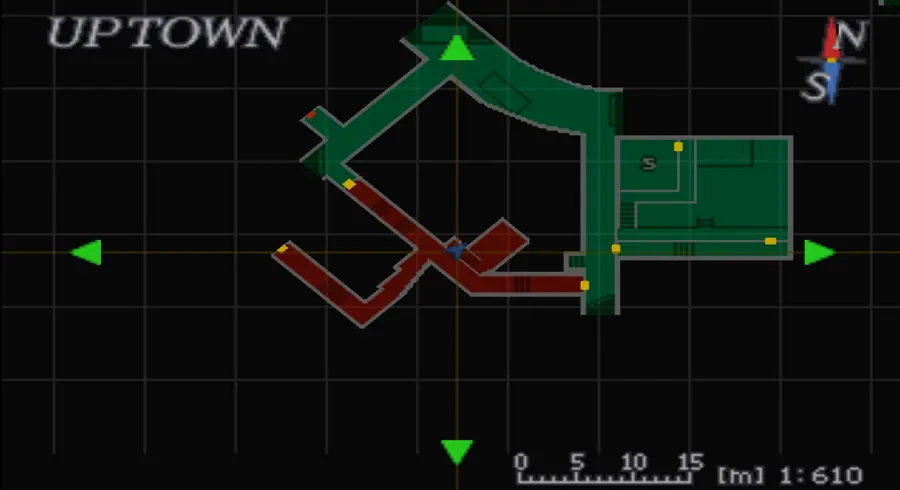
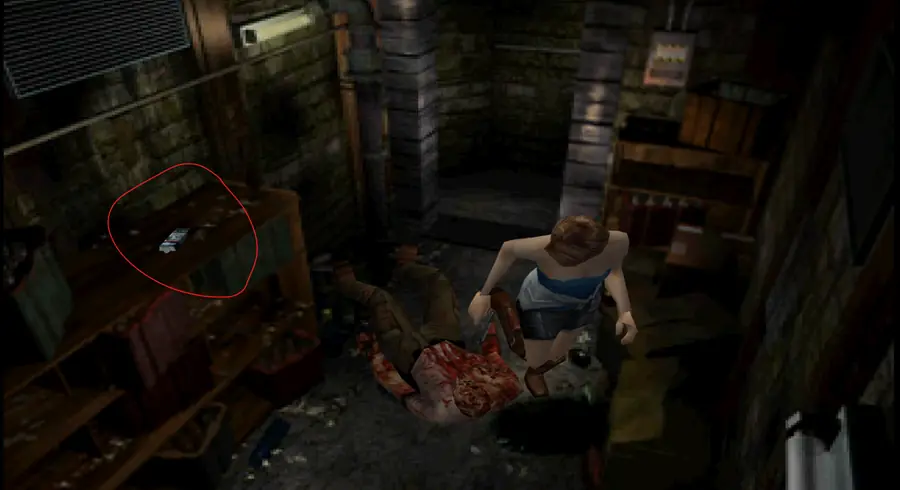
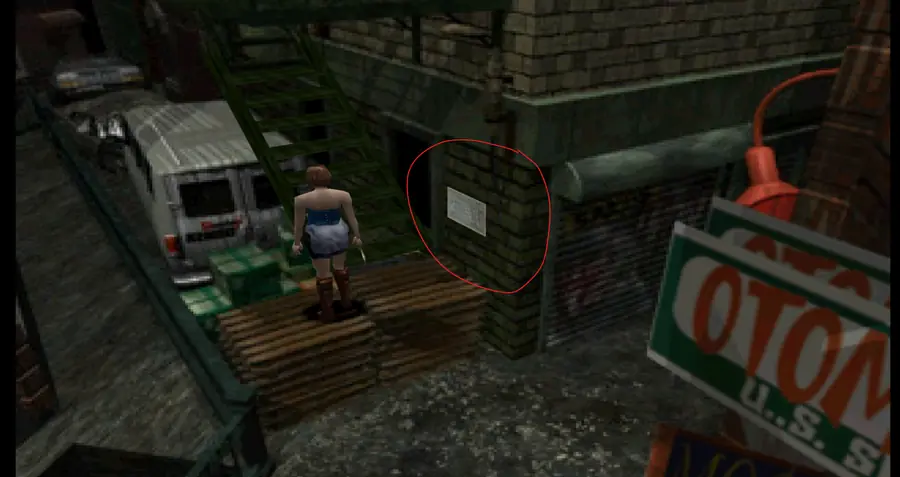
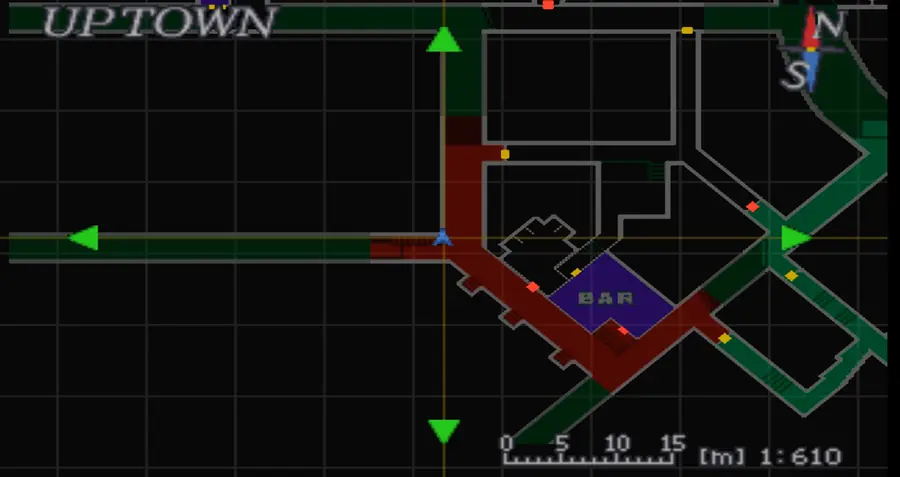
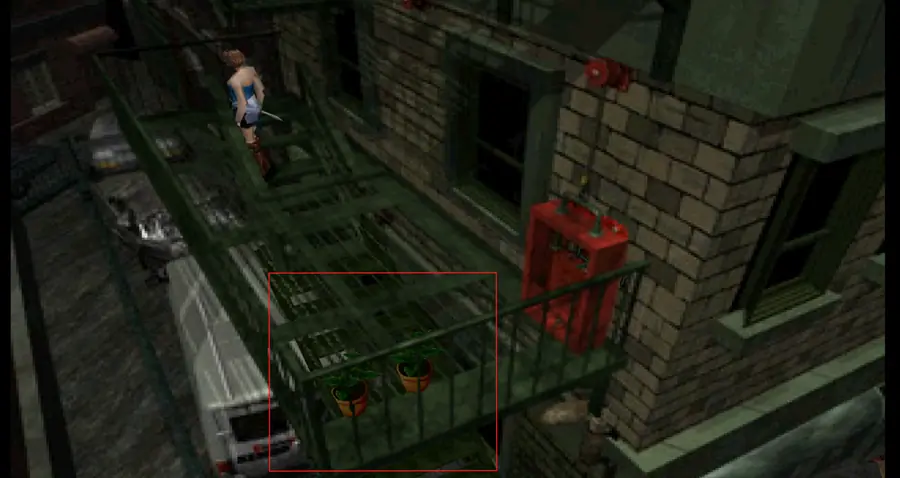
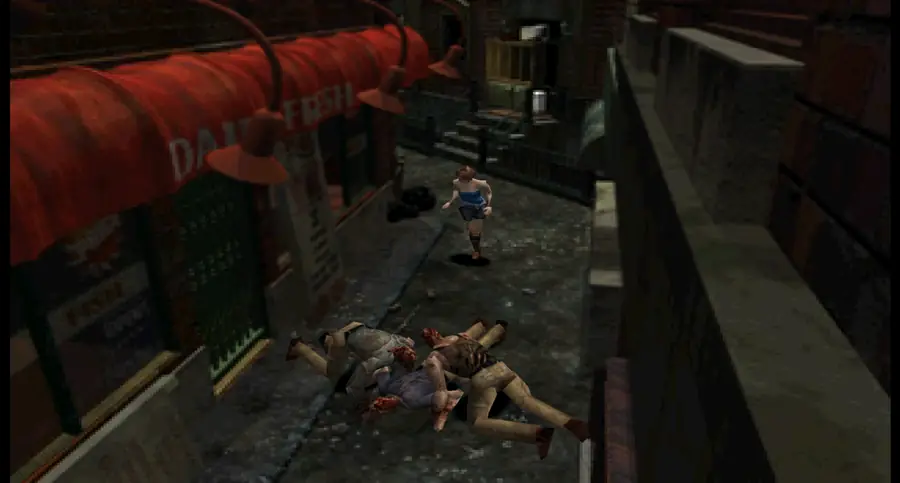
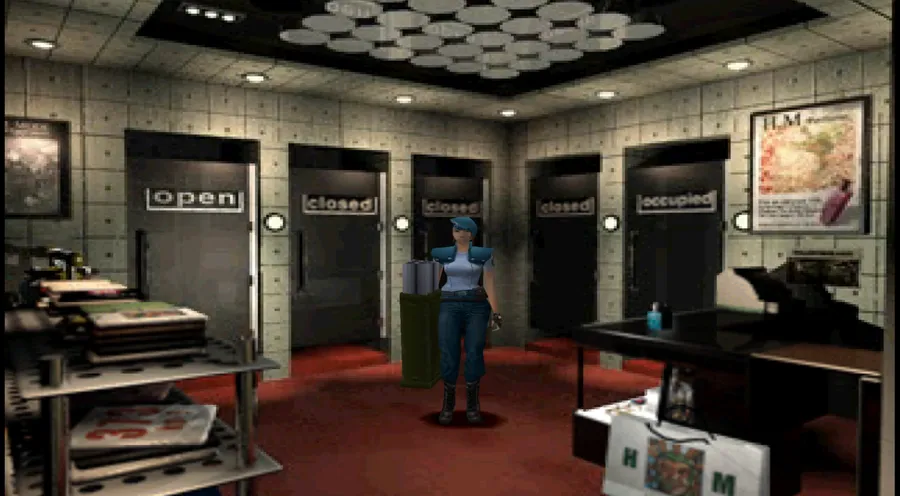
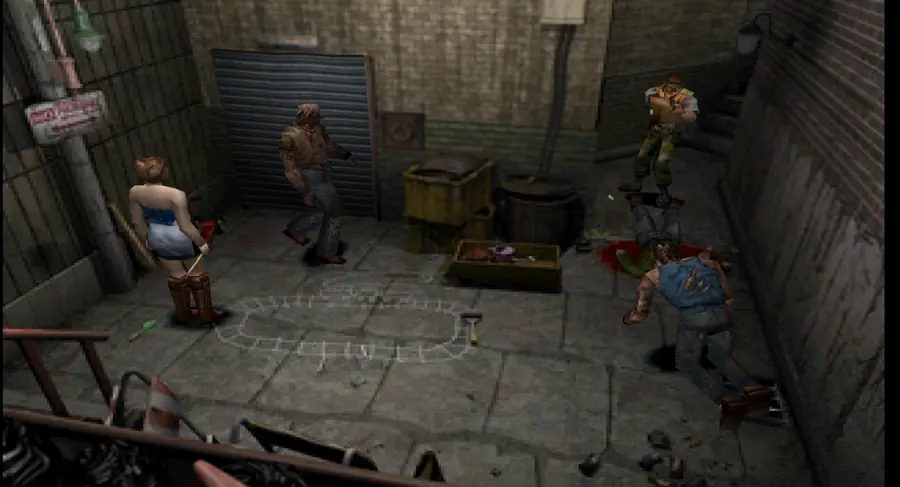
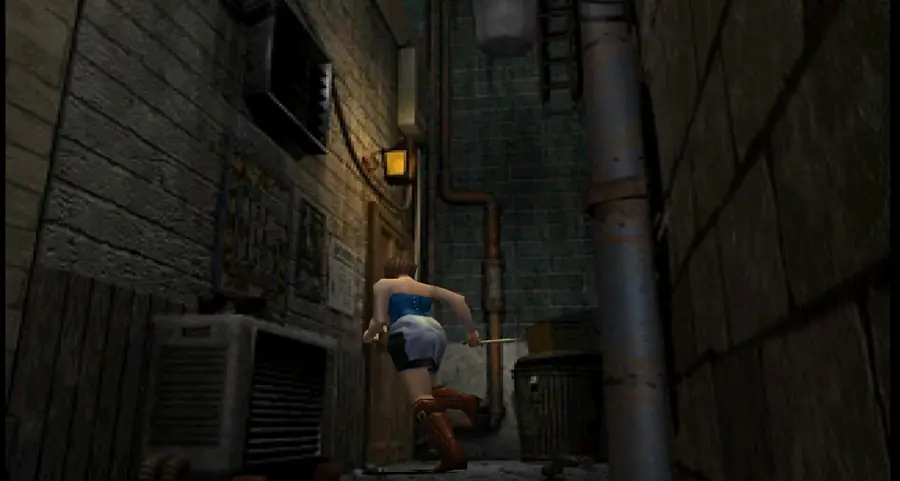
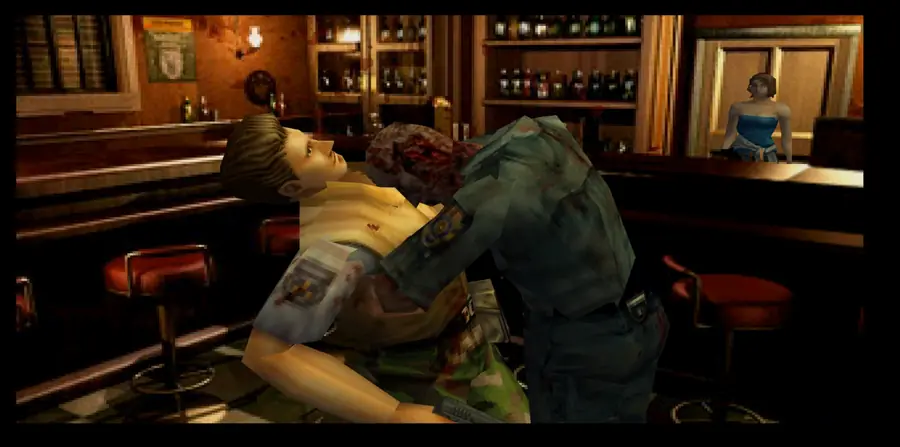
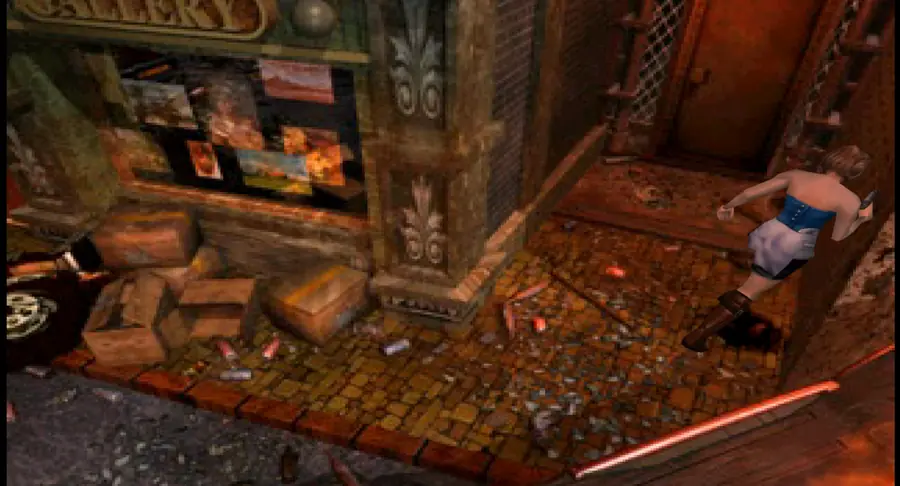
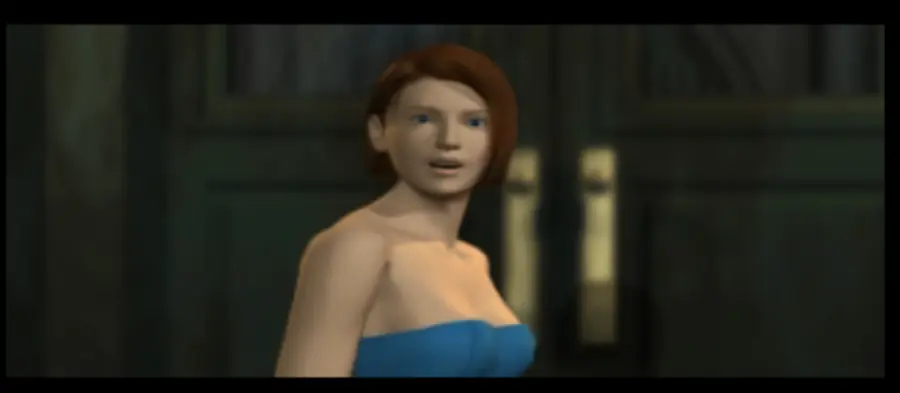
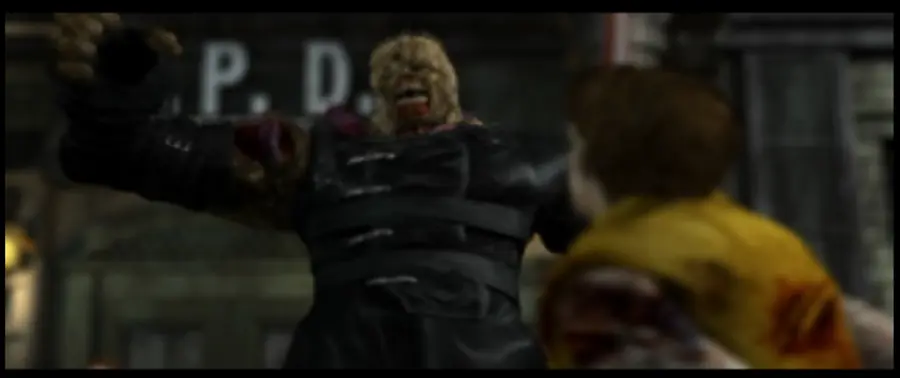
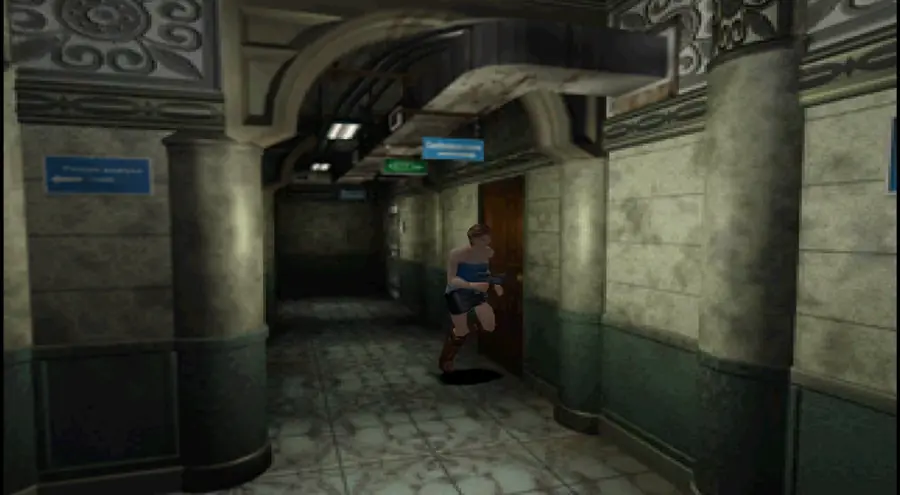
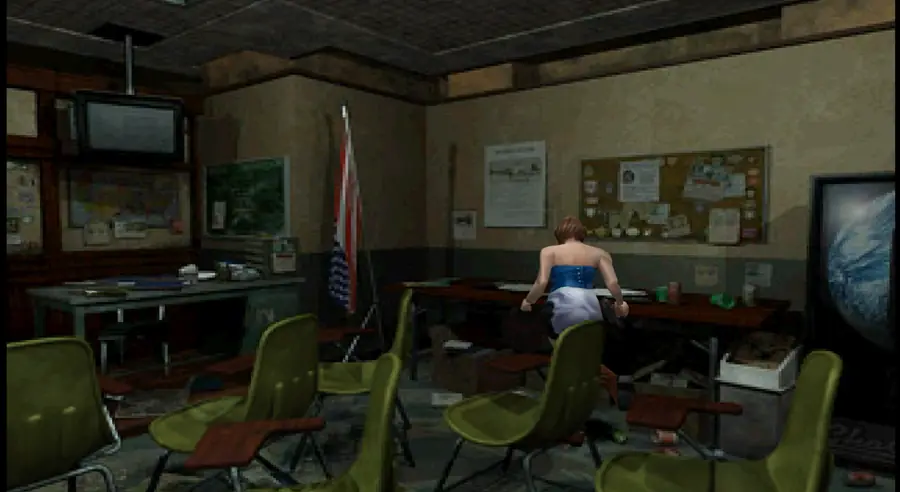
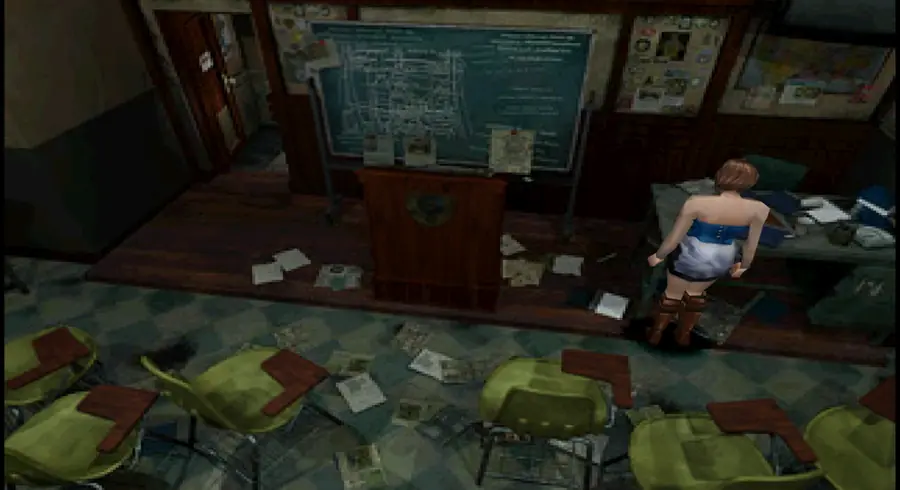
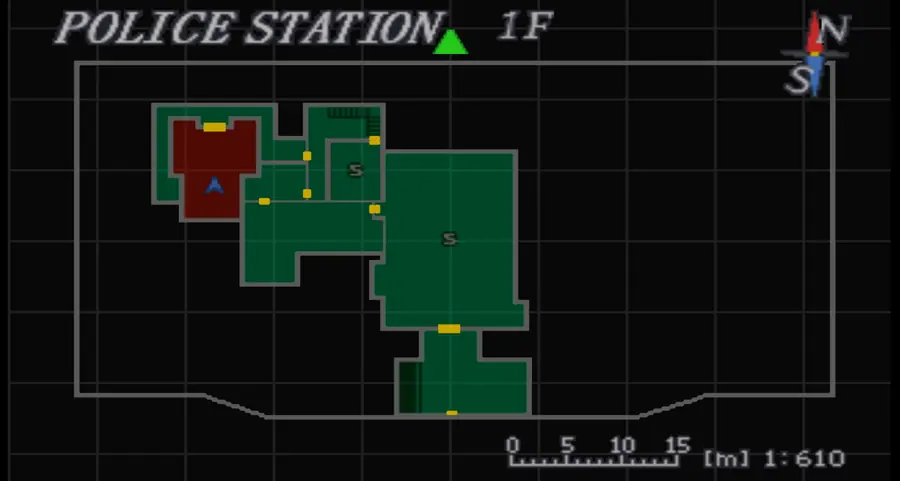
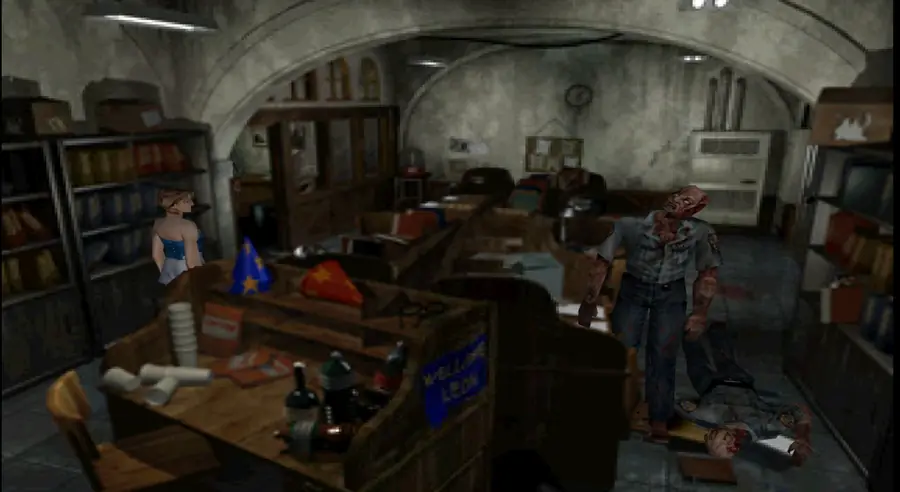
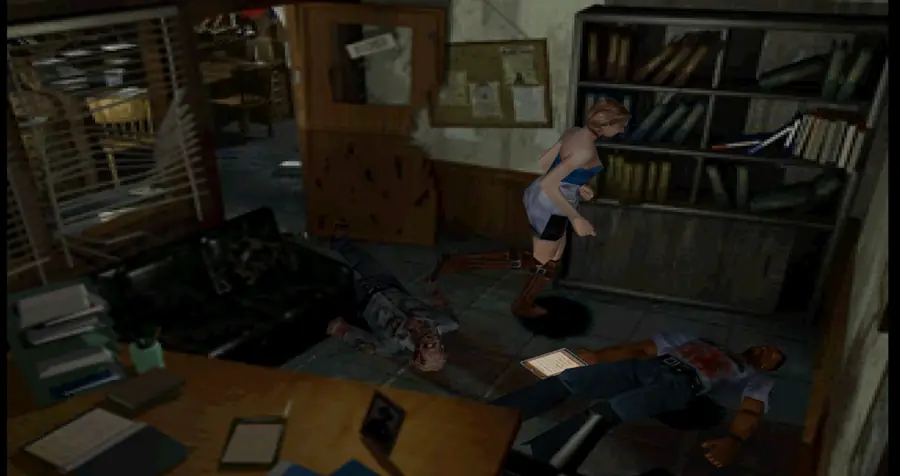
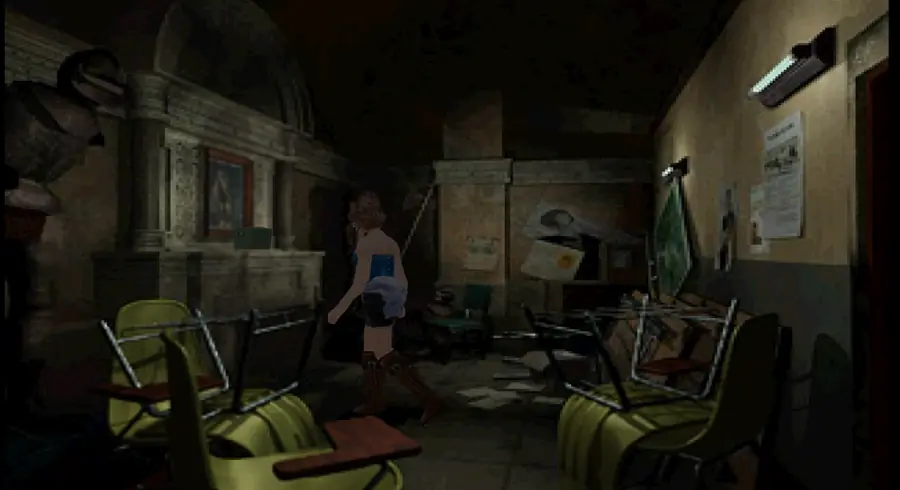
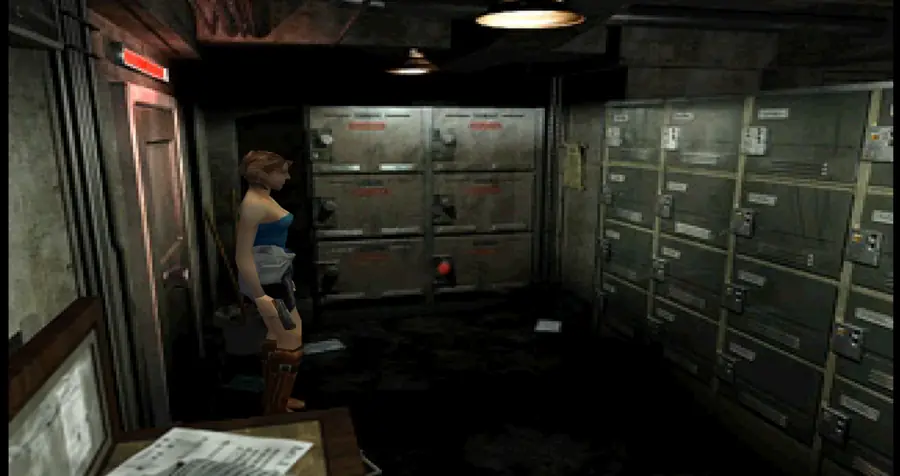
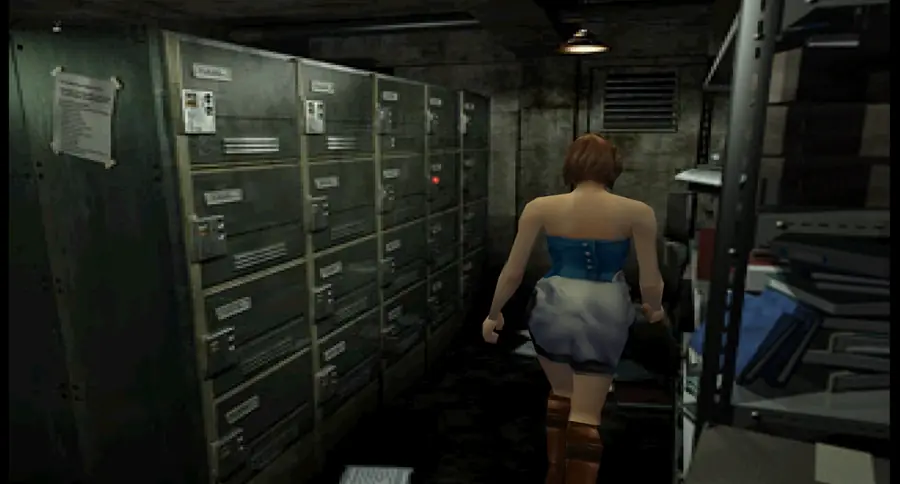
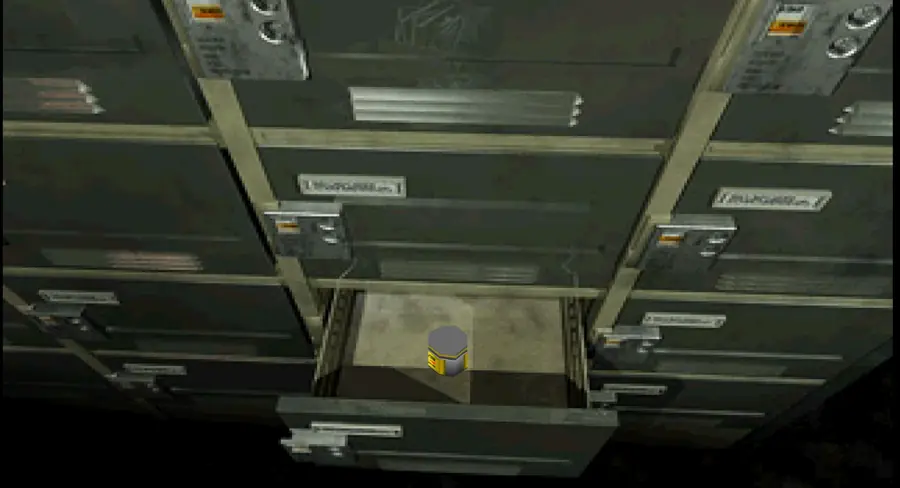
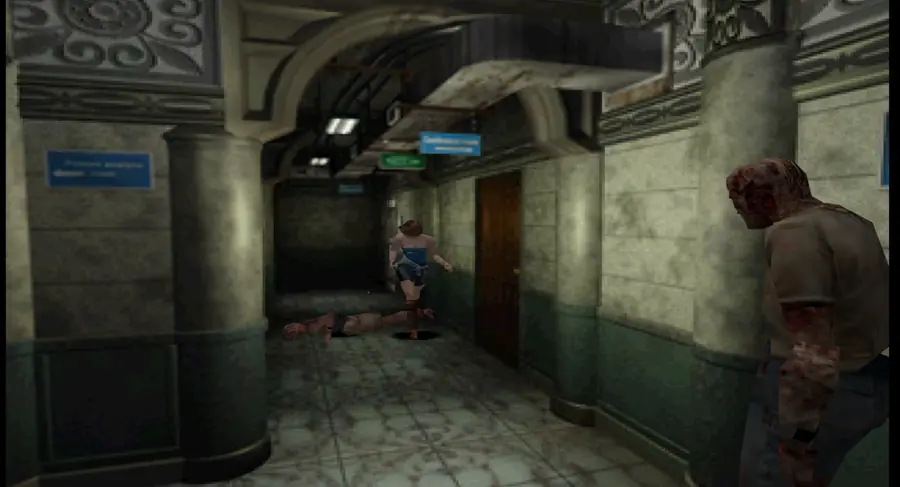
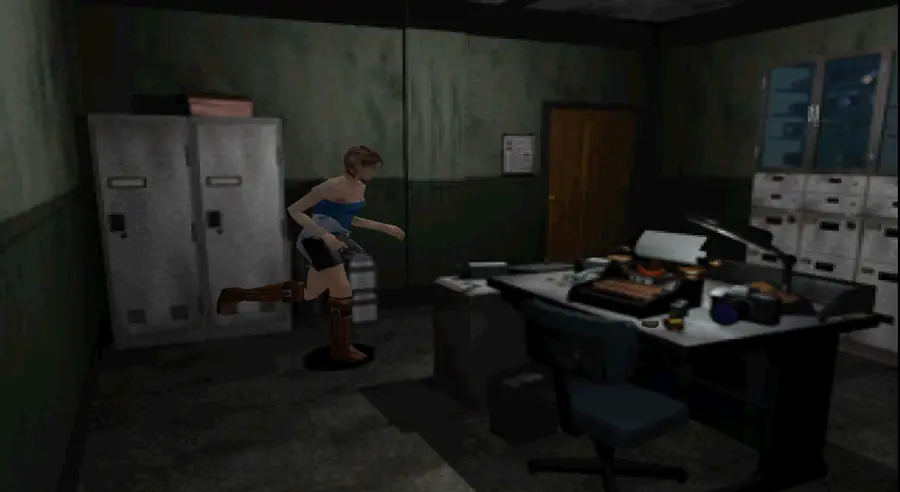
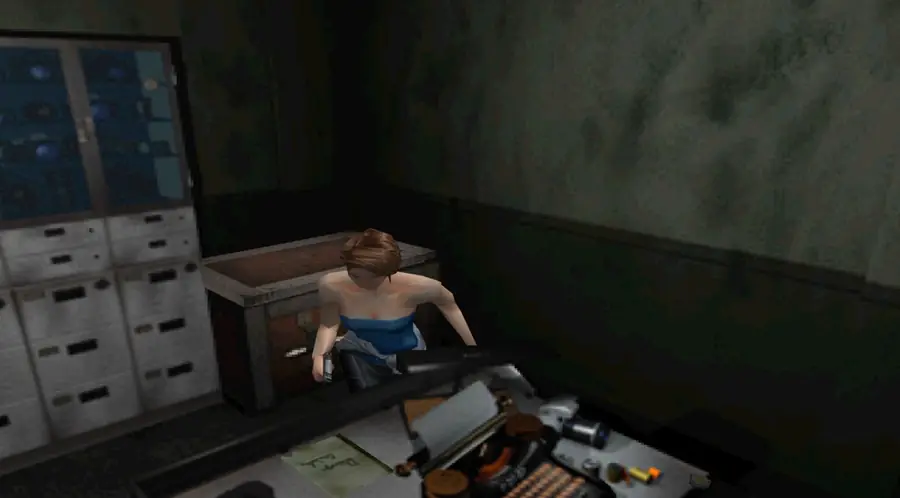
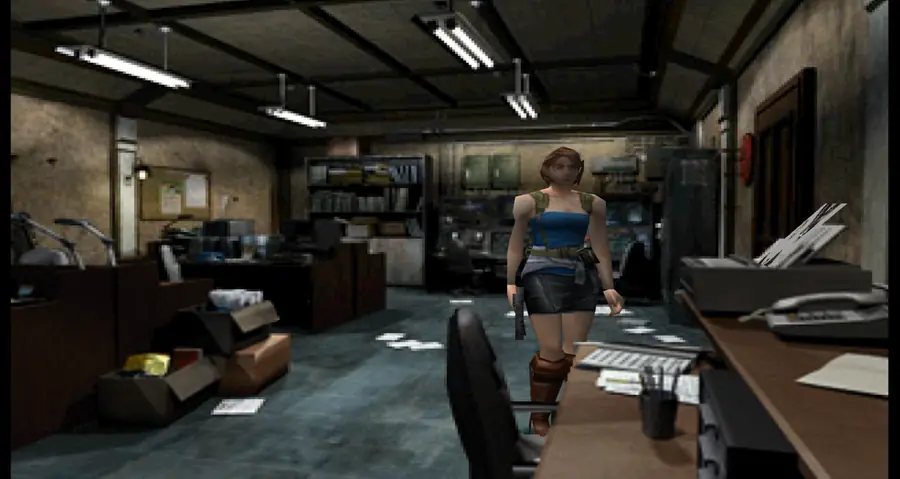
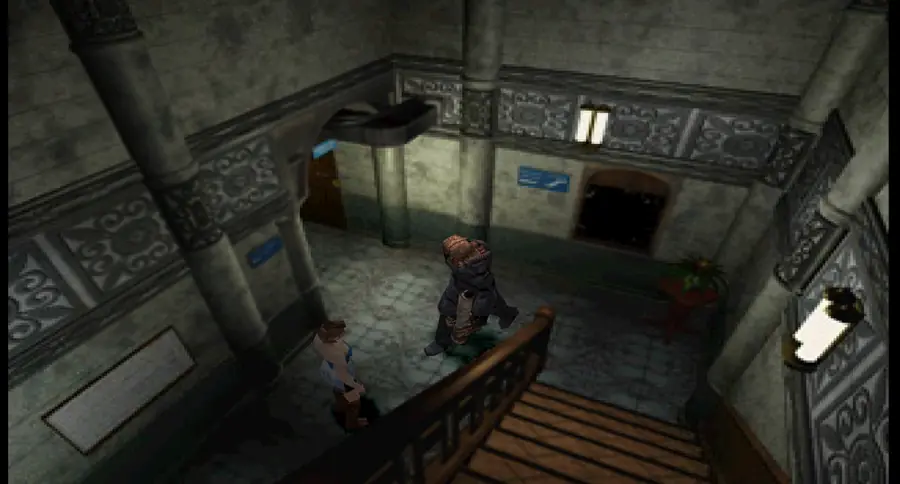
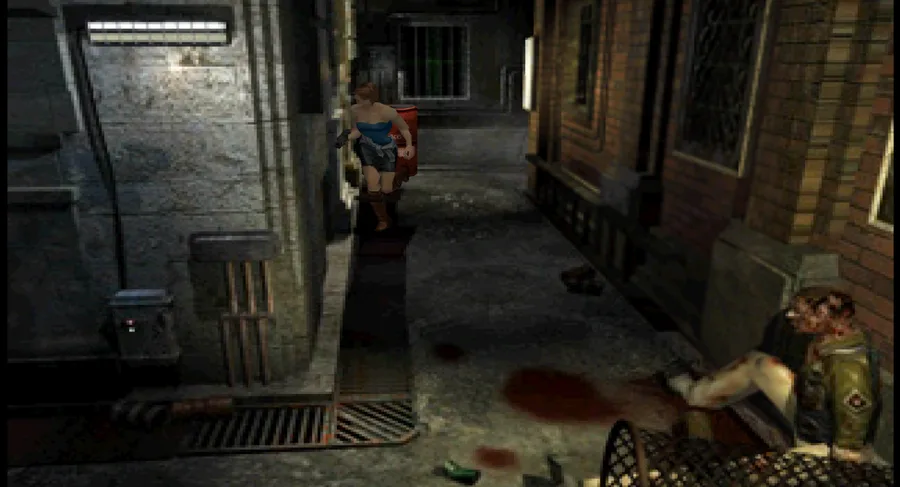
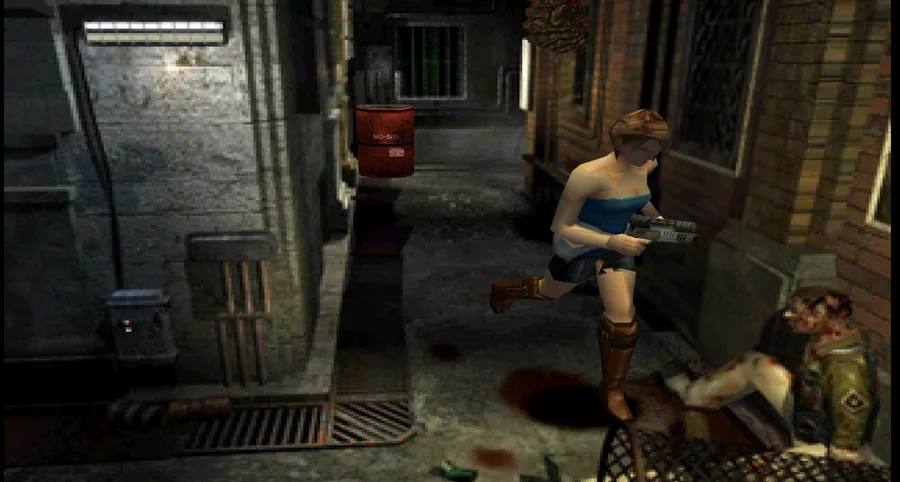
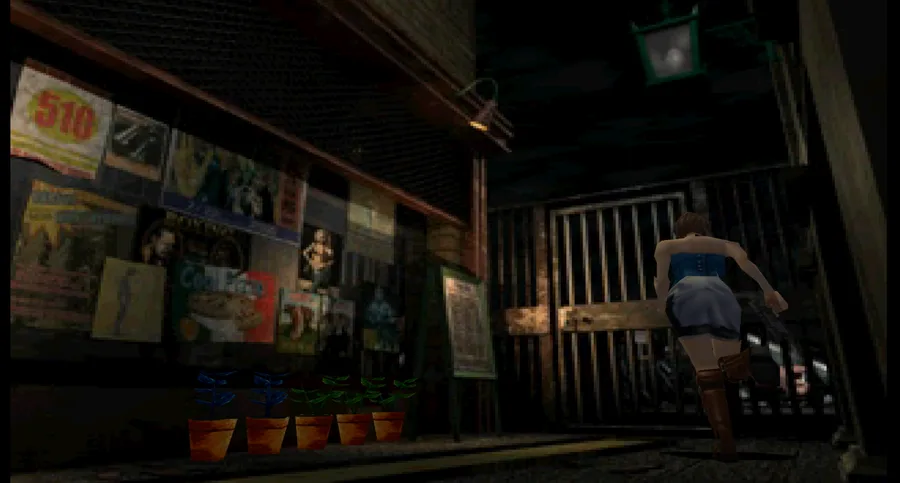
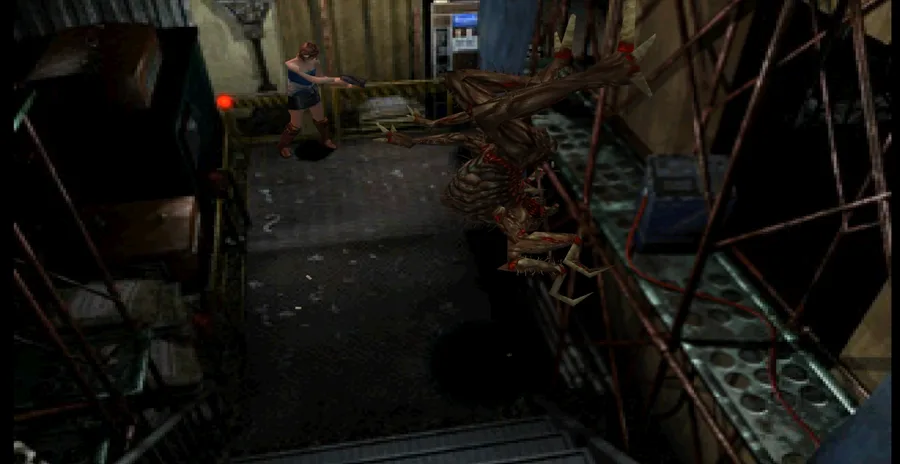
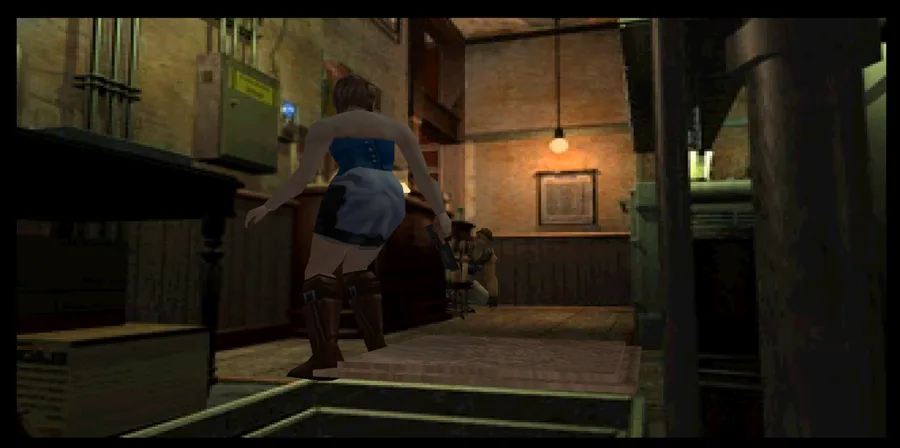
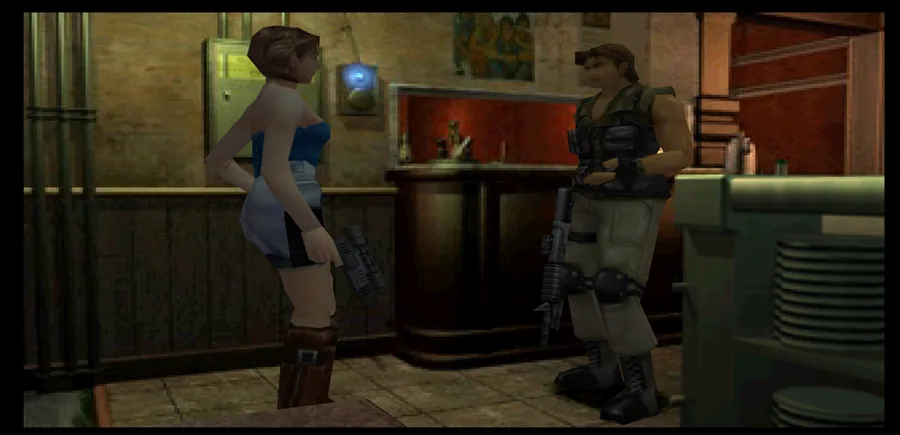
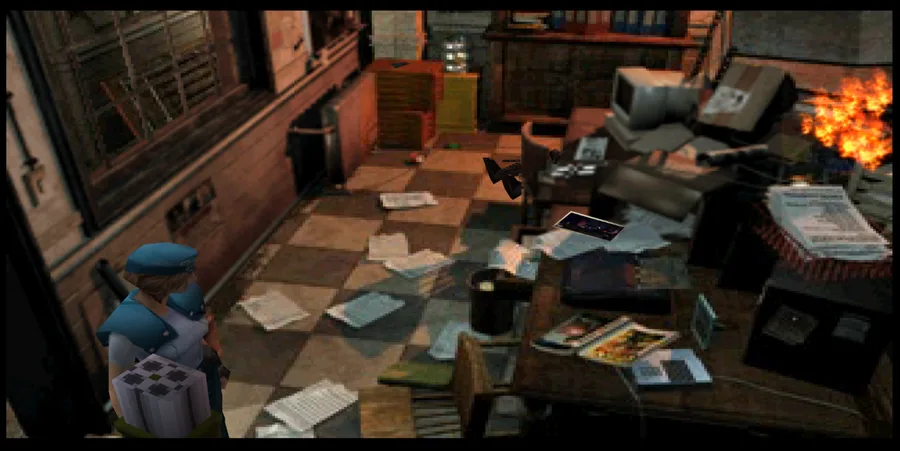
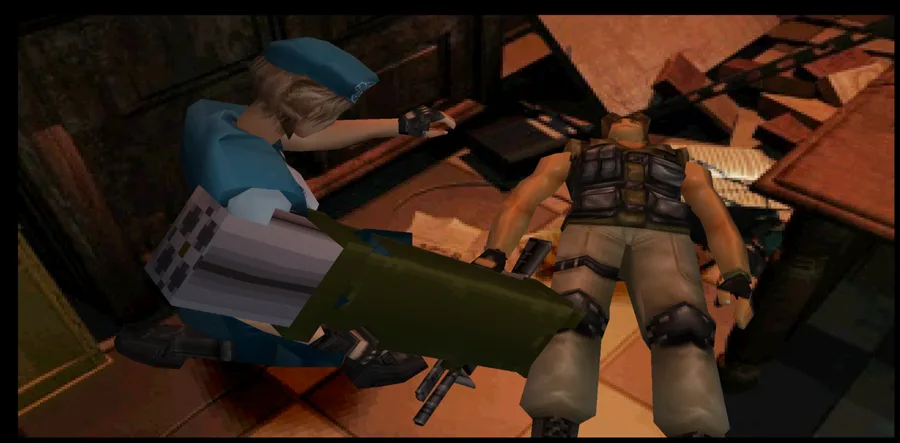
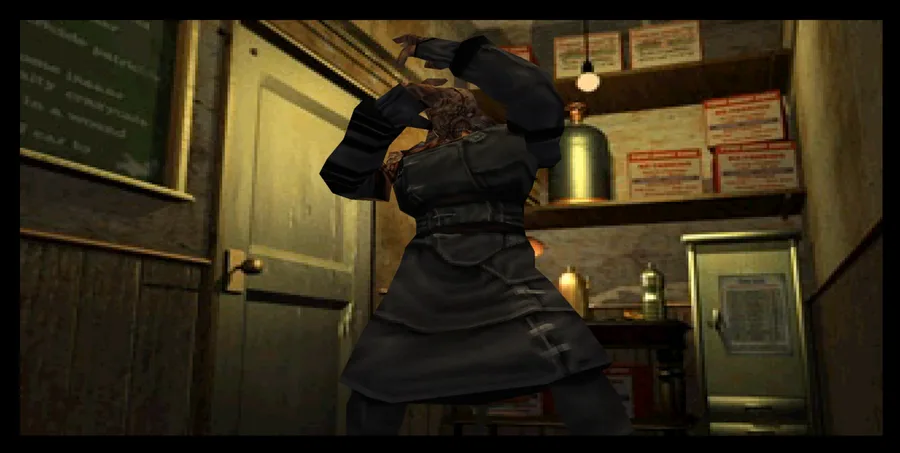
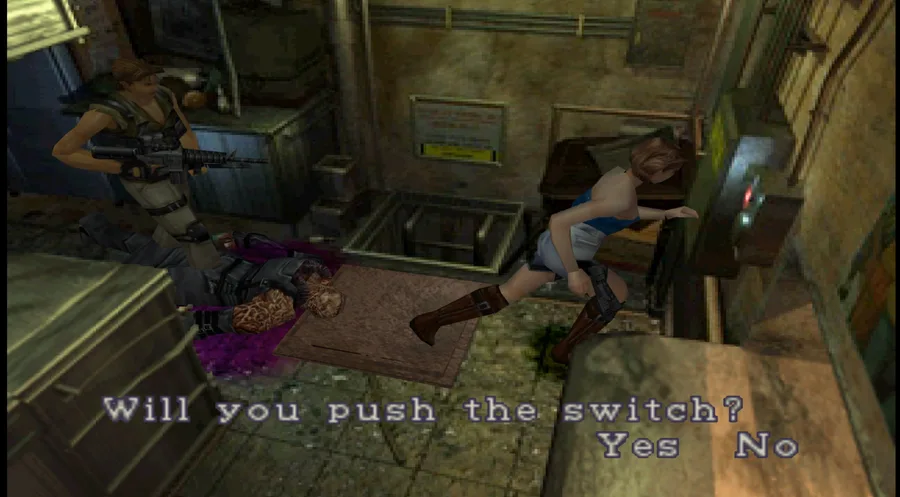
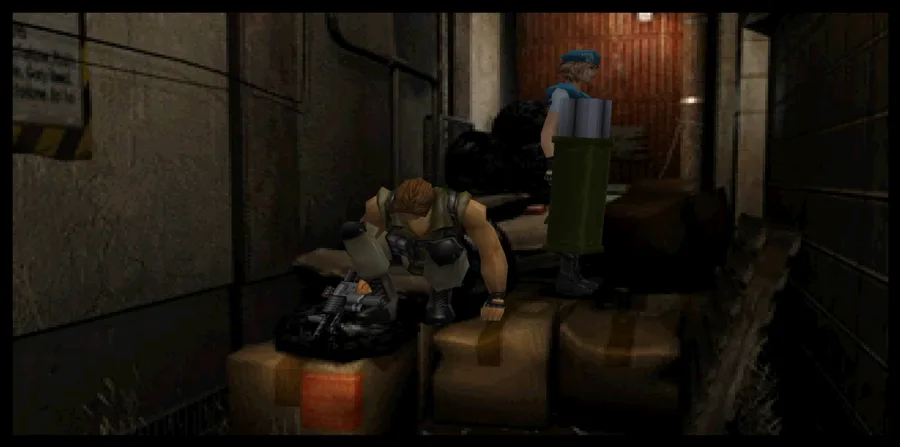
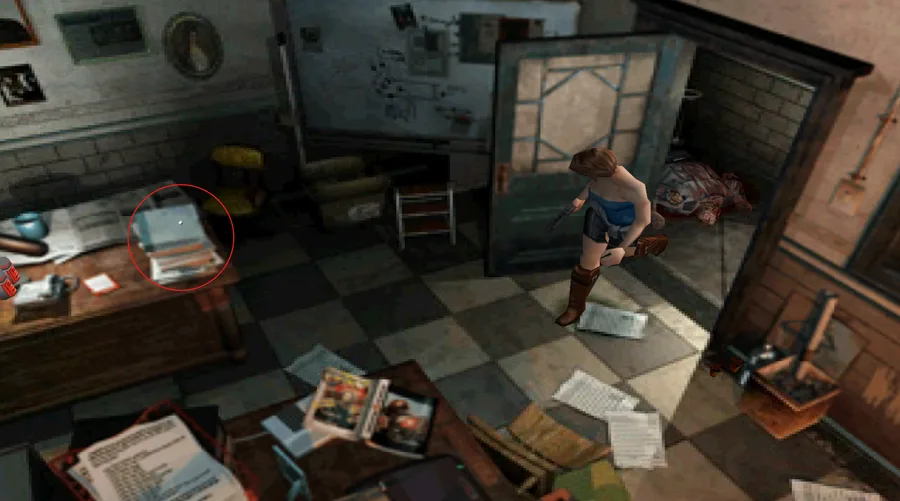
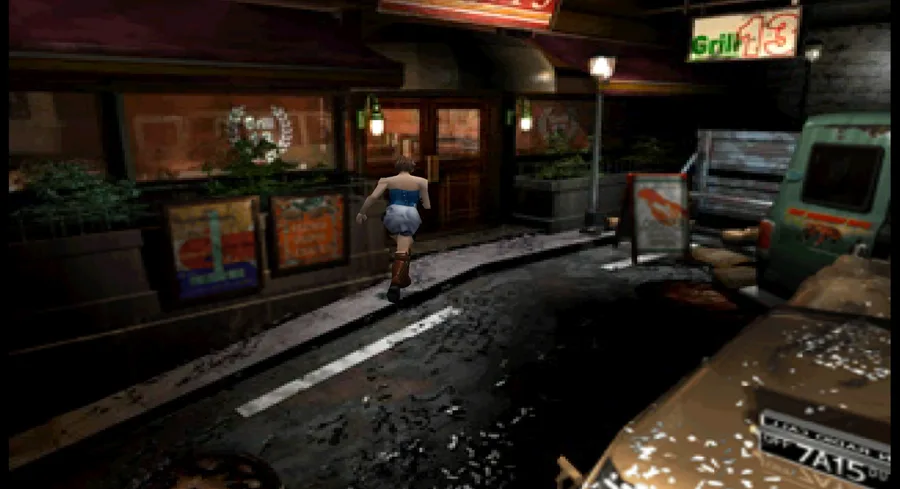
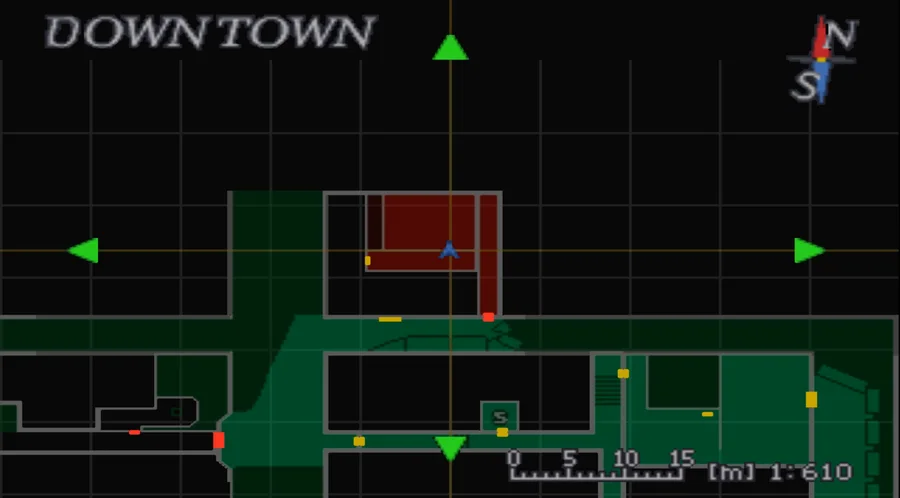
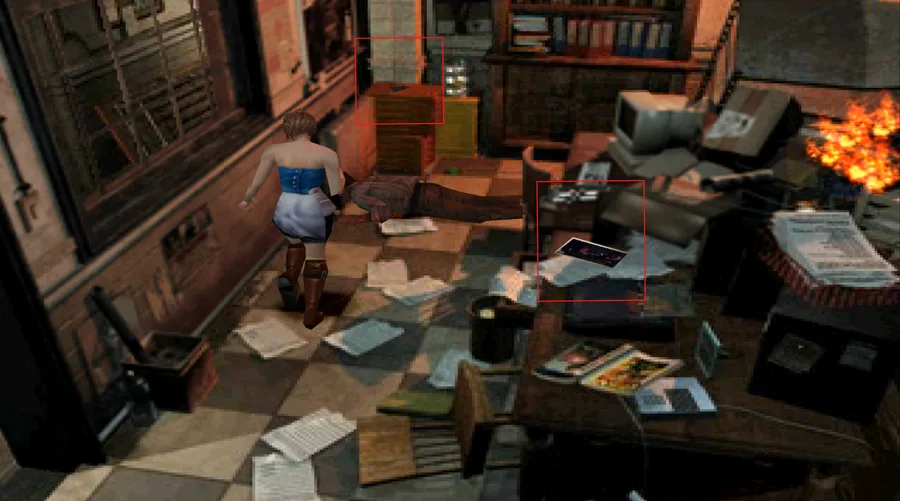
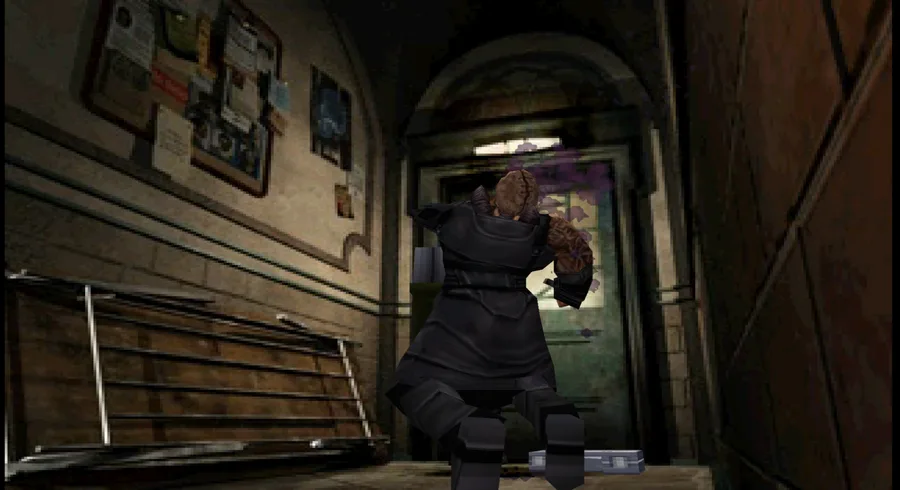
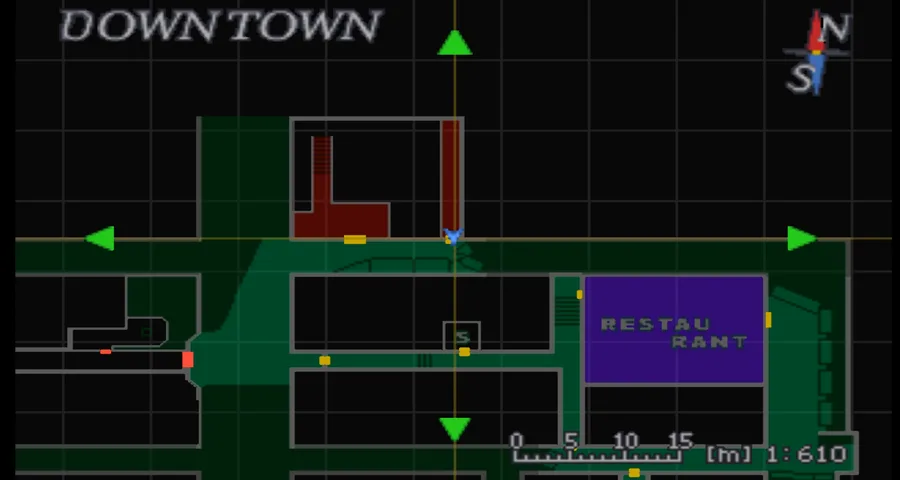
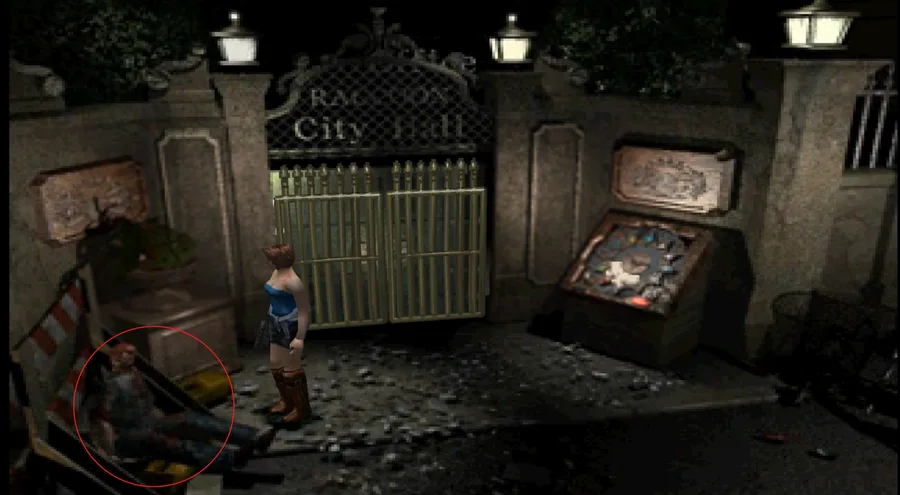
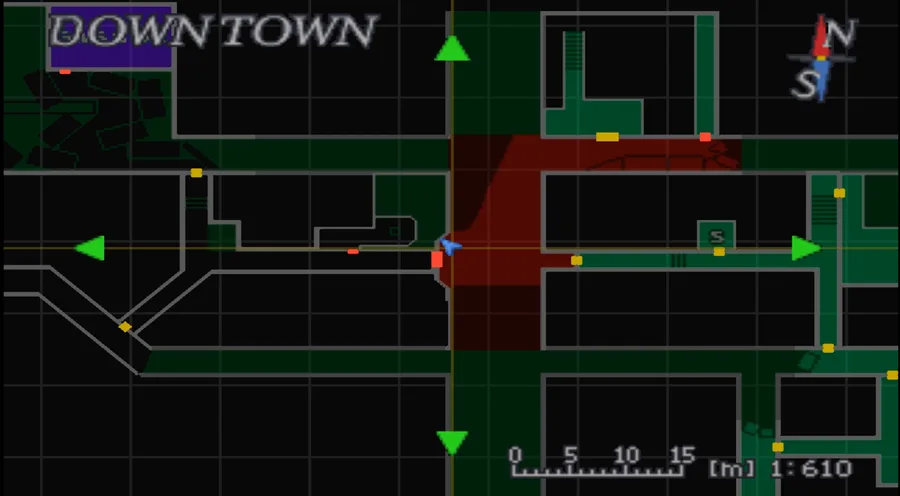
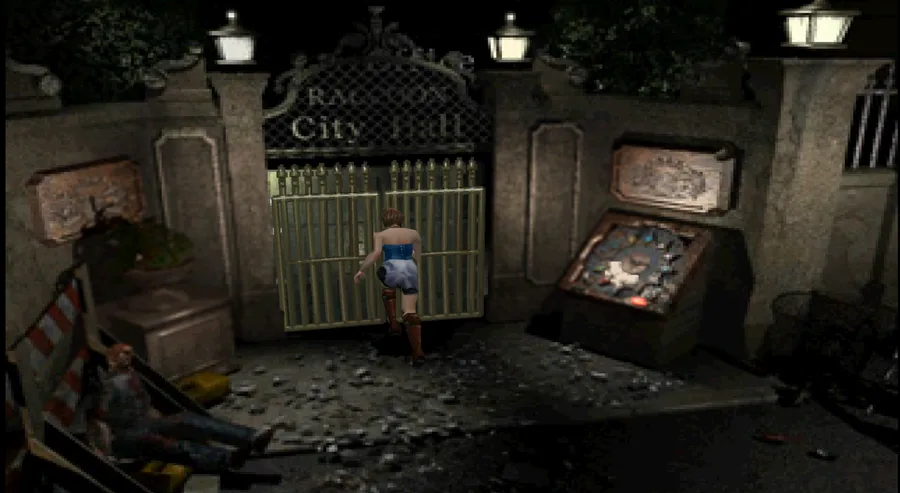
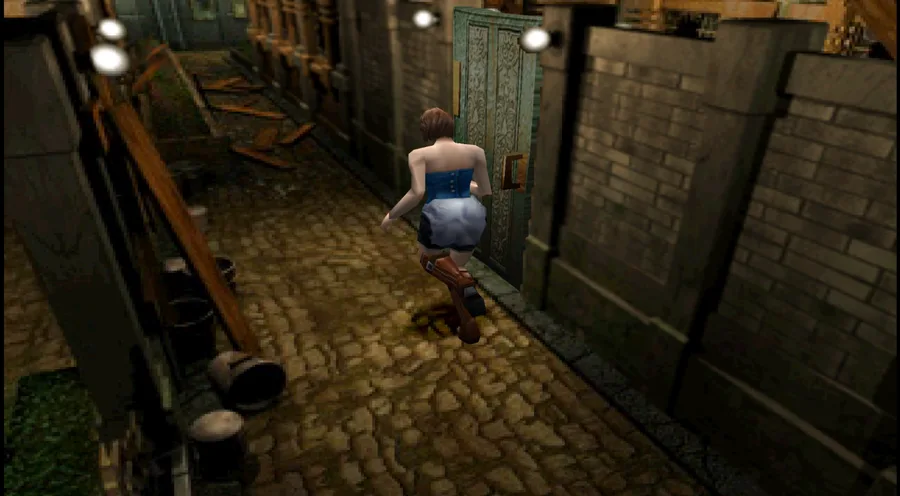
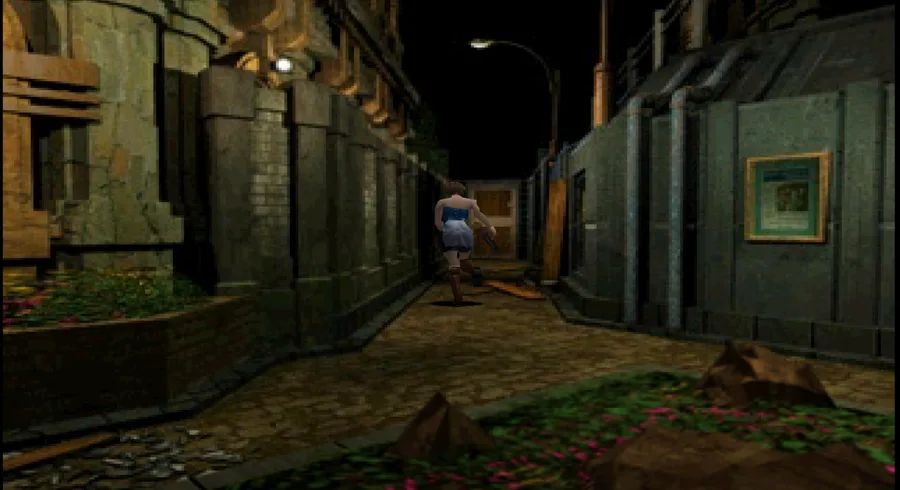
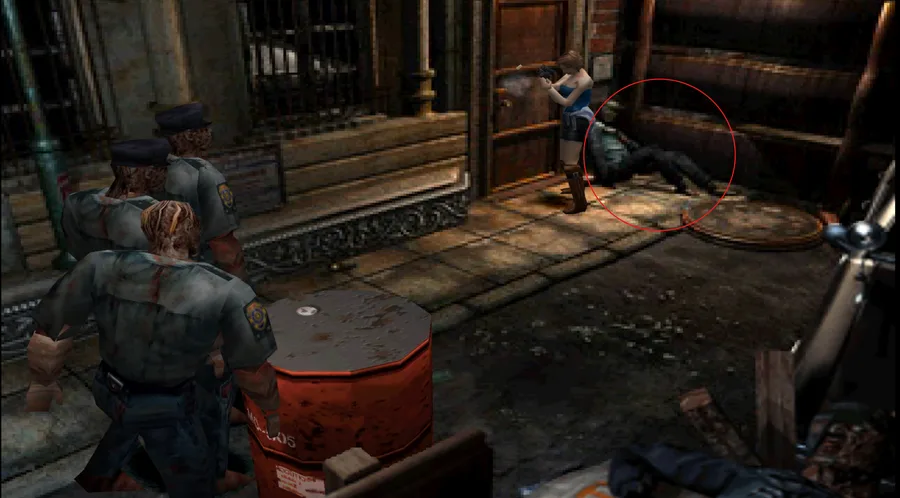
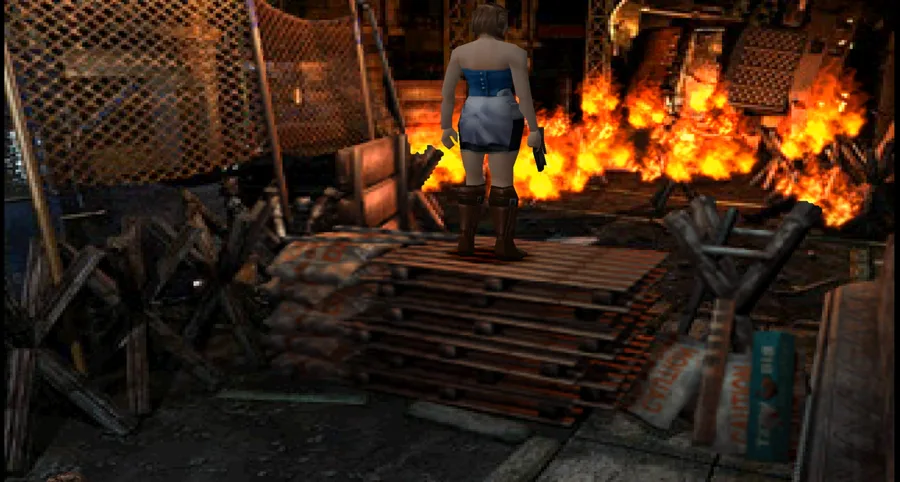
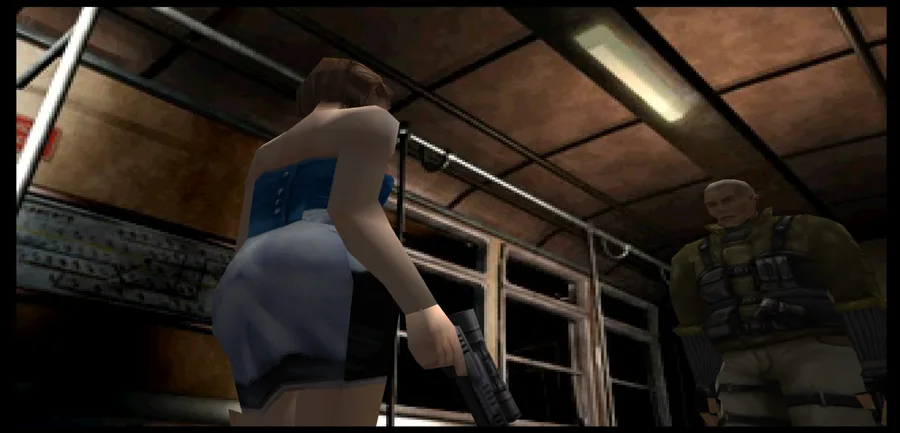
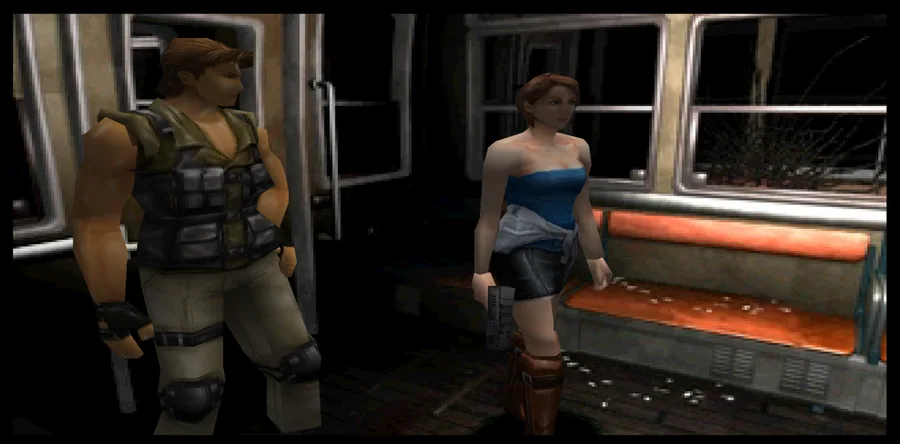
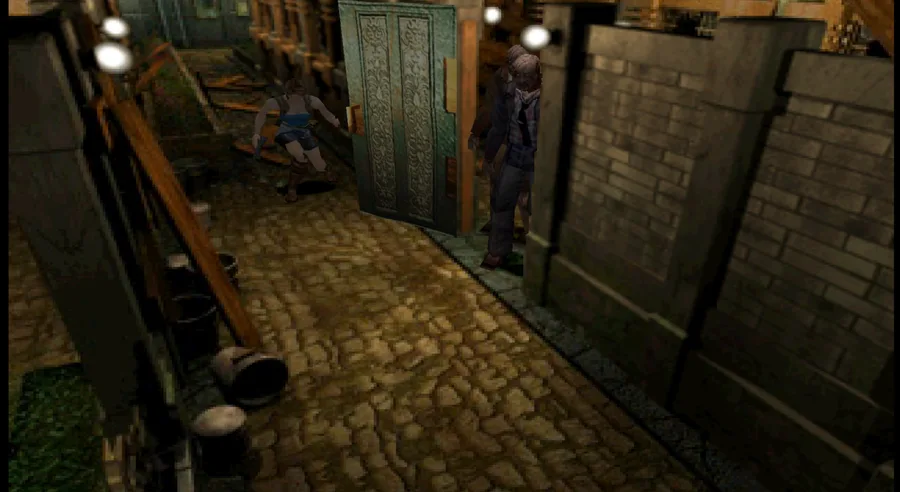
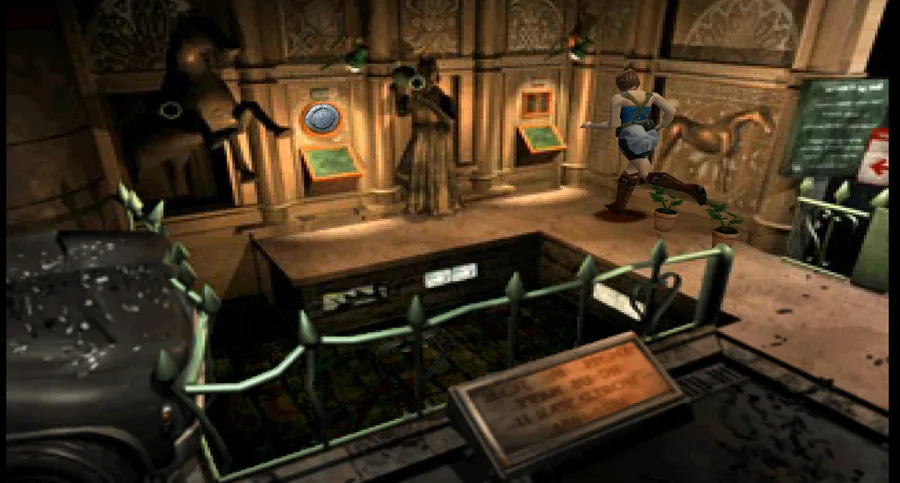
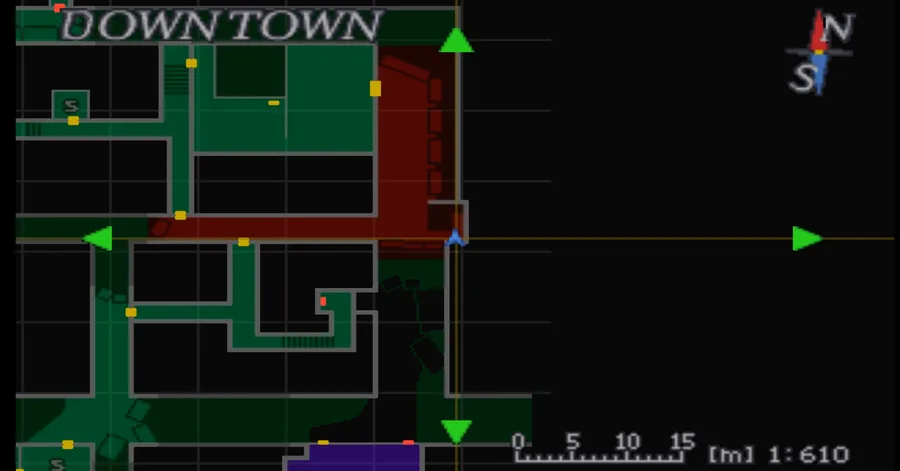
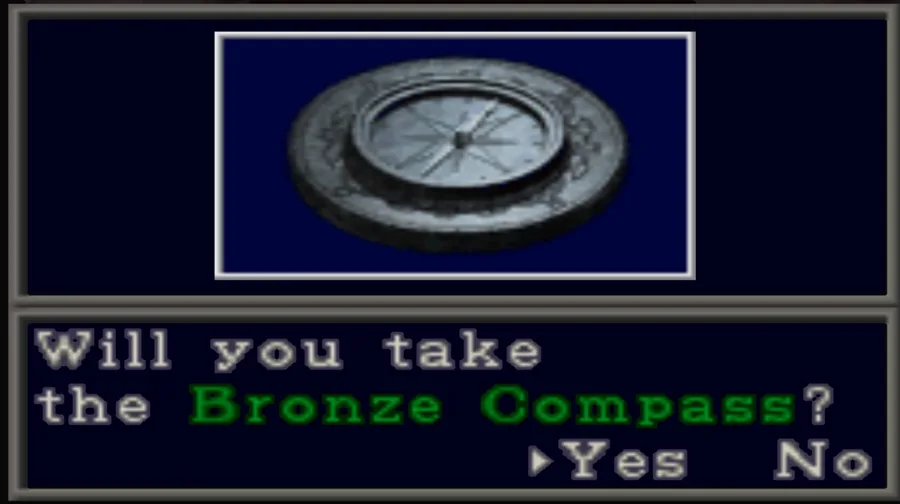
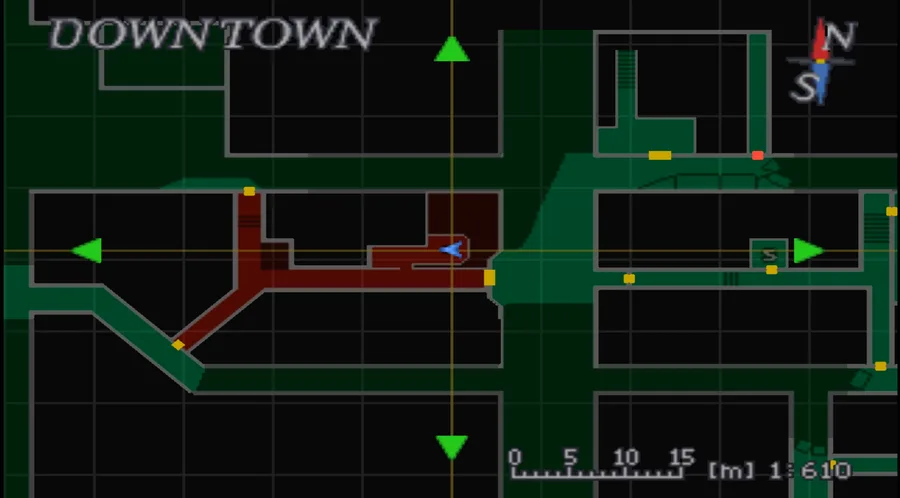
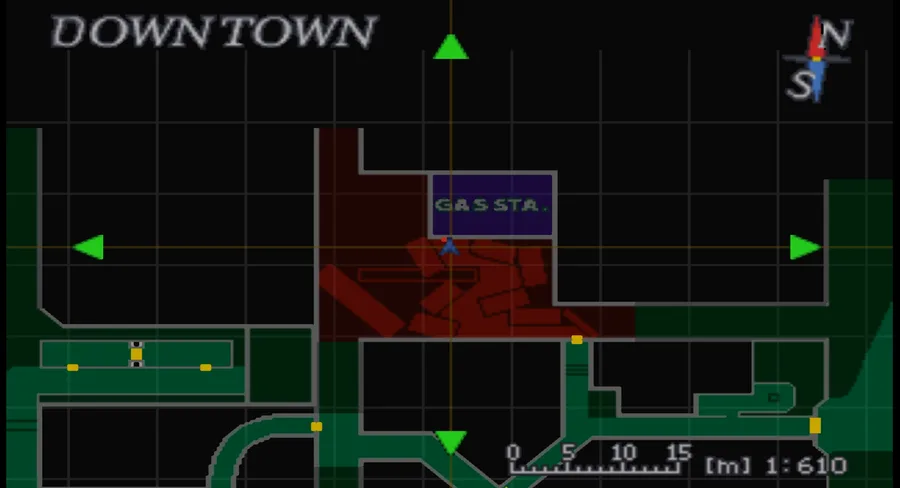
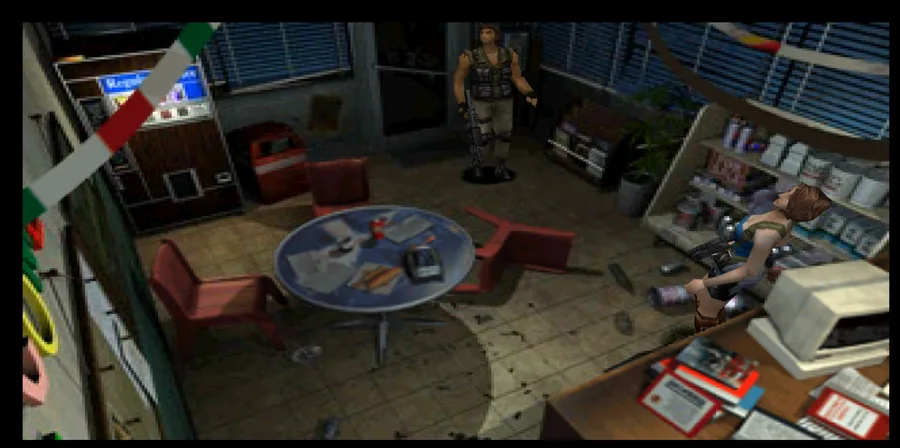
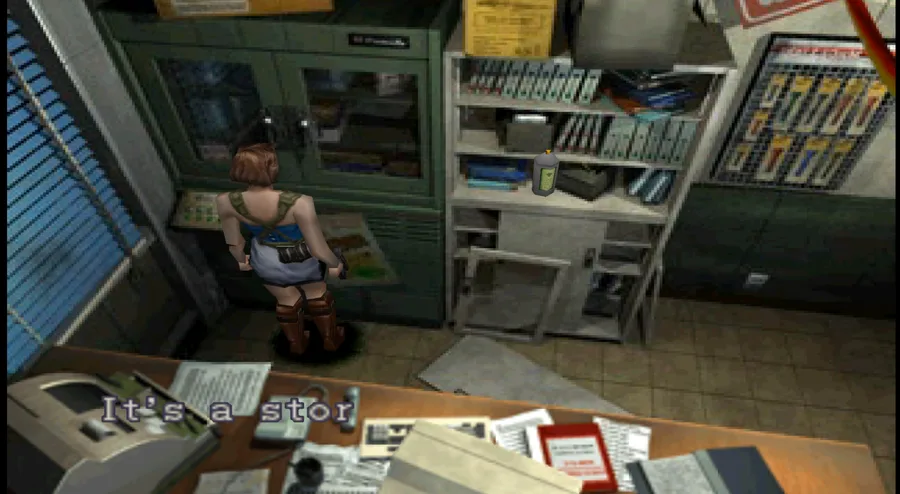
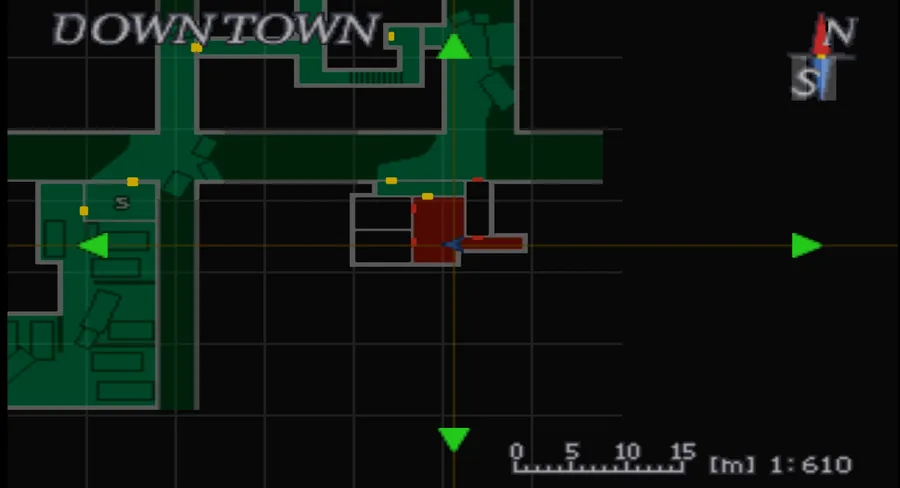
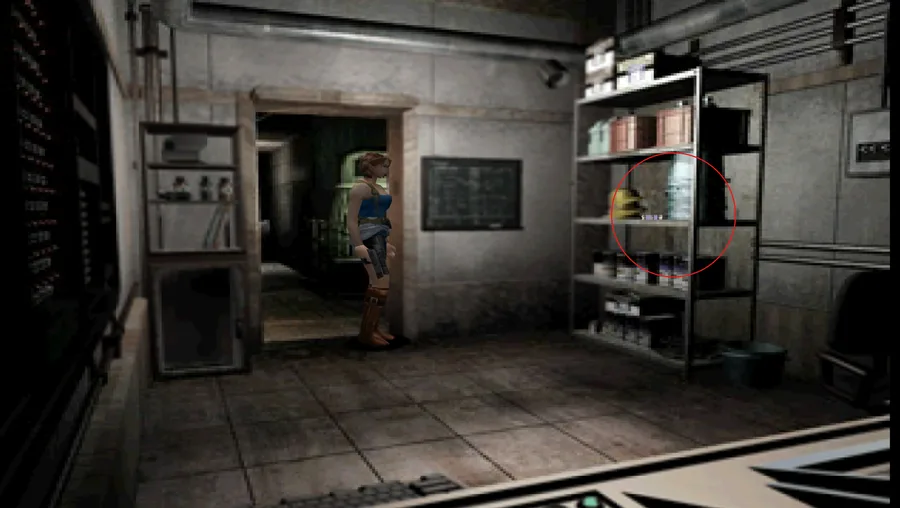
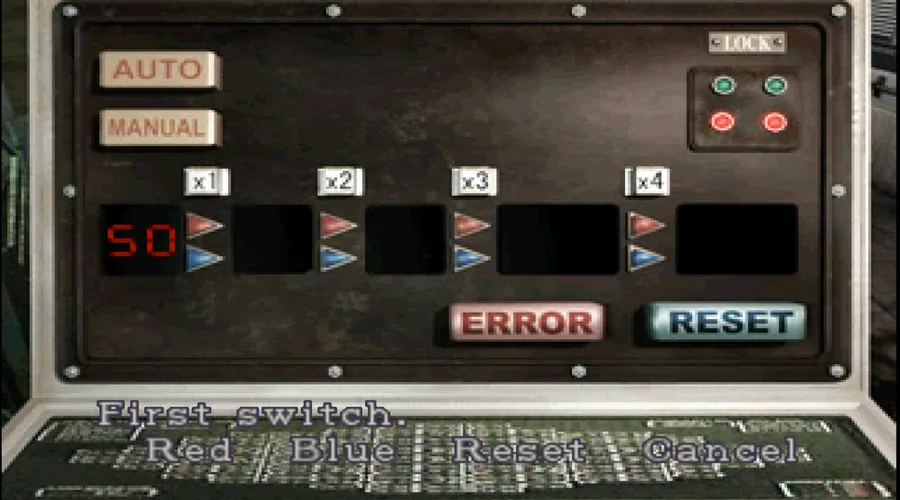
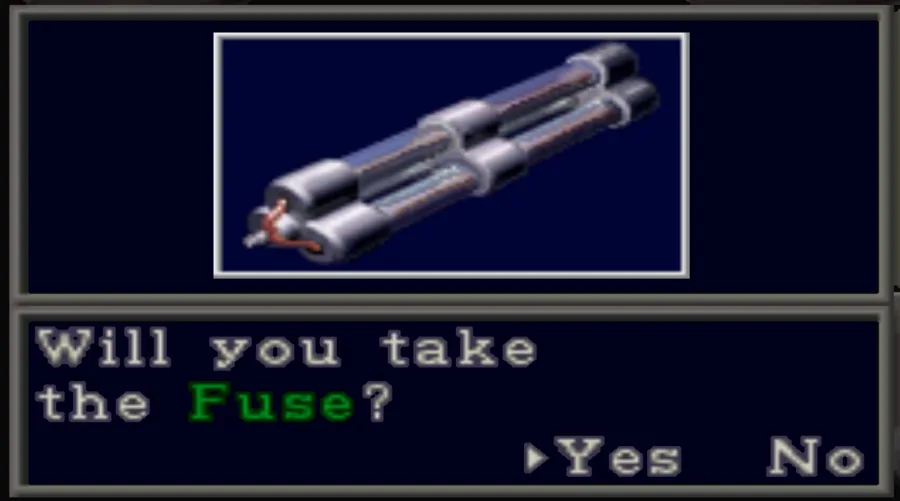
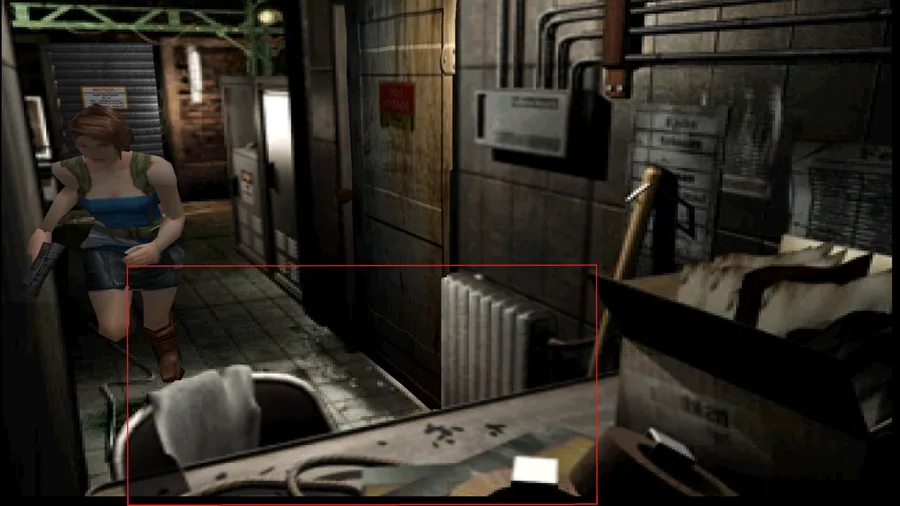
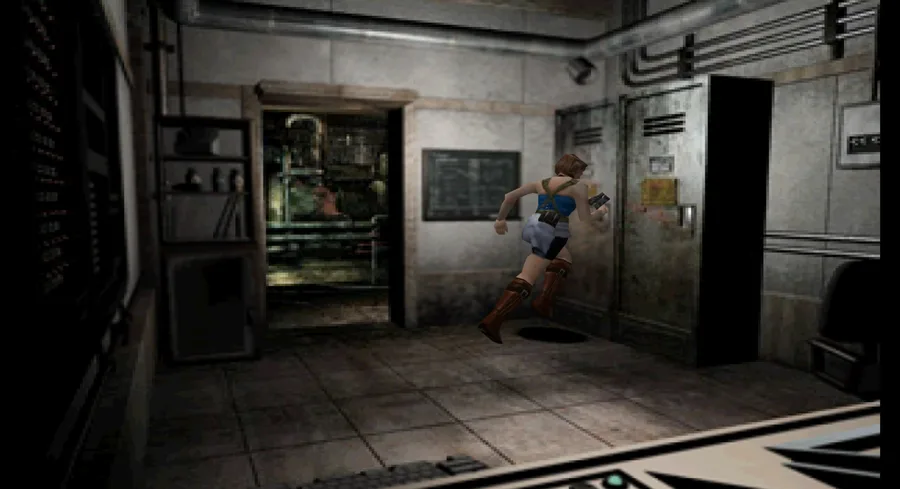
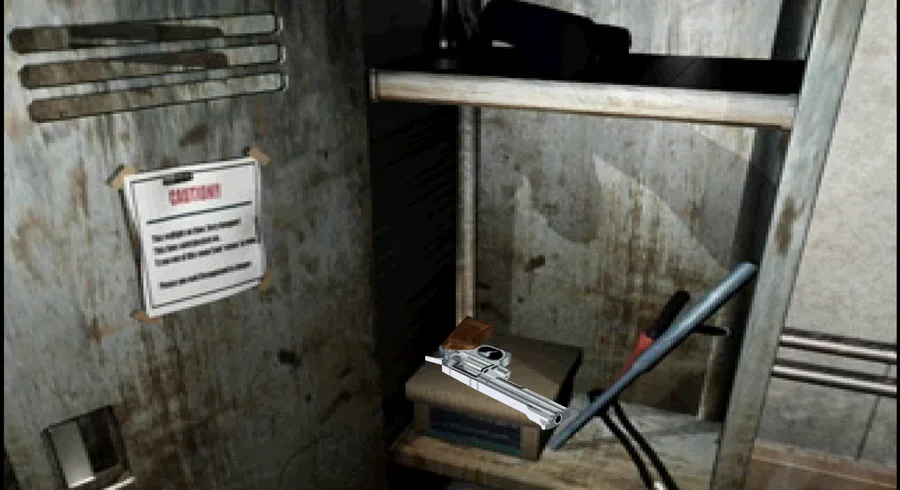
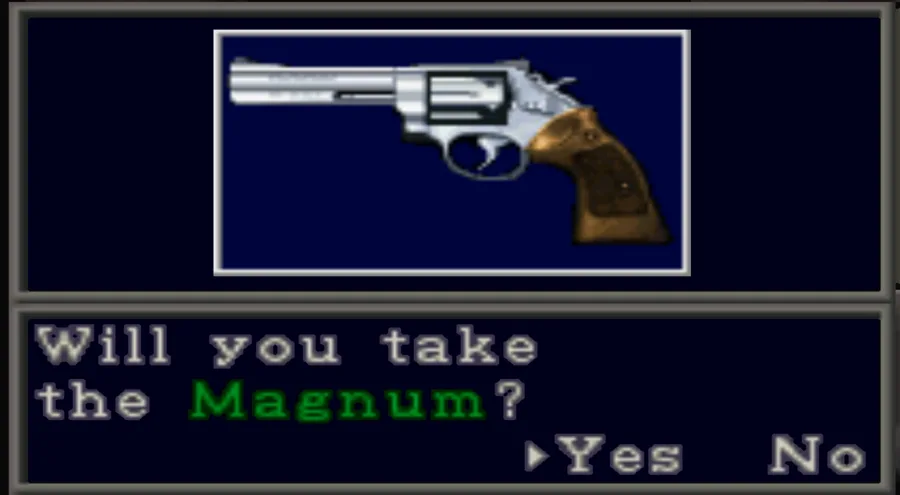
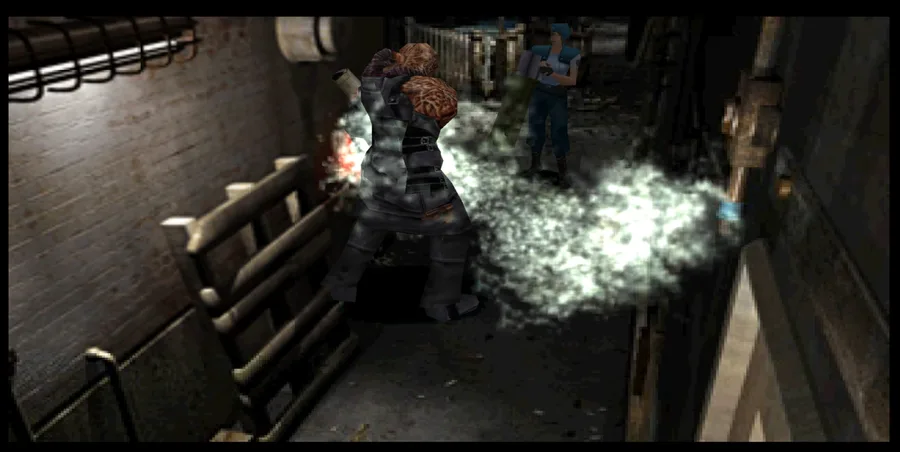
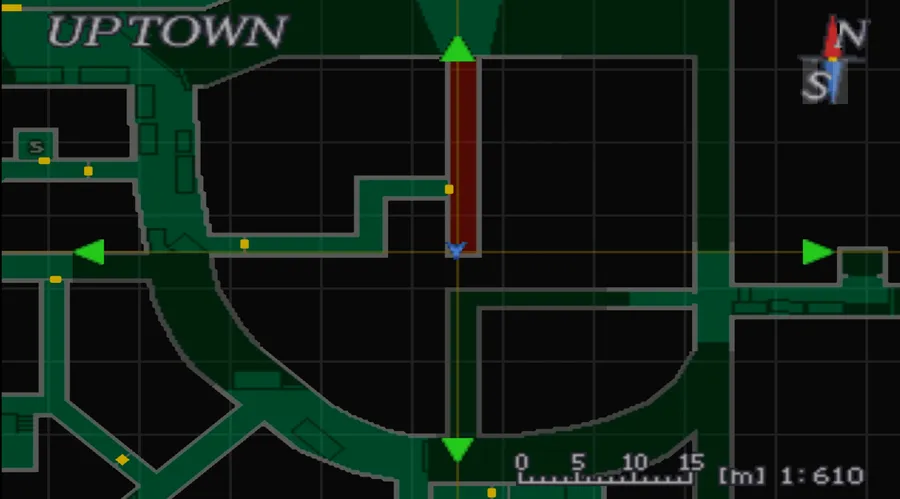
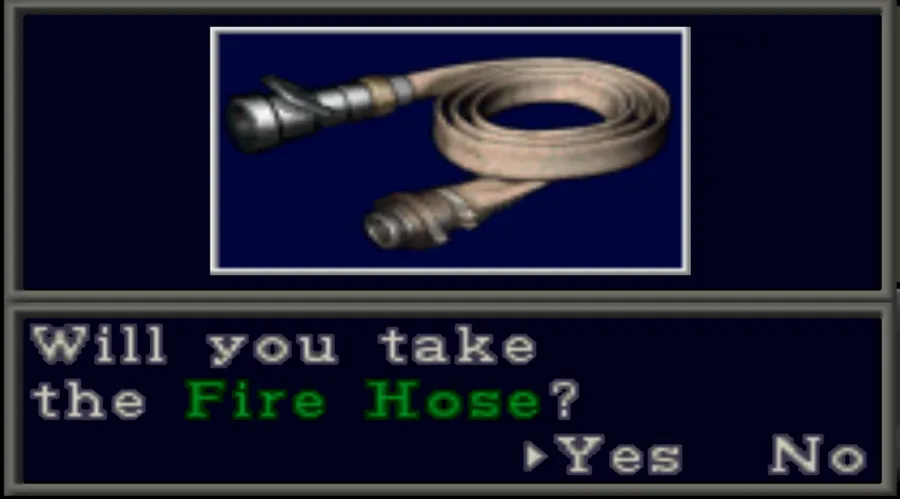
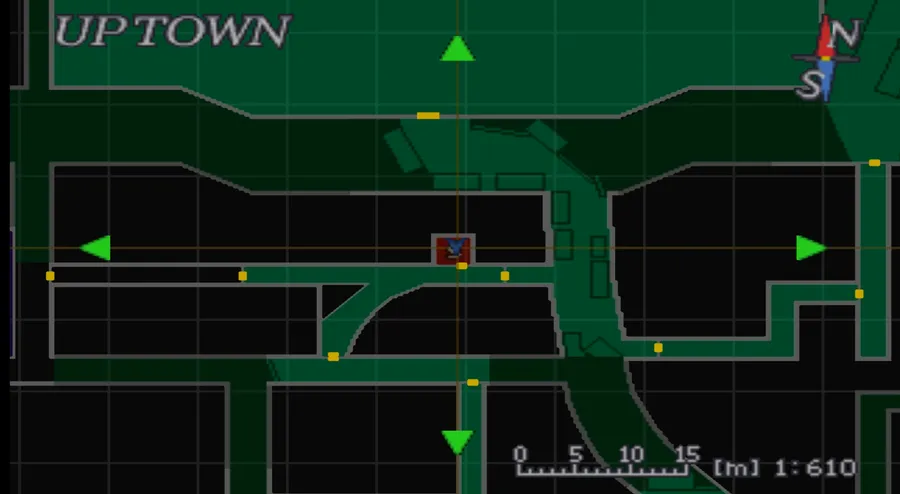
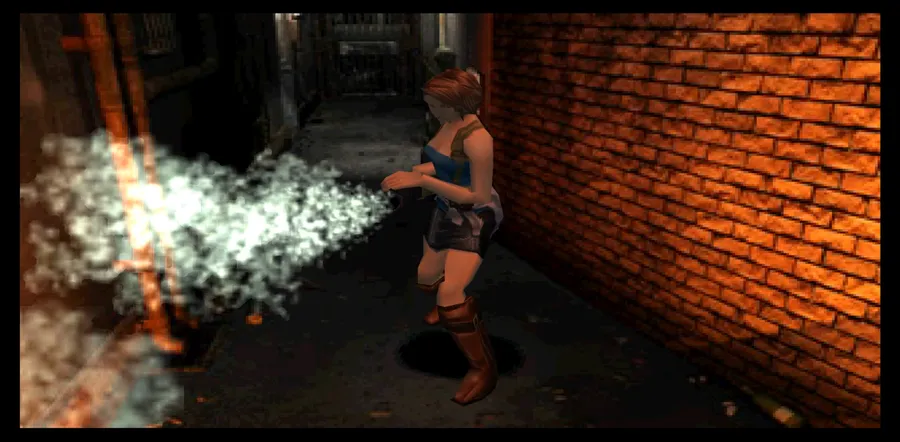
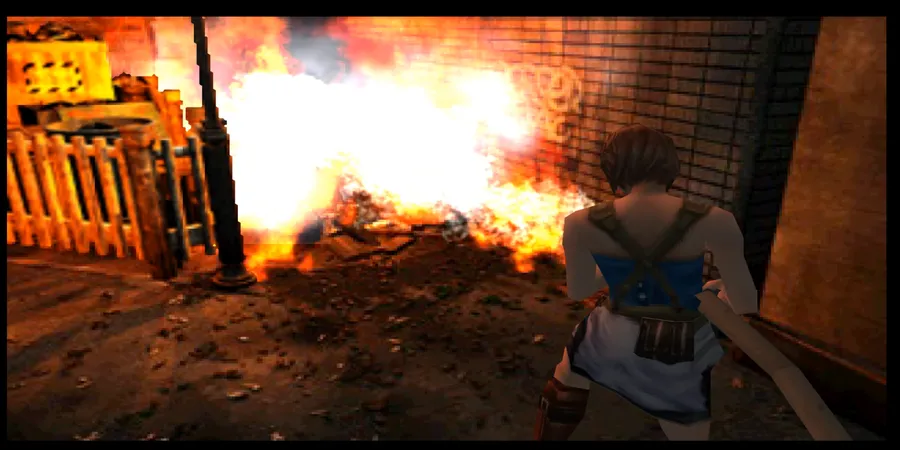
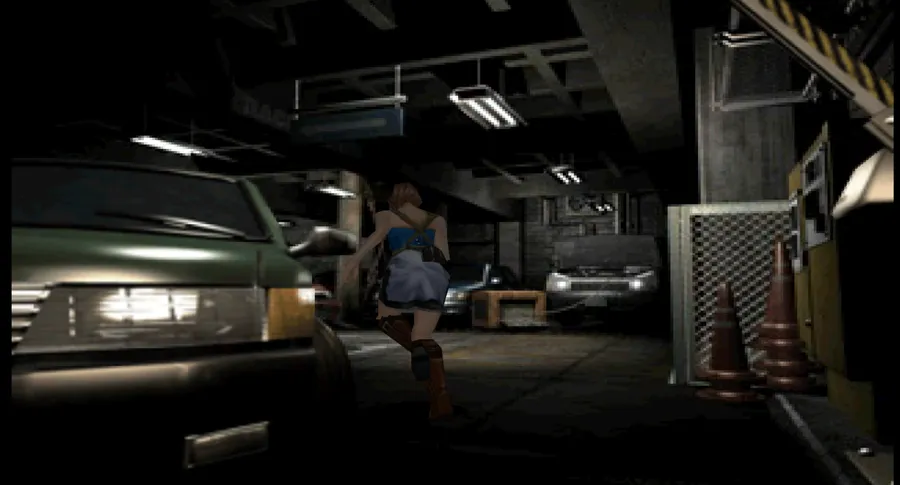
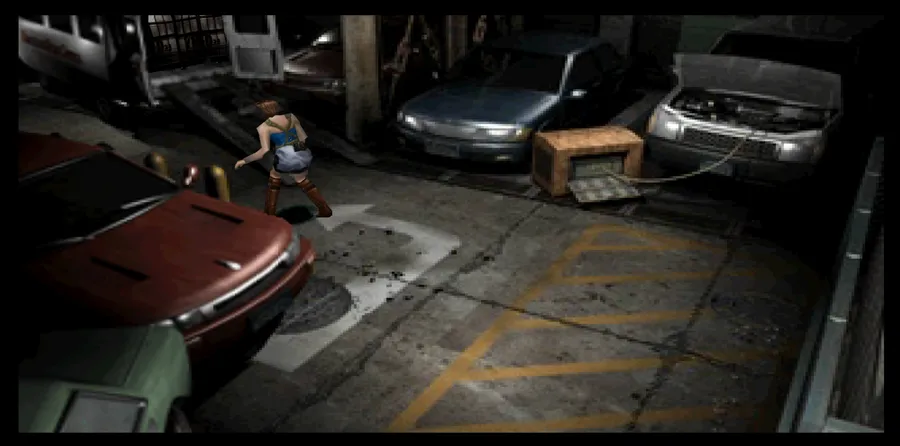
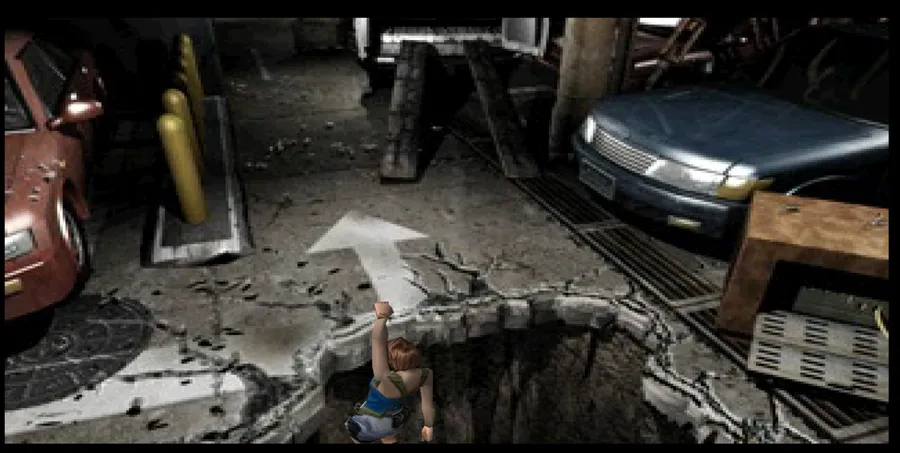
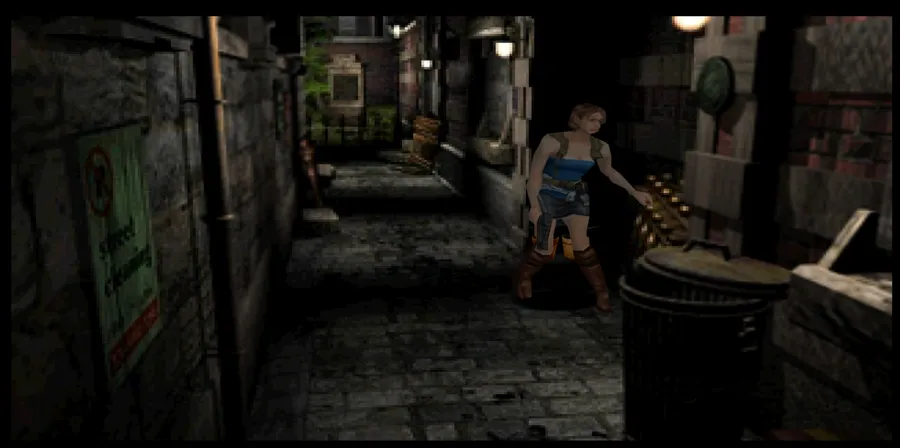
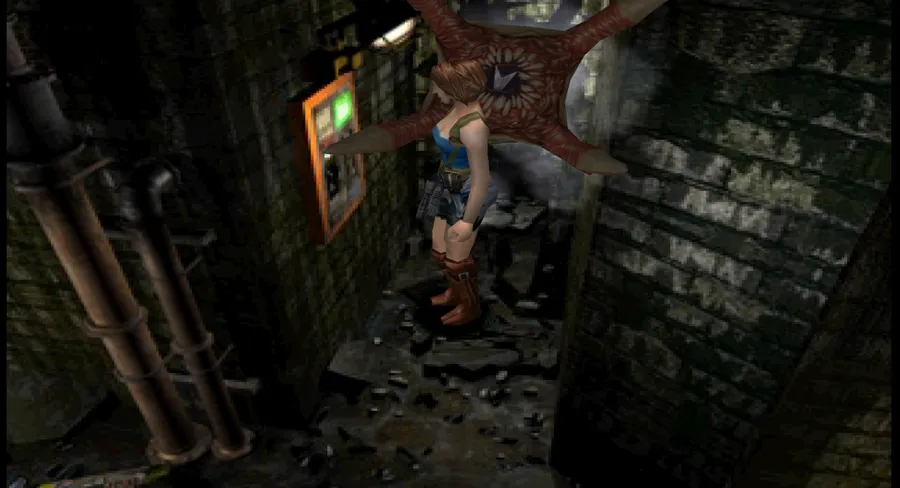
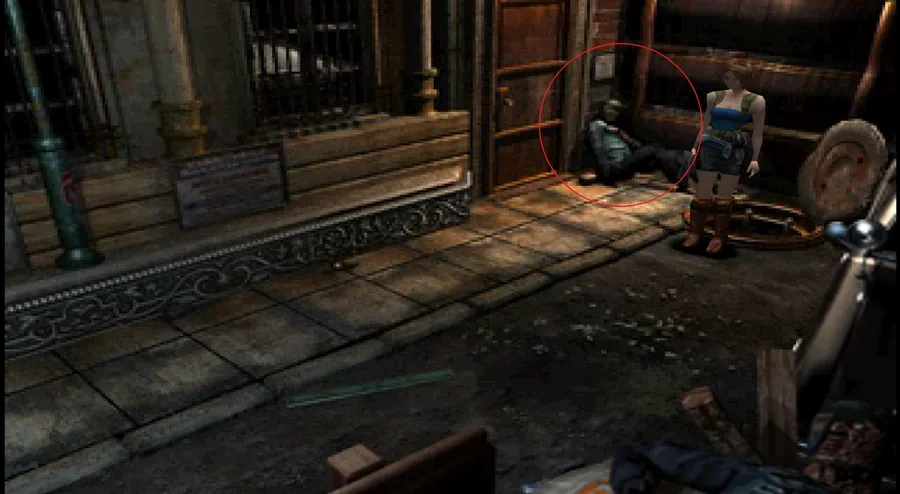
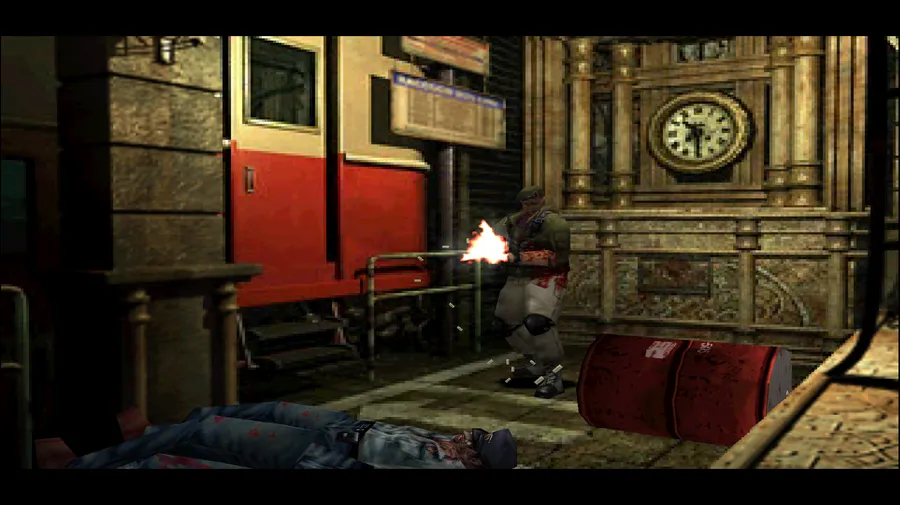
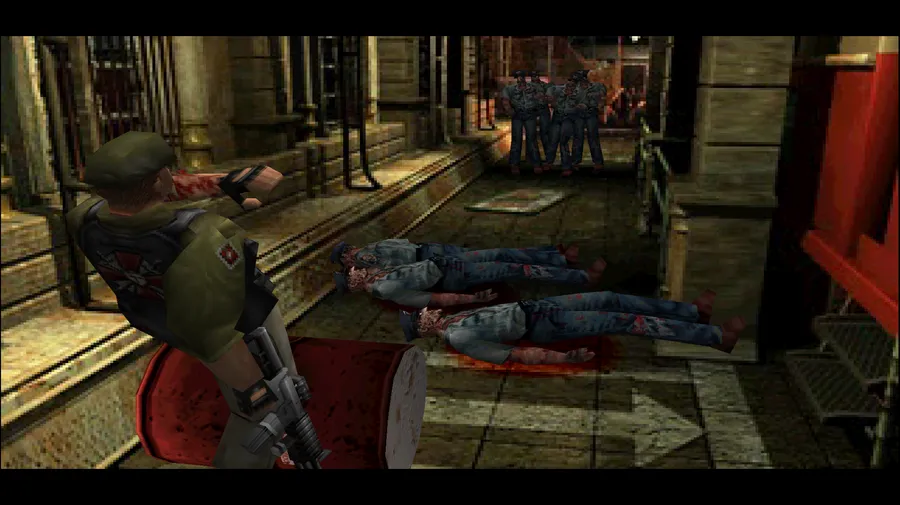
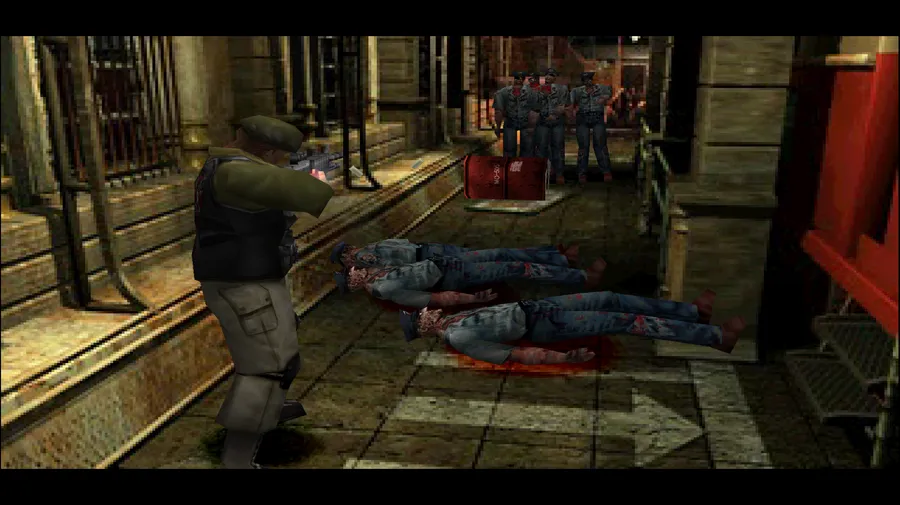
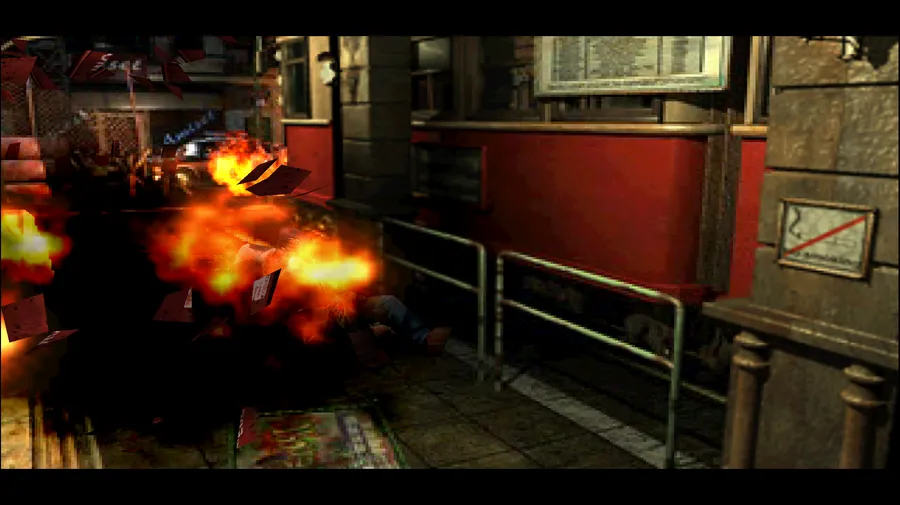
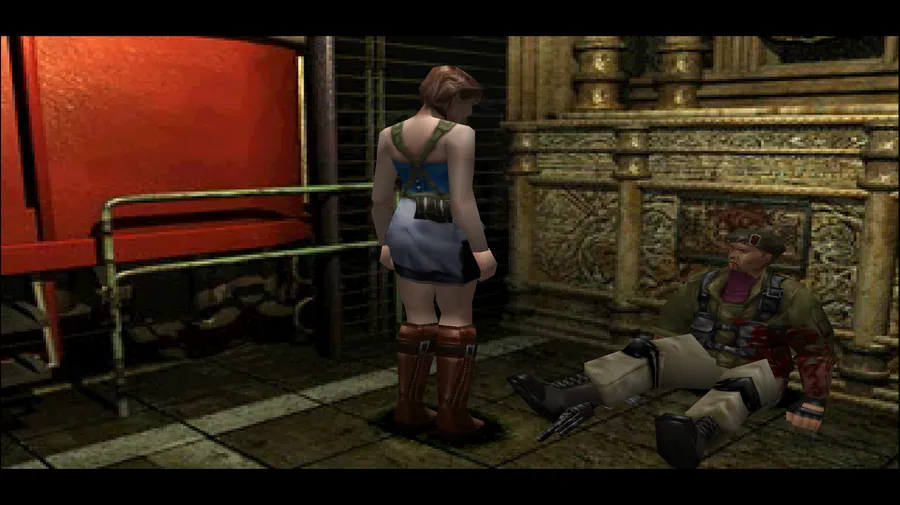
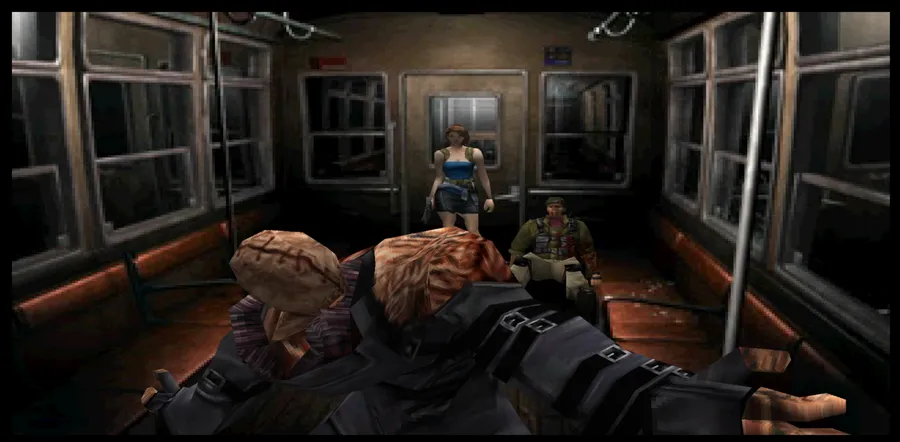
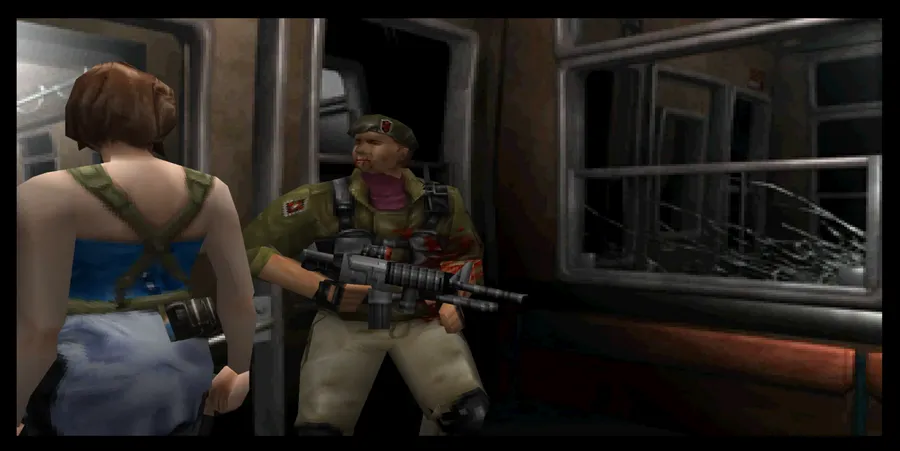
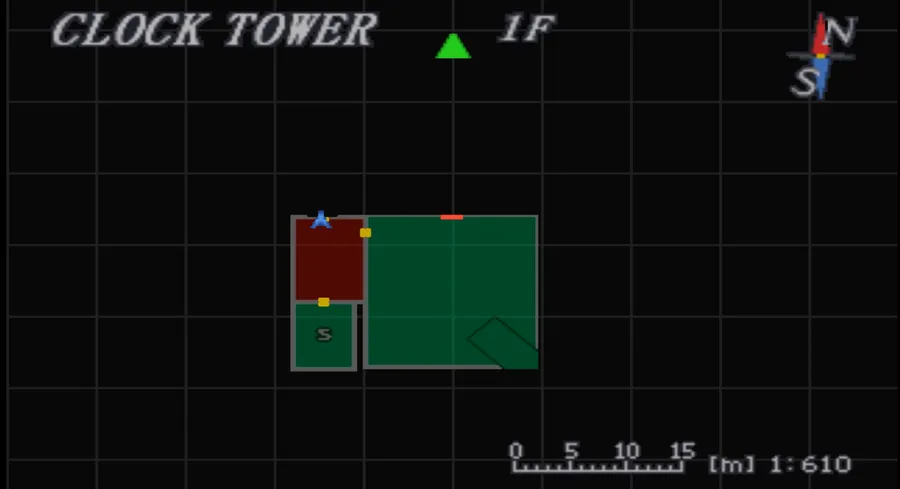
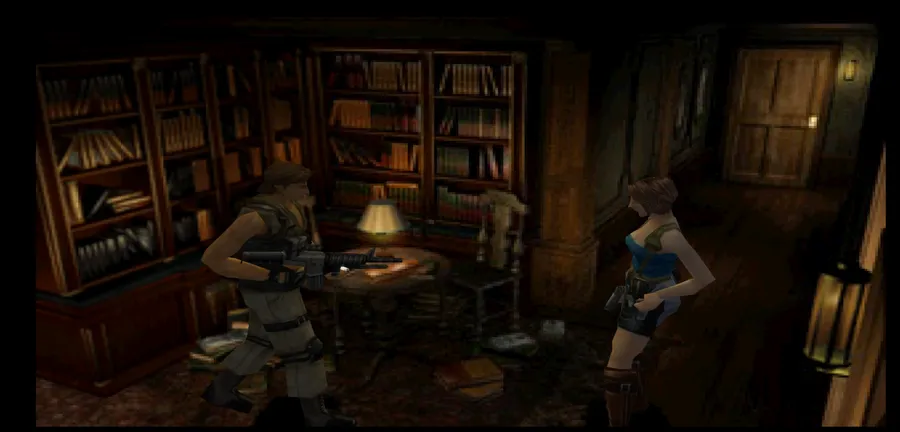
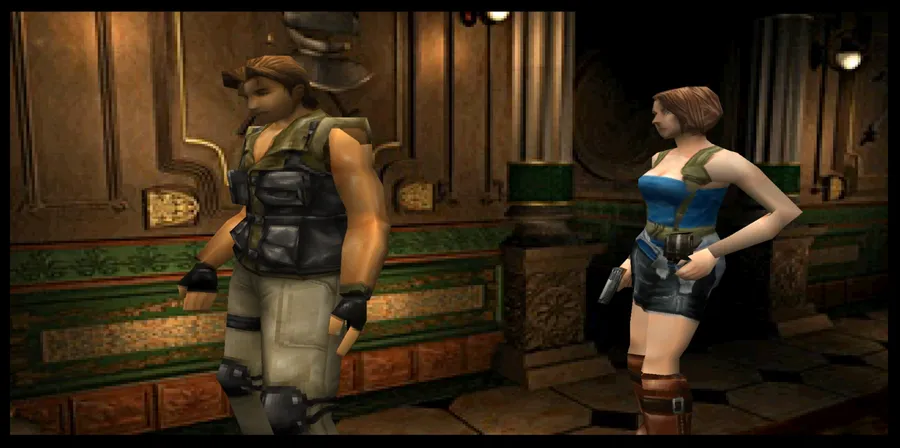
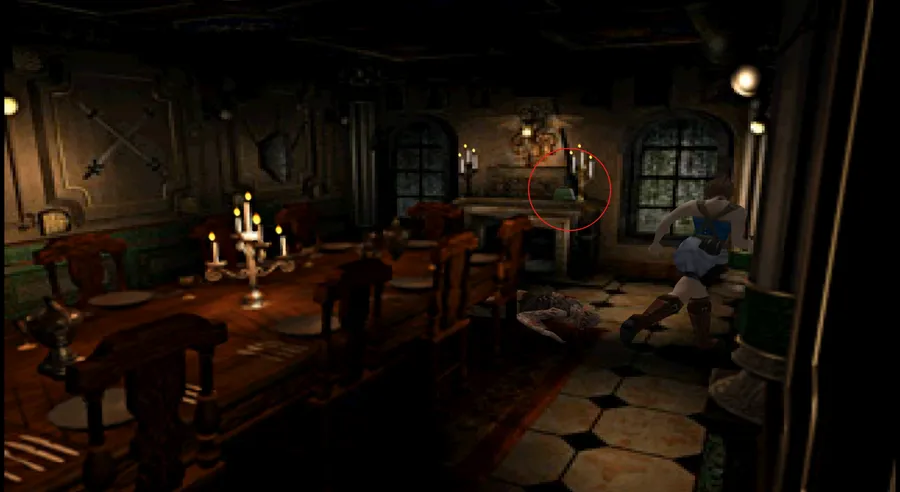
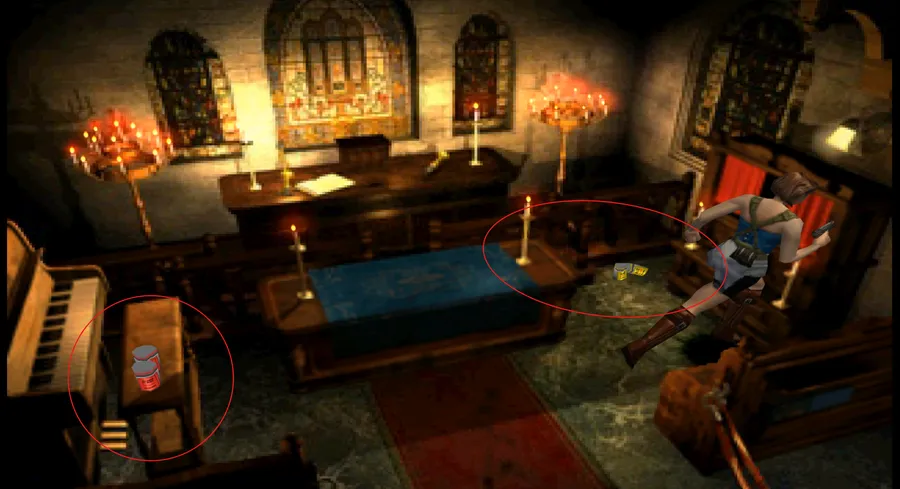
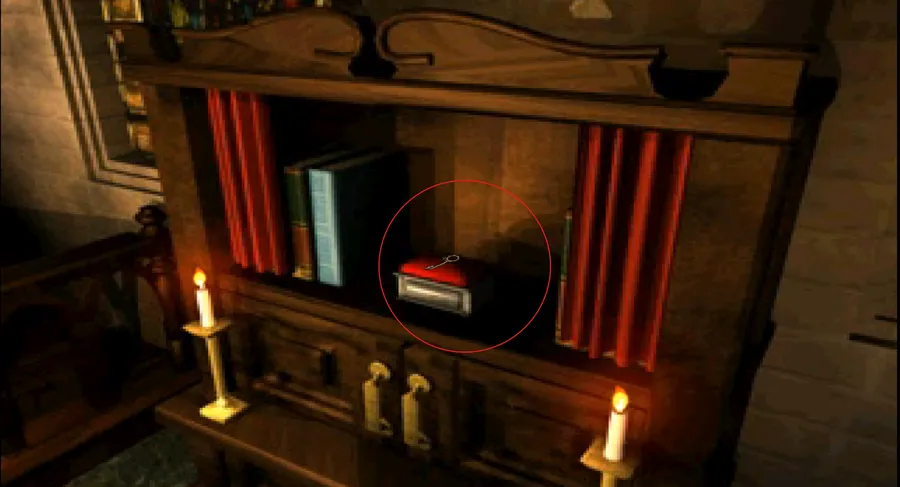
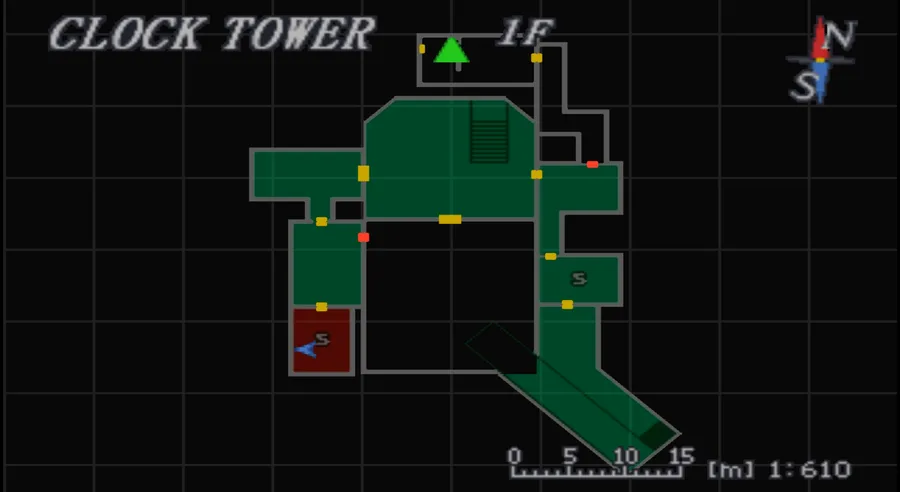
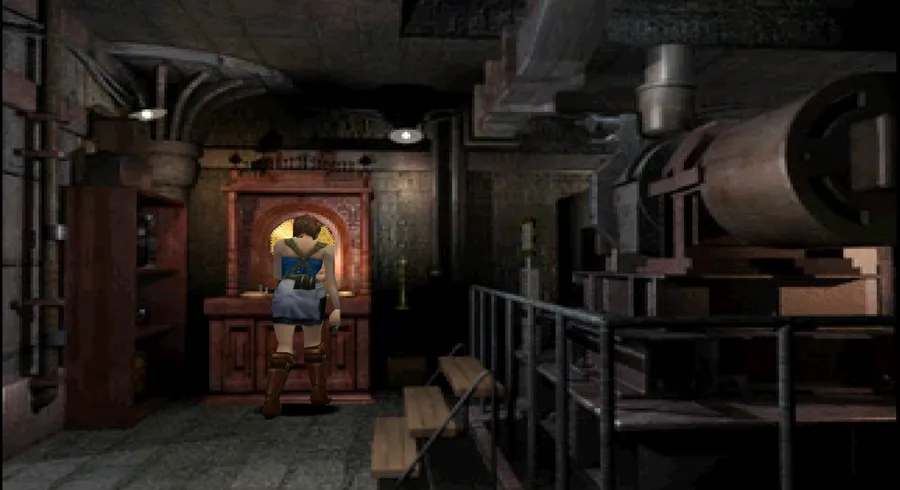
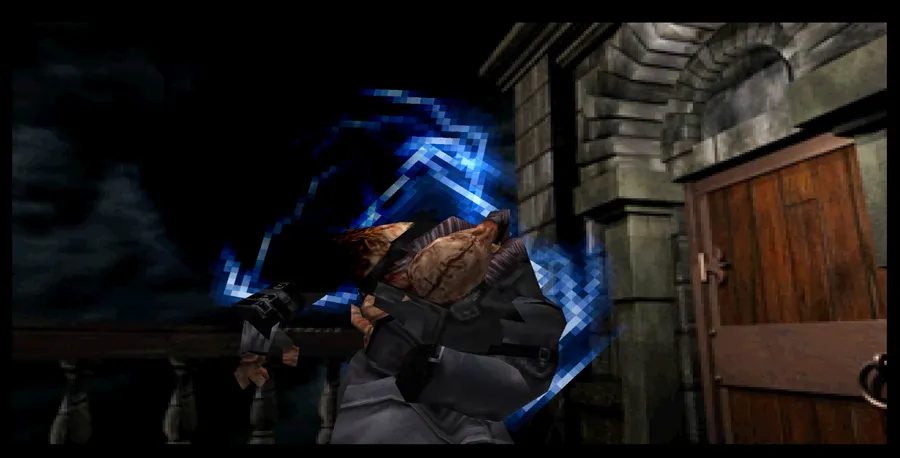
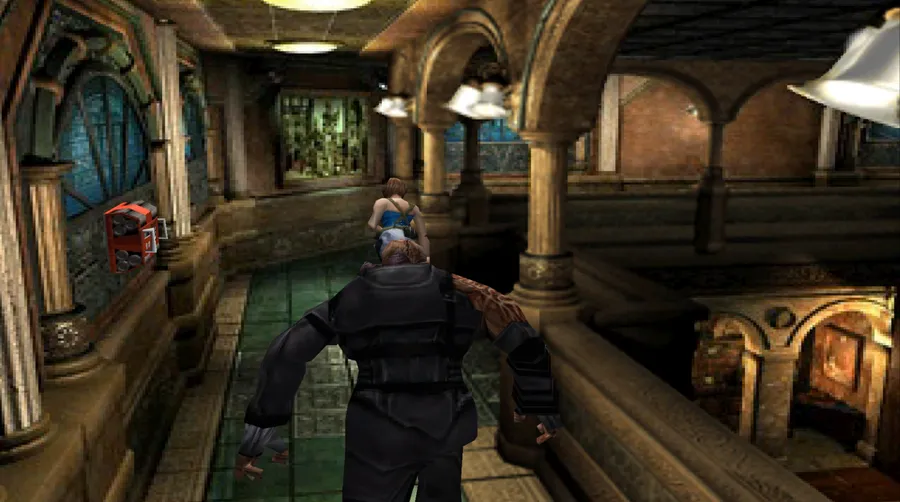
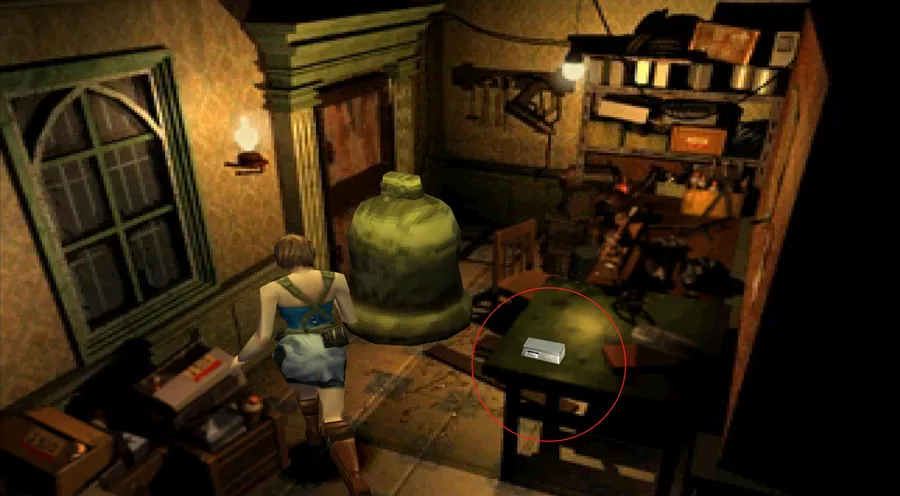
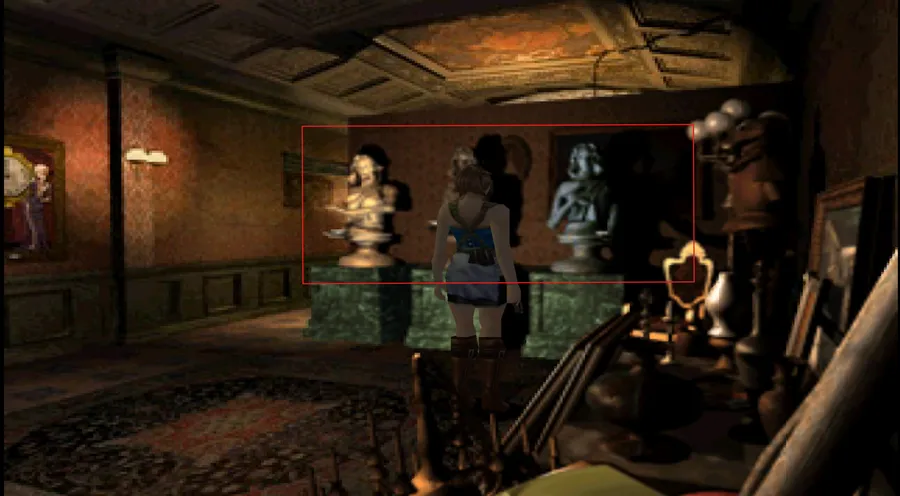
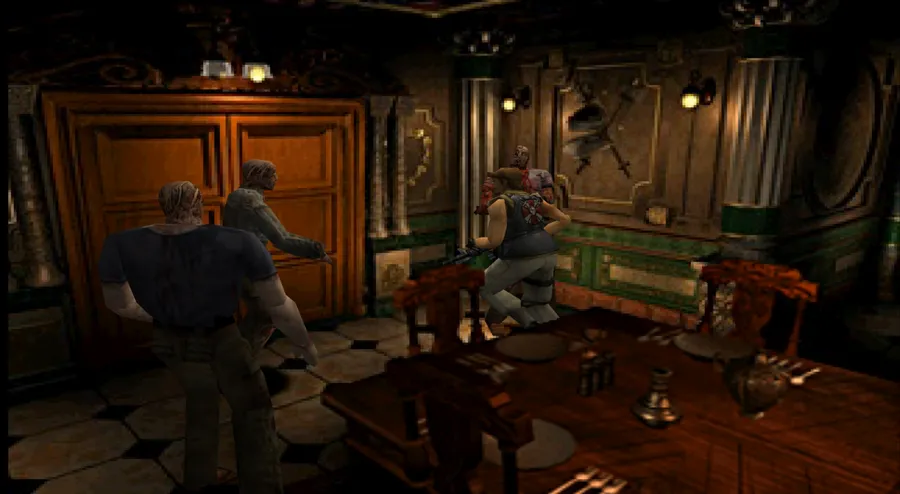
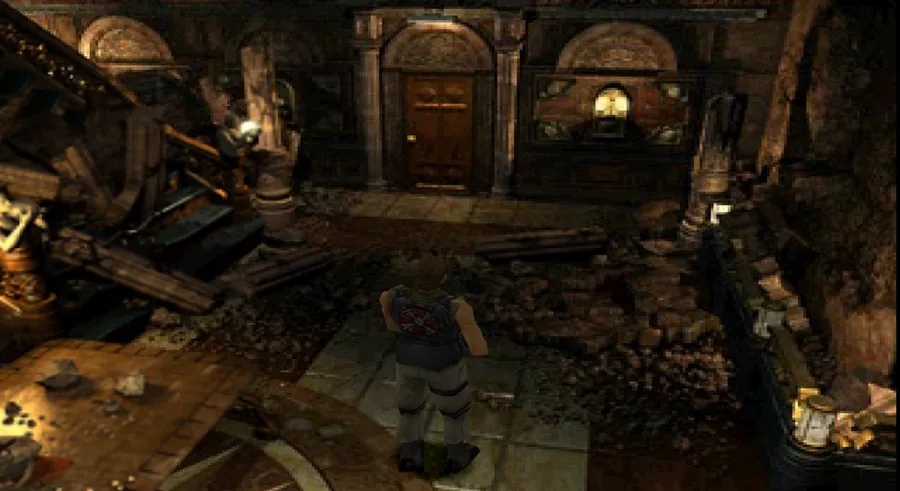
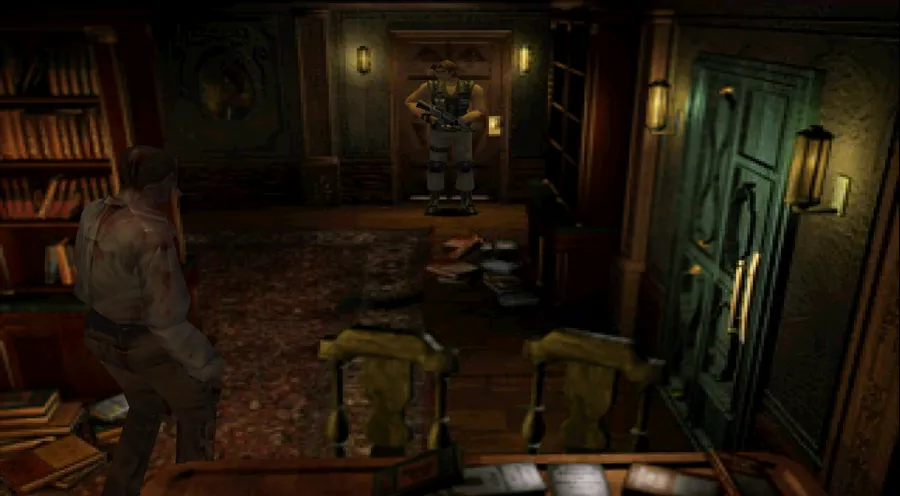
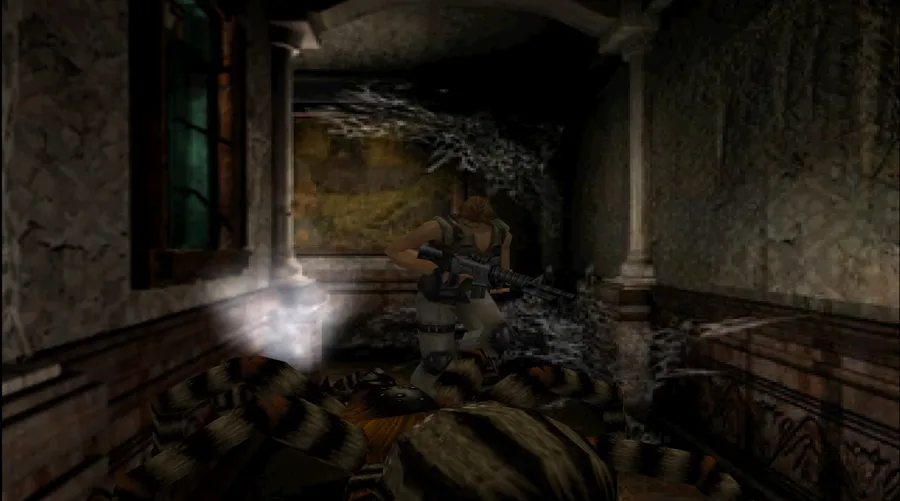
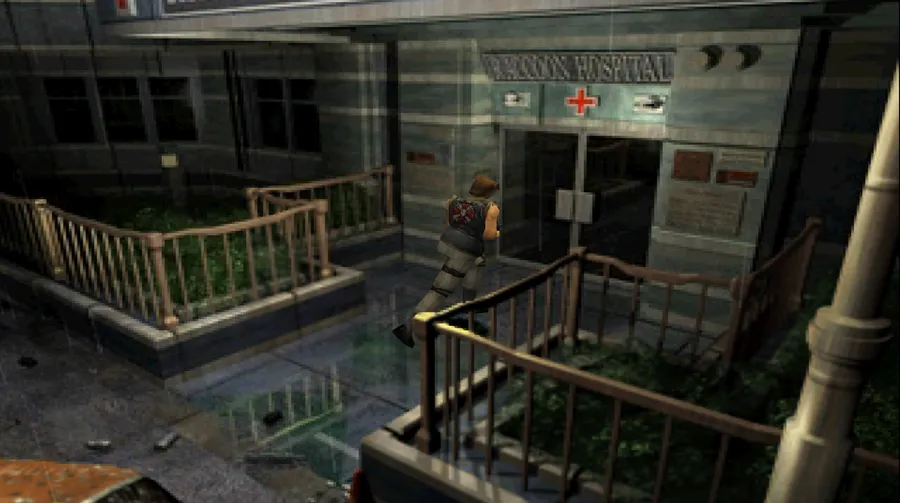
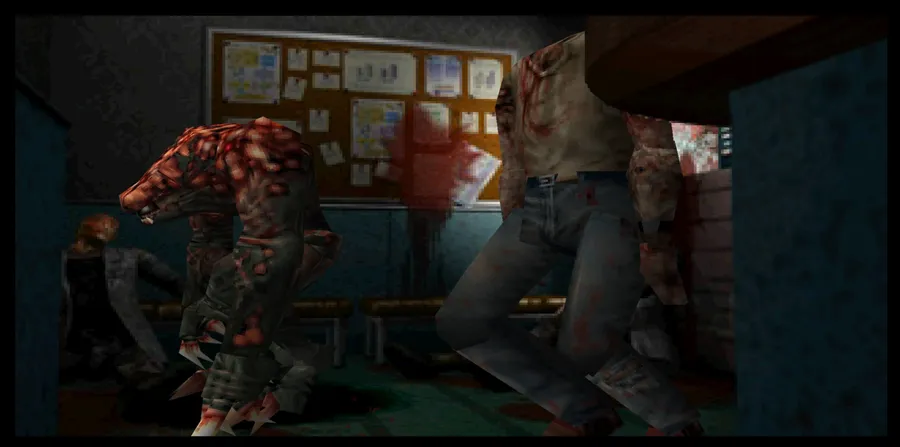
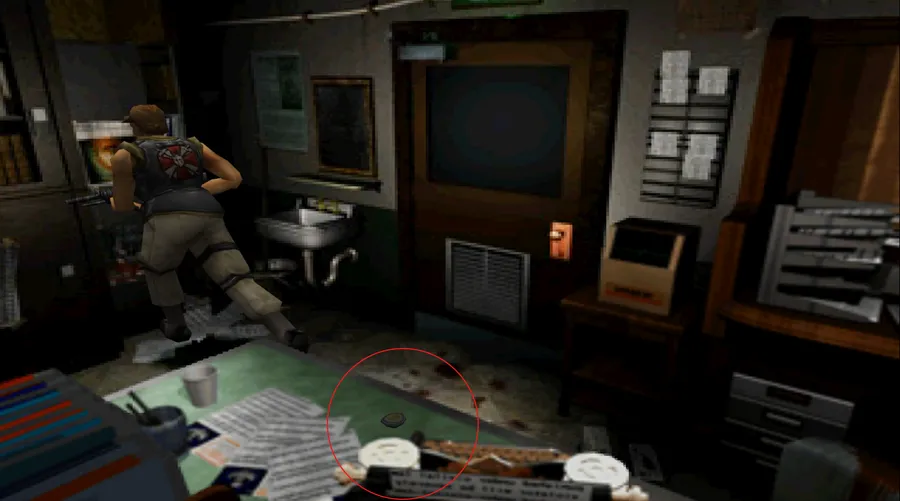
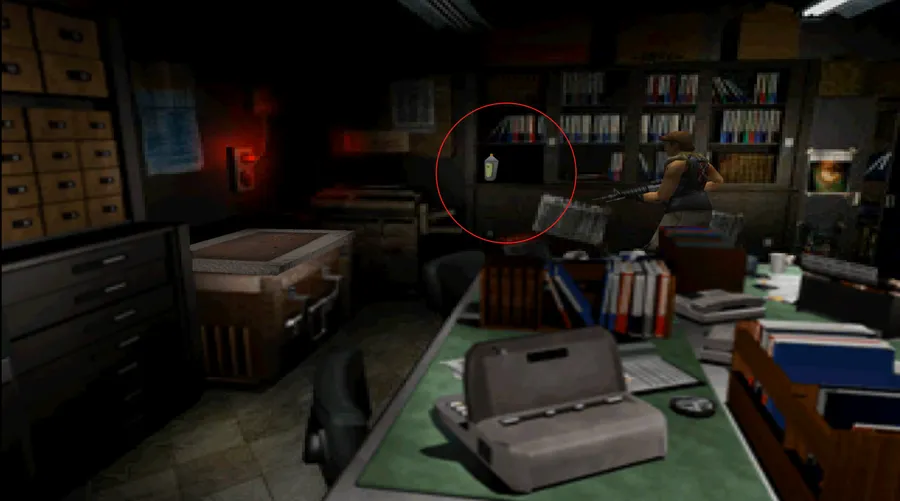
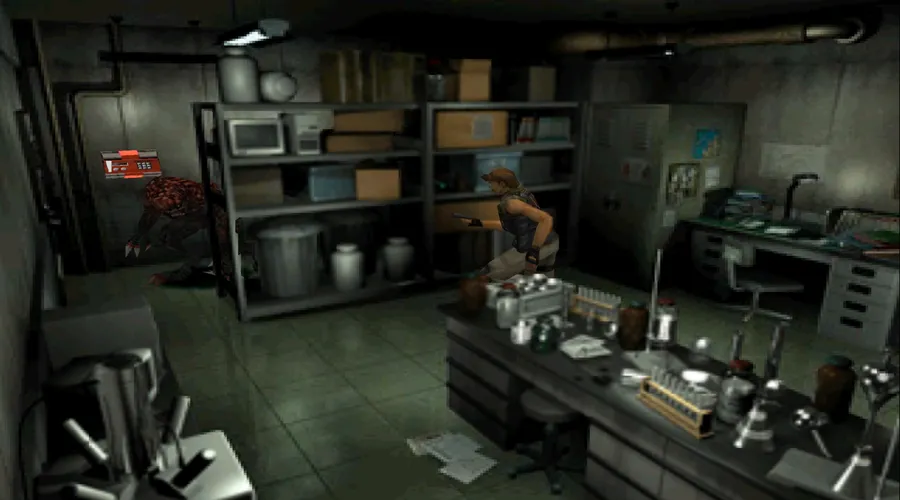
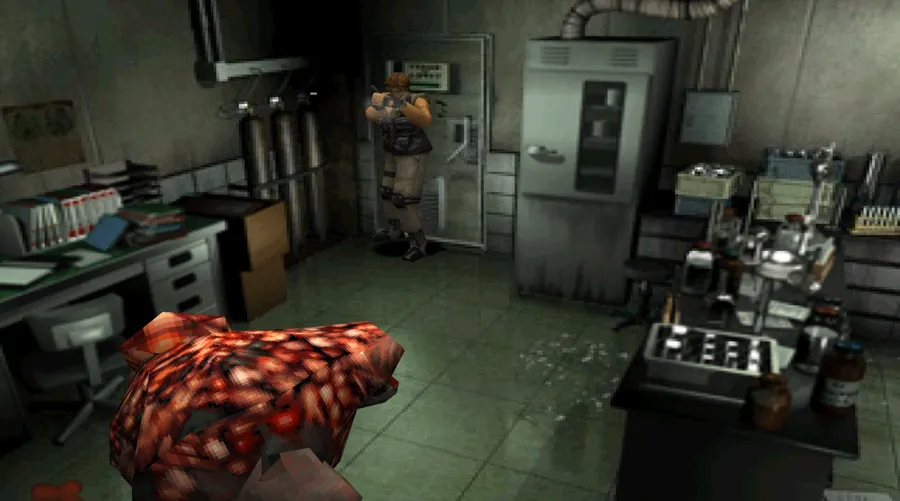
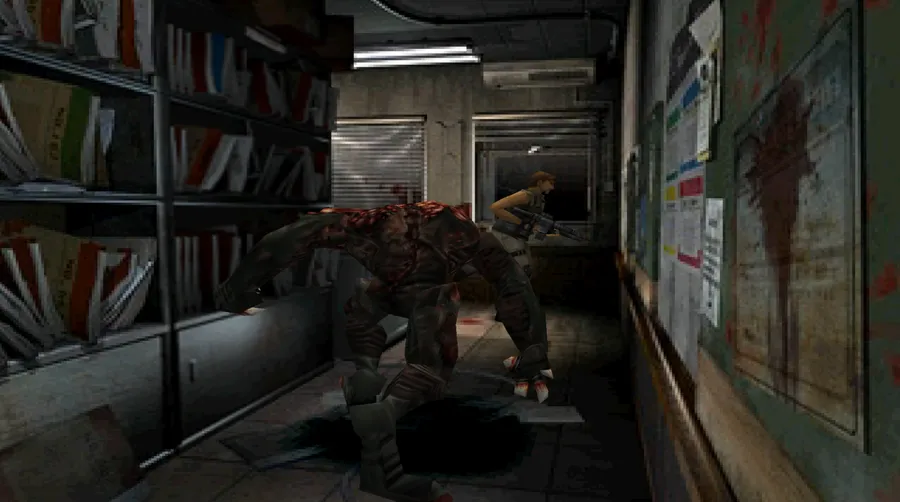
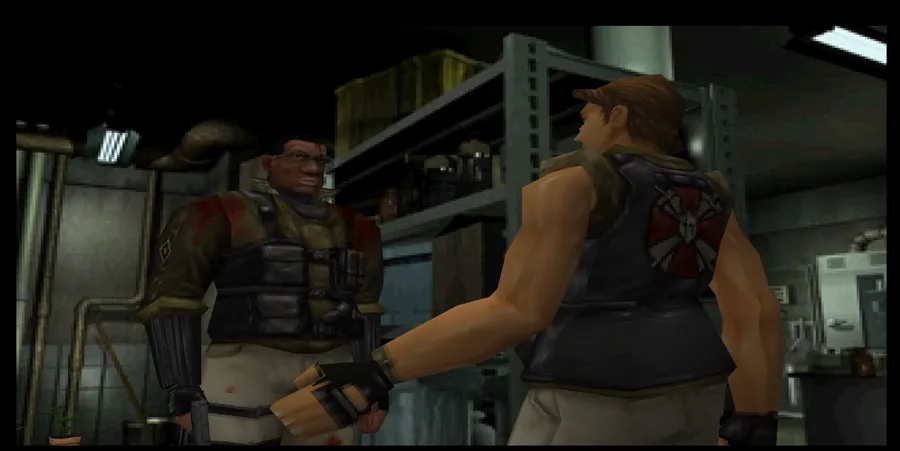
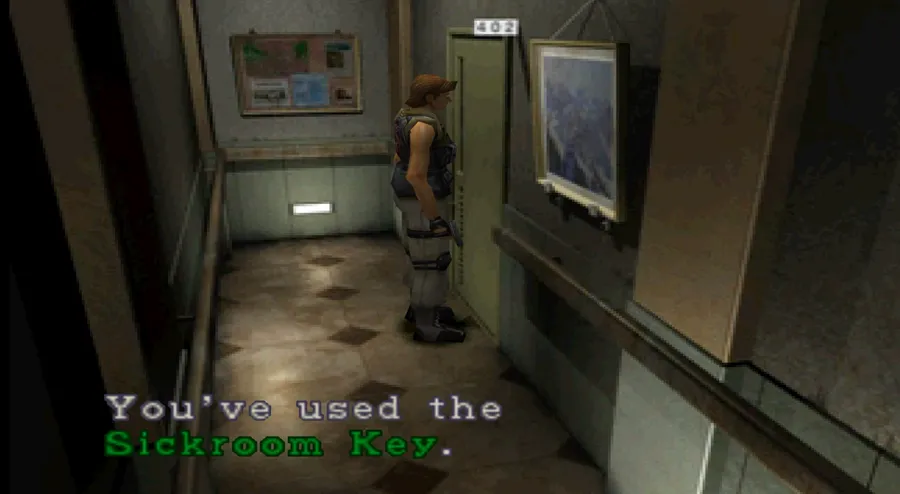
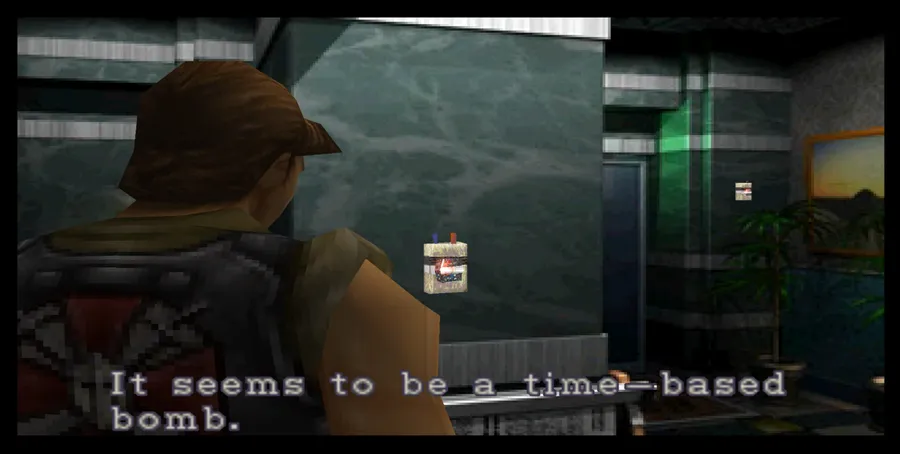
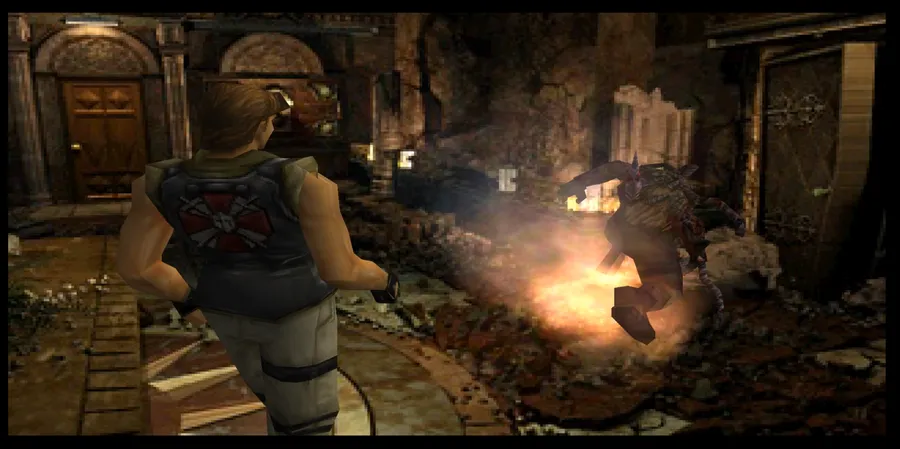
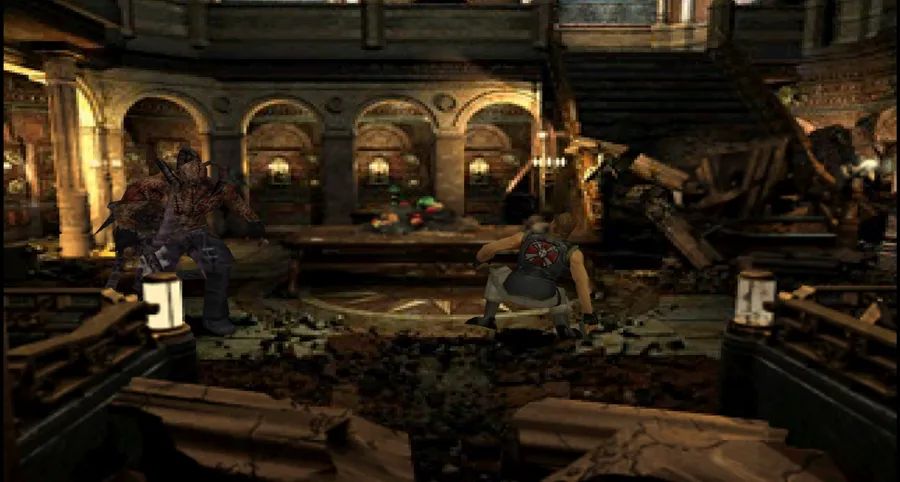
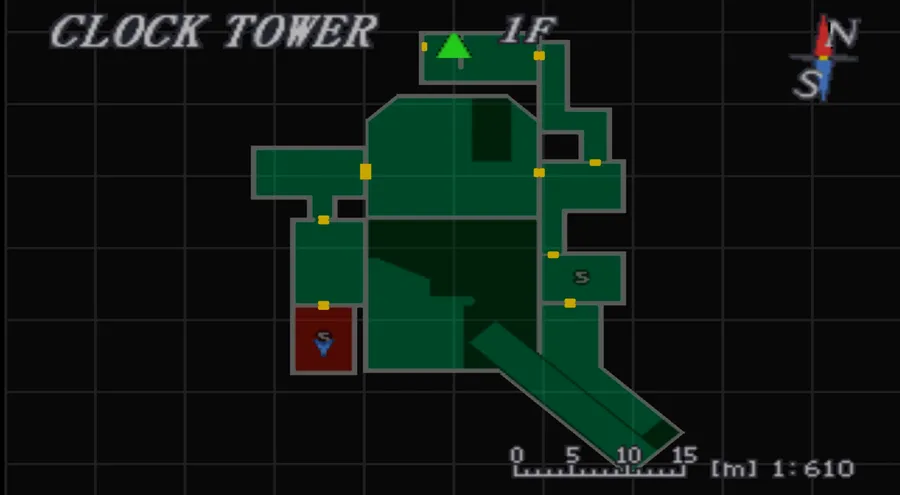
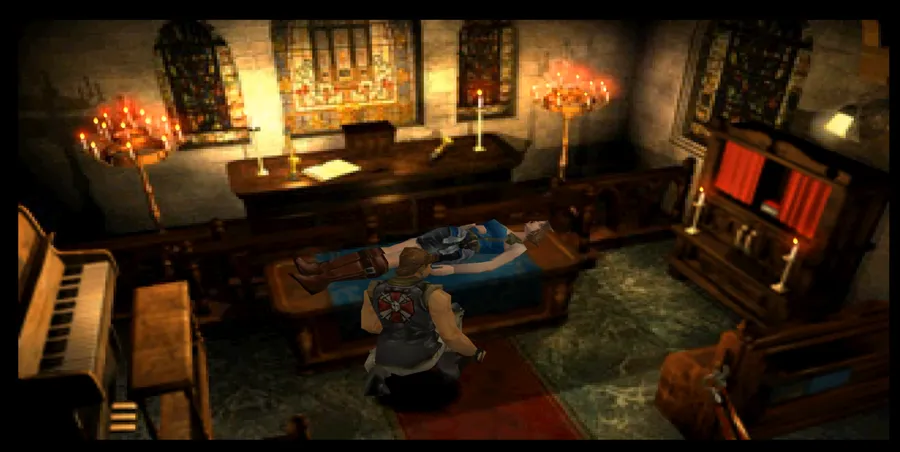
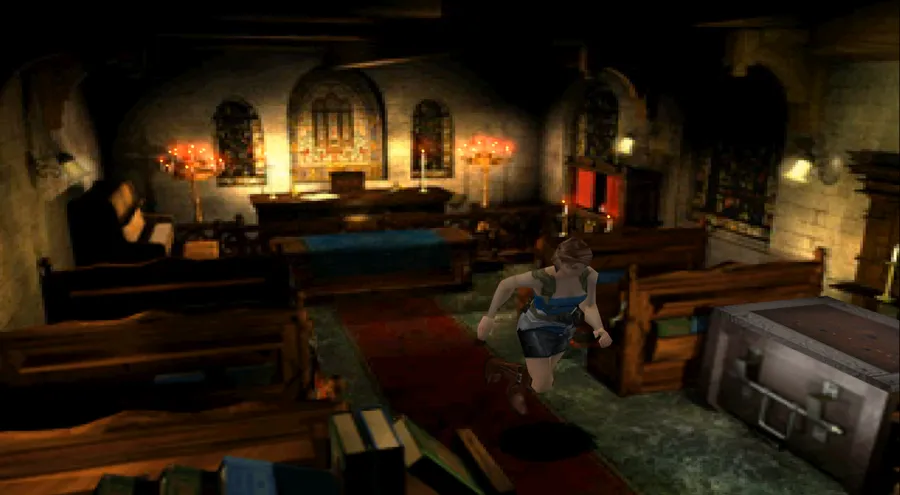
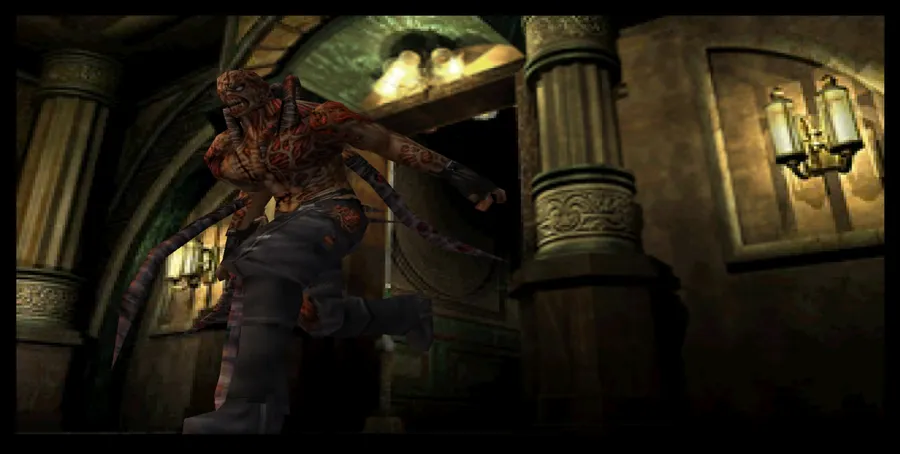
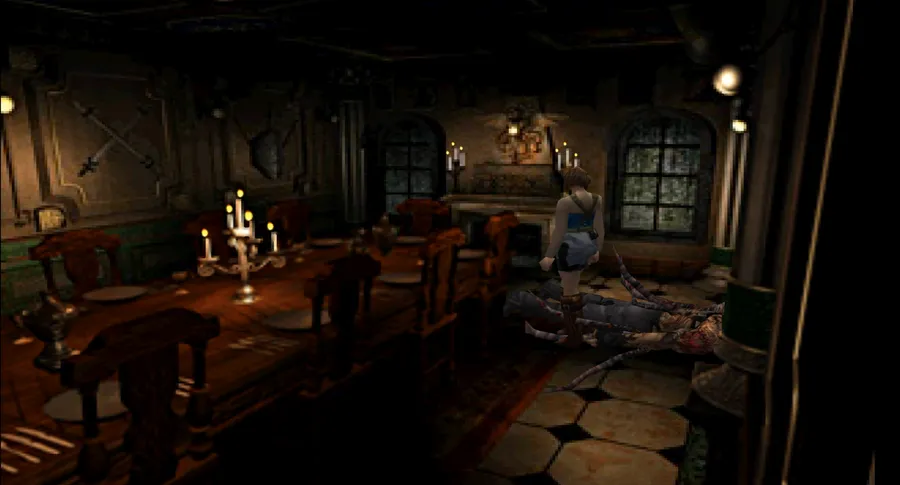
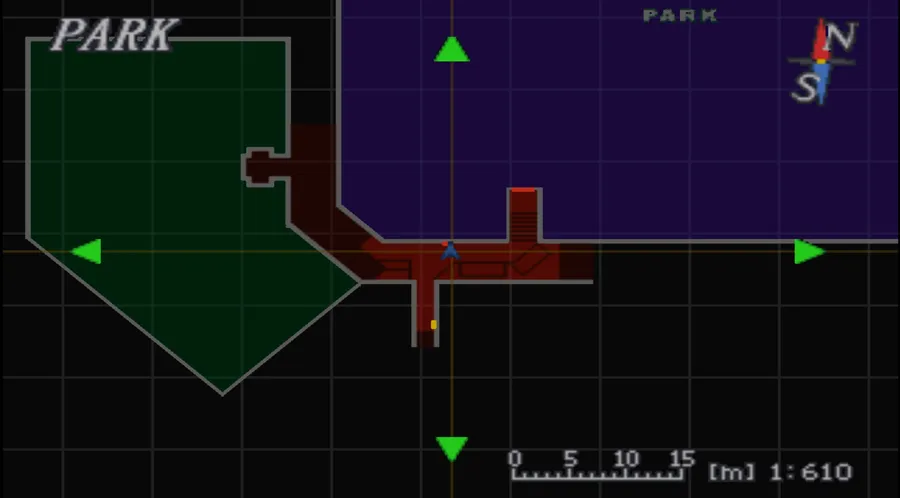
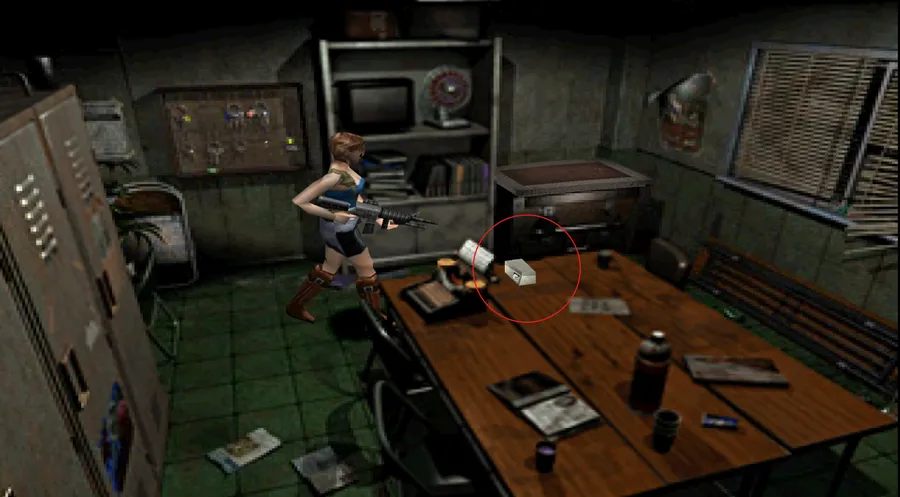
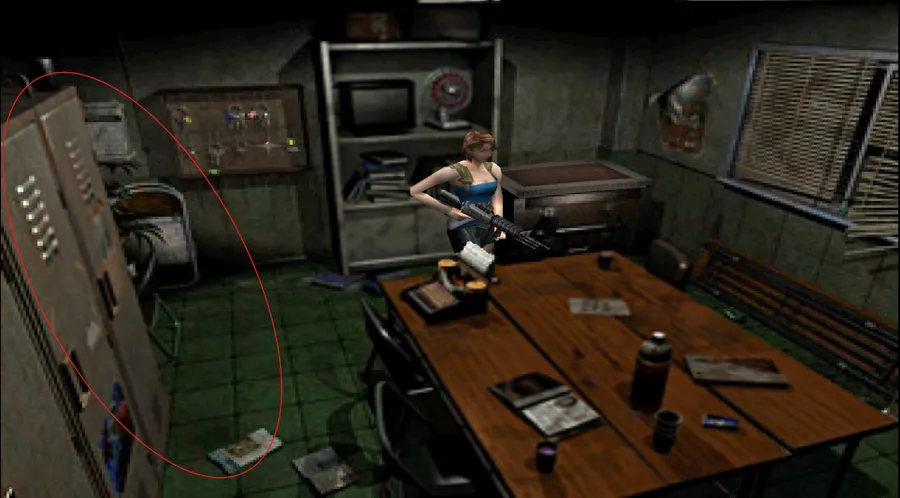
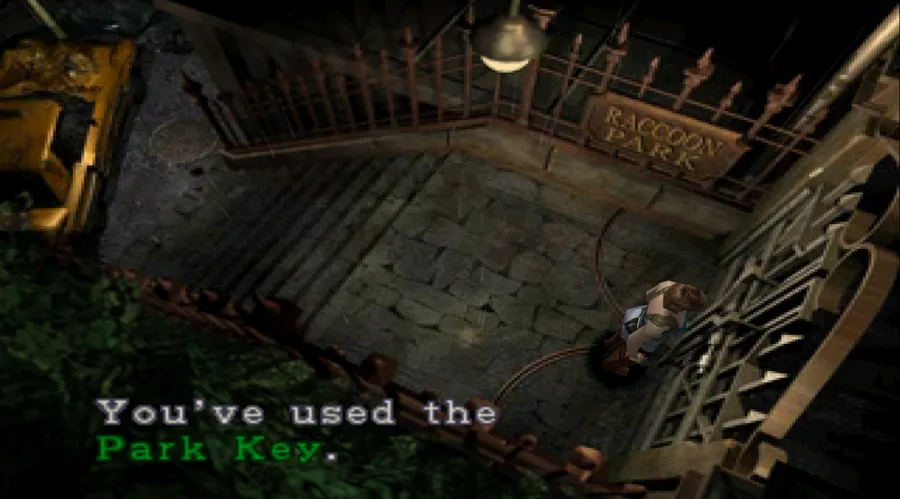
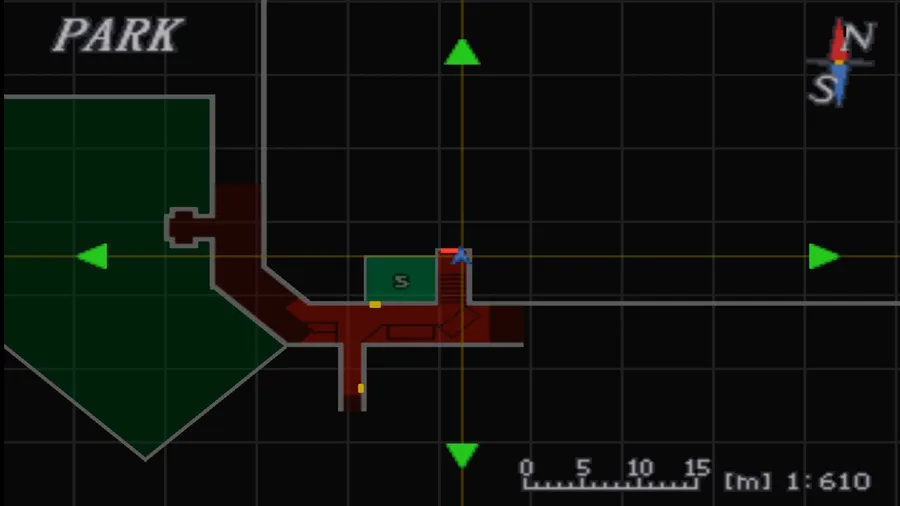
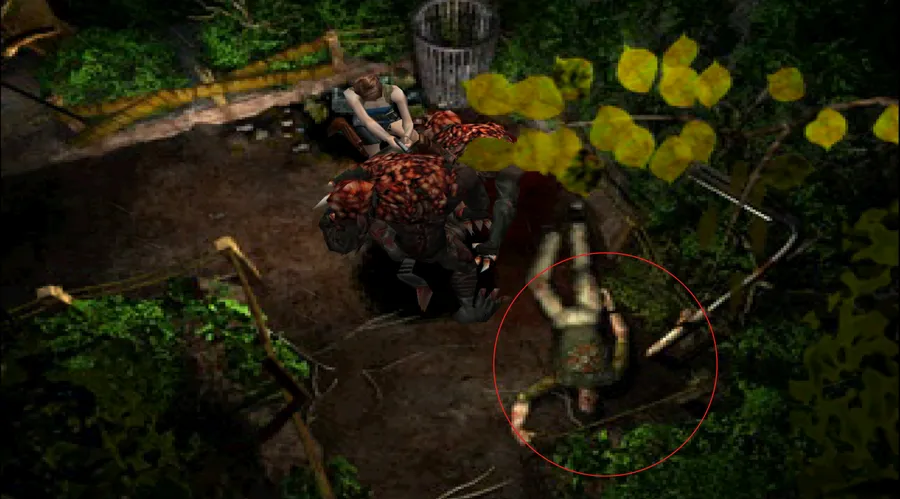
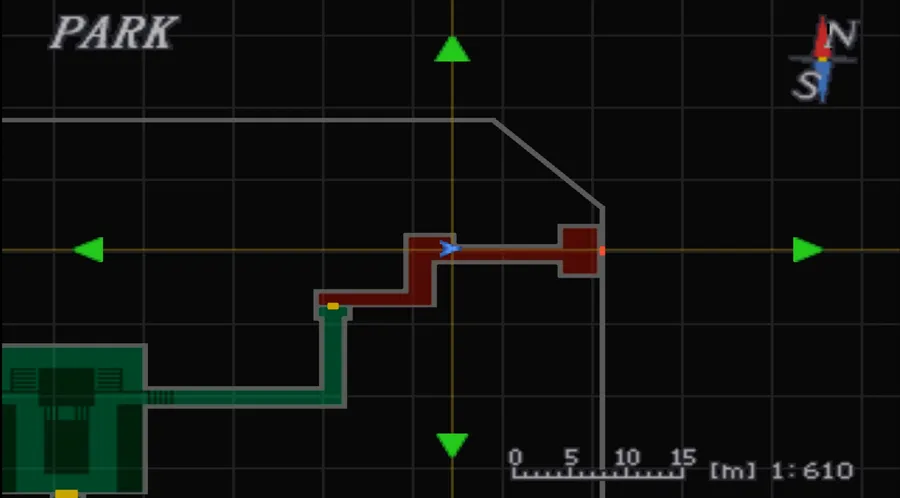
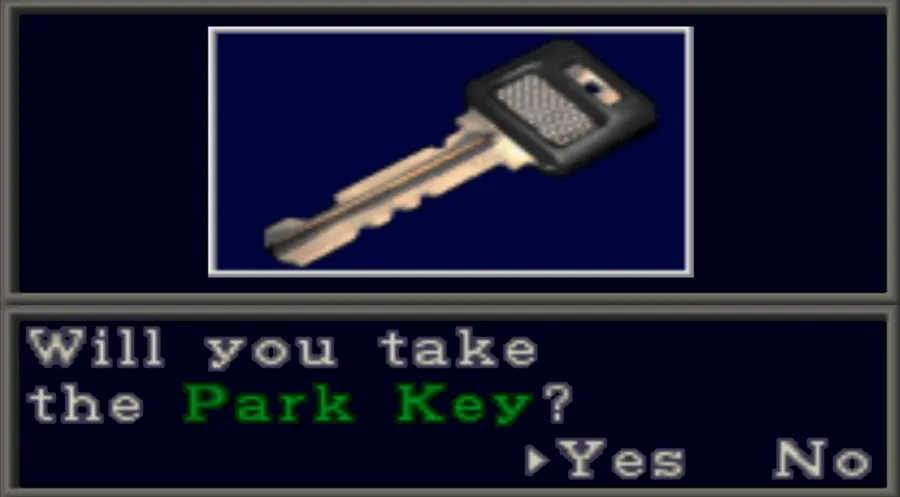
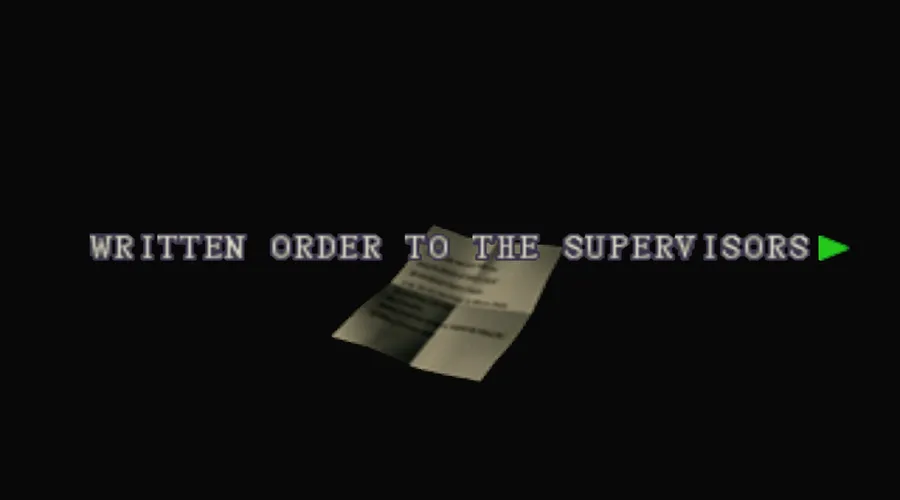
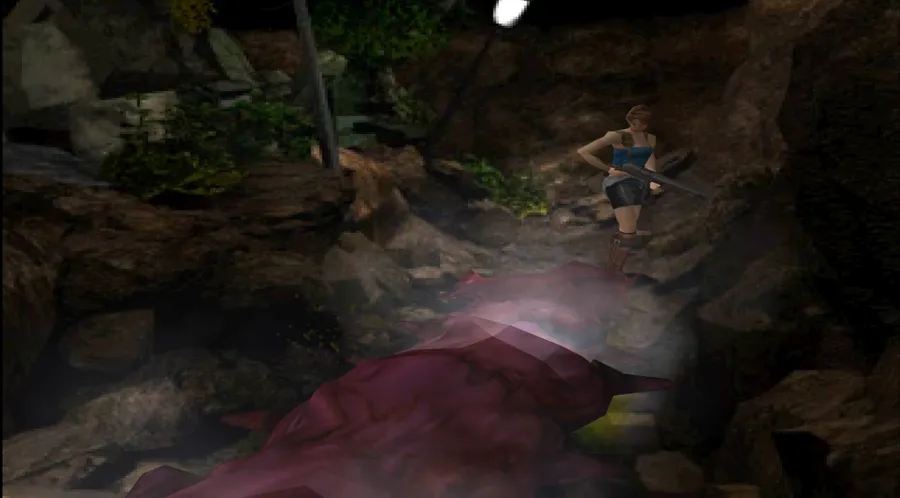
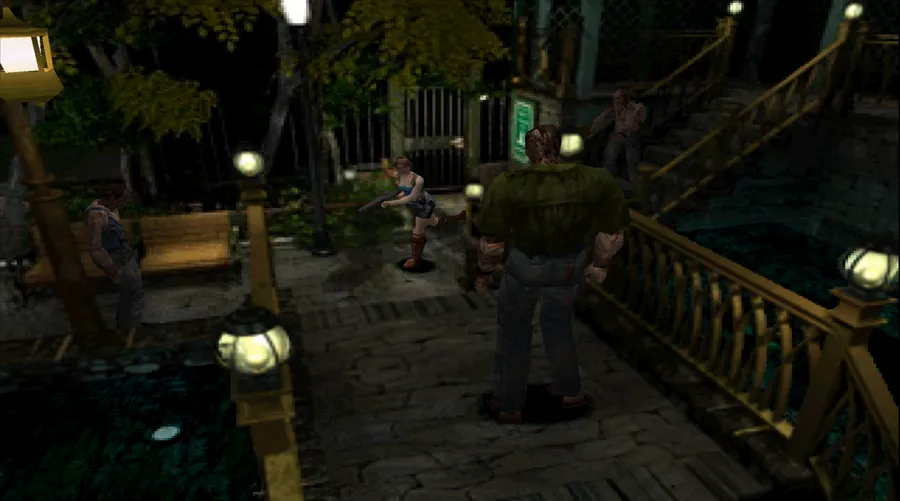
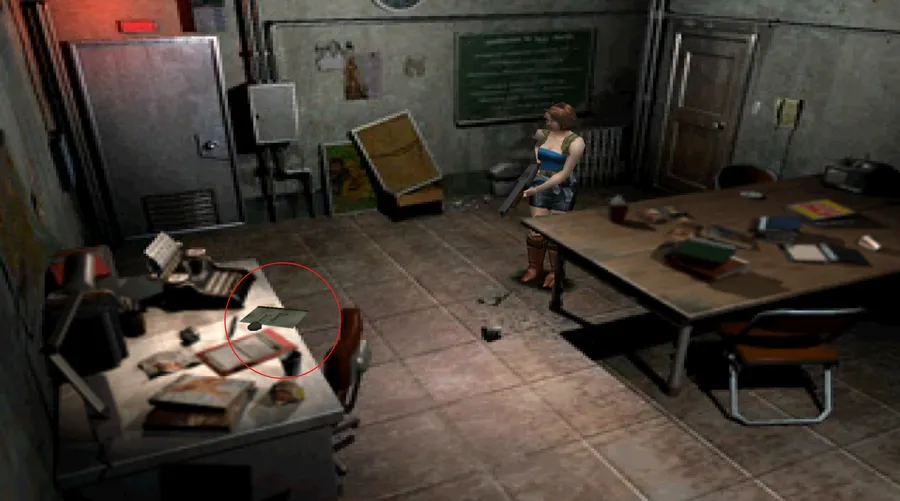
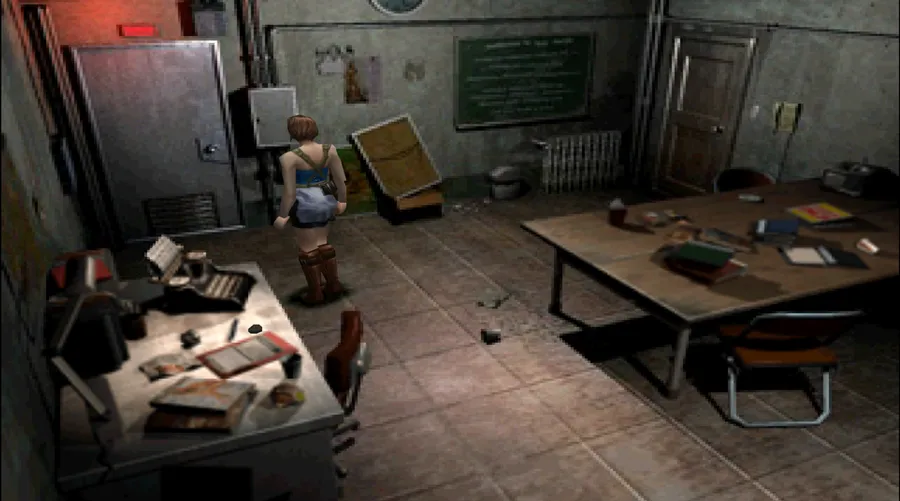
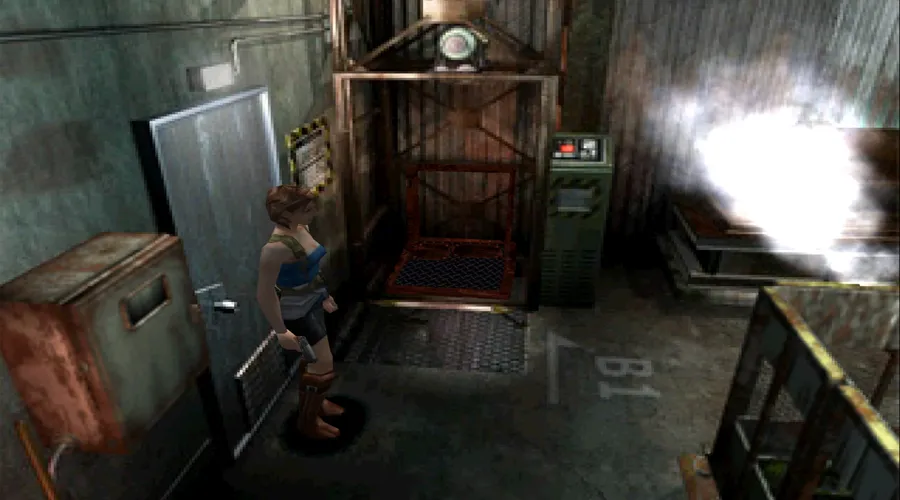
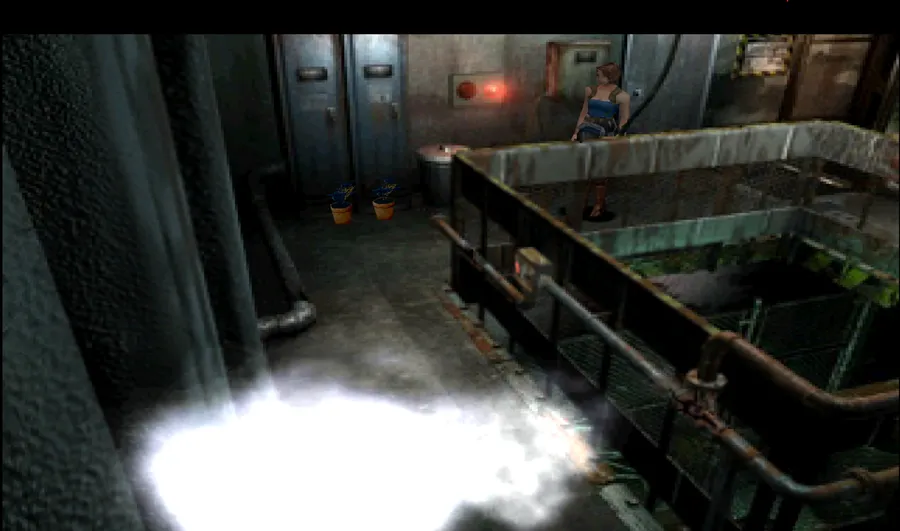
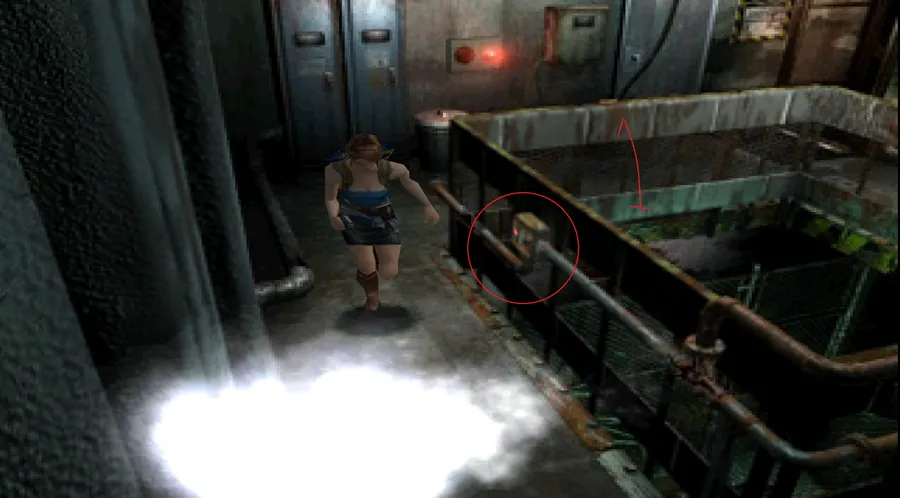
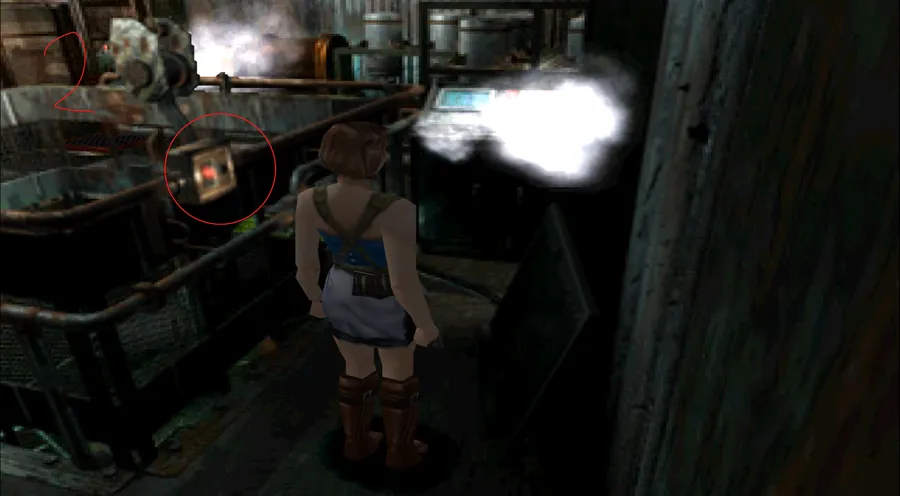
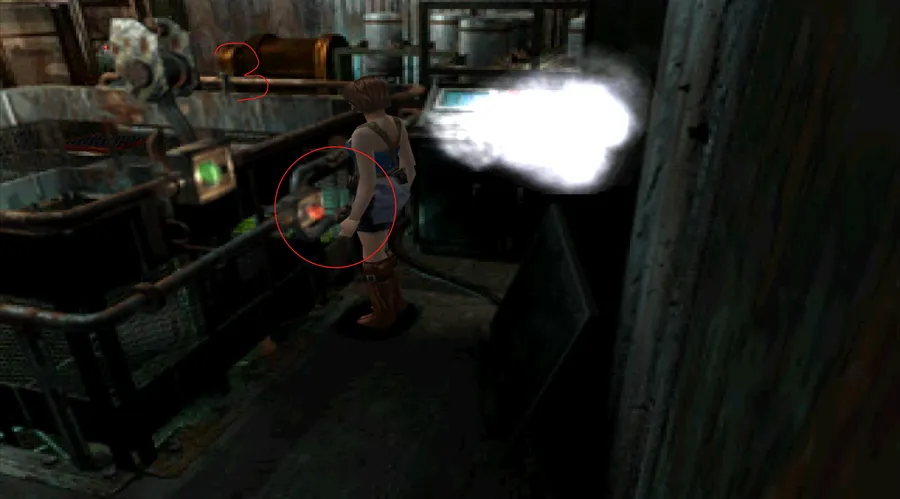
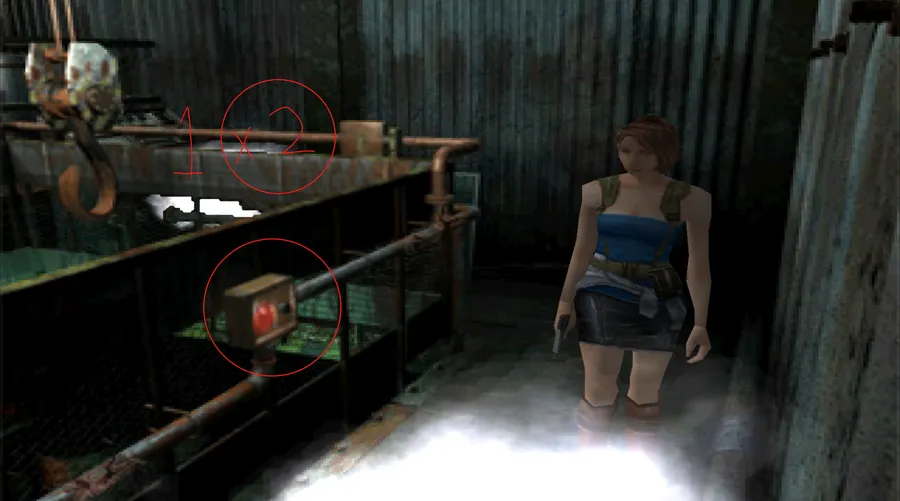
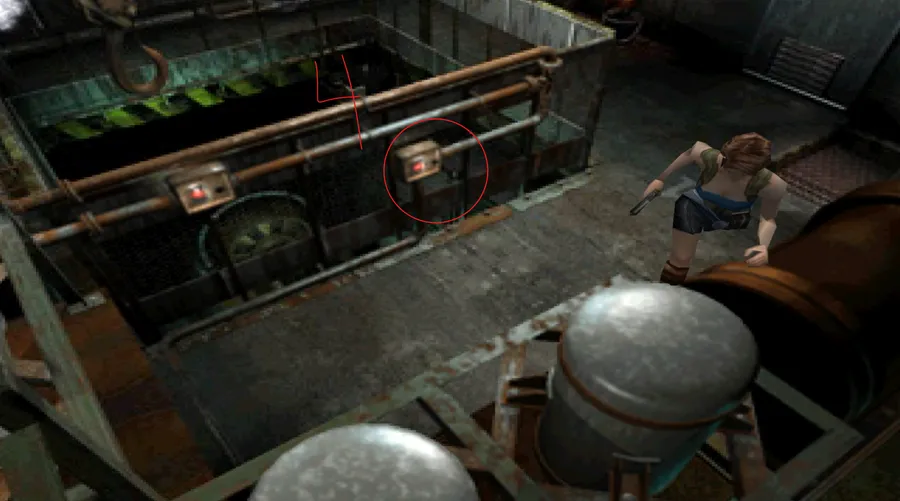
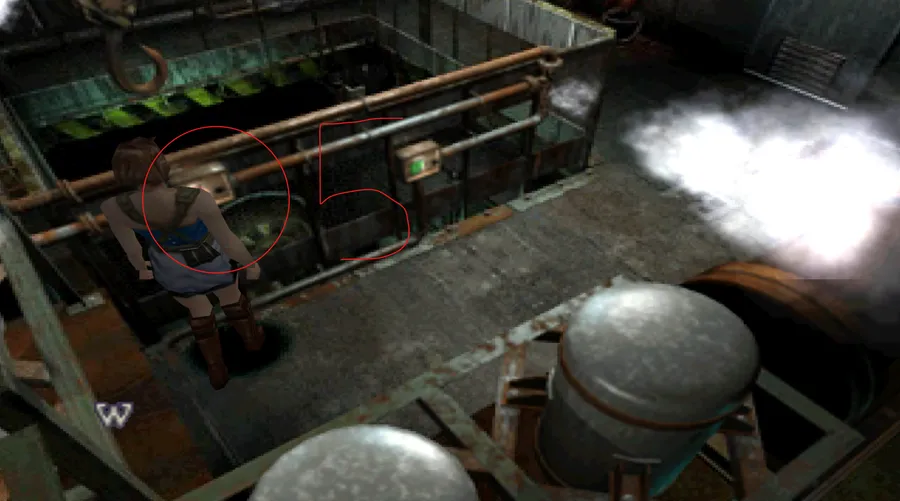
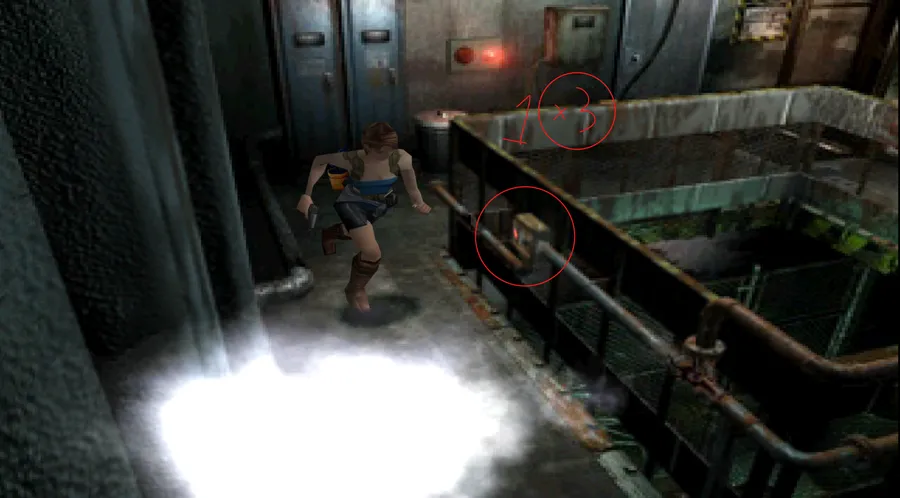
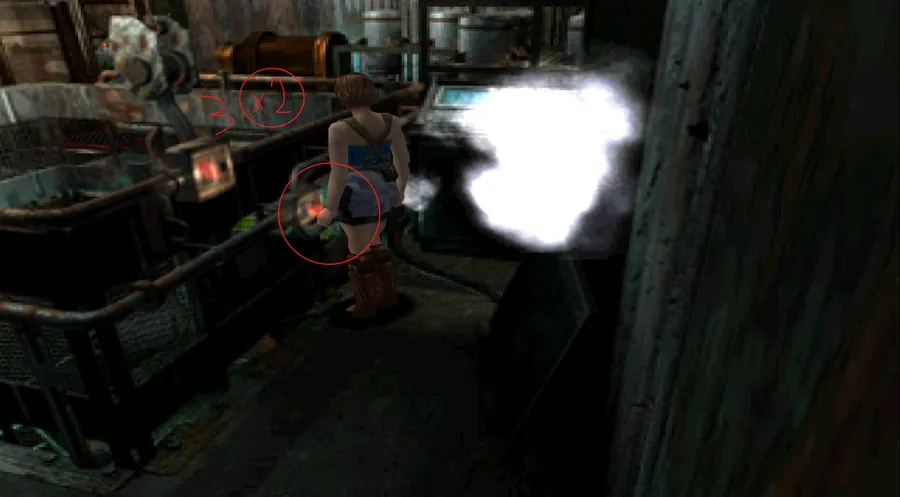
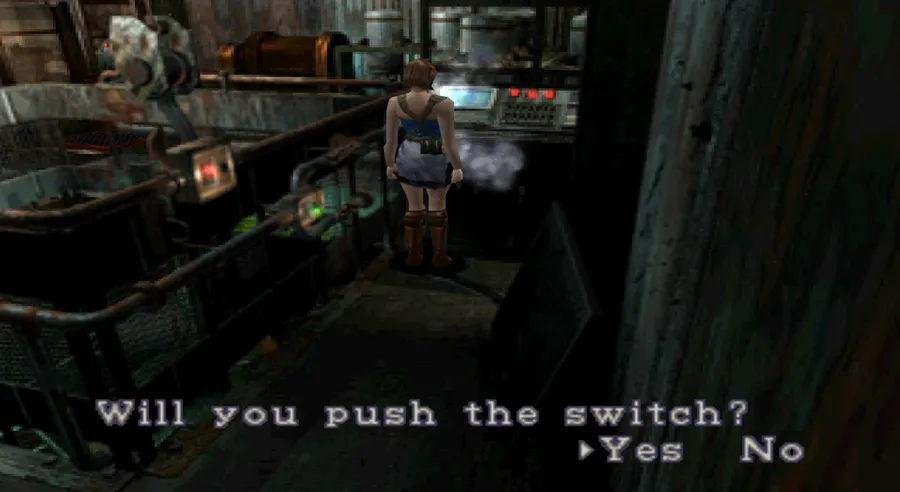
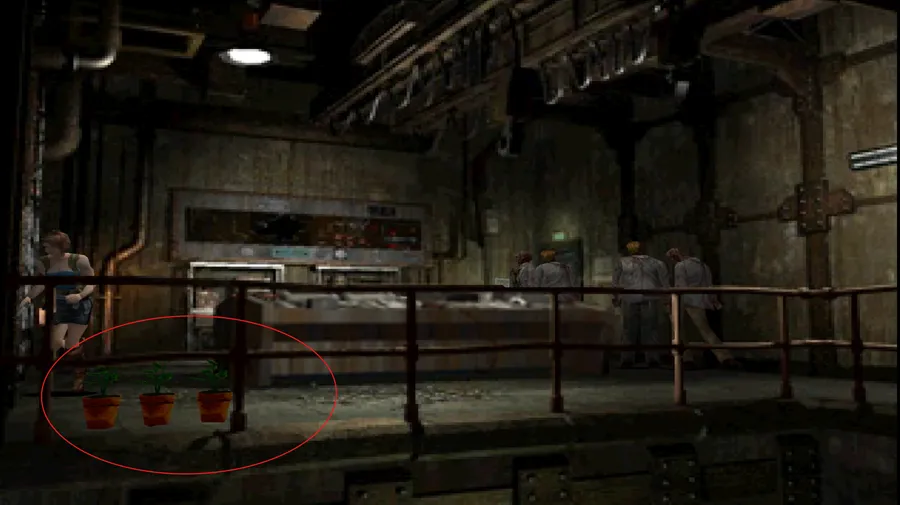
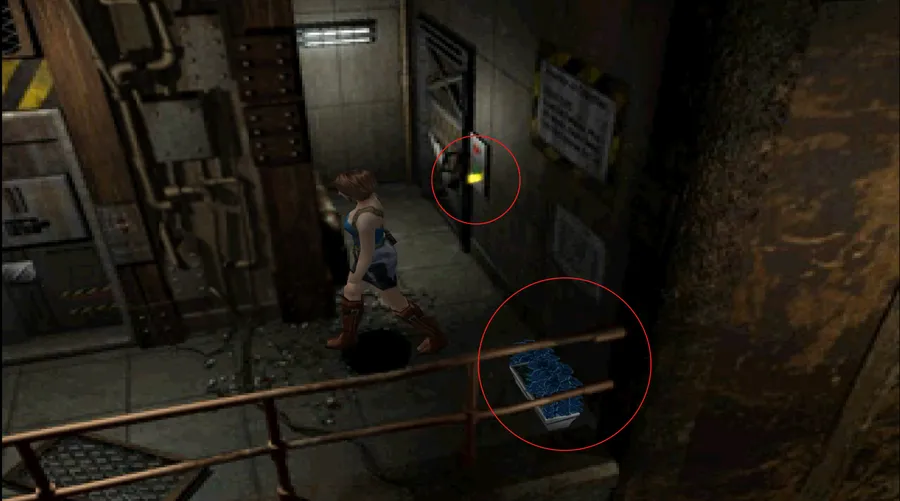
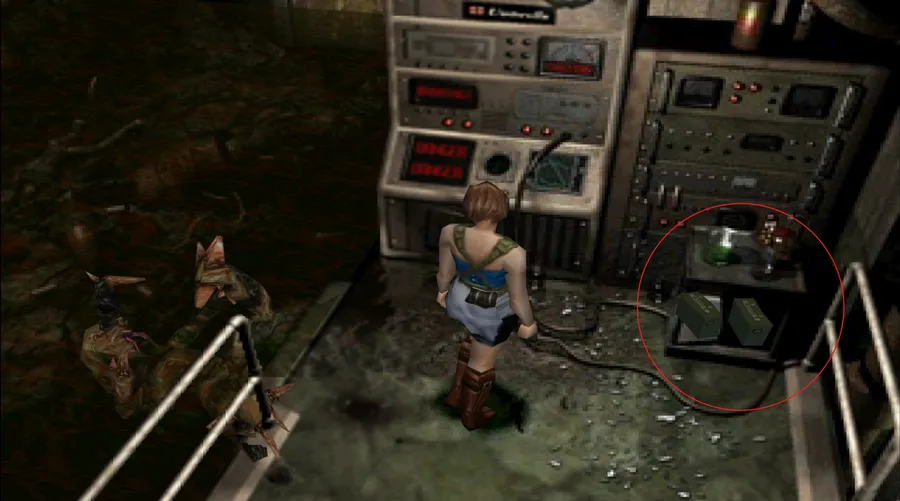
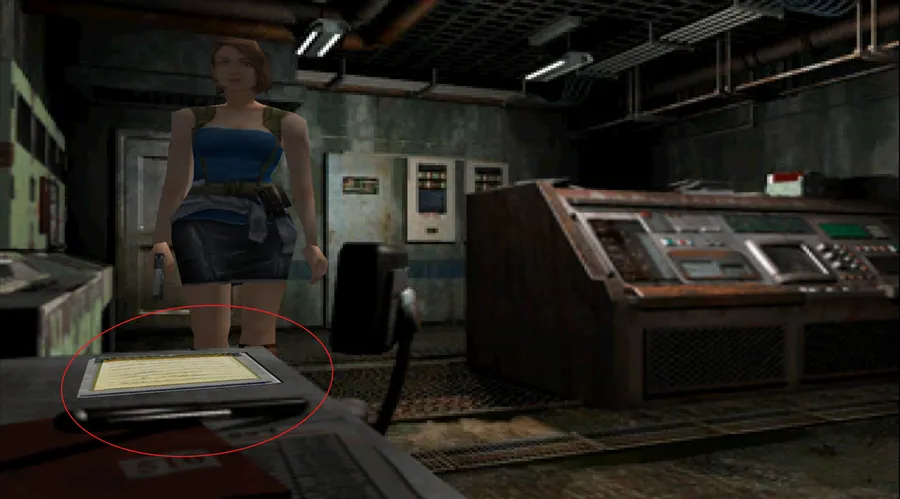
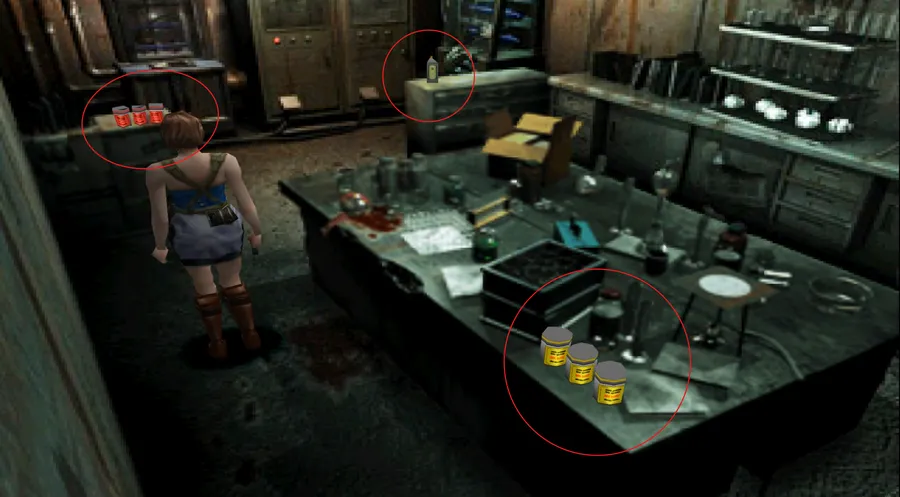
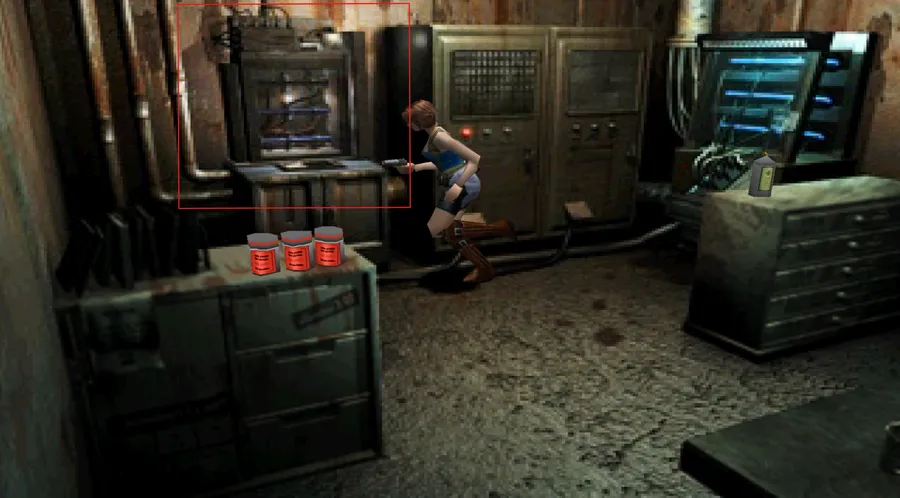
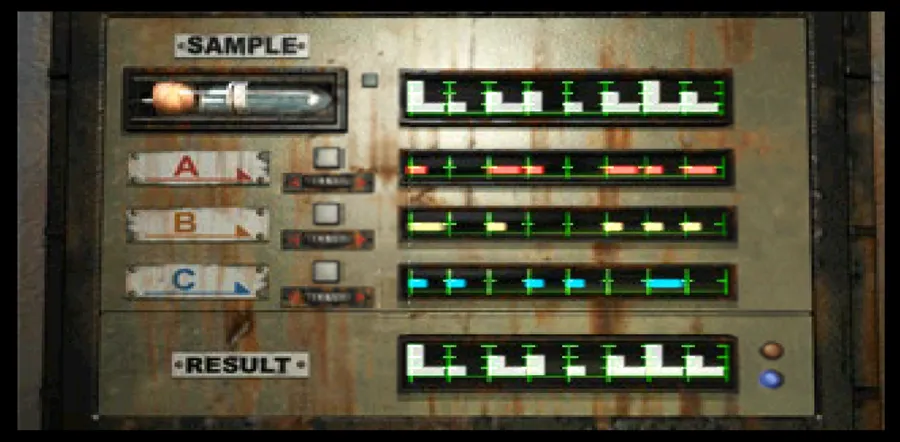
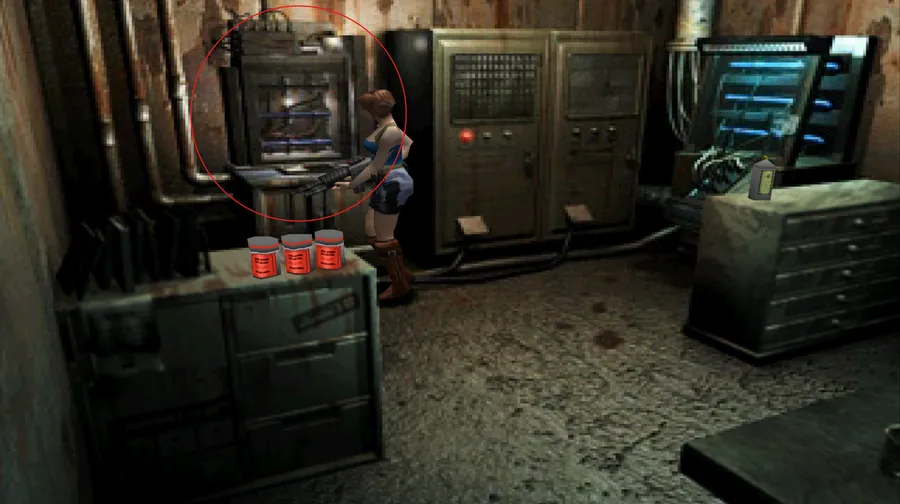
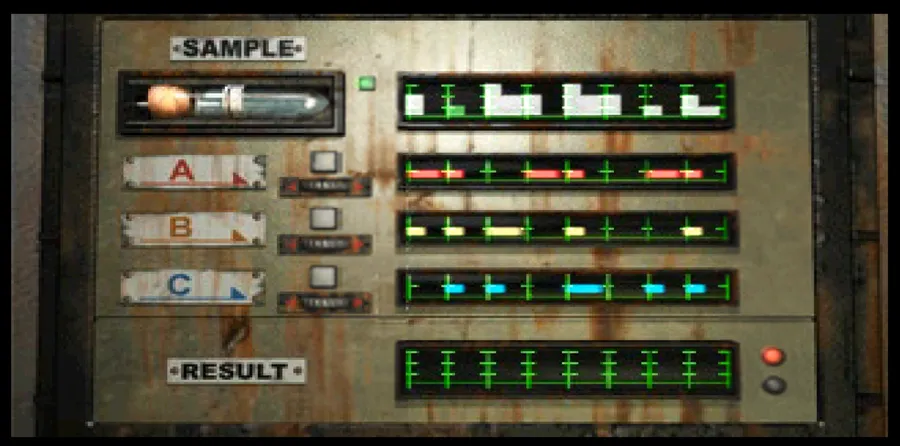
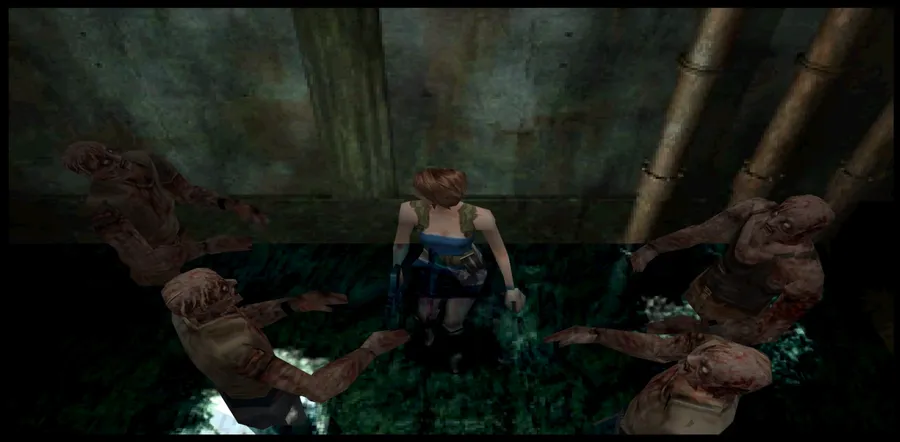
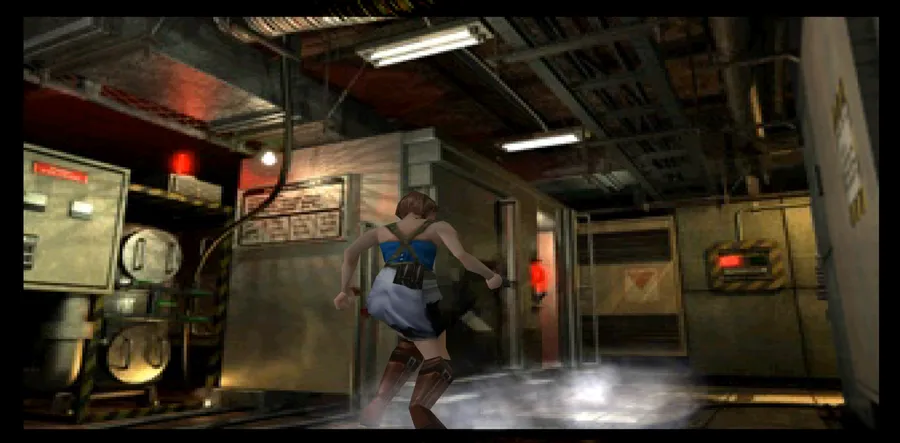
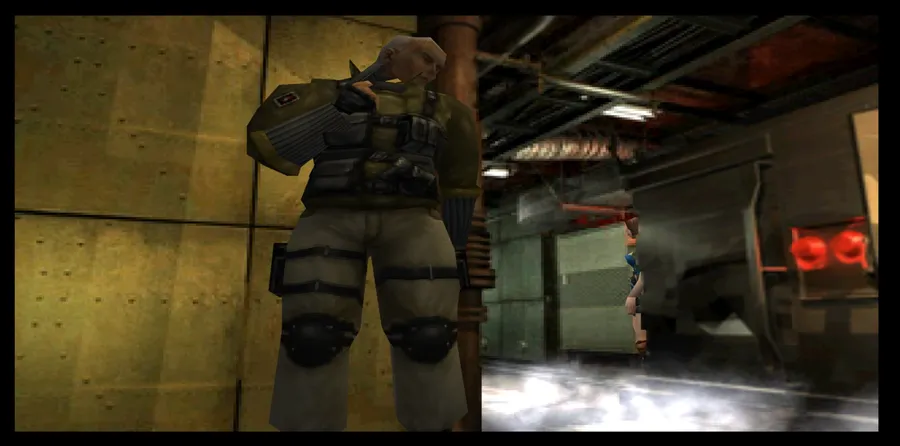
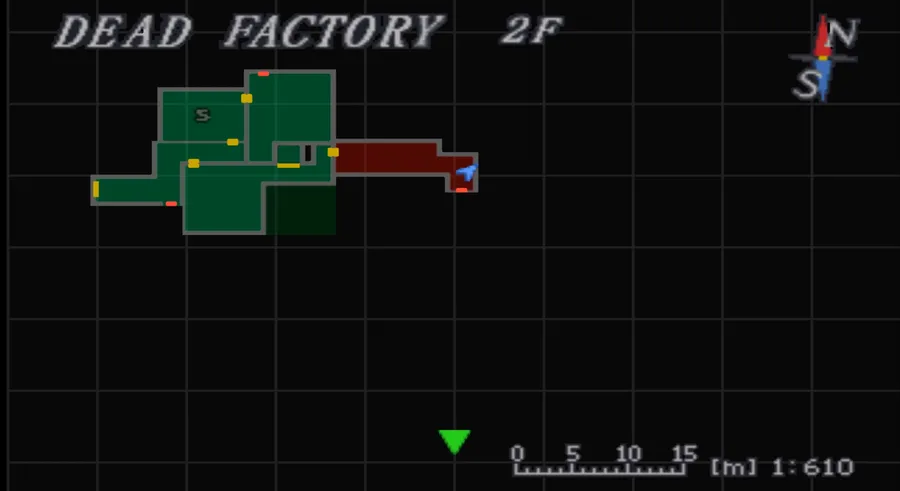
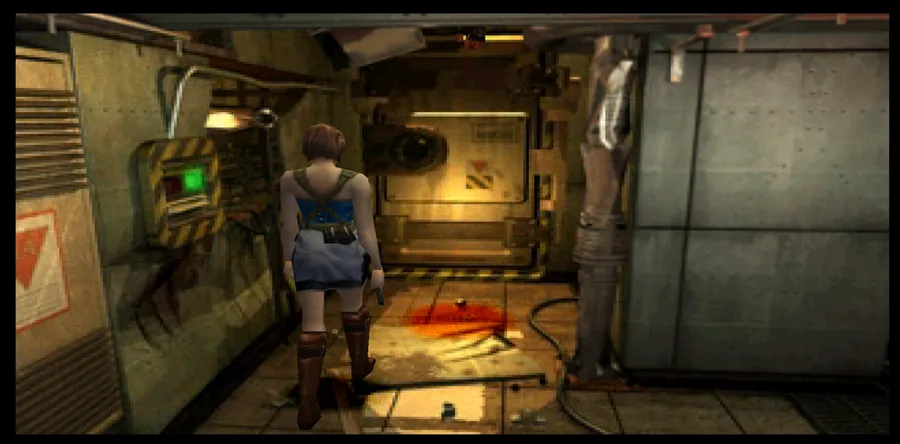
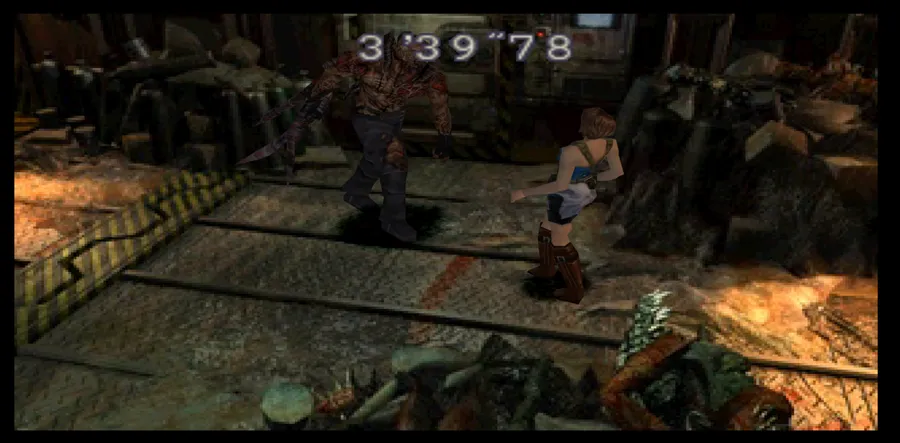
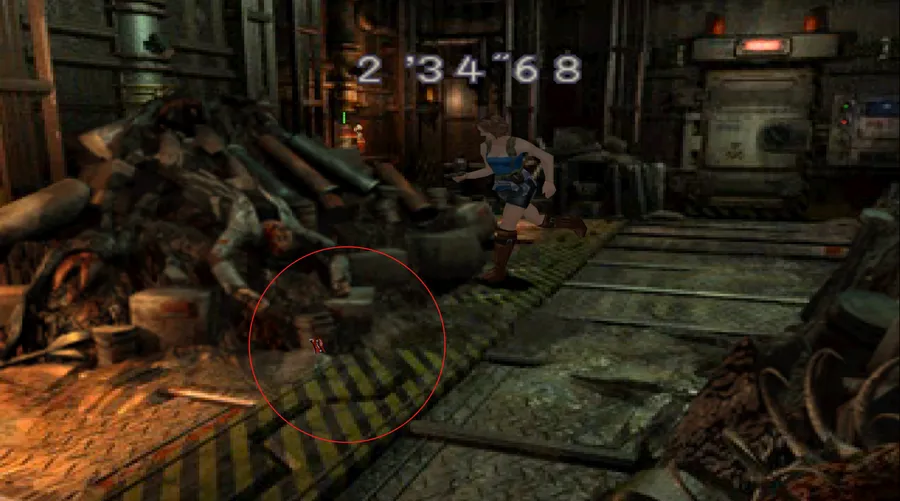
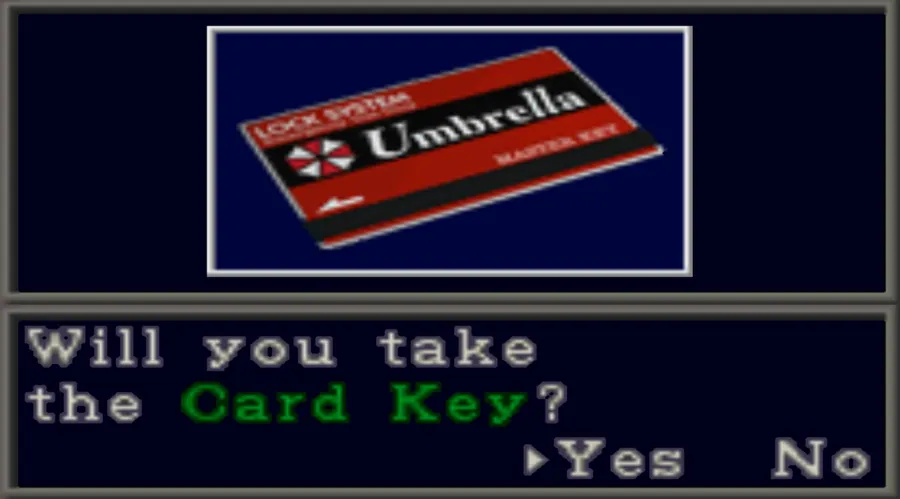
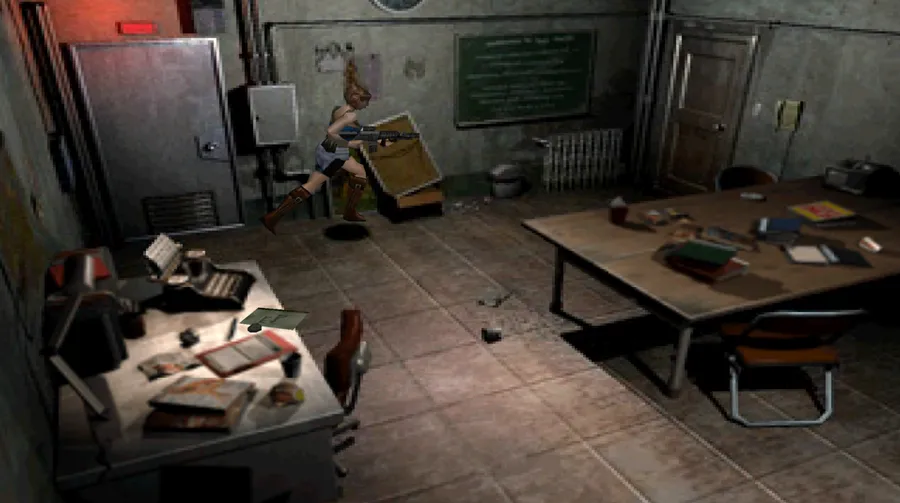
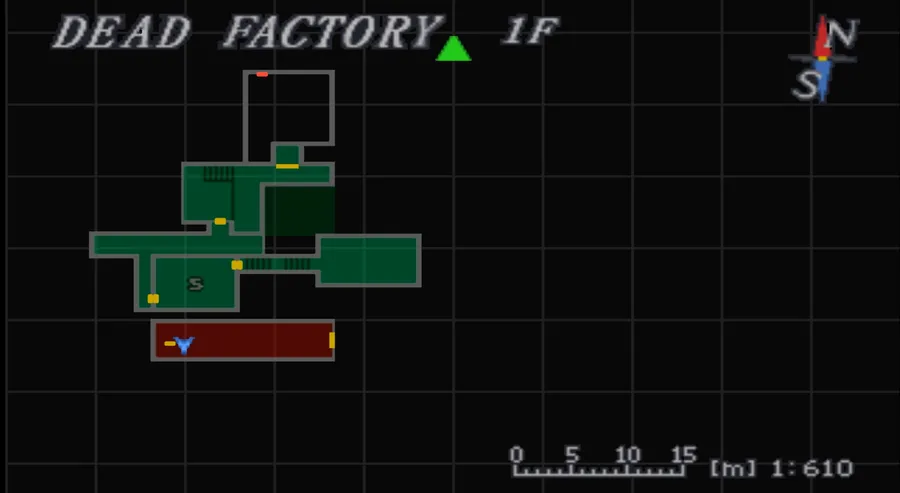
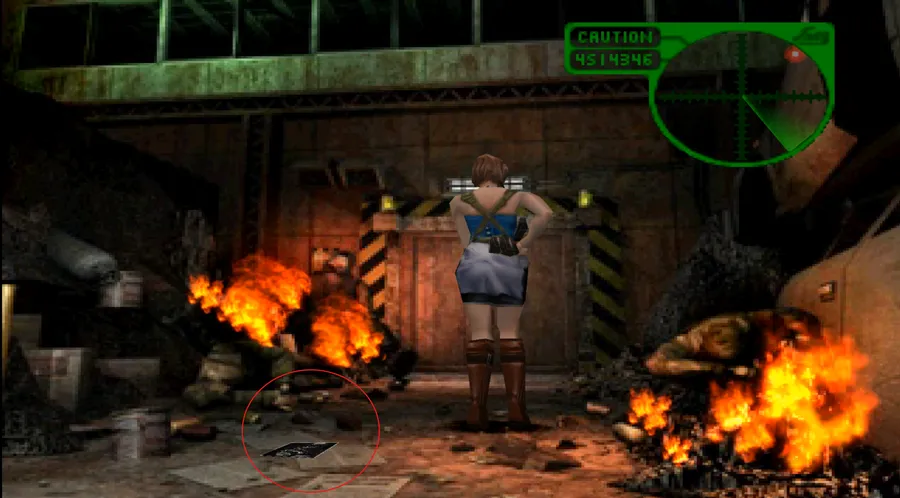
Resident Evil 3: Nemesis follows Jill Valentine’s desperate escape from Raccoon City during the T-virus outbreak, pursued relentlessly by the bio-organic weapon Nemesis-T Type. Structurally it is a survival horror run through seven city areas, with branching paths via Live Selections, a gunpowder ammo crafting system, and the unlockable Mercenaries: Operation Mad Jackal mode.
Detail
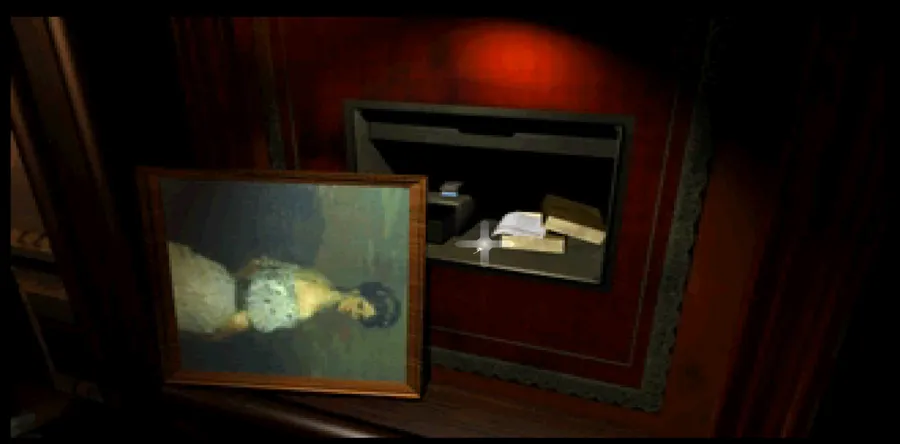
Info
Title
Resident Evil 3: Nemesis
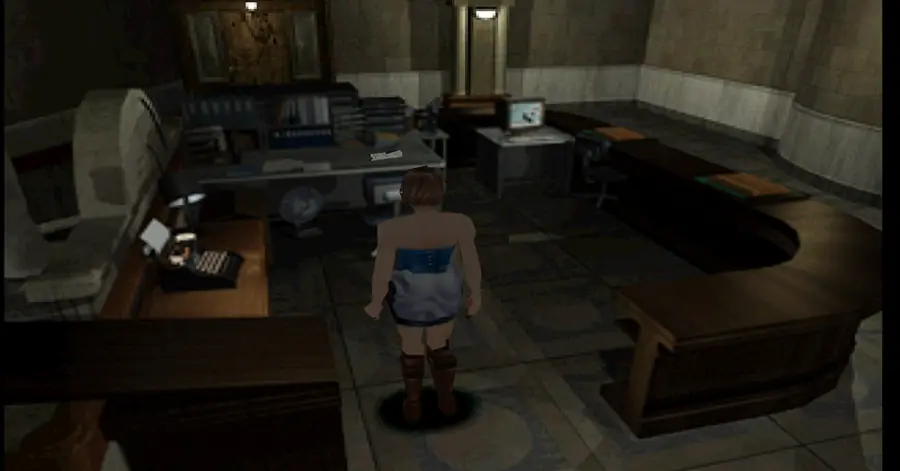
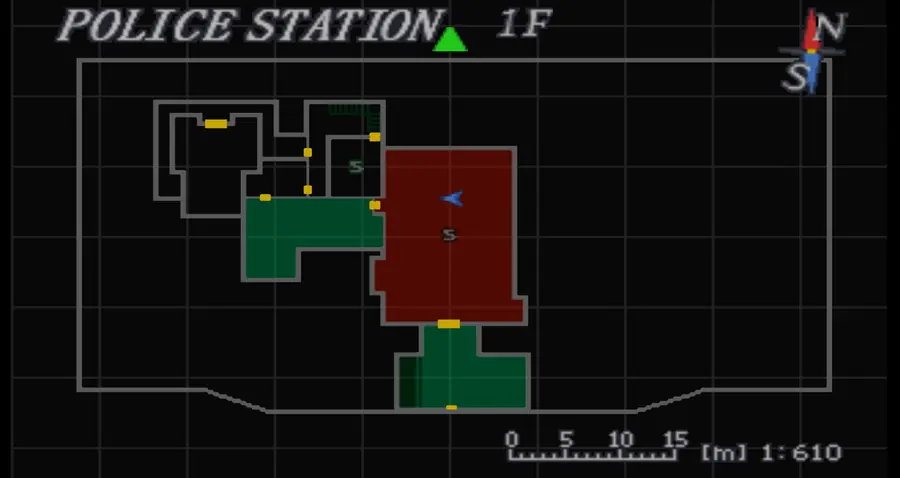
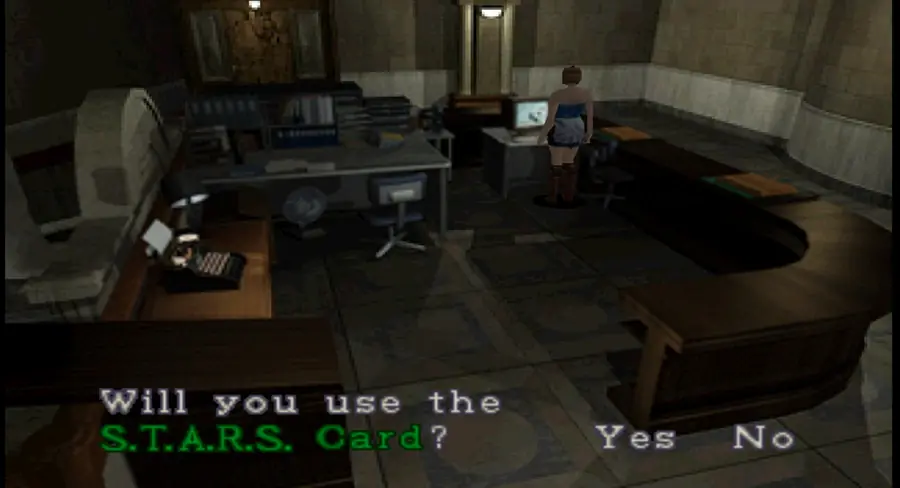
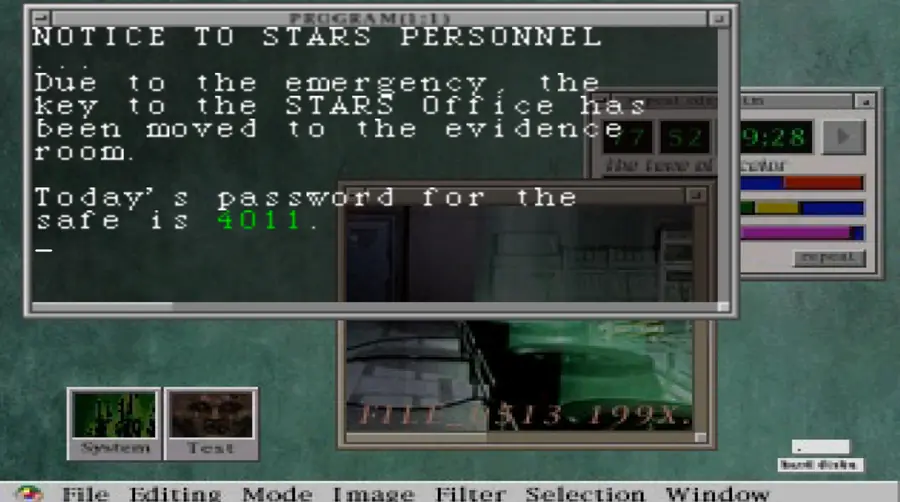
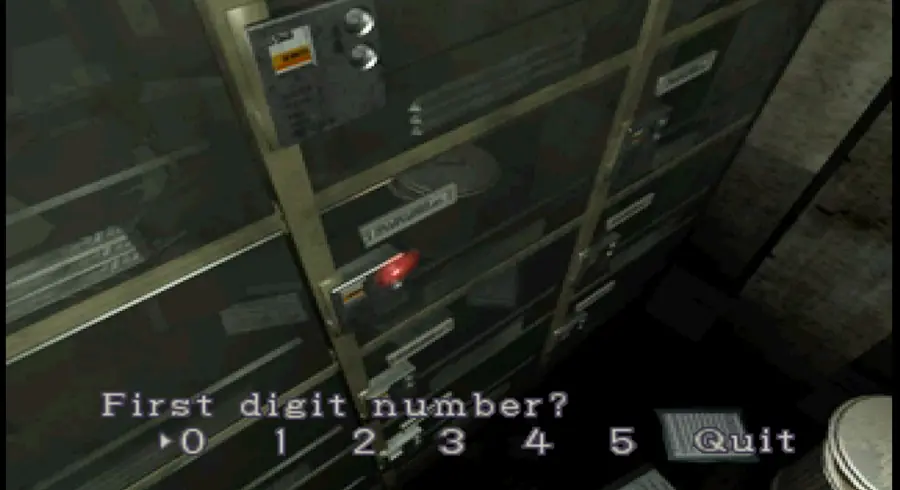
Release
September 22, 1999 (PS1)
Developer / Publisher
Capcom
Genre
Survival Horror
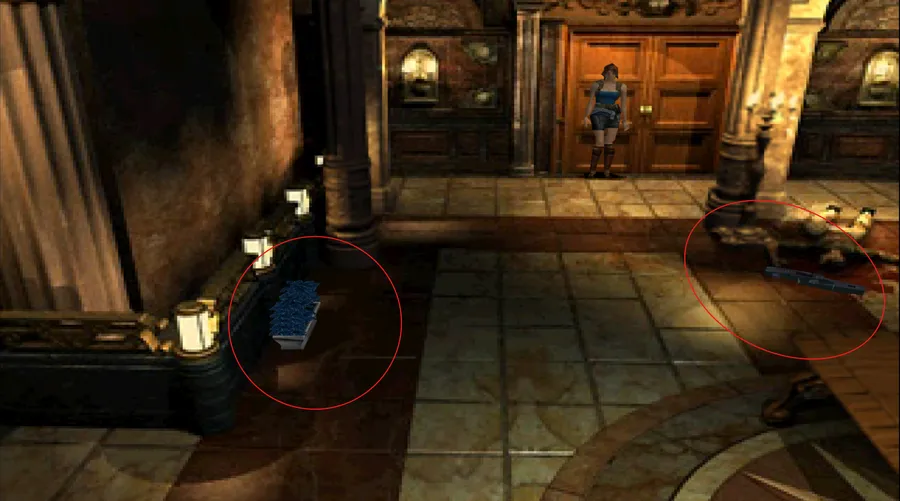
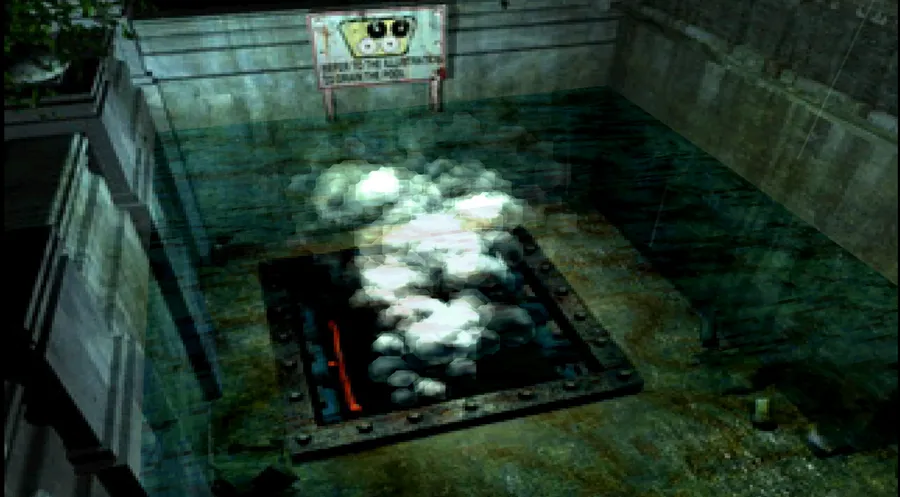
Playable character
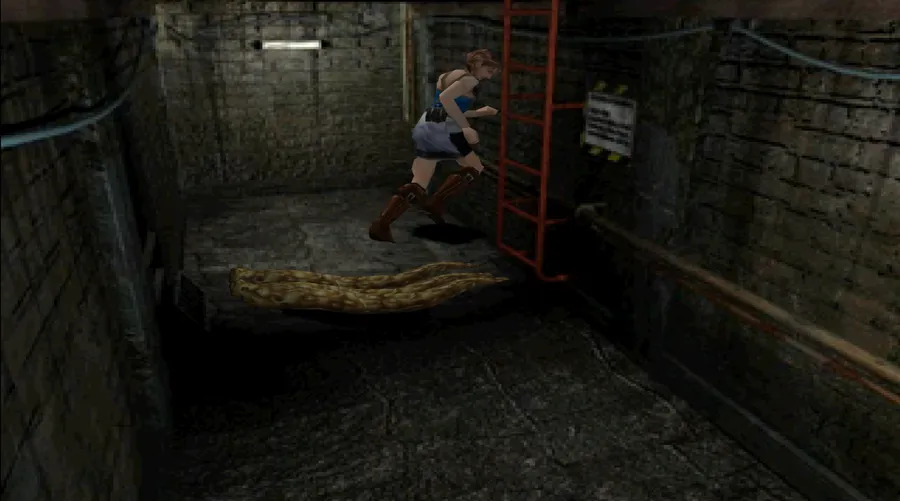
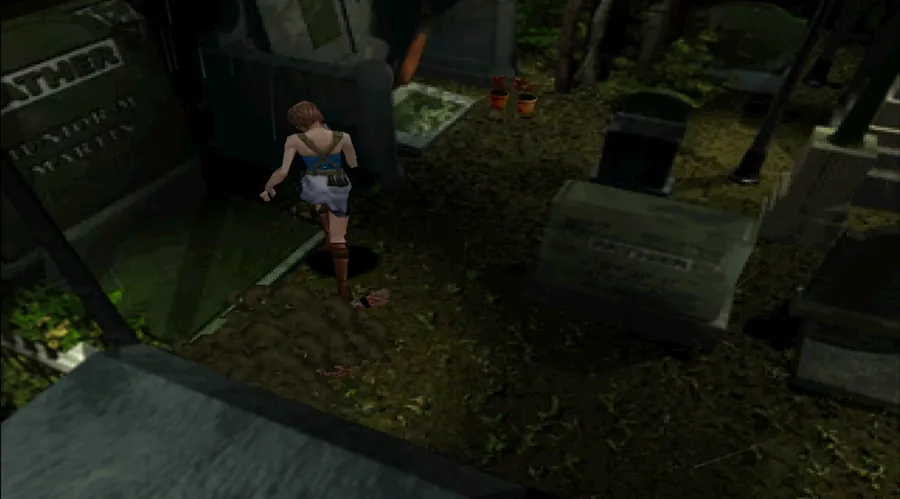
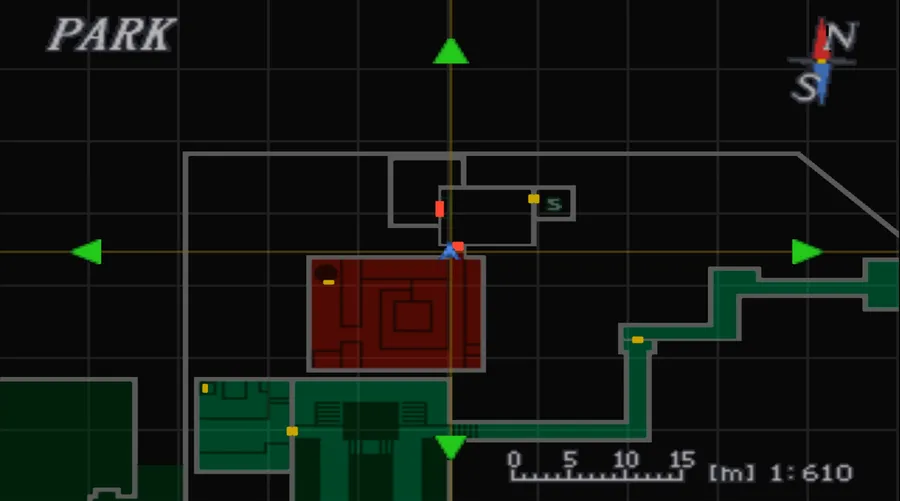
Jill Valentine — with a Carlos Oliveira section
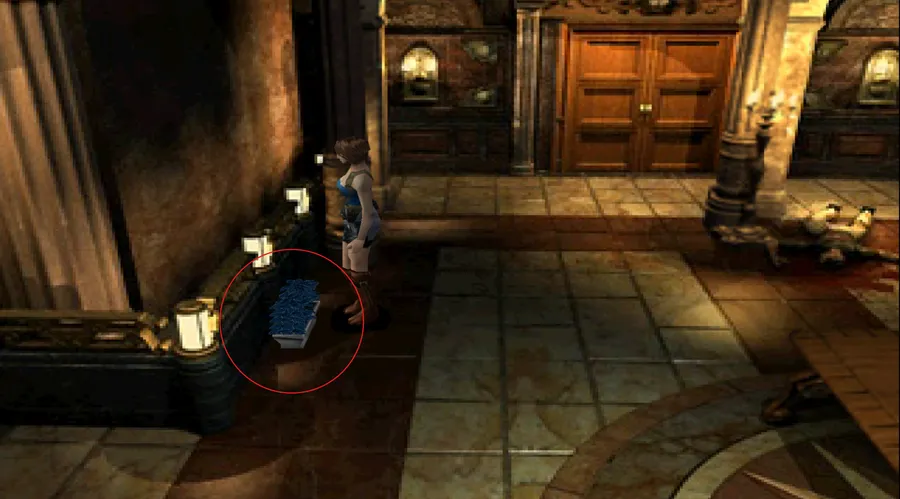
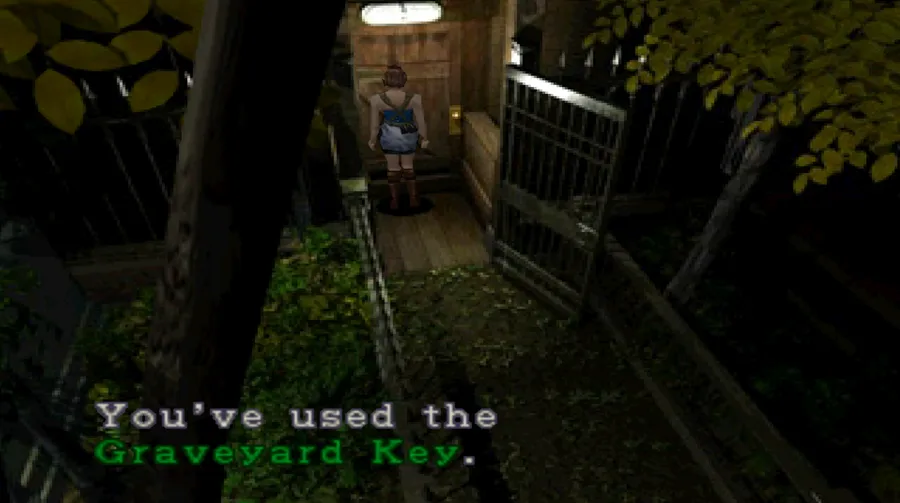
Antagonists
Nemesis-T Type · Nicholai Ginovaef
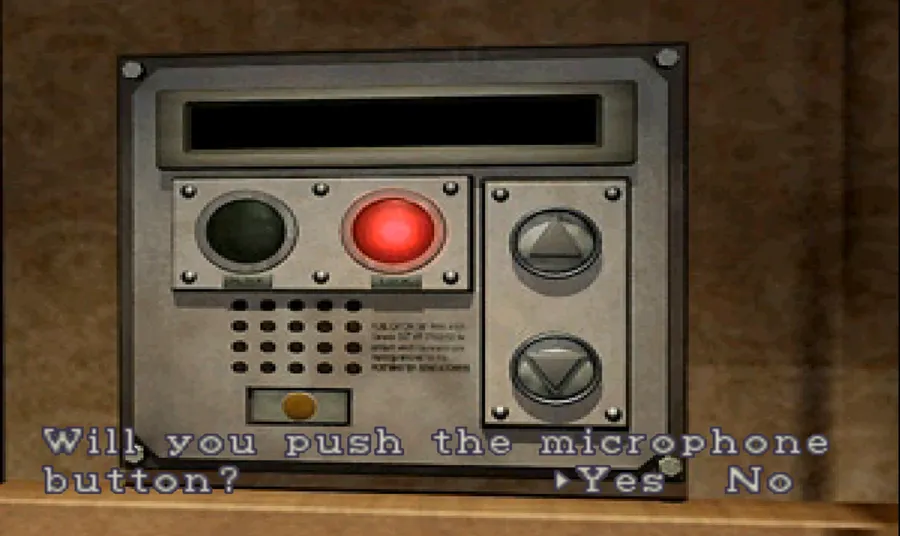
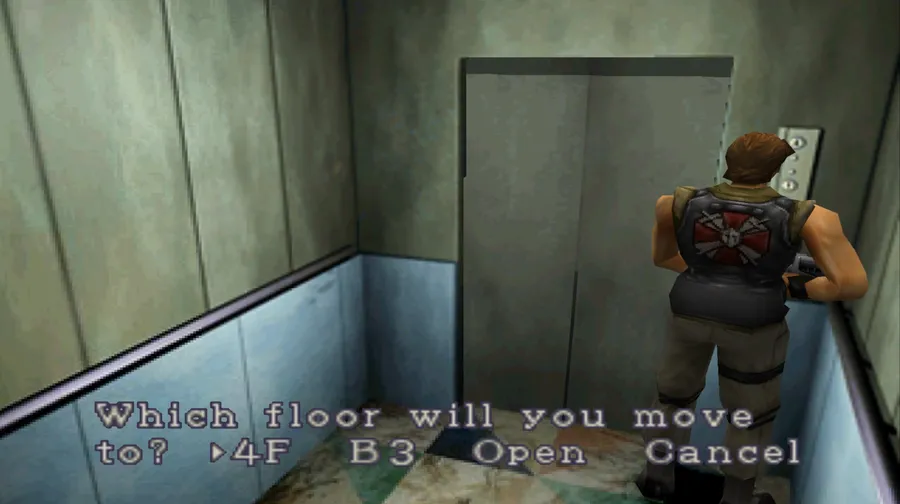
Areas (in play order)
Uptown → RPD → Downtown → Clock Tower → Hospital → Park → Dead Factory
Difficulties
Easy · Hard
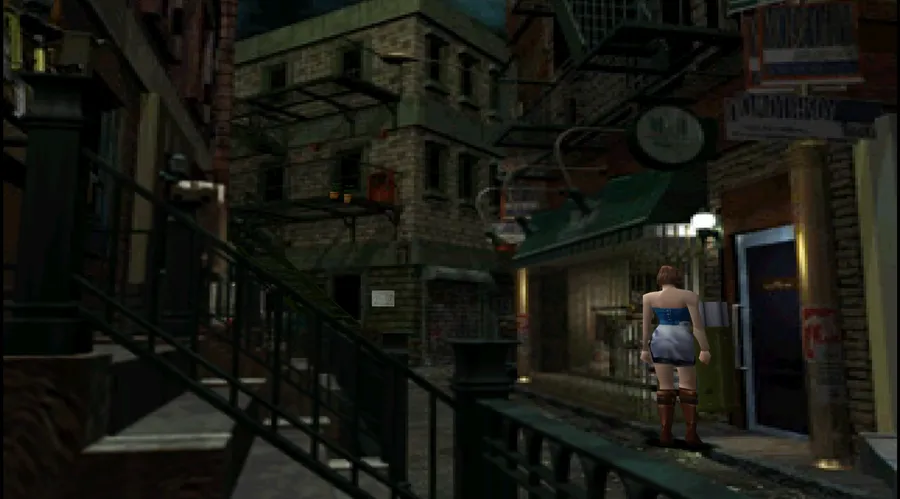
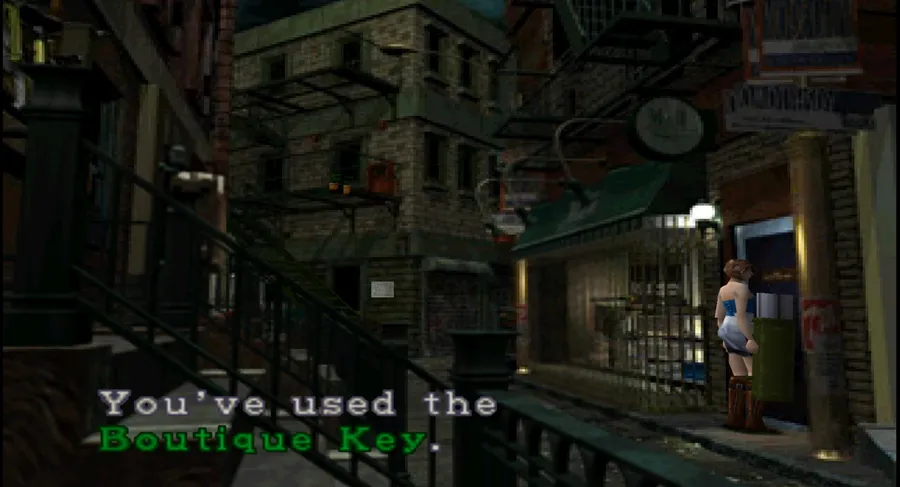
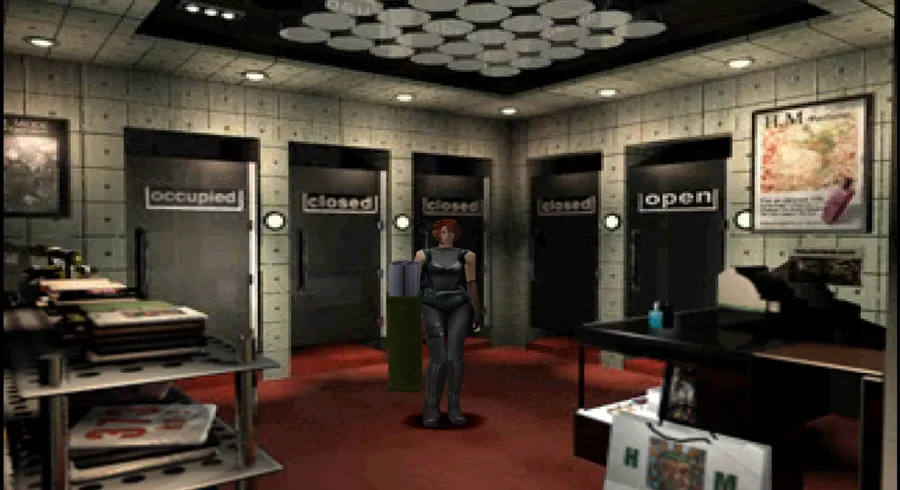
New Game+
Available — infinite ammo weapons carry over
100% playthrough
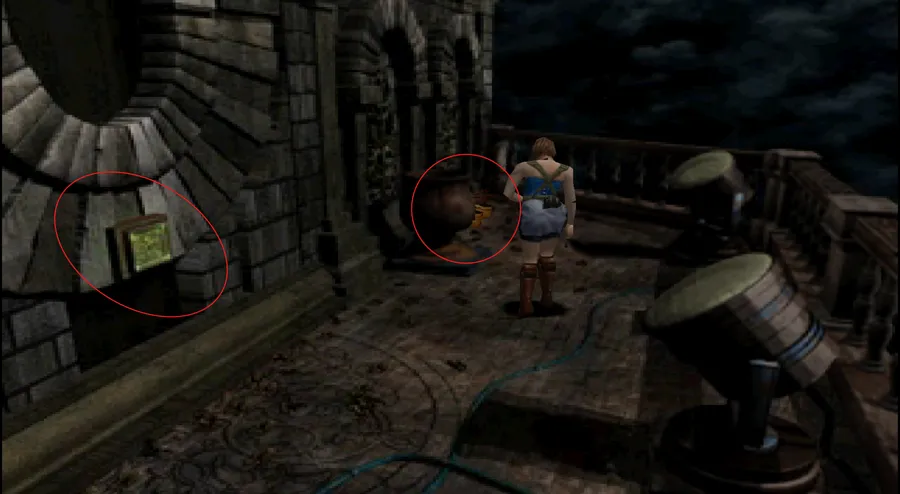
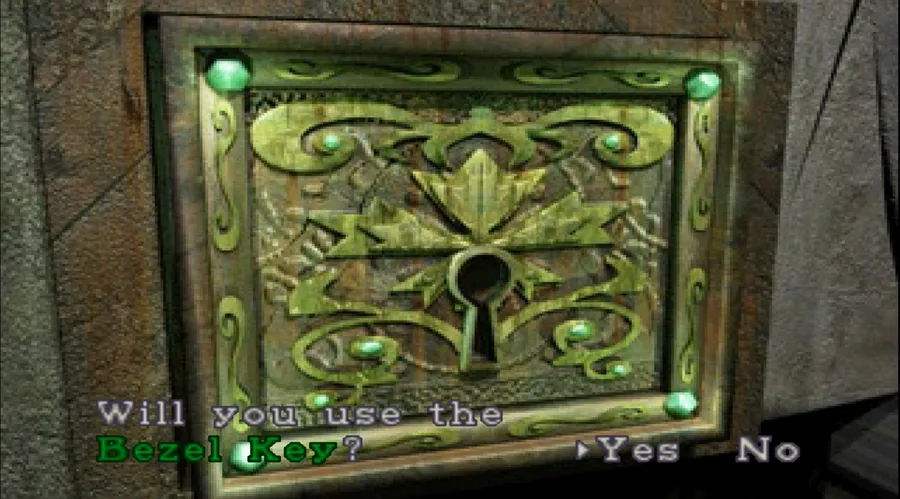
Roughly 6–8 hours for a first run — full completion takes multiple playthroughs on the same save
Read This Before You Start
Five decisions shape the whole run.
Decision
Why it matters
Play Hard for the real rewards
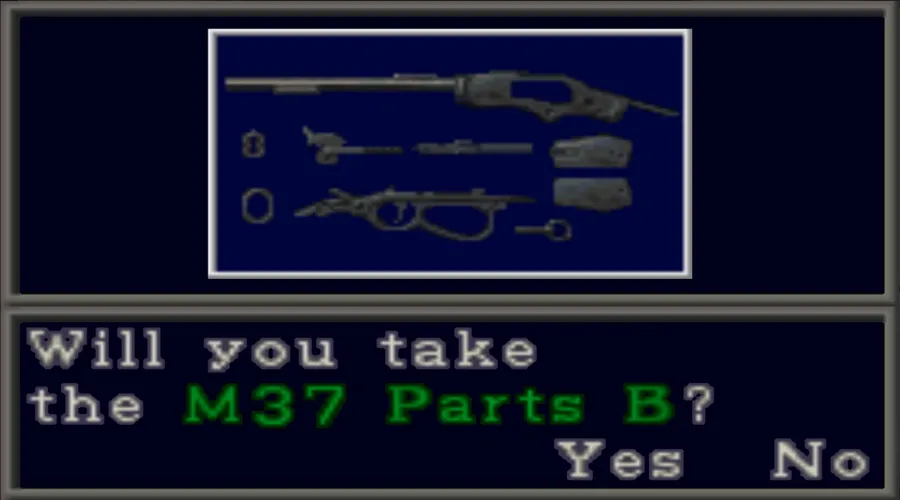
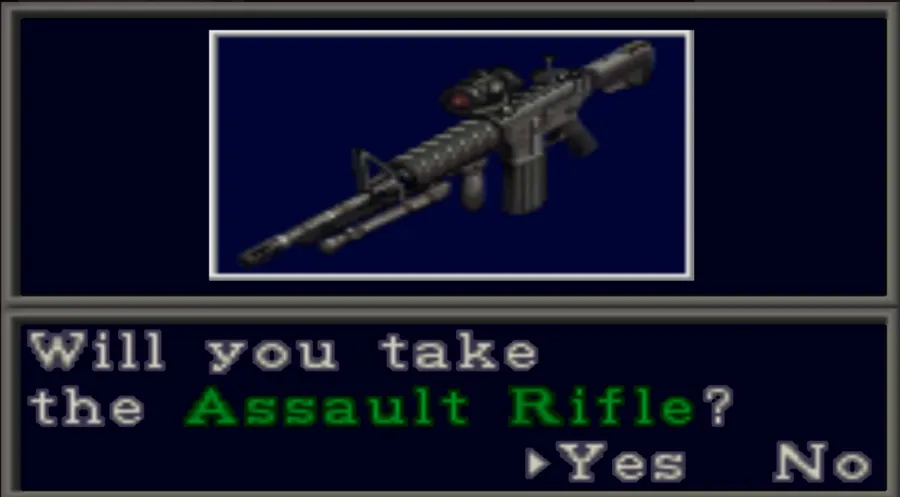
On Easy, Nemesis drops nothing. Only on Hard does defeating him in his 7 non-boss encounters drop item cases with the EAGLE 6.0 parts, M37 parts, First Aid Boxes and Assault Rifle — and the Mine Thrower is Hard-only, found in the Clock Tower. Use Easy for a relaxed learning run, then move to Hard.
Collect files before the cable car
Many of the 30 files sit in Uptown and Downtown, areas you cannot return to after taking the cable car. Sweep them before progressing past Downtown — and collect files in numerical order, scrolling every page completely before exiting, or Jill’s Diary will not unlock.
Keep one save file for everything
The eight epilogues require 8 separate completions on the same save file, always earned in the same order. After the 8th (HUNK), a special screen appears. Starting fresh saves resets that progress.
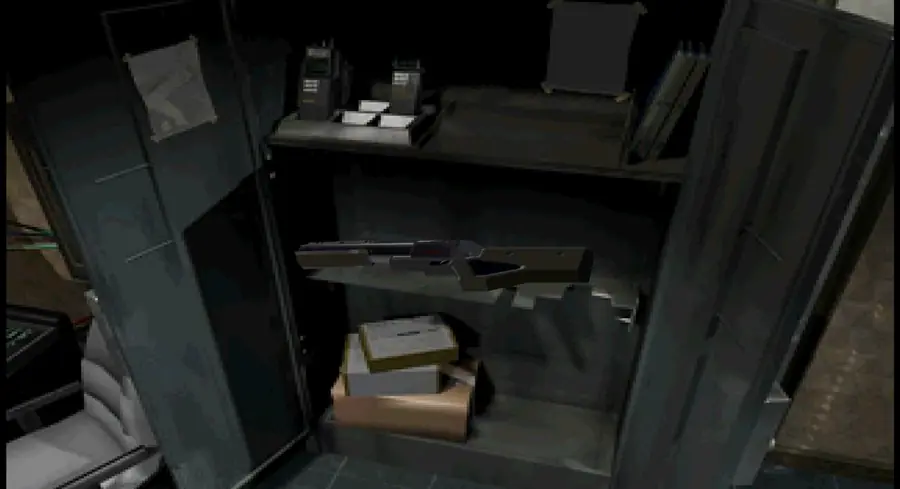
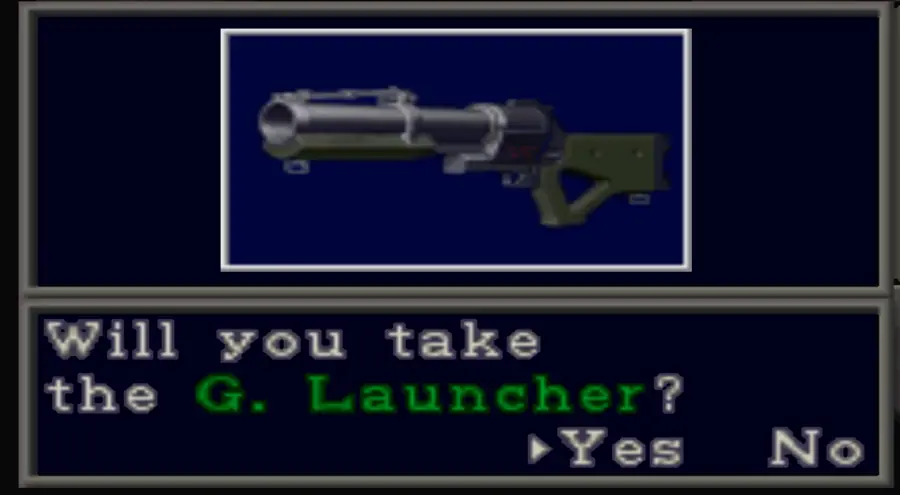
Grenade Launcher or Magnum — pick one
They are mutually exclusive at the S.T.A.R.S. office. Whichever you don’t pick appears later at the Substation, so nothing is permanently lost — but your early game changes.
Learn dodge and quick turn early
Press R1 or R2 just before an enemy attack to dodge, and Run while retreating for a 180-degree quick turn. Mastering both is essential for surviving Nemesis on Hard.
Story Synopsis
On September 28, 1999, Raccoon City is overrun by T-virus zombies. Jill Valentine, former S.T.A.R.S. member, attempts to flee the doomed city. She is stalked by Nemesis, a programmable B.O.W. deployed by Umbrella to eliminate all S.T.A.R.S. members. Along the way Jill teams up with UBCS mercenaries Carlos Oliveira, Mikhail Victor, and the treacherous Nicholai Ginovaef. After surviving the Clock Tower, Jill is infected with the T-virus; Carlos retrieves a vaccine from the hospital. The survivors ultimately reach the Dead Factory, where the U.S. government launches a nuclear missile to obliterate Raccoon City.
100% Completion Roadmap
A true 100% completion requires multiple playthroughs on the same save file. Follow this roadmap.
Step
What to do
1 — Playthrough 1 (Easy)
Learn the game, collect all 30 files, explore all areas. Easy mode gives Jill an Assault Rifle and extra supplies, but Nemesis does not drop item cases.
2 — Playthrough 2 (Hard)
Collect all 7 Nemesis drops (EAGLE 6.0 parts, M37 parts, First Aid Boxes, Assault Rifle). Try different Live Selections to see alternate paths and endings.
3 — Mercenaries Mode
Complete with all 3 characters (Mikhail, Carlos, Nicholai). Earn $10,000+ to buy all 4 infinite ammo rewards.
4 — Playthroughs 3–8 (Hard, same save)
Each completion unlocks one epilogue in order. After the 8th (HUNK), a special screen appears.
5 — Final Run (Hard, Rank A)
Speed run under 2:30, 0 saves, heal 1500 HP or less for a perfect 300-point score.
Tip: files must be collected in numerical order and every page scrolled through completely before exiting, or Jill’s Diary will not unlock.
Key Mechanics
Four systems define how RE3 plays, plus the Hard-mode reward loop built around Nemesis himself.
Mechanic
How it works
Gunpowder ammo crafting
The Reloading Tool combined with Gun Powder (types A, B, C) lets you craft ammunition. Different powder combinations create different ammo types. Essential for Hard mode where ammo is scarce.
Live Selections
At key moments the screen fades to black & white and you choose between 2–3 options within a time limit. Choices affect the story, item locations, enemy encounters, and the ending.
Dodge
Press R1 or R2 just before an enemy attacks to dodge — timing is critical. Press the Action button while aiming for an emergency dodge. Mastering dodge is essential for surviving Nemesis on Hard mode.
Quick turn
Press Run while retreating to perform a 180-degree quick turn. Vital for escaping Nemesis and dodging grabs.
Nemesis drops
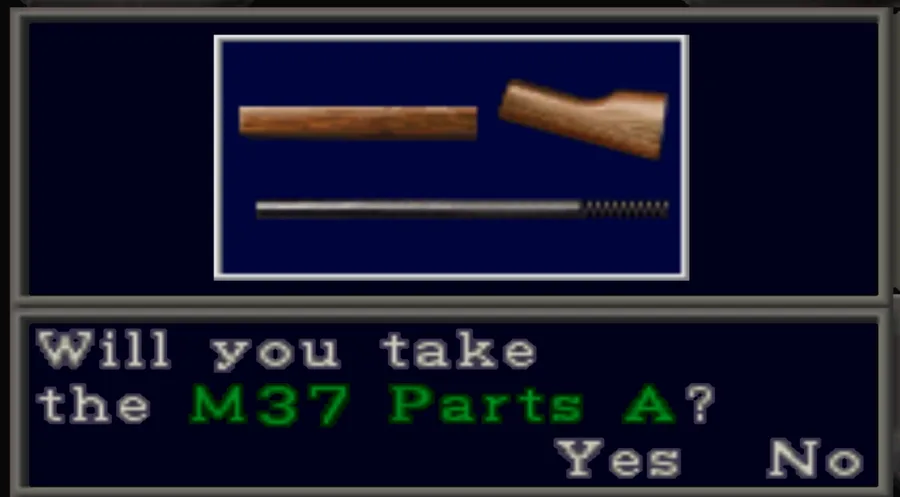
On Hard difficulty, defeating Nemesis in his 7 non-boss encounters causes him to drop an item case with valuable rewards (EAGLE 6.0 parts, M37 parts, First Aid Boxes, Assault Rifle).
Easy vs Hard Difficulty
Difficulty changes what you start with, what Nemesis drops, and how much punishment you can take.
Feature
Easy
Hard
Starting items
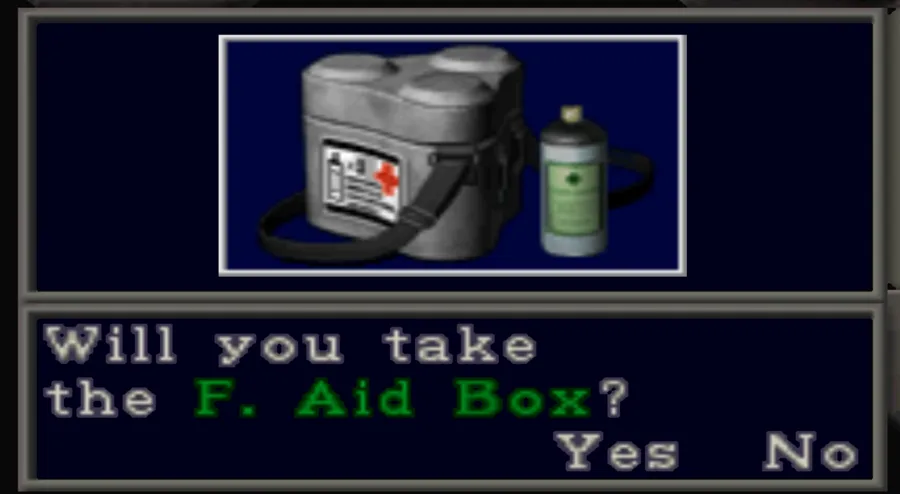
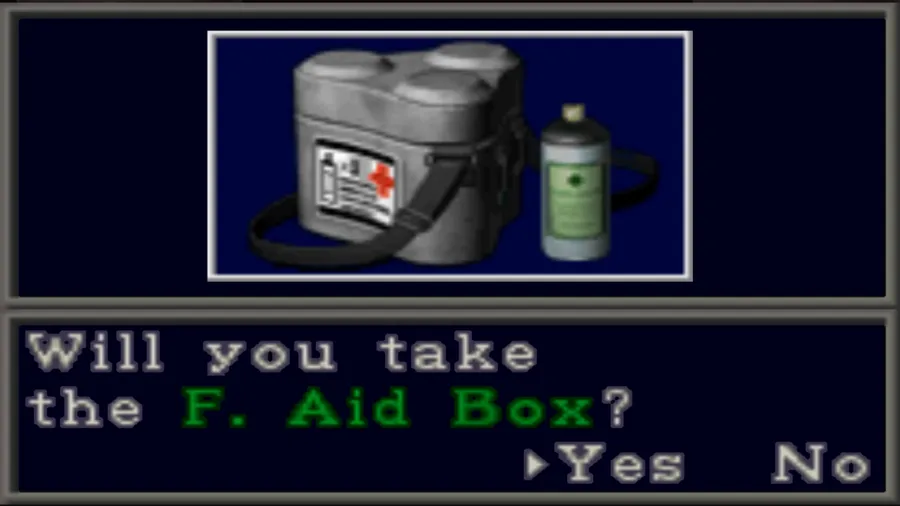
Assault Rifle, First Aid Box (3 sprays), Magnum, Shotgun + ammo
Handgun only (Knife & Reloading Tool in Item Box)
Nemesis drops
No item case drops
All 7 item case drops
Mine Thrower
Not available
Found in Clock Tower
Enemy damage
Reduced
Normal/Increased
Ink Ribbons
Infinite in Item Box
Limited supply
Missables & Warnings
Four things can quietly cost you a full completion.
Warning
Detail
Point of no return
Many files are in Uptown and Downtown areas that you cannot return to after taking the cable car. Collect all files before progressing past Downtown.
Nemesis drops are Hard-only
On Easy, Nemesis drops nothing. To collect all 7 weapon part drops you must play on Hard.
Grenade Launcher vs Magnum
They are mutually exclusive at the S.T.A.R.S. office — whichever you don’t pick appears later at the Substation.
Epilogues
Require 8 separate completions on the same save file, always earned in the same order.
Story Walkthrough — 10 Chapters
About the room names. Room names are the game’s own. Where a room carries a number in the community mapping (Uptown 100s, Police Station 200s, Downtown 300s) it is shown alongside the name so you can cross-reference a map. Later areas have no settled numbering, so they are named only.
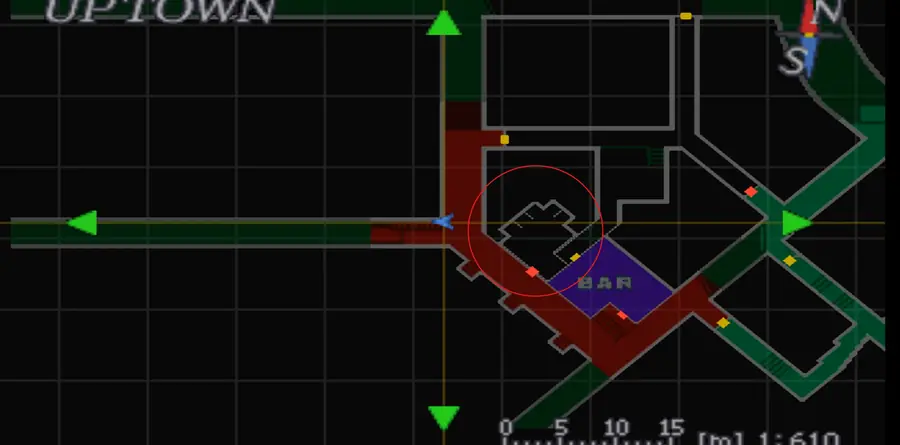
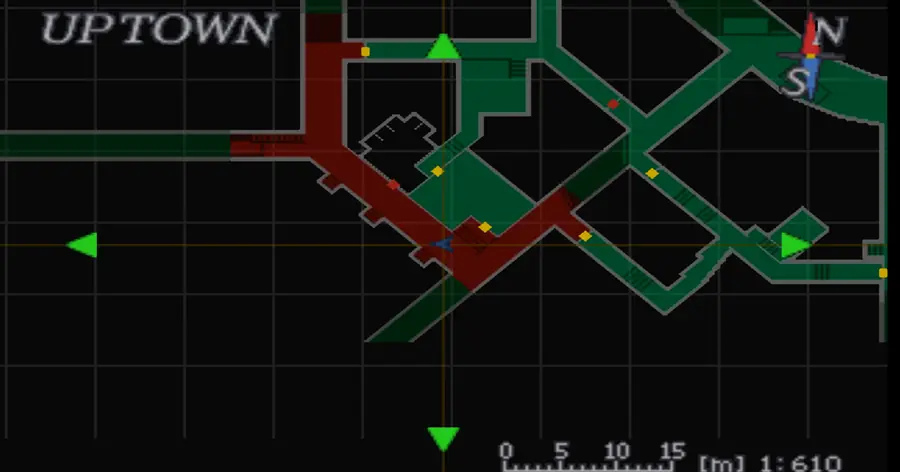
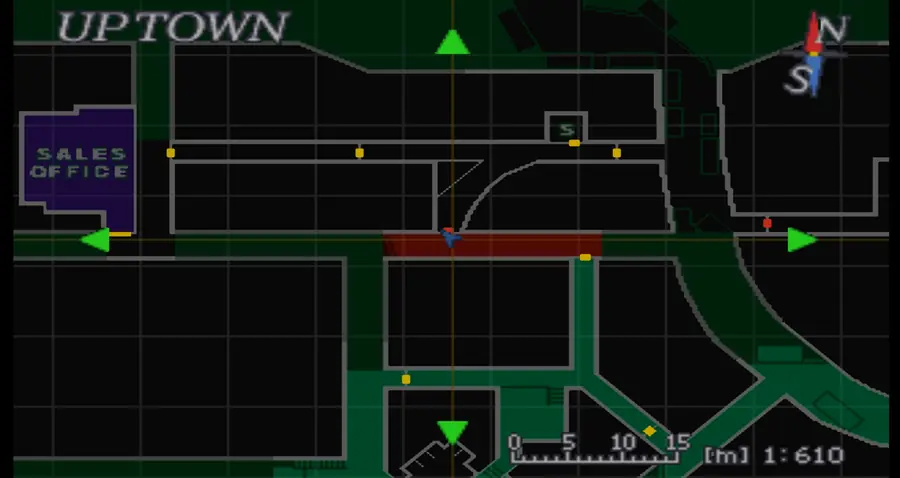
CH 1UptownRaccoon City Uptown — the warehouse, Bar Jack and the road to the R.P.D.
Jill’s escape from the warehouse district. The whole chapter is a loop that ends at one locked barricade, and the key to it is a lighter you have to build from two halves found in two different streets. Two files are here — and two of the game’s most commonly mis-published file locations are not.
1
Before you start. Run the completion attempt on Hard. Nemesis only drops item cases on Hard — on Easy that entire reward chain is switched off, which costs you the Eagle 6.0, the Western Custom and the assault rifle. The Mine Thrower is also Hard-only, and epilogues only come from Hard clears.
2
How the files work. Files are numbered 1–30 by the in-game file list. Read every page of each one — backing out early may not register it. Collect all 30 in a single run and Jill’s Diary replaces Game Instructions A in the list.
'T' Dumpster AlleyUptown 100 — the opening street
3
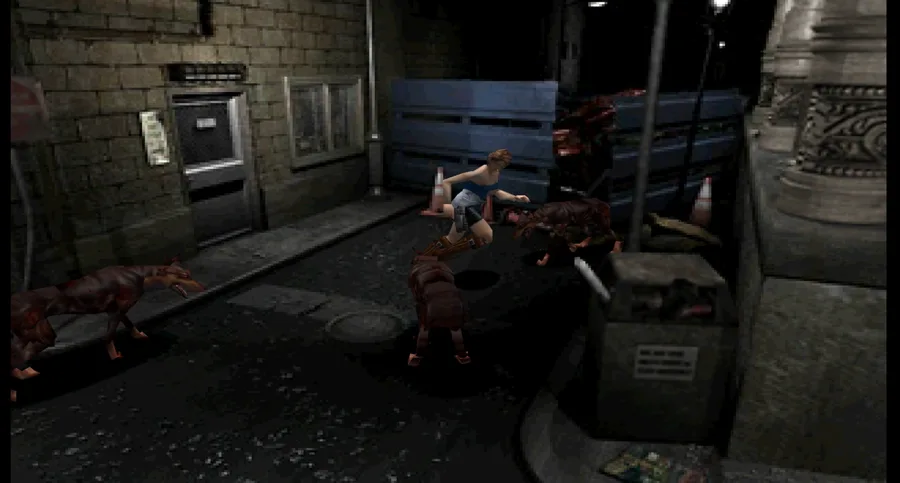
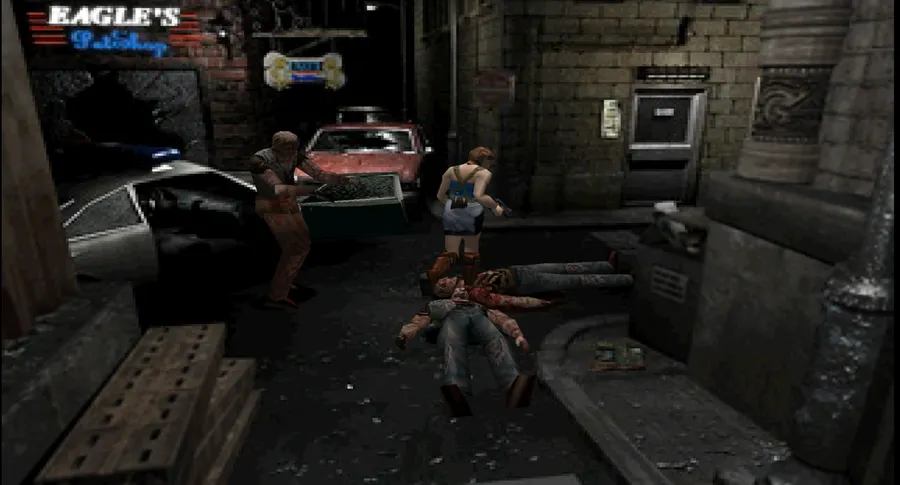
Jill comes out into the alley with a zombie already shambling toward her. On Hard she has only the M92F and 15 rounds — there is nothing to gain here, so run.
4
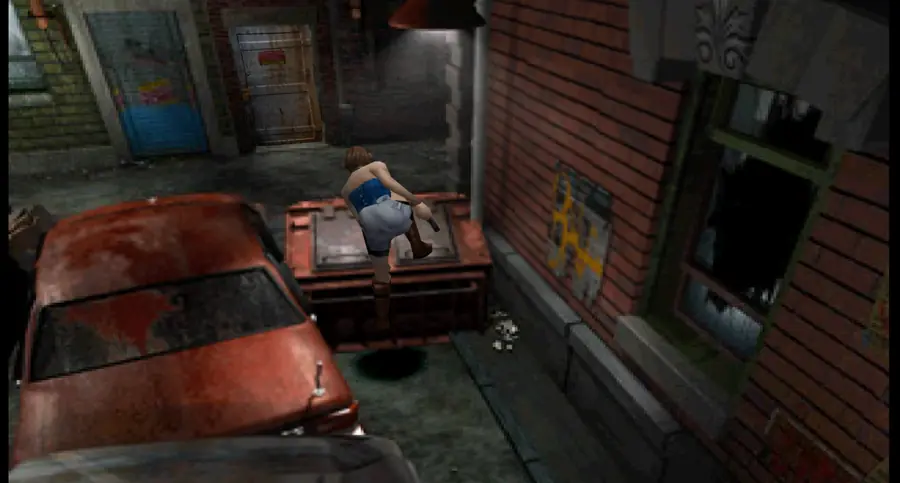
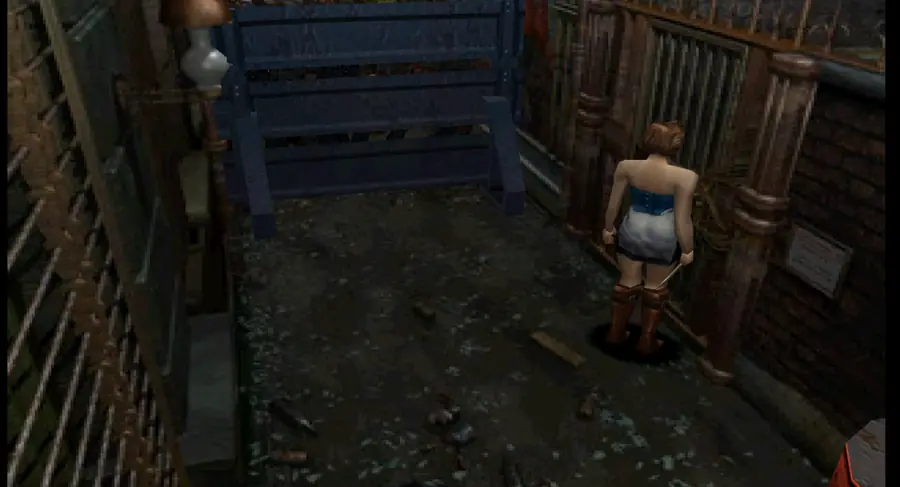
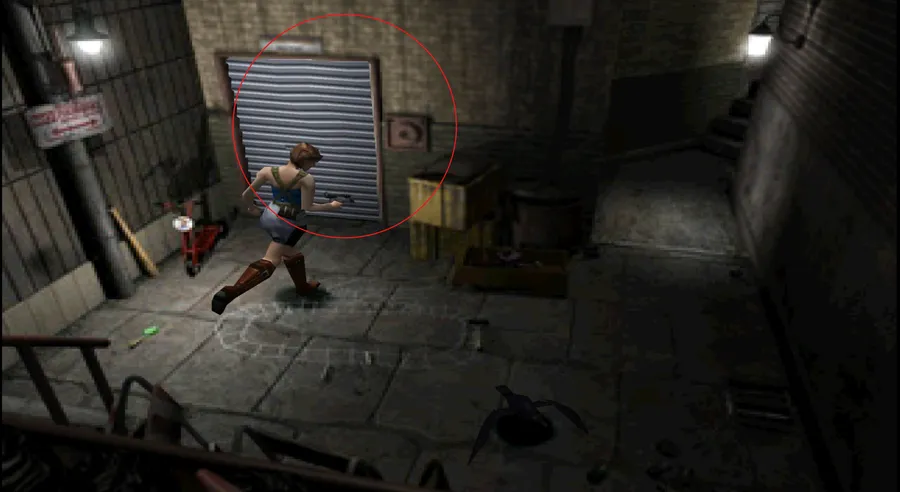
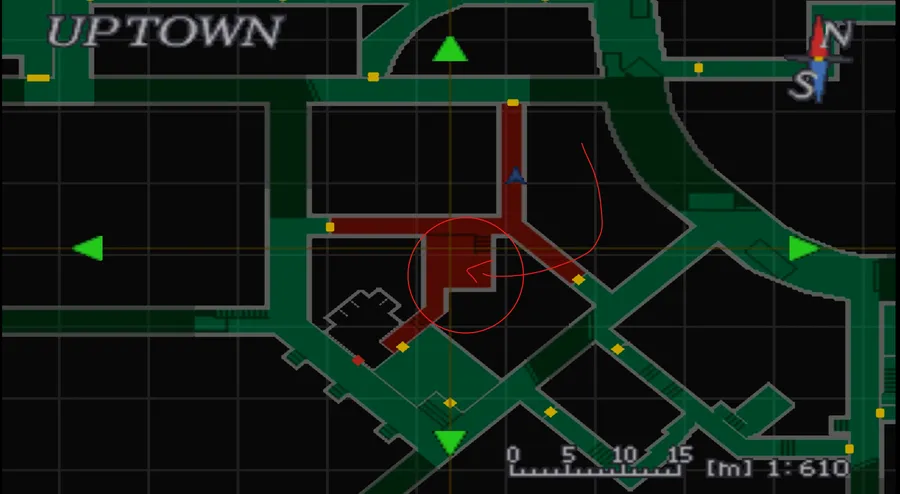
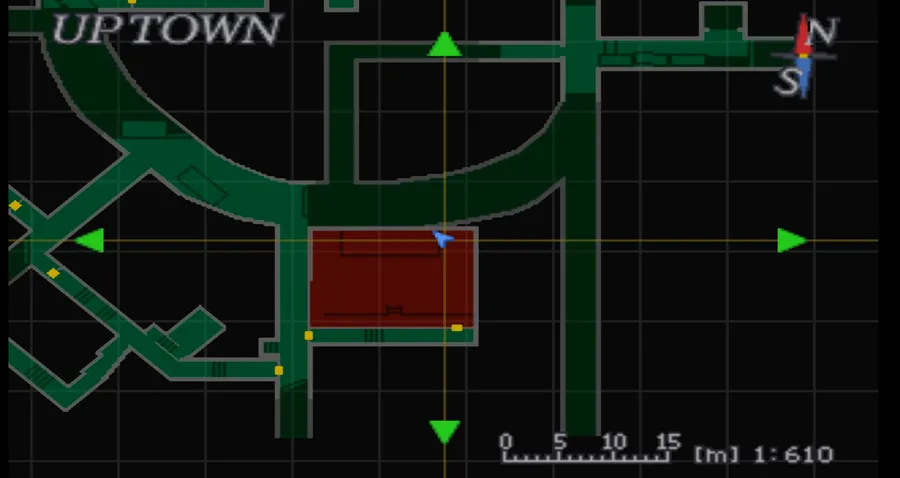
Three zombies wander this street. Climb the dumpster at the dead end to trigger the escape scene, drop down, and go through the Warehouse door.
WarehouseUptown 101
5
Dario Rosso is barricaded inside the shipping container and refuses to come out. This is a cutscene, not a choice.
6
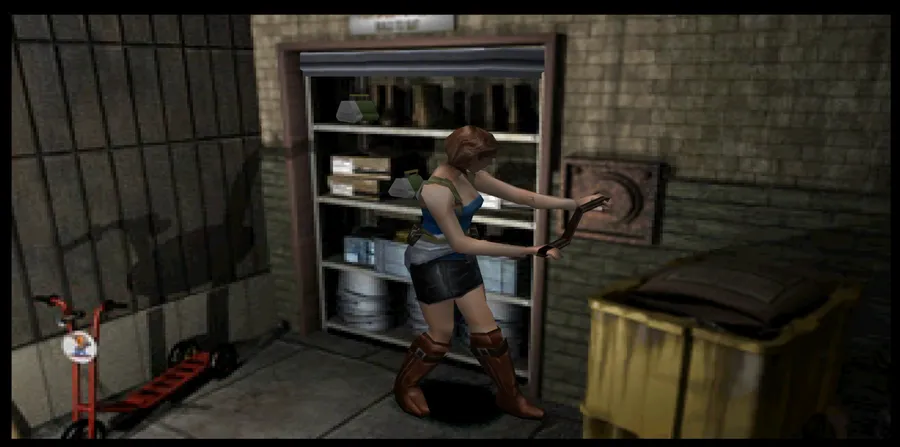
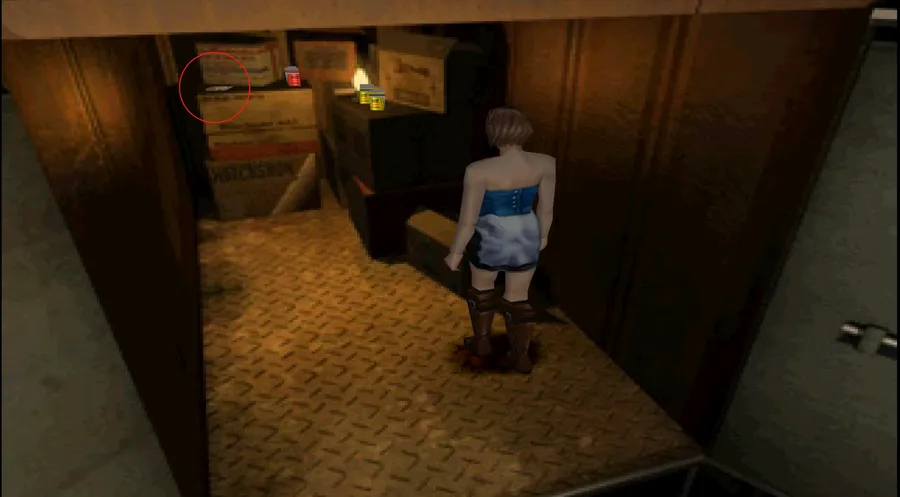
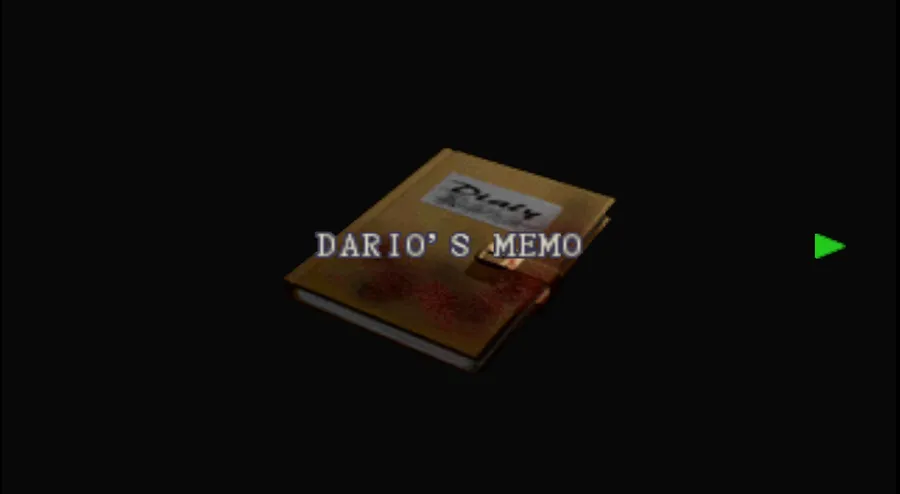
Missable. The container holds FILEFile 16: Dario’s Memo — but you cannot get it now, because Dario is alive inside it. It only opens on the later return trip through Uptown. If a guide tells you to search the warehouse shelves for it at the start of the game, that is wrong.
7
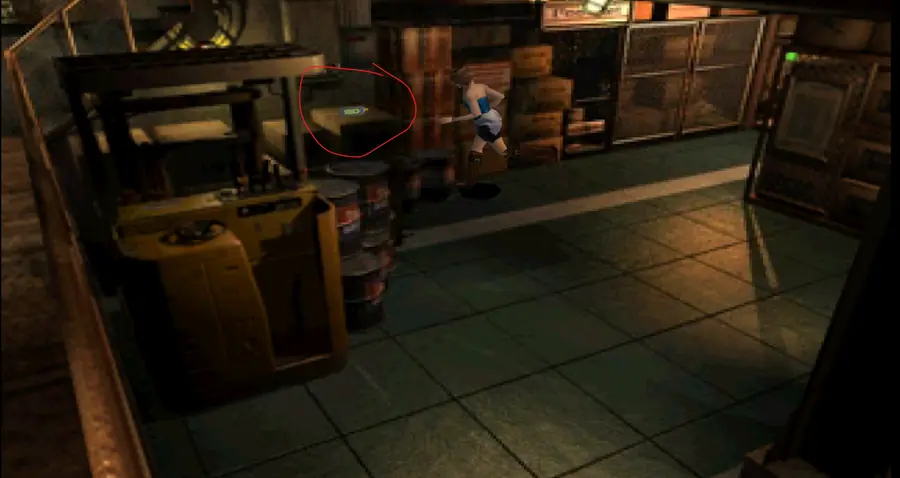
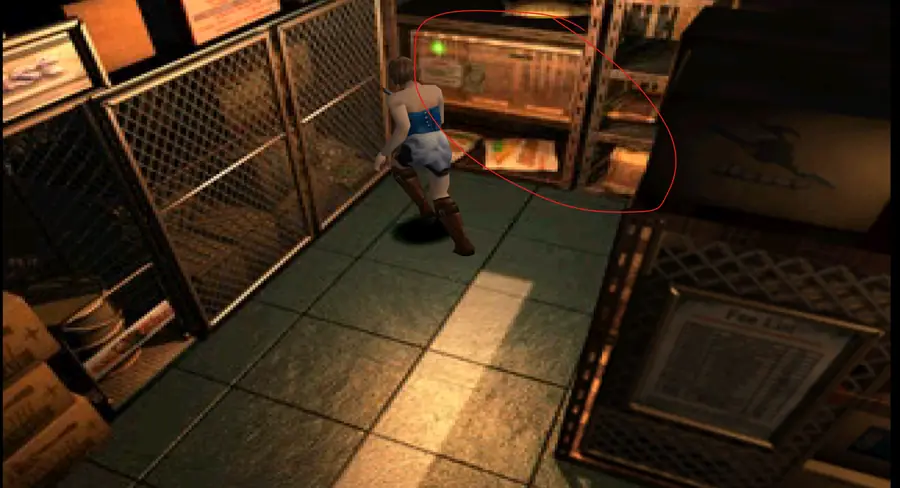
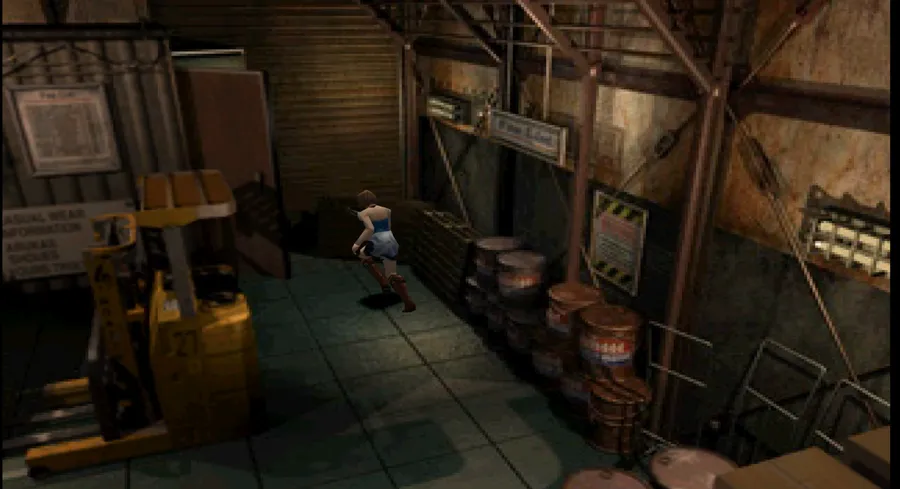
ITEMFirst Aid Spray behind the oil drums, ITEMGun Powder A ×2 and ITEMGun Powder B ×2. HARD ONLYHand Gun Bullets ×30 near the forklift (Easy does not spawn these).
8
Head up to the office door.
Warehouse OfficeUptown 102 — first save room
9
SAVE ROOM Typewriter and item box. HARD ONLYInk Ribbon ×3 on the table. On Easy an infinite ribbon sits permanently in the item box, so ribbons never spawn.
10
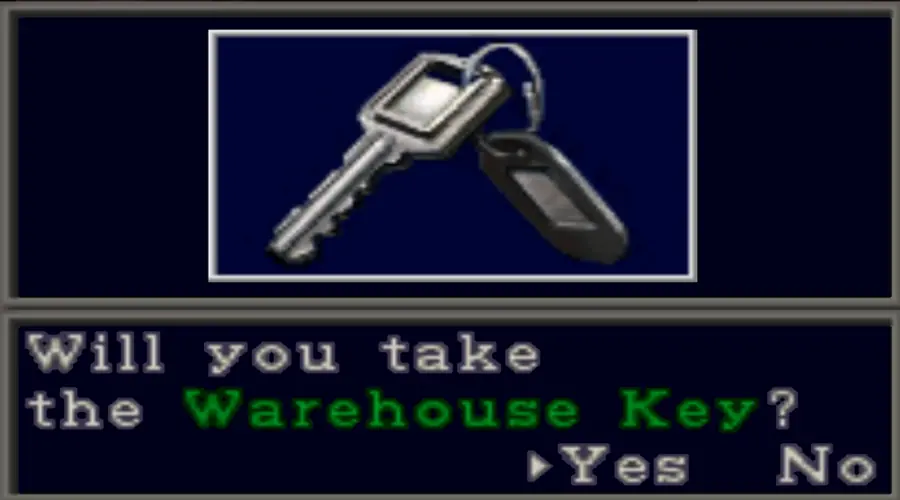
KEY ITEMWarehouse Key on the wall hook beside the door — examine it in the inventory and the tag reads “Backdoor”, which renames it the Backdoor Key, and ITEMGun Powder A ×2 in the locker.
11
Save, go back to the Warehouse and unlock the Back Alleyway door.
Back Alleyway & Business Main StreetUptown 103–104
12
The alleyway is a short connector. Business Main Street holds five zombies, some playing dead against the walls, and an explosive barrel by the crashed police car — wait for two or three of them to gather near it and shoot it.
13
Return trip. There is a Gun Powder B inside the parked car here, but it is sealed until a zombie bursts out of that car, which only happens on the later return. Note it and move on.
Business Back StreetUptown 105 — the shotgun
14
A man in a yellow vest — Brad Vickers — bursts out of the storage shed with zombies behind him and runs. Five zombies are in the street; ITEM2 Green Herbs on the ground.
15
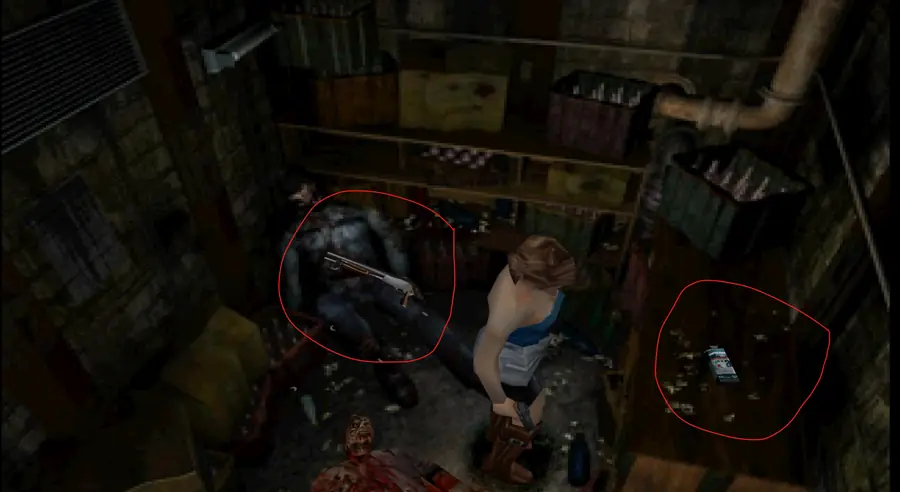
Go into the storage shed: WEAPONBenelli M3S shotgun on the corpse inside — on Hard this is your first real weapon — and KEY ITEMLighter Oil on the bench by the stairs.
Careful.The Lighter and the Lighter Oil are two different items in two different rooms. The oil is here. The lighter is in Bar Jack. You have to combine them by hand.
Residential StreetUptown 106
16
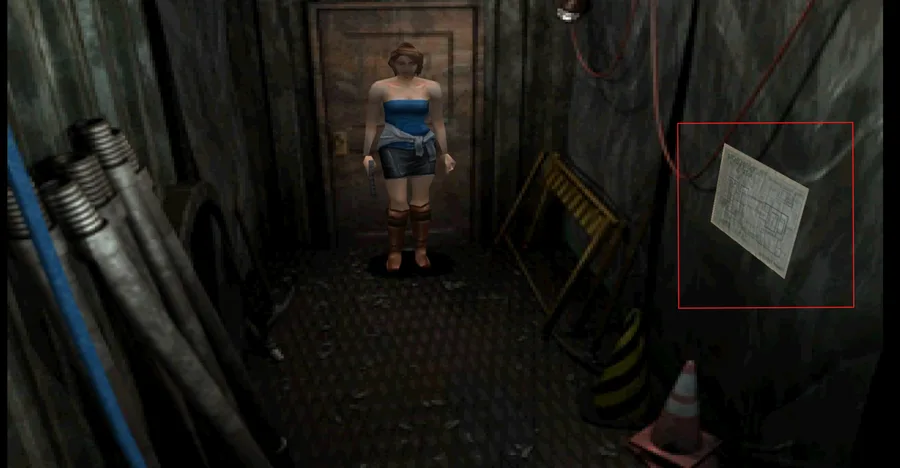
ITEMUptown Map on the wall by the fire escape — take it, the map makes the rest of this district much easier to navigate.
17
Tip. Climb the fire escape now for ITEM2 Green Herbs. The route up may close later in the game, so do not save it for a return trip.
18
A man is being mauled on the west side. If you hang around a minute or two he gets back up as a zombie — there is no way to save him.
19
The boutique. The boutique door here stays locked on a first playthrough. It is opened by the Boutique Key, which is a post-clear unlock, and inside there is nothing but a costume change — no items, no files. It has no bearing on 100% completion.
Private BackyardUptown 108
20
Brad appears briefly, shooting a zombie near the steps. HARD ONLYInk Ribbon ×3 in the dumpster.
21
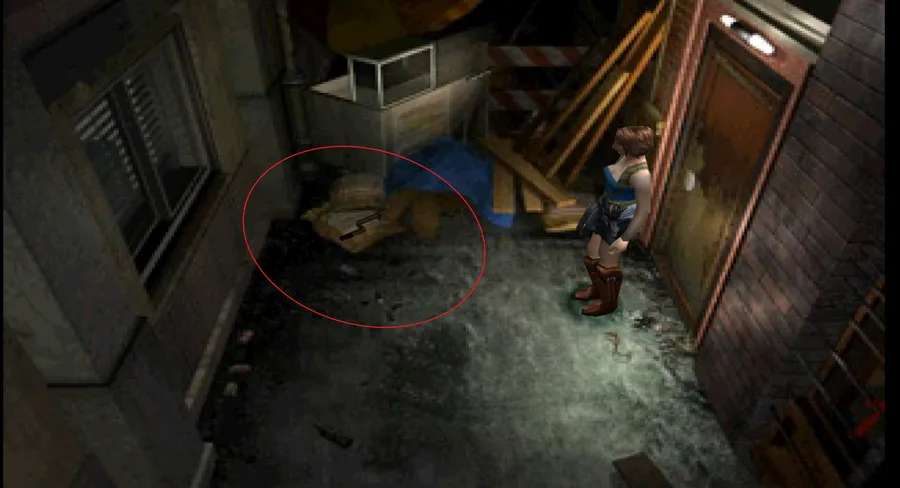
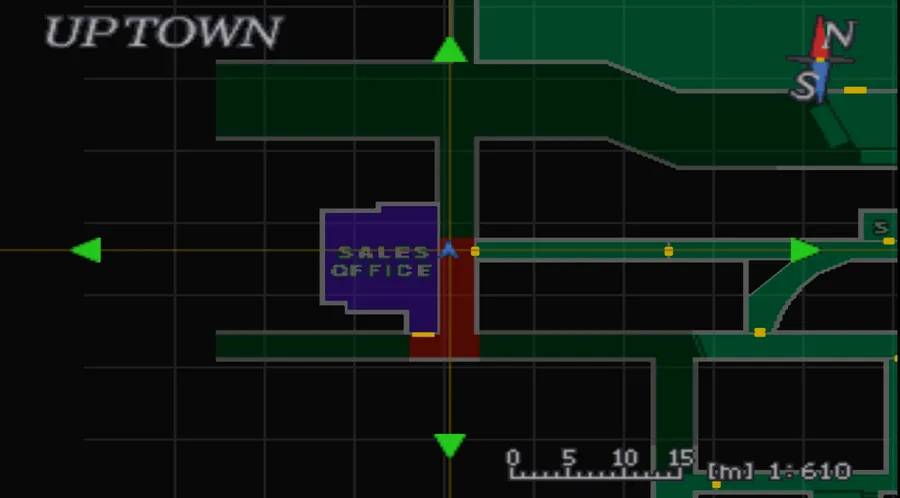
Return trip. The metal shutter here hides Grenade Rounds, but it needs the Square Crank from the Sales Office Patio — a return trip in Chapter 4, step 7.
Black Jack's BarUptown 109 — Bar Jack
22
A zombie is attacking Brad as you enter. He shakes it off and leaves.
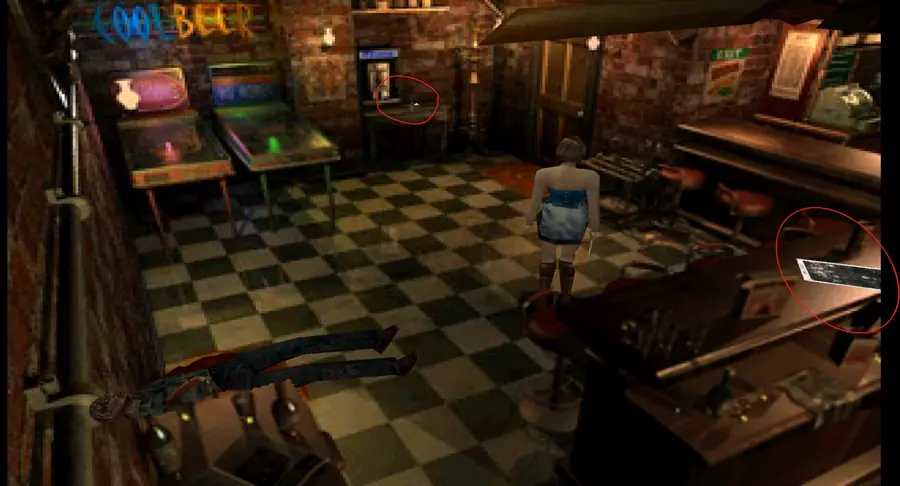
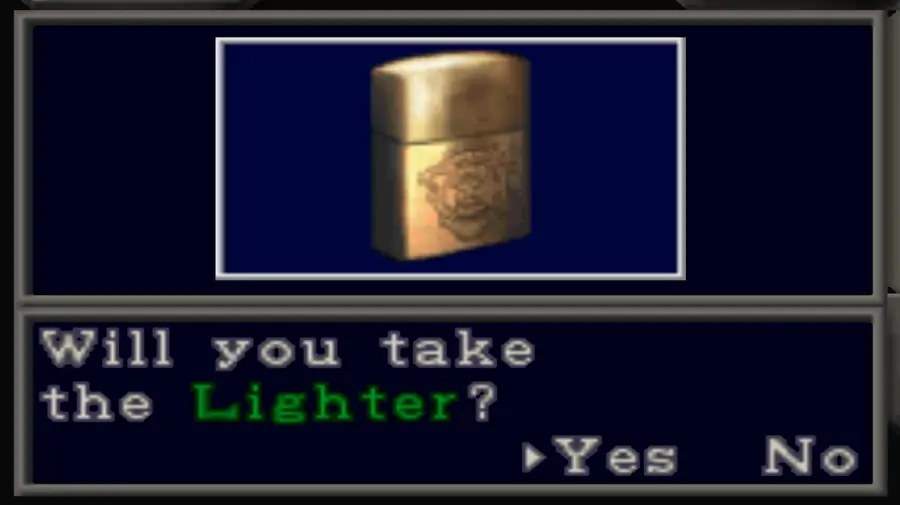
23
KEY ITEMLighter on the bench by the payphone, near the front door. It is out of fuel and will not light anything yet.
24
FILEFile 3: Clock Tower Postcard on the bar counter.
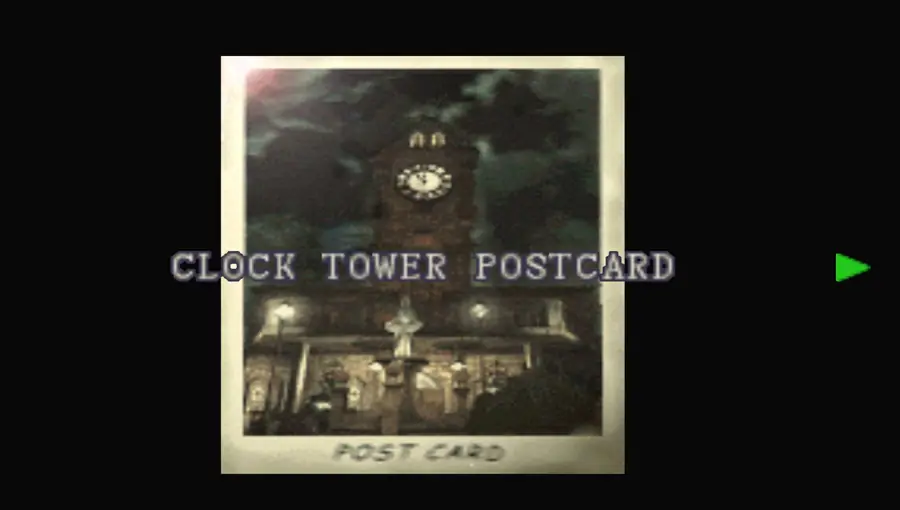
25
ITEMHand Gun Bullets behind the bar near the till — ×60 on Easy, ×30 on Hard.
26
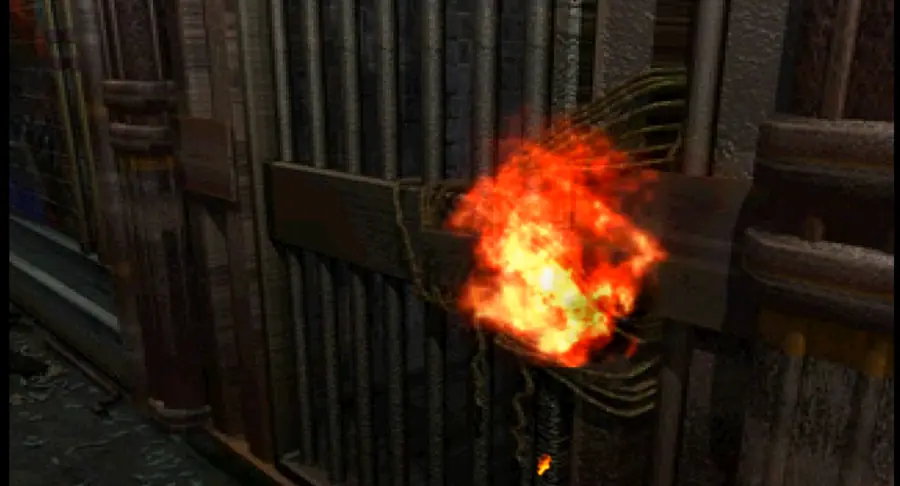
Combine the Lighter with the Lighter Oil. Now it lights — you need it for the barricade rope in the next room.
Barricaded Back PassageUptown 110 — burn the rope
27
A barricade lashed shut with a rope blocks the way. Use the Lighter on the rope to burn it. There is no alternative.
28
Zombies are massed behind the barricade with an explosive barrel among them — one shot clears most of the pack.
29
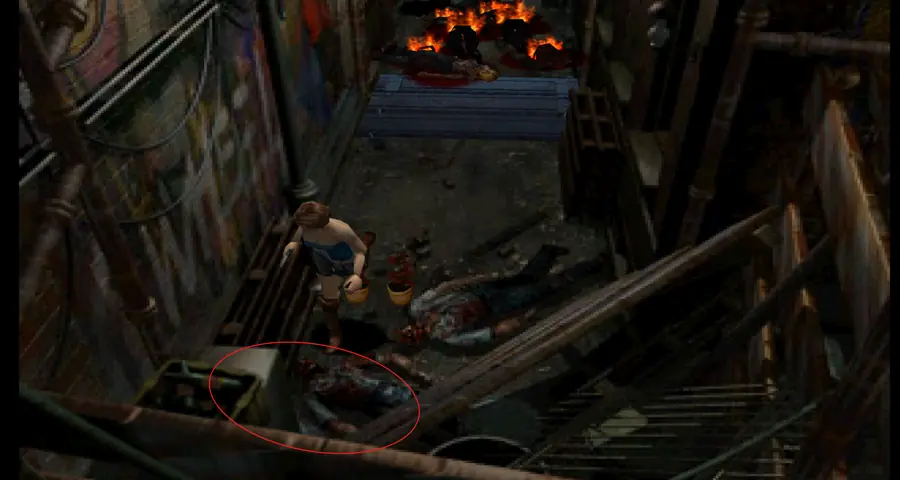
FILEFile 4: Photo A on the body lying where the barricade stood. ITEMRed Herbs here too.
Forked AlleyUptown 111
30
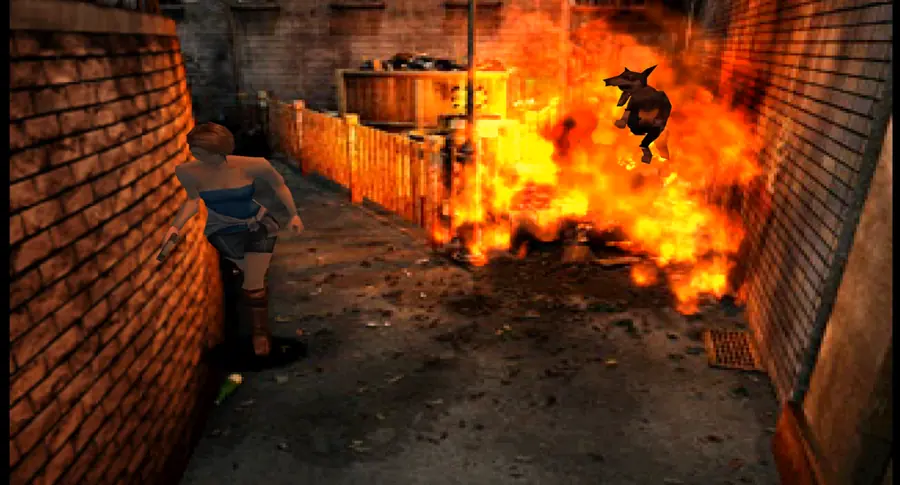
2 Zombie Dogs — one is eating a corpse, the second leaps the fire as you pass. Deal with them before anything else; they are fast and they interrupt.
31
Return trip. A fire blocks the western branch. It is doused later with the Fire Hose, which needs the Wrench from the cable car — Chapter 4, step 2.
Uptown Store RoomUptown 112 — save room
32
SAVE ROOM Typewriter and item box. ITEMGun Powder A and ITEMGun Powder B on the shelf. Save — the police station is next.
Book Shop StreetUptown 113
33
A straight run to the R.P.D. courtyard door.
34
Missable.Note the locked door in the south-east corner. It leads to Zigzag Alley and it needs the Lockpick, which is inside the police station. Behind it is FILEFile 8: Mercenary’s Diary. You come back here on the way out of the R.P.D., before heading Downtown.
CHAPTER 1 OF 10
CH 2R.P.D. Stationthe Raccoon Police Department — 1F and 2F
A self-contained building with one exit condition: find the Lockpick. Along the way you pick up the Sapphire that opens Downtown, the S.T.A.R.S. Key, and one of the game’s two heavy weapons. Fight Nemesis in the courtyard rather than running inside — it pays twice.
1
Careful. Once you are inside the station the courtyard door seals. You cannot leave the R.P.D. until you have the Lockpick from the S.T.A.R.S. Office, so bring ammunition.
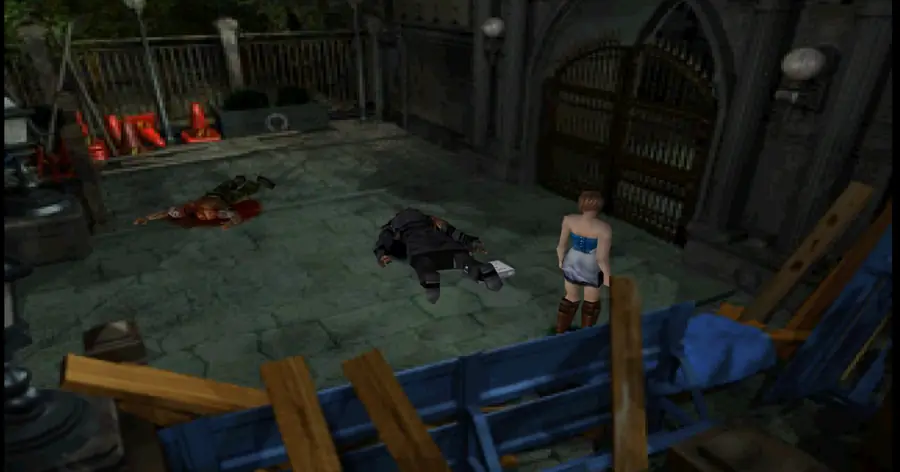
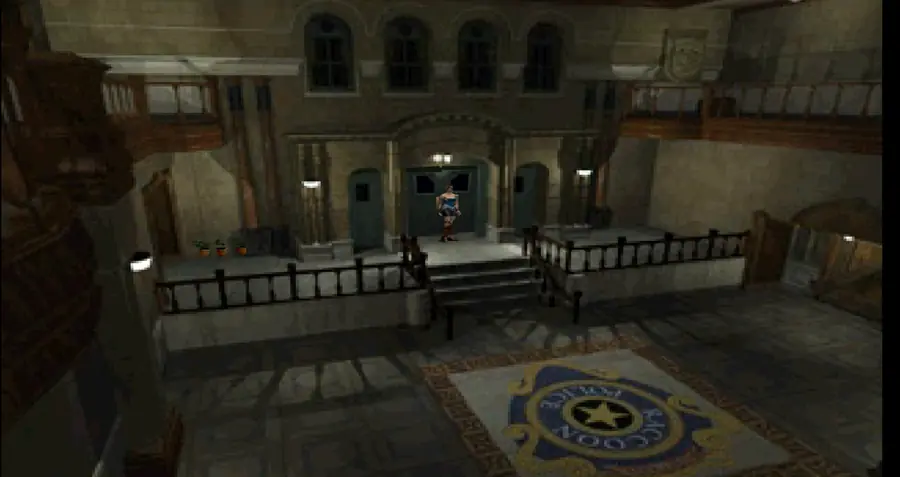
CourtyardR.P.D. 201 — Live Selection 1
2
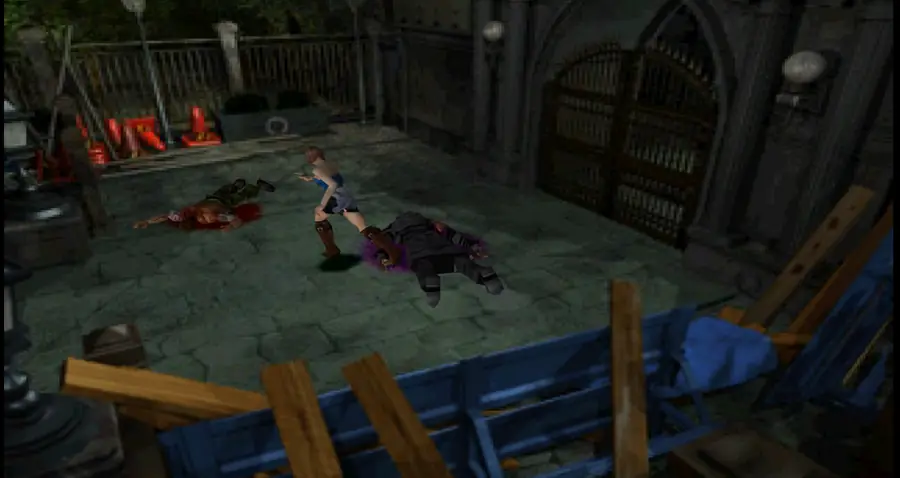
Nemesis kills Brad Vickers in a cutscene, then turns on Jill.
3
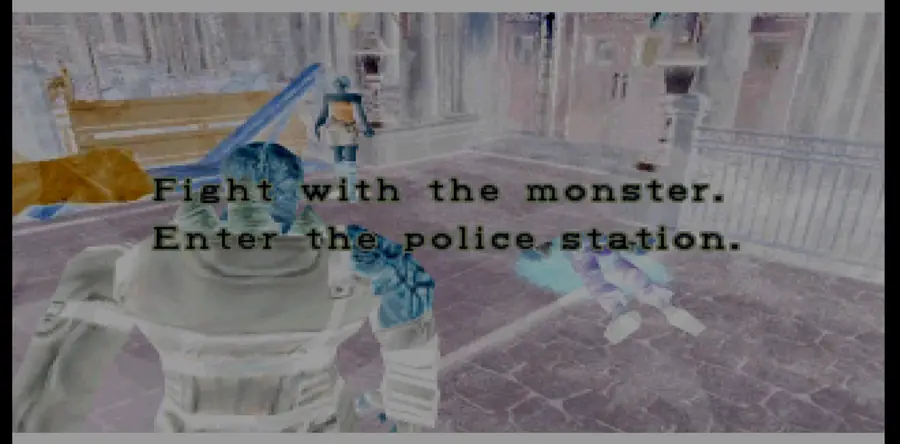
LIVE SELECTIONNEMESIS 1Fight with the monster or Enter the police station.
Take the fight
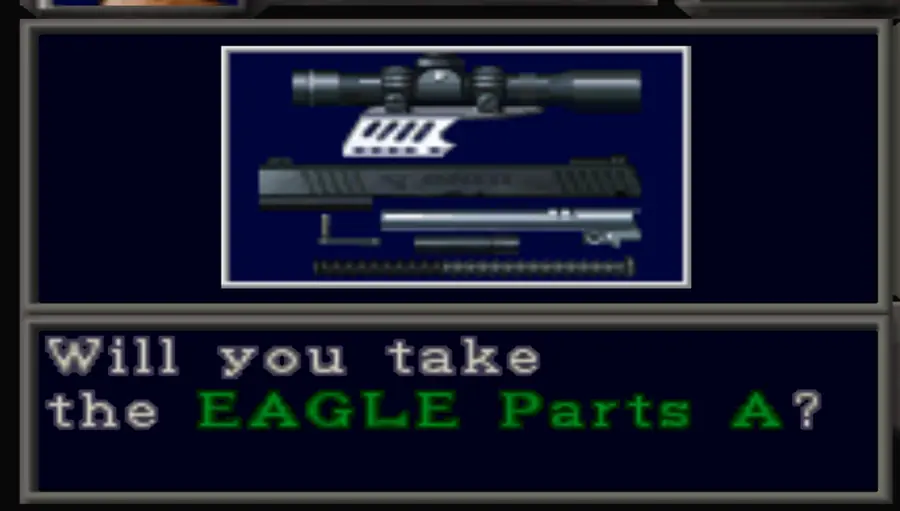
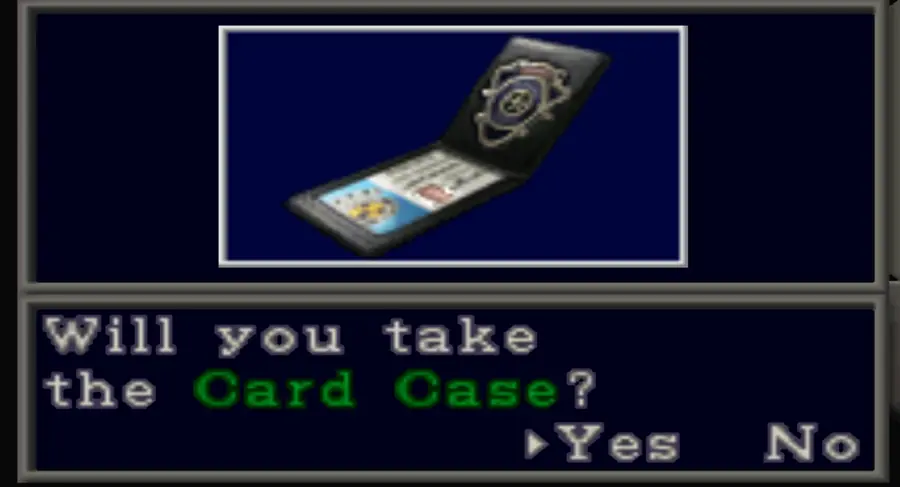
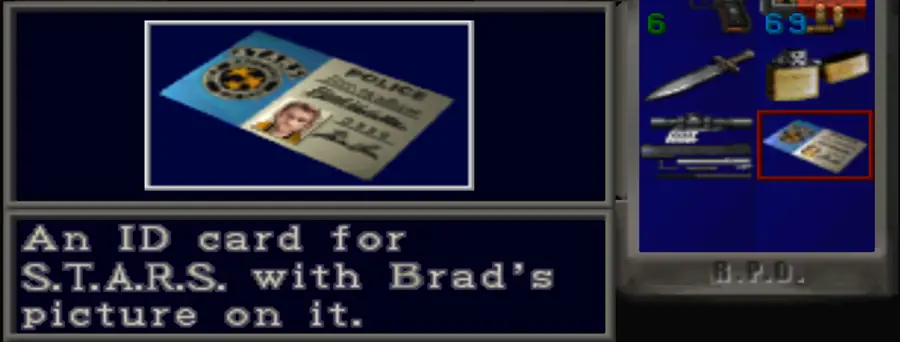
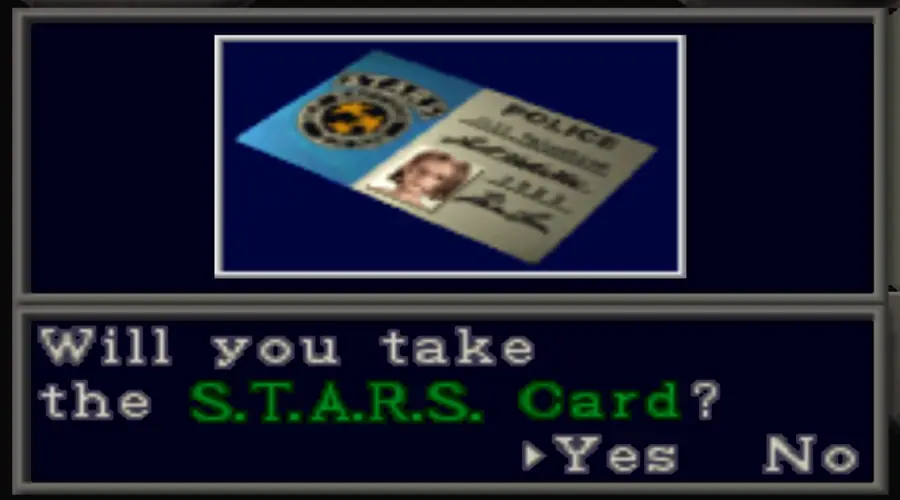
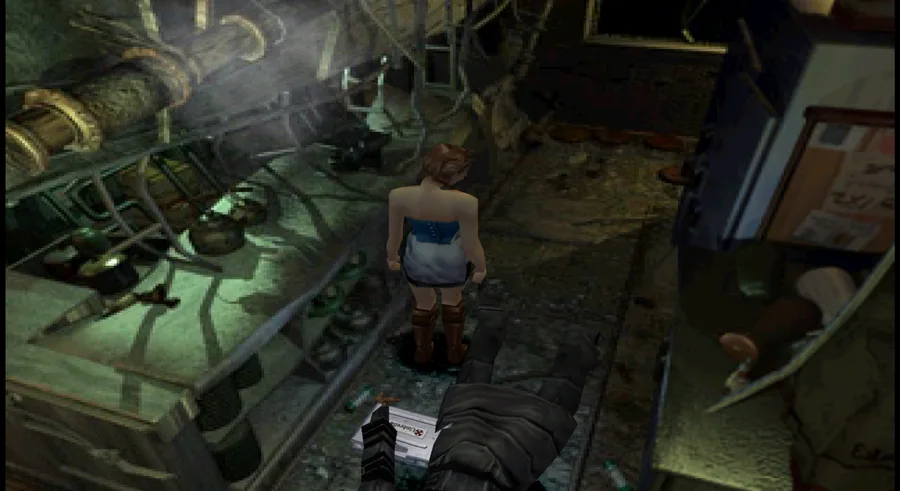
Fight (or simply let the timer run out, which does the same thing). Two reasons: • On Hard, knocking Nemesis down leaves an item case with Eagle Parts A — the first link in the chain that builds the Eagle 6.0. • It lets you take the Card Case from Brad’s body. Check the Card Case in the inventory and it turns into the S.T.A.R.S. Card — that is the card the reception computer reads to print the evidence-locker code, so you never have to guess it. Left as a case it does nothing. Running inside skips both, and Brad’s body is gone for good once you are inside. If you only want the case you can lift it off Brad and run without finishing the fight, but then there is no Eagle part.
Main HallR.P.D. 202
4
ITEM3 Green Herbs by the main doors, ITEMHand Gun Bullets on the reception desk (×60 Easy / ×30 Hard), and the ITEMPolice Station Map on a bench. There is a typewriter in reception.
5
The evidence locker code — randomised
Use a S.T.A.R.S. card on the reception computer and it prints the combination for this playthrough.
The code is always one of four: 0131, 0513, 4011, 4312 — but which one is re-rolled every run, so there is nothing to memorise. • If you fought Nemesis you already have Brad’s card. • If you did not, Jill’s own card does the same job — , next. • With no card at all you can simply try all four on the locker.
The locker itself is in the Evidence Room — .
6
KEY ITEMJill’s S.T.A.R.S. Card — the second card, on the front desk in the Operations Room (R.P.D. 208). It reads the code on this same computer exactly like Brad’s does, so if you skipped the courtyard fight this is the card you need.
You do not have to detour for it. The Operations Room is already on the route below () — clear the rooms in order, pick the card up there, then come back to this computer for the code. The only thing that has to wait is the Evidence Room locker (), because it comes earlier on the route than the card does.
West OfficeR.P.D. 203
7
Four zombies — three roaming, one prone.
8
FILEFile 5: Marvin’s Report on Marvin Branagh’s body in the small office.
9
RANDOMITEMShotgun Shells on the small office desk — 50% chance. The other half of the time they are on the Operations Room mantelpiece instead, so check both.
Evidence RoomR.P.D. 204
10
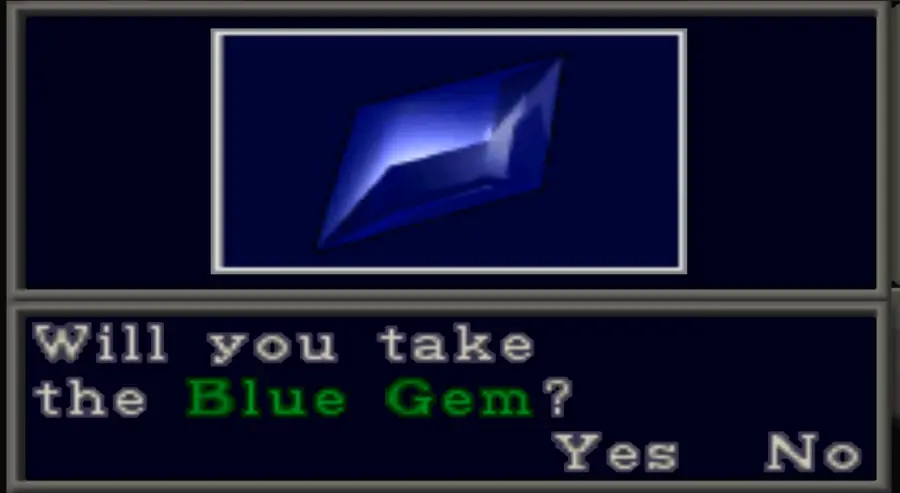
KEY ITEMBlue Gem in the small locker on the west wall — examine it in the inventory and it becomes the Sapphire. You need it for the City Hall gate in Downtown.
11
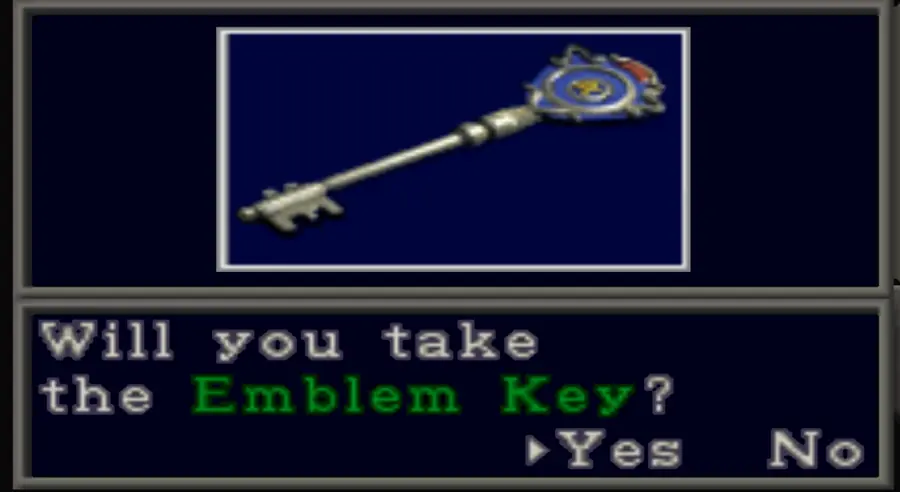
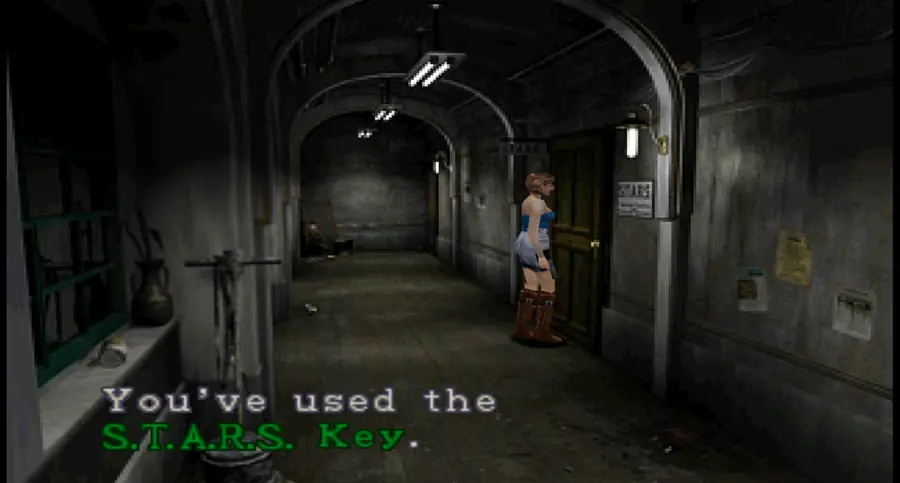
Enter the code on the north locker for the KEY ITEMEmblem Key — examine it in the inventory and it becomes the S.T.A.R.S. Key, which opens the S.T.A.R.S. Office.
The code is one of these four, re-rolled every run: 0131051340114312 Read yours off the reception computer in the Main Hall — . With no card, four tries covers every possibility.
12
Come back. The locker on the south side holds Gun Powder B and needs the Lockpick. Come back for it before you leave the station.
West Stairway 1FR.P.D. 205
13
Four zombies.
Dark RoomR.P.D. 206 — save room
14
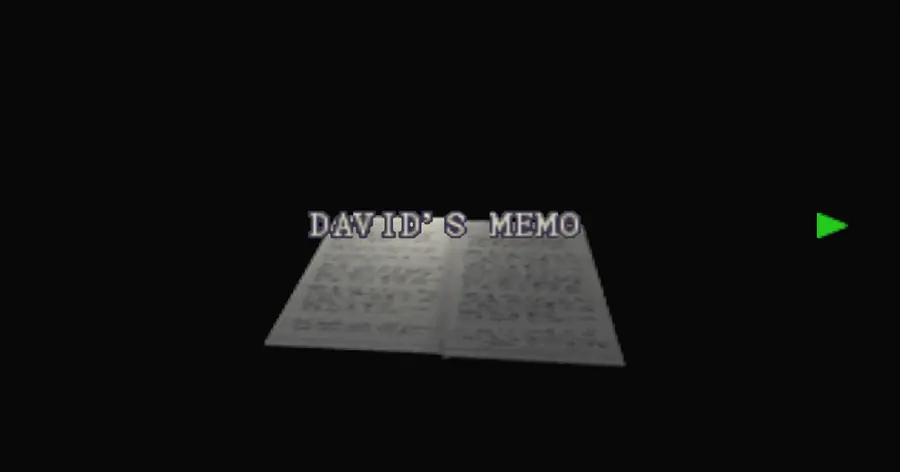
SAVE ROOM Typewriter and item box. FILEFile 6: David’s Memo on the centre table. ITEMGun Powder A in the corner locker. HARD ONLYInk Ribbon ×3.
Winding Corridor & Operations RoomR.P.D. 207–208
15
RANDOM The corridor is a coin flip: either 5 zombies or 2 zombie dogs.
16
RANDOMITEM2 Red Herbs at the far end by the barricaded door — a 50% spawn. If they are not here they are in the 2F Office Corridor instead () — one location or the other, never both.
17
In the Operations Room: KEY ITEMJill’s S.T.A.R.S. Card on the front desk ( — take it now if you never got Brad’s), RANDOMITEMShotgun Shells on the mantelpiece (50%), and HARD ONLYInk Ribbon ×3 on the east desk.
S.T.A.R.S. OfficeR.P.D. 211 — the payoff
18
The door needs the S.T.A.R.S. Key. Up the West Stairway to 2F and along the Office Corridor.
RANDOMITEM2 Red Herbs can be in this corridor. It is the same 50% coin flip as the Winding Corridor () — whichever one was empty, check the other.
19
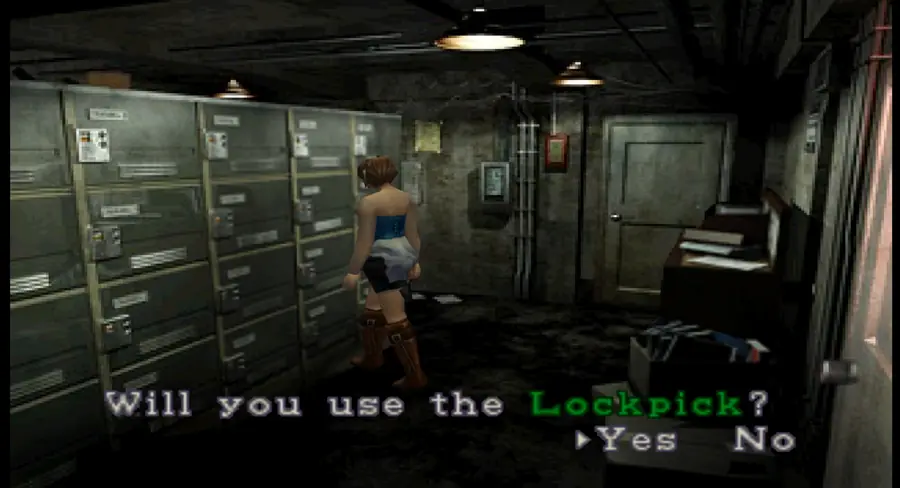
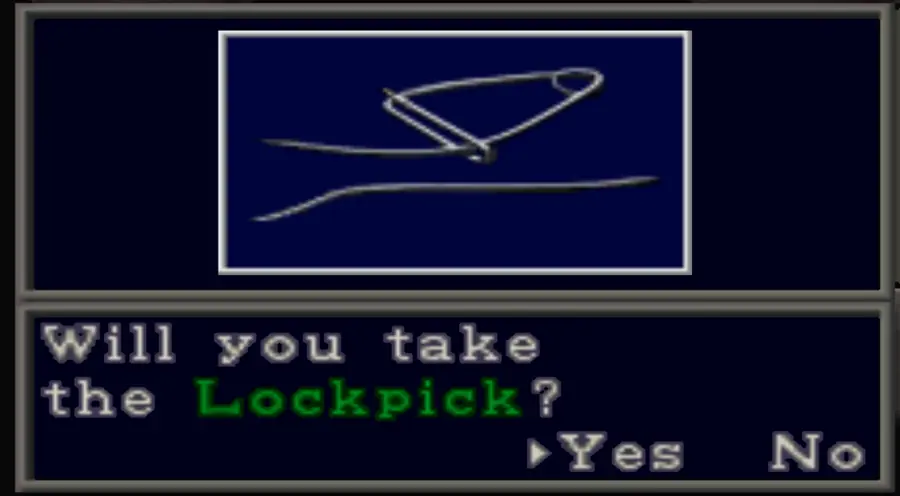
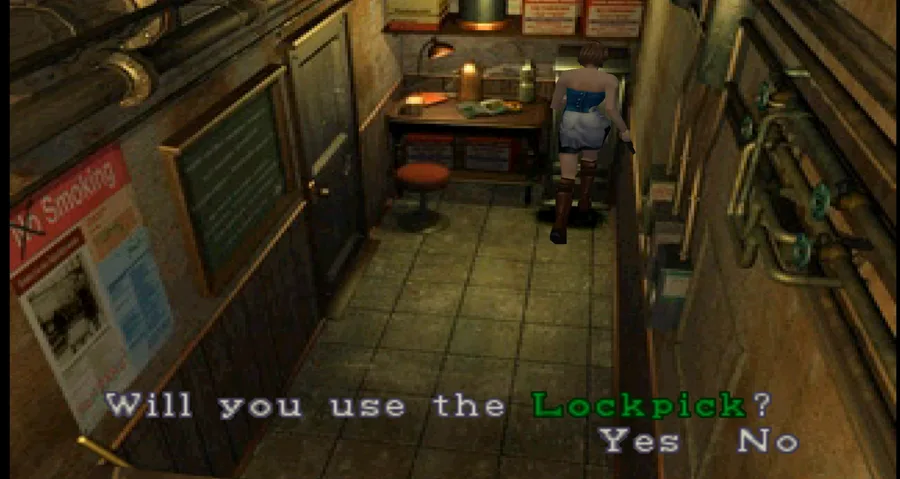
KEY ITEMLockpick on Jill’s desk. This one item opens the rest of the game — Zigzag Alley, the Restaurant’s Fire Hook locker, and the Park Office much later.
20
RANDOM The weapons locker holds either the HK-P Grenade Launcher or the S&W M629C Magnum — a straight 50/50.
Tip. You get both in every playthrough. Whichever one is not here is waiting on the shelf in the Sub Station in Downtown. Only the order is random.
21
ITEMFirst Aid Spray in the medical bag by Rebecca’s desk, and ITEMHand Gun Bullets on Barry’s desk (×60 Easy / ×30 Hard).
22
FILEFile 7: Fax From Kendo Gun Shop on the fax machine by the door.
On the way out
23
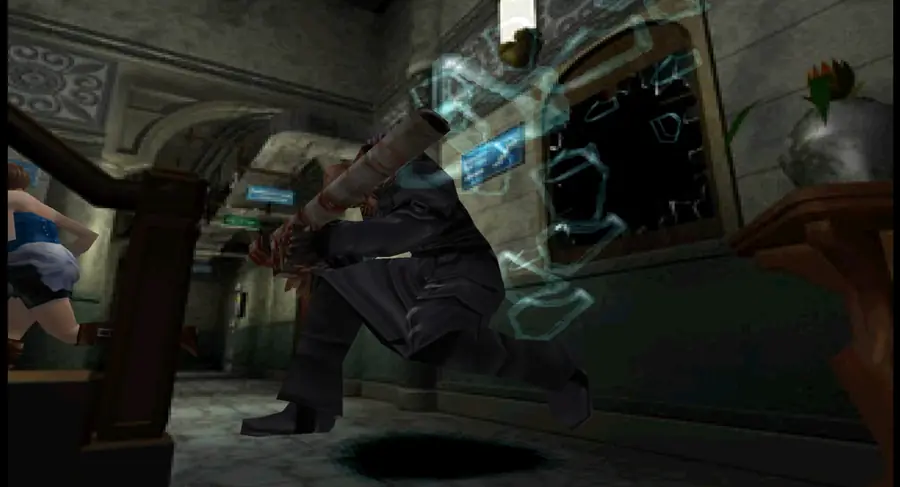
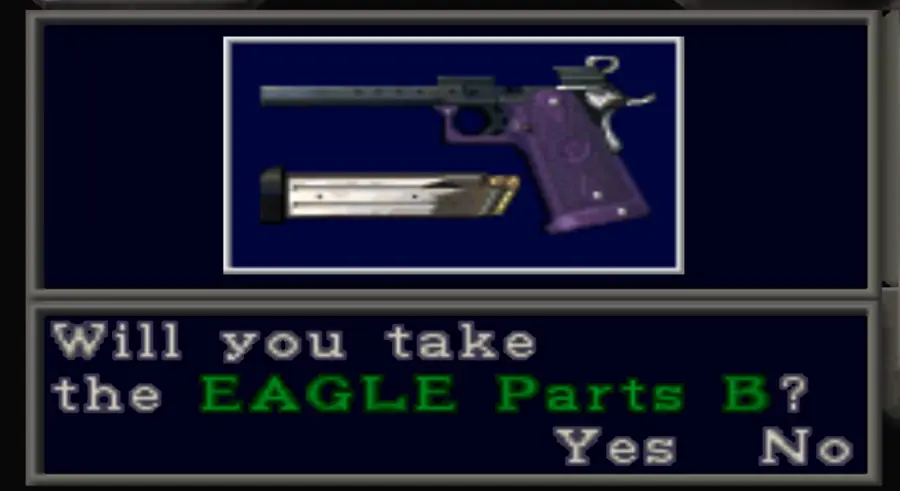
NEMESIS 2Nemesis crashes through the windows in West Stairway 1F as you come back down. The Lockpick is what arms this — he cannot appear here before you have it. The fight is optional; you can run straight past him. HARD ONLY Beating him drops Eagle Parts B.
24
Go back down to the Evidence Room and use the Lockpick on the south locker for the Gun Powder B.
25
Save in the Dark Room, then leave through the Main Hall and the Courtyard.
CHAPTER 2 OF 10
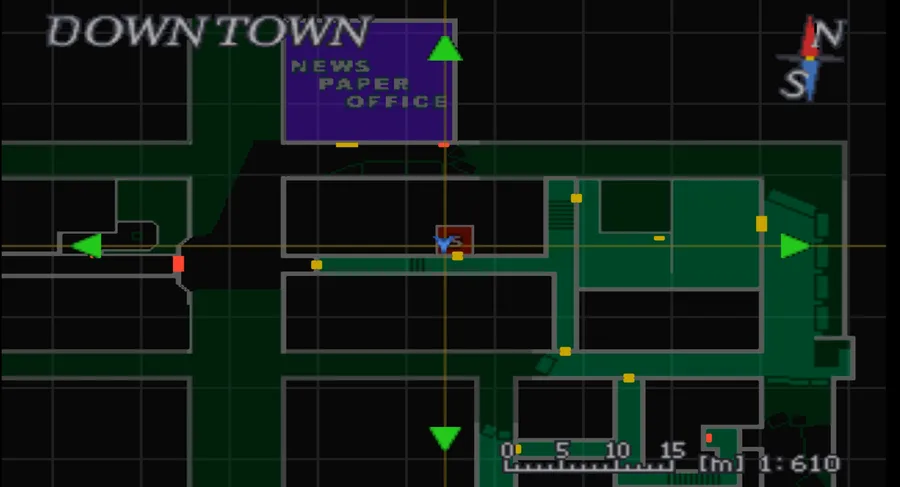
CH 3Zigzag Alley & DowntownGrill 13, the Raccoon Press, City Hall and the substation
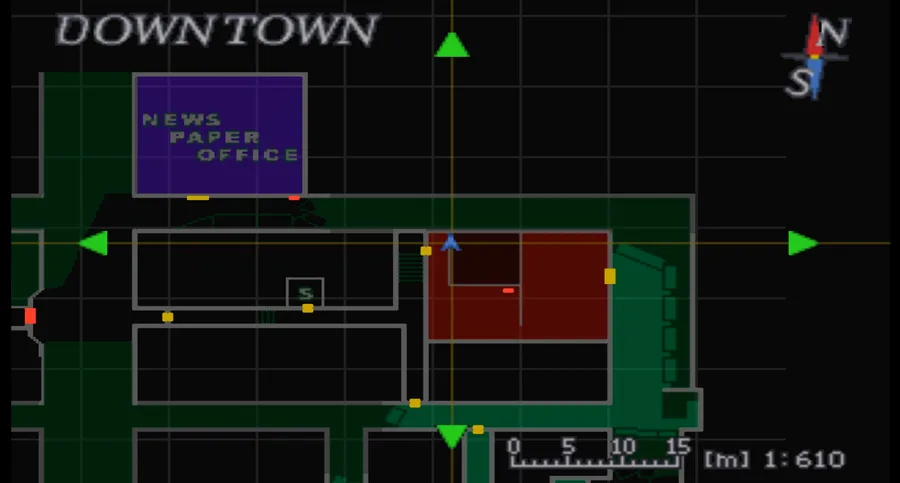
The Lockpick opens the game up. Grab File 8 on the way out of the police station, then work Downtown for the gem that opens City Hall, the statue chain that produces the Battery, and three of the four cable car repair parts. Two of this chapter’s puzzles are re-rolled every playthrough — the method is what matters, not an answer.
Zigzag AlleyUptown 114 — the corrected File 8
1
Missable.Do this now, on the way out of the station. Go back to Book Shop Street and use the Lockpick on the door in the south-east corner. It is the only way into Zigzag Alley, and the file inside sits between the R.P.D. files and the Downtown files in the reading order.
2
FILEFile 8: Mercenary’s Diary on the dead mercenary in the north corner of the alley. ITEMHand Gun Bullets on the same body.
3
Drain Deimos (or Brain Suckers) crawl out of the windows here. They are fast — there is an explosive barrel in the southern corner, and running is a perfectly good answer if you are short on shells.
Straight Alleyway & Parking AreaUptown 115–116
4
ITEM2 Blue Herbs near the iron gate, and RANDOMITEM3 Green Herbs by the northern gate (50%; the alternative is Three Points Street).
5
Return trip. The Fire Hose is bolted to the southern wall here and needs the Wrench from the cable car — Chapter 4, step 2.
6
Parking Area: three zombie dogs, and ITEMGun Powder B on the dead mercenary behind the wrecked bus. Head north into Downtown.
Garage & Garage OfficeDowntown 301–302
7
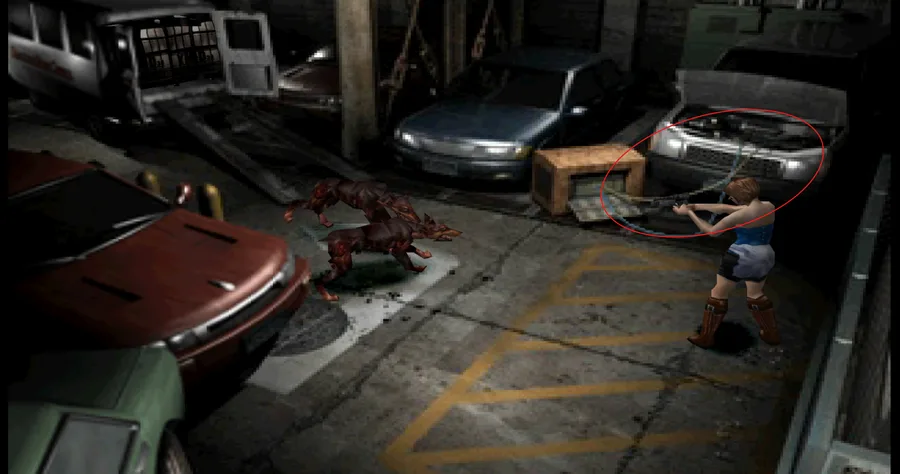
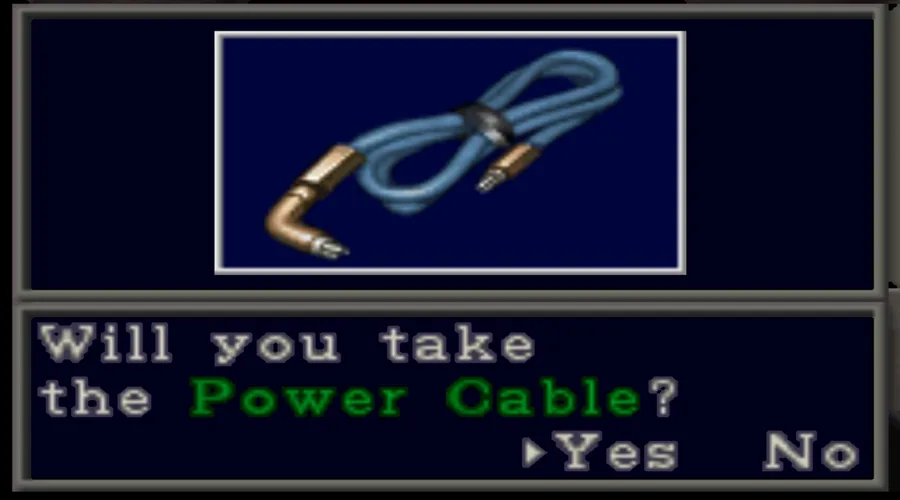
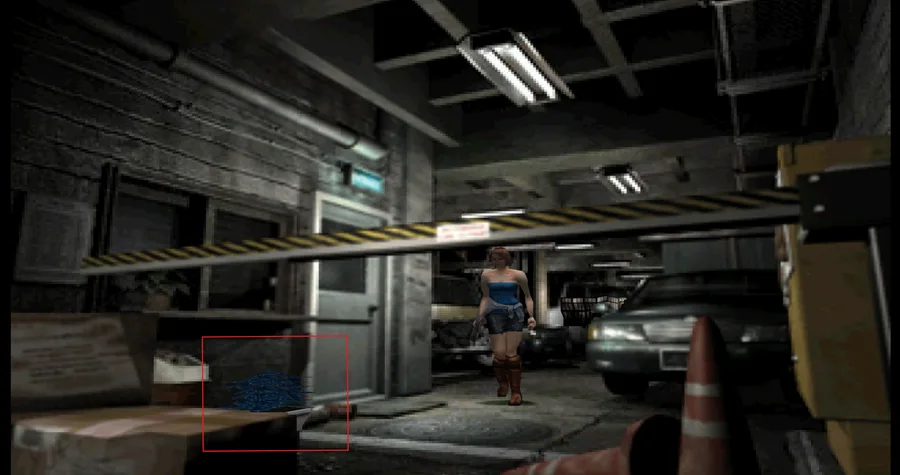
Two zombie dogs. KEY ITEMPower Cable under the bonnet of the car on charge — the first of four cable car repair items.
8
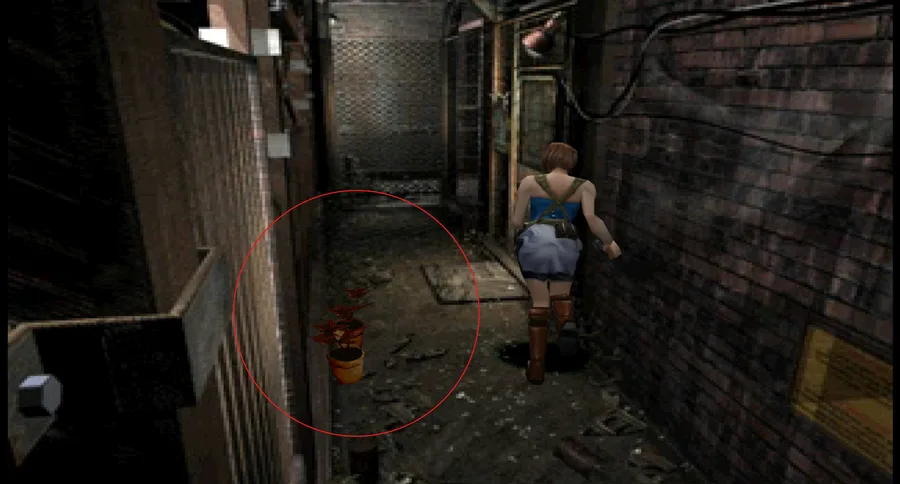
Tip. The planter by the office door grows Blue Herbs and it regrows indefinitely. Remember it — it is your free poison cure for the whole district.
9
SAVE ROOM The Garage Office has a typewriter and item box, ITEMHand Gun Bullets on the table, and HARD ONLYInk Ribbon ×3.
Construction Street & Maintenance AreaDowntown 303–304
10
Three zombie dogs. Nicholai appears briefly, machine-guns a zombie and leaves.
11
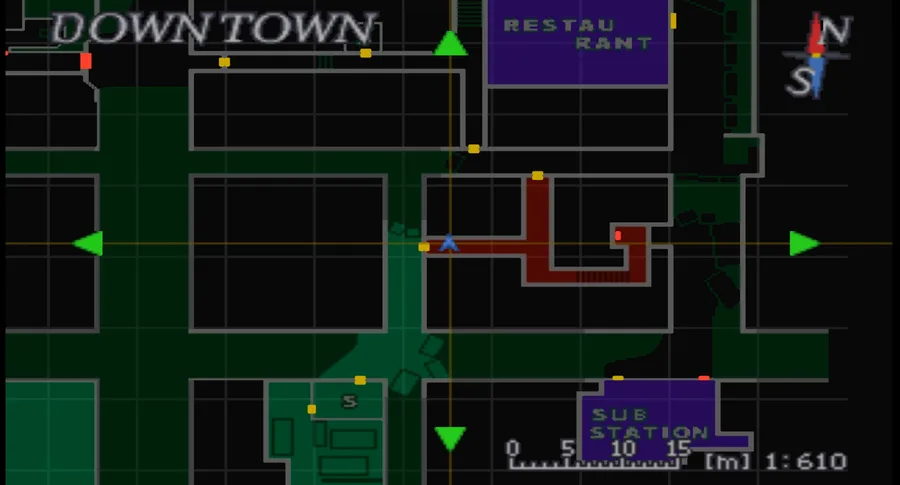
ITEMDowntown Map on the wall next to the west door in the Maintenance Area — take it first. ITEMGun Powder A on the mercenary’s body.
12
2 Drain Deimos drop from the ceiling here.
13
Return trip. The elevator in this room is the only way down to the Sub Station, and it needs the Battery from the Mayor Warren statue. It is the last link in a four-step chain — see the Water Feature Area below.
Water Feature AreaDowntown 305
14
ITEM2 Green Herbs beside the water feature. Carlos appears on the south side and kills a zombie.
15
The Future Compass — do not grab it
The Future Compass sits in a wall indentation between two bronze statues. Taking it directly electrifies the water and hurts you.
Place the Book of Wisdom in the right-hand indentation first, then take the Compass safely. The Book of Wisdom is in Three Points Street — behind the City Hall gate — so this is a return trip once the gate is open.
The Downtown Fork — read this before you open either doorDowntown 306 & 311 — the choice that moves the Emerald
Two ways through Downtown, and the order is the choice
Downtown hands you two buildings and no fixed order: Grill 13, the restaurant, and the Press Office. Walk into either one and the same scene plays — Carlos is already inside, Nemesis comes through the wall, and the game stops for a LIVE SELECTION. The building you enter first is not cosmetic: it decides where the Emerald spawns, and the Emerald is one of the two gems the City Hall gate clock needs. You only get this scene once, so choose on purpose.
Restaurant first
Press Office first
Where Carlos meets you
The kitchen of Grill 13 — he steps out behind Jill the instant she opens the floor panel
The main office upstairs — he is lying on the floor as you walk in
What has to be true first
This route has a prerequisite. The scene will not start until you use the Fire Hook on the kitchen floor panel — and the Fire Hook is in the back-door locker, which needs the Lockpick. No Lockpick, no restaurant meeting.
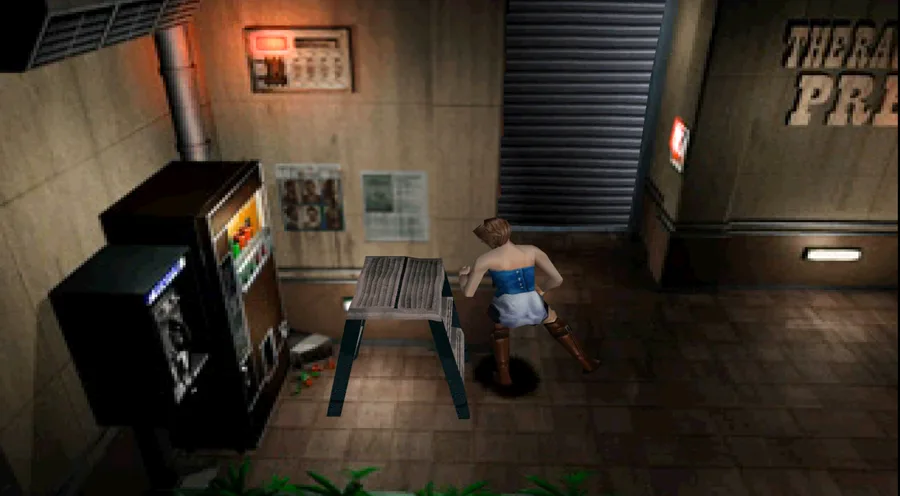
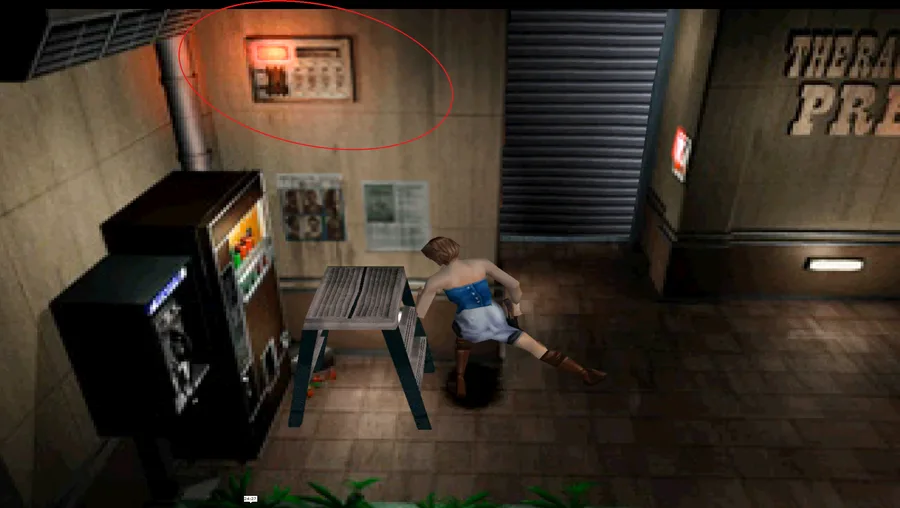
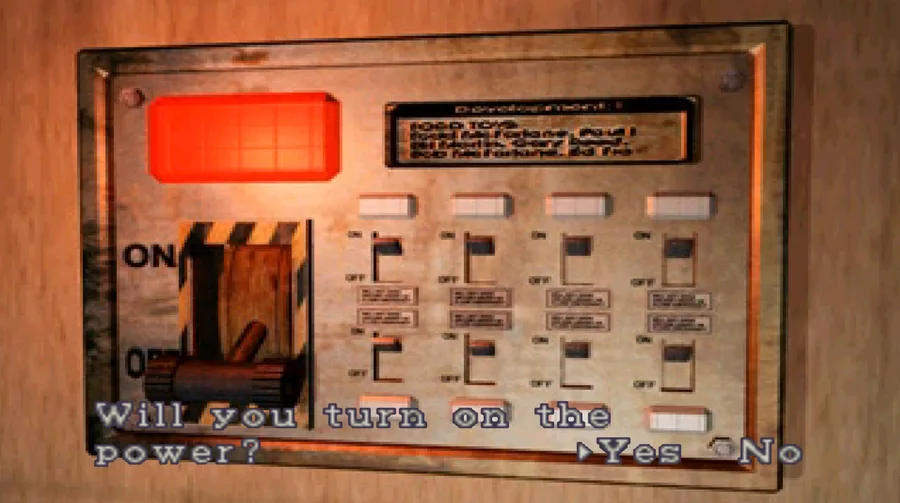
A small puzzle of its own. In the lobby you push the stepladder under the wall panel and switch it on, then use the panel by the shutter to raise it, before the stairs to the office are open.
The Live Selection you get
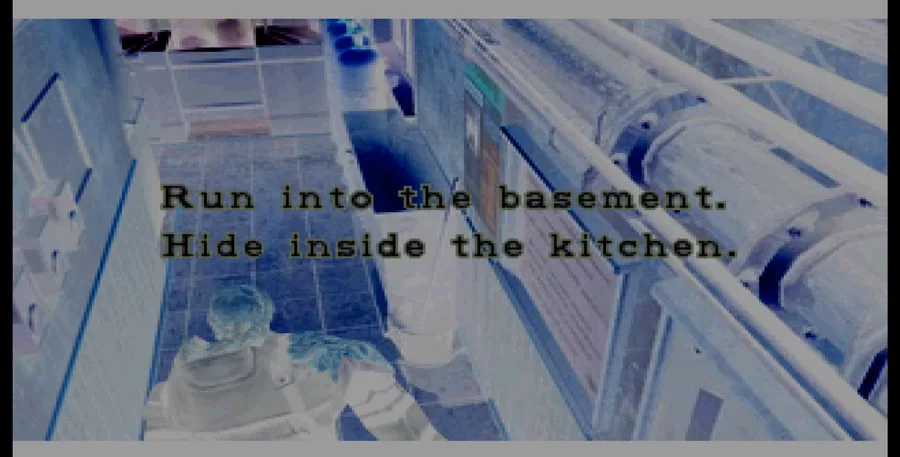
Hide in the kitchen / Run into the basement
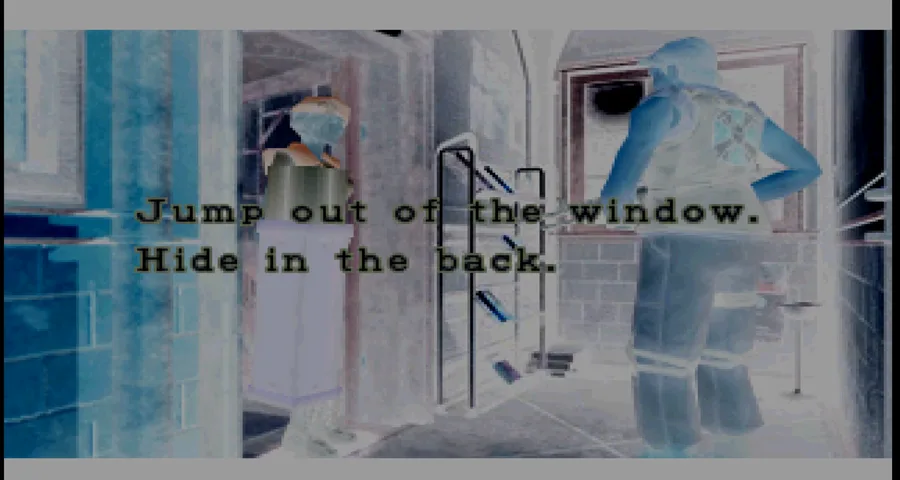
Hide in the back / Jump out of the window
Where the Emerald ends up
Press Office — the small table beside the whiteboard, south-east corner of the main room
Restaurant Basement — on the body in the north-west corner
What that costs in walking
Nothing extra. Files 10, 11 and 12 already force a trip to the Press Office, so the gem is waiting on a visit you were making anyway.
The basement sits behind the floor panel that the Fire Hook opens, and the Fire Hook is in the restaurant’s back locker — so the restaurant stays a mandatory stop either way.
Anything exclusive
—
ITEM2 Red Herbs in the side alley, reachable only by picking Jump out of the window
The Live Selection is a second, separate decision. It does not move the Emerald. What it decides is who is waiting for you at the Gas Station later, and whether Nemesis goes down for free.
1 — In the Restaurant, Grill 13 • Hide in the kitchen — Jill throws a lamp, the gas bottle ignites and Nemesis is knocked out. That is a full item drop on Hard without spending a single round. Afterwards Carlos is at the Gas Station and Nicholai at the Sales Office, which is the condition for Flame Rounds ×6 from Carlos at the cable car. • Run into the basement — a pipe bursts and the basement floods. No free knockdown either way, but how you get out decides the rest: leave through the ventilation shaft and Nicholai takes the Gas Station, Carlos the Sales Office, and the Flame Rounds are gone. Climb back up the ladder instead — or just let the timer run out, which climbs it for you — and Carlos stays at the Gas Station, so you keep them.
2 — In the Press Office • Hide in the back — an explosion knocks Nemesis out, the same free item drop. Afterwards Carlos is at the Gas Station and Nicholai at the Sales Office — Flame Rounds ×6 again. • Jump out of the window — you land in the side alley, the only way to reach the ITEM2 Red Herbs out there. No knockdown. Afterwards Nicholai is at the Gas Station and Carlos at the Sales Office, so no Flame Rounds.
The pattern is identical in both buildings: hiding buys the free knockdown and puts Carlos at the Gas Station; moving gives up both, whichever building you are standing in. Those two Red Herbs are the only thing moving ever buys you.
The short version: restaurant first, then hide. You pick up File 9 and the Fire Hook on the way in, the free knockdown is the best damage you will ever do to Nemesis for zero ammo, and the Emerald lands in a building you are already obliged to clear. Take the Press Office first only if you want those two Red Herbs — and know that reaching them is exactly what costs you the Flame Rounds. And if you do take the basement in the restaurant, go back up the ladder rather than through the vent and you keep them anyway.
Restaurant — Grill 13Downtown 306 — File 9 lives here
16
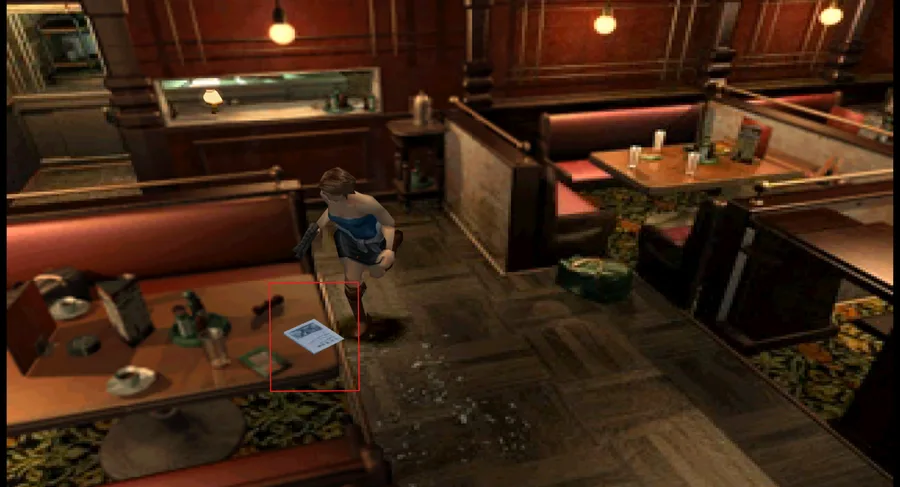
Missable.FILEFile 9: City Guide is on one of the tables near the phone box at the front of the dining area. No key needed.
17
RANDOMITEMGun Powder A ×2 here 50% of the time; otherwise in the Press Office.
18
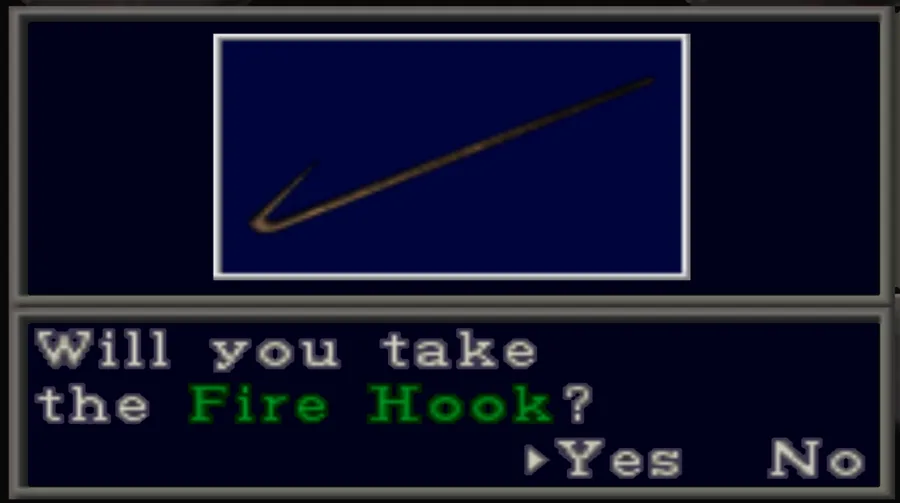
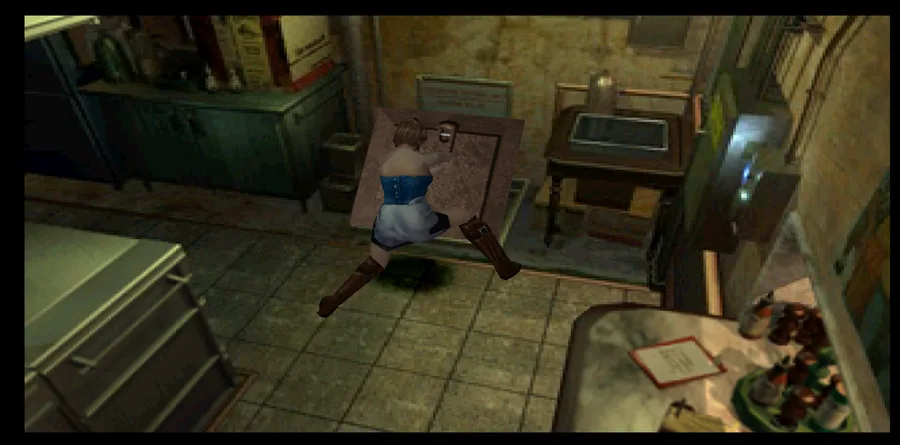
KEY ITEMFire Hook in the locker by the back door — needs the Lockpick. It opens the floor panel in this same room down into the basement.
19
LIVE SELECTIONNEMESIS 3 If you enter the Restaurant before the Press Office, this is where you meet Carlos and Nemesis crashes in.
Hide in the kitchen
Hide in the kitchen. Jill throws a lamp, the gas ignites, and Nemesis is knocked down for free — a full item drop on Hard without spending a single round. It also puts Carlos at the Gas Station, which is what earns you Flame Rounds on the cable car later.
Run into the basement floods the basement and costs you the free knockdown.
20
Where the Emerald goes. You met Carlos here, so the Emerald is in the Press Office — the small table beside the whiteboard. Had you opened the Press Office first it would be in the Restaurant Basement instead. This is not random; you caused it ().
Shopping District & Downtown StoreroomDowntown 308–309
21
Up to six zombies in the Shopping District.
22
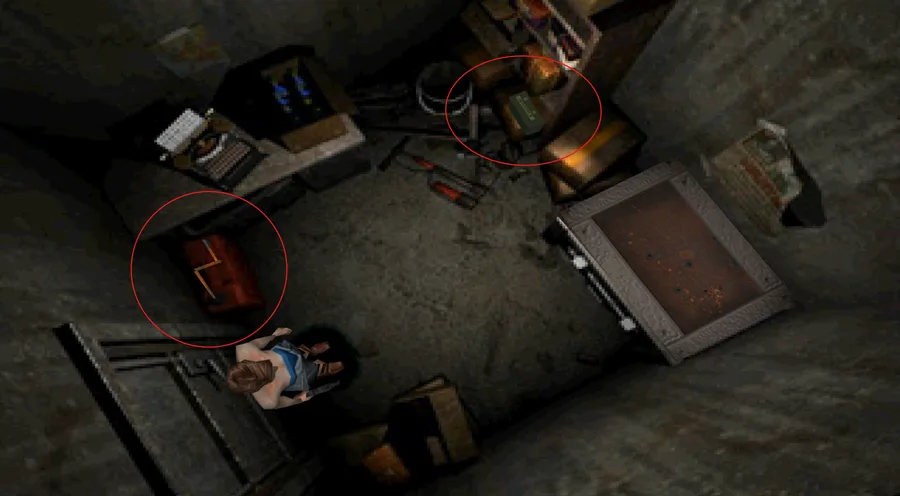
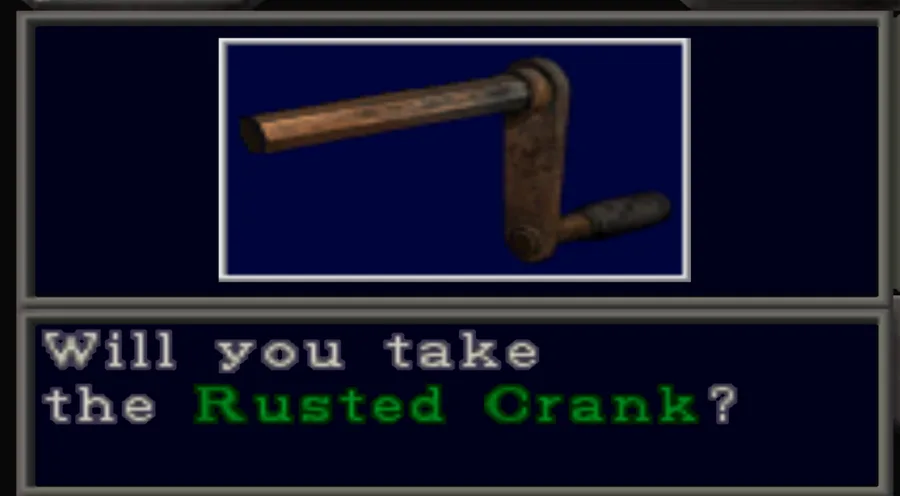
SAVE ROOM The Downtown Storeroom has a typewriter and item box, KEY ITEMRust Hex Crank on the boxes, and ITEMShotgun Shells on the shelf.
It is supposed to break. The Rust Hex Crank snaps partway through opening the Gas Station shutter. That is scripted, not a mistake — you finish the job with the Wrench from the cable car.
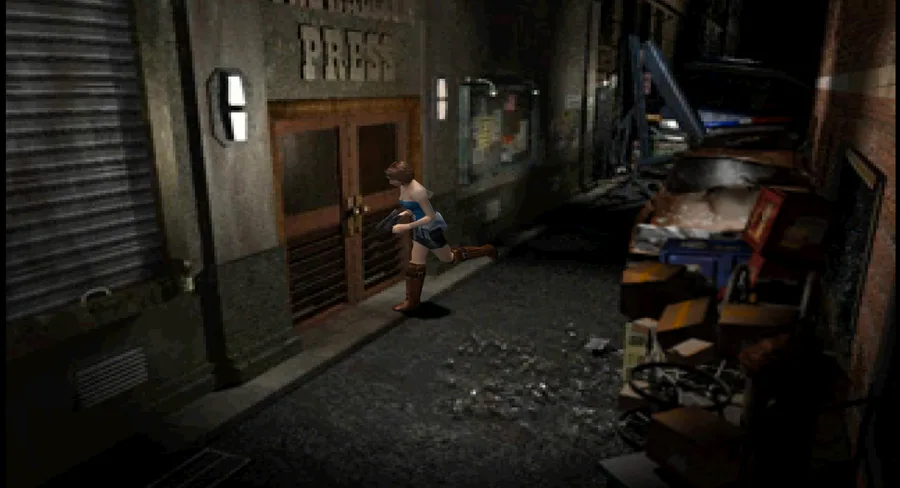
Press Office & LobbyDowntown 311–312
23
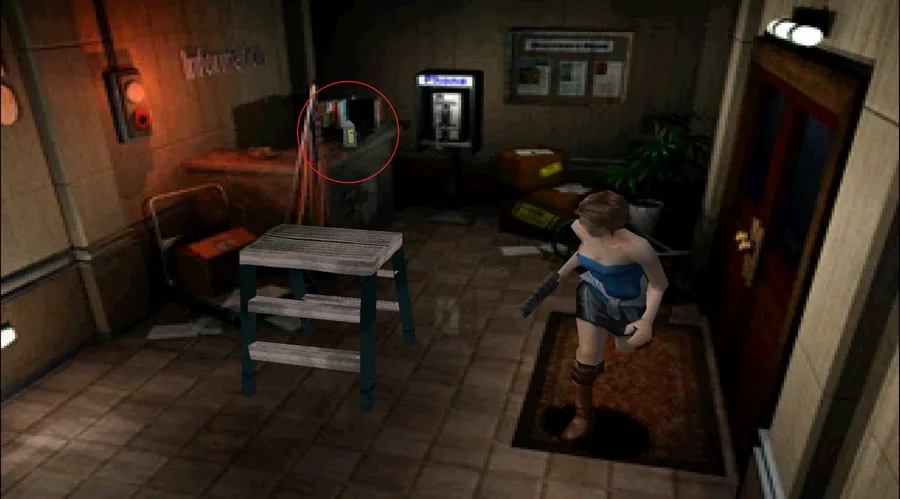
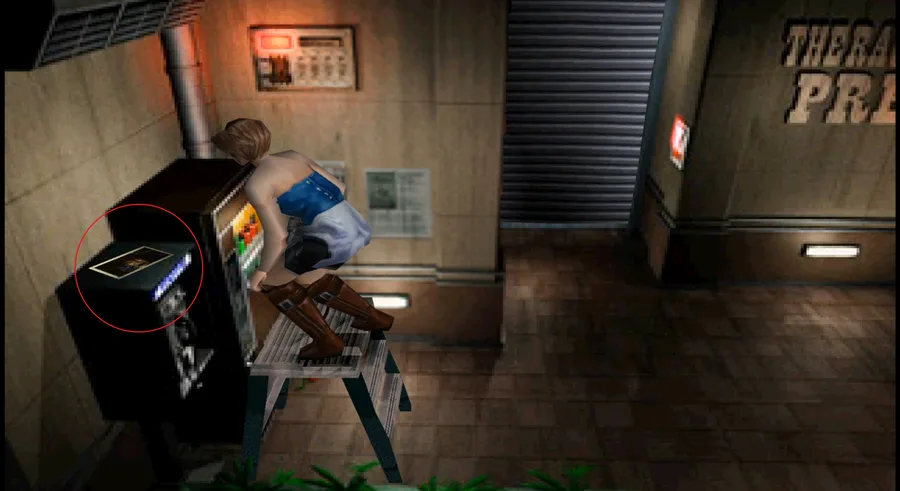
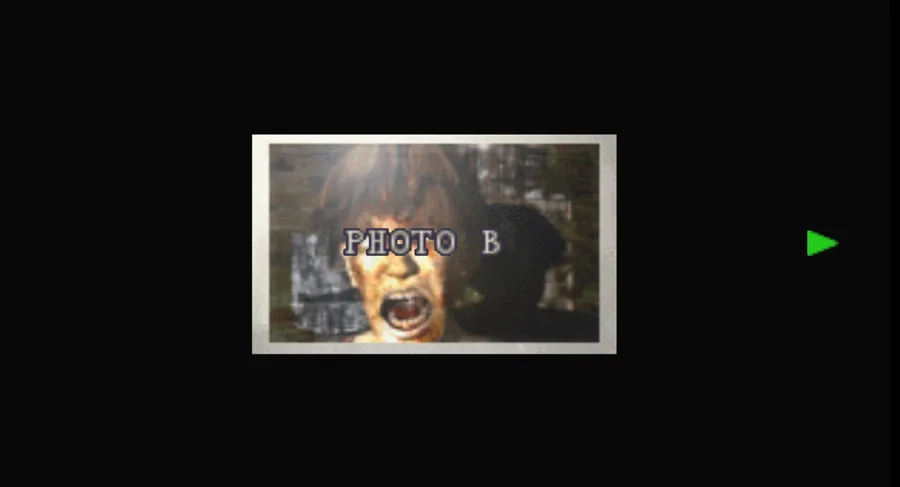
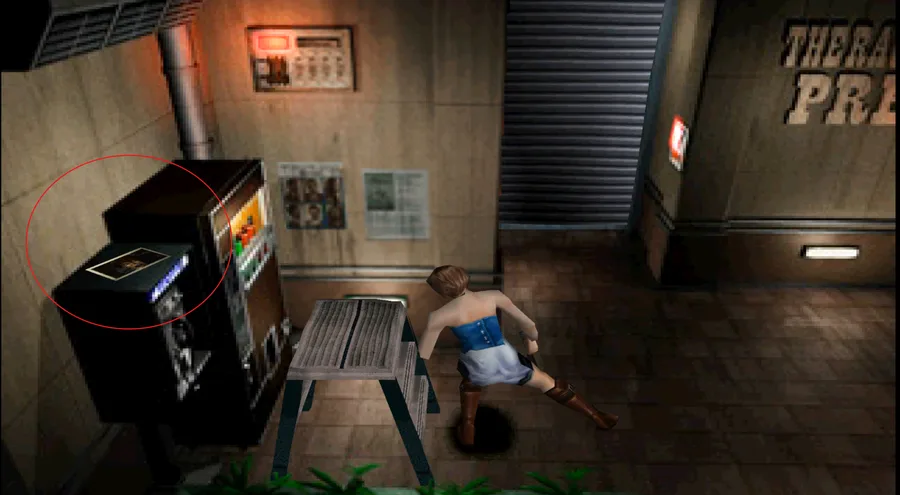
FILEFile 10: Photo B on top of the payphone on the west wall of the lobby. ITEMFirst Aid Spray on the bench. HARD ONLYInk Ribbon ×3.
24
Get to the right of the stepladder and push it left along the wall until it stands under the control panel. Climb the ladder and switch the panel on.
25
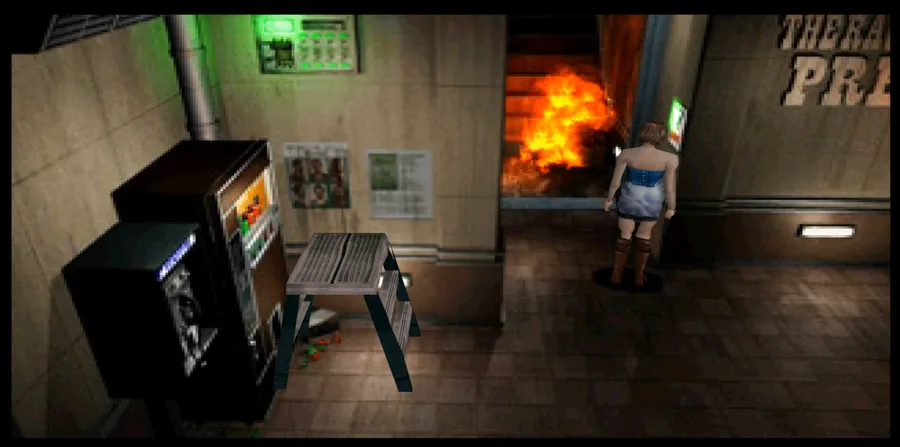
Now use the panel beside the shutter to raise it, and take the stairs up. A door’s glass blows out from the fire as you climb — keep going. The office at the top is where Carlos is.
26
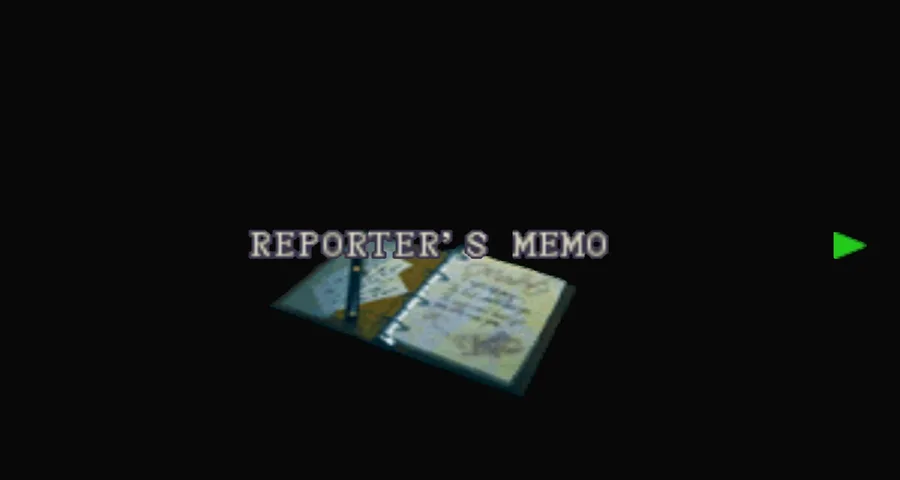
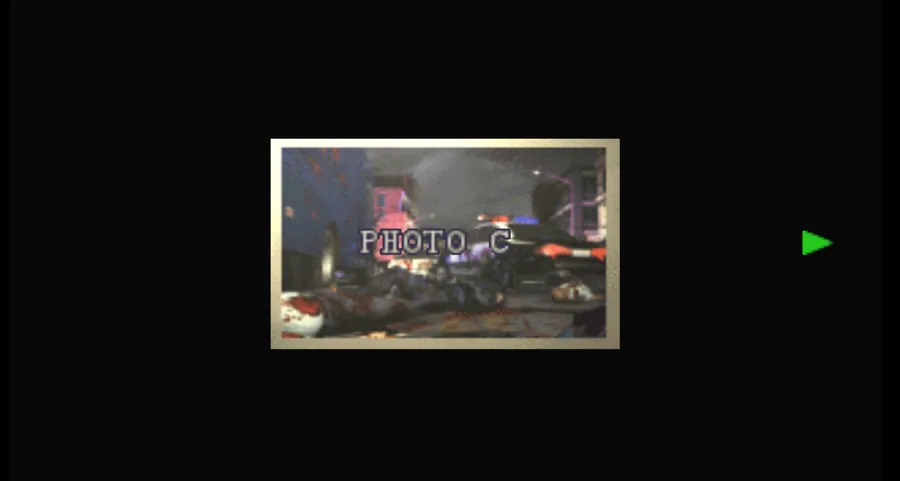
FILEFile 11: Photo C on the main table and FILEFile 12: Reporter’s Memo beside the radiator.
27
The Emerald is on the small table by the whiteboard if you met Carlos at the Restaurant.
28
LIVE SELECTIONNEMESIS 3 If you reach the Press Office first, Carlos is here instead and this is where Nemesis breaks in.
Both options cost something.Hide in the back gives you the same free Nemesis knockdown as the kitchen option. Jump out of the window is the only way to reach the 2 Red Herbs in the Press Office Side Alley — but it skips the free knockdown and puts Nicholai at the Gas Station, costing you the Flame Rounds later.
City Hall GateDowntown 310 — the gem clock
29
ITEMHand Gun Bullets on the officer’s body by the gate.
30
The two-gem clock — fixed, not random
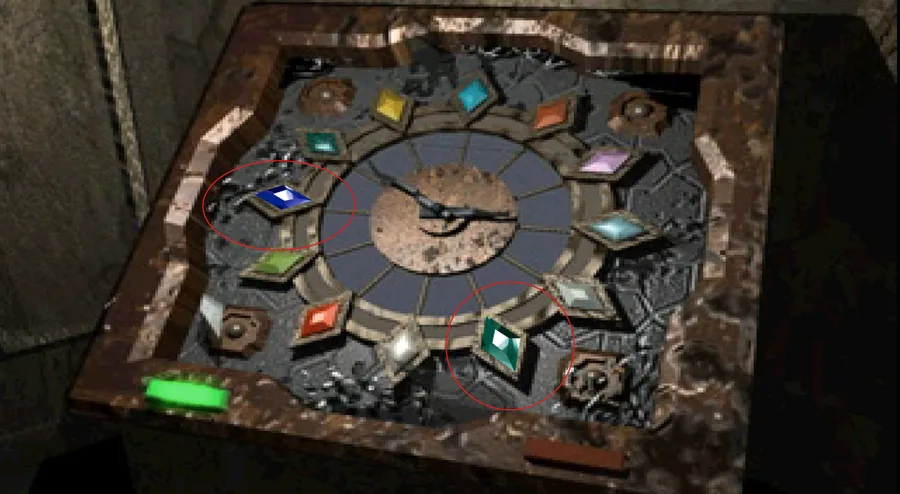
A clock device stands beside the City Hall gate. Insert the Sapphire and the Emerald into it and the gate opens onto Three Points Street. • Sapphire — R.P.D. Evidence Room, west locker. • Emerald — Press Office or Restaurant Basement, depending on where you met Carlos.
31
Do not stop in Three Points Street yet. The gate opens onto it, but the green door stays shut until you have been down to the cable car. Walk straight through to the Cable Car Area first, take the Wrench, and the door opens on your way back.
Cable Car AreaDowntown 322
32
RANDOM Either 3 zombie dogs or 8 zombies. Two explosive barrels — one by the south door, one in the north-west corner. ITEMShotgun Shells on the body by the Lonsdale Yard door.
33
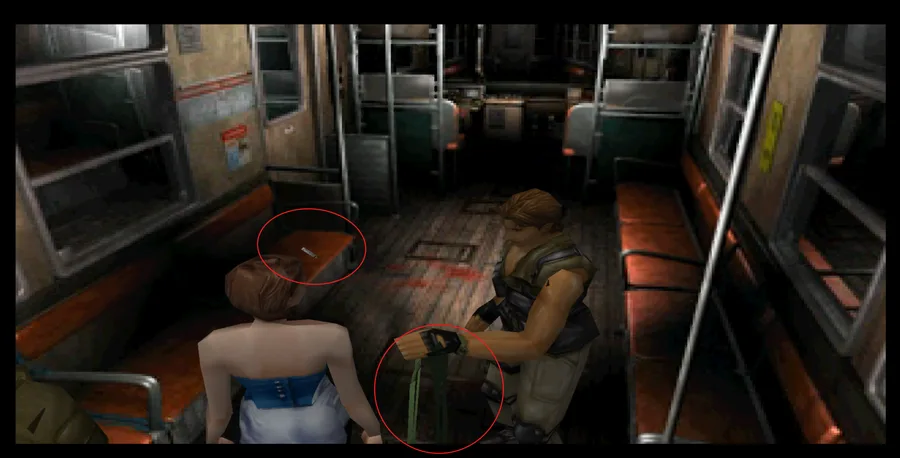
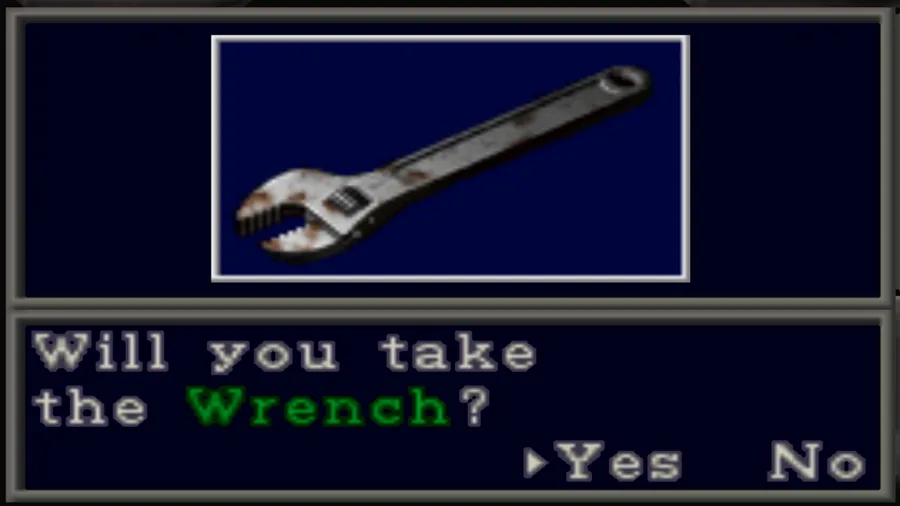
In the front carriage: Carlos and Nicholai. KEY ITEMWrench on the seats — this is what finishes the Gas Station shutter and frees the Fire Hose. HARD ONLY Carlos also hands Jill the Side Pack, an inventory expansion, on Hard only.
34
In the rear carriage: FILEFile 13: Mechanic’s Memo on the rear dashboard, Mikhail lying on the seats, and Flame Rounds ×6 from Carlos if your branch put him at the Gas Station.
35
Missable.Read File 13 now, before you go back to Uptown. In the file order it sits ahead of the Sales Office files (14 and 15) and Dario’s Memo (16), all of which are on the Uptown return trip.
Three Points StreetDowntown 314 — the statue chain
36
Coming back from the cable car the green door finally gives: four zombies burst out of it as you approach, and two more come through the barricaded windows. RANDOMITEM3 Green Herbs behind the green door (50%).
37
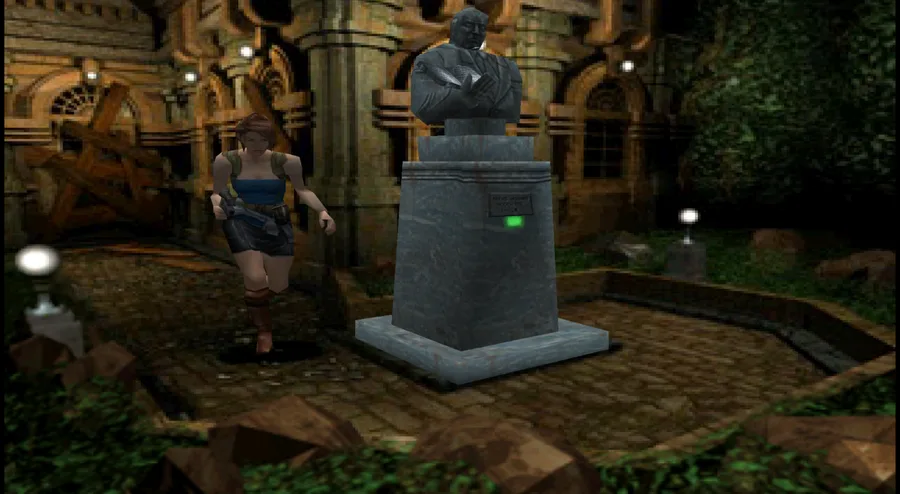
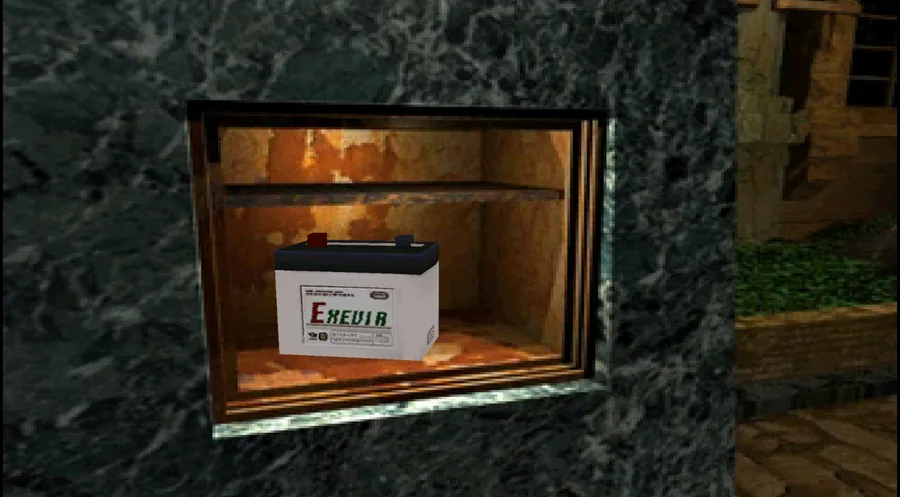
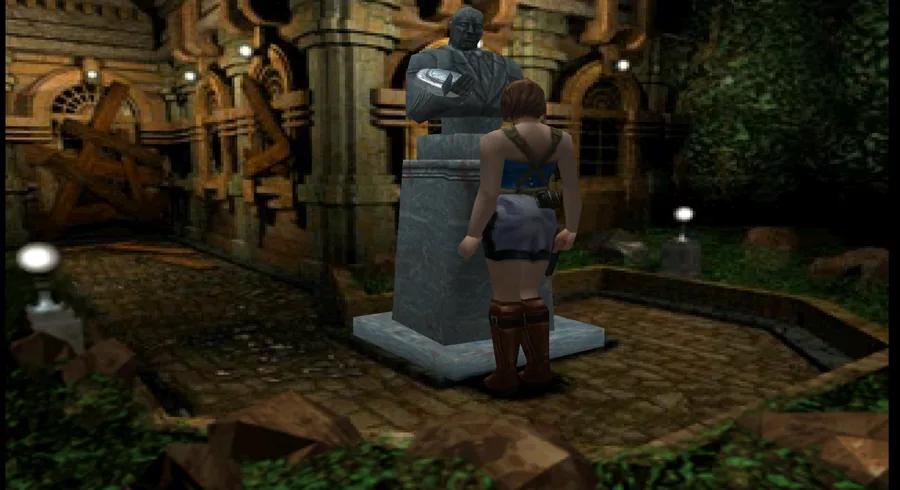
Book of Wisdom → Future Compass → Battery
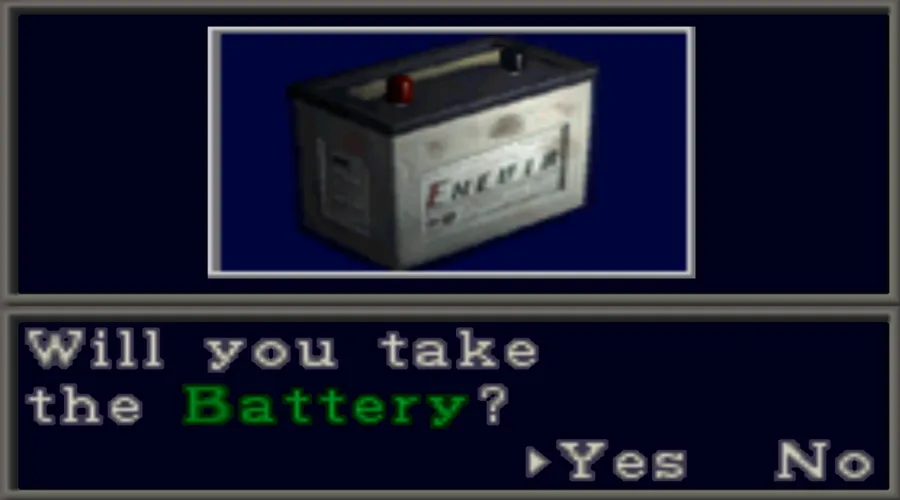
1. Press the release on the base of the Michael Warren statue and take the Book of Wisdom from its arm. 2. Carry it to the Water Feature Area and place it in the right-hand indentation, then take the Future Compass safely. 3. Bring the Compass back here, put it in the statue’s arm and press the button on the base. The statue turns and reveals the Battery.
The Compass is consumed. The Battery is what runs the Maintenance Area elevator down to the Sub Station — there is no other route.
Gas StationDowntown — Stagla
38
The way in is behind a metal security shutter. Use the Rust Hex Crank until it snaps, then finish with the Wrench.
39
Depending on your earlier choices you meet either Carlos or Nicholai here. Meeting Carlos is what gets you Flame Rounds ×6 on the cable car later.
40
The letter lock — randomised every run
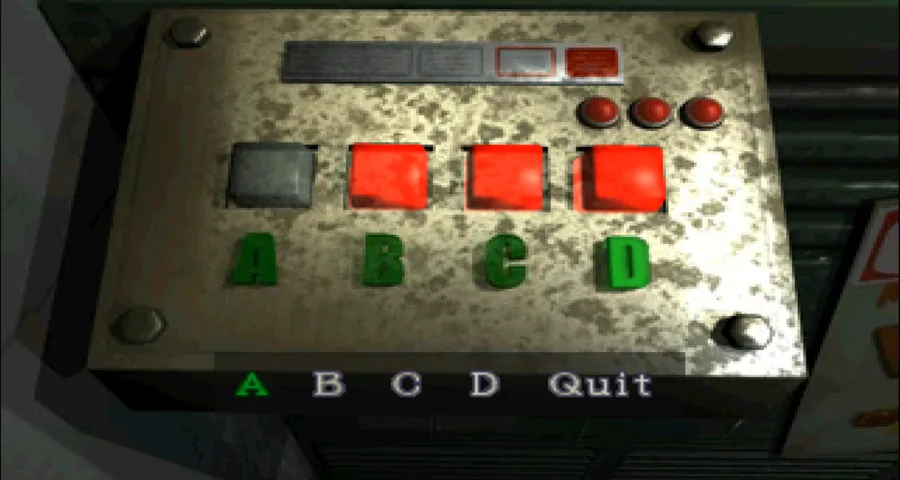
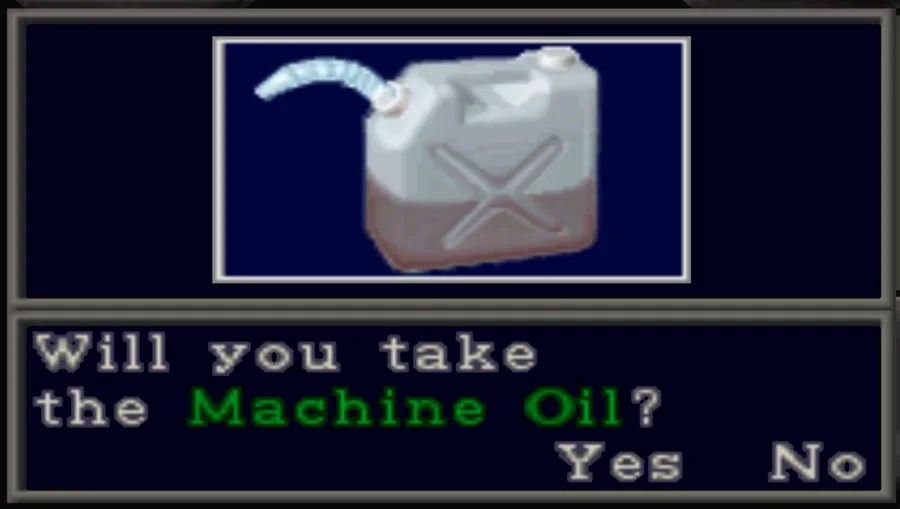
Behind the counter is an electronically locked cabinet holding the Machine Oil, the second cable car repair item.
The panel shows a row of letters. One letter is highlighted, and a red square sits somewhere along the row. Press the button beside a letter to shift the red square along; keep shifting until the red square lands on the highlighted letter.
Both the target letter and the starting position change every playthrough, so there is no answer to memorise — only the method.
41
ITEMFirst Aid Spray on the shelf behind the counter — it is always there. RANDOMITEMGun Powder A ×3 on the round table by the door (50%; if it is not here it is on the Sales Office Storeroom shelves instead).
42
RANDOMITEM2 Red Herbs on the ground beside the pumps out front (50%). The other half of the time they are at the Sub Station gate area instead — one place or the other, never both, so sweep the forecourt before you take the lift down.
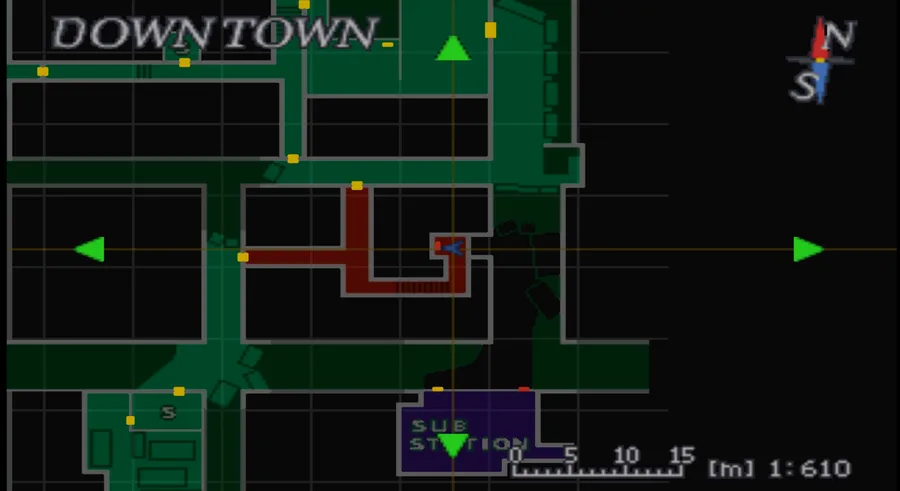
Sub StationDowntown 324 — the transformers
43
Reached only by the Battery-powered elevator in the Maintenance Area. Seven zombies at the entrance; an explosive wall charge on the western building corner. RANDOMITEM2 Red Herbs in the gate area (50%) — the same coin flip as the Gas Station forecourt.
44
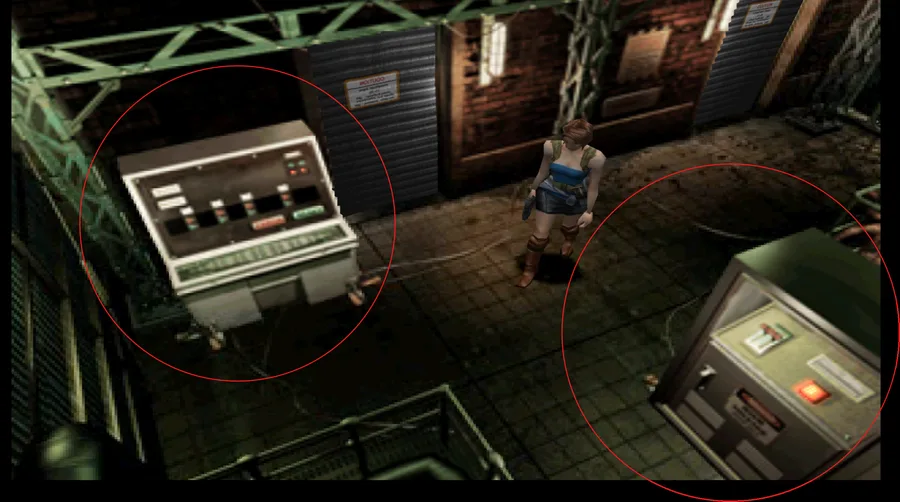
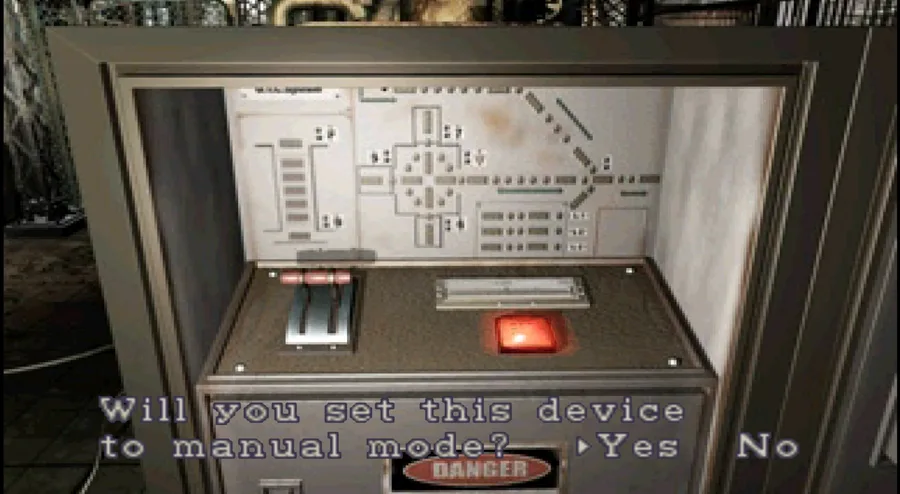
Nothing responds until the power is yours. Use the big machine by the entrance first and switch the supply to manual control.
45
First door. The panel showing the 15v–25v range → RED, BLUE, BLUE, BLUE. Its shutter opens on the room holding the KEY ITEMFuse — the third cable car repair item.
46
Second door. The panel showing the 115v–125v range → RED, RED, RED, BLUE. Its shutter opens on the room holding RANDOMwhichever heavy weapon you did not find in the S.T.A.R.S. Office — Magnum or Grenade Launcher — and RANDOMITEMGun Powder B ×3 on the table (50%).
47
Open both shutters before you pick anything up. The Live Selection fires the moment you take an item out of either control room — get the order wrong and you can leave without the heavy weapon.
48
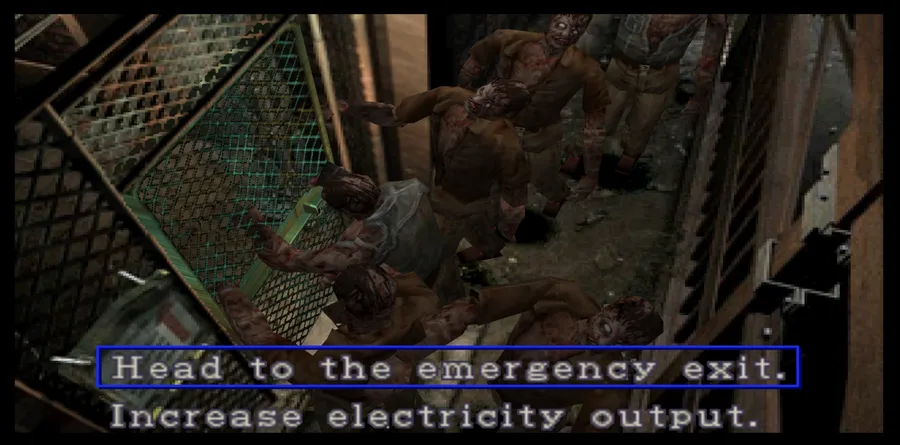
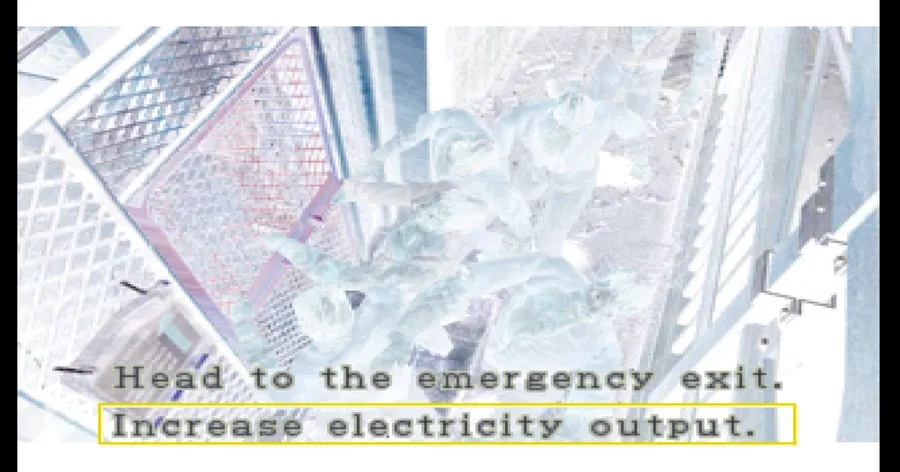
LIVE SELECTIONNEMESIS 4Head for the emergency exit or Increase the electricity output.
This choice moves a Nemesis encounter, it does not remove it.
• Emergency exit — Nemesis is waiting outside the Sub Station on the raised ground above the entrance, rocket launcher in hand. He only appears here if you have not already picked up the Oil Additive. • Increase the electricity output — the zombies at the gate are electrocuted and Nemesis never appears outside. You meet him on the Uptown return trip instead, coming back from the Sales Office, with the same rocket launcher.
Either way he throws the launcher aside after five shots and comes at you bare-handed.
On to Uptownthe Wrench still has work to do
The Wrench is not finished with you. Up in Uptown it frees the Fire Hose from the wall mount in the Straight Alleyway, the hose kills the fire in the Forked Alley, and that opens the way to the Sales Office — where the Oil Additive, the fourth and last cable car repair item, is waiting. Only then do you come back here and take the cable car out.
CHAPTER 3 OF 10
CH 4Re-visiting Uptowneverything the Lockpick, Wrench and Fire Hose open
A cleanup loop rather than a new area. It contains the last cable car repair item, one randomised password, and the file that catches almost everyone out — Dario’s Memo, sitting in the very first room of the game, in a container that was occupied the first time you walked past it.
1
What changed. You come back through Uptown with four things you did not have the first time: the Lockpick, the Wrench, the Fire Hose it frees, and eventually the Square Crank. Everything below was visible on your first pass and locked.
Straight Alleyway & Forked Alleythe fire
2
Use the Wrench on the wall mount in the Straight Alleyway to take the KEY ITEMFire Hose.
3
Use the Fire Hose on the fire blocking the western branch of the Forked Alley. That opens the route to the Dark Alley.
4
NEMESIS 4 Nemesis appears in the Forked Alley once you hold the Oil Additive. This is the same encounter as the one outside the Sub Station — you get it here if you never met him there. Optional, but on Hard he is carrying the next case in the chain.
Dark Alley & Sales Office Patio
5
ITEM2 Blue Herbs near the west door in the Dark Alley.
6
RANDOM2 Brain Suckers or 2 Drain Deimos on the patio. Explosive wall charge near the Sales Office entrance.
7
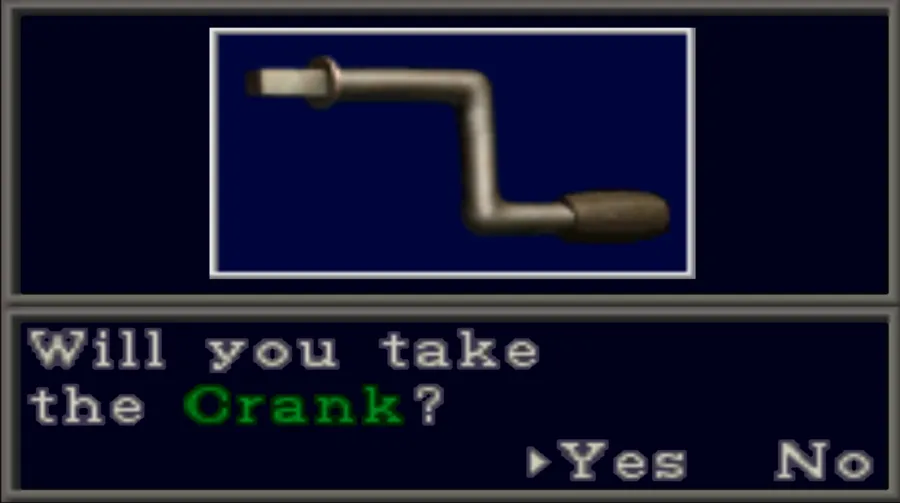
KEY ITEMSquare Crank among the sandbags by the north-east door. This opens the shutter back in the Private Backyard.
Sales Officethe TV puzzle
8
A cutscene with Murphy Seeker; either Nicholai or Carlos is here — whichever one you did not meet at the Gas Station.
9
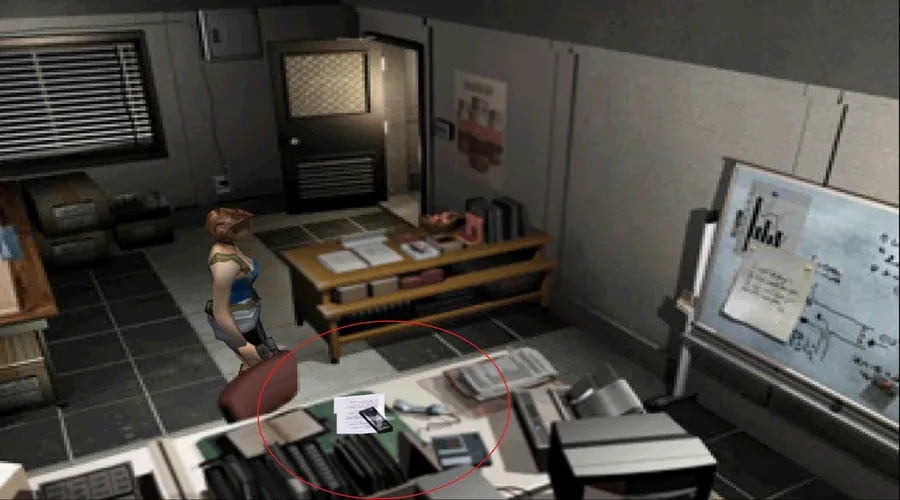
FILEFile 14: Manager’s Report on the table by the computer.
10
FILEFile 15: Business Fax in the filing cabinets.
Careful.Read both files before you take the Oil Additive. Taking it drops six zombies into this room.
11
ITEMFirst Aid Spray in the north-east cabinet. HARD ONLYInk Ribbon ×3 near the storeroom door.
12
The storeroom password — randomised
The storeroom is behind a computer password.
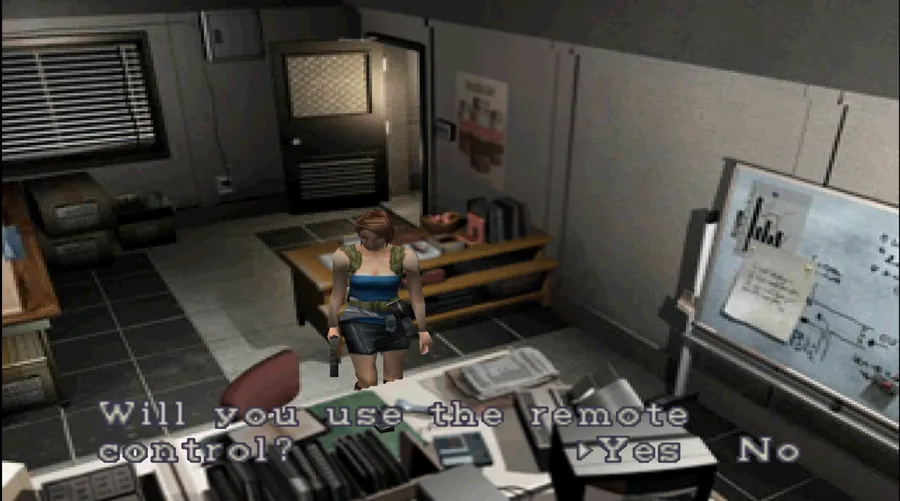
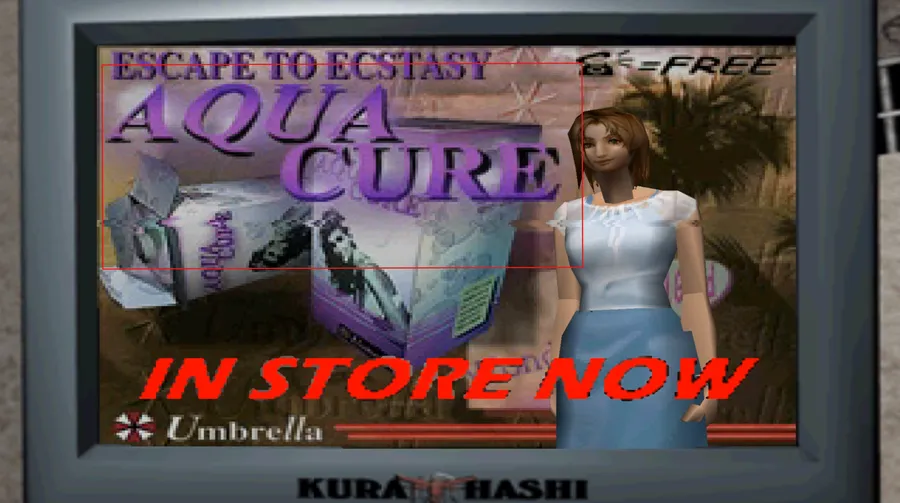
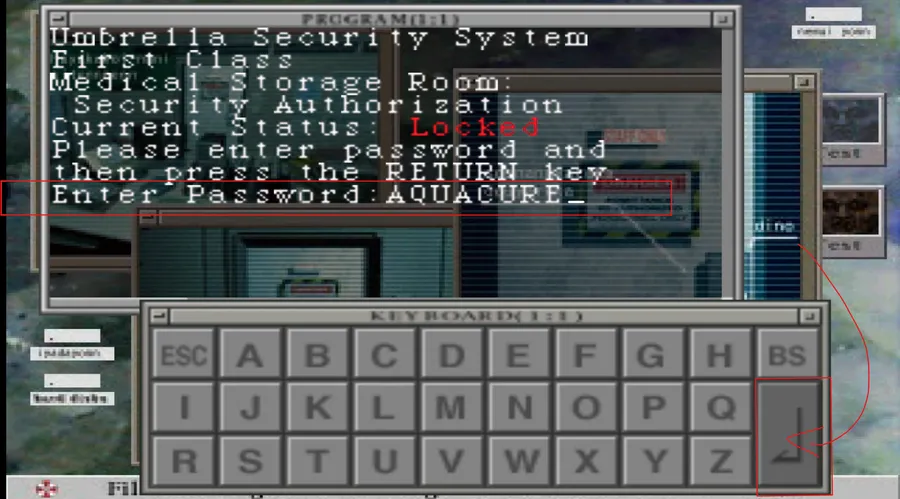
Use the remote control on the television. A pharmaceutical advert plays and names a product. That name is the password — type it into the computer.
It is always one of ADRAVIL, SAFSPRIN or AQUACURE, but which one changes every run, so watch the ad rather than guessing.
13
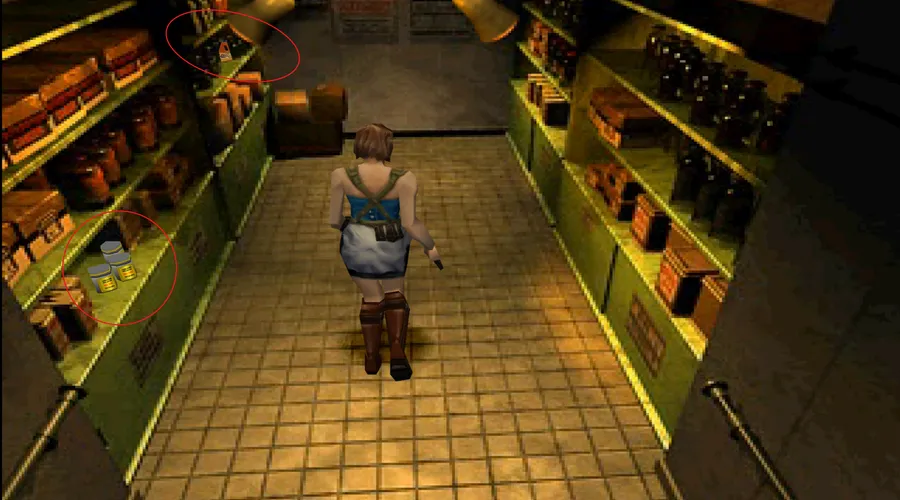
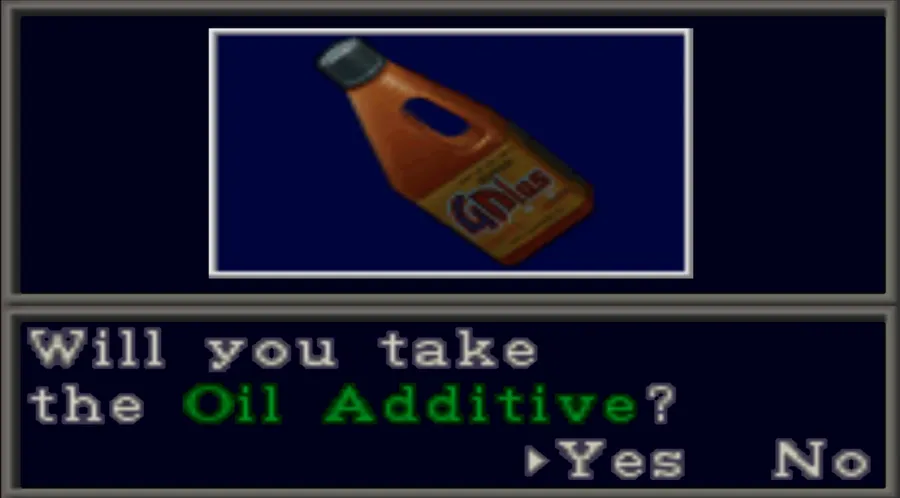
KEY ITEMOil Additive on the storeroom shelves — the fourth and last repair item. RANDOMITEMGun Powder A ×3 and RANDOMITEMGun Powder B ×3 here (both 50%).
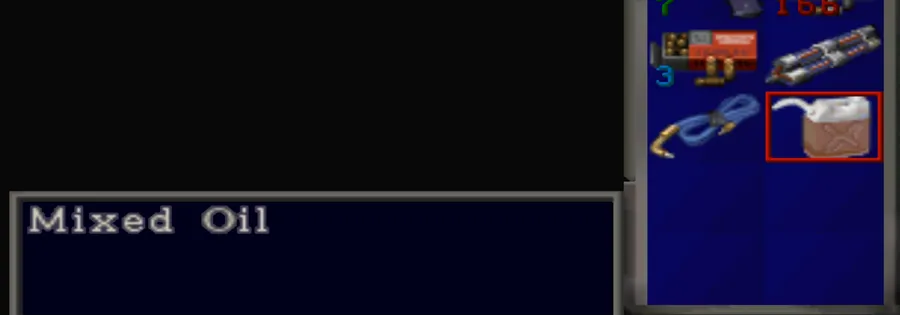
14
Combine Machine Oil + Oil Additive → Mixed Oil.
Private Backyard & Business Main Streetcleanup
15
Use the Square Crank on the metal shutter in the Private Backyard for ITEMGrenade Rounds.
16
Explore the south-east side of Business Main Street to trigger the scream event. A zombie bursts out of the parked car, and the ITEMGun Powder B inside it is now reachable.
WarehouseUptown 101 — File 16, at last
17
Dario is no longer in the container. He is on the west side of the warehouse with three zombies eating him, and a fourth lies on the walkway.
18
Missable. Go inside the now-empty container — FILEFile 16: Dario’s Memo is on top of the boxes.
This file becomes permanently unobtainable the moment the cable car leaves. If you skip it here, the run is finished for Jill’s Diary.
19
Sweep anything you left on the first visit, and use the Warehouse Office as your staging point.
CHAPTER 4 OF 10
CH 5Get Out of Townthe cable car repair and Mikhail’s sacrifice
A short chapter with a hard deadline attached. Everything in Uptown and Downtown is lost the moment the cable car moves, so treat this as your last sweep — then make the choice that shapes the whole Clock Tower chapter.
1
The four repair items. Four parts repair the cable car. Machine Oil and Oil Additive combine first, so you install three things: Power Cable, Fuse and Mixed Oil.
Item
Where it is
What gates it
Power Cable
Garage — under the bonnet of the car on charge
Nothing
Fuse
Sub Station — behind the 15v–25v shutter
Battery → Maintenance Area lift
Machine Oil
Gas Station Shop — the letter-lock cabinet
Rust Hex Crank + Wrench
Oil Additive
Sales Office Storeroom, Uptown — behind the password
Fire Hose to clear the Forked Alley
2
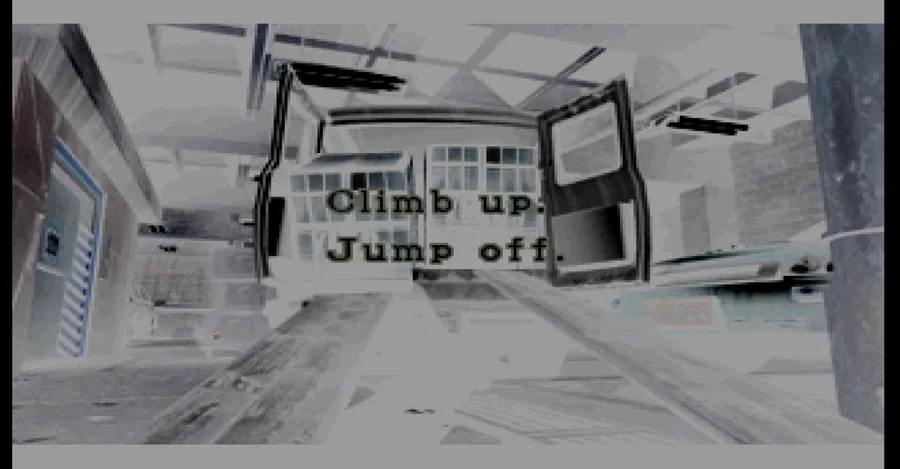
LIVE SELECTIONOn the way back toward Downtown, as you approach the van parked in the middle of the Garage, the room shakes, the floor cracks open and the crates start sliding out — the choice appears: Climb up or Jump off.
Climb up — you climb clear and simply carry on. No cost, no detour.
Jump off — you drop into the underground passage and have to work back up to street level the long way.
Doing nothing — the falling crates hit Jill for damage, and you end up on the underground route anyway. Climb up is the clean answer.
3
If you took — or were knocked onto — the underground route: it is a dead-end detour, not a shortcut. RANDOMsliding worms hunt the west side of the passage, and they respawn every time you re-enter. They are fast, hit from below, and are worth neither the ammunition nor the time — run past them and take the ladder back up (it comes out by the dead soldier in the Parking Area); they give no time bonus or cash in Mercenaries either, which tells you how little the game thinks they are worth. Heal after, not during.
4
Careful.NEMESIS 5The moment you hold all four, Nemesis spawns at the northern end of Three Points Street. Plan your route back to the cable car around him — or take the fight, since on Hard he is still carrying drops.
5
BOSSThe giant worm. Crossing Lonsdale Yard with the parts, the ground crumbles under Jill and she falls into the underground passage — and the Grave Digger, the giant worm, bursts through. It attacks from either end of the tunnel as you move.
You do not have to kill it here. Bait its lunge, dodge, then run for the ladder switch, hit it and climb out. Save your heavy ammunition — the real fight with this thing comes much later, in Raccoon Park.
You surface in the Cable Car Area, right next to a corpse carrying ITEMShotgun Shells — grab them and head straight for the cable car.
Cable Car Areathe last stop
6
If you arrive holding only some of the parts you get a Mikhail cutscene — he is holding off zombies. Flavour, not a failure.
7
Check the rear carriage one more time for FILE 13Mechanic’s Memo and the ITEMFlame Rounds ×6 if you have not taken them — both were first reachable back in Chapter 3, step 34. The Flame Rounds only exist here at all if the Chapter 3 Downtown fork put Carlos at the Gas Station; if Nicholai is there instead, there is nothing to collect.
8
Missable.Last call for Uptown and Downtown. Once this cable car pulls out, every file, item and room in both districts is gone for good — including FILE 16Dario’s Memo, the one in the warehouse container in Chapter 4, step 18. Check your file count is at 16 before you board.
9
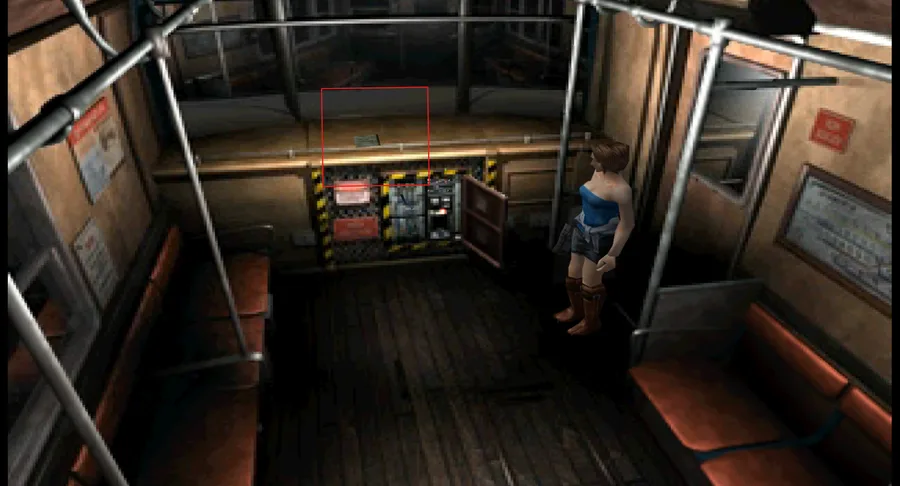
Install the Power Cable, Fuse and Mixed Oil in the front carriage control panel. Carlos starts the mechanism.
Mikhail's last stand
10
NEMESIS Nemesis boards the moving car and comes through the rear carriage. This is scripted and not a winnable fight — do not spend ammunition on it. It is not one of the seven.
11
Mikhail Victor pulls the pin on a grenade and throws Nemesis clear of the car. There is nothing you can do to prevent or improve this.
12
The blast wrecks the brakes and an earthquake hits.
13
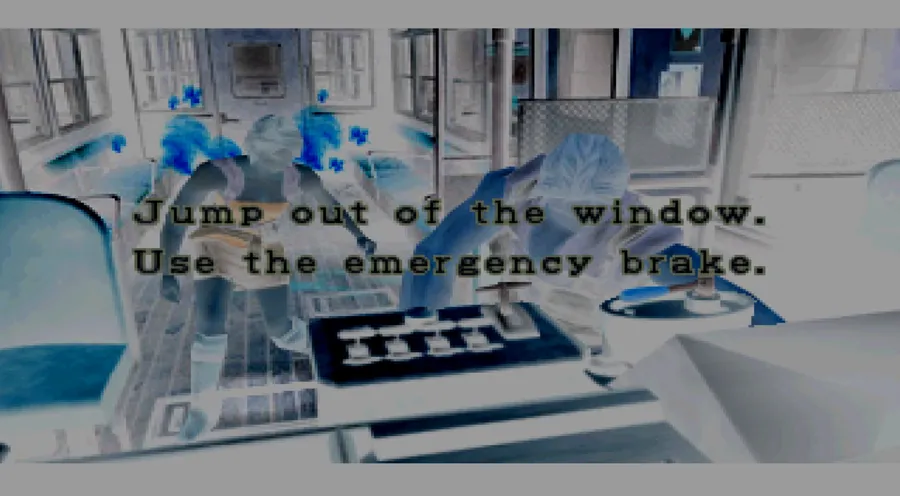
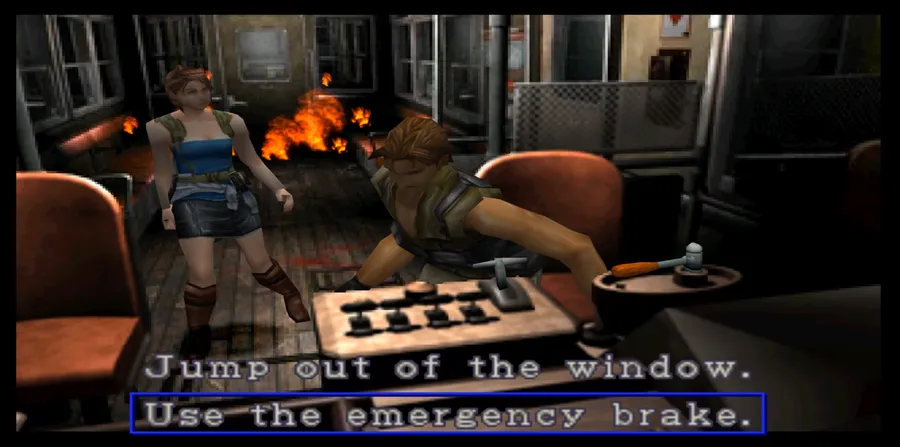
LIVE SELECTIONJump out of the window or Use the emergency brake. This is the biggest branch in the first half.
Jump out of the window
Use the emergency brake
Where Jill wakes
Clock Tower bedroom, alone
Clock Tower courtyard, with Carlos
Winder Key
Bedroom
Chapel
Bezel Key
Chapel
Bedroom
Carlos
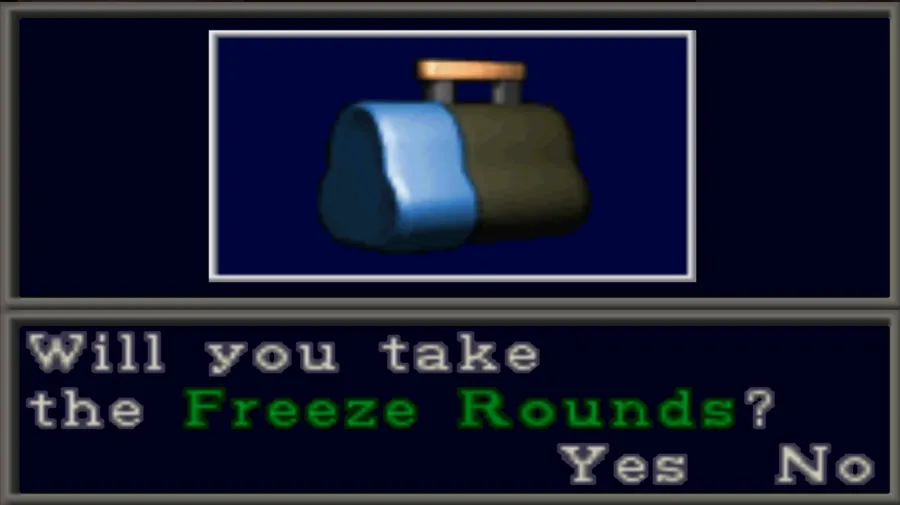
Meets you in the Small Library and gives you Freeze Rounds
Meets you in the Dining Room empty-handed
Courtyard enemies
50/50 crows or zombie dogs
Crows only
The courtyard Nemesis fight
Carlos arrives after it — Nemesis keeps his rocket launcher the whole fight
Carlos arrives during it and destroys the rocket launcher
Tip.Use the emergency brake. Losing Carlos’s Freeze Rounds hurts, but having him destroy the rocket launcher removes Nemesis’s most dangerous attack from a mandatory fight you cannot skip. Doing nothing gives the same result as the brake.
CHAPTER 5 OF 10
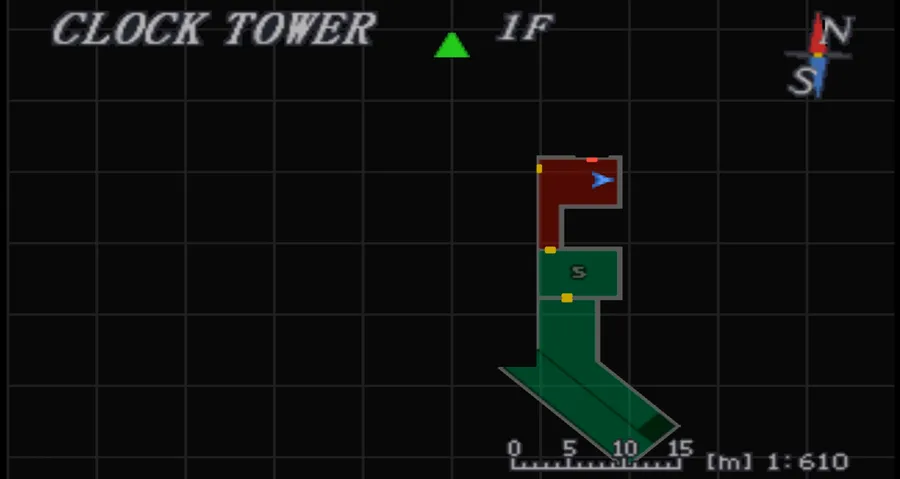
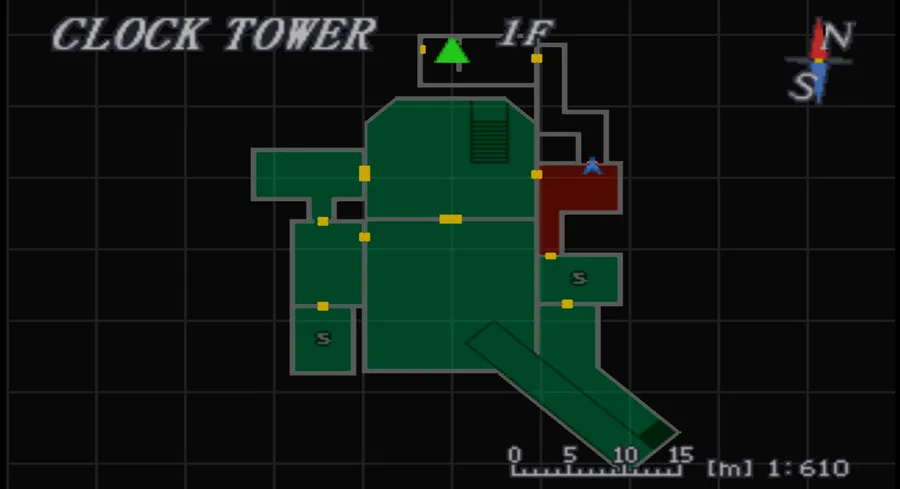
CH 6Clock TowerSt. Michael Clock Tower — two keys, two gears, one bell
A compact mansion-style chapter built around a chain: two keys open two wings, the music box gives the chain, the chain makes the Chronos Key, the goddess clocks give the gear, and the gear rings the bell. Both of its puzzles are re-rolled per playthrough — and both are solvable from information the game shows you on screen.
1
Where you wake up — two entrances, mirrored routes
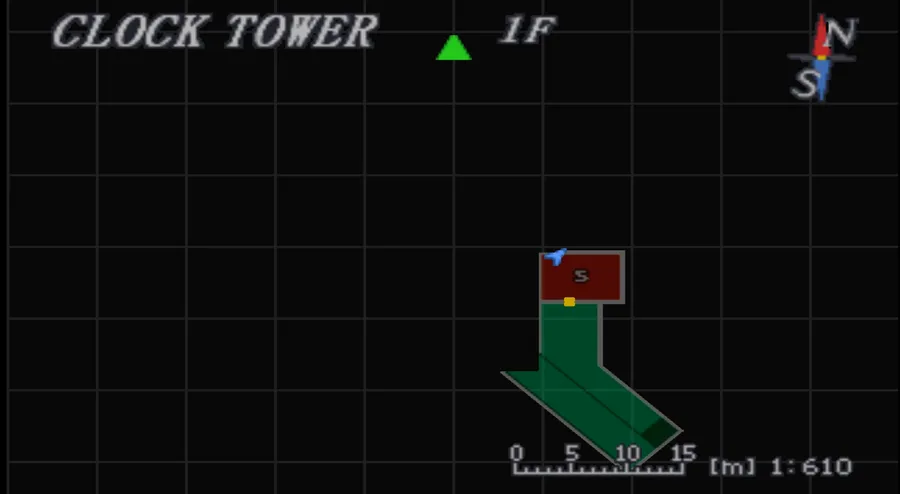
The Live Selection you took on the cable car decides which end of the tower Jill starts in, and the whole chapter runs in the opposite direction depending on it. Nothing is missable either way — you cover the same rooms, just back to front — but the two keys swap rooms, the door the Winder Key opens changes, and Carlos meets you in a different room with a different scene.
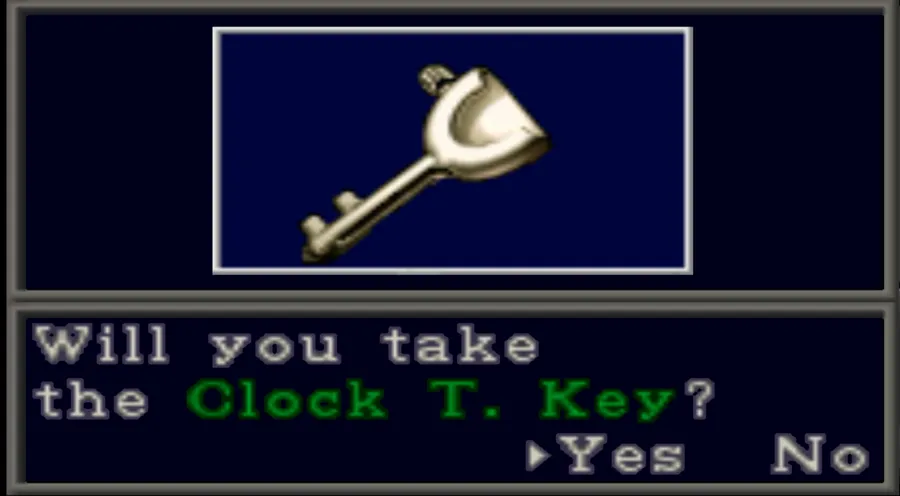
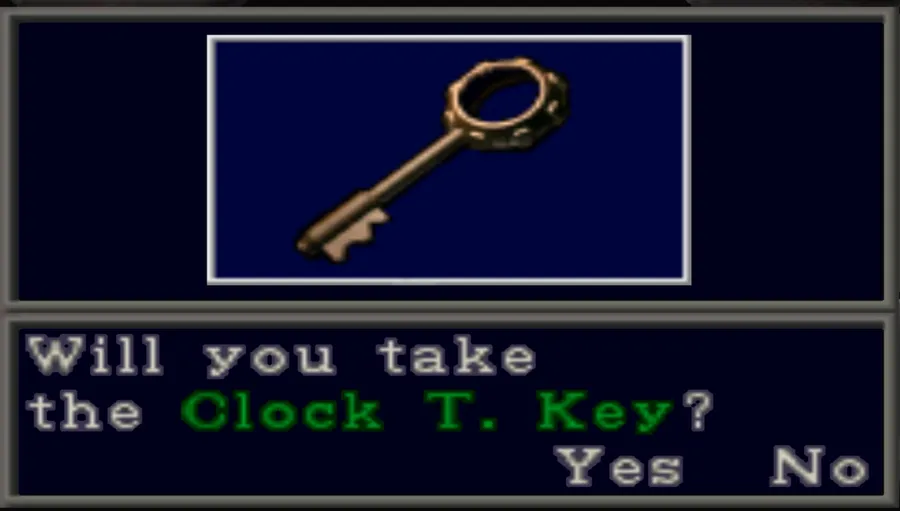
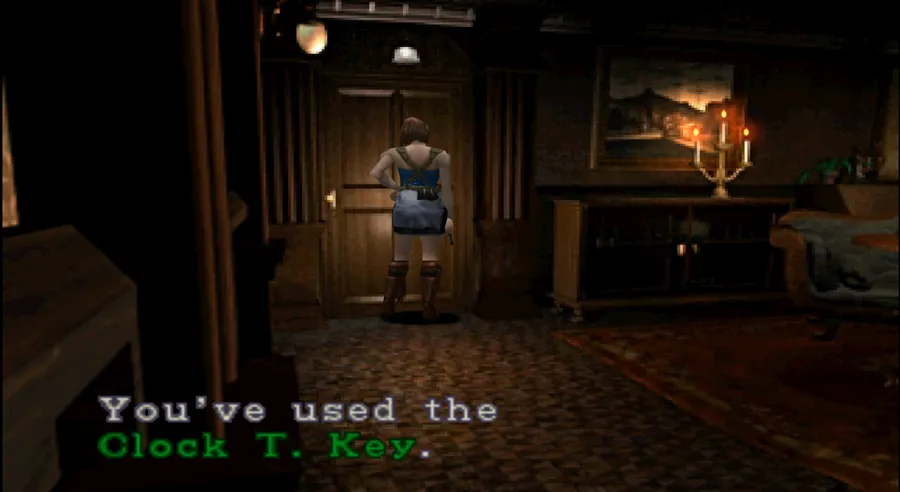
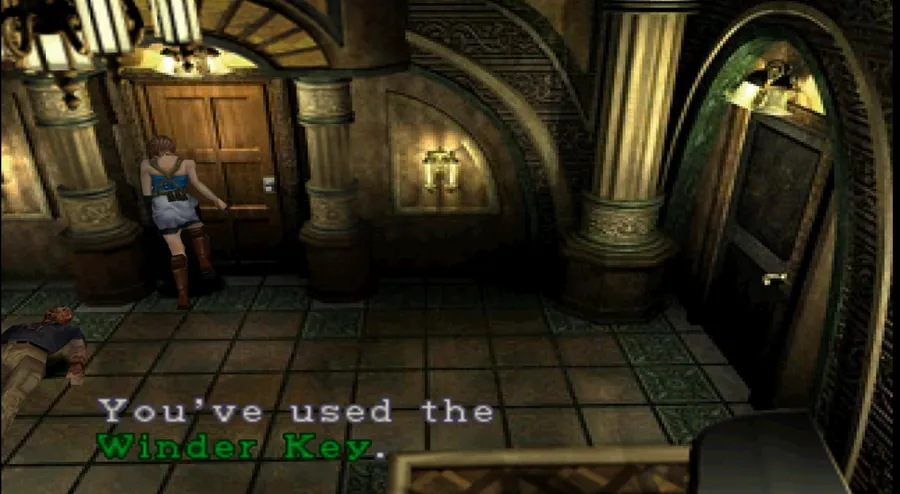
Both keys are simply called Clock T. Key in your inventory. They only reveal their real names — Winder Key or Bezel Key — when you examine them on the status screen, so examine each one the moment you pick it up or you will not know which door it belongs to. The Winder Key is always the one you find first, because it is also the key that opens the door out of the wing you woke up in.
Cable car choice
Jump out of the window
Emergency brake, or nothing
Jill starts in
The Bedroom, beside the burning wreck
The Courtyard, outside the tower
Winder Key
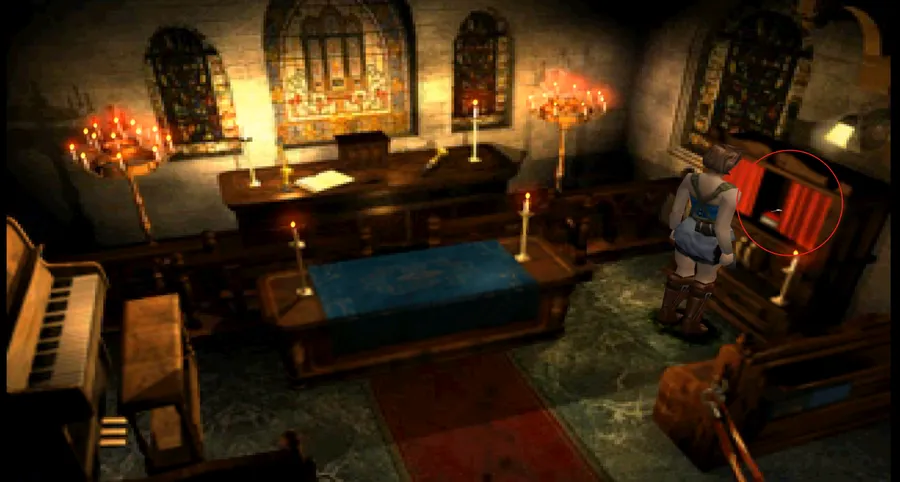
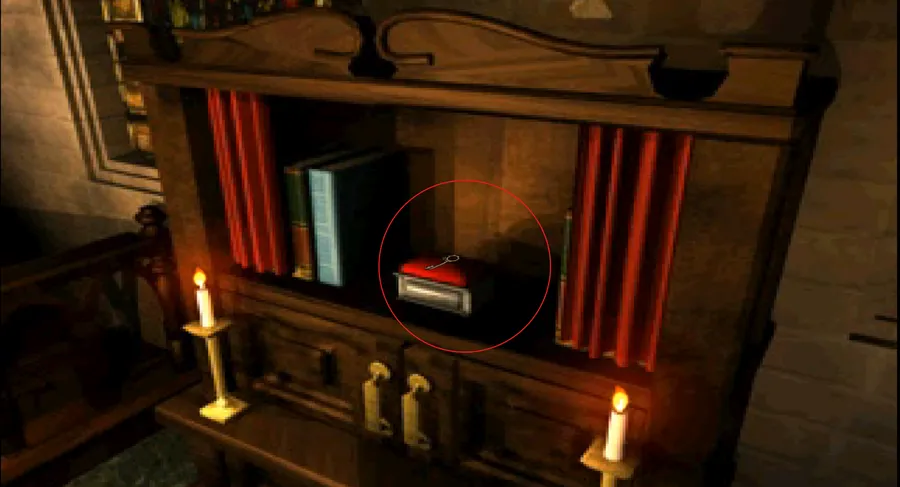
Behind the crooked picture in the Bedroom
Cabinet by the altar in the Chapel
Bezel Key
Cabinet by the altar in the Chapel
Behind the crooked picture in the Bedroom
Winder Key opens
Living Room → Small Library
Piano Room → Dining Room
Carlos finds you in
The Small Library — and hands over Freeze Rounds
The Dining Room — empty-handed
The Bezel Key never opens a door. Its one job is the copper plate on the balcony wall that drops the ladder to the belfry, so carry it and do not leave it in a box. The Winder Key you keep to the very end of the chapter, because it is half of the Chronos Key.
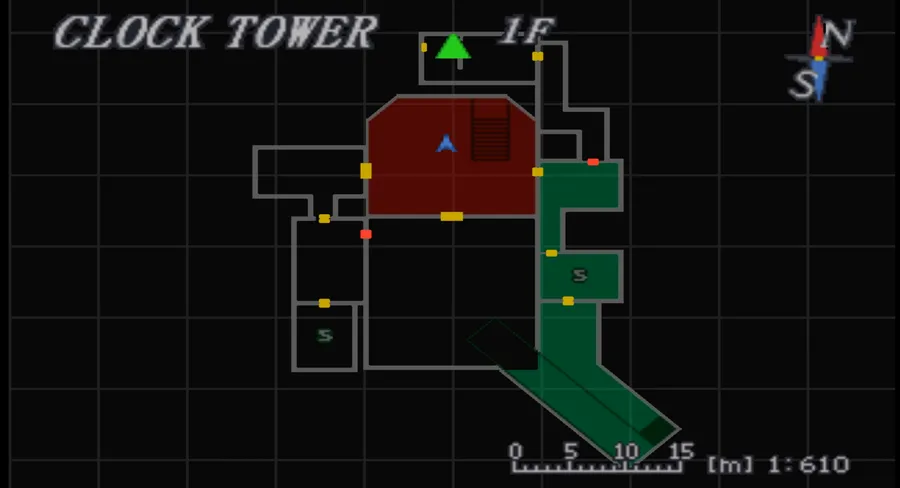
BedroomClock Tower 1F
2
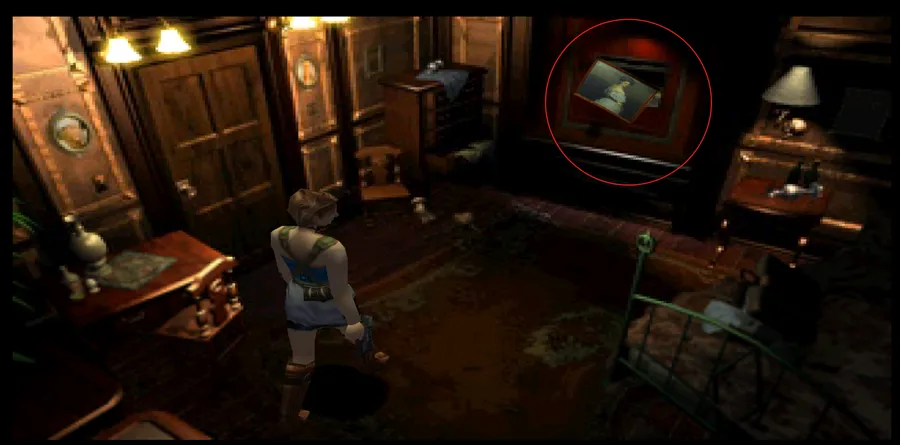
A picture on the wall in the north-east corner hangs crooked. Examine it to open the compartment behind it and take the first Clock T. Key. Examine it on the status screen straight away: the first key you pick up is always the Winder Key — the one that opens the door out of this wing and later combines with the Chronos Chain.
3
RANDOMITEMGun Powder A ×2 and Gun Powder B ×2 in the north-west cabinet — 50%. Otherwise they are in the Chapel.
4
Four burning zombies climb out of the fire around the wrecked cable car. The room is narrow, so shoot them at range rather than letting one grab you.
You can skip this fight entirely if you came in from the Courtyard. They only wake up if you walk all the way to the wall of flames at the far end of the room and then turn to leave. Take the key from behind the picture, take the gunpowder off the table, and get out without approaching the fire — they never come. Jump-from-the-window players start next to the wreck, so they always get the fight.
Living Room & Small LibraryClock Tower 1F
5
SAVE ROOM The Living Room has a typewriter and item box. Unlock the eastern door with the Winder Key.
6
If you jumped from the cable car, Carlos meets you in the Small Library. He is relieved she made it out of the car, and he hands over Freeze Rounds — ×12 on Easy, ×6 on Hard — before heading off to look for a way to call for help.
Tip.Save these for Nemesis. Freeze Rounds are the single most effective ammunition against him in the game, and they slow him down as well as hurting him.
7
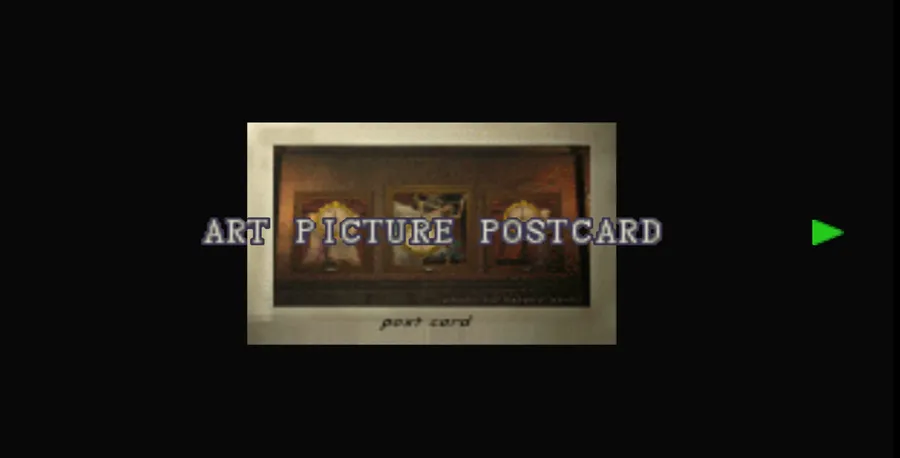
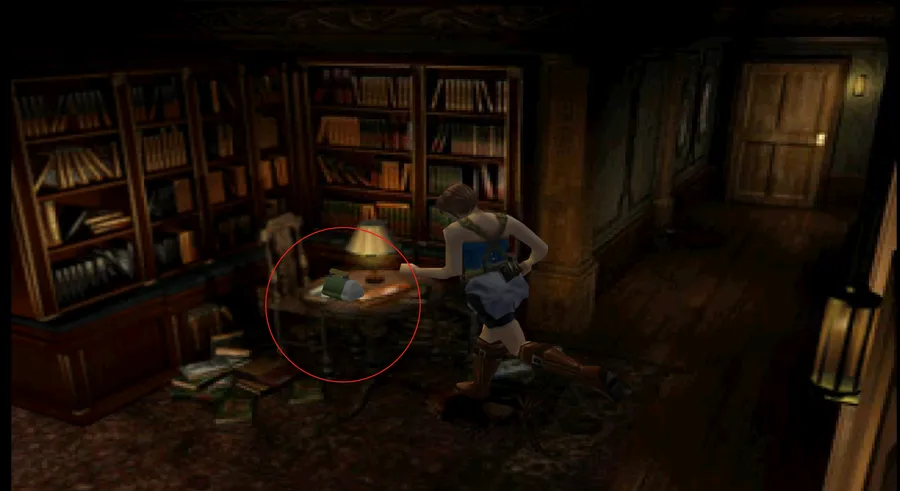
FILEFile 18: Art Picture Postcard on the small table with the lamp. HARD ONLYInk Ribbon ×3 in that table’s drawer. RANDOMITEMGrenade Rounds on the table by the bookcases (50%; otherwise the Dining Room mantelpiece).
8
RANDOM The room holds either respawning small spiders or 4 zombies. If it is the spiders, do not try to clear them — they come back indefinitely. Run.
9
Come back here. There is a locked door here inscribed with a reference to the God of Time. That is the Chronos Key door into the Spider Corridor. You come back once the music box gives up its chain.
Main HallClock Tower 1F
10
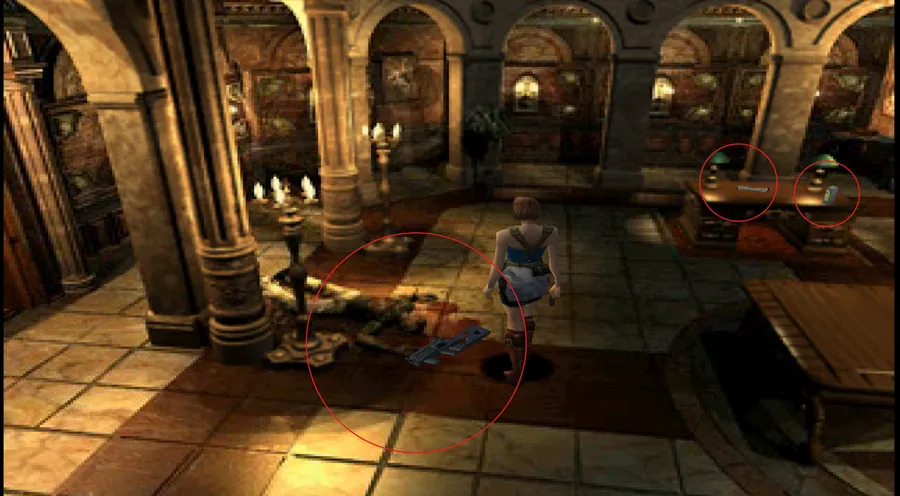
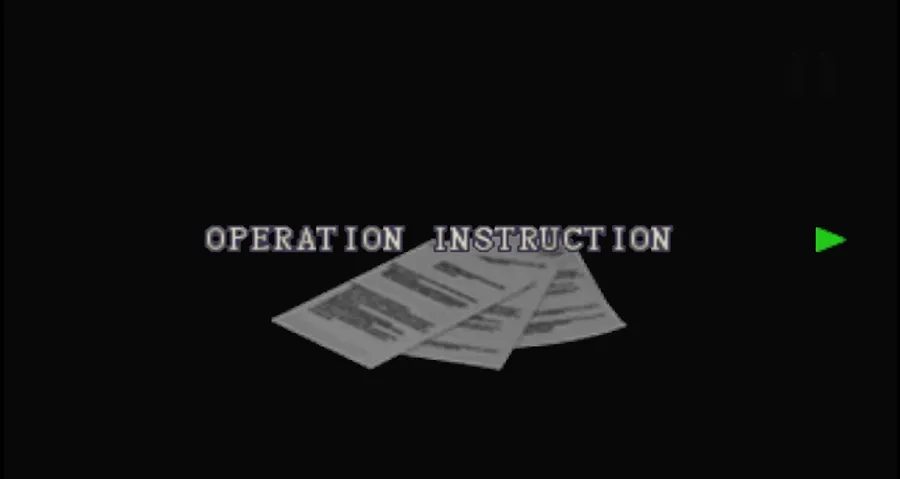
FILEFile 17: Operation Instruction in the dead mercenary’s hand.
11
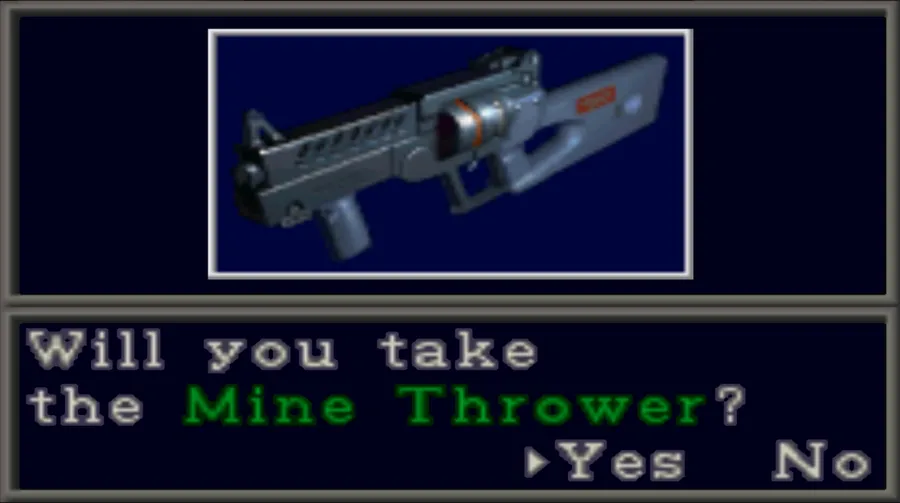
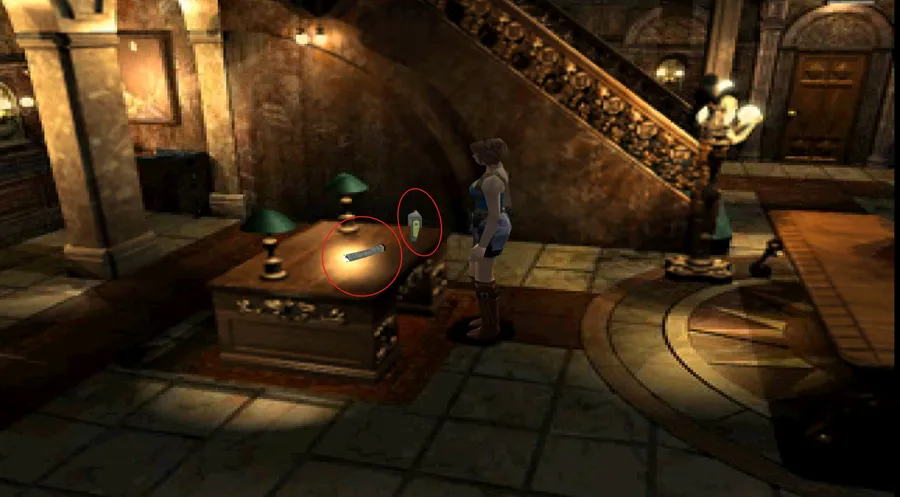
HARD ONLY Beside that body is the Mine Thrower — its only appearance in the entire game. On Easy the spot holds Shotgun Shells instead, so Easy players never get the weapon.
12
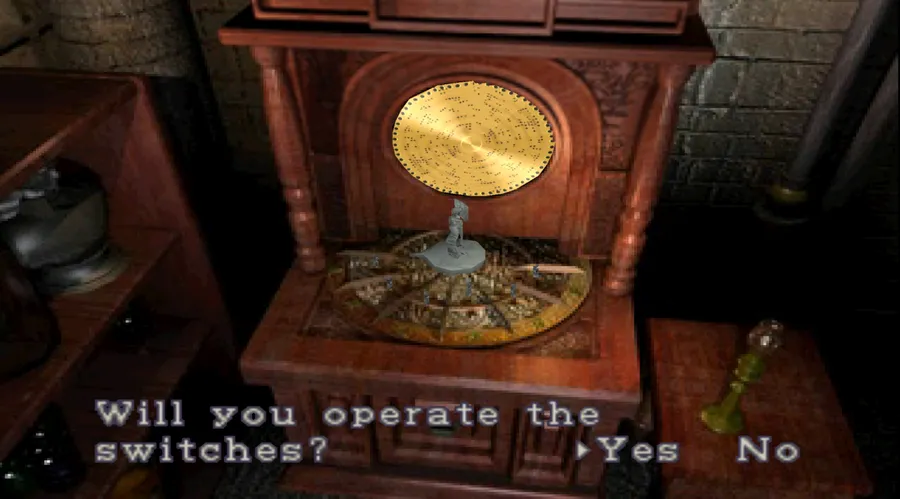
There are two music boxes in this hall, and you need both. One sits in the alcove east of the main staircase and plays the melody correctly. The other is tucked in a nook on the other side of the staircase and plays the same melody out of tune. Play them both now and listen properly — the puzzle waiting for you up in the belfry is that off-key tune, and the box east of the staircase is the only reference in the game for what it is supposed to sound like. You can walk back down and replay it as many times as you want.
ITEMClock Tower Map on the desk by the stairs and ITEMFirst Aid Spray on the desk west of them.
13
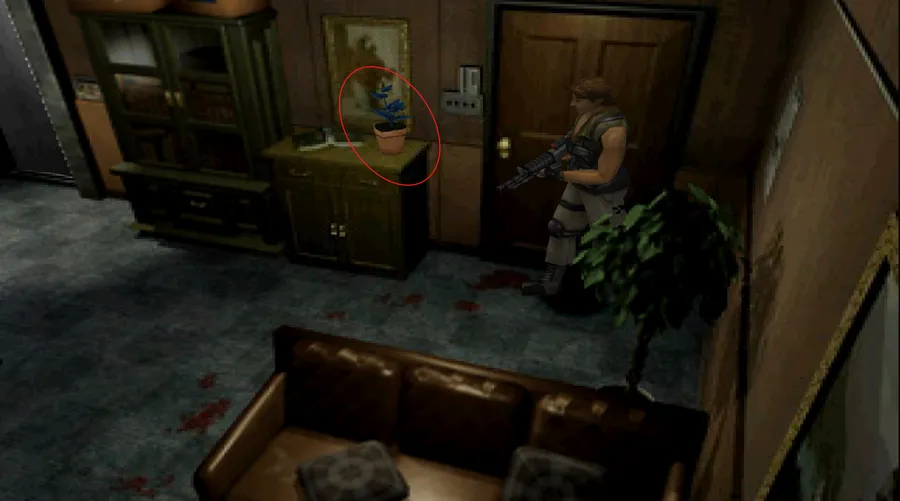
Tip. The planter of Blue Herbs by the main double doors regrows indefinitely. Spiders and Brain Suckers poison you throughout this chapter — this is your free, unlimited cure.
Dining Room, Piano Room & ChapelClock Tower 1F
14
RANDOMITEMGrenade Rounds on the Dining Room mantelpiece (50%). If you used the emergency brake, Carlos meets you here instead of the Small Library, and the scene is a different one: he has lost his nerve about the escape plan and starts talking as though it is already over. Jill slaps him across the face and he pulls himself together and runs off. He gives you nothing on this route — the Freeze Rounds are attached to the other cable car choice, not to this meeting.
15
RANDOM If you jumped from the cable car the Dining Room holds a three-way roll of 3 zombies, 3 Drain Deimos or 3 Brain Suckers. Brain Suckers latch onto Jill’s head and poison her — spend a Freeze Round rather than wrestling one off.
16
The Piano Room is a connector. Five zombies smash in through its windows once you have explored the south side of the Chapel.
17
SAVE ROOM The Chapel has a typewriter and item box by the door. The second Clock T. Key is in the cabinet by the altar — the second key is always the Bezel Key, the one that drops the balcony ladder and nothing else, and RANDOMITEMGun Powder A ×2 / B ×2 around the altar (50%).
CourtyardClock Tower 1F
18
Missable. Harvest ITEM3 Green Herbs and ITEM2 Blue Herbs along the south-west edge now. Once the bell rings you fight here, and after that fight you cannot come back.
19
Ten crows, and possibly three zombie dogs if you jumped from the cable car. Do not linger — it is a bad arena.
Second Floor & BalconyClock Tower 2F
20
Three giant spiders roam the second-floor walkway. There is an explosive wall charge in the middle of it — line them up and shoot that instead of spending shells.
21
ITEM2 Red Herbs against the tower wall on the balcony.
22
Examine the ornamental copper plate on the balcony wall and use the Bezel Key. A ladder drops.
Cog RoomClock Tower 3F — the belfry
23
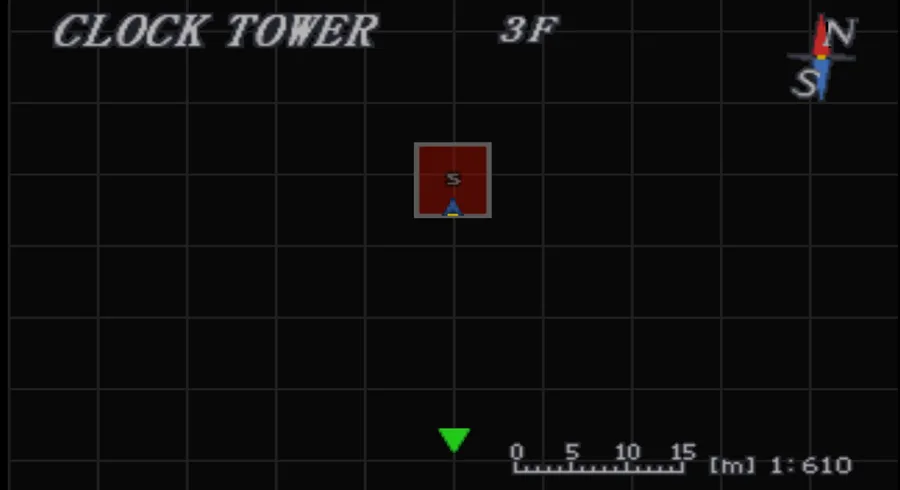
SAVE ROOM Typewriter and item box. HARD ONLYInk Ribbon ×3.
24
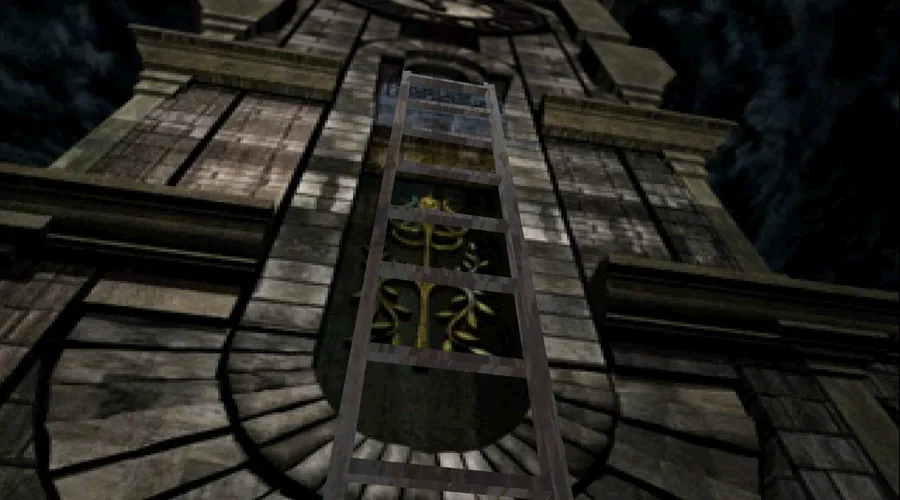
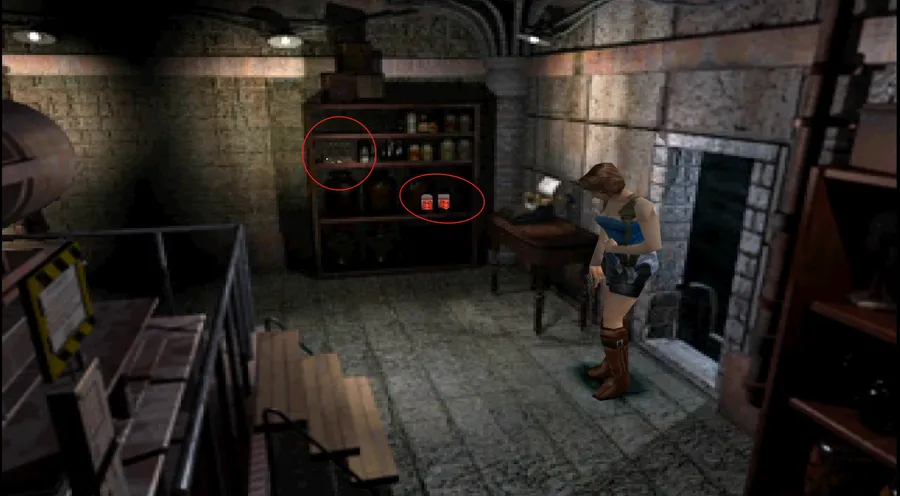
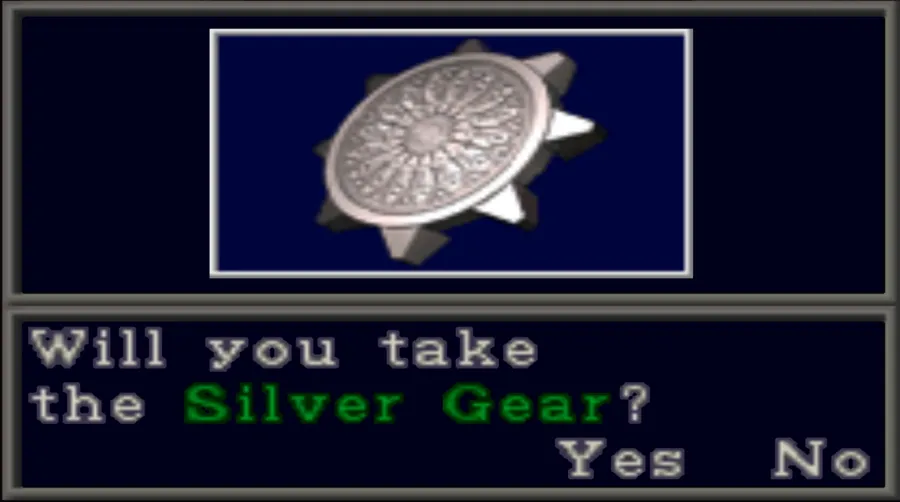
KEY ITEMSilver Gear on the south-east shelves, plus ITEMGun Powder A ×2 — or, on Hard, a 50% chance of Mine Thrower Rounds instead.
25
The music box — how to solve it without a lookup
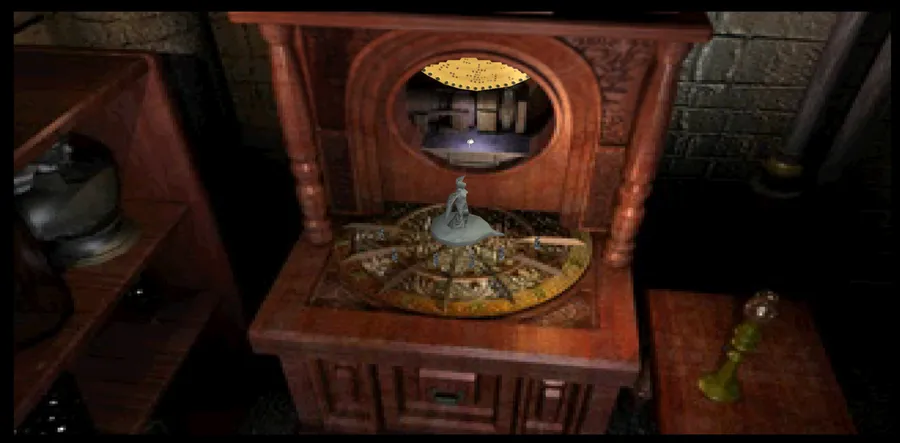
Examine the music box in the far corner of the Cog Room to open the panel. The puzzle is six segments, each set up or down, and it asks you to retune the melody the box is playing badly. The machine plays your version back, so a wrong segment sounds obviously off. The reference is the music box east of the staircase in the Main Hall — if you cannot hold the tune in your head, walk down, play it, and come back. Nothing resets while you are away.
If you would rather not use your ear: on the PC release and on PlayStation disc revision 1.0 the answer is fixed at up, down, up, up, down, up. On PlayStation revision 1.1 the pattern is re-rolled every playthrough and only the listen-and-compare method works.
No file in the game gives you the melody, and there is no penalty for a wrong attempt, so the safe approach on any version is to flip one segment at a time, replay, and keep whichever setting sounds right before moving to the next. Six binary choices solved one at a time is at worst about a dozen replays.
26
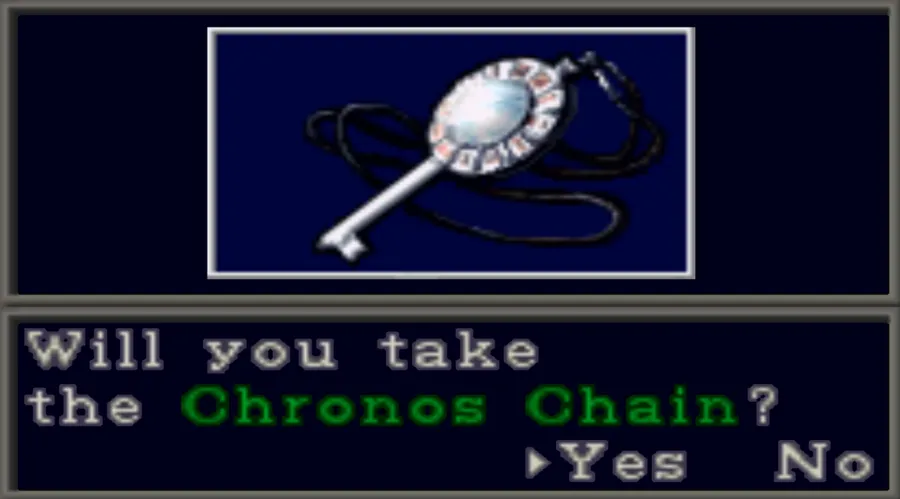
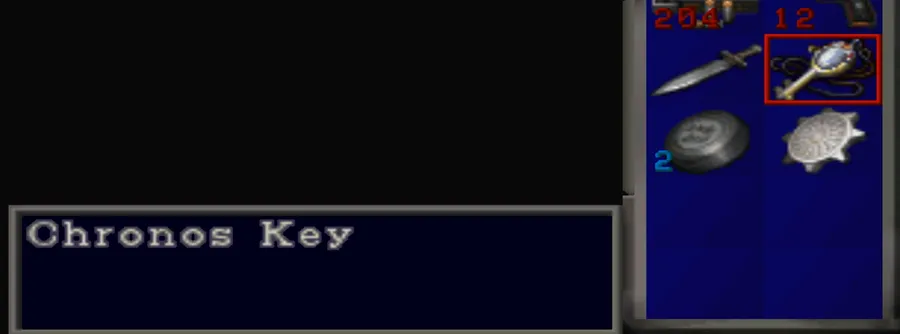
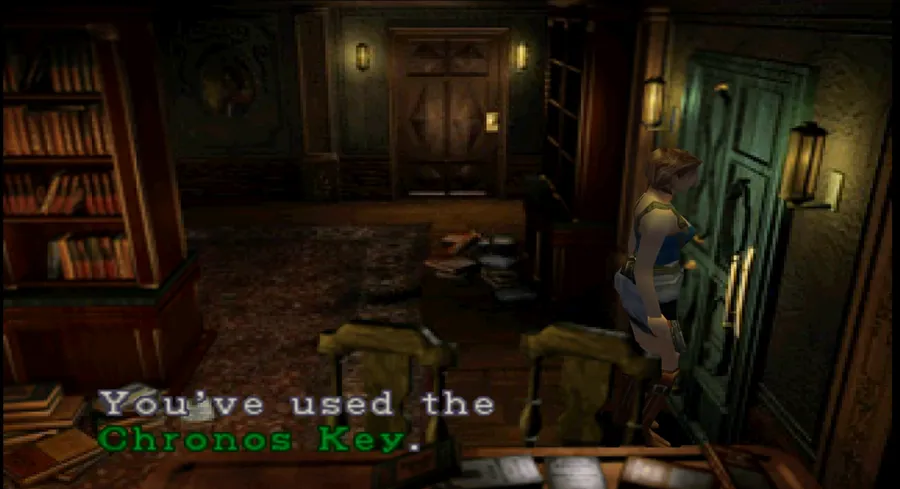
Solving it opens the compartment: take the KEY ITEMChronos Chain, then combine Chronos Chain + Winder Key → Chronos Key. Heal, reload and equip a heavy weapon before you go back down the ladder — Nemesis is waiting on the balcony and there is no chance to shuffle your inventory once the scene starts.
Back down to the BalconyClock Tower 2F — Nemesis is waiting now
27
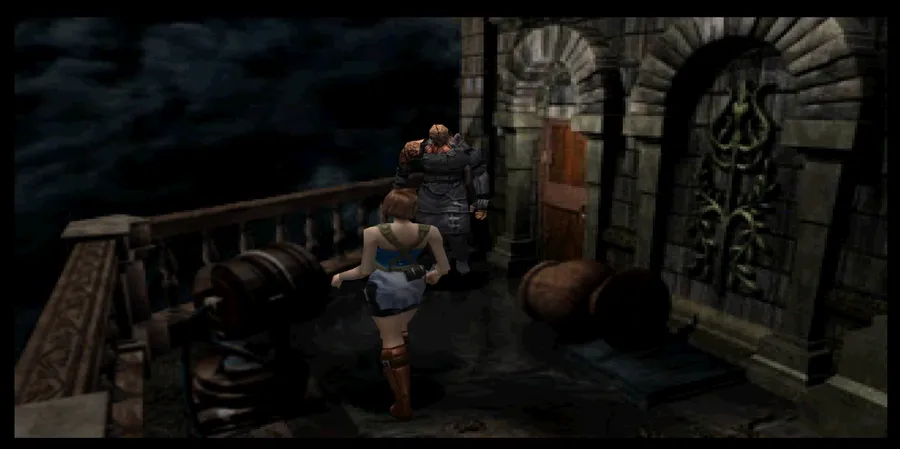
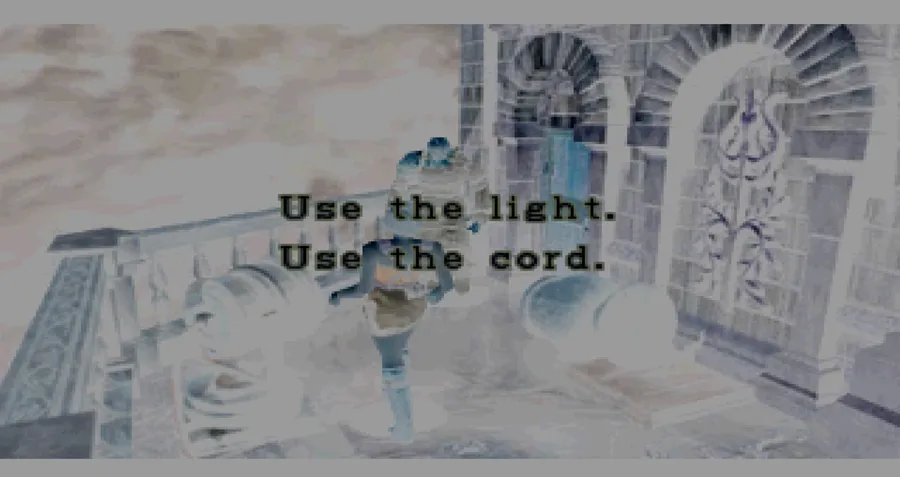
LIVE SELECTIONNEMESIS 6Coming back down the ladder, walk toward the door to the second floor and Nemesis appears. This is the trigger — not the first visit. You can cross this balcony, drop the ladder and go up to the belfry without seeing him at all; he only shows up once you are on your way back with the Chronos Key. So pick your weapon before you climb down: whatever is in Jill’s hands when she steps off that ladder is what she fights with.
Use the cord, if you want the full drop chain
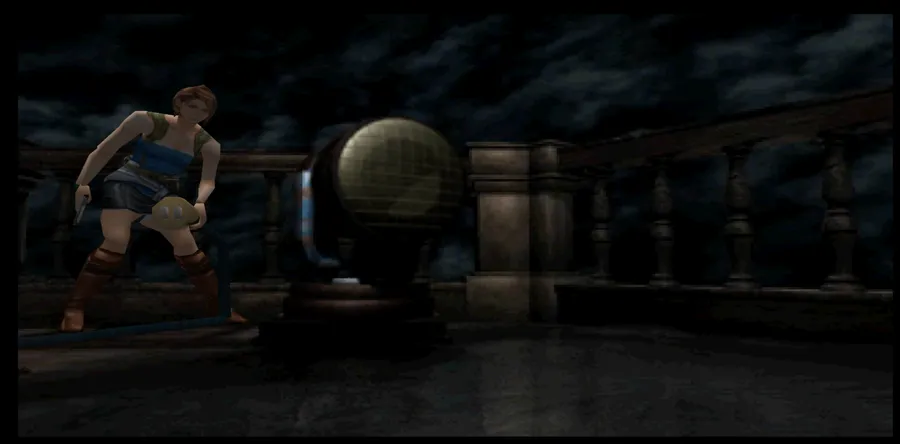
Use the light — Jill swings one of the balcony spotlights into his face, blinds him and shoves him over the railing. Clean, safe, and he stays away until you ring the bell. But it forfeits the item drop. The lamp is not something you switch on beforehand; turning it on is the choice.
Use the cord unhooks the power cable and throws the live end into the puddle at his feet. He goes down, so on Hard you get the next case in the chain — but he is only stunned and will ambush you again within the next few rooms on the way back down. That second knockdown pays nothing; the case for this encounter has already been spent, so shoot him only as far as you need to get past him.
Do nothing simply starts the fight, and it is the same rewardable knockdown as choosing to fight.
Fighting him outright is also a rewardable knockdown: about six Freeze Rounds puts him down the first time, twelve finishes the job. The technique that works is to knock him down, then circle behind him as he stands and keep firing from behind — that staggers him and denies him the charge and the grab.
For a completion run, take the cord or the fight. Skipping this knockdown shifts the whole drop chain down and you finish the game one item short.
Spider Corridor & Clock RoomClock Tower 1F
28
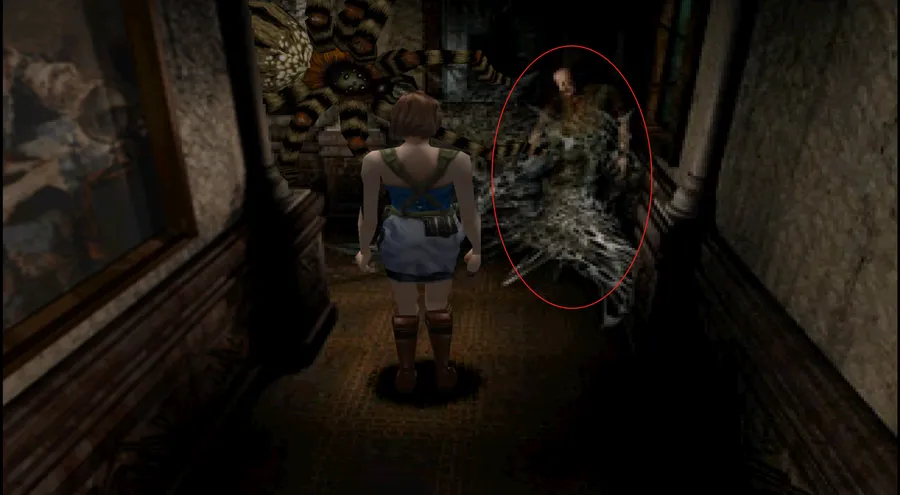
Unlock the inscribed door in the Small Library with the Chronos Key. ITEMGrenade Rounds on the web-wrapped corpse in the eastern corner; three giant spiders in the corridor.
Nemesis stops following you at this door. If he has been chasing you since the balcony, the webbed corridor and everything past it are off limits to him — you can stop running and clear the spiders at your own pace.
29
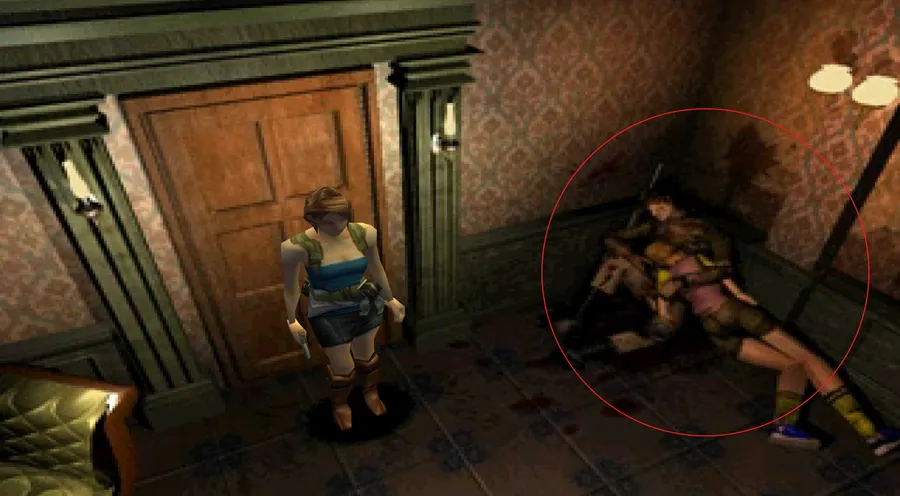
FILEFile 19: Mercenary’s Pocketbook on the dead mercenary in the south-east corner of the Clock Room. ITEMShotgun Shells on the back-room table (Easy) or HARD ONLYMine Thrower Rounds (Hard).
30
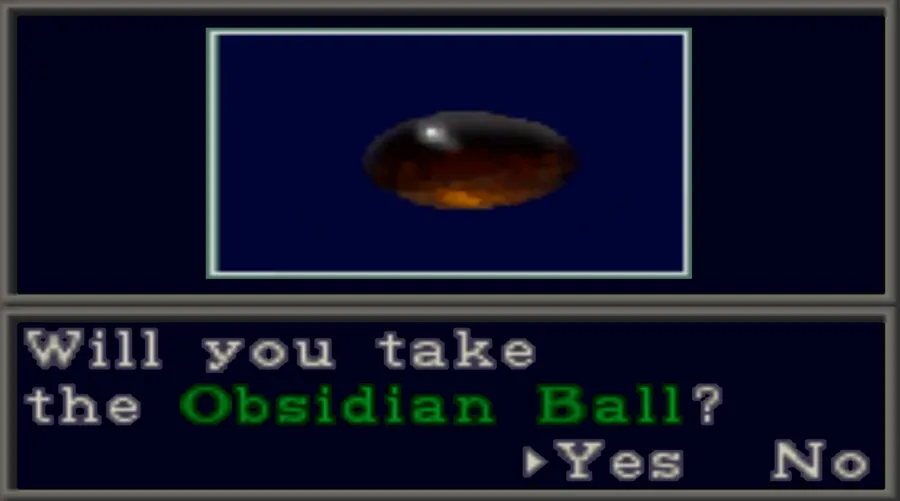
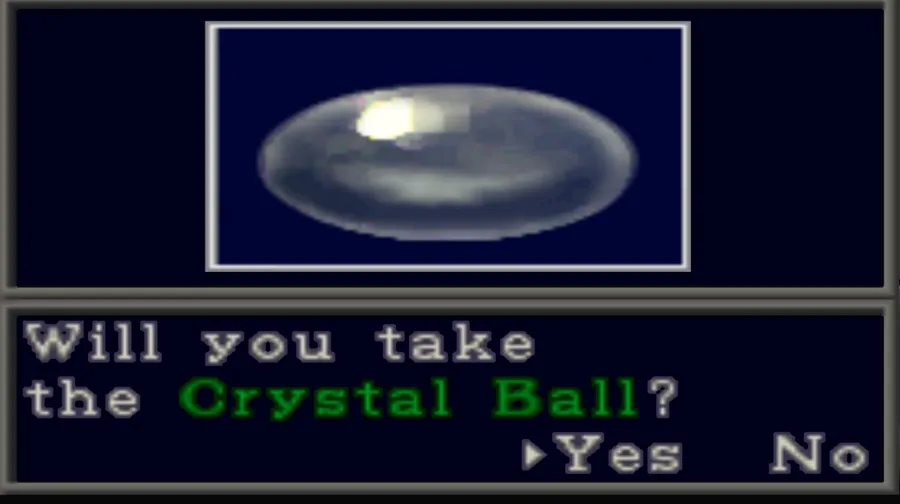
There is a huge bell sitting in the back room blocking the rear exit. Jill cannot shift it on her own and there is nothing to be done about it now — it is not a puzzle you have missed. Three maiden statues stand at the front of the gallery, each holding a tray. Take all three balls: KEY ITEMAmber, KEY ITEMObsidian and KEY ITEMCrystal.
31
The three goddess clocks — read the faces, do the arithmetic
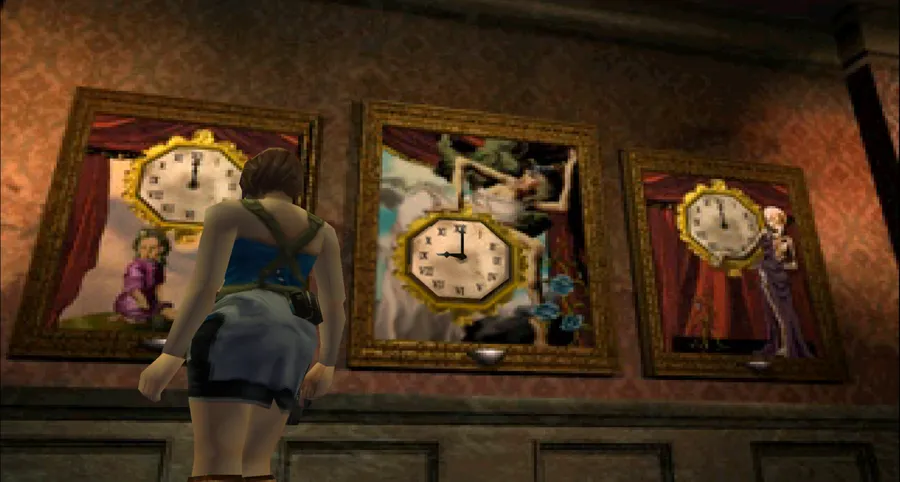
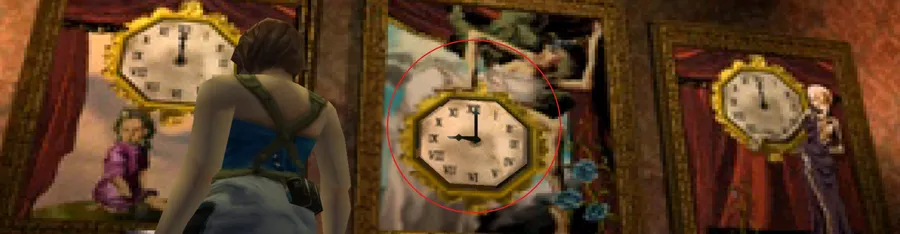
Three statues — Past (left), Present (centre), Future (right). Each ball moves its clock by a fixed amount, and each ball is used exactly once. Only one clock has to end on 12:00: the Present clock in the centre. The two outer trays are not separate puzzles — a ball dropped on the Past or Future tray still moves the centre clock, just by a different amount, and each ball is used exactly once. So the whole thing is one sum: pick the arrangement whose three shifts add up to exactly what the centre clock needs.
Ball
Past
Present
Future
Crystal
−1 hour
+1 hour
+2 hours
Obsidian
−2 hours
+2 hours
+4 hours
Amber
−3 hours
+3 hours
+6 hours
Read the centre clock before you place anything — its starting hour is re-rolled every playthrough, and it is the only number you need. There are exactly six starting hours the game will give you, and each one has exactly one answer:
Centre clock reads
Past tray (left)
Present tray (centre)
Future tray (right)
5:00
Crystal
Obsidian
Amber
6:00
Crystal
Amber
Obsidian
7:00
Obsidian
Crystal
Amber
9:00
Obsidian
Amber
Crystal
10:00
Amber
Crystal
Obsidian
11:00
Amber
Obsidian
Crystal
8:00 never comes up. The six possible arrangements shift the centre clock by +1, +2, +3, +5, +6 or +7 hours — there is no way to make +4, so the game never sets the clock four hours short. If you ever read 8:00 you have misread the hand.
The clue is a file you already have.FILEFile 18: Art Picture Postcard, from the Small Library, says to put the hands together — that is the instruction to bring the centre clock to 12:00, when both hands overlap at the top. Placing a ball moves the clock visibly, so you get instant confirmation; if it does not land on 12, take the ball back and try again. Nothing here can be broken or wasted.
32
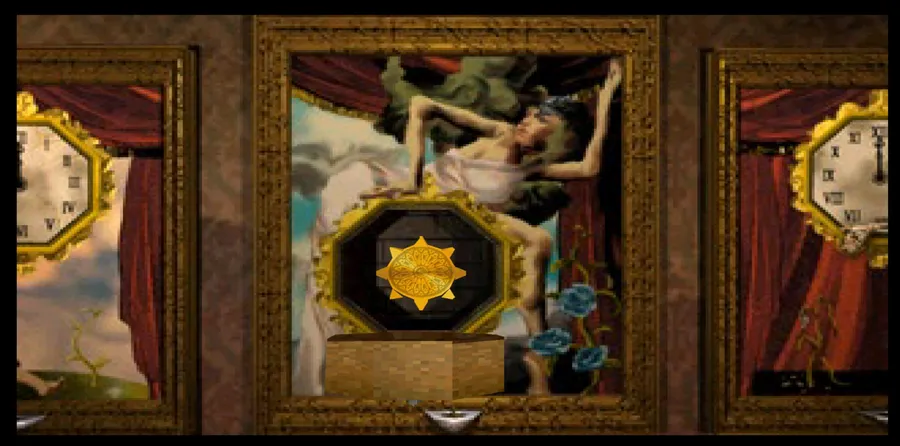
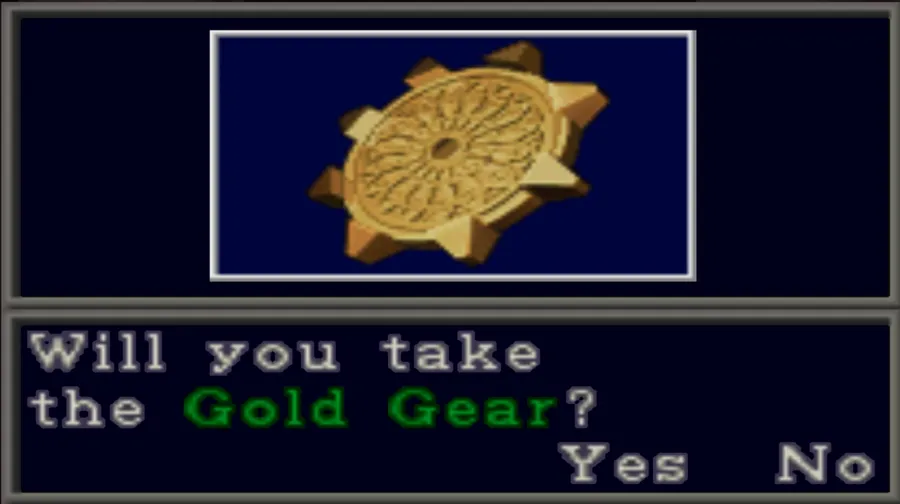
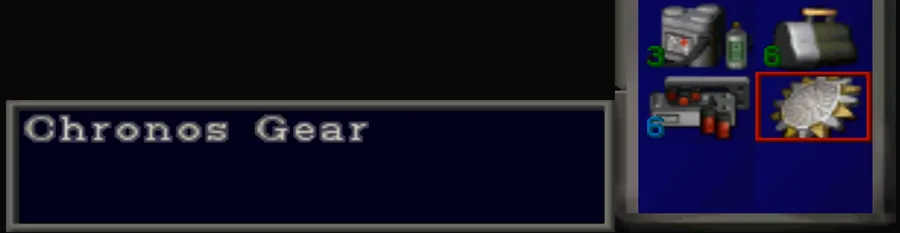
The centre clock striking 12:00 opens the Present Goddess statue: take the KEY ITEMGold Gear, then combine Gold Gear + Silver Gear → Chronos Gear.
33
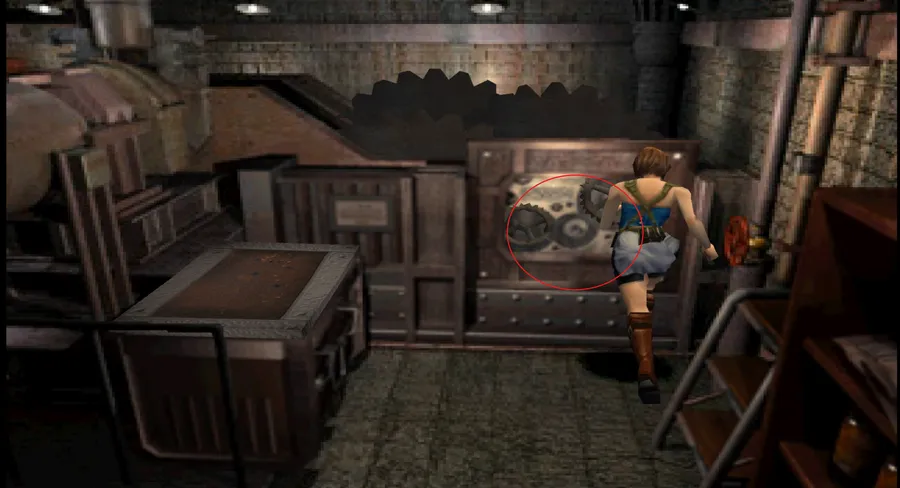
Return to the Cog Room and use the Chronos Gear on the cog mechanism. The bell rings out over the city.
The CourtyardBOSS — Nemesis, mandatory
34
NEMESIS A rescue helicopter answers the bell. While Jill is still celebrating, Nemesis puts a rocket through it; the wreck ploughs into the tower and burns. Then he drives his tentacle through Jill’s shoulder and infects her with the t-Virus — this is the moment the rest of the game turns on, and it is scripted, not something you failed to dodge.
Nemesis — Clock Tower Courtyard
This fight is mandatory, it is not one of the seven, and it drops nothing on any difficulty. Do not hold ammunition back hoping for a case.
The one thing that changes this fight is whether he keeps the rocket launcher, and that was decided back on the cable car.
If you used the emergency brake or did nothing, Carlos charges in at the start and shoots the launcher out of Nemesis’s hands — then is knocked out cold on the spot, so you still fight alone. If you jumped from the window, Carlos is not there and the launcher stays in play.
Against the launcher. He carries five rockets and throws the weapon away once they are gone, so the opening is the dangerous part. He fires two almost immediately and will do it point-blank if you let him. Turn side-on to his line of fire before you move — running straight away from a rocket does not work. The lamp posts around the crashed cable car will absorb a hit, which is what they are there for. The consolation is that he cannot grab you while he is holding it.
Without the launcher. He trades it for reach: a horizontal sweep and a straight thrust with the right-hand tentacle at medium range — and he gets his left-handed grab back. Dodge around his right side, never his left. If he does grab Jill, mash buttons to be dropped and keep mashing to get up. If he lifts her and his free hand starts running with purple fluid, that is the killing blow winding up — you can still break out of it, but only from Fine or Yellow Caution, so keep her healed rather than saving sprays for later.
Freeze Rounds are the answer, as everywhere else: the slow they apply buys the evasion time this arena does not otherwise give you. Space yourself, fire once or twice, move. Two full heals in the inventory is the sensible minimum, and there is a typewriter one room away — save before you go down the ladder.
Jill fights this one under a unique Virus status. When Nemesis finally staggers off into the flames she collapses, and Carlos — arriving now, or coming round from being knocked out — carries her to the Chapel.
35
Play switches to Carlos.
CHAPTER 6 OF 10
CH 7HospitalRaccoon General — Carlos, the vaccine, and two Hunter species
Carlos takes over. The chapter opens back in the Clock Tower, walks him out to the hospital, and gives him one job: build the vaccine from two halves — the Vaccine Base locked in a wall safe on the fourth floor, and the Vaccine Medium made on a machine in the basement. The safe code is the one thing here that changes from run to run; everything else, including the machine, works the same way every time.
Chapel to the Clock RoomClock Tower — the way out, as Carlos
1
Carlos’s run. Carlos plays this whole chapter alone while Jill lies dying in the Chapel, and the objective is two vaccine components — one on the fourth floor of the hospital, one in its basement. He carries his own kit: the assault rifle and the mercenary’s handgun. The rifle is the reason this chapter feels easier than Jill’s — short bursts flatten a crowd of zombies — but there is no resupply for it in here, so fire in taps rather than holding the trigger. He also has only eight inventory slots, two fewer than Jill on Easy, so leave the tower with space free.
2
SAVE ROOM You start standing over Jill in the Chapel. The typewriter and item box are still here — take the knife out of the box if you want a no-ammo option, and save. You are heading for the Clock Room, right across the tower.
3
Piano Room. Four fresh zombies. This is the room to learn the rifle in — short controlled bursts to the head.
The tower is damaged now. The helicopter came down into it, and several routes Jill used are blocked with rubble. The east exit of this room is gone — take the north door instead.
4
Dining Room. Five more zombies. Same answer — keep your back to the door you came in by and burst-fire as they close.
5
Main Hall. Debris everywhere; the room is a lot tighter than it was, so watch where you commit to a run. Cross it to the Small Library. The Blue Herb planter by the main doors is still growing if you need it.
6
Spider Corridor. Three giant spiders — or three Drain Deimos instead, depending on the run. Both poison. The corridor is narrow and there is nothing here you need, so run it rather than clear it.
7
The bell Jill could not move. In the back room of the Clock Room is the large bell that blocked the rear exit for Jill — she was not strong enough to shift it and there was no puzzle to solve. Carlos simply pushes it aside, and that is the whole point of it: it is a locked door that only opens once the game hands you the heavier character. Push it and walk out into Park Street.
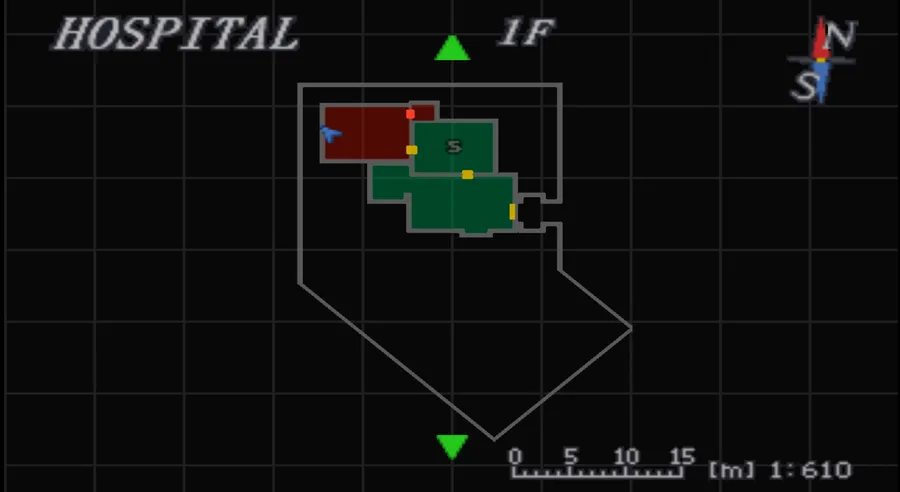
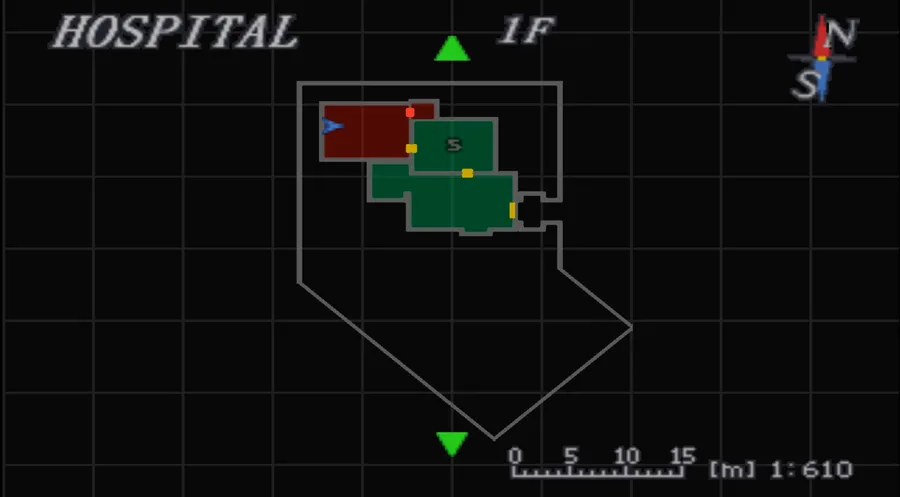
Park Alleyway & Waiting RoomHospital 1F
8
Down the alley, with four zombies coming at Carlos from the left and an explosive barrel in the middle of the street — wait for them to gather around it, then shoot it. Head west for the hospital’s front entrance.
2 Hunter Betas take over this street once Carlos has been inside the Reception Office, and they stay until he is holding both vaccine halves — then they are gone for good. They are a Carlos-only hazard; Jill never meets them out here.
9
ITEM2 Red Herbs in the north-west alcove of the Waiting Room.
10
Careful.Two Hunter Betas attack as you approach the Reception Office door. Their leaping high slash can decapitate Carlos outright at close range — it is an instant kill, not chip damage. Keep your distance and use the assault rifle.
Reception Office & Doctor’s LoungeHospital 1F
11
SAVE ROOM Typewriter and item box in the Reception Office, ITEMFirst Aid Spray on the shelf, HARD ONLYInk Ribbon ×3.
12
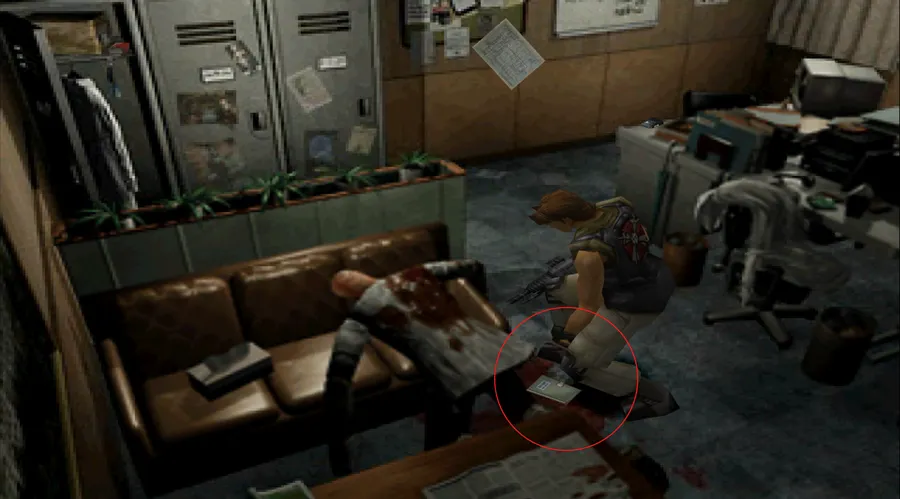
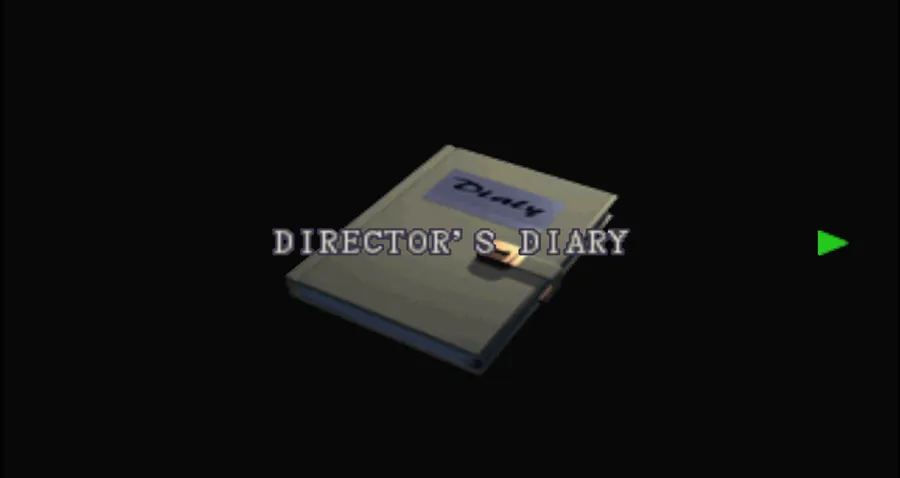
FILEFile 20: Director’s Diary on the floor beside the dead doctor in the south-west of the Doctor’s Lounge.
13
ITEMHospital Map by the whiteboard, ITEMHand Gun Bullets in the south-west locker, ITEMBlue Herb in the drawers by the south-east door.
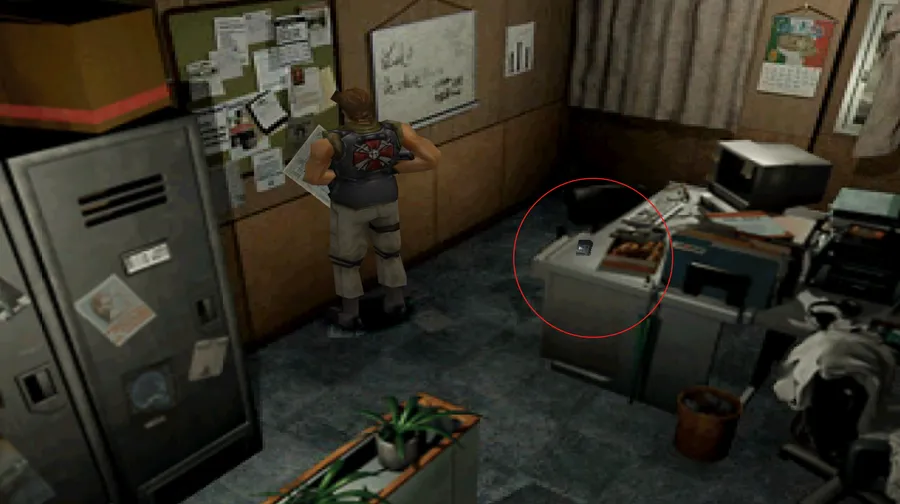
14
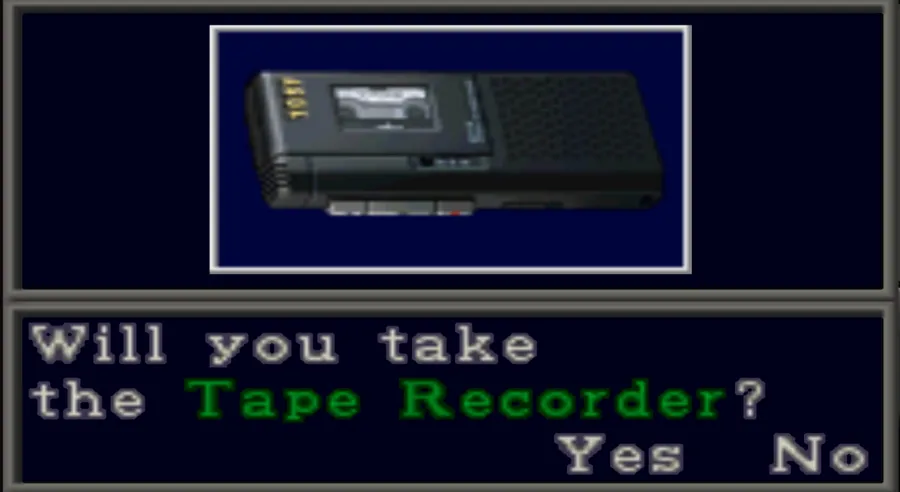
KEY ITEMTape Recorder on the north-west desk — the key item of the whole segment.
15
The voice-recognition elevator
The elevator is locked behind a voice lock. Use the Tape Recorder on the microphone — the recorded voice satisfies it and the doors open. You can then pick 4F or B3; both are required and the order is yours — but the order decides which of two completely different scenes you see, and where the Hunters wait. Read the panel below before you press a button.
The elevator choice — two routes, two different scenes
Both floors are compulsory and the ending is identical either way, so nothing here can be lost or failed. What the choice really decides is which death scene you watch for Tyrell Patrick, a U.B.C.S. mercenary you never meet anywhere else in the game. He appears on whichever floor you go to first, and the floor you leave for later gets 2 Hunter Betas in his place. You only ever see one of the two scenes per playthrough — the other is gone until you replay.
Route A — press 4F first: the betrayal in the Data Room. Carlos walks in on Nicholai standing over Tyrell, having just shot him. Challenged, Nicholai drops the act and admits he is not a squad-mate at all: he is one of Umbrella’s supervisors, planted in the U.B.C.S. to watch the outbreak and record how the mercenaries die. The unit was never meant to be rescued — it was the experiment. Before Carlos can do anything about it the dying Tyrell pulls the pin on a grenade, and the blast kills him and throws Nicholai out through the window. This is the only time in the whole game Carlos learns what Nicholai actually is, and it only happens on this route.
Route B — press B3 first: the booby-trapped safe in the Basement Storeroom. Carlos comes around the back of the shelving and finds Tyrell alive, working on a locked safe in the store room — a man who plainly knows more about what Umbrella is doing here than a rank-and-file soldier should. He gets it open, and the safe is rigged; the charge inside kills him where he stands. Carlos is left with a corpse and no answers. Nicholai never appears in the hospital at all on this route, so his true role stays hidden until much later in the story.
What changes mechanically.
You press
Data Room, 4F
Basement Storeroom, B3
4F first
Nicholai shoots Tyrell → grenade
2 Hunter Betas + an explosive wall charge
B3 first
2 Hunter Betas + an explosive wall charge
Tyrell and the rigged safe
The swap is retroactive: walk through the second room early and find it empty, and the Hunters will still be there when you come back after triggering the scene. Route A is the easier fight — the Hunters end up in the basement corridor where the explosive charge is easy to line up. Route B puts them in the Data Room, where the second one hides in the north-west corner behind the record shelves.
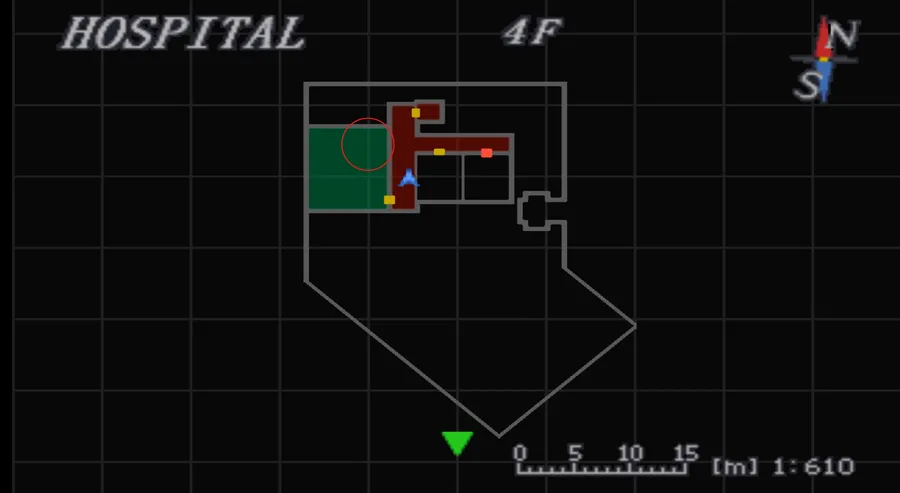
Fourth FloorHospital 4F — the Vaccine Base
16
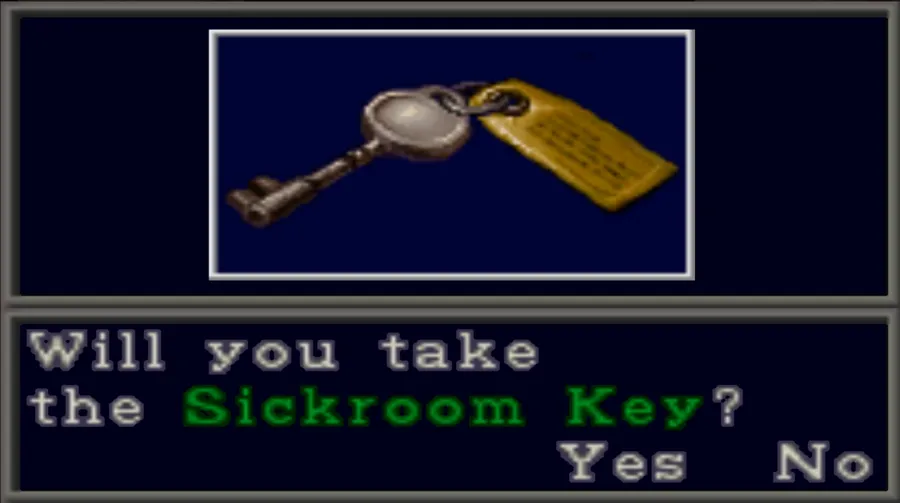
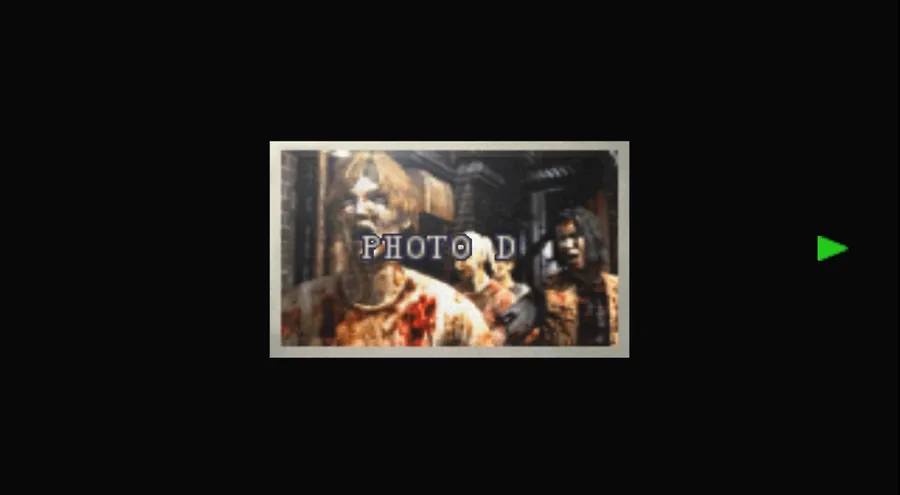
In the Data Room: KEY ITEMSickroom Key and FILEFile 21: Photo D on the north-east desk. RANDOMITEMHand Gun Bullets on the bench (50%; the alternative is the Basement Storeroom).
17
If this is the first floor you chose, the Data Room is where Nicholai shoots Tyrell and the grenade goes off — see the panel above. If you came down from B3 first, the scene is already spent and 2 Hunter Betas are waiting in here instead: shoot the wall charge from the doorway for the first one, and check the north-west corner behind the record shelves for the second.
18
Room 401 is the clue room — both halves of the answer are here
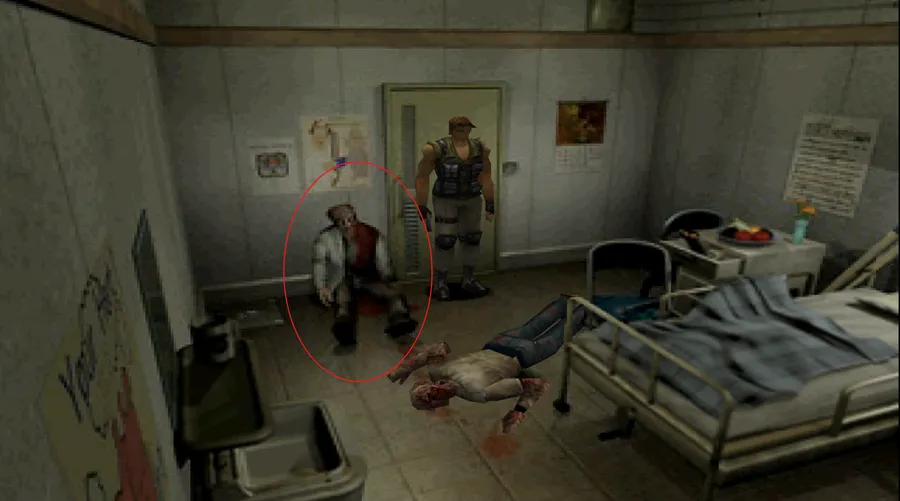
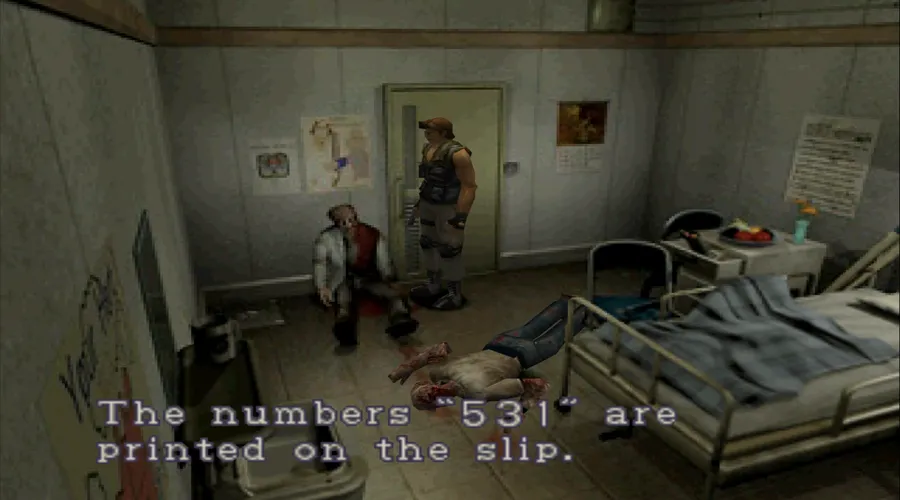
1. The safe code.Examine the dead doctor sitting against the right-hand wall. He is holding a slip of paper and Carlos reads a three-digit number aloud. That is your code for this playthrough — it is re-rolled every run. There are only four possible numbers in the game — 104, 253, 325 and 531 — so if you ever miss the slip you can simply try all four on the safe. Write yours down.
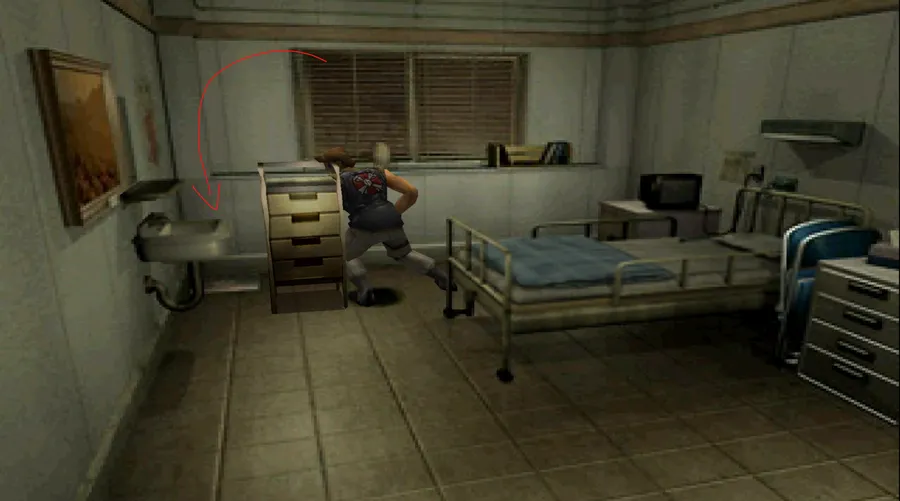
2. The cabinet position. Note exactly which corner the equivalent cabinet stand occupies in Room 401. There is a visible mark on the floor showing where something used to sit. That is your reference for Room 402.
19
RANDOM Room 401 also holds either 2 zombies or 5–6 sliding worms, plus RANDOMITEM2 Green Herbs under the window (50%).
20
Room 402 — the cabinet and the safe
Requires the Sickroom Key. There is a movable cabinet and four marked corner tiles.
Push the cabinet onto the correct corner. Room 402 is laid out as a mirror image of Room 401, so the answer is the mirrored corner: north-west in 401 means north-east in 402, south-east in 401 means south-west in 402, and so on. The corner tiles are electrified, but a wrong one only chips a little health, and walking out of the room and back in resets the cabinet, so this is completely recoverable.
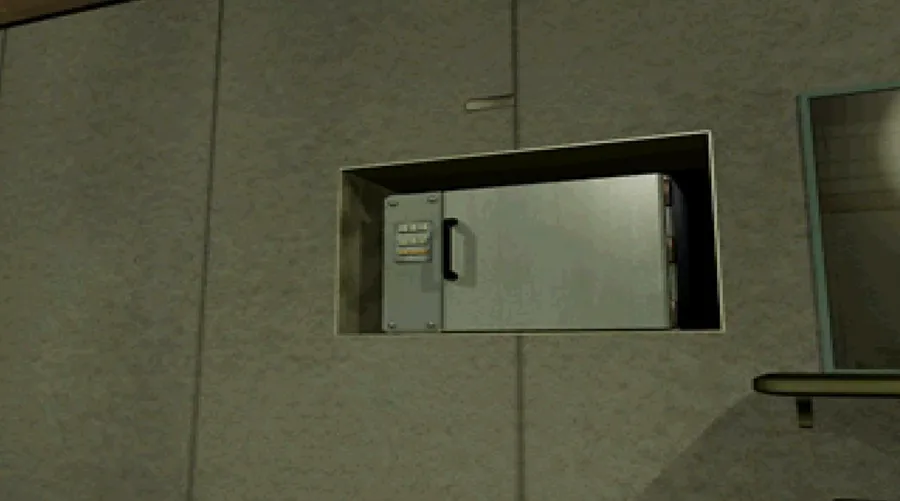
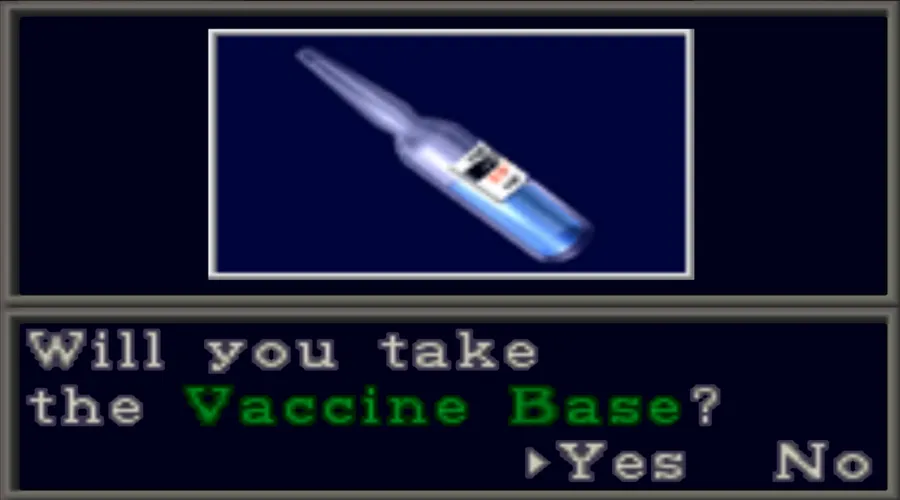
When it is right the Arklay Mountains picture falls off the wall, revealing a safe. Enter the three-digit code from the doctor’s slip and take the Vaccine Base.
BasementHospital B3 — the Vaccine Medium
21
Explosive wall charges are fitted to the hallway of whichever floor you visit second, and to the room that got the Hunters. Target one with the aim button and fire — it is the cheapest way to open a two-Hunter room.
22
In the Basement Storeroom: either Tyrell and the rigged safe if this is the first floor you chose, or 2 Hunter Betas and an explosive wall charge in the north-east corner if you came from 4F, and the paired 50% spawns of ITEM2 Green Herbs and ITEMHand Gun Bullets.
23
KEY ITEMMedium Base on the west shelf of the Experiment Room, and FILEFile 22: Medical Instruction Manual on the desk opposite the machine — that file is the instruction sheet for the puzzle.
24
The vaccine synthesiser — this one is NOT randomised
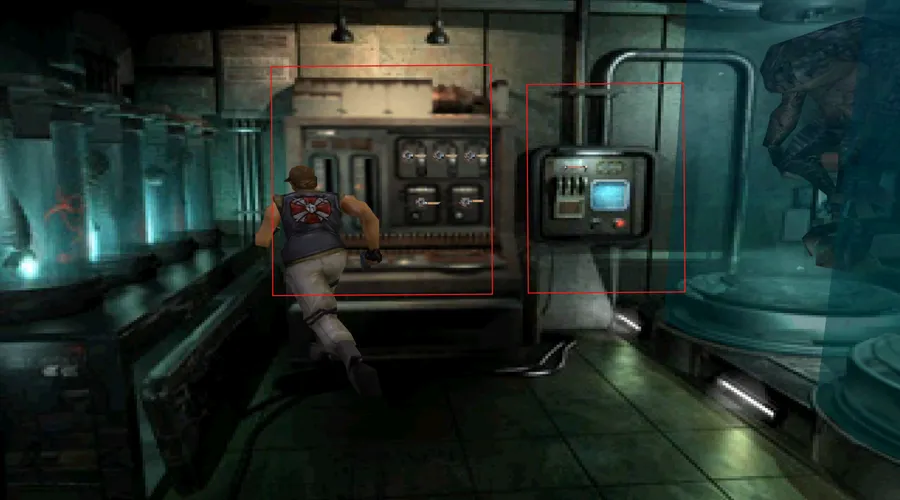
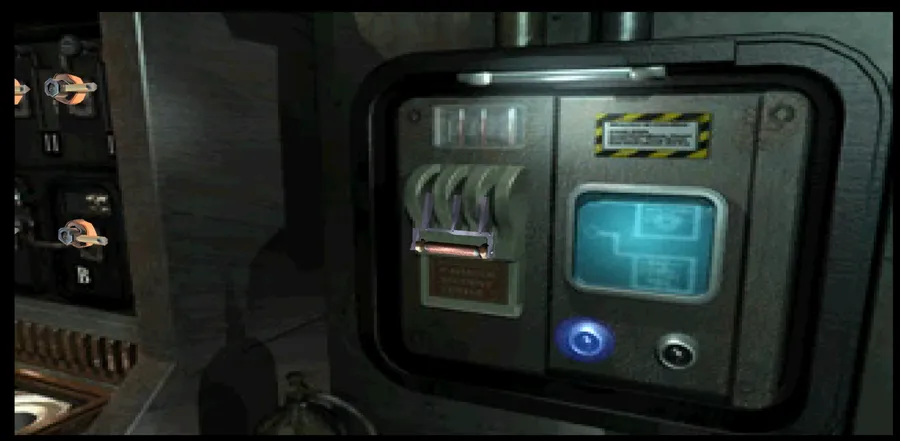
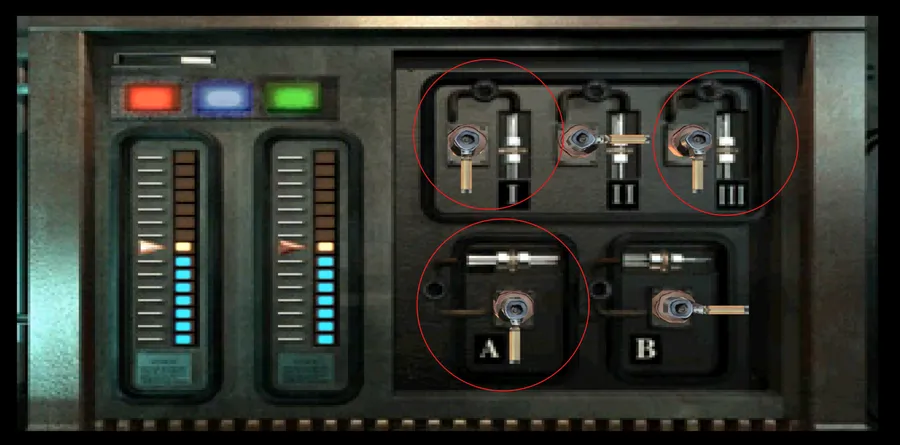
1. Flip the power switch first; steam vents as the system comes up. 2. Set the Medium Base into the device. The tanks drain. 3. Five levers control two gauges. The goal is to bring both needles to rest at the centre. The levers are a numbered set (I, II, III) on the upper board and a lettered set (A, B) reached by scrolling down.
Throw I, then III, then scroll down and throw A. Both needles settle centre and the machine produces the Vaccine Medium.
One catch: that sequence assumes the levers are at their default positions. If you have already been flipping things, leave the room and come back to reset the panel, then do it cleanly. If you would rather solve it by eye, the gauges update live — flip a lever, watch which way each needle jumps, flip it back, and build the combination that zeroes both.
25
Careful.Two Hunter Gammas burst out of the cryo-tubes the moment you try to leave. They are the amphibious kind — weaker than Betas but with a much longer leap. The shotgun handles them in a few blasts, or you can simply run for the door.
The escapeand back to the Chapel
26
Combine Vaccine Base + Vaccine Medium → Vaccine.
27
Take the elevator back up to 1F. A bomb timer starts the moment you reach the lobby — do not stop to fight anything you can walk around.
Careful — the hospital saves its ambush for whoever is slowest.
The five-zombie group. One group of five zombies is waiting for the elevator doors to open, and the game rolls which floor it uses — the 4F hallway, the B3 hallway, or the 1F Doctor’s Lounge, one chance in three each. If it has not caught you upstairs or in the basement, it is here on 1F, and now it is standing between you and a burning building. Back into the car if you need the doorway to funnel them.
The Hunter Betas. Separately, once you are holding both vaccine halves, 2 Hunter Betas move into whichever hallway the zombies did not use. A floor you cleared on the way in is not clear on the way out — and a Hunter’s leaping slash still kills Carlos outright.
28
Missable.NEMESISNemesis intercepts Carlos in the Clock Tower on the way back, in the Main Hall or the Piano Room. Do not fight him. If Carlos dies here it is an instant game over. Run for the Chapel. Nemesis carries nothing while you are Carlos, so there is no reward to lose here.
29
Administer the vaccine. Play switches back to Jill, who wakes in the Chapel.
30
NEMESIS 7Stand and fight this one. Nemesis is waiting for Jill in his second form on the way out — the Piano Room, the Main Hall or the room beside the Chapel, depending on the route you took through the tower. This is the seventh and last rewardable knockdown in the game.
HARD ONLY Put him down and the case holds the M4A1 Assault Rifle on a first clear, or Infinite Bullets on any later one. Run past him and that weapon is gone for the run — there is no second chance at it.
What it takes. He is slower in this form than on the balcony but he hits harder and the rooms are tight. Freeze Rounds are the most efficient answer; a full Magnum cylinder followed by the shotgun also works. Heal and reload in the Chapel before you step out.
31
Cross to the Clock Room and out into the Park Alleyway.
CHAPTER 7 OF 10
CH 8Raccoon Parkthree keys, a fountain, and the thing under the graveyard
An outdoor chapter organised around three identically-named keys and one hidden room behind a fireplace. It ends on the bridge with the only choice in the game that changes who comes to rescue you.
1
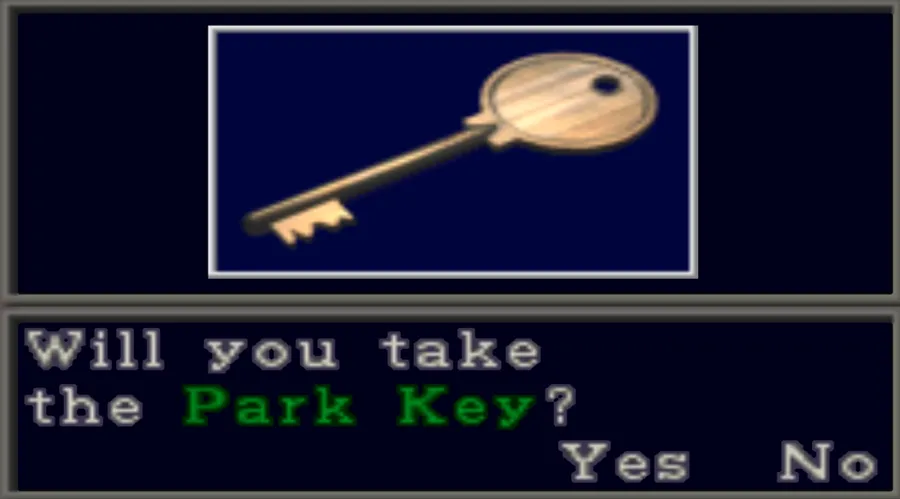
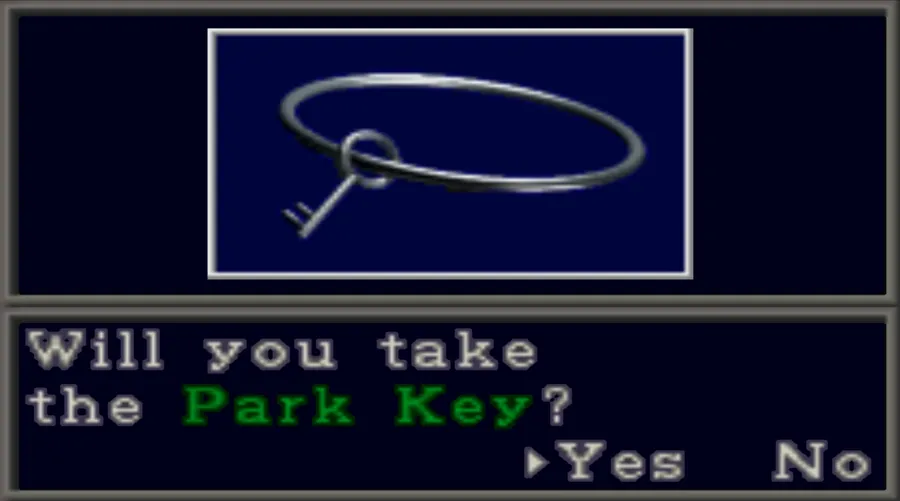
Three keys, one name. All three park keys are literally named Park Key in the inventory. Examine each one — the tag says Main Gate, Graveyard or Rear Gate. Mixing them up is the single most common way to get lost here.
Park OfficePark — needs the Lockpick
2
Five zombies are loose in the Park Alleyway the moment Jill steps back into it — a different set from the four Carlos dealt with, and the explosive barrel in the middle of the street is still there. Do not stand and trade with them: SAVE ROOM the blue door straight ahead opens with the Lockpick, so get inside. Typewriter and item box, plus HARD ONLYInk Ribbon ×3.
The Lockpick has no use left in the game after this door. Put it in the box and take the freed slot with you.
3
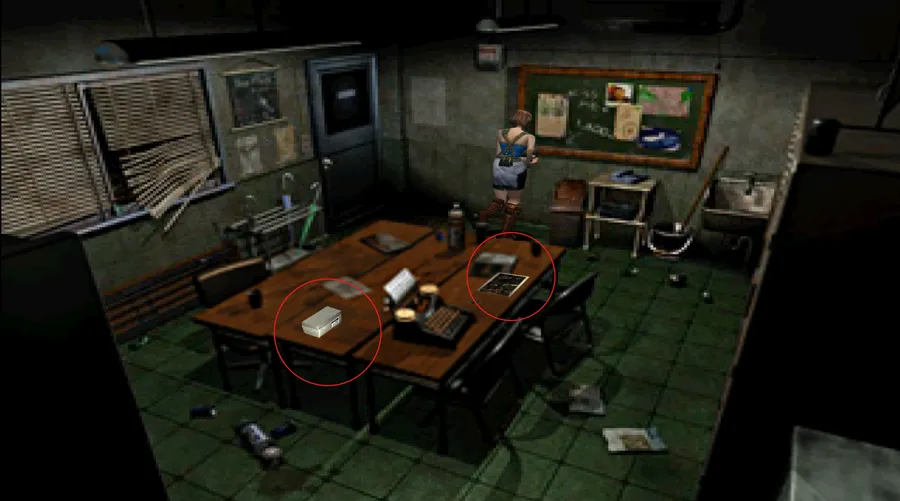
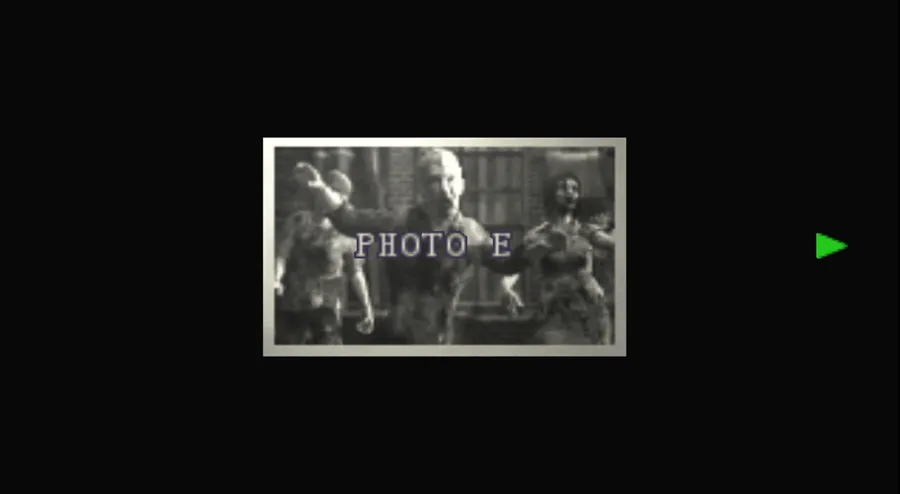
FILEFile 23: Photo E on the table next to the typewriter.
4
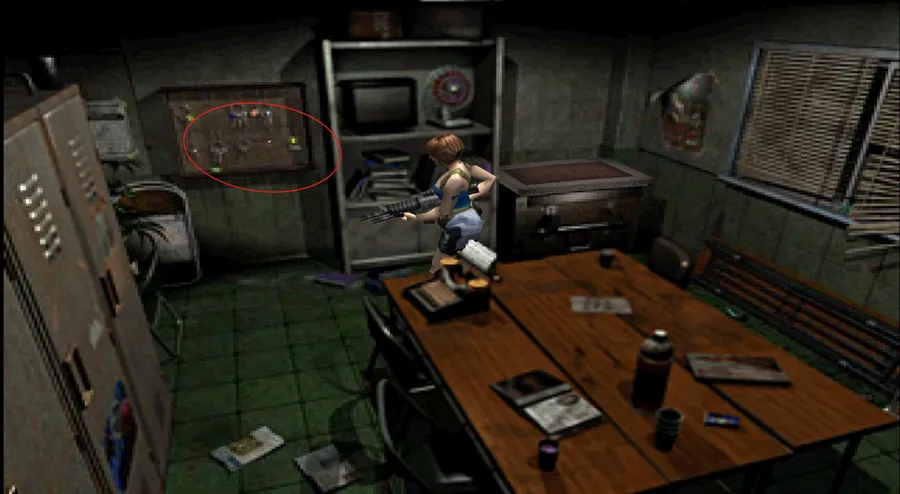
KEY ITEMMain Gate Key on the wall hook — the first of the three. Back out in the alleyway it opens the iron gate up the short flight of steps to Jill’s left, which is the way into the park proper.
5
ITEM Two ammunition spots here. On Easy both are Grenade Rounds ×12; on Hard each rolls 50/50 between Grenade Rounds ×6 and Mine Thrower Rounds ×6.
Main Park, Wooden Jetty & Forest Path
6
RANDOMMain Park, first visit: a coin flip between 4 sliding worms and 2 Hunter Betas — one or the other, never both, and never zombies on this pass.
The zombies come later. Seven of them move into this same area, but only once you are carrying the Rear Gate Key — so you meet them on the walk back from the graveyard, not now. If you remember this park as full of zombies, that is the trip you are remembering.
7
RANDOMWooden Jetty: either 4 zombies — one standing right in front of you and three more further along — or, if the path looks empty, 2 Hunter Gammas that come up out of the water behind Jill.
An empty jetty is the bad roll, not the good one. Start running the moment you see no zombies. The first Gamma surfaces behind you and a second leaps as you turn the corner — the walkway is too narrow to fight two of them on, so take the gate and keep going.
8
RANDOMForest Path: a coin flip between 3 Hunter Betas and 3 zombie dogs. This is one of the few places worth clearing rather than running — the path winds and there is very little room to dodge on it, and you come back through here twice. There is an explosive barrel in the clearing to help.
Go to that small clearing in the north corner: KEY ITEMGraveyard Key and FILEFile 24: Written Order to the Supervisors are both on the dead mercenary by the bin.
9
ITEMMagnum Bullets on a second mercenary corpse near the east gate. That gate is the park’s rear exit and stays locked until you have the Rear Gate Key.
Fountainthe gear puzzle
10
ITEMPark Map on the display board, ITEM3 Green Herbs and ITEM2 Blue Herbs opposite the entrance gate.
11
The fountain gears — the answer is on the wall
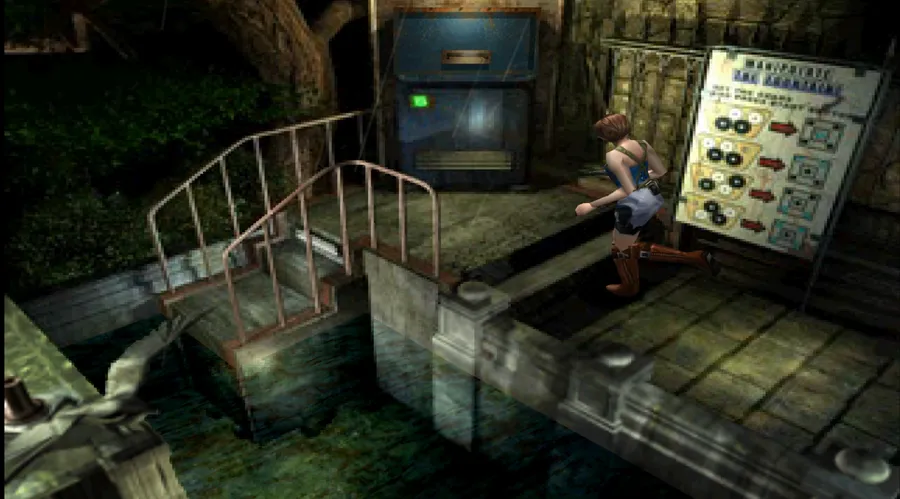
The game shows you the target before you touch anything. The sign above the submerged tunnel entrance carries the arrangement you are aiming for — read it first and the panel stops being a guessing game.
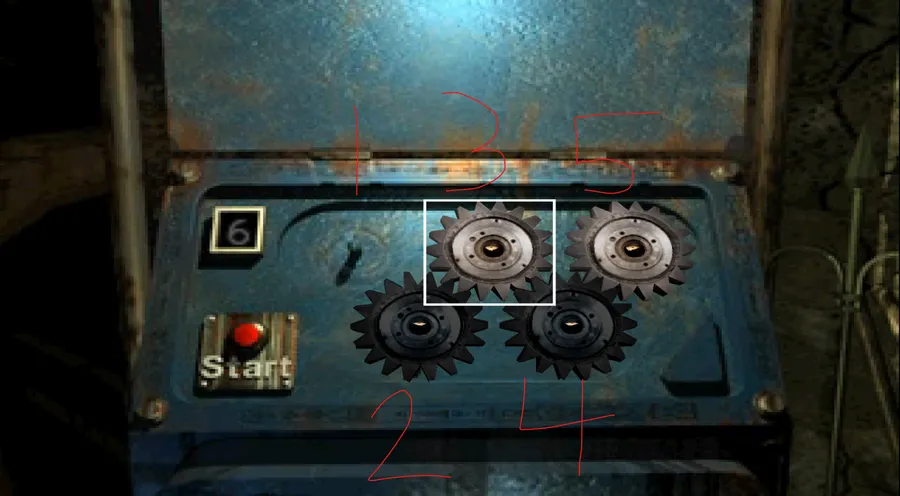
The board is five slots and four gears, so one slot is always empty and gears only slide into the gap. Number them as they sit: 1 · 3 · 5 across the top row, and 2 · 4 tucked underneath between them on the bottom row.
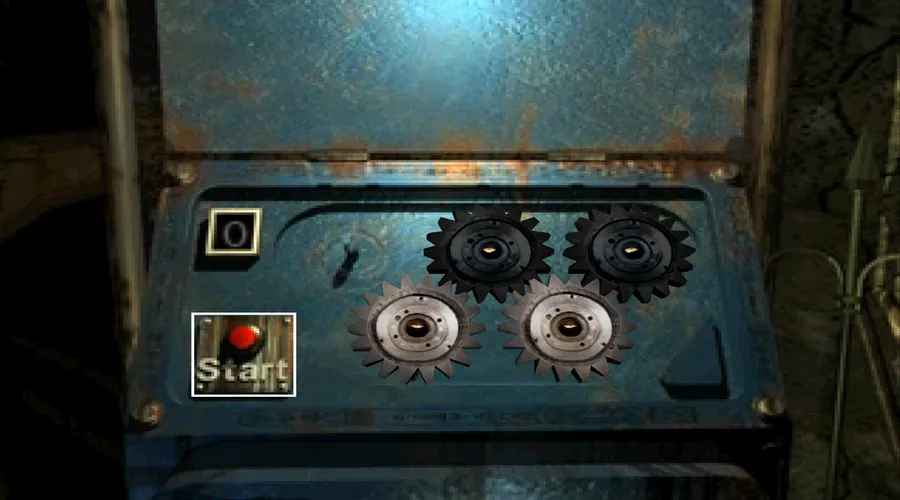
What you want: the two black gears on the top row (slots 3 and 5), the two white gears on the bottom row (slots 2 and 4), and the empty slot at the top left (slot 1).
The short way there: slide the gears in slots 2 → 3 → 4 → 5 → 3 → 1. That is six moves, which is the minimum — there is no faster route and no penalty for wandering off it, so if you lose your place just work back to the picture on the sign.
Press the start button when it matches. The pool drains and the hatch in the basin opens. This puzzle is not randomised — the same answer works on every playthrough.
Drainage Passage & Graveyard
12
Sliding worms respawn endlessly in the drainage passage. Do not fight them — run the length of it and climb the ladder.
13
Five zombies claw their way up out of the ground as Jill walks past — in front of her as well as behind. Keep moving rather than trying to clear the field. ITEM2 Red Herbs in the middle of the graveyard: at the T-junction go left for those, then come back and go straight, following the south and east edges round to the door. Unlock it with the Graveyard Key — the second of the three, off the mercenary on the Forest Path.
Graveyard Cabinthe hidden room
14
ITEMGun Powder A ×2 and Gun Powder B ×2 on the table. KEY ITEMIron Pipe in the maintenance cupboard on the south wall.
15
SAVE ROOM The storeroom through the side door has a typewriter, an item box and a ITEMFirst Aid Spray.
Take the Lighter out of the item box while you are standing here. It is the one Jill built back in Uptown — the Empty Lighter from Bar Black Jack combined with the Lighter Oil from Shotgun Alley — and by now most players have parked it in storage to free a slot. You cannot open the way forward without it, and this box is the last one before that door.
Missable.Save here. The Grave Digger is next and it is mandatory.
16
Opening the secret passage
1. Stand in front of the fireplace and use the Lighter. It burns away the wood pile stacked in the hearth, and behind it is a bricked-up opening. 2. Use the Iron Pipe on the loose bricks at the back to knock them out. 3. Crawl through the gap.
Neither item is optional and neither is a puzzle — if nothing happens, you are missing one of the two. The Iron Pipe is in the tool cabinet in this same room; the Lighter is yours from Uptown.
17
In the Secret Communications Room: KEY ITEMRear Gate Key and FILEFile 25: Supervisor’s Report on the table, FILEFile 26: Fax From Headquarters on the map board, ITEMGrenade Rounds on the south-west shelves, HARD ONLYInk Ribbon ×3 in the jacket by the fireplace.
18
Turn back for the crawlspace and a scene fires as Jill goes through it — then a second one waits for her in the shack: Nicholai, the first time she has laid eyes on him since the tower. Between the two files and the two scenes, this is where the game stops pretending: the “rescue” operation is a data-gathering exercise and the surviving mercenaries are the subjects.
Do not leave the shack without the Rear Gate Key, and heal and save before you step outside. The Grave Digger fires the moment you head back toward the sewer pipe.
GraveyardBOSS — the Grave Digger
19
BOSS Head back toward the sewer pipe and the ground gives way — a second Grave Digger comes up out of the graveyard. This is not the one from under Lonsdale Yard; that one is dead. Mandatory.
The Grave Digger
Reading it. It is underground between attacks. Watch the ground — it telegraphs with a tremor and the earth shifting toward you. When it surfaces it lunges with the mandibles open, and two hits in a row will kill a healthy Jill.
Movement. The worm turns the graveyard into a single U-shaped path, and that is all the room you get. Watch for the dust cloud that comes just before it breaches — break sideways when you see it. The real danger is being backed into a corner of the U with nowhere to break to; if that happens, put a couple of rounds into it to push it off rather than trying to squeeze past. Never stand still to reload.
The fast finish — this is the one to use. After roughly a minute of the fight a short scene plays showing one of the street lamps tilting and throwing sparks. That is your cue. Shoot both lamp posts so they come down into the pool of water beside them, then lead the Grave Digger over that water. The current kills it outright — two bullets and the boss is over.
If you would rather just shoot it.ITEMAcid Rounds are the best answer — they carry a damage bonus against soft targets like this and put it down in about 10 to 12 rounds. Grenade Rounds work, the Magnum works, the shotgun works but takes a long time, and every extra second is another pass of a creature that kills a healthy Jill in two hits.
Getting out. The fight wrecks the fence — climb the fallen section to leave the arena.
20
The way back is the way you came, and it has been restocked. Drainage Passage: spiders or worms now — run it and take the ladder, same as before. Main Park:seven zombies scattered across it, so budget ammunition or plan a route through them. Wooden Jetty and Forest Path may still hold whatever you left alive. At the east end of the Forest Path, use the Rear Gate Key — the third and last of the three — on the chained gate.
Park Exit Walkwaythe ending choice
21
LIVE SELECTIONNEMESIS Nemesis drops onto the bridge and blocks it. This one is a cutscene, not one of the seven — there is no case either way.
Missable.This is the only Live Selection in the game that changes the ending.
Push him off
Jump off
You enter the factory at
2F, via the Entry Corridor
1F, through the water tunnel
Facility Key needed?
Yes, for the door deeper in
No — that route bypasses it
Carlos meets you
In the Resting Room
In the Water Filter Passage, saving you from zombies
Nicholai Live Selection
Never triggers
You get it, in the Communications Tower
Who flies the rescue
Carlos
Barry Burton
There is a third option and it is not neutral.Doing nothing lands you exactly where Jump off does — Nemesis knocks Jill off the bridge himself and she takes damage on the way down. If the jump route is the one you want, choose it; there is nothing to gain by letting him do it for you.
Tip.Jump off if you want the fuller run — it is the only branch that includes the Nicholai encounter, and Barry’s arrival is the better scene. Take push him off on a later playthrough for the other ending; you need several clears anyway for the epilogues.
CHAPTER 8 OF 10
CH 9Dead FactoryIncineration Disposal Plant P-12A — power, water, and the acid room
Umbrella’s Incineration Disposal Plant P-12A, the last explorable area. One heavy door stands between Jill and the finale and it carries two separate locks — the facility power has to come up in the Steam Room, and the water check has to pass down in the Water Control Room. Which of those you do first, where you find the Facility Key, and whether Nicholai lives or dies all depend on how you left the bridge.
1
What you are actually doing here. Everything in this chapter serves one door: the heavy shutter in the Control Room that leads to Nemesis and the way out. It has two locks — one released by the power console in the Steam Room, one by the water-quality check in the Water Control Room. Do both, in whichever order your route gives you, and the door opens.
Two entrances — the bridge decides the whole chapter
This is the deepest split in the game. The Live Selection you took on the suspension bridge does not just change which door Jill walks in through — it reverses the order of the entire factory, moves where two items sit, changes where Carlos finds you, and decides whether you ever see Nicholai again.
Everything is collectable on both routes. Nothing is lost by taking either one. But the route you are on changes what to pick up and when, so read your column and follow that one.
Route A — you pushed him off
Route B — you jumped, or did nothing
Jill enters at
The Entry Corridor, through the front doors — the plant’s 2F
The riverbank, up a ladder into the water tunnels — 1F
You work
Top down: power first, then water
Bottom up: water first, then power
Facility Key
Early, in the Resting Room — so you can code it on the same trip you do the water puzzle
Late, after the water puzzle is already done — coding it means a trip back down
Gun Powder A×3 / B×3
Usually the Resting Room; if not there, the Water Control Room
Usually the Water Control Room; if not there, the Resting Room
Carlos calls in
In the Resting Room, right at the start
In the Water Filter Passage, on your way back from the water puzzle
File order
27 then 28 — in order
28 comes first. If you want them in order, leave 28 on the desk and come back for it after 27
Nicholai
Dies. He shoots at Jill in the Disposal Access and something off screen kills him. You never see him again
Lives. He shoots at Jill in the Entry Corridor and escapes behind the shutter — and comes back at the very end in a helicopter
Live Selections
None left in the game
One more — the helicopter, in the Communications Tower
Who flies the rescue
Carlos
Barry Burton
Both routes need both locks. The Steam Room console and the water-sample machine each release half of the heavy door in the Control Room, and the door will not open until both are done, whichever order you get to them in.
Route A — you pushed Nemesis off the bridgein through the front doors, Dead Factory 2F
2
Entry Corridor. Jill comes in through metal double doors into a crooked corridor. Note three things as you walk it and then leave them alone: an explosives box on the wall, a metal shutter with a card reader (that is the last door of the chapter), and a locked door to the Control Room. Head for the door at the far end.
3
SAVE ROOMResting Room.Carlos calls in as you enter: there is a nuclear strike inbound on Raccoon City. Everything from here is a race.
Typewriter and item box. FILEFile 27: Manager’s Diary and HARD ONLYInk Ribbon ×3 by the typewriter, ITEMFirst Aid Spray and KEY ITEMFacility Key together in the back corner, and RANDOMITEMGun Powder A ×3 / B ×3 on the far table — if they are not here they are down in the Water Control Room instead.
4
Steam Room. There is a small lift with a card reader in here; you cannot use it yet, so walk past it.
The steam jets — fixed layout, same on every run
Scalding steam blocks the routes to the power console, and each switch you throw closes one jet and opens another — that is the whole trick, and why walking straight at the console never works.
The route. From the door, turn right and walk round the square hole in the middle of the room — ITEM2 Blue Herbs are on the floor on the way past. Carry on to the small panel with the red light and press switch 1. Round the corner, press 2 and 3, which sit side by side. Go back and press 1 again. Cross to the far side of the room for 4 and 5. Come back round for 1 once more, then 2, then 3 — and the console is open.
Use the console to release its half of the heavy door, then press switch 1 one last time so Jill can get back out. Forget that and you are stuck behind your own steam.
The layout is not randomised: 1 · 2 · 3 · 1 · 4 · 5 · 1 · 2 · 3 · console · 1 works on every playthrough.
5
Back through the Entry Corridor — 2 Drain Deimos have moved in while you were busy. Then use the Facility Key on that locked door near the Resting Room end.
6
Control Room.ITEMDead Factory Map is on the wall right beside the door — but so are five zombies spread around the room, so clear before you browse. KEY ITEMSystem Disk on the big central workstation, ITEM3 Green Herbs by the guard rail, and a Blue Herb planter along the rail past the lift doors.
The heavy door here is only half unlocked at this point — that is expected. The water check is the other half. Consider dropping the System Disk and spare herbs in the Resting Room box for now, but keep the Facility Key: you need it again in twenty minutes.
7
Take the lift down.RANDOM The Water Pollution Pool at the bottom rolls four ways: 5 zombies, 3 Drain Deimos, 3 Brain Suckers or 3 Hunter Betas. There is an explosive barrel by the steps — walk up, get their attention, turn and shoot it from the doorway. ITEMShotgun Shells ×2 on the metal shelf by the lit control panel.
8
RANDOMWater Filter Passage. Knee-deep water with either 2 Hunter Betas or 7 worms in it. Drop into the channel, go right, then take the alcove in the left-hand wall back up to dry ground.
9
SAVE ROOMMonitoring Room. Typewriter, item box and HARD ONLYInk Ribbon ×3 immediately on the left. Round the bank of controls, examine the lit wall panel for the KEY ITEMWater Sample, and take FILEFile 28: Security Manual off the desk beside it.
10
Water Control Room. Down the stairs into the lab. ITEMFirst Aid Spray on the metal cabinet straight ahead, and RANDOMITEMGun Powder A ×3 / B ×3 scattered here if they were not in the Resting Room.
The water sample — four possible answers
Use the Water Sample on the testing machine on the far left. The sample is consumed and you get a bar chart: a white target outline, and three rows of coloured blocks labelled A, B and C that you can slide left or right. Stack the three rows so the combined height of every column matches the white outline.
The starting layout is re-rolled every playthrough, but there are only four of them. Identify yours by the two left-hand columns of the stack — how many blocks tall each one is — then read across:
First two columns
Row A
Row B
Row C
3 tall, then empty
Right ×1
Right ×1
Left ×2
3 tall, then 1
Left ×1
Left ×2
Right ×2
2 tall, then 1
Right ×1
Right ×3
Left ×4
2 tall, then empty
Left ×4
Right ×2
Left ×2
There is no timer and no penalty for a wrong attempt, so if you cannot tell which layout you have, just work down the four in order — the worst case is three wasted tries. Or ignore the table entirely: the target is drawn on the panel in front of you, so line A up against the leftmost part of the outline, then B, then C, checking as you go.
Passing the check releases the second half of the heavy door in the Control Room.
11
Do this now, while you are standing here. The machine on the right filters water with ultraviolet light. Use the Facility Key on it to burn a code pattern into the fob — that turns it into the KEY ITEMCoded Facility Key, which is the only thing that opens the weapons locker later.
Skip this and you will be walking all the way back down here after the boss fight. It costs you ten seconds now and about five minutes then.
12
Head back up: Water Filter Passage, Water Pollution Pool (the same enemies respawn, same numbers — the barrel may still be there), lift, Control Room. Collect the System Disk from the box on the way if you left it, and save.
Route B — you jumped, or did nothingin from the riverbank, Dead Factory 1F
13
Factory Sewer Entrance. Jill hauls herself out of the river onto a bank beside a sewer mouth. Step up into the tunnel and climb the ladder.
Once you drop down the other side you cannot come back to the riverbank. There is nothing behind you, so this costs you nothing — but do not go looking for it later.
14
SAVE ROOMMonitoring Room — take the first alcove on the right out of the water. Turn left for the semi-hidden typewriter, item box and HARD ONLYInk Ribbon ×3. Straight ahead, the lit wall panel gives the KEY ITEMWater Sample, and FILEFile 28: Security Manual is on the small desk to its right.
On this route you reach 28 before 27. If you are reading the files in order, leave it on the desk and come back for it after the Resting Room — it is not going anywhere.
15
Water Control Room. Down the stairs. ITEMFirst Aid Spray on the metal cabinet straight ahead, and RANDOMITEMGun Powder A ×3 / B ×3 around the room — on this route they are usually here rather than in the Resting Room.
The water sample — four possible answers
Use the Water Sample on the testing machine on the far left. The sample is consumed and you get a bar chart: a white target outline, and three rows of coloured blocks labelled A, B and C that you can slide left or right. Stack the three rows so the combined height of every column matches the white outline.
The starting layout is re-rolled every playthrough, but there are only four of them. Identify yours by the two left-hand columns of the stack — how many blocks tall each one is — then read across:
First two columns
Row A
Row B
Row C
3 tall, then empty
Right ×1
Right ×1
Left ×2
3 tall, then 1
Left ×1
Left ×2
Right ×2
2 tall, then 1
Right ×1
Right ×3
Left ×4
2 tall, then empty
Left ×4
Right ×2
Left ×2
There is no timer and no penalty for a wrong attempt, so if you cannot tell which layout you have, just work down the four in order — the worst case is three wasted tries. Or ignore the table entirely: the target is drawn on the panel in front of you, so line A up against the leftmost part of the outline, then B, then C, checking as you go.
Passing the check releases the second half of the heavy door in the Control Room.
You cannot code the Facility Key yet. The ultraviolet machine on the right is the one that stamps it — but the key is upstairs in a room you have not reached. Note where this machine is; if you want the Rocket Launcher you are coming back to it after the boss.
16
Back into the Water Filter Passage and a few steps down the hall Carlos calls in: a nuclear strike is scheduled on Raccoon City for daybreak. Carry on to the other alcove.
17
RANDOMWater Pollution Pool. Four possible sets: 5 zombies, 3 Drain Deimos, 3 Brain Suckers or 3 Hunter Betas. Walk up the short steps to pull them toward you, turn round and shoot the explosive barrel from near the door. ITEMShotgun Shells ×2 on the shelf by the lit panel. Then take the big lift doors up.
18
Control Room.Blue Herb planter immediately on the left. Clear the zombies before you loot: KEY ITEMSystem Disk on the table, ITEM3 Green Herbs by the guard rail, and ITEMDead Factory Map by the north-west door on your way out. The heavy door in here is half open — the power is still off.
19
Entry Corridor.Nicholai shoots at Jill the moment she steps in, then bolts and drops a metal shutter behind him. That is the shutter you open with the Card Key at the very end of the chapter — and it is the last you see of him until the roof. Take the north-east door, not the double doors.
20
SAVE ROOMResting Room. Typewriter and item box. FILEFile 27: Manager’s Diary and HARD ONLYInk Ribbon ×3 by the typewriter, and in the back corner ITEMFirst Aid Spray beside the KEY ITEMFacility Key. RANDOMITEMGun Powder A ×3 / B ×3 on the far table if they were not in the Water Control Room.
21
Steam Room. The lift with the card reader is in here; you still cannot use it.
The steam jets — fixed layout, same on every run
Scalding steam blocks the routes to the power console, and each switch you throw closes one jet and opens another — that is the whole trick, and why walking straight at the console never works.
The route. From the door, turn right and walk round the square hole in the middle of the room — ITEM2 Blue Herbs are on the floor on the way past. Carry on to the small panel with the red light and press switch 1. Round the corner, press 2 and 3, which sit side by side. Go back and press 1 again. Cross to the far side of the room for 4 and 5. Come back round for 1 once more, then 2, then 3 — and the console is open.
Use the console to release its half of the heavy door, then press switch 1 one last time so Jill can get back out. Forget that and you are stuck behind your own steam.
The layout is not randomised: 1 · 2 · 3 · 1 · 4 · 5 · 1 · 2 · 3 · console · 1 works on every playthrough.
22
Back to the Resting Room to pick up the System Disk and save, then through the Entry Corridor — 2 Drain Deimos are waiting there now — and into the Control Room. Bring the Facility Key with you if you intend to fetch the Rocket Launcher later.
From here both routes are the samethe heavy door is open
23
Disposal Access. With both locks released, the heavy door in the Control Room opens.
Route A only: a few steps in and Nicholai takes shots at Jill — and is then killed by something off screen. That is the end of him on this route. On Route B this corridor is quiet, because he is still alive and waiting for you on the roof.
Use the System Disk in the wall slot to unlock the next door.
Save and heal before you go through. The room beyond locks behind you and starts a countdown, and there is no way back to a typewriter.
24
NEMESISMandatory.
Nemesis — the B.O.W. Disposal chamber
The door locks behind Jill and a four-minute clock starts. The intro scene eats some of it, so you have roughly 3 minutes 27 seconds of actual play — and when Nemesis goes down there is still a ten-second cutscene to sit through and the run to the door. Assume you need about 20 seconds left on the clock at the moment he falls, or you die anyway.
The room is the weapon. The opening scene shows you the answer: acid valves around the chamber. Lead Nemesis under one, aim at the valve and shoot it, and the acid comes down on him. Do not be standing in it yourself. Each valve has a green meter showing when it has recharged.
Three doses is the whole fight. The first hurts him badly. The second takes his head off — he keeps coming but his aim falls apart. The third finishes him. Nothing in your inventory competes with that.
Carry a fast-draw weapon — the handgun is fine — because you are shooting a valve, not him, and the time you save raising it is the time you need at the end. His tentacles reach a long way in this U-shaped room, so keep moving and do not let him corner you.
If the valves are not lining up, heavy weapons still work and Freeze Rounds are as good here as anywhere. But the acid is what beats the clock.
He drops nothing — this is not one of the seven. What you need is the KEY ITEMCard Key that falls out of a dead scientist’s coat. Take it, use it on the blinking panel by the door, and get out.
25
Back out through the Disposal Access into the Control Room — six fresh zombies have spawned in it. Kill only what is in your way.
26
The Rocket Launcher — worth the detour
The weapons locker off the Steam Room holds the WEAPONM66 Rocket Launcher, and it takes the Card Key to reach and the Coded Facility Key to open.
Route A: your key is already coded. Card Key on the Steam Room lift, ride it down to the Armory, take ITEMGrenade Rounds ×2 off the cardboard boxes, and use the coded key on the right-hand locker.
Route B: you still have to code the key. That means the full round trip — lift down, Water Pollution Pool, Water Filter Passage, Water Control Room, use the Facility Key on the ultraviolet machine, and all the way back up to the Steam Room. It is a long walk through respawned enemies, which is exactly why coding the key early matters on Route A.
Is it worth it? On Route B, yes — one rocket ends the helicopter Live Selection outright. On Route A there is no helicopter, so it is a trophy rather than a tool, and a speed run can skip it.
27
SAVE ROOMResting Room, one last time. This is the final typewriter in the game. Take two full heals and something for a handful of zombies. You will not be damaging the last boss with your own weapons, so do not agonise over ammunition — but do bring the Rocket Launcher if you fetched it.
28
Entry Corridor. Use the Card Key on the reader beside the shutter. Three zombies are in the narrow passage behind it, and ITEM2 Green Herbs sit by the door at the far end.
29
Communications Tower.ITEMMagnum Bullets in the cabinet beside the door and ITEMFirst Aid Spray in a cabinet on the east wall. Take the KEY ITEMPortable Radar Receiver from the control panel by the window — it tracks the incoming missile and the finale needs it.
Route A: a radio call from Carlos — there is a helicopter behind the factory, ready to fly.
30
LIVE SELECTIONRoute B only — Nicholai’s helicopter. As Jill turns for the door he drops in and opens fire through the glass.
Three options, two outcomes
Return fire — only offered if you are carrying the Rocket Launcher. One rocket and the helicopter goes down with him in it. Be quick: dither and he flies off, which is the same as negotiating.
Negotiate — the option you get when you do not have the launcher. They trade a few words and he leaves alive, taking the last helicopter with him.
Do nothing — Jill waits him out, but he fires a rocket at her as she stands. You get a split second to dodge, and then you are in the return-fire situation anyway. There is no reason to pick this.
The ending does not change. Barry comes for you either way; the only thing at stake is whether Nicholai lives. This is also the reason a playthrough has nine Live Selections on Route B and eight on Route A.
Carlos turns up afterwards and takes the news about the helicopter badly. Head for the ladder; examine the floor hatch to start the missile countdown and open it. The clock is generous — do not panic, but do not browse either.
31
Emergency Tunnel.FILEFile 29: Incinerator Manual on the wall by the ladder and ITEMShotgun Shells ×2 on the shelving.
The floor is covered in bodies and only two of them get up. Walk past the rest rather than emptying a magazine into scenery.
Car Yardthe last file
32
Missable.FILEFile 30: Classified Photo File is on the floor just outside the door to the Rail Cannon Room. This is the last one — pick it up and all 30 are collected, which unlocks Jill’s Diary. Past that door there is no coming back for it.
CHAPTER 9 OF 10
CH 10Final Battlethe rail cannon, the escape, and what you unlocked
One fight you cannot win with guns, one last choice that changes nothing but the scene, and a results screen that decides what your next playthrough gets.
Rail Cannon RoomBOSS — Nemesis, third form
1
The room houses an experimental rail cannon powered by three industrial batteries that have to be pushed into their bays.
2
NEMESISMandatory. Conventional weapons barely register — the cannon is the answer.
Nemesis — third form
Saturated with the disposal chemicals, he has lost all control and collapsed into a huge amorphous blob dragging itself across the floor. It spits acid at range and has long-reach attacks, but it is much slower than his earlier forms.
1. Battery one. Start the sequence at the computer and push the first battery into its bay. That is what summons him — he drops into the room as soon as it seats. 2. Survive. Do not try to shoot him down. He is slow, so circling works. Break line of sight behind the machinery when he winds up the acid spit. 3. Lure him into the firing line. The cannon fires toward the hole in the wall at the far corner. Stand in that line yourself to bait him in, then step out sideways at the last moment. 4. Batteries two and three. With him in the lane, seat the other two. The system finishes booting and an alert sounds when the cannon is charged. 5. Fire. A direct hit rips the creature apart. The cannon fires on a cycle of about ten seconds, so a missed alignment is not fatal — realign and let it fire again.
Do not burn your Magnum ammunition here. You want it for what follows.
3
LIVE SELECTION A surviving lump of tissue drags itself after you as you try to leave.
The last choice.Exterminate the monster — Jill takes the Magnum off the floor and empties it into the remains. The fuller scene, but it costs time. Ignore and evacuate — leave it for the missile. The right call if the clock is tight. Do nothing — it spits acid on Jill and poisons her.
This does not change the ending, only this scene.
The escape
4
Ride the maintenance elevator out to the landing zone. Carlos is waiting, and the Portable Radar Receiver tracks the incoming missile.
5
They lift off, and moments later the missile passes overhead and detonates over the centre of Raccoon City.
Which ending you got
6
One choice, three variants.The ending is decided entirely by the bridge choice in Chapter 8, step 22. Nothing in the Dead Factory changes it.
Ending
How you got it
Who flies the rescue
A
Pushed Nemesis off the bridge
Carlos
B
Jumped off, then negotiated — Nicholai escapes alive
Barry Burton
C
Jumped off, then returned fire — Nicholai’s helicopter is destroyed
Barry Burton
✓
Check your file count. All 30 collected in one run replaces Game Instructions A with Jill’s Diary.
✓
Each Hard clear on the same save data awards one epilogue, in order. Eight Hard completions unlocks all eight. Your rank does not matter for these, and using weapons bought in The Mercenaries does not block them.
✓
Rank is scored out of 300 — 100 points each for completion time, number of saves, and total health restored. The three are independent, so a slow but flawless run still grades well. A rank of A or better on Hard unlocks the extra costumes.
CHAPTER 10 OF 10
Live Selections — Branching Paths
Live Selections are timed choices that branch the game — they change item locations, who accompanies you, enemy setups and the ending. A single run hits most of these. The Restaurant and the Press Office are the same choice slot — you meet one or the other depending on your route. Every entry below is cross-checked across multiple guides; anything a source could not confirm has been left out.
1. RPD Courtyard
Context: right after Brad is killed, outside the police station
Choice
Result
Fight with the monster
You battle Nemesis and can take the S.T.A.R.S. card (Card Case) off Brad’s body right away. HARD ONLY this is NEMESIS 1 — defeating him here drops Eagle Parts A (a Magnum upgrade part).
Enter the police station
You skip the fight, but you must then find another way to reach the Main Hall computer (get the card) inside.
Context: Nemesis bursts in. You get one of these two scenes depending on your route — it is the same slot, and it also decides who meets you at the Gas Station later
Choice
Result
Escape — “Run into the basement” (Restaurant) / “Jump out of the window” (Press)
You get away from Nemesis. → Later, Nicholai is the one at the Gas Station.
Hide — “Hide inside the kitchen” (Restaurant) / “Hide in the back” (Press)
An explosion knocks Nemesis down — that is NEMESIS 3 collected for free. → Later, Carlos is the one at the Gas Station.
Do nothing
Nemesis attacks you.
3. Sub Station
Context: after you deal with the power and Nemesis / zombies close in
Choice
Result
Head to the emergency exit
You break out through the door; Nemesis is waiting outside with the rocket launcher — this is NEMESIS 4. Take the other option and the same encounter waits for you in the Forked Alley instead.
Increase the electricity output
The electrified gate kills the zombies, but you then have to solve the voltage / shutter puzzle to get through.
Do nothing
Zombies break through and attack.
4. Parking Garage
Context: on the way back toward the cable car
Choice
Result
Climb up
You climb out and carry on — no downside.
Jump down
You drop into the underground passage (you deal with sliding worms on the way back).
Do nothing
Falling crates hit Jill and you end up on the underground route anyway.
5. Cable Car
Context: during the cable-car sequence
Choice
Result
Jump out of the window
You start inside the Clock Tower.
Use the emergency brake
You start in the courtyard outside the Clock Tower.
Do nothing
The car crashes and Jill takes damage (plays out like the brake option).
6. Clock Tower Balcony
Context: Nemesis corners you on the balcony
Choice
Result
Use the light
The spotlight blinds Nemesis and Jill shoves him off the balcony. You cannot take a case from him afterward, so NEMESIS 6 is forfeited — and with it the tail of the chain. He does stop stalking you.
Use the cord
Nemesis is electrocuted and stunned; that counts as NEMESIS 6 and you can take the case, but he keeps stalking you afterward.
Do nothing
Nemesis attacks.
7. Park Bridge
Context: Nemesis meets you on the walkway to the factory
Choice
Result
Push him off
You enter the Dead Factory on 2F — you will need the Facility Key.
Jump off
You enter on 1F — no Facility Key needed.
Do nothing
Nemesis knocks you off (same result as jumping).
8. Nicholai’s Helicopter (Dead Factory)
Context: Nicholai confronts you from a chopper
Choice
Result
Negotiate with Nicholai
You stall him (a missile is already inbound).
Return fire to the chopper
You fight back and can destroy the helicopter.
Do nothing
You take a rocket hit, then it plays out like returning fire.
9. Final Battle
Context: Nemesis’s last form
Choice
Result
Exterminate the monster
Jill delivers the finishing blow and destroys Nemesis for good.
Ignore it and evacuate
You leave immediately; Nemesis is wiped out along with the city.
Do nothing
Nemesis lands a venomous hit before you escape.
Weapons — All 12
There are 12 weapons in Resident Evil 3. The Grenade Launcher and Magnum are mutually exclusive at the S.T.A.R.S. office — whichever you don’t pick appears later at the Substation. On Hard, defeating Nemesis yields the EAGLE 6.0 and Western Custom shotgun parts.
Missable: The EAGLE 6.0, Western Custom, Mine Thrower, and Nemesis-drop Assault Rifle are Hard-only.
Weapon
Ammo
Capacity
How to Obtain
Knife
N/A
N/A
Jill starts with it. Melee weapon for self-defense.
Hand Gun (M92F Custom)
Hand Gun Bullets / Enhanced
15
Jill starts with it on Hard. S.T.A.R.S. custom handgun.
Merc’s Handgun (SIGPRO SP2009)
Hand Gun Bullets
15
Carlos’s weapon in the Hospital section. Same stats as M92F.
EAGLE 6.0
Hand Gun Bullets
15
HARD ONLY Defeat Nemesis 1st & 2nd encounters. Combine EAGLE Parts A + B. Faster fire rate, higher critical chance.
Shotgun (Benelli M3S)
Shotgun Shells / Enhanced
7
Found early in Uptown (corpse in the basement). Effective against groups.
Western Custom (M37)
Shotgun Shells
6
HARD ONLY Defeat Nemesis 4th & 5th encounters. Combine M37 Parts A + B. Faster reload.
Grenade Launcher (Hk-p)
Grenade/Flame/Acid/Freeze Rounds
Varies
S.T.A.R.S. Office cabinet (211) OR Substation (324), depending on choice.
Magnum (S&W M629C)
Magnum Bullets
6
S.T.A.R.S. Office cabinet (211) OR Substation (324). The other of two weapons. Very powerful.
Mine Thrower
Mine Thrower Rounds
6
HARD ONLY Clock Tower 1F main hall, from the corpse.
Assault Rifle (M4A1)
Assault Rifle Bullets
300
Carlos starts with it. Jill: Easy mode start, or defeat Nemesis 7th time (Hard), or buy from Mercenaries ($2000).
Rocket Launcher (M66)
N/A
4
Dead Factory 2F cabinet (4 rounds) OR unlock via Mercenaries ($4000). Infinite version available.
Gatling Gun
N/A
Infinite
Unlock via Mercenaries ($3000). Unlimited ammo, no reloading. Half-second spin-up delay.
Weapon Choice: The Magnum and Grenade Launcher are mutually exclusive at the S.T.A.R.S. office. On Hard, always aim to get the EAGLE 6.0 and Western Custom from Nemesis drops.
Gun Powder Mixing System
The Reloading Tool combined with Gun Powder lets you craft ammunition. Different powder combinations create different ammo types. Essential for Hard mode where ammo is scarce.
Gun Powder Types
Powder
How to Make
Use
Gun Powder A
Found throughout the game
Hand Gun Bullets (with Reloading Tool) or Flame Rounds (with Grenade Rounds)
Enhanced Ammo: After making enough of one ammo type, the Reloading Tool starts producing Enhanced versions (more damage). This happens randomly after ~8 batches of the same type.
Best Combo:CCC + Reloading Tool = 24–26 Magnum Rounds. The most efficient way to get Magnum ammo. Always save your C powders for this.
Healing & Herb Mixing
Item
Effect
Green Herb
Heal 25% health
Red Herb
Cannot be used alone
Blue Herb
Cure Poison
First Aid Spray
Heal 100% + cure Poison
First Aid Box
3 First Aid Sprays (Nemesis drop)
Mixed Herbs
Function
Green + Green
Heal 50% health
Green + Blue
Heal 25% health + cure Poison
Green + Green + Blue
Heal 50% health + cure Poison
Green + Green + Green
Heal 100% health
Green + Red
Heal 100% health
Green + Red + Blue
Heal 100% health + cure Poison
Nemesis Encounters & Drops
Nemesis turns up eleven times across Jill’s run. Four of those are set pieces that give you nothing — the cable car, the Clock Tower courtyard, the Waste Disposal chamber and the rail cannon — and the Carlos leg in the tower gives nothing either. That leaves seven encounters where knocking him down leaves an item case, and they are numbered NEMESIS 1 to NEMESIS 7 in the walkthrough so you can see at a glance which one you are standing in. The cases only exist on Hard. On Easy he drops nothing at all, which is why the Eagle 6.0, the Western Custom and the assault rifle are Hard-only weapons.
The seven rewardable knockdowns (Hard only)
#
Where
Chapter
Drop
1
R.P.D. Courtyard Live Selection 1, right after Brad
CH 2
EAGLE Parts A
2
West Stairway 1F, R.P.D. only arms once you hold the Lockpick
CH 2
EAGLE Parts B
3
Grill 13 or the Press Office whichever building you meet Carlos in — one slot, not two
CH 3
First Aid Box
4
Outside the Sub Station or the Forked Alley, Uptown the Sub Station Live Selection moves it, it never removes it
CH 3 – 4
M37 Parts A
5
Three Points Street, north end spawns the moment you hold all four cable car parts
CH 5
M37 Parts B
6
Clock Tower balcony, 2F Live Selection — Use the cord, or fight him outright. Use the light forfeits it
CH 6
First Aid Box
7
Clock Tower interior, second form after Jill wakes in the Chapel — Piano Room, Main Hall or beside the Chapel
CH 7
M4A1 Assault Rifle first clear / Infinite Bullets any later clear
The chain is a counter, not a map. The case Nemesis leaves is decided by how many times you have already put him down, not by where you are standing. Skip the second knockdown and the third encounter hands you Eagle Parts B instead of the First Aid Box — everything simply shifts one step back. Because encounter 7 is the last one in the game, every knockdown you skip is taken off the end of the chain, and the end of the chain is the Assault Rifle.
Combine Parts: EAGLE Parts A + B = EAGLE 6.0 handgun. M37 Parts A + B = Western Custom shotgun. Both are excellent weapons unique to Hard mode.
The set pieces that give you nothing
These are separate from the seven above. Three of them are mandatory, none of them leaves a case, and none of them advances the drop chain — so there is no reason to hold ammunition back hoping for a reward.
Fight
Where
How it goes
Nemesis on the cable car
Rear carriage, once the car is moving
Scripted. Mikhail ends it with a grenade whatever you do. Spend nothing.
Nemesis — Clock Tower Courtyard
Courtyard, after the bell brings the helicopter down
Mandatory, and it drops nothing on any difficulty. Tentacle grab if you came in through the window, bare hands if you used the brake. Acid Rounds or the Magnum. Beating him infects Jill and hands play to Carlos.
Nemesis chasing Carlos
Clock Tower, on the way back with the vaccine
No case is ever dropped while you are Carlos, and his death is an instant game over. Run.
Nemesis on the park bridge
Walkway between Raccoon Park and the Dead Factory
A Live Selection, not a fight. It sets which floor of the factory you enter on, and it is what decides your ending.
Grave Digger
Raccoon Park cemetery
Giant worm boss. Use Acid Rounds or Magnum. Shoot the glowing parts when it rises. Dodge its burrowing attacks. Can be skipped in the 1st encounter by lowering the ladder.
Nemesis, second form — Waste Disposal
Dead Factory
Nemesis mutates after the clock tower. More aggressive with tentacle attacks. 4-minute time limit. Lure tentacles into pipes for damage. Use Magnum and Freeze Rounds.
Nemesis, third form — the rail cannon
Power Plant (716)
Use the rail cannon. Push battery boxes #1, #2, #3 in order. Lure Nemesis into the cannon’s firing path. Two direct hits defeat him. Then choose: exterminate or evacuate.
Nemesis Dodge Mechanic
Press R1 or R2 (PS1) just before an enemy attacks to perform a dodge. Timing is critical — too early or too late and you get hit. Press the Action button while aiming for an emergency dodge. Mastering dodge is essential for surviving Nemesis on Hard mode.
Nemesis Tips: Freeze Rounds stop Nemesis in his tracks. If crafting ammo, prioritize Freeze Rounds (CC + Reloading Tool). On Hard, always try to defeat Nemesis in every non-boss encounter for the item drops.
Puzzles & Key Items
Evidence Room Locker (204)
Difficulty
Code
Easy
0131
Hard (1st)
0513 or 4011
Hard (alt)
4312
Vaccine Safe (506/507)
Difficulty
Code
Easy
104
Hard
253 or 325 or 531
Substation Voltage Puzzle (324)
Switch the big machine to manual control first, then enter a four-step Red/Blue sequence on each panel.
Panel
Sequence
Opens
15v–25v
Red, Blue, Blue, Blue
the Fuse room
115v–125v
Red, Red, Red, Blue
the heavy weapon room — Magnum or Grenade Launcher
Open both shutters before you pick anything up: the Live Selection fires on your first pickup.
Music Box Melody Puzzle (3rd Floor)
Six pins (A–F), each Up or Down. Solve it for the Chronos Chain. On the PC port and most worldwide PlayStation releases the answer is fixed: A Up, B Down, C Up, D Up, E Down, F Up. On many PlayStation regions the puzzle is randomized and the lid shows no letters (it only reads “An old music box. Its melody is out of order.”). The sequence varies from run to run — it is not limited to a short fixed list — so solve it by ear: play the correct tune from the right music box in the 1F Lobby, then at the 3F puzzle flip any pin whose chunk sounds out of tune until every note is clean.
Clock Tower Jewel Ball Puzzle (413)
Place the three jewel balls (Crystal, Amber, Obsidian) on the correct painting trays to set the center clock to 12:00. Stone effects: LEFT: Crystal = -1h, Obsidian = -2h, Amber = -3h. MIDDLE: Crystal = +1h, Obsidian = +2h, Amber = +3h. RIGHT: Crystal = +2h, Obsidian = +4h, Amber = +6h.
Starting Position
Ball Order (left to right)
VI (6 o’clock)
Crystal / Amber / Obsidian
V (5 o’clock)
Crystal / Obsidian / Amber
VII (7 o’clock)
Obsidian / Crystal / Amber
IX (9 o’clock)
Obsidian / Amber / Crystal
X (10 o’clock)
Amber / Crystal / Obsidian
XI (11 o’clock)
Amber / Obsidian / Crystal
Park Fountain Gear Puzzle (606)
Move the 4 gears (2 white, 2 black) to drain the water in 6 moves. Original: white pair on top, black pair on bottom.
Move
Action
1
Move left black gear to the top row
2
Move left white gear to the bottom row
3
Move bottom black gear to the top row
4
Move top white gear to the bottom row
5
Move right black gear to the right
6
Move left black gear to the right
Sewer Water Testing Puzzle (705/709)
Adjust valves A, B, and C to match the water flow. Four combinations (puzzle is random):
#
Valve A
Valve B
Valve C
1
Left x1
Left x2
Right x2
2
Right x1
Right x3
Left x4
3
Right x1
Right x1
Left x2
4
Left x4
Right x2
Left x2
Vaccine Synthesis Puzzle (510)
In the Virus Lab, put the Medium Base in the machine. In the first row, pull handles I and III. In the second row, pull handle A. This produces the Vaccine Medium.
Steam Room Switch Puzzle (707/703)
From the door: press switch 1, then switches 2 and 3, return to 1, then 4 and 5, return to 1, then 2 and 3 again.
Rail Cannon Batteries (716)
Push battery boxes in order: #1 first, then #2 and #3. Lure Nemesis into the cannon’s firing path. Two direct hits defeat him.
Key Items Reference
Item
Location
Use
Warehouse Key (Backdoor Key)
Save Room upstairs, Dario’s warehouse
Unlock the back door of the warehouse
Lighter Oil
Business Back Street, Uptown — on the bench by the stairs inside the storage shed (with the Shotgun)
Combine with the Lighter
Lighter
Black Jack’s Bar, Uptown — on the bench by the payphone (empty; must be fuelled)
Combine with the Lighter Oil, then burn the barricade rope in Uptown and light the Graveyard Cabin fireplace in the Park
Brad’s S.T.A.R.S. Card
Brad’s corpse, RPD courtyard — picked up as the Card Case; Check it in the inventory to get the card
Read it on the Main Hall reception computer for the evidence-locker code
Blue Gem (Sapphire)
Evidence Room, RPD — the small locker on the west wall
One of two gems for City Hall gate
Green Gem (Emerald)
Newspaper Office or Restaurant basement
Second gem for City Hall gate
Emblem Key (S.T.A.R.S. Key)
Evidence Room, RPD — the north locker, opened with the code from the reception computer
Unlock S.T.A.R.S. office
Lockpick
S.T.A.R.S. Office, RPD
Open simple locks throughout the game
Power Cable
Car boot, Parking Lot, Downtown
One of the four cable car repair items
Battery
City Hall (Bronze Compass on statue)
Activate the elevator to the Substation
Fuse
Substation (324) — behind the 15v–25v shutter
One of the four cable car repair items
Fire Hose
Wall hydrant, Hose Alley (unlocked with Wrench)
Extinguish fire near RPD to access new areas
Wrench
Seat in the Trolley, Downtown
Open Gas Station shutter; unlock Fire Hose
Machine Oil
Gas Station puzzle reward
Combine with Oil Additive to make Mixed Oil
Oil Additive
Sales Office Medical Storage Room
Combine with Machine Oil to make Mixed Oil
Mixed Oil
Combine Oil Additive + Machine Oil
Power the trolley
Crank (Square Crank)
Ground in new area after fire extinguished
Open shutter in Brad’s back yard
Winder Key
Picture on wall / left Save Room, Clock Tower
Combine with Chronos Chain to make Chronos Key
Bezel Key
Shelf in left Save Room, Clock Tower
Lower the ladder to the 3rd floor
Silver Gear
3rd floor beside Music Box
Combine with Gold Gear to make Chronos Gear
Chronos Chain
Music Box melody puzzle, 3rd floor
Combine with Winder Key to make Chronos Key
Chronos Key
Combine Chronos Chain + Winder Key
Unlock the green door on 1F
Gold Gear
Clock/jewel puzzle reward, Art Room
Combine with Silver Gear to make Chronos Gear
Chronos Gear
Combine Gold Gear + Silver Gear
Operate the main clock on the 3rd floor
Tape Recorder
Hospital 1F
Activate the hospital elevator
Sickroom Key
Hospital 4F Data Room
Unlock sickroom 402
Vaccine Base
Sickroom 4F freezer (code from doctor)
Combine with Vaccine Medium to make Vaccine
Vaccine Medium
Vaccine synthesis puzzle, Virus Lab B3
Combine with Vaccine Base to make Vaccine
Vaccine
Combine Vaccine Medium + Vaccine Base
Cure Jill’s T-virus infection
Park Gate Key (Main Gate Key)
Key hooks, locked room beside park
Open the main gate of Raccoon Park
Second Park Key (Graveyard Key)
Corpse, right path of park
Open the graveyard house door
Iron Pipe
House in the graveyard
Break fireplace sticks to create a hole
Park Key (Rear Gate Key)
Through the fireplace hole
Open the rear gate of Raccoon Park
Facility Key
Dead Factory 2F Save Room shelf
Open factory doors; reprogram at the water-puzzle machine to open the Rocket Launcher locker
System Disk
Dead Factory 2F laboratory
Open the treatment room lock in the dump area
Water Sample
Dead Factory 1F
Used in the water testing machine to unlock dump area
Card Key
Corpse in dump area after Nemesis fight
Activate elevator; open red shutter
Item Combinations: Lighter + Lighter Oil = fuelled Lighter. Oil Additive + Machine Oil = Mixed Oil. Chronos Chain + Winder Key = Chronos Key. Gold Gear + Silver Gear = Chronos Gear. Vaccine Medium + Vaccine Base = Vaccine. EAGLE Parts A + B = EAGLE 6.0. M37 Parts A + B = Western Custom.
All 30 Files — Exact Locations
The numbering is the in-game file list order, and it also happens to be the natural route order. Two things trip people up: you have to read each file to the end for it to register, and three of them sit behind gates that are easy to walk past.
The three that catch everyone. • File 8 is in Zigzag Alley in Uptown, behind a Lockpick door — you take it on the way out of the police station, not on the later Uptown return. • File 9 is in the Restaurant in Downtown. It is not in Uptown and has nothing to do with Bar Jack. • File 16 is in the warehouse container in the game’s first room — but Dario is inside it on your first visit, so it only becomes reachable on the Uptown return, and it is lost forever once the cable car leaves.
#
File
Where
What gates it
1
Game Instructions A
Jill’s starting inventory
—
2
Game Instructions B
Jill’s starting inventory
Read #1 first
3
Clock Tower Postcard
Uptown — Black Jack’s Bar, on the bar counter
—
4
Photo A
Uptown — Barricaded Back Passage, on the body where the barricade stood
Burn the rope with the Lighter
5
Marvin’s Report
R.P.D. 1F — West Office, on Marvin’s body
—
6
David’s Memo
R.P.D. 1F — Dark Room, on the centre table
—
7
Fax From Kendo Gun Shop
R.P.D. 2F — S.T.A.R.S. Office, on the fax machine
S.T.A.R.S. Key
8
Mercenary’s Diary
Uptown — Zigzag Alley, on the dead mercenary in the north corner
Lockpick — the SE door of Book Shop Street
9
City Guide
Downtown — the Restaurant (Grill 13), on a table near the phone box
—
10
Photo B
Downtown — Press Office Lobby, on top of the payphone
—
11
Photo C
Downtown — Press Office, on the main table
—
12
Reporter’s Memo
Downtown — Press Office, beside the radiator
—
13
Mechanic’s Memo
Downtown — Cable Car rear carriage, on the dashboard
Read it before returning to Uptown
14
Manager’s Report
Uptown — Sales Office, on the table by the computer
Fire Hose, to clear the Forked Alley
15
Business Fax
Uptown — Sales Office, in the filing cabinets
Read before taking the Oil Additive
16
Dario’s Memo
Uptown — the Warehouse, inside the container on top of the boxes
Return trip only — Dario occupies it at first
17
Operation Instruction
Clock Tower — Main Hall, in the dead mercenary’s hand
—
18
Art Picture Postcard
Clock Tower — Small Library, on the lamp table
—
19
Mercenary’s Pocketbook
Clock Tower — Clock Room, dead mercenary in the SE corner
Chronos Key
20
Director’s Diary
Hospital 1F — Doctor’s Lounge, by the dead doctor
Carlos’s section
21
Photo D
Hospital 4F — Data Room, on the NE desk with the Sickroom Key
—
22
Medical Instruction Manual
Hospital B3 — Experiment Room, on the desk opposite the synthesiser
—
23
Photo E
Park — Park Office, on the table by the typewriter
Lockpick
24
Written Order to the Supervisors
Park — Forest Path, dead mercenary in the north clearing
—
25
Supervisor’s Report
Park — Secret Communications Room, on the table
Lighter + Iron Pipe on the cabin fireplace
26
Fax From Headquarters
Park — Secret Communications Room, on the map board
Same room
27
Manager’s Diary
Dead Factory 2F — Resting Room, on the north table
—
28
Security Manual
Dead Factory 1F — Monitoring Room, on the bench
—
29
Incinerator Manual
Dead Factory 1F — Emergency Tunnel, on the wall by the ladder
Card Key
30
Classified Photo File
Dead Factory 1F — Car Yard, on the floor outside the Rail Cannon Room
—
File 31 — Jill’s Diary
Jill’s Diary is not placed anywhere in the world. Collect and read all 30 files in a single playthrough and it appears — taking slot 1 in the file list, replacing Game Instructions A. It is Jill’s personal account of the two weeks around the outbreak.
Two things that cost people the run. • Read each file to the end. Opening one and backing out with the skip button may not flag it — scroll through to the final page. • Follow the numbered order. It costs nothing and it protects you from the two places where the route genuinely forces a detour: File 8 (Lockpick, then Zigzag Alley, before you head Downtown) and File 16 (the warehouse backtrack before you board the cable car).
The Mercenaries: Operation Mad Jackal
Unlocked after completing the main campaign. Play as one of three UBCS mercenaries trying to reach the warehouse from the cable car before a bomb detonates. Kill enemies and rescue survivors to earn time and money. Money earned purchases infinite ammo weapons for the main campaign.
Playable Characters
Character
Weapons
Items
Difficulty
Mikhail Victor
Shotgun, Magnum, Rocket Launcher
Shotgun Shells (21), Magnum Bullets (10), Mixed Herb (G+R+B)
Easiest — powerful loadout but only 1 healing item
Carlos Oliveira
Assault Rifle, EAGLE 6.0
HG Bullets (90), 3x Mixed Herb (G+R+B)
Medium — versatile but rifle can’t reload
Nicholai Ginovaef
Handgun, Knife
Blue Herb, 3x First Aid Spray
Hardest — only handgun and knife. 8x bonus for knife kills.
Survivors (6)
Rescue survivors before their time runs out. Each gives bonus time and items:
Survivor
Location
Alive Until
Dario Rosso
Service Shop (321)
2 minutes
Brad Vickers
Restaurant Basement (307)
4 minutes
Marvin Branagh
Substation Control (324)
6 minutes
Promo Girl
Newspaper 3F (312)
9 minutes
Mercenary #1
Office Storage (120)
12 minutes
Mercenary #2
Bar Black Jack (109)
14 minutes
Enemy Time & Cash Bonuses
Enemy
Time Bonus
Cash
Small Spider
0 sec
$0
Sliding Worm
0 sec
$0
Crow
2 sec
$2
Zombie
3 sec
$5
Zombie Dog
4 sec
$6
Giant Spider
4 sec
$7
Drain Deimos
5 sec
$8
Brain Sucker
6 sec
$10
Hunter Beta
6 sec
$10
Hunter Gamma
6 sec
$10
Nemesis A (KO)
10+20 sec
$40
Nemesis B (defeat)
120 sec
$250
Kill Combo Multiplier
Kill
Multiplier
1st kill
1x
2nd kill
1.5x
3rd kill
2.5x
4th+ kill
3.5x
Mercenaries Rewards (Shop)
Item
Cost
Assault Rifle (Infinite Ammo)
$2,000
Gatling Gun (Infinite Ammo)
$3,000
Rocket Launcher (Infinite Ammo)
$4,000
Infinite Ammo (ALL Weapons)
$9,999
Best Strategy: Play as Mikhail for the easiest time. Save your Rocket Launcher for Nemesis B (120 second bonus, $250). Rescue all 6 survivors and aim for $10,000+ to buy all rewards.
Nicholai Knife Bonus: Nicholai gets an 8x multiplier for knife kills. The key to high scores with Nicholai.
Epilogues & Unlockables
Epilogues (8)
Complete the campaign 8 times on the same save file to unlock all 8 epilogues. They are always earned in the same order. After the 8th (HUNK), a special screen appears.
#
Character
Summary
1
Jill Valentine
Jill escapes Raccoon City and decides to join Chris Redfield in Europe.
2
Chris Redfield
Chris is training at Umbrella’s European base, preparing for the final confrontation.
3
Barry Burton
Barry is supporting his family while secretly helping Jill and Chris.
4
Leon Kennedy
Leon is working underground to take down Umbrella, having survived RE2.
5
Claire Redfield
Claire continues her search for her brother Chris after the events of RE2.
6
Sherry Birkin
Sherry is in government protective custody after the Raccoon City incident.
7
Ada Wong
Ada survived the RE2 events and is continuing her secret mission.
8
HUNK
The mysterious USS agent survives yet again, delivering samples to Umbrella.
Costumes (5)
Unlocked based on final rank. The Boutique Key (earned by completing the game once) gives access to the boutique in Uptown where costumes can be changed.
Costume
Description
Jill’s RE1 S.T.A.R.S. Uniform
Classic S.T.A.R.S. tactical outfit from RE1
Regina’s Costume
Outfit from Dino Crisis (another Capcom game)
Biker Outfit
Leather biker jacket and pants
Disco Suit
Retro disco-style outfit
Police Mini-Skirt Uniform
Alternate police uniform
Rank System
Your final rank is determined by a point system based on clear time, saves, and healing:
Points
Rank
Costumes Unlocked
270–300
A
All 5 costumes
230–260
B
4 costumes
180–220
C
3 costumes
120–170
D
2 costumes
50–110
E
1 costume
0–40
F
None
Rank A Requirements: For a perfect 300 points: finish in under 2:30 (100 pts), with 0 saves (100 pts), and heal 1500% or less (100 pts).
Defeat Nemesis 7th time (Hard, 1st playthrough) OR Easy mode start
Infinite Bullets item
Defeat Nemesis 7th time (Hard, 2nd+ playthrough)
Jill’s Diary
Collect all 30 files and read every page
Assault Rifle (Infinite)
Buy in Mercenaries ($2,000)
Gatling Gun (Infinite)
Buy in Mercenaries ($3,000)
Rocket Launcher (Infinite)
Buy in Mercenaries ($4,000)
Infinite Ammo (All Weapons)
Buy in Mercenaries ($9,999)
100% Completion Checklist
Weapons (12)
Knife
Hand Gun (M92F Custom)
Merc’s Handgun (SIGPRO SP2009)
EAGLE 6.0 (NEMESIS 1 + 2, Hard)
Shotgun (Benelli M3S)
Western Custom (NEMESIS 4 + 5, Hard)
Grenade Launcher (Hk-p)
Magnum (S&W M629C)
Mine Thrower (Hard only, Clock Tower)
Assault Rifle (M4A1)
Rocket Launcher (Mercenaries)
Gatling Gun (Mercenaries)
Files (30)
File 1 collected & fully read
File 2 collected & fully read
File 3 collected & fully read
File 4 collected & fully read
File 5 collected & fully read
File 6 collected & fully read
File 7 collected & fully read
File 8 collected & fully read
File 9 collected & fully read
File 10 collected & fully read
File 11 collected & fully read
File 12 collected & fully read
File 13 collected & fully read
File 14 collected & fully read
File 15 collected & fully read
File 16 collected & fully read
File 17 collected & fully read
File 18 collected & fully read
File 19 collected & fully read
File 20 collected & fully read
File 21 collected & fully read
File 22 collected & fully read
File 23 collected & fully read
File 24 collected & fully read
File 25 collected & fully read
File 26 collected & fully read
File 27 collected & fully read
File 28 collected & fully read
File 29 collected & fully read
File 30 collected & fully read
Jill’s Diary unlocked (hidden 31st file)
Nemesis Drops (7) — Hard Only
NEMESIS 1 — R.P.D. Courtyard → EAGLE Parts A
NEMESIS 2 — West Stairway 1F → EAGLE Parts B
NEMESIS 3 — Grill 13 or the Press Office → First Aid Box
NEMESIS 4 — outside the Sub Station or the Forked Alley → M37 Parts A
NEMESIS 5 — Three Points Street → M37 Parts B
NEMESIS 6 — Clock Tower balcony → First Aid Box
NEMESIS 7 — Clock Tower interior, second form → Assault Rifle (1st clear) / Infinite Bullets (later clears)
Epilogues (8)
Epilogue 1: Jill Valentine (complete game 1x on same save)
Epilogue 2: Chris Redfield (complete game 2x on same save)
Epilogue 3: Barry Burton (complete game 3x on same save)
Epilogue 4: Leon Kennedy (complete game 4x on same save)
Epilogue 5: Claire Redfield (complete game 5x on same save)
Epilogue 6: Sherry Birkin (complete game 6x on same save)
Epilogue 7: Ada Wong (complete game 7x on same save)
Epilogue 8: HUNK (complete game 8x on same save)
Costumes (5)
RE1 S.T.A.R.S. Uniform
Regina’s Costume
Biker Outfit
Disco Suit
Police Mini-Skirt
Mercenaries Mode
Complete with Carlos Oliveira
Complete with Mikhail Victor
Complete with Nicholai Ginovaef
Purchase Assault Rifle (Infinite) — $2,000
Purchase Gatling Gun (Infinite) — $3,000
Purchase Rocket Launcher (Infinite) — $4,000
Purchase Infinite Ammo (All) — $9,999
Item Combinations
Combine Lighter + Lighter Oil = fuelled Lighter
Combine Oil Additive + Machine Oil = Mixed Oil
Combine Chronos Chain + Winder Key = Chronos Key
Combine Gold Gear + Silver Gear = Chronos Gear
Combine Vaccine Medium + Vaccine Base = Vaccine
Combine EAGLE Parts A + B = EAGLE 6.0
Combine M37 Parts A + B = Western Custom
Miscellaneous
Experience all Live Selections (both paths)
See both endings (Carlos & Jill / Barry & Carlos & Jill)
Obtain Boutique Key (complete game once)
Complete on Easy and Hard difficulties
Achieve Rank A (under 2:30, 0 saves, heal 1500% or less)
True 100%: A true 100% completion requires at minimum 8 playthroughs on the same save file to unlock all epilogues, plus extensive Mercenaries mode play to earn $9,999 for all infinite ammo rewards.