DANTEMissions 1 to 6the city, the catacombs and the harbour
The opening third gives you the Aerial Heart, which unlocks a large amount of the game's optional content, and the Shotgun, which is the weapon most of Dante's early fights actually want. Seven secret rooms are in this block.
Mission 1the hunter of dark blood will realise his destiny
1
Break the statues and pillars down the opening street for red orbs, then take the alley to the left of the building and jump onto the train car for more.
Watch Mission 1
Mission 1 — the ruined city streets
2
Clear the Agonofinis, then the Puias. Once the Puia fight ends, look for the large wooden door set between two buildings — SECRET ROOM 1.
3
Just past that door a wall blocks the way. Double-jump over it, then turn around and go back into the small door behind you for SECRET ROOM 2.
4
Along the river walkway, pick up ORB Blue Orb Fragment 1 by wall-running at the archway, and ORB Blue Orb Fragment 2 behind the secret-room area.
Fragment 1 — near the archway
5
EASY TO MISS ORB Blue Orb Fragment 3 is down in the waterway itself, off the main path.
Fragment 3 — down in the waterway
6
Take the ORB Gold Orb in the middle of the path. Grabbing it seals you in with encapsulated demons — kill every one of them to break the seal.
7
Use the STATUE Divinity Statue, then a cutscene drops you into the arena. Clear the wave to earn the key, open the gate, and run the road to the end.
Mission 2the aerial heart will give the hunter the chance to reach the skies
1
Slash the mask on the hallway wall to open it, then keep breaking masks and statues to open each wall in turn.
Watch Mission 2
Mission 2 — the catacombs
2
Stand on the glowing floor panel and destroy the floating spheres above you.
3
ORB Blue Orb Fragment 4 is immediately after the spheres. Two more are ahead: ORB Fragment 5 in the Savage Golem pit and ORB Fragment 6 beside the coffins.
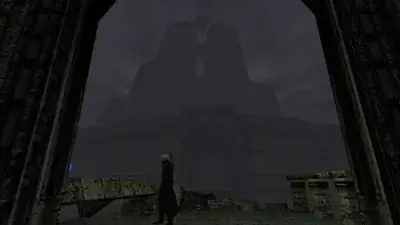
Fragment 4 — just past the sphere room
4
EASY TO MISS Two of the coffins in this mission are secret rooms: SECRET ROOM 3 is the coffin at the red striking stone, and SECRET ROOM 4 is the coffin to the left of the blue striking globe. Nothing marks them — you have to inspect the coffins themselves.
5
Fight through the Pyromancers and Savage Golems, then the pair of Goatlings at the end. They are slow and telegraph their charges — double-jump and hit them from above.
6
HEART Aerial Heart is the mission reward. It gives you flight during Devil Trigger and it gates a large amount of what follows — several later hearts and orbs cannot be reached without it.

The Aerial Heart — flight in Devil Trigger
Mission 3the key to the next journey begins and ends with death
1
Run the street and take the first left turn —
ORB Blue Orb Fragment 7 is on the balcony at the turn.
Watch Mission 32
Back at the fork, kill the Goatling and stay clear of its blue flames.
3
Hug the left wall until you reach a short set of red double doors beside a lit lamp — SECRET ROOM 5.
4
Enter the grand door with the red orb in front of it. BOSS Orangguerra: shoot it from range and keep moving to dodge the leaps; when it climbs onto the ceiling, get clear and punish the landing. Attacking its arms shortens the fight considerably.
5
Take the Station Key from the corpse and open the two-angel door to finish.
Mission 4she has many arms but only one heart, deep in the water
1
The
first door that comes into view on your right at the very start of the mission is
SECRET ROOM 6. Take it before you go anywhere else.
Watch Mission 4
Mission 4 — the waterfront and the docks
2
Round the corner for ORB Blue Orb Fragment 8, then kill the Msiras and slash through the boarded entrance onto the docks.
3
Four ledges on the left hold ORB Blue Orb Fragment 9. You will also see a floating Seal Sphere here — leave it alone for now.
4
ORB A whole Blue Orb is on the stone blocks — a full health segment rather than a quarter of one.
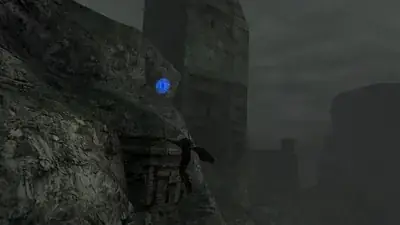
A whole Blue Orb sits on the stone blocks
5
Through the door at the end of the path, clear the Agonofinis and climb the stairs. HEART Quick Heart is up here, with a ORB Gold Orb above the stand.

The Quick Heart — faster movement in Devil Trigger
6
Cross to the far side of the docks. The garage-style door past the iron gate is SECRET ROOM 7.
7
Now go back and slash the Seal Sphere to open the gate. BOSS Jokatgulm: cut the bases of the tentacles until they retract and the poison gas stops, then hit the exposed neck. Back away the moment her protective dome starts expanding. Devil Trigger makes this fight very short.
8
EASY TO MISS WEAPON The Shotgun is in the right-hand garage after the boss. It is the single biggest upgrade to Dante's early game — do not walk out without it.
Mission 5the hunter must learn the value of options
1
This is the longest mission in Dante's campaign and most of it is optional. Kill Freki and Geri in the sealed underpass, then head up the ramp into the arena for the Blood Goats and Puias.
Watch Mission 5
Mission 5 — the highway, the tower and the rooftops
2
Jump into the open doorway of the building on the right — SECRET ROOM 8. Out on the sunken highway, ORB Blue Orb Fragment 10 is on the long ledge at the right corner of the broken road.
3
Orangguerra returns here, but the fight is optional — you can simply jump the tanker truck. The door to the left of the tanker's rear is SECRET ROOM 9, and taking it skips the ape entirely.
4
Jump the tanker cab into the three Infested Tanks — one in front, one far left, one up the right ramp. Get right up against them: at point-blank range neither the cannon nor the flamethrower can touch you, and you can simply melee them down.
5
The brown door in front of the burning oil truck, once the tanks are dead, is SECRET ROOM 10. The fenced area beside it holds HEART Offence Heart, which raises your Devil Trigger attack power.

The Offence Heart — more Devil Trigger damage
6
Enter the collapsing building and climb the interior walkways as the fire rises, with the Infested Chopper harassing you. If you have the Aerial Heart charged you can fly the whole climb instead.
7
EASY TO MISS ORB On the first skyscraper, the window-cleaner's lift on the side of the building holds a whole Blue Orb. It is very easy to fly straight past.
8
Follow the red orbs across the gap. ORB A Gold Orb is in the right alcove, and a red orb cache sits off the left girder. ORB Blue Orb Fragments 11 and 12 are along this stretch.
9
Climb the last skyscraper to the rooftop. BOSS Infested Chopper: melee is close to useless. Stay grounded, keep Ebony & Ivory firing, use the pillars as cover, and side-dodge just before the rockets land.
Mission 6its extremities reach the sky, its intestines reflect the colour of darkness
1
A pure boss mission with no collectibles. Walk to the centre of the plaza and the building itself animates.
2
BOSS Nefasturris. Rubble blocks melee, so this is a gun fight. It uses one wide horizontal sweep — move against the direction it travels — or a spread of small exploding beams, which has visible gaps to stand in. Shoot the Nefasvermis worms off as they appear.
3
When the head detaches as Nefascapitas, attack the exposed spine stump behind it while it is stationary. It adds energy clouds and laser strings but the stump stays the target.
DANTEMissions 7 to 12the factory, the underground and the Plutonian
The middle block is where Dante's arsenal fills out: Vendetta, Merciless, the Missile Launcher and the Submachine Guns are all here, along with the Flame and Healing Hearts. Seven more secret rooms.
Mission 7a meeting of power shall end in conflict
1
Drop into the main room and clear everything around the central tower, then cross and hop onto the pipe to ride it outside.
Watch Mission 7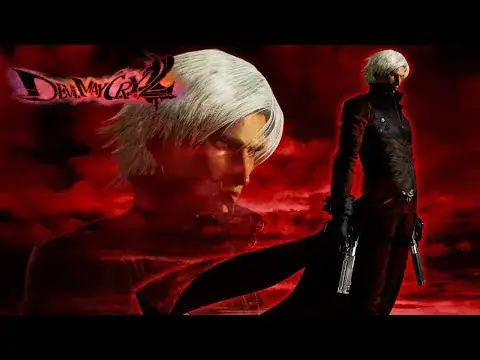
Mission 7 — the factory and the oil field
2
Through the double doors, hit the Seal Sphere. There is a Devil Trigger refill at the base of the spiral stair.
3
HEART Flame Heart: charge Devil Trigger, equip the Aerial Heart, and fly straight up the central shaft. Without flight you cannot get it.

The Flame Heart — needs the Aerial Heart to reach
4
Out the lower door, deal with the Flambats and hop the small platform over the lava pit. WEAPON Vendetta is in the room on the left.
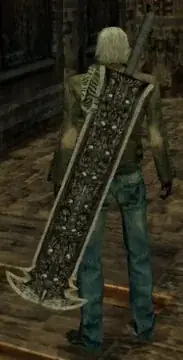
Vendetta — in the room across the lava
5
ORB A whole Blue Orb is on a corner platform reached off the support beams, and a Gold Orb sits between the four silos.
6
Cross the lava river and inspect the right corner on the lowest level for SECRET ROOM 11. There is also a Secret Mission entrance hidden behind the crates against the wall by the elevator.
7
Ride the trolley into the oil field. At the second elevator, check the door with a short stair on the left before the red-lit exit — SECRET ROOM 12, with ORB Blue Orb Fragment 13 inside.
Mission 8the challenger shall rise, while the king evades
1
A single arena, no collectibles. BOSS Furiataurus: it spins its hammer into a tornado that slowly drags you in before it strikes — break away and shoot rather than trying to out-trade it. After it jumps it sends horizontal fire waves, and it raises walls of flame. Fight the whole thing at range.
Mission 9the hunter will discover the purity of speed
1
The factory starts collapsing the moment you enter. Drop down the shaft collecting orbs on the way.
Watch Mission 9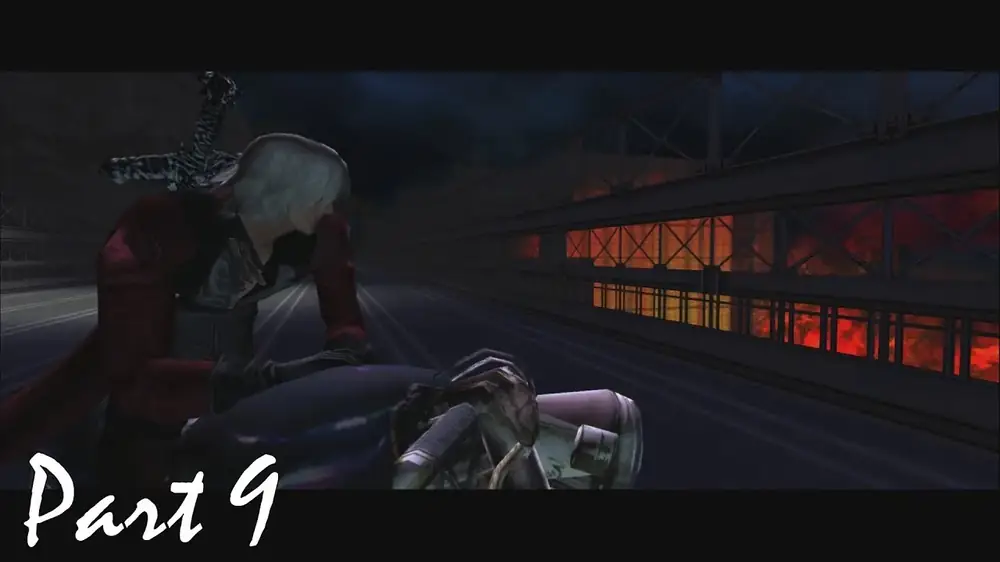
Mission 9 — the collapsing factory and the plane
2
At the monorail fork take the right path and descend the spiral stair. There is an orb dispenser in the central area — farm Devil Trigger here, then fly to the top ledge of the spiral.
3
After the cutscene room, hit three floating Seal orbs to open the exit: one near the entrance, one by the four silos with a red orb cache in the middle of them, and one under the locked red door.
4
EASY TO MISS ORB Blue Orb Fragment 14 is on the pipes near those orb switches. It is the most awkward fragment in Dante's campaign — you need a Devil Trigger flight launched from the roof corner.
5
WEAPON Board the plane and break the crates for the Missile Launcher. After the crash, exit through the fan blades in the nose.
Mission 10two lights will open the sealed door
1
Run the left and right wall alleys — ORB a Blue Orb Fragment is in the right one. The pillar nearest the door you have to pass through is SECRET ROOM 13.
2
Equip the Quick Heart and enter Devil Trigger, then slash the two Trigger Stones on opposite sides of the area fast enough to keep both lit — those are the two lights. That exposes the Seal Sphere.
3
Hit the Seal Sphere to open the centre hatch. You are pulled down into Savage Golems and Demonochorus.
4
BOSS Noctpteran: the moth flies too high for swords, so use guns. Destroy the eggs on sight before they hatch. If a Larva swallows you, rotate the stick to break out — and note the Larva keep fighting after the moth dies.
5
Stand in the white beam and press the action button to teleport back up, then drop down the hatch to finish.
Mission 11he wields a spear and is obeyed by the wolves
1
The
door marked by a green orb at the end of the staircase is
SECRET ROOM 14.
Watch Mission 11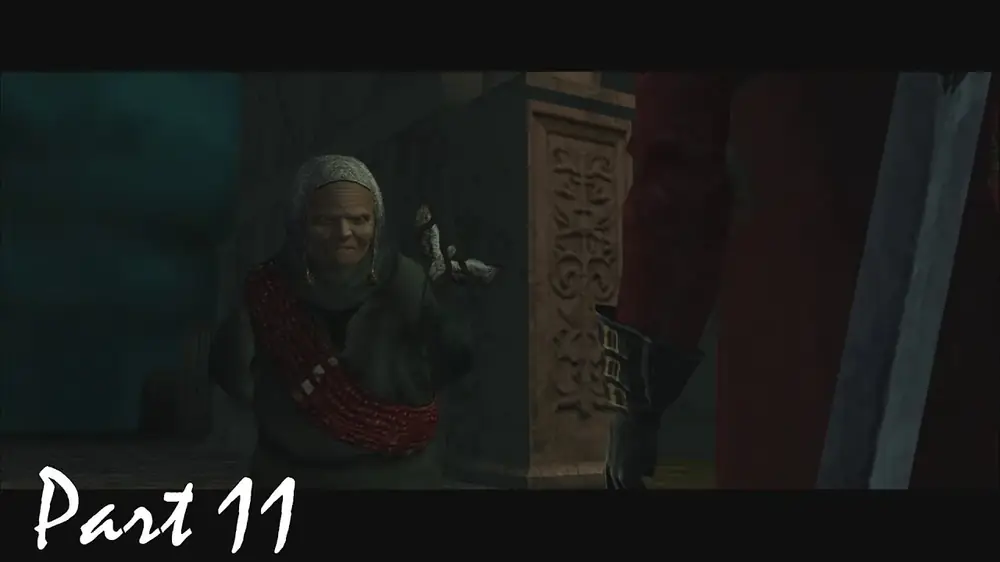
Mission 11 — the demonic underground
2
Cross the flower-tiled floor, turn left and go down the stairs through the door. Drop to the bottom and kill the Gbusmsira, then hit the blue crystal on the central pillar — the whole room rotates and opens an exit.
3
Out through the window structure to the orb dispenser. Downhill a rolling ball chases you; it cannot hurt you but it knocks you around, and the Quick Heart makes the run trivial.
4
Wait for the crushing press to rise, then destroy the door beneath it. Jump the hole above Dante's head and climb to the altar.
5
WEAPON Merciless is on the altar, with ORB a Blue Orb Fragment beside it. SECRET ROOM 15 is the largest ledge in this pillar-jumping room, opposite the entrance.

Merciless — on the altar
6
WEAPON Drop into the new area, scale the wall and take the tunnel to the pink-tile room for the Submachine Guns — the upper ledge with the red pillars, reachable by flight.
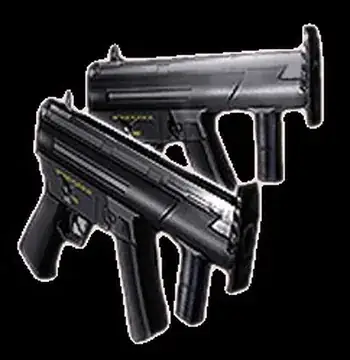
The Submachine Guns — up on the red-pillar ledge
7
HEART Healing Heart: hit the next blue crystal, ride the red tile up and through the door, then break the three regenerating statues. Weaken all three first and finish them in quick succession — Quick Heart, Devil Trigger and Merciless together will do it.

The Healing Heart — from the three sarcophagi
8
BOSS Bolverk, flanked by Freki and Geri. Kite him and chip with guns; dodge his slash strings and his lunge, and never stand inside his blue disintegration cloud. Killing the wolves first is optional.
Mission 12when the hunter and the protector meet
1
Turn around immediately and go back out through the door you entered by —
SECRET ROOM 16.
Watch Mission 12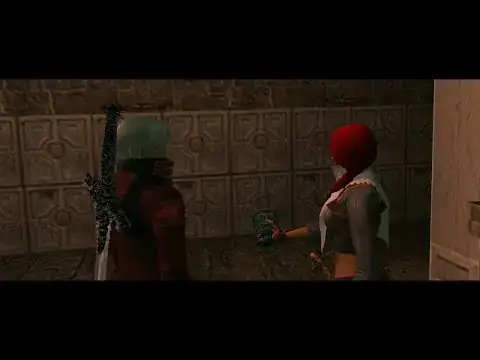
Mission 12 — the circular chamber
2
The chamber holds a large sphere ringed by purple octahedrons with endlessly respawning Sargasso. Ignore the skulls entirely and destroy every octahedron — that is what opens the trap door.
3
Drop through and take the large green orb below. In the corridor, smash the casks for red orbs, then break the last cask on the left and inspect the alcove wall for SECRET ROOM 17. ORB A Blue Orb Fragment is along this corridor.
4
Cutscene: Lucia gives Dante the Arcana. BOSS Plutonian: stay about two floor tiles outside the ball-and-chain arc and use the Missile Launcher, side-dodging the laser beams. When it starts spinning the chain and deflecting your shots, close in to interrupt it.
5
Take the elevator up for the cutscene with Matier.
DANTEMissions 13 to 18Arius, the tower and Argosax
The last block is mostly boss fights, but it holds the two hardest collectibles in the campaign: the Chrono Heart, which only appears if you know the trick, and the Frost Heart deep in Arius's tower.
Mission 13the hunter will learn to feel with a leap of faith
1
A single chamber, no collectibles. BOSS Arius, first encounter: ignore the minions he summons. Strafe side to side through his magnum fire; when he throws the spiked shadow orbs, back off and shoot them; when he teleports, sprint to where he reappears and melee him hard.
Mission 14four lights will open the door to the future and the past
1
This is the Mission 1 town, gone demonic. From the start go left along the wall to the
lower of two tall wooden doors before the Divinity Statue —
SECRET ROOM 18.
Watch Mission 14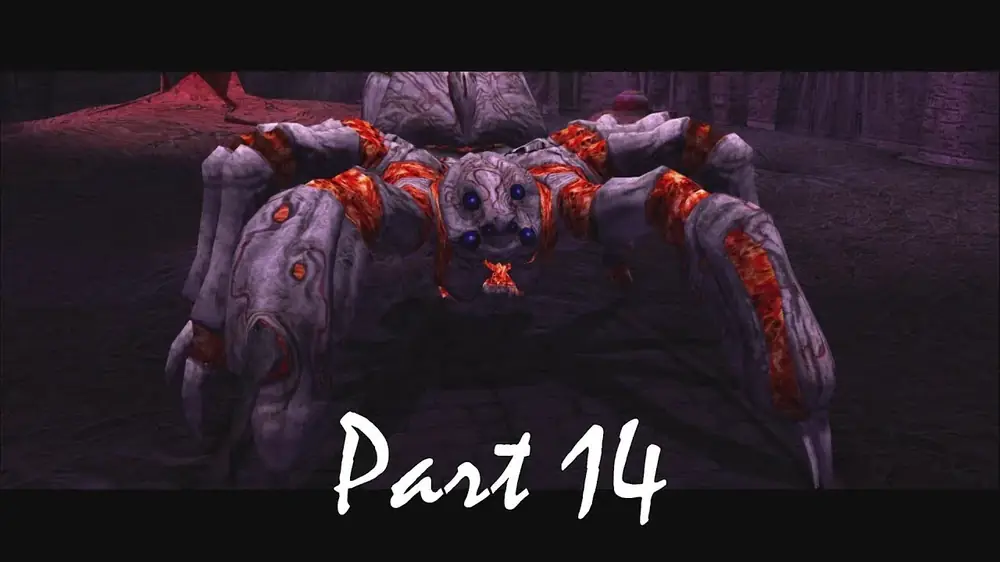
Mission 14 — Mission 1’s town, transformed
2
Back at the spawn, take the left-wall alleyway and jump the brick structures for ORB Blue Orb Fragment 17. ORB Fragment 18 is also in this mission.
3
Seal Sphere 1: clear the mob below, then hit the sphere with an air combo. Go through the left door with the blood orbs.
4
Seal Sphere 2: after the Blood Goats, get onto the rooftops and hop to the upper ledge.
5
Seal Sphere 3: past the Msira family, go through the hole high in the wall ahead, clear the area, and the sphere is behind a concrete railing up short steps.
6
Seal Sphere 4: fight the Savage Golems and Demonochorus, then fly straight up the middle of the webbed cocoon door for ORB a Gold Orb.
7
Return to Seal Sphere 1's door, now open. BOSS Phantom: jump-attack the head and the abdomen, and bait a claw swipe by hitting once then retreating. Dodge when its head touches the ground with steam rising, sidestep the fire blasts, and jump the tail sweep. Devil Trigger gives you hyper-armour for guaranteed damage windows.
Mission 15they swarm like clouds and seek the hunter's dark blood
1
Strike the central eye to start. You then have three minutes to clear mixed waves — Agonofinis, Mortifinis, Terrofinis, Msiras, Blood Goats, Puias and Goatlings.
Watch Mission 15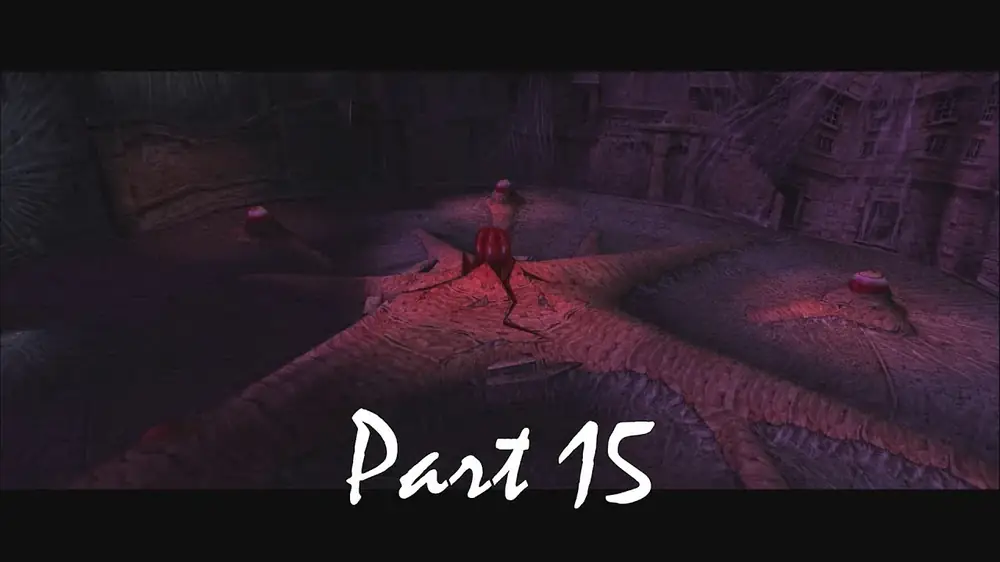
Mission 15 — the wave arena
2
EASY TO MISS HEART Chrono Heart. Look for a greyish lump on the ground and launch enemies into it with Stinger or High Time. The heart only appears if you do this — clearing the waves normally gives you nothing, which is why this is the item most Dante players finish the game without.
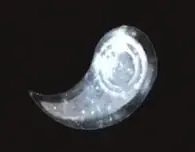
The Chrono Heart — knock enemies into the grey mound
3
Step into the centre to finish the mission.
Mission 16chaos ripens as the hunter runs toward the sky
1
Turn around and go up the stairs to the second corner, then jump for a red orb cache.
ORB A
Blue Orb Fragment is on the starting room's upper balcony.
Watch Mission 16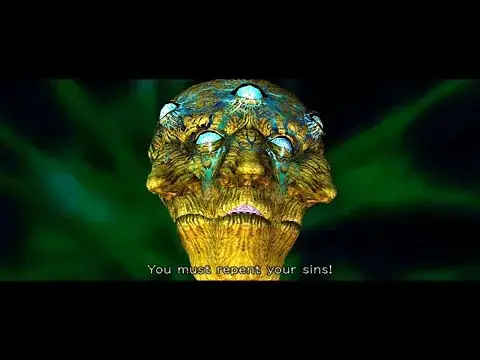
Mission 16 — Arius’s tower
2
Through the grey door, kill the Blood Goats to release the elevator, then ride it through a heavy enemy barrage — an excellent place to farm a Stylish rank.
3
Past the Statue of Time take the left path to a three-way junction. Straight on through the door, dodge the purple balls, and take Sacrilege 1.
4
Back at the junction, go right down the new hallway, clear it, and take Sacrilege 2. SECRET ROOM 19 is the ground-floor door directly beneath the Sacrilege in the blob-dodging room.
5
Place the Sacrilege in the lion doors, follow the red orb trail to the Abyss Goat and Demonochorus room, and winning gives you the third Sacrilege. ORB A whole Blue Orb is in this mission.
6
HEART Frost Heart: through the maze to the room with four goat statues and a Seal Stone. Win that fight and the heart is yours.

The Frost Heart — behind the four-goat-statue fight
7
Take the southern elevator, which is packed with enemies, then the final door. BOSS Trismagia: it splits into three faces — black casts thunder balls and rings, white throws ice rocks and pillars and a freezing breath, red uses fireballs and explosions. Only one is the real head at a time, so test-hit each until one actually loses health, then burn it down. Keep your distance from the breath attacks and learn the safe spot for the united form's beam.
8
EASY TO MISS After the boss, hop onto the chair and inspect upward for SECRET ROOM 20 — the last one in Dante's campaign.
Mission 17evil must be opposed and destroyed
1
Run the hallway, watch Arius absorb Argosax's power, and fight.
BOSS Arius, empowered: turn lock-on
off and steer the camera manually — lock-on works against you in this fight. Watch which way his black-orb form flies to predict which throne he reappears at, then punish with melee.
Watch Mission 17
Mission 17 — the throne chamber
2
His secretaries fight with Lucia's moveset and long uninterruptible combos. Killing them does not drain his health, but they drop White Orbs, so deal with them only when they crowd you.
Mission 18the hunter shall surpass all who came before him
1
BOSS Argosax the Chaos is a composite that cycles through the game's earlier bosses — the Nefasturris head, Orangguerra, Phantom, a Jokatgulm tentacle, Furiataurus and Griffon. Kill the Nefasturris and Orangguerra parts first. Stay at gunfighting range, find each part's blind spot, and use the green orbs around the edge of the island.
2
BOSS The Despair Embodied alternates a sword form and a whip form. It is invulnerable while it strolls, teleports behind you — dodge laterally — rains swords, sends seeking blades and homing beams, and drops overhead electricity you simply outrun. Fight patiently for single-hit windows; Majin Form is your panic button.
LUCIAMissions 1 to 7the cathedral, the harbour and the first underwater levels
Lucia walks the same city as Dante but from the opposite end, and her route is gated differently. Seven of her ten secret rooms are in this block, and all ten of hers hold a Blue Orb Fragment.
Mission 1toward the south, the protector will find the time
1
Break the chimneys for orbs and use the orb dispenser. The white-handed sealed door needs
45 red orbs collected from this area — rooftops, pipes and statues all pay out.
Watch Lucia Mission 1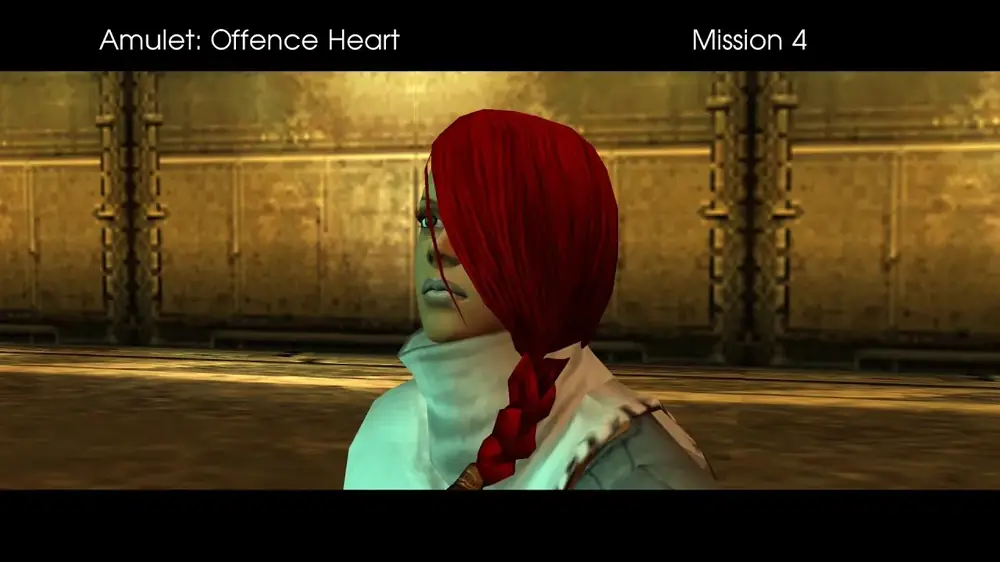
Lucia Mission 1 — the same town, the other end
2
Through the small doorway on the left, clear the Agonofinis arena, then double-jump to the window opening high in the wall.
3
Drop into the river by the Divinity Statue and inspect the sewer grate — SECRET ROOM 1. Jump left onto the roof by the statue for ORB a Blue Orb Fragment.
4
Take the rooftops or the main road past the Statue of Time. At the three-way intersection go right and cross the bridge, then melee down the Savage Golem in the sealed area.
5
Wall-leap the iron door, hop the gateway and jump again to the high platform for ORB another fragment. Two more are on the ledge near the item statue and on the balcony.
6
Check the lion-head statue to the left of the big double doors — SECRET ROOM 2 — then go in to finish.
Mission 2the aerial heart will give the protector the chance to reach the skies
1
Hit the blue crystal on the second floor. Two Goatlings drop — kill them to free the shrine. HEART Aerial Heart is the reward.

Lucia Mission 2 — the cathedral
2
Clear the Agonofinis and charge Trigger on the corner platform, then fly up to the next ledge and climb the twisting stairs.
3
WEAPON On the single-statue platform, break the statue overhead for the Darts, with ORB a Blue Orb Fragment beside them.
4
Ride the large circular disc to the next room, hit the crystal in mid-air and kill the Puias. Fly up via the lowered disc, run the right catwalk and jump to the door — ORB a whole Blue Orb sits beside the boss arena.
5
BOSS Tartarussian: side-dodge the thrown steel balls, chip it with Darts from range, then close and melee during Trigger and retreat before it recovers. Melee is faster here than staying at range the whole fight.
6
Take the Arcana Spada from the small room and exit through the left door onto the roof.
Mission 3she has many arms but only one heart
1
Navigate the cracked streets dodging the flame jets, kill the Agonofinis and the Goatling, then head into the subway.
Watch Lucia Mission 32
WEAPON Klyamoor is at the far end of the subway section.
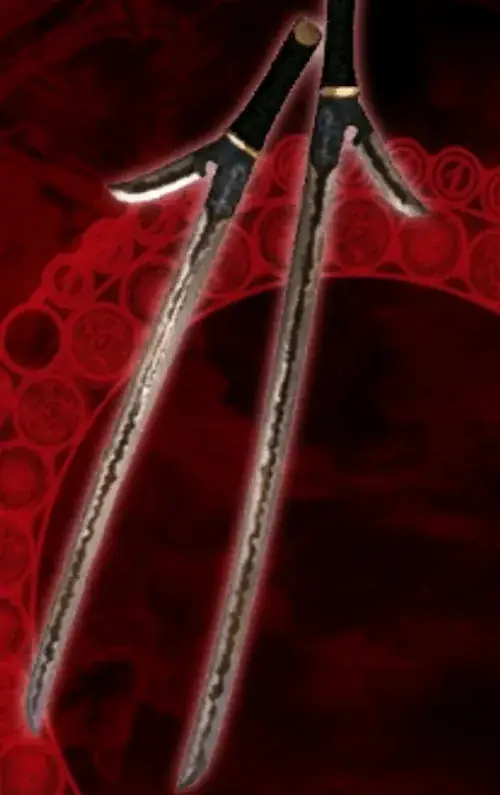
Klyamoor — at the far end of the subway
3
In the angel-carved door chamber, climb the ledges for ORB a Blue Orb. Kill the Msiras, break down the door, and take ORB another fragment from the cliff ledges.
4
Follow the water path to the red orb dispenser. In the room full of Agonofinis, inspect the carving on the inside of the staircase — SECRET ROOM 3.
5
HEART Clear that room and go up for the Healing Heart. There is a Statue of Time and ORB a Gold Orb here too.
6
Down through the gate and up the stairs past the opened gate, inspect the right wall at the top — SECRET ROOM 4.
7
Out to the docks and through the grand doors. BOSS Jokatgulm: jump the sweeping tentacles and dodge the overhead smashes, cut the tentacle roots until they retract, then Trigger and hit the neck. Back off from the summoned orbs and the force field, and repeat.
Mission 4the highway and the cracked streets
1
Jump at the tunnel entrance for
ORB a
Blue Orb Fragment, then run the tunnel killing Infestants.
Watch Lucia Mission 42
EASY TO MISS HEART Clearing the enemies at Dante's old starting point yields the Offence Heart. It is an optional detour and there is nothing to tell you it is there.
3
Back on the main road into the wide open area. BOSS Orangguerra: watch its shadow to time your dodges, jump the grabs and overhead smashes, and side-dodge the air balls at range. Kill the Puias first because they interrupt you, and hit the ape from directly in front or directly behind to kill it fast.
4
Take the left tunnel behind the barrier and run left along the curved road. BOSS Infested Tank: clear the escorting Puias, then stand in melee range where the cannon and flamethrower cannot reach you and simply slash it down. This is one of the best style-rank farms in the game.
Mission 5the protector must rise to confront destiny head-on
1
Kill the Msira, climb the ledge and run the halls to the double white doors into the plane lot.
Watch Lucia Mission 52
EASY TO MISS WEAPON Go inside the aircraft and kick the crate on the right for the Cranky Bomb — the same crate that holds Dante's Missile Launcher in his campaign.
3
Through the bottom-left door, refill Trigger and hit the Seal Sphere to restore power to the main doors. Back at the start area, go into the garage door for the cutscene that grants the Evil Heart amulet.
4
At the four silos, take ORB a Blue Orb Fragment. The nearby glowing doors hold another Seal Sphere that unlocks a heart up in the tower.
5
Sprint down the stairwell — lingering near the Spicere makes it detonate.
6
HEART Flame Heart: at the tower centre, fill Trigger, equip the Aerial Heart and fly straight up the cylinder.
7
HEART Electro Heart: follow the spiral path to the middle chamber between the two platforms and walk into the blue circle. The Evil Heart slots itself into the wall socket and you get the Electro Heart in return.

The Electro Heart — from the Evil Heart socket
8
Out onto the train tracks and ride the elevator up while fighting Flambats. The door on the right beyond the elevator, partly hidden by crates, is SECRET ROOM 5. Then take the centre door at the top for the Arius cutscene.
Mission 6the protector, the king, and the truth
1
After the cutscene about Lucia's creation, clear the Savage Golems and Demonochorus.
Watch Lucia Mission 6
Lucia Mission 6 — the underground arena
2
BOSS Noctpteran: it flies high, so swords are useless — throw daggers and Darts. Keep jumping so the ground Larva cannot reach you, and rotate the stick to escape if one swallows you.
3
Kill the remaining Larva, stand in the white beam and press the action button to teleport up. Fly to the pillar tops for ORB a Blue Orb Fragment.
4
Drop left and Devil Trigger-fly across to the next cliff for SECRET ROOM 6.
5
EASY TO MISS WEAPON Drop into the water and swim. The Bow Gun is in the blue-lit side room the camera pans to. Take it — the next two missions are dramatically harder without it, because they are fought almost entirely underwater where melee barely functions.
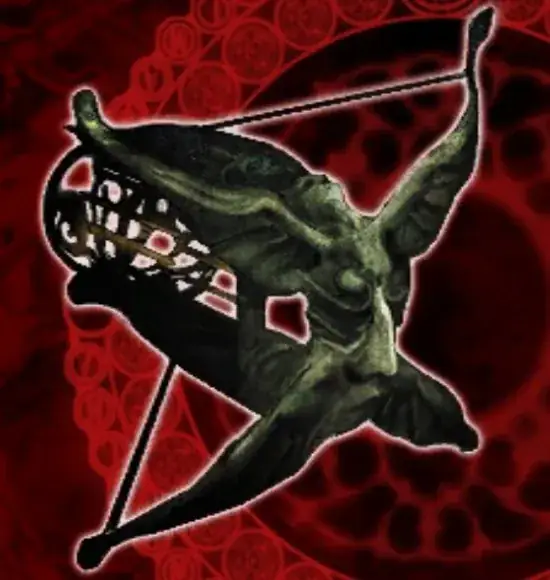
The Bow Gun — in the blue-lit side room underwater
6
Find the tunnel door to finish the mission.
Mission 7holy and filthy at the same time
1
Swim straight ahead, then under the left ledge for
ORB a
whole Blue Orb.
Watch Lucia Mission 7
Lucia Mission 7 — the first full underwater level
2
Find the vertical tunnel and surface, then go through the door. The doorway in the right hallway is SECRET ROOM 7.
3
HEART Drop from the ledge, kill the Auromancers and take the Aqua Heart — the one heart in the game Dante can never equip. The glowing ledge it sat on then becomes a Secret Mission entrance.

The Aqua Heart — Lucia only
4
Take the right tunnel and leap down the hole at its end for the cutscene. Swim up, kill the Sargasso first, then strike the stone orbs with the inverted pyramids from the bottom upward inside the time limit to raise the platforms.
5
Climb the central pillar tiles and hit the Seal Sphere at the top — that kills the current in the previous room. Backtrack, swim down the red-orb tunnel past the Statue of Time, and into the boss room. ORB A Blue Orb Fragment is on this route.
6
BOSS Tateobesu: it never stops moving, so melee is wasted — spam Cranky Bombs and the Bow Gun. Swim upward and away when it charges mouth-first, and stay clear of the electric tail sweep. Cornering it with Cranky Bombs stun-locks it outright.
LUCIAMissions 8 to 13the underwater temple, Arius and the end
Three secret rooms left, the last Blue Orb Fragment, and the Zambak. Lucia's Chrono Heart uses exactly the same hidden trick as Dante's.
Mission 8defeat the prisoner in the abyss
1
Kill the Blade enemy at the entrance, then inspect the
middle of the blacked-out doorway directly above where you entered —
SECRET ROOM 8.
Watch Lucia Mission 82
Follow the red orb trail, hopping the platforms. At the eye puzzle, deflect the wall-eye's fireballs back at it three times to break the wall.
3
The room floods. Deal with the Erupt Gels or swim past them, then swim between the two red-orb pillars and onward.
4
The blue-sphere puzzle works like Dante's octahedron room: weaken all eight spheres first, then break them in quick succession. Fight the Gbusmsira afterwards.
5
HEART Quick Heart: in the seal room, destroy the three respawning blue orbs in rapid succession before you leave.
6
ORB Two more Blue Orb Fragments and a whole Blue Orb are along this mission.
7
Through the Statue of Time hallway to the boss. BOSS Plutonian: stay outside the ball-and-chain reach, close in and melee between swings, and dodge the vertical, horizontal and grid laser patterns. Ignore the Agonofinis support entirely.
8
After the fight you take the Arcana Chalice — this is the vessel Lucia hands Dante in his Mission 12. The two missions are the same story beat seen from both sides.
Mission 9the protector points a blade toward the decayed king
1
A pure boss mission in Arius's office. BOSS Arius: ignore the secretaries completely. Strafe laterally through the magnum fire, back off and use ranged attacks against the shadow-orb clusters, and chase him to where he reappears after each teleport. Daggers chip him down safely from range.
Mission 10four lights will open the sealed door
1
Run under the broken arch by the Divinity Statue and turn left at the red-orb pillar. The
door past it, up in the cobwebbed area just before the first seal, is
SECRET ROOM 9.
Watch Lucia Mission 10
Lucia Mission 10 — the demonic town
2
Seal Sphere 1 is right there. Hop the small door and continue to Seal Sphere 2 at the corner.
3
Drop into the Msira arena for ORB a whole Blue Orb, with a Gold Orb on a ledge to the left.
4
WEAPON Out of the arena and down the narrow path to the Device. Further along, the Demonochorus and Savage Golems appear — the Zambak swords are on the wall right where they spawn.
5
Back at the Divinity Statue glow, take the thin left path. The final Seal Sphere is on the right-corner ledge opposite the floating red-orb ledge. ORB Blue Orb Fragment 18 is in this mission.
6
Strike the central eye in the opened room. BOSS Phantom: use the Zambak you just picked up with Trigger active. Attack the head and back, dodge the steam-telegraphed ground slam, move laterally through the fire blasts, and jump the tail sweep.
Mission 11they swarm like clouds and seek the protector's blood
1
Identical to Dante's Mission 15. Strike the central eye, then clear the mixed waves inside three minutes.
Watch Lucia Mission 11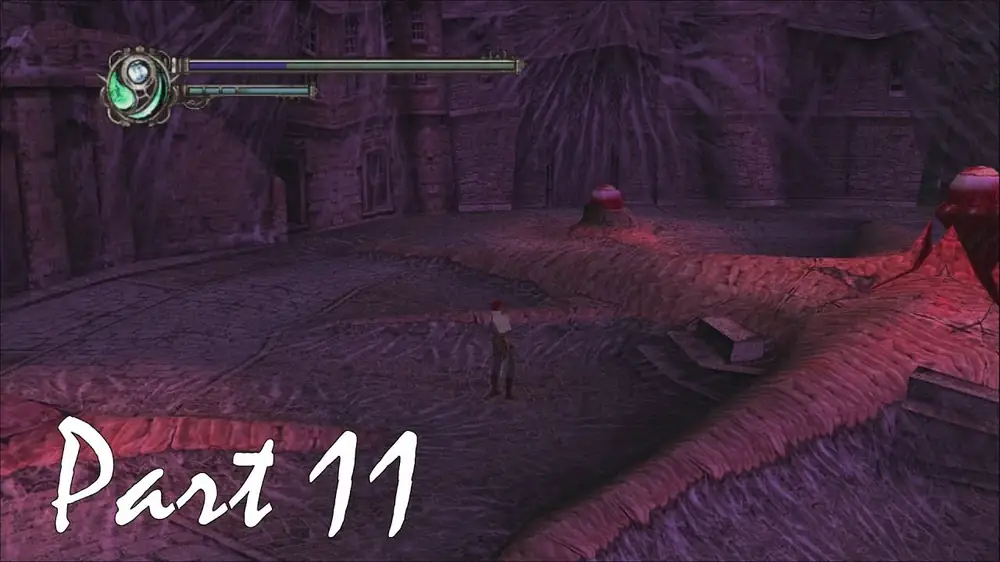
Lucia Mission 11 — the same wave arena as Dante’s Mission 15
2
EASY TO MISS HEART Chrono Heart: find the grey mound on the ground and knock enemies into it. Same trick, same trap — clear the waves without doing this and you get nothing.
Mission 12the protector scales the skyscraper
1
Kill the Blood Goats to break the white-hand barrier on the elevator, then ride it through the enemy barrage.
Watch Lucia Mission 122
EASY TO MISS After the first elevator, move down-screen and break the vase, then inspect the wall section behind it — SECRET ROOM 10, the last one in her campaign.
3
Past the Statue of Time into the disfigured room. Kill the Msira to reveal Sacrilege 1, place it in the exit door, then hop up and take Sacrilege 2 while dodging the purple balls, and place that too.
4
ORB Cross to the opposite side of the level for the final Blue Orb Fragment.
5
Back through the door, right down the narrow path in the next hallway. BOSS Trismagia: same three-face rotation as Dante's fight. Keep switching targets until one head actually loses health, then commit to it. Break the icicle pillars from the frost face, side-dodge the electric orbs, and stay out of the fire face's ground beam. Use ranged attacks against the united form and time the beam dodge exactly.
Mission 13the path to forgiveness is cleaned with blood
1
BOSS Possessed Arius: jump his diving attacks and shoot down the homing purple orbs with daggers. The moment he levitates, run behind him or he unleashes the exploding beam set. Jump while dodging the tentacle ground strikes. Melee combos plus Cranky Bombs kill him fastest.
2
BOSS Arius-Argosax: Lucia is pinned in a crevice for this phase. Guard the melee swings and the purple sludge, or jump onto its back to avoid melee entirely and retreat while throwing knives. With the Aerial Heart equipped this is the most straightforward final boss in the game.