AREA 1The Abandoned Housetwo emblem pieces and a code
1
ITEM Take the Camera from your car, then walk up the mountain to the house.
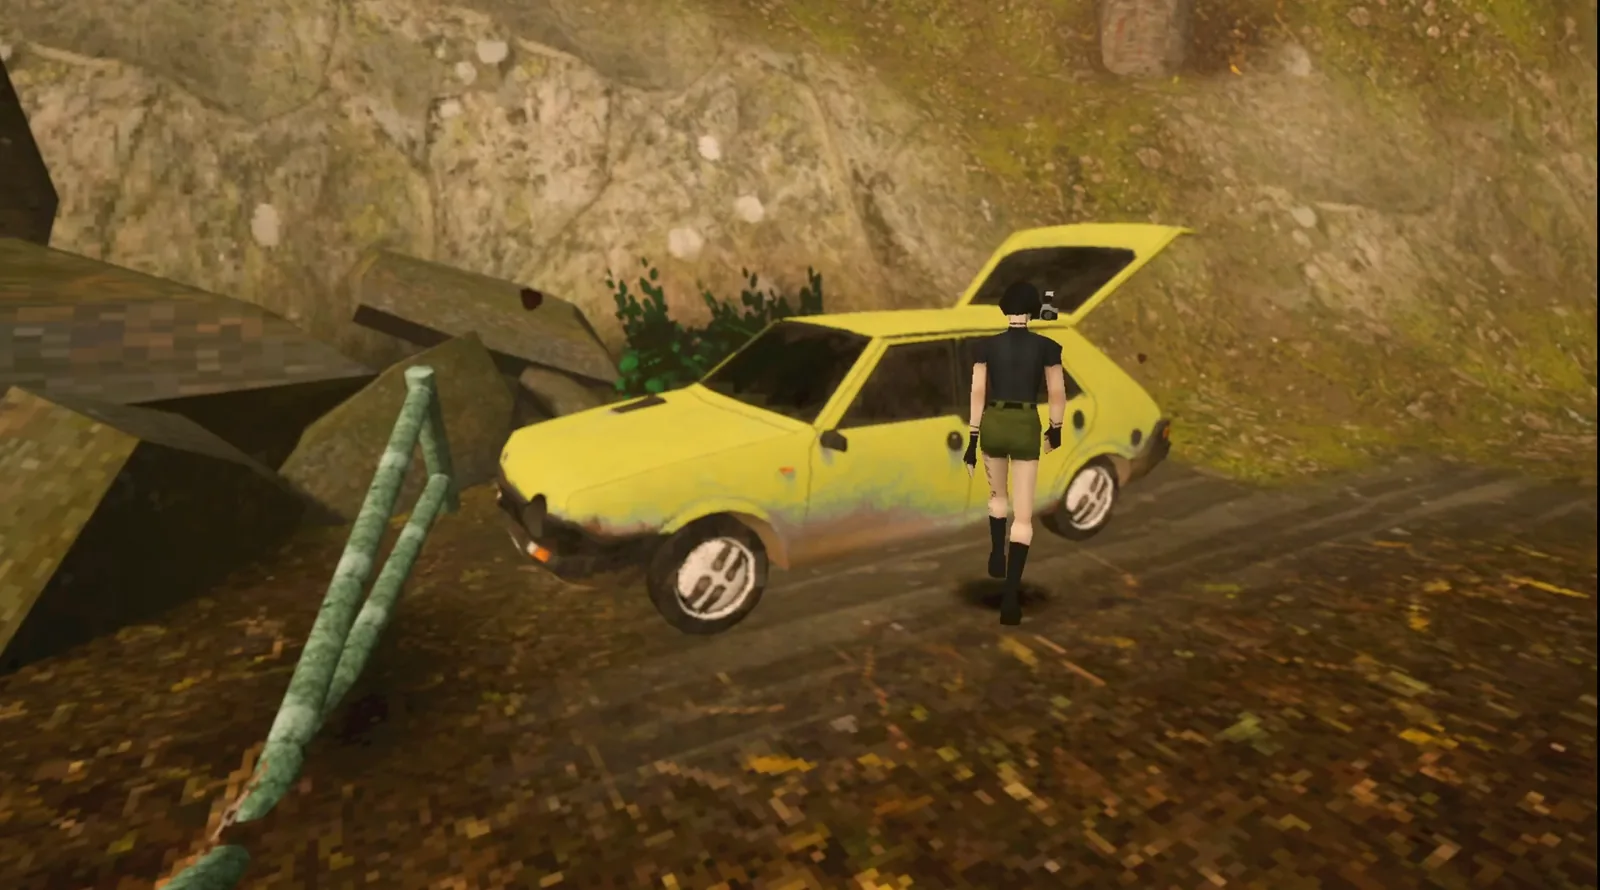
Sam heads up the mountain
2
The front door is boarded over. Go in through the side door on the left.
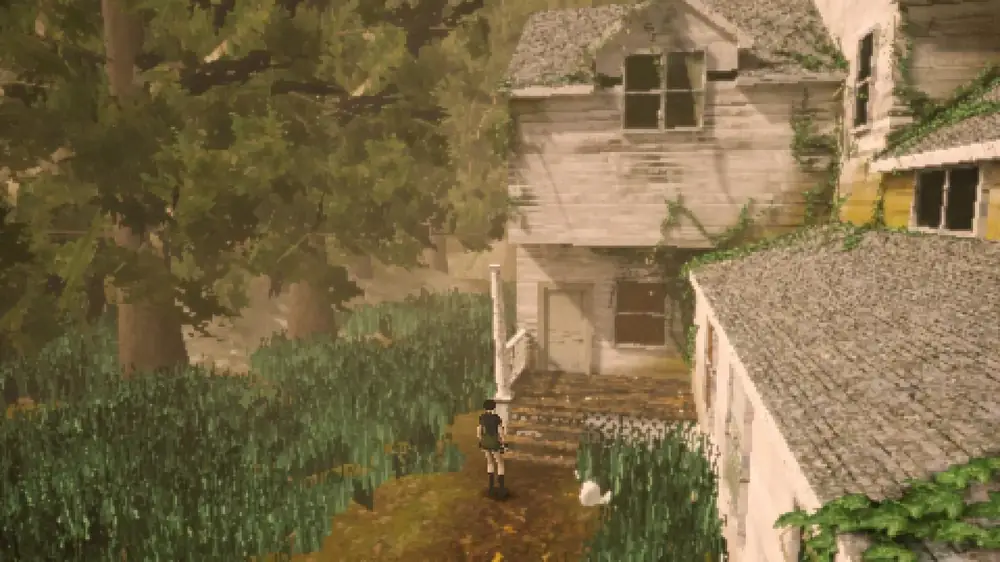
The front is boarded — go around to the left
3
SAVE POSSUM The safe room is through the left door off the foyer. A possum is in here — photograph it.
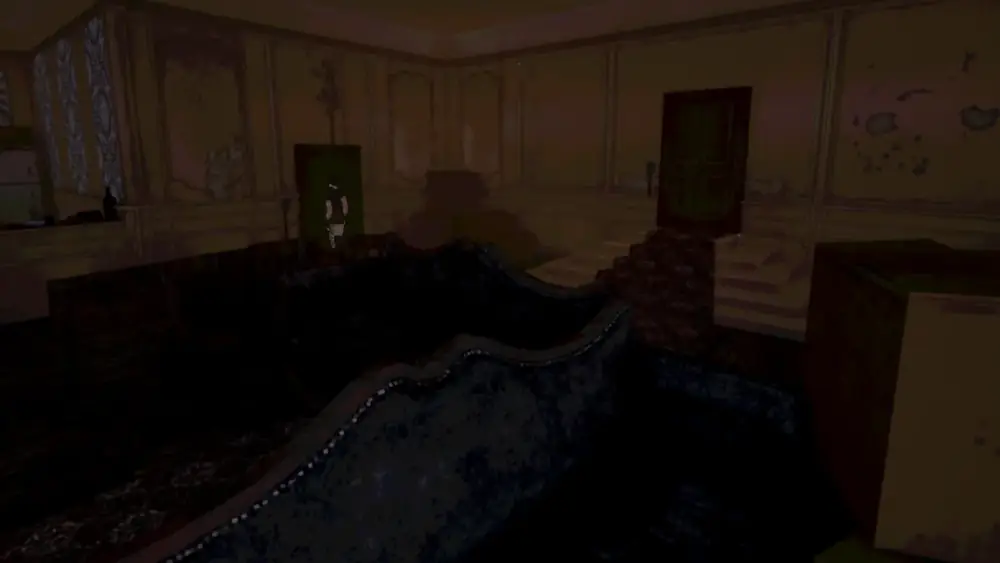
The foyer and parlor
4
ITEM Search the dining room and the bathroom for a bandage and an antiseptic, then combine them into a first aid kit.
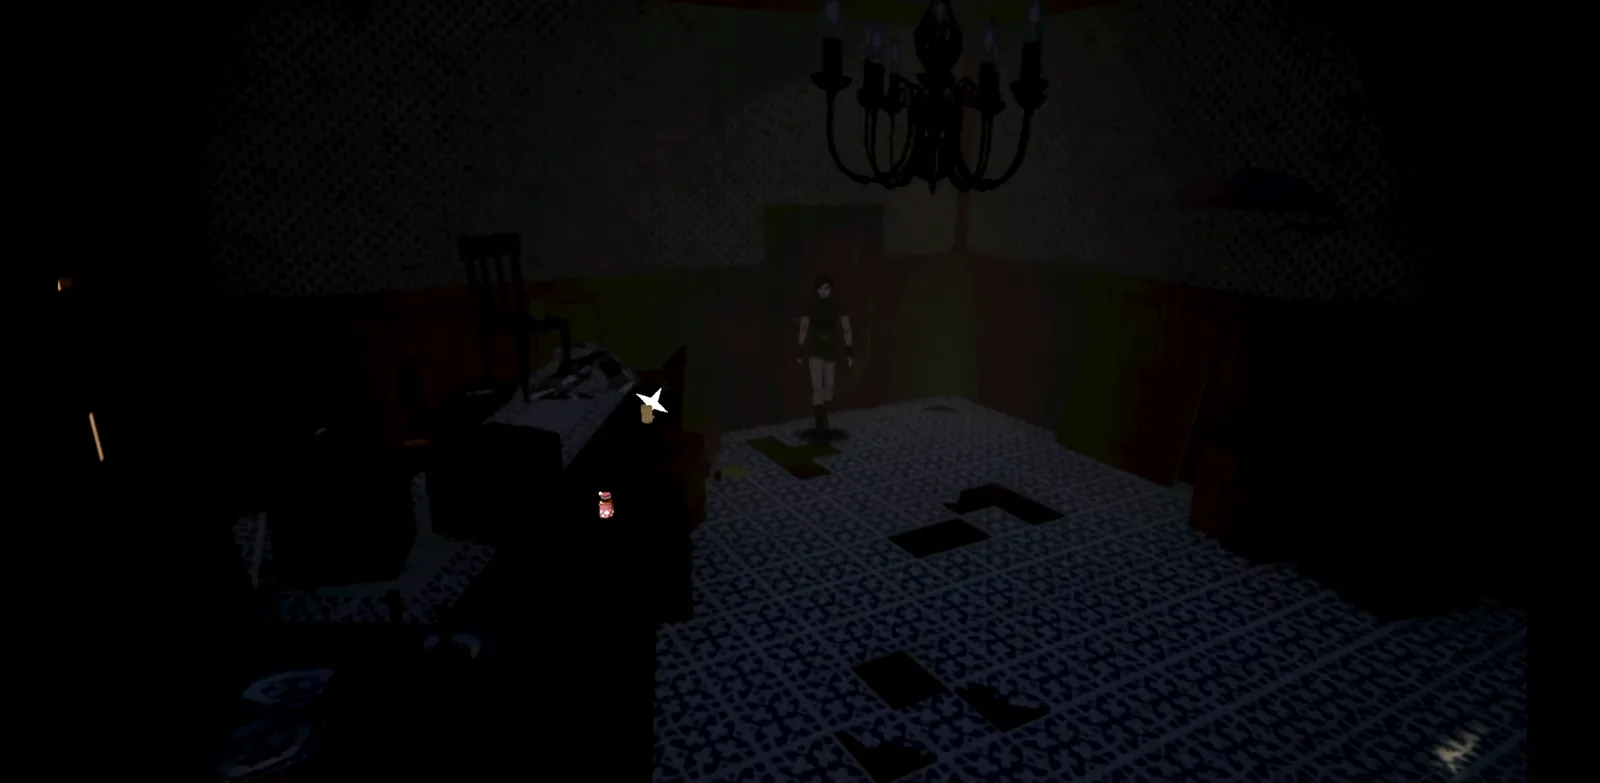
The dining room — bandage here
5
POSSUM A second possum sits on top of the shelving in the kitchen.
6
Upstairs, read the poem on the bed in the small bedroom. It gives you a time: 12:15.
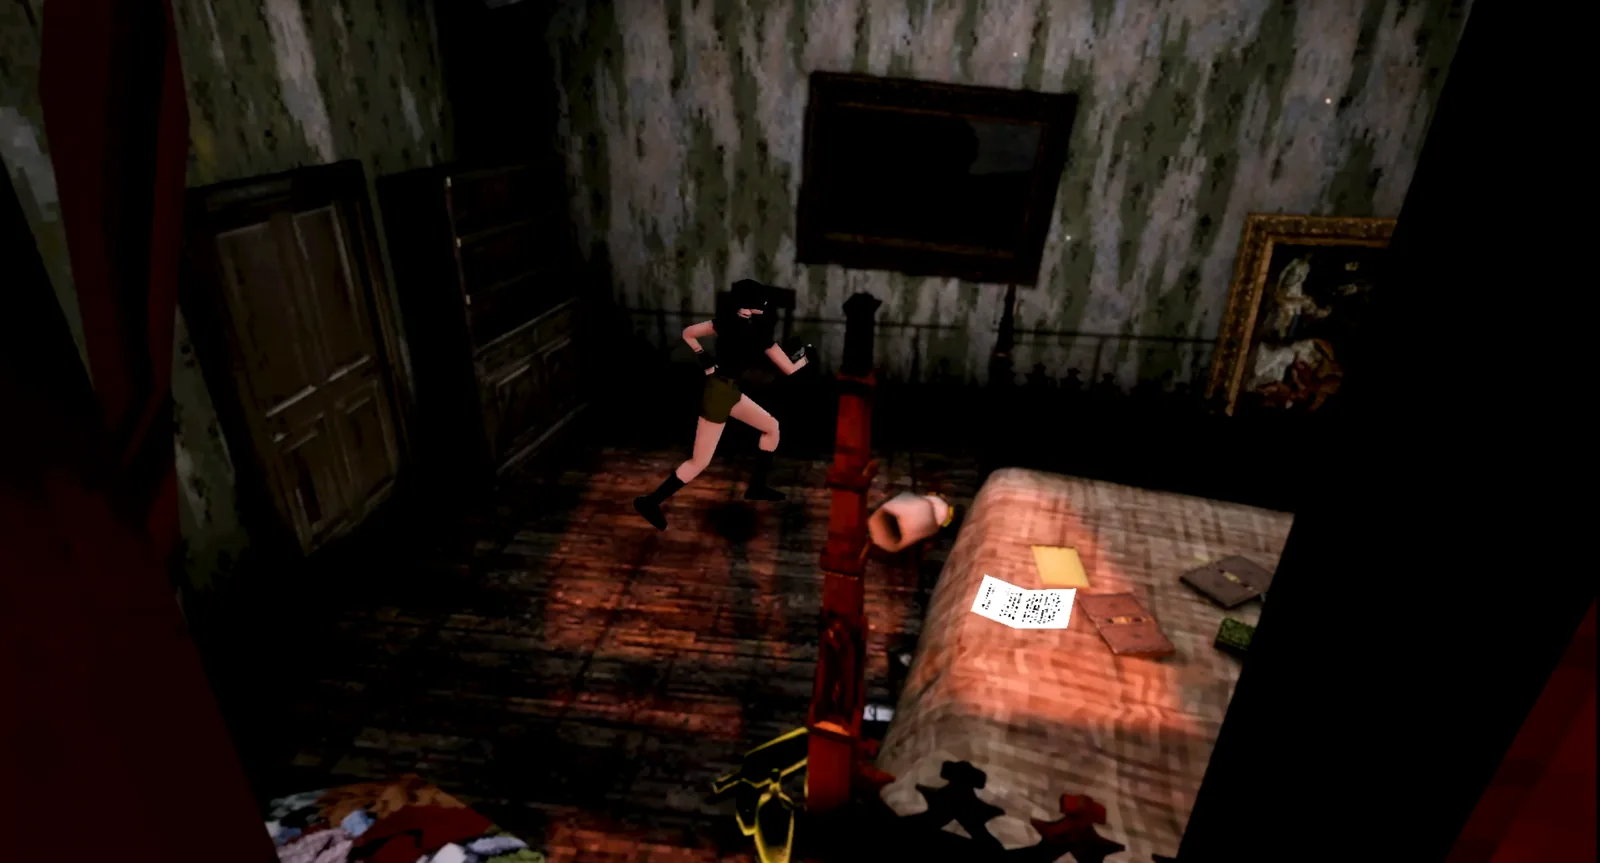
The small bedroom — read the poem on the bed
7
PUZZLE In the northeast room, set the grandfather clock to 12:15. A hidden library opens behind it.
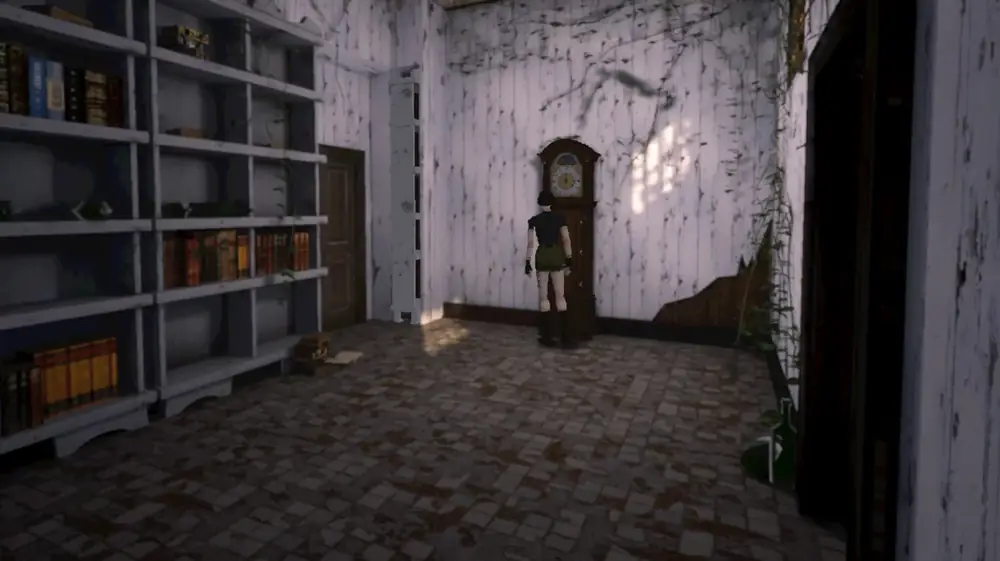
The northeast room and its clock
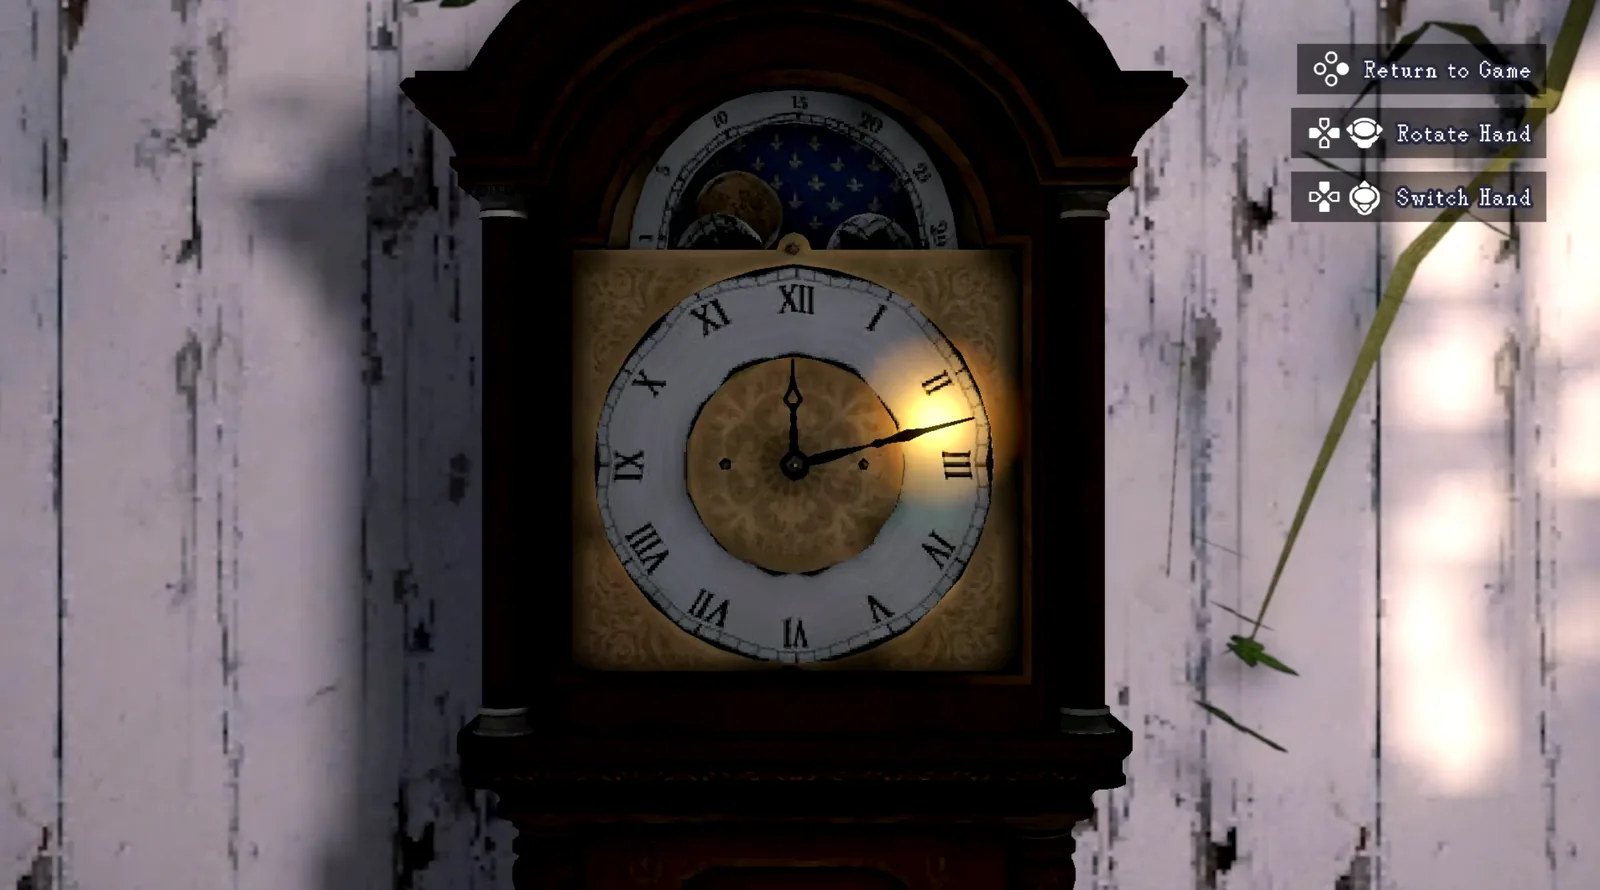
Hands set to 12:15
8
KEY ITEM Inside: Emblem Piece 1, plus tapes and a wall picture, both labelled ROSE.
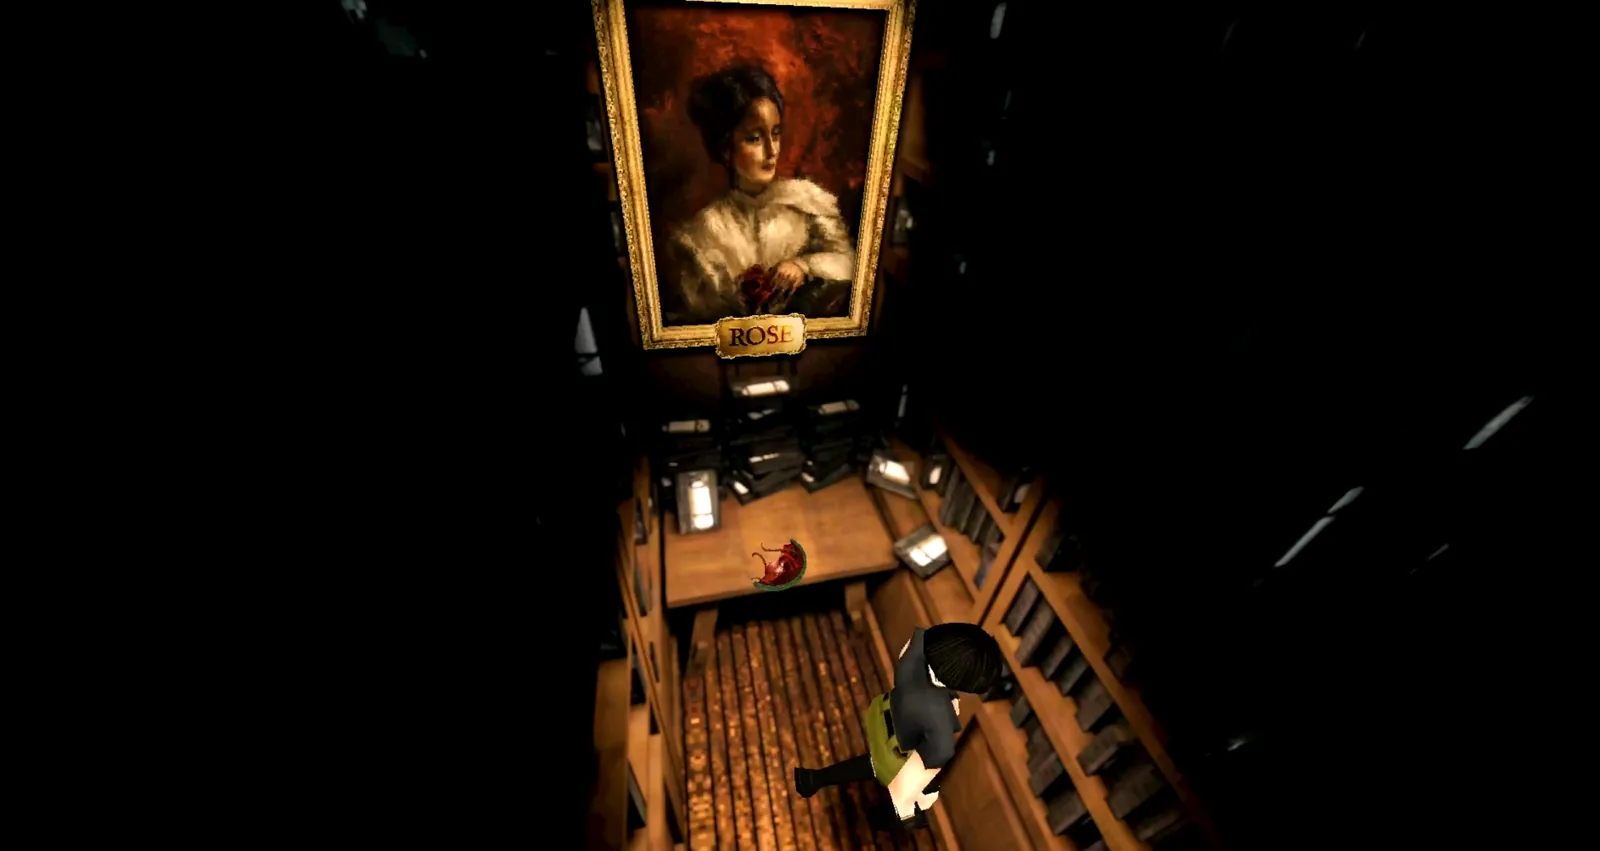
The room the clock opens
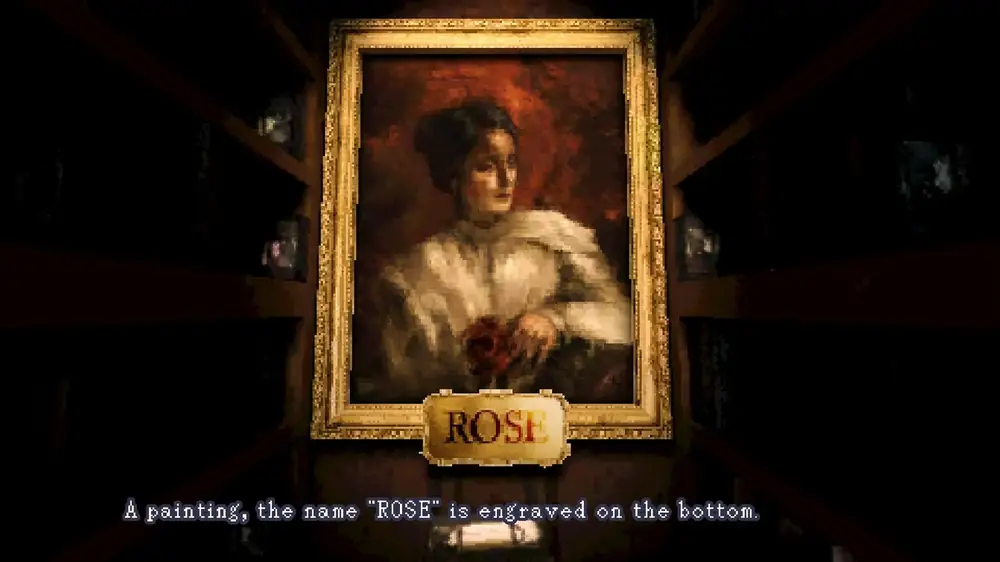
The picture labelled ROSE — that is the code
9
KEY ITEM Attic Key is on the nightstand in the master bedroom.
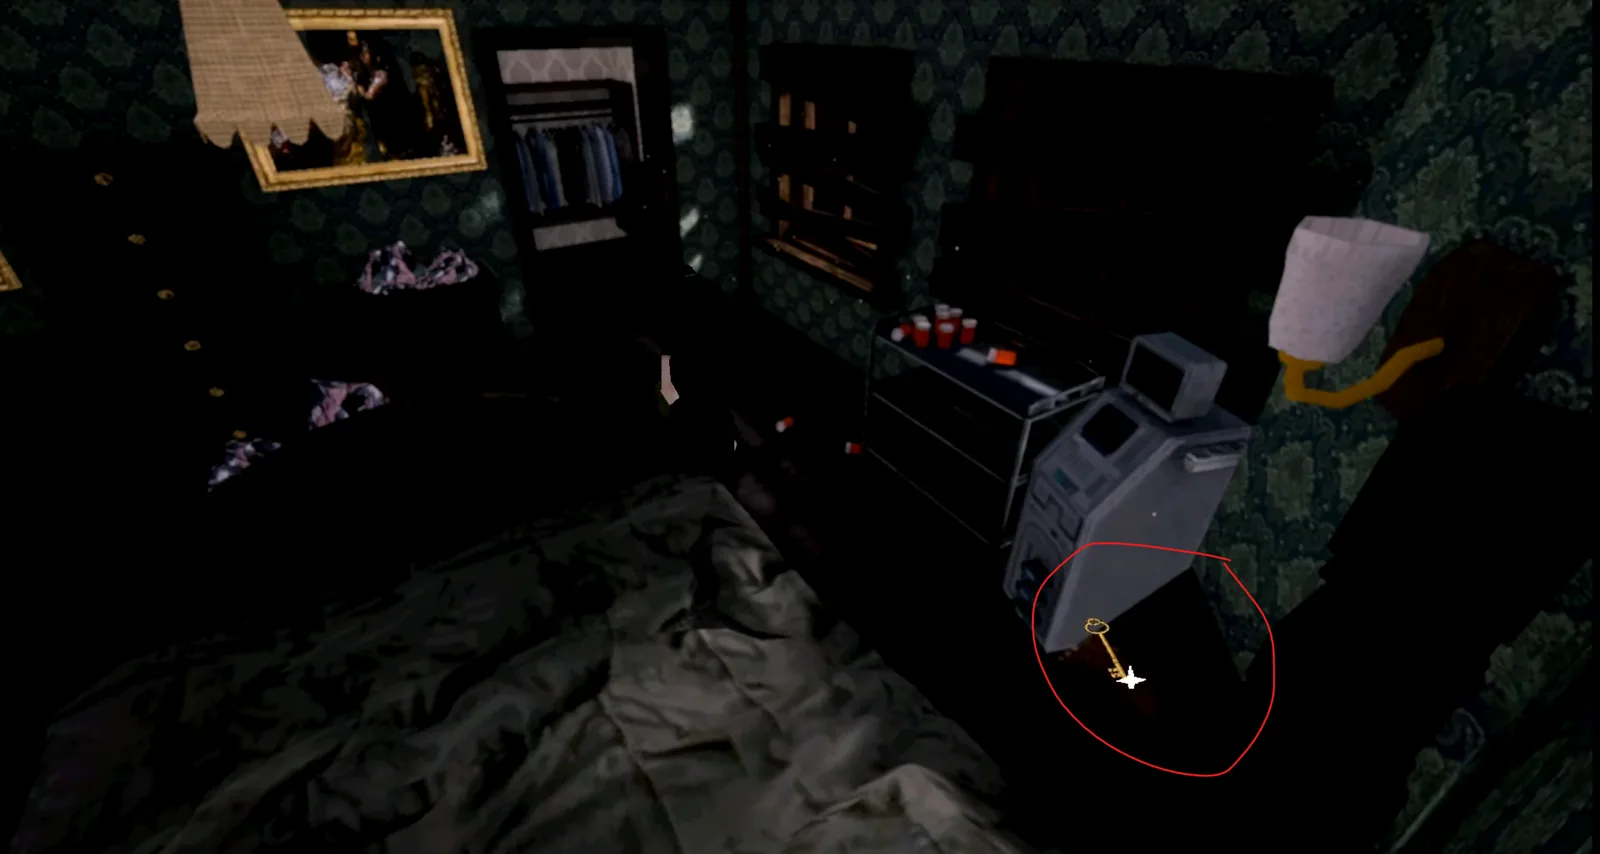
The Attic Key on the master bedroom nightstand
10
PUZZLE Back at the code lock in the foyer, enter R-O-S-E. The basement opens.
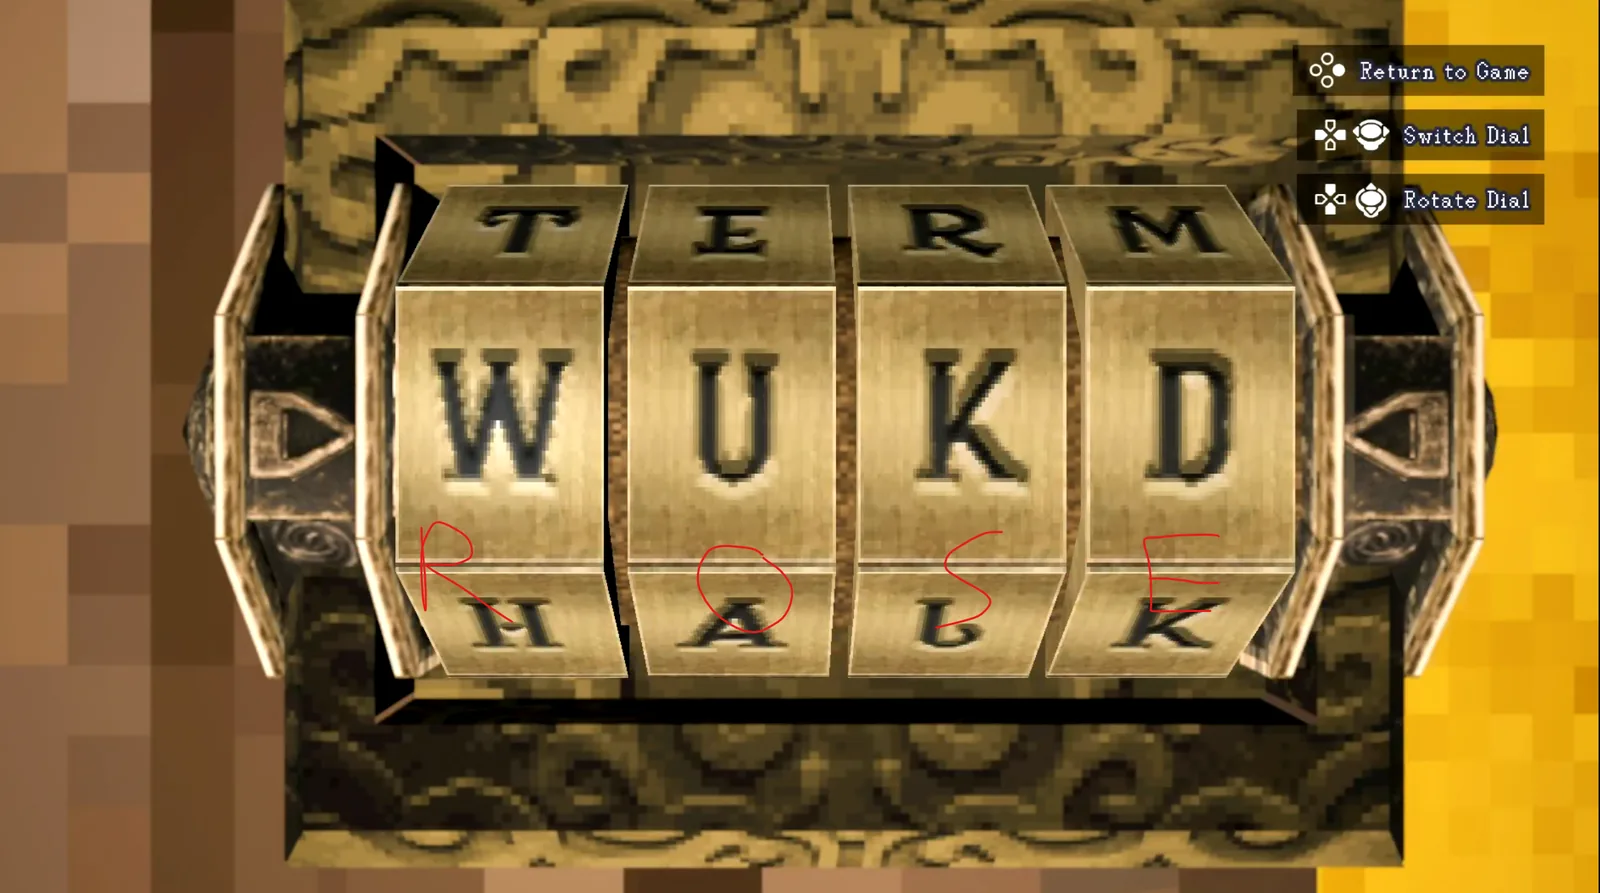
The foyer code lock
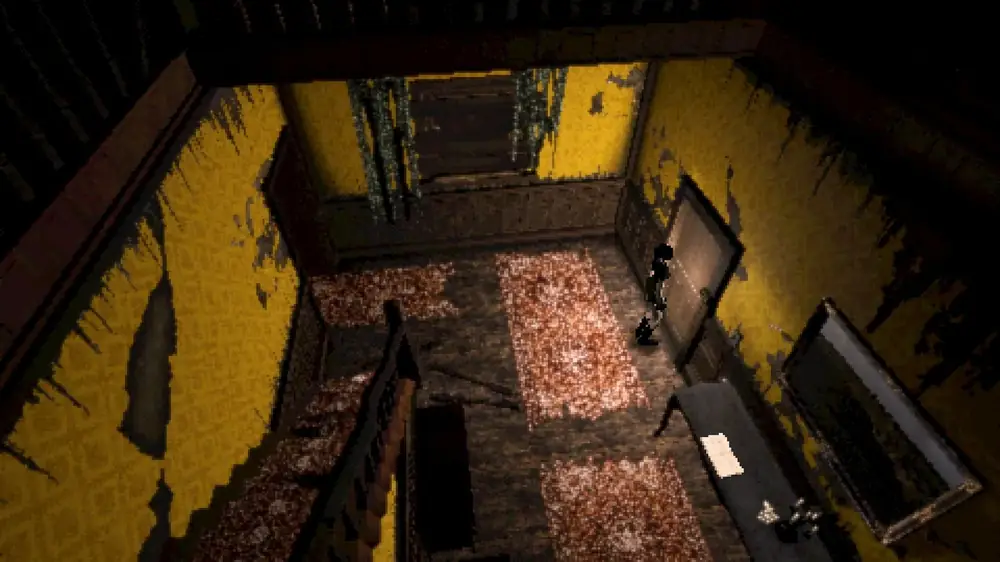
Enter R-O-S-E
11
PUZZLE KEY ITEM The basement is a shelf-pushing maze. Work the shelves aside to reach Emblem Piece 2.
The basement shelf maze
12
KEY ITEM Combine the two pieces into the Heart Emblem.
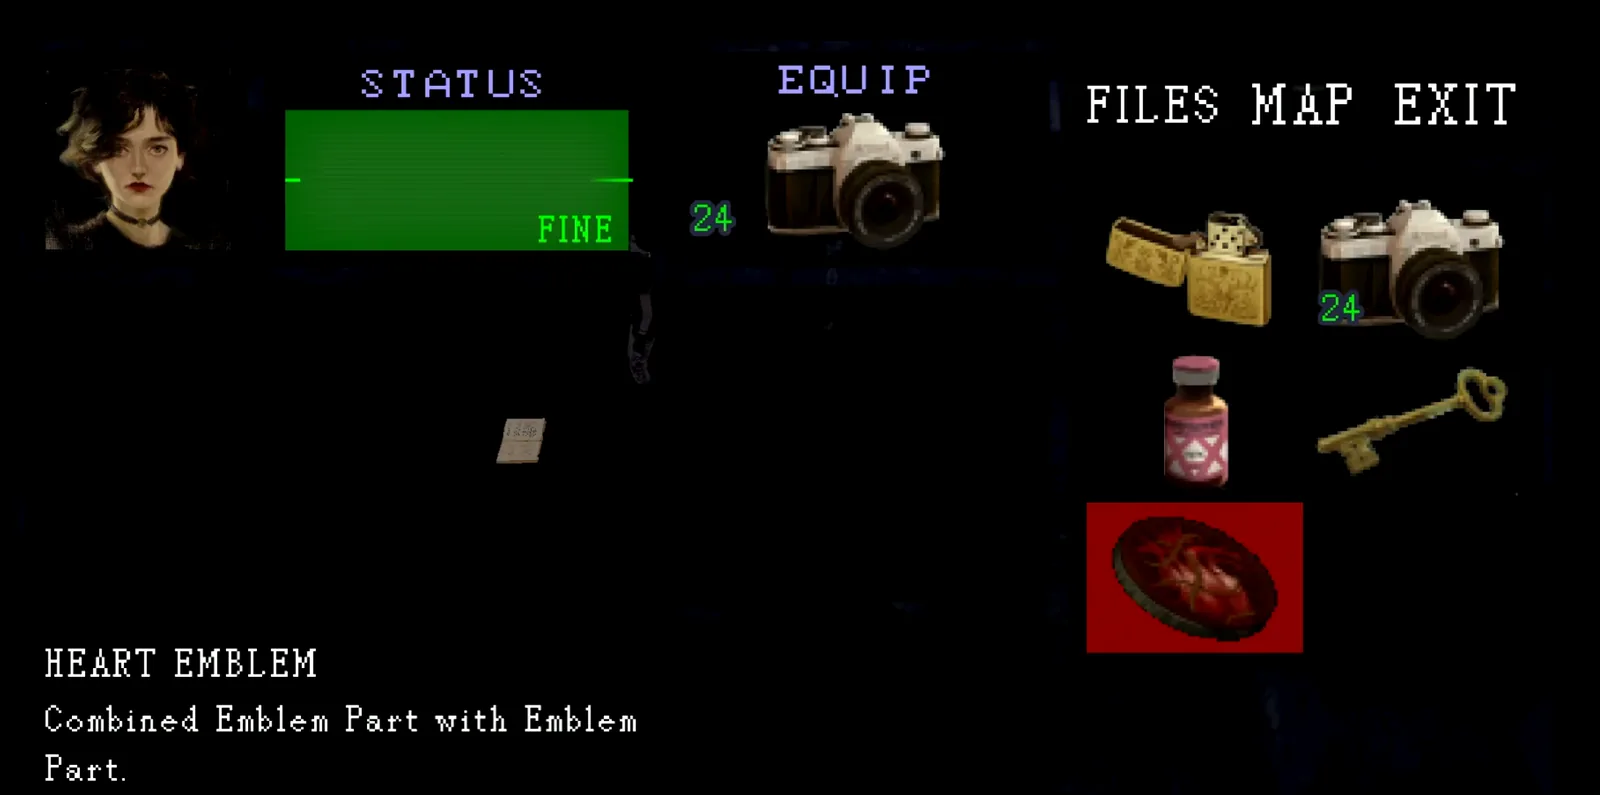
Combine both pieces into the Heart Emblem
13
The Attic Key opens the attic, and the Heart Emblem opens the red door inside it.
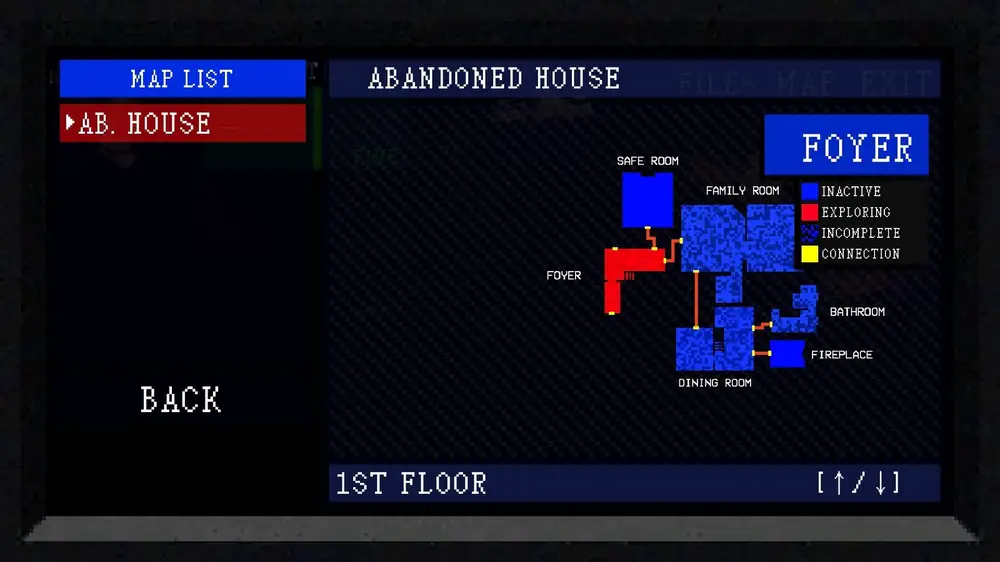
The map screen
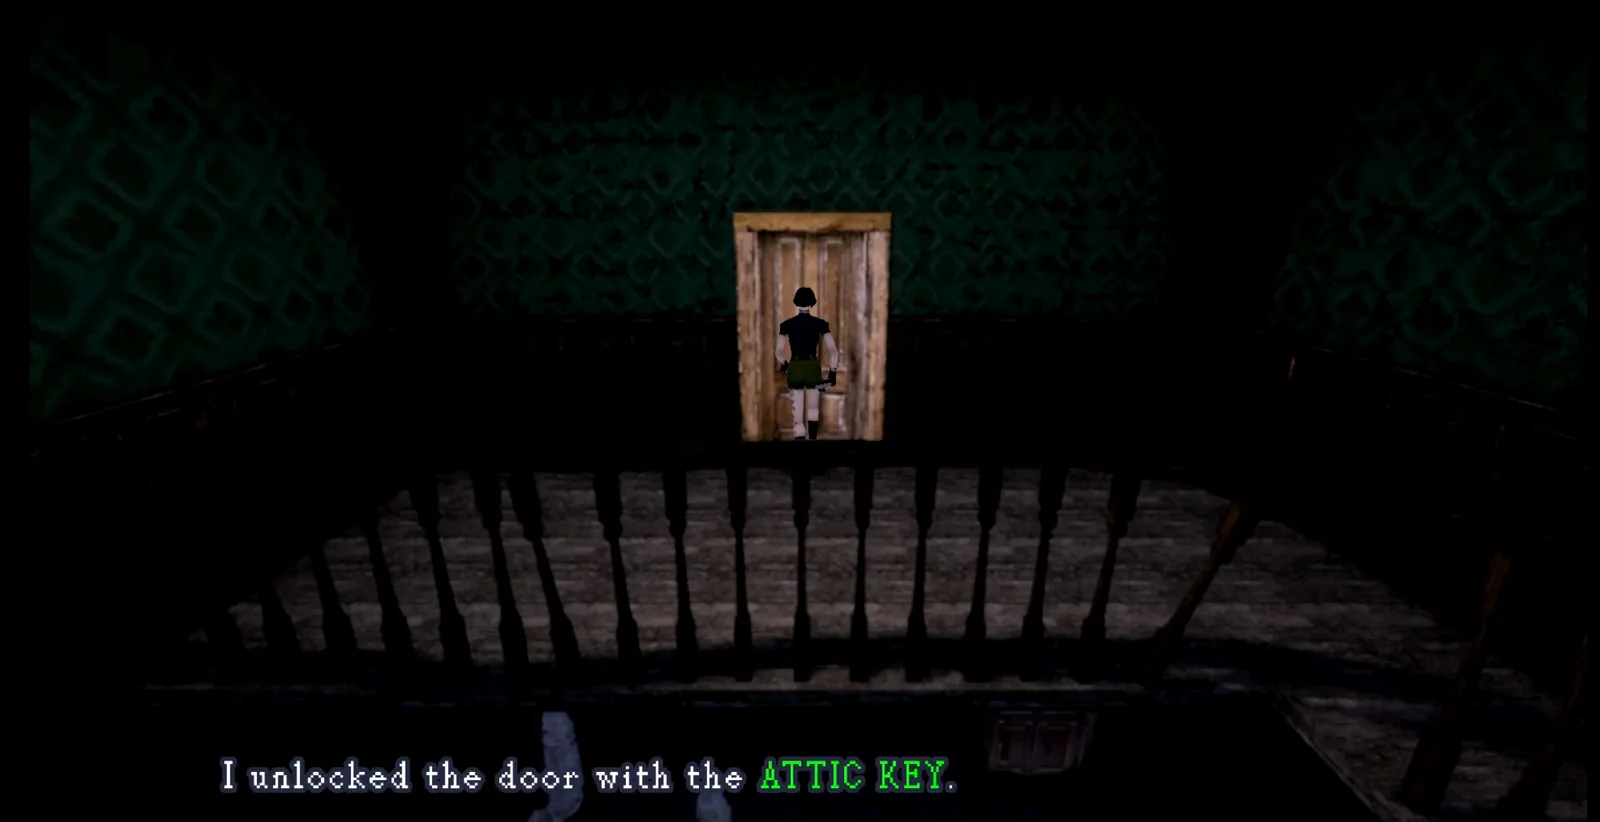
The Attic Key opens the attic
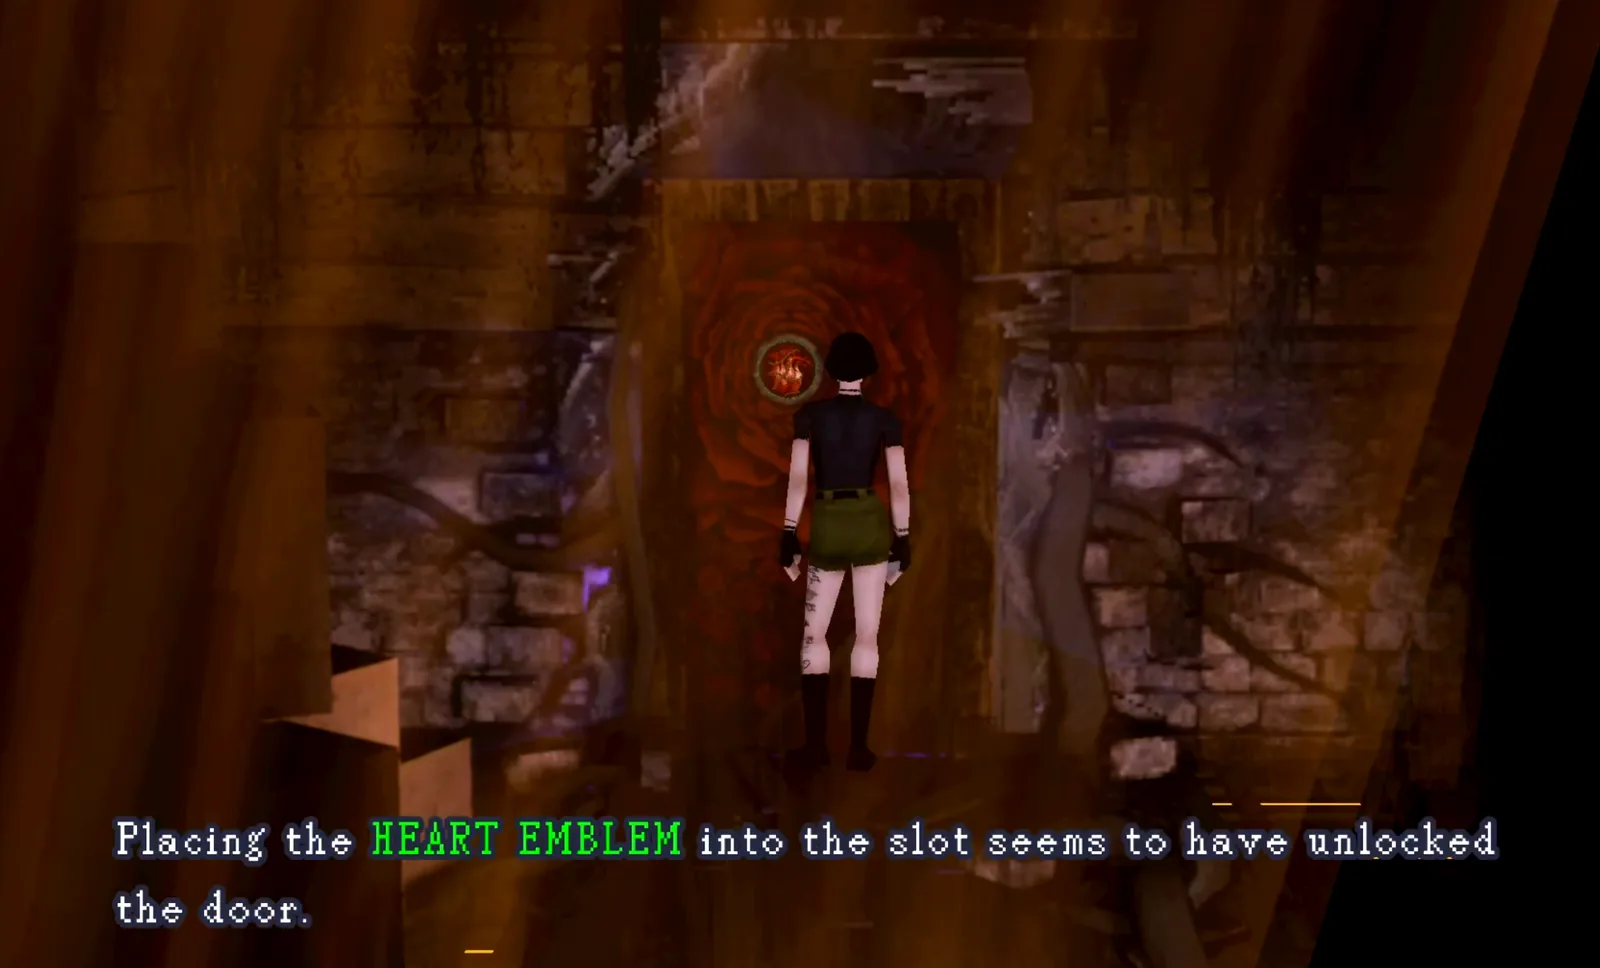
The Heart Emblem opens the red door
14
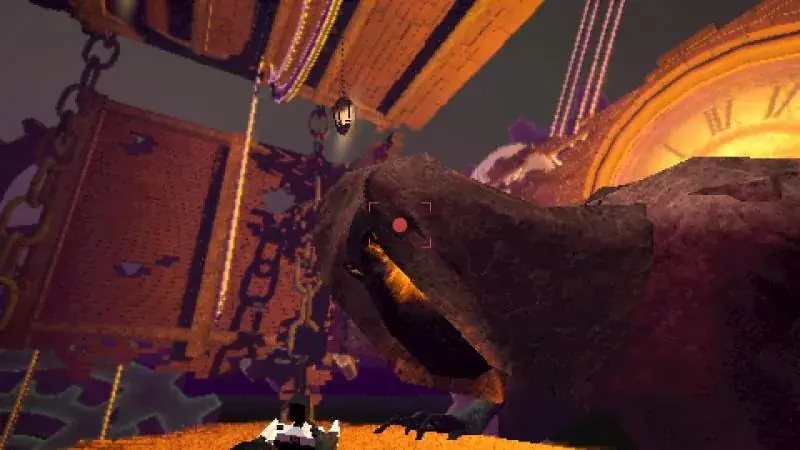
BOSS MISSABLE Down the long staircase the Tape Keeper corners you at a locked door. You cannot fight it. Turn around, run back, and interact to escape. This is the point of no return for the house.
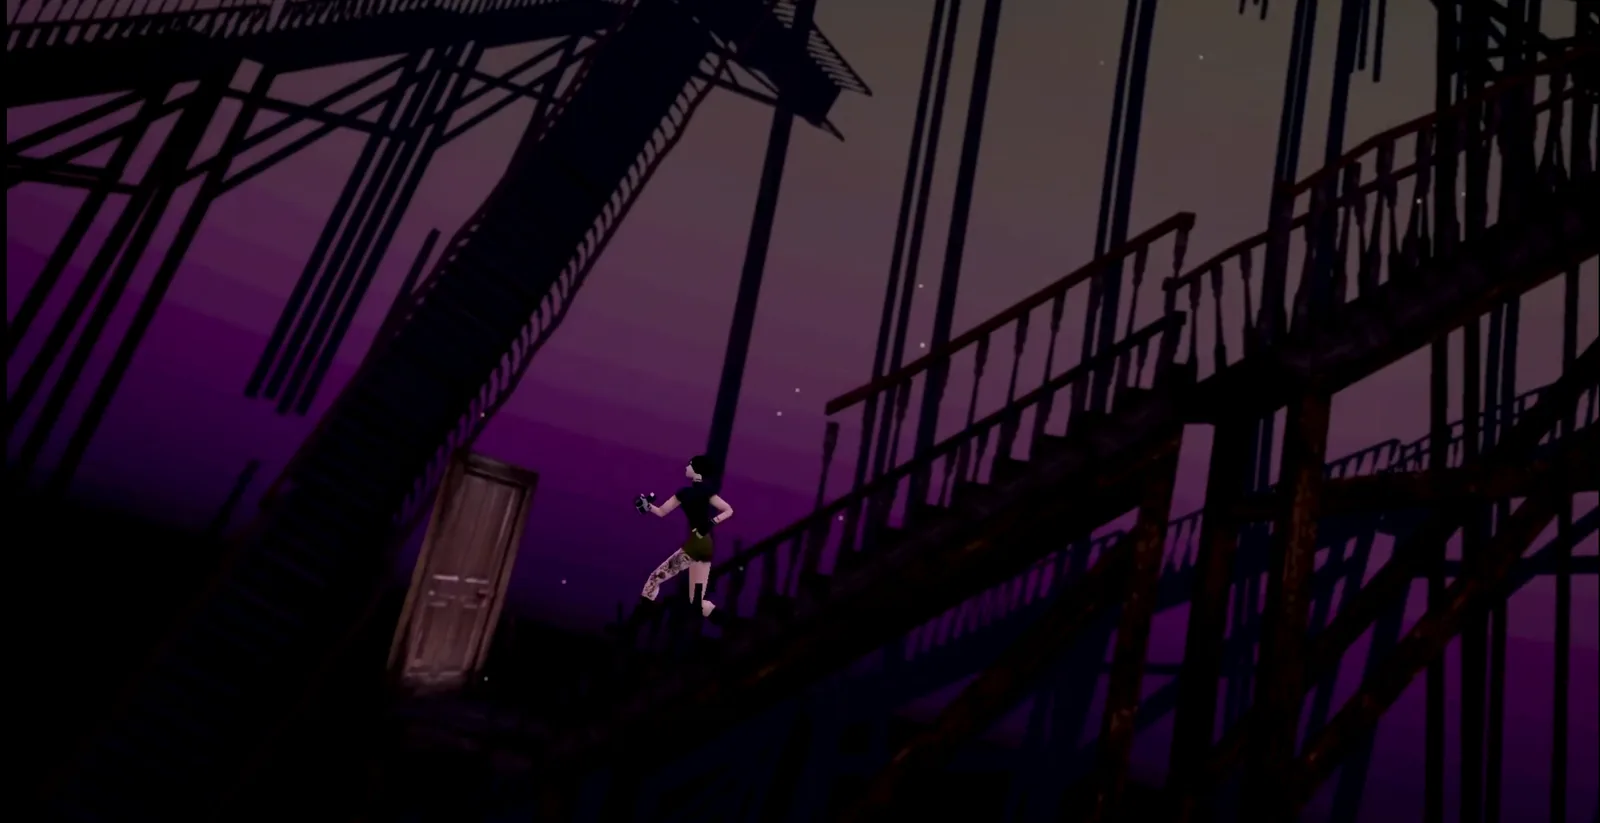
The staircase down — the point of no return
You can never come back here. Once the Tape Keeper chases you out at the end of this area, the house is closed for the rest of the run. Take both possums and everything else before you go down the staircase.
Back at the Archivevisit 1 of 4 — the room the rest of the game is built around
Down the long staircase, through the door and across the bridge, and the Archive opens up. You will stand in this room four times, and it looks the same every time — what changes is what you are carrying.
| In the room | What it is for |
|---|
| The tome, dead centre | Where the area Pages go. Three of them exist — Neighborhood, Wilderness, Clock Tower — and each one opens a different gate out of this room. The Abandoned House does not give you one, so the tome does nothing on this visit. |
| The machine, left of the tome | The ending machine. It takes the three photos, and it is the only thing in the game that decides how the story ends. You have no photos yet. |
| The PC, behind the tome | A save point, identical to the ones in the safe rooms. |
| The storage chest, behind the tome | Your item box. Sam carries very little, so park spare film, healing and anything you are not about to use here — the same chest follows you into every safe room. |
| The chess table | A full game of chess against the computer, and it plays to win. Entirely optional. See the step below. |
| The hallway, left of the tome | The way out, sealed behind a wall of static until you deal with it. |
●
SAVE Save at the PC behind the tome, then open the storage chest beside it and drop everything you are not carrying for a reason. Your inventory stays small for the whole game, and this chest is shared with every safe room.
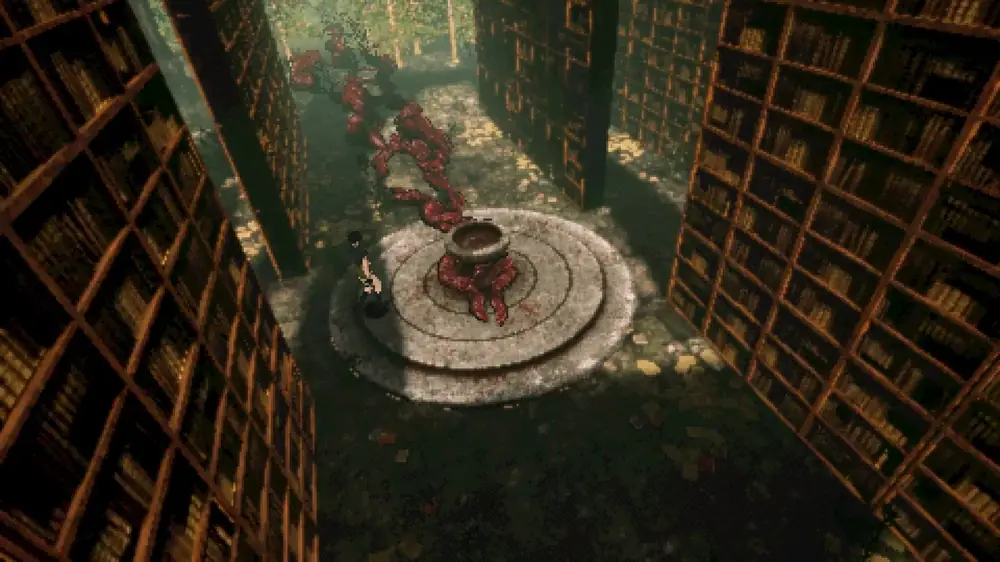
The Archive — the hub between areas
●
The chess table is a real game, not a puzzle with a fixed answer — you sit down and play the computer out, and it is a genuinely hard opponent. It is optional, it blocks nothing, and you can walk away and come back to it. Winning it hands you a first aid kit.
●
PHOTO Walk up to the machine on the left of the tome so you know where it is. Nothing to do yet — the first of the three photos is in the Neighborhood. Read the box below before you go looking for them.
The three photos are the whole ending system. Nothing else you do — not the journal entries, not how fast you finish — changes which ending you get.
| Photos inserted | Ending |
|---|
| None | Stays — the bad ending. |
| One or two | Leaves — the good ending. |
| All three | Together, which most players write as Leaves+ — the good ending plus an extra scene. |
One photo per area: the Garden photo in the Neighborhood, the Cave photo in the Wilderness, the Subway photo in the Clock Tower. Feed each one into the machine on your next visit here. The fourth visit is the last chance — once you leave for the cathedral the room is closed. Save at the PC before you insert anything on that last visit and you can reload it to take all three ending achievements out of a single run.
●
MISSABLE When you are done, take the hallway to the left of the tome. A wall of flickering static blocks it — raise the camera and photograph it to destroy it. This is the game teaching you what the camera is really for.
●
Follow the hallway to the end and interact with the red static. That drops you into the Neighborhood.
AREA 2The Neighborhoodthe Burst Mod, the Camera Bag and three candles
Get the Burst Mod early. The chess puzzle takes two minutes and the mod cuts roughly a third off every boss fight in the rest of the game. Do it before you do anything else here.
1
SAVE The first house you can enter, on the left, is the safe room.
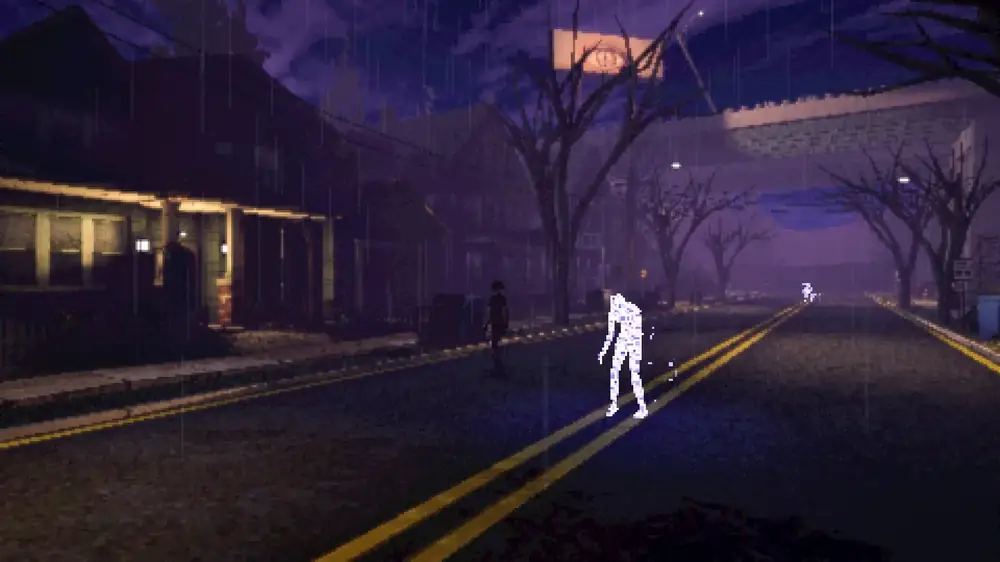
The Neighborhood
2
KEY ITEM POSSUM The House Key is on the counter in the corner store. A possum is outside the store by the bins.
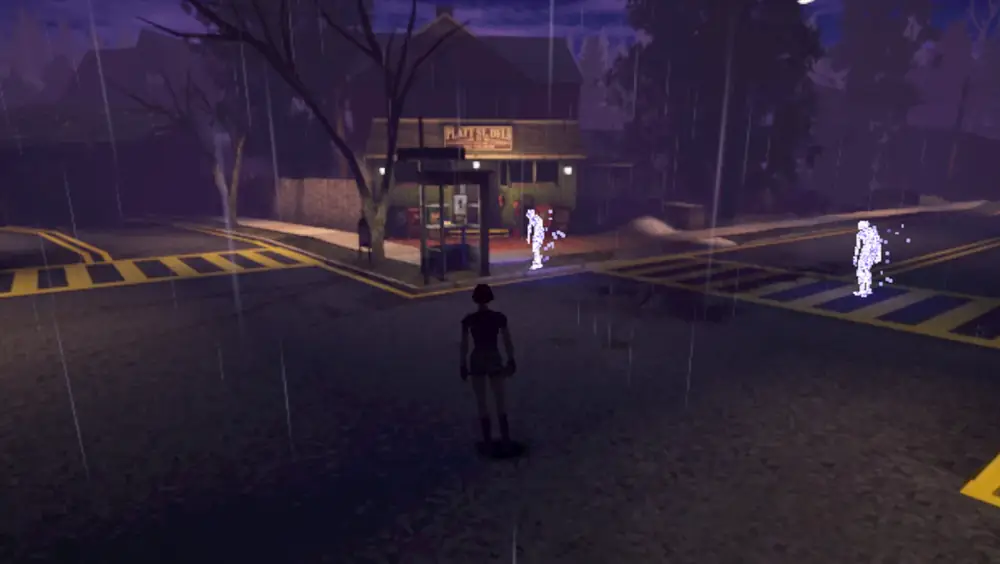
The corner store on Platt St
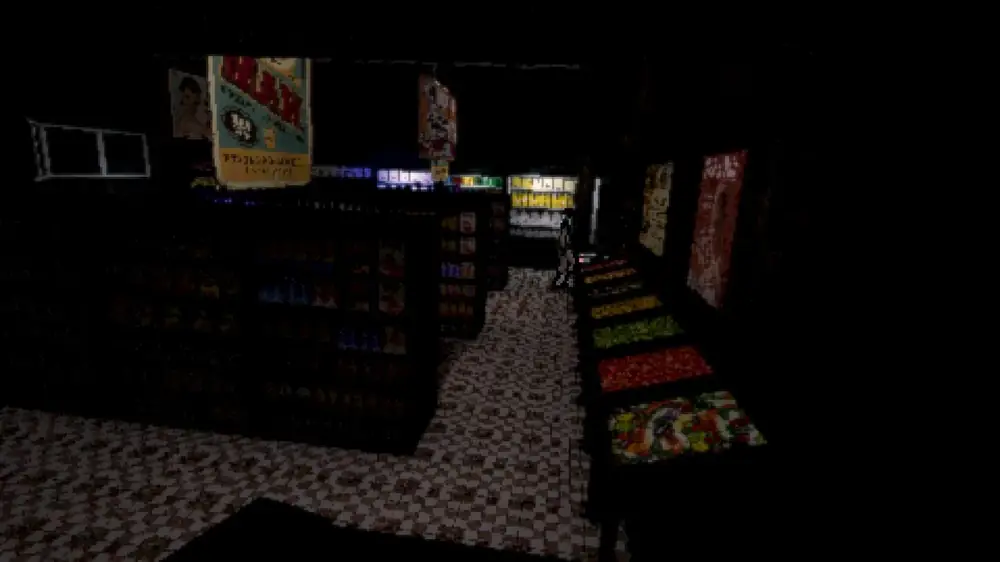
Inside the store
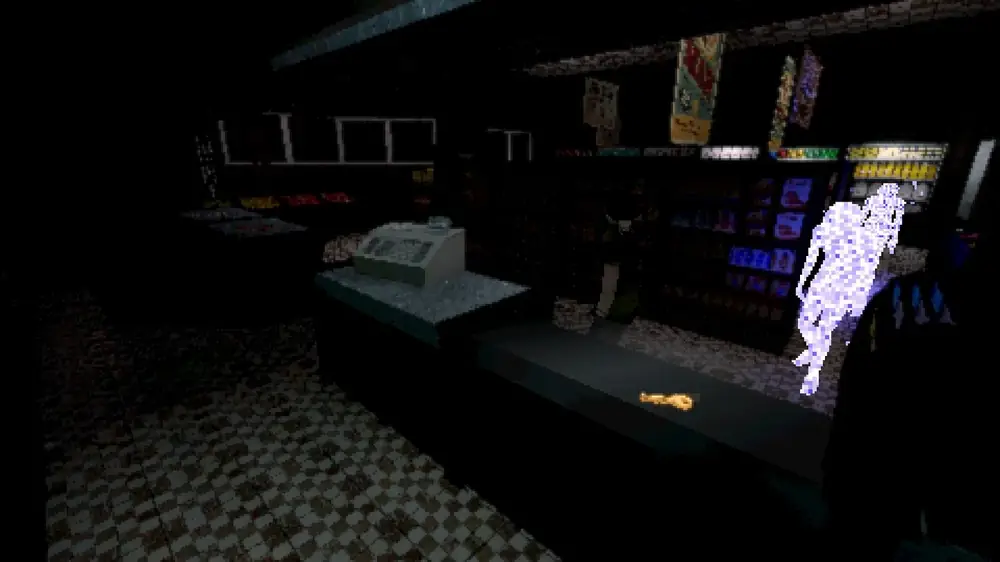
The House Key on the counter
3
POSSUM The House Key opens the Old House. A possum is in Sam's old bedroom.
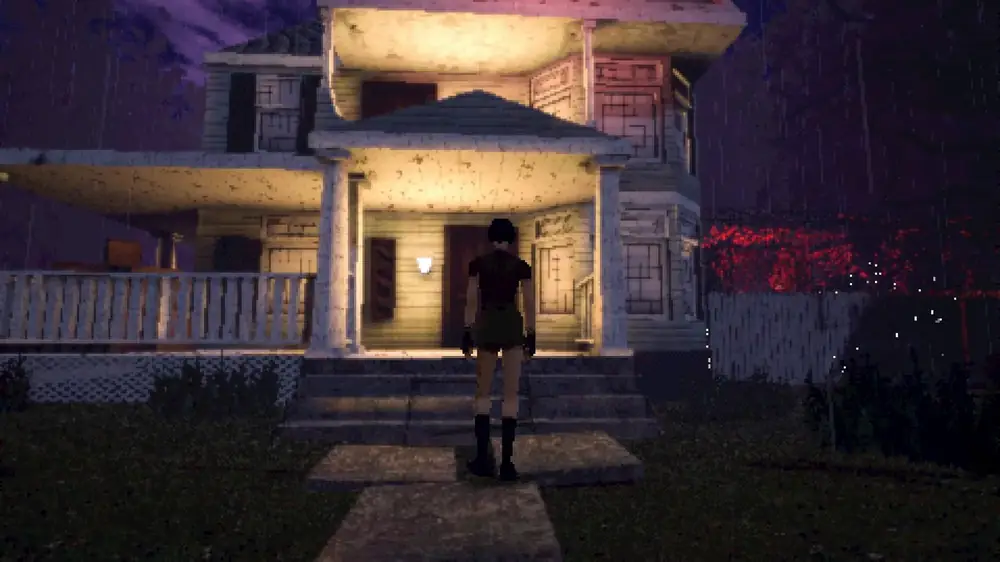
Sam’s grandparents’ house
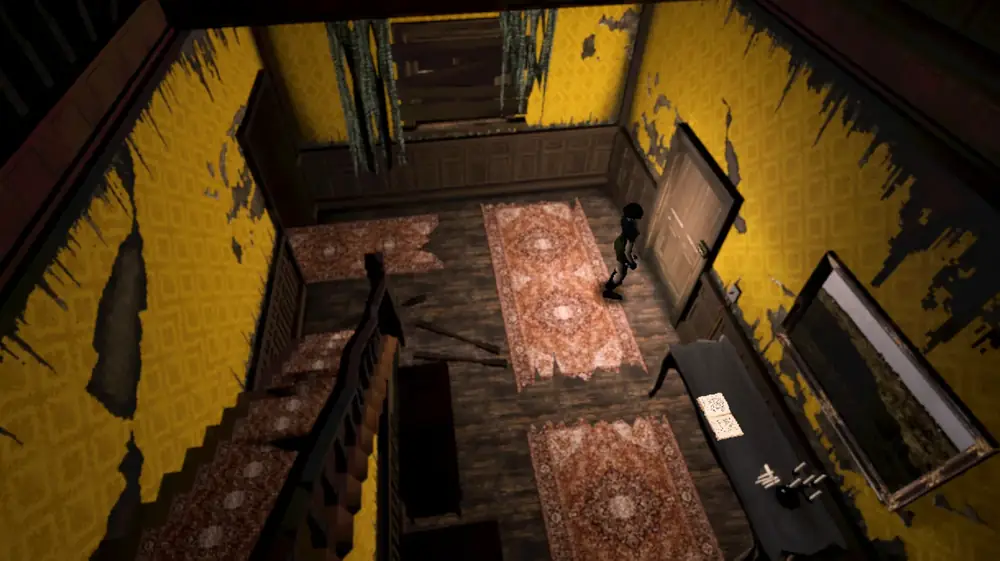
The hallway inside
4
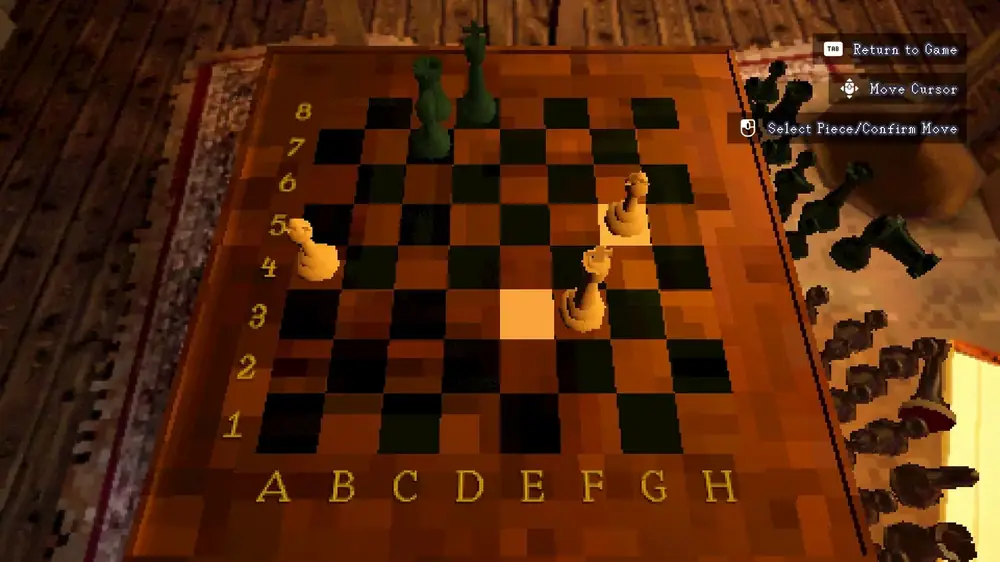
PUZZLE ITEM The chess board in Sam's bedroom: move the Bishop from E3 to G5. That gives you the Burst Mod.
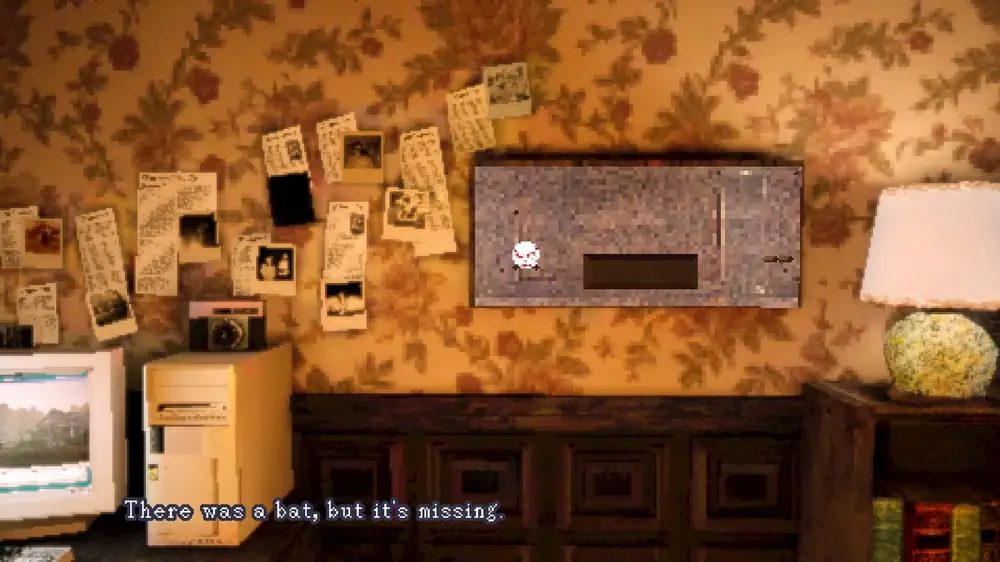
The chess puzzle — Bishop E3 to G5
5
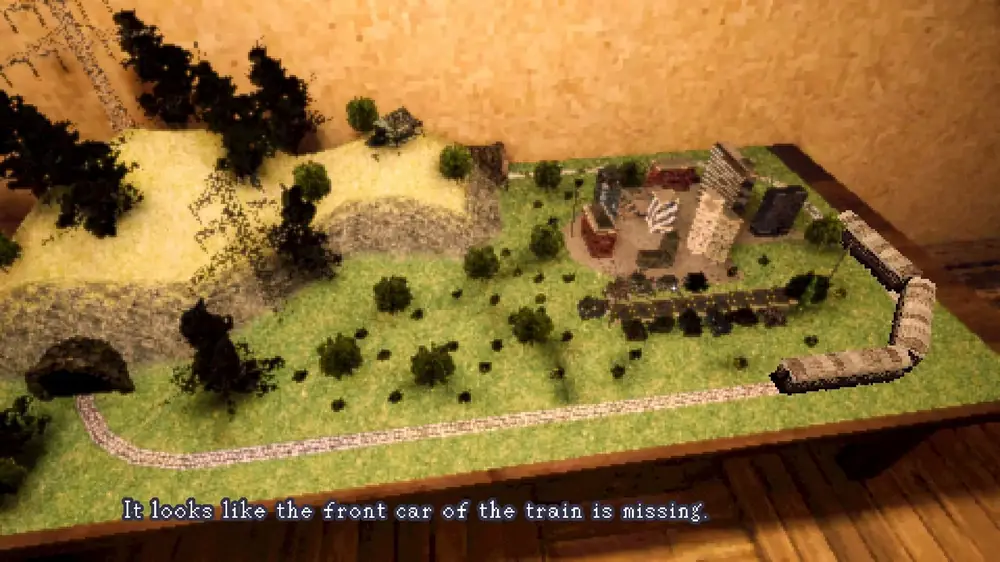
KEY ITEM The Baseball Bat is under the bleachers at the baseball field. Place it on the wall plaque in Sam's bedroom and you get the Model Train.
The wall plaque in Sam’s bedroom
6
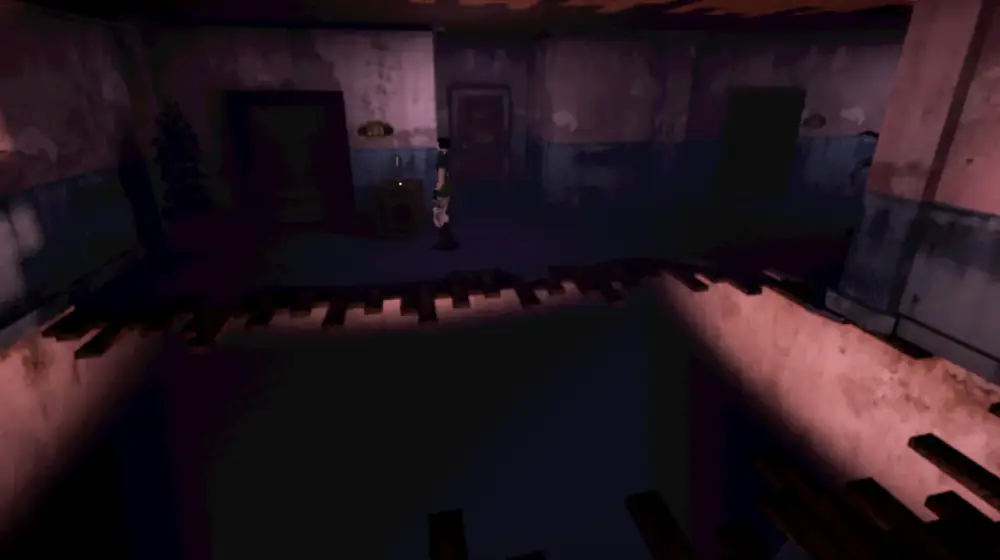
PUZZLE ITEM The garage key is on its right-hand side. Inside, the fuse box opens the stairs: flip switches 1, 3 and 5. Upstairs is the Camera Bag, which takes your inventory from six slots to eight.
The garage and its fuse box
7
KEY ITEM Use the Model Train on the train set upstairs. That gives you the Padlock Key.
The model train set upstairs
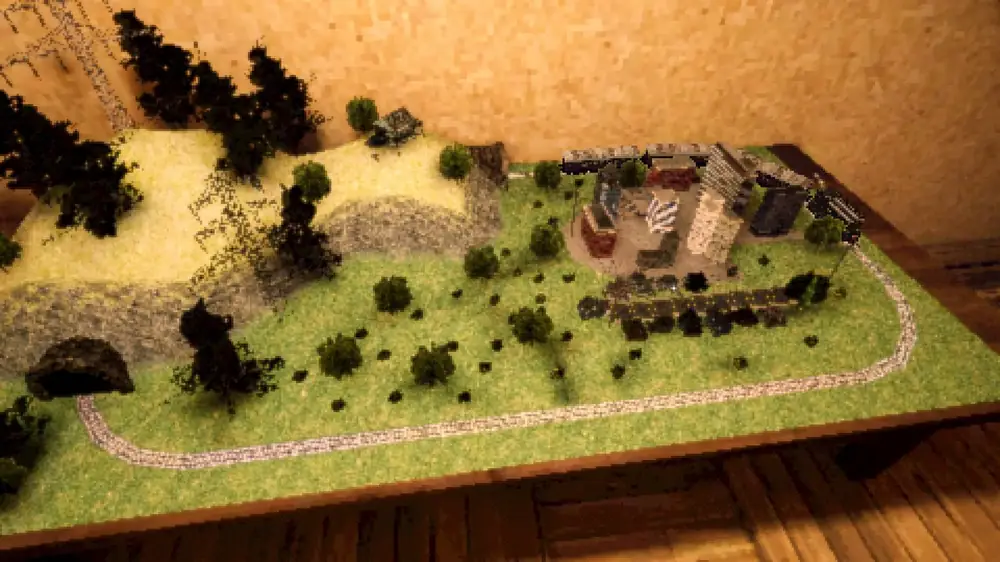
Placing the Model Train completes it
8
PHOTO The Padlock Key opens the chain-link garden fence. Shoot the static barrier inside and take the Garden Photo — the first of the three that decide your ending.
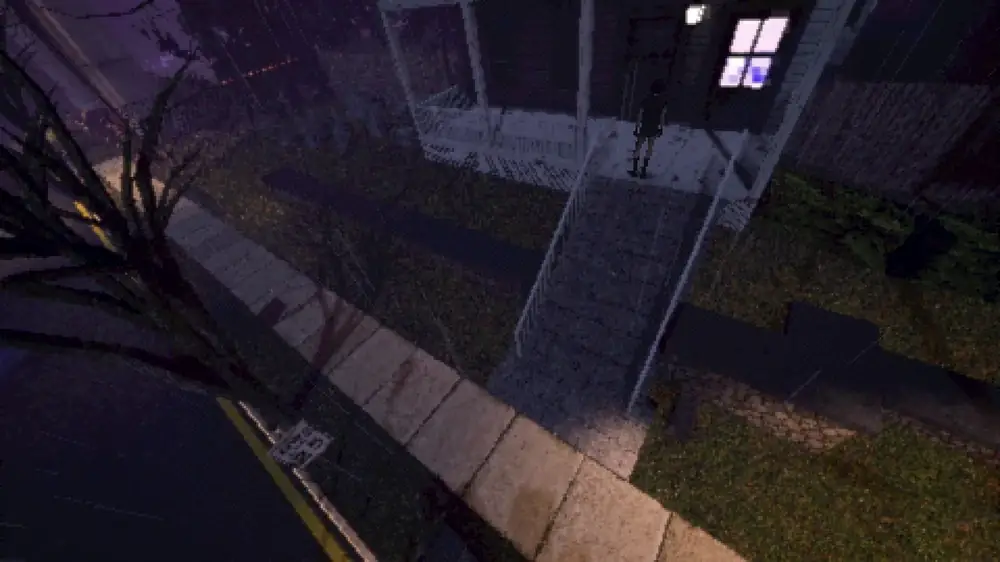
The garden behind the chain-link fence
9
PUZZLE POSSUM Find the Lighter, then light three candles. The first is in the apartment building past the stop sign — a possum is in its snowy hallway. The second is upstairs in the flooded house across from the store.
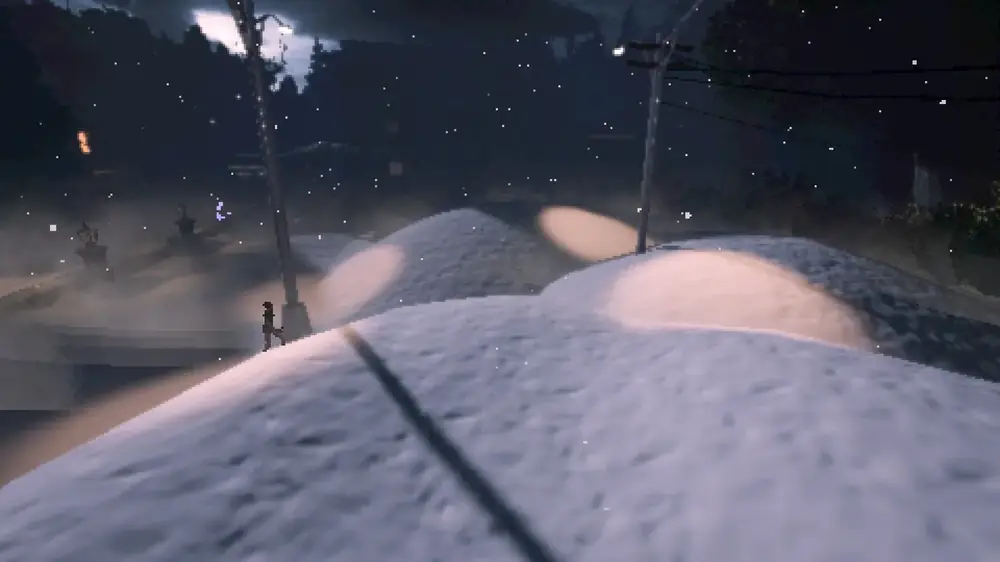
Candle 1 — the apartment building
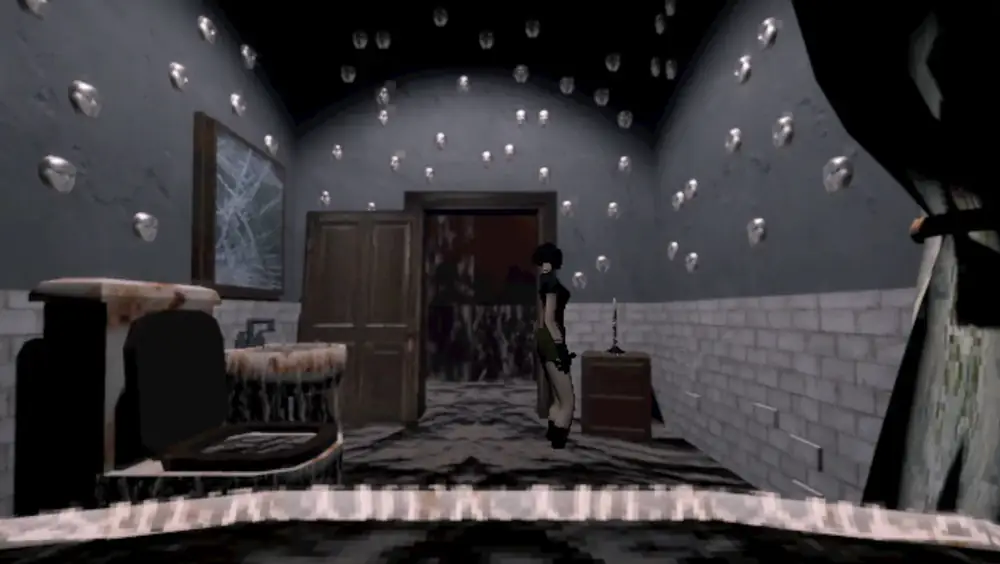
Candle 2 — upstairs in the flooded house
10
PUZZLE The third candle is at the baseball field, inside a cage on the pitcher's mound. Release it by running the bases in order — first, second, third, home — before the lights go out. Lighting all three opens the Funeral Parlor.
11
SAVE After the casket scene you reach downtown. There is a safe room here that is very easy to walk past — find it before you go into the alleys.
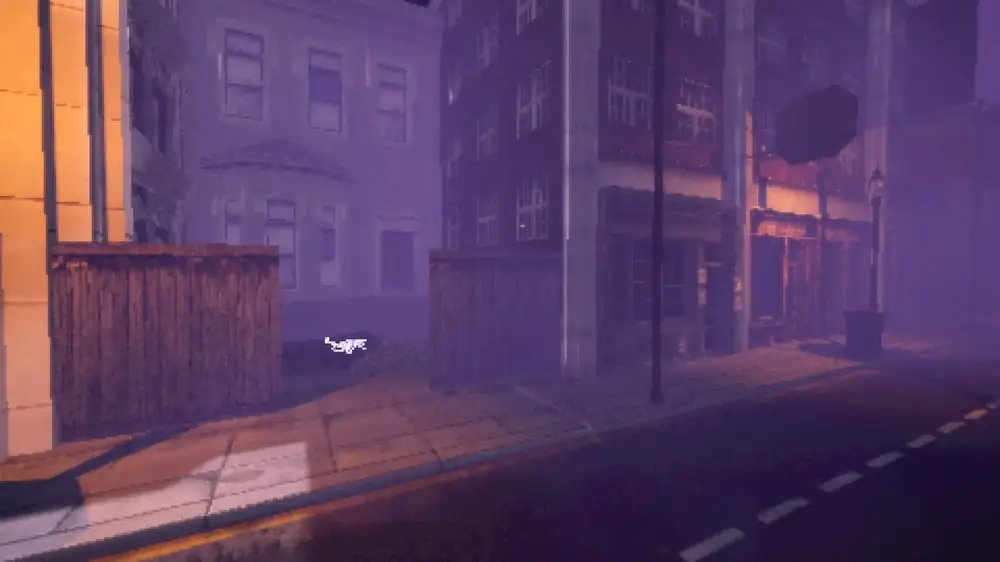
Downtown after the casket scene
12
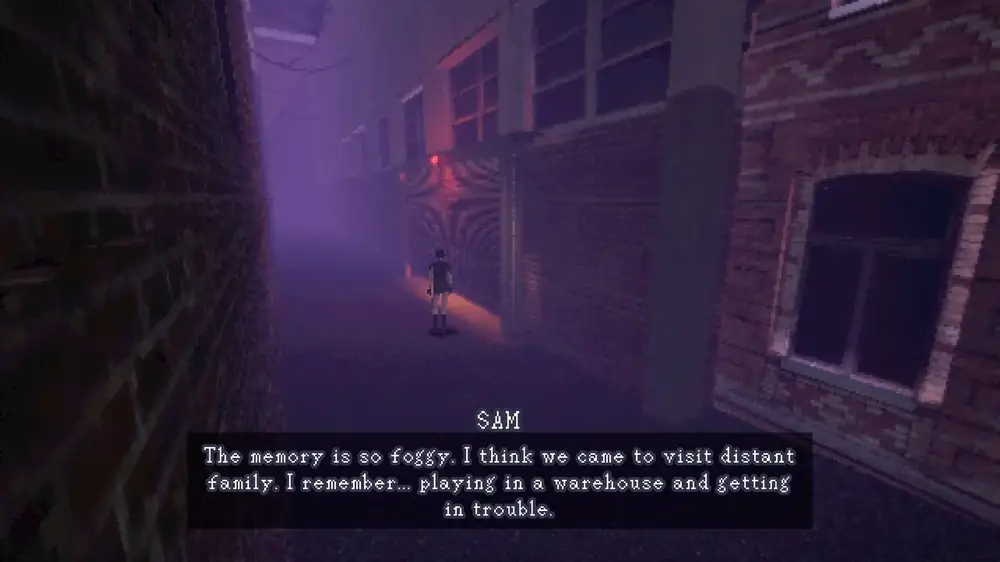
KEY ITEM The warehouse is a chase with a pursuer you cannot kill. Do not stop to fight. Weave through the shelving, grab the Crowbar, and get out.
The warehouse chase
13
BOSS The Crowbar pries open the bus. Spider: roughly forty photos, or twenty-five to thirty with the Burst Mod. Keep moving to dodge the lunge and the web spray, and photograph it mid-charge to interrupt it. The small spiders it spawns shake and then explode — run from those rather than shooting them. Film and healing are scattered around the arena; pick them up between phases.
14
KEY ITEM The fight gives you the Neighborhood Page. Take it to the Archive tome to open the centre gate.
Back at the Archivevisit 2 of 4 — the Neighborhood Page
Put the Neighborhood Page into the central tome. A new gate opens, and that is your route to the Wilderness.
Feed the Neighborhood photo into the machine on the left before you leave, and save at the PC behind the tome. The Neighborhood is closed behind you.
AREA 3The Wildernessseven switches, a piano and a telescope
The most open area in the game, and the one where it is easiest to lose your bearings. The whole region is gated behind one thing: bringing the power station console up to 100% by flipping seven switches scattered across the map.
1
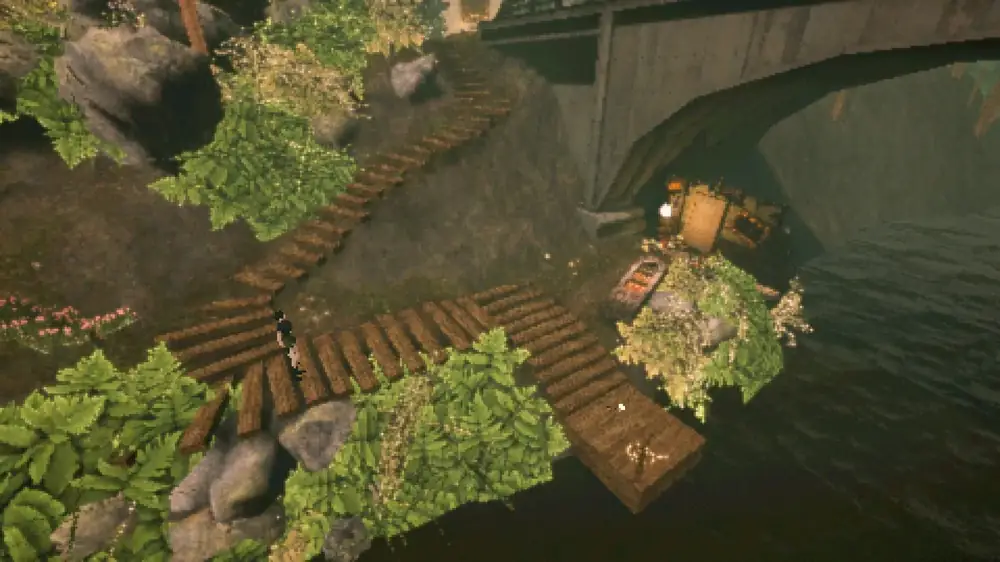
KEY ITEM The Watermill Key is at the docks near the bridge. It opens the watermill house.
The bridge into the Wilderness
2
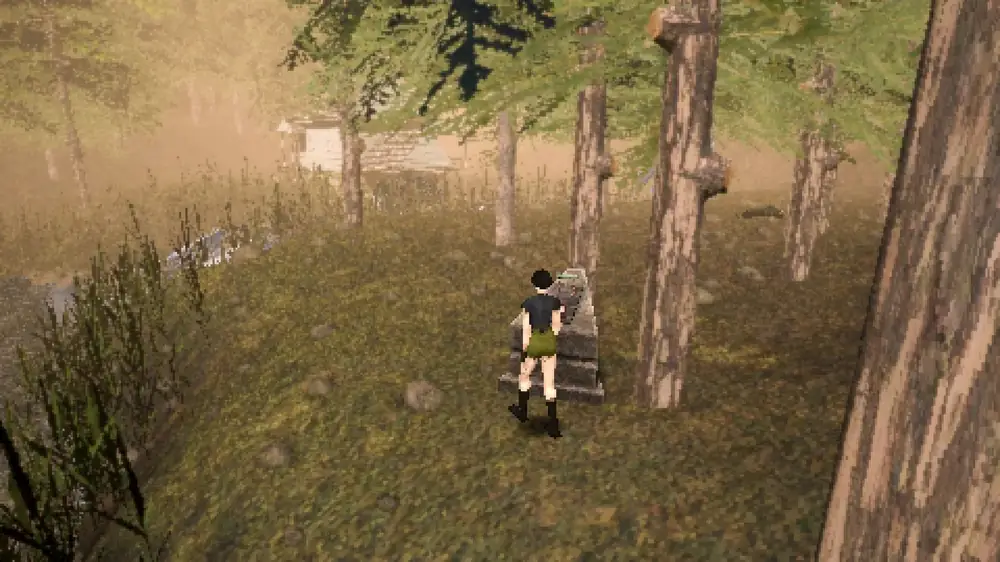
PUZZLE POSSUM Inside the watermill is the piano puzzle. The poem beside it gives the notes — the first letter of each line. Play C, D, D#, G, F, D, D#, F. A possum is also in the watermill house.
The piano puzzle in the watermill
3
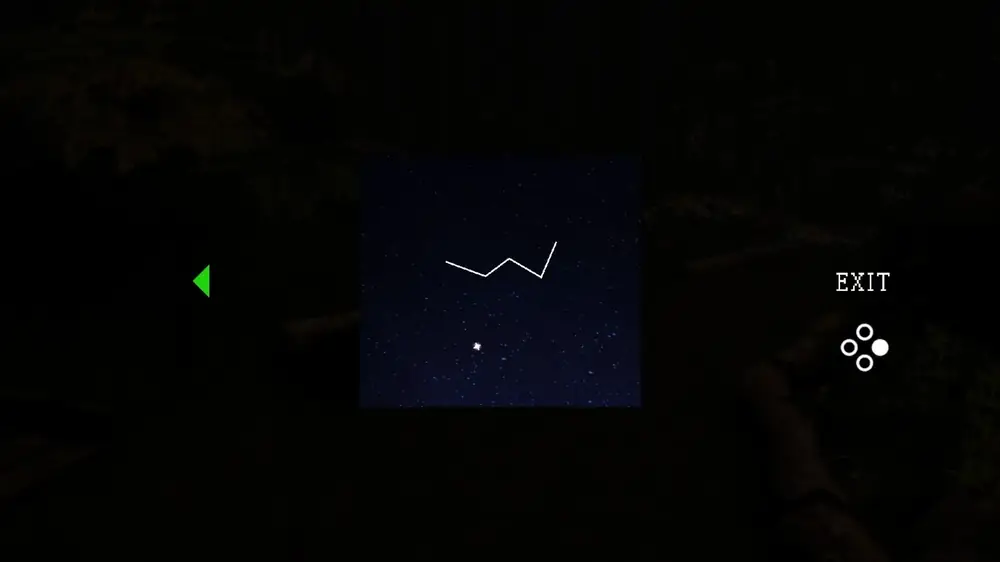
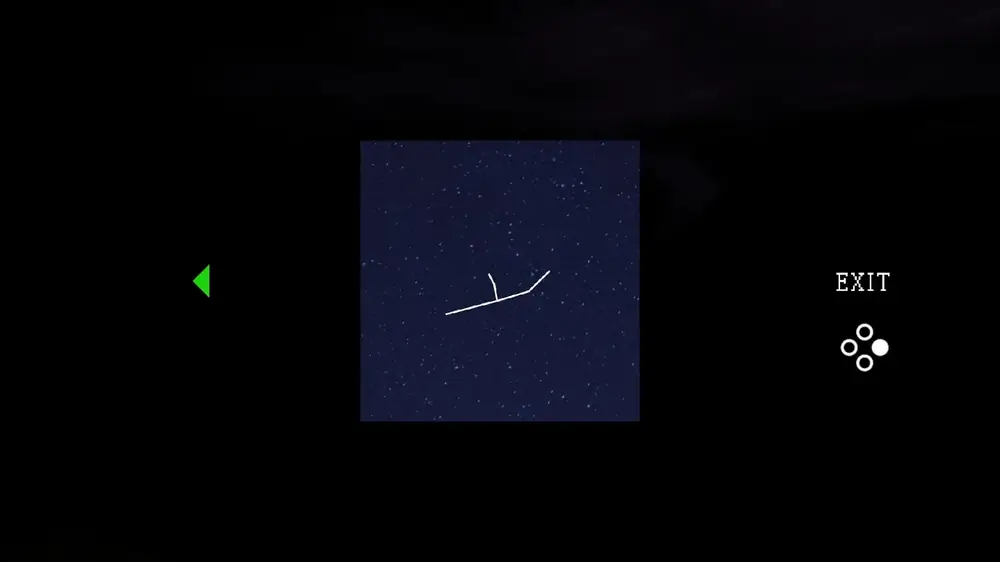
PUZZLE At the overlook, the telescope asks for three constellations. Set Cetus top right, Cassiopeia top left and Andromeda bottom left. Three signs out in the world teach you these if you want to work it out yourself.
The telescope at the overlook
The second constellation
4
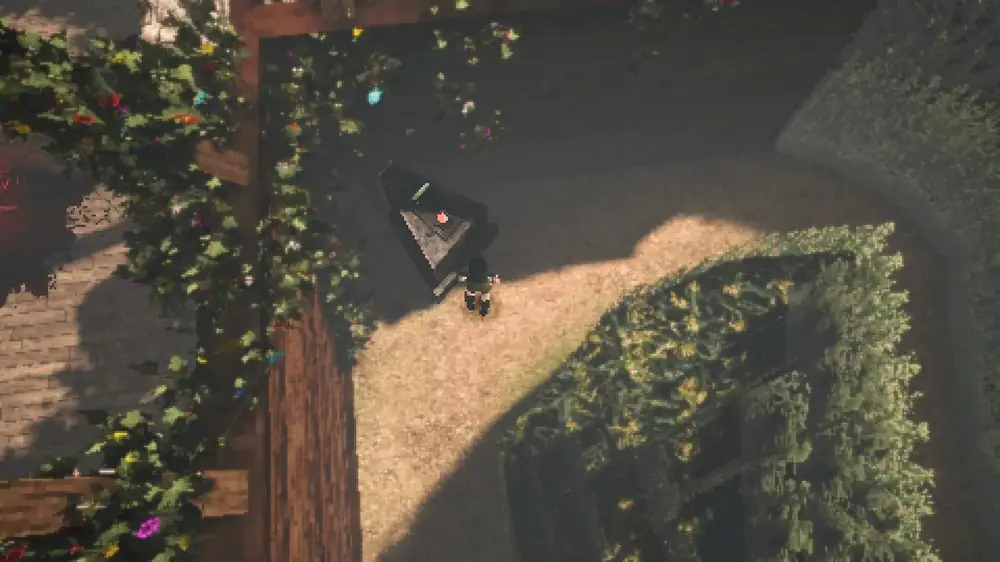
KEY ITEM The telescope unlocks a box holding the Blood Collection Kit. Use it on the deer corpse in the corn-maze house, then at the outdoor library altar.
The Blood Collection Kit
5
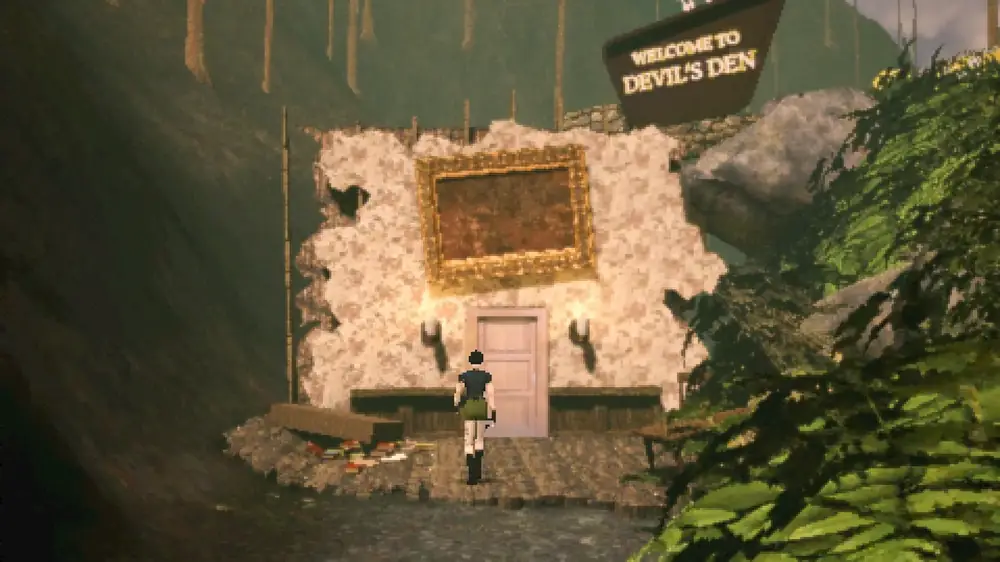
PUZZLE Seven marker switches must all be flipped. They are at: the willow heart tree at the heart of the Wilderness, the end of the parking lot, the shore opposite the watermill, the back of the cave near the ladder, the power station machine itself, the train-yard puzzle area, and the centre of the clearing.
One of the seven marker switches
6
POSSUM A possum is in the centre of the clearing while you are there.
7
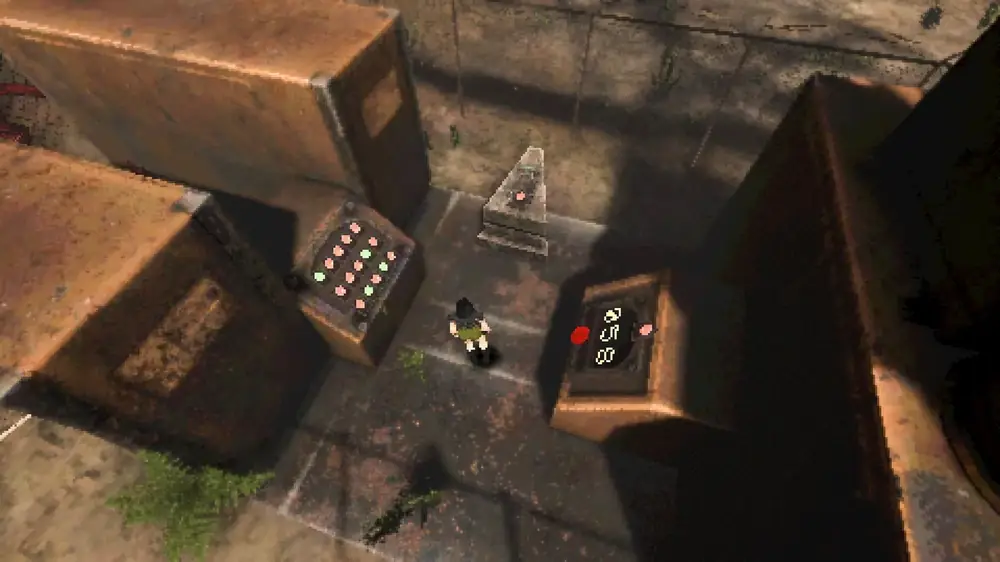
KEY ITEM The Bolt Cutters are by a locked gate in the lower cave. They open the power station.
The Bolt Cutters by the locked gate
8
PUZZLE The train yard is a crate-pushing maze. Work the blocks around to reach the switch in the top-right corner.
9
KEY ITEM The Hexagonal Crank is at the base of the giant heart tree. Using it lowers the water in the cave.
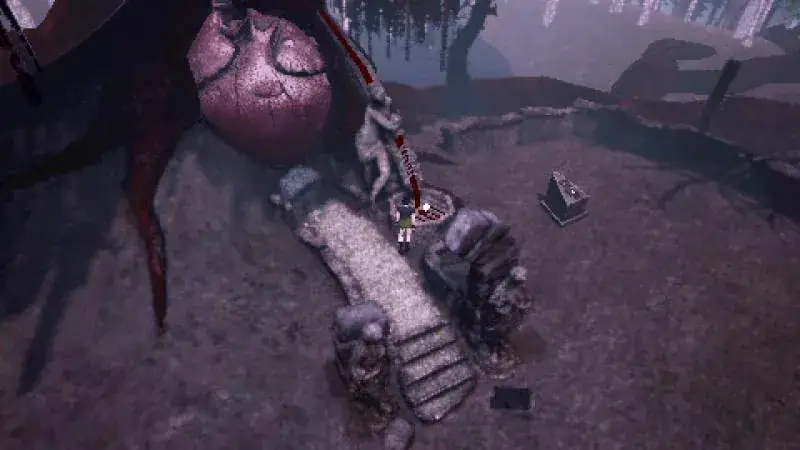
The giant heart tree
10
With all seven switches flipped, the power station console reads 100%. Press the button.
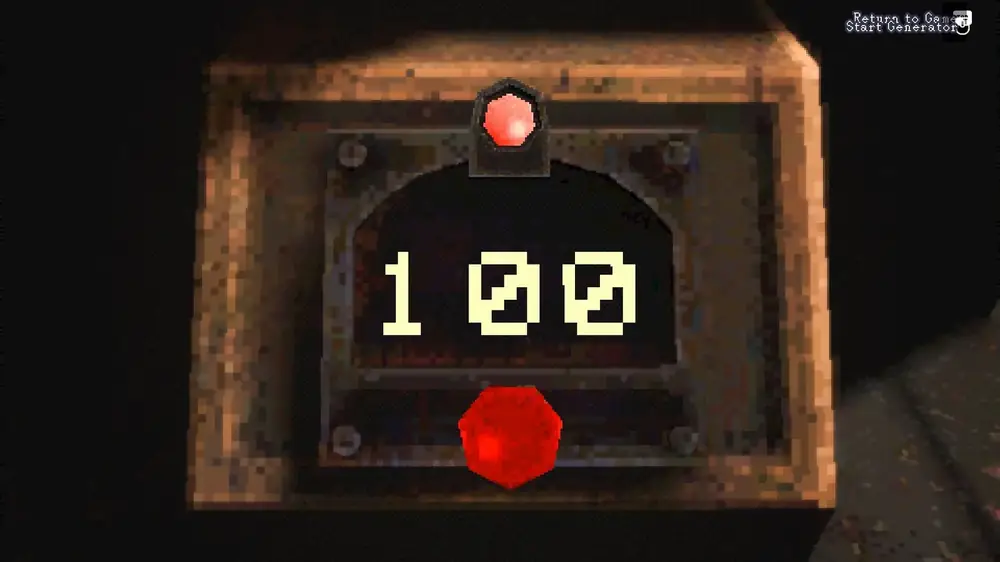
The console at 100%
11
PUZZLE PHOTO POSSUM In the cave, solve the light console outside the sun-marked gate, then photograph the white static for the Cave Photo — the second ending photo. A possum hides behind the waterfall in this cave.
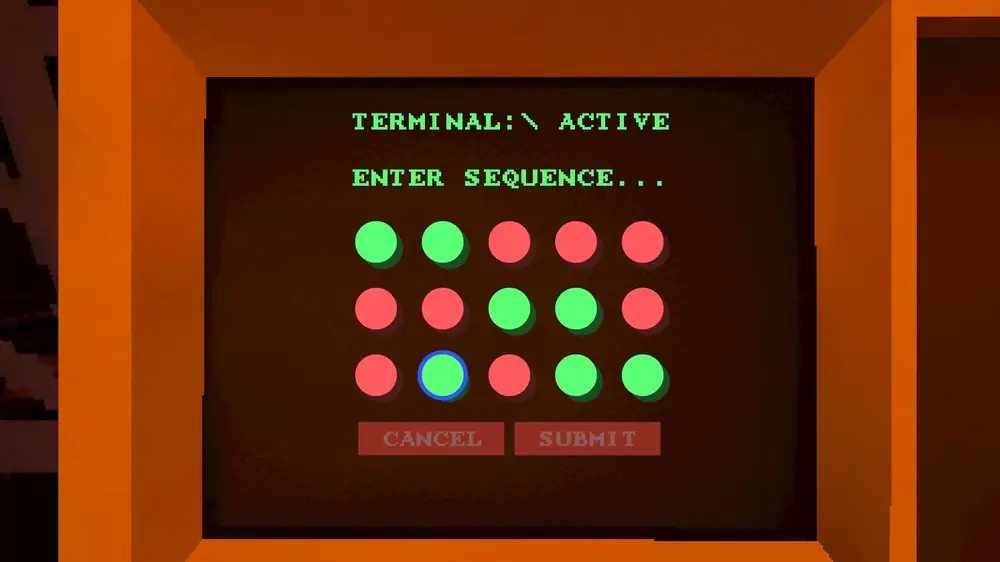
The light console outside the sun gate
12
BOSS Deer, in the cave. Around thirty photos, or twenty to twenty-five with the Burst Mod. It hides in the trees and then ambushes — shooting it while it is hidden is free damage, and the music changes to tell you which state it is in. Dodging an ambush leaves it open. It spawns dogs; sidestep their lunges.
13
KEY ITEM The fight gives you the Wilderness Page. Take it to the Archive tome.
Back at the Archivevisit 3 of 4 — the Wilderness Page
Put the Wilderness Page into the tome. The gate on the right opens: stairs, a ladder and a stone bridge take you to the Clock Tower.
Feed the Wilderness photo into the machine, and save. The Wilderness is closed behind you.
AREA 4The Clock Towerfour emblems, four sub-worlds, four keepsakes
The Clock Tower is a hub rather than a level. Four themed sub-worlds hang off it, each locked behind an emblem, and each one gives you a keepsake. Collect all four keepsakes and the display case opens the way to the Cathedral.
1
KEY ITEM The Delta Emblem is on the table by the fireplace. It opens the Hospital lobby door.
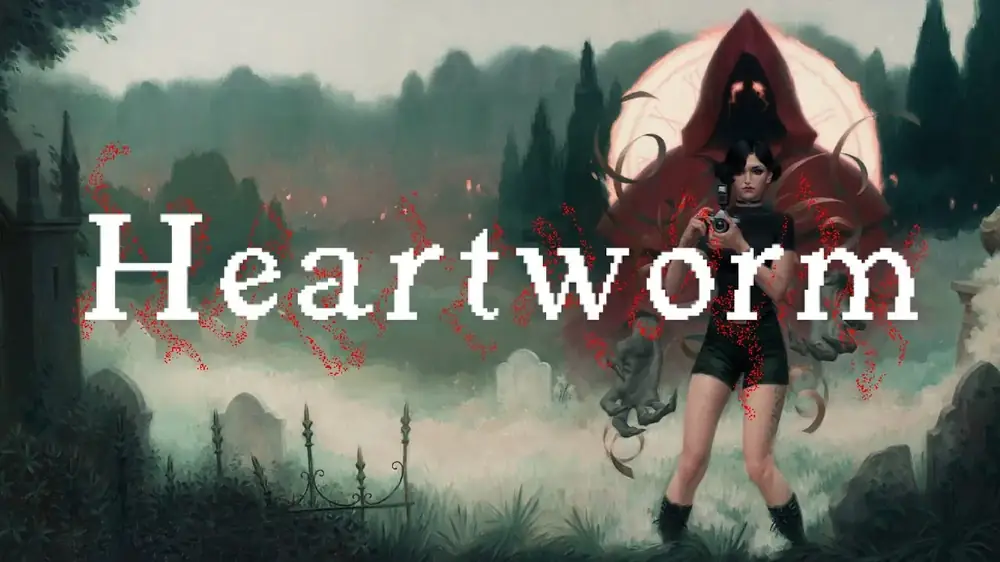
The approach through the cemetery
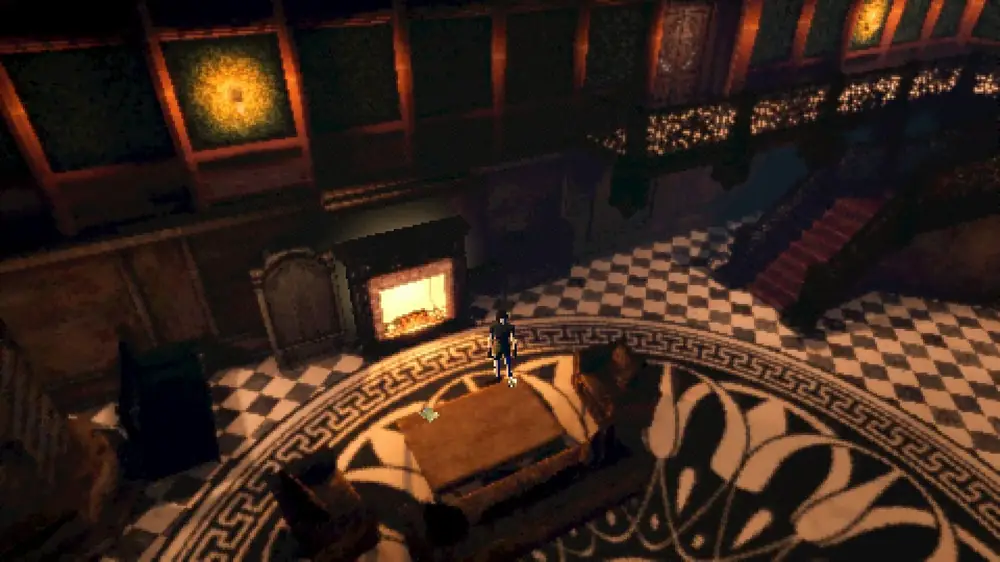
The Clock Tower entrance hall
2
PUZZLE KEEPSAKE In the Hospital's delivery ward, four screens read Complacency, Uncertainty, Mediocrity, Mortality. Match each to the room that shows it: the couple watching TV is Complacency, the person falling is Uncertainty, the person at the desk is Mediocrity, and the flower room is Mortality. Press them in the order 2, 3, 1, 4. That gives you the Crucifix from the crib.
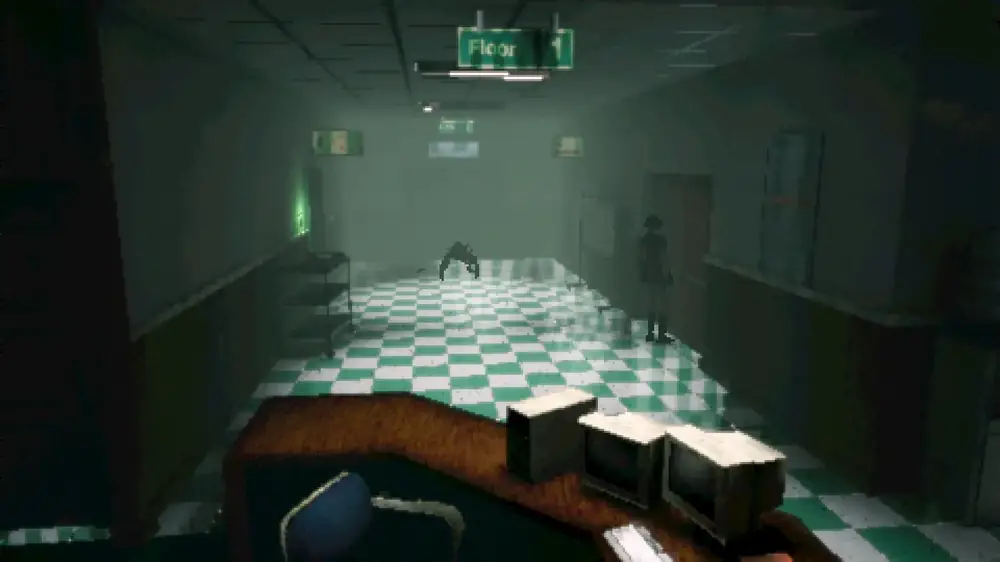
Hospital reception
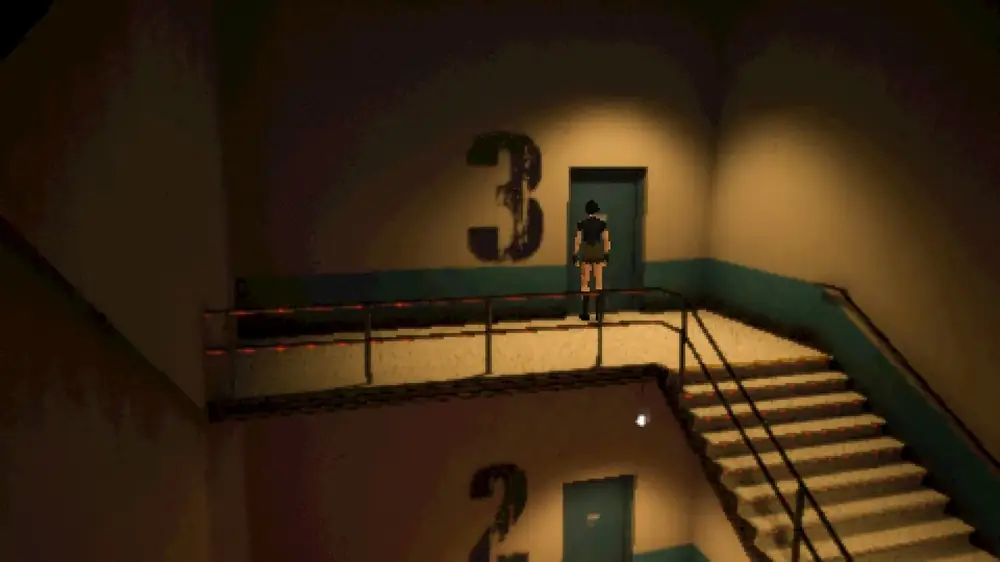
The stairwell up
3
ITEM The side door of the gallery holds the Multigrade Developer. You need it later in the School.
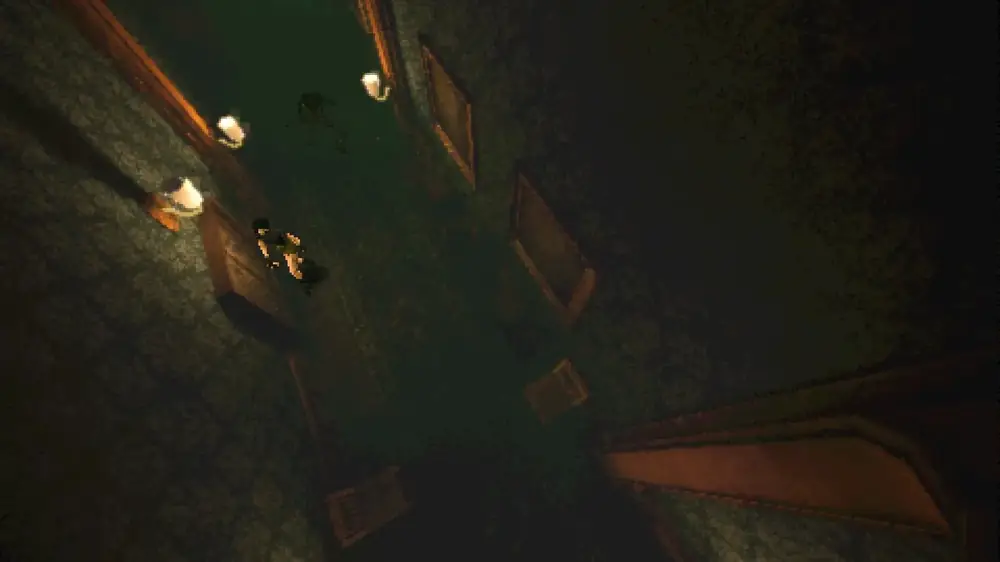
The gallery hallway
4
PUZZLE KEY ITEM On the balcony level, push a box into the empty cage to climb across. That gives you the Beta Emblem, which opens the School through the library.
5
POSSUM Mannequins here cannot be killed. A photo disperses one for about a second so you can get past — do not waste film trying to clear them. A possum is at the school swimming pool.
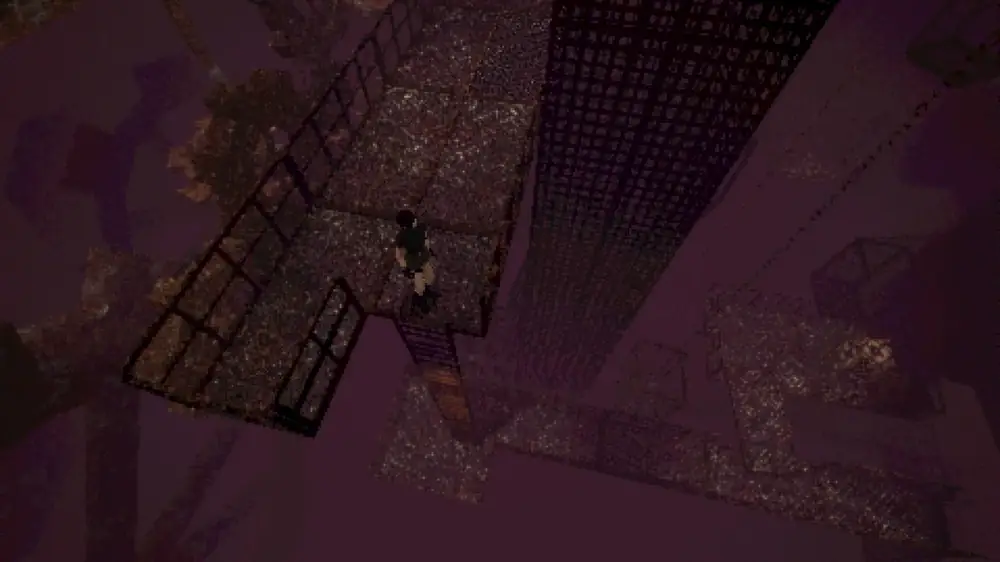
The School
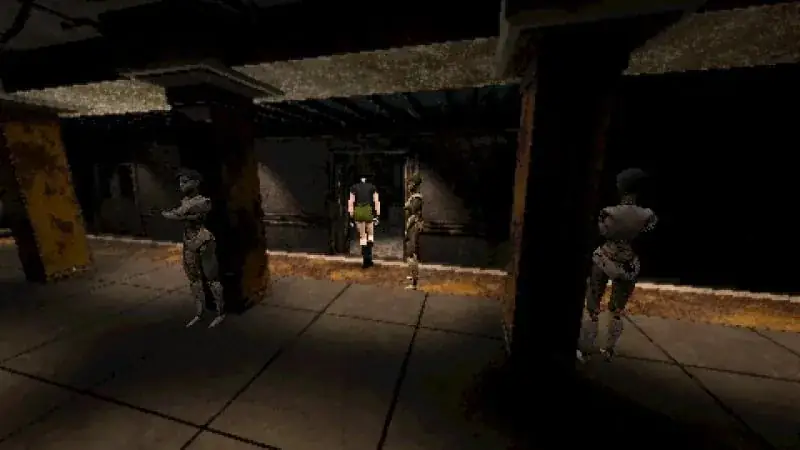
Mannequins — you cannot kill these
6
PUZZLE KEEPSAKE The classroom TV quiz is seven questions with no wrong answers — work through it and you get the Videotape.
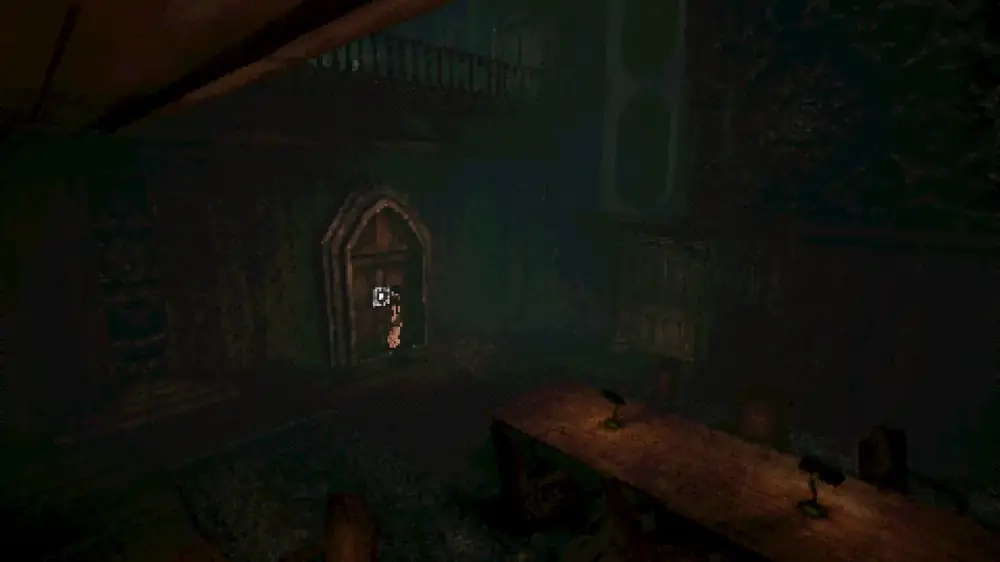
The classroom TV quiz
7
PUZZLE ITEM Find the Film in the darkroom and develop it with the Multigrade Developer. The resulting photograph shows the safe route across the Hole.
8
KEY ITEM Cross the Hole using that photograph. On the far side is the Gamma Emblem, which opens the Subway.
9
KEY ITEM PHOTO The Lower Track Key is taped to a service door. It opens the gate to the lower tracks — shoot the static barrier there for the Clock Tower Photo, the third and last ending photo.
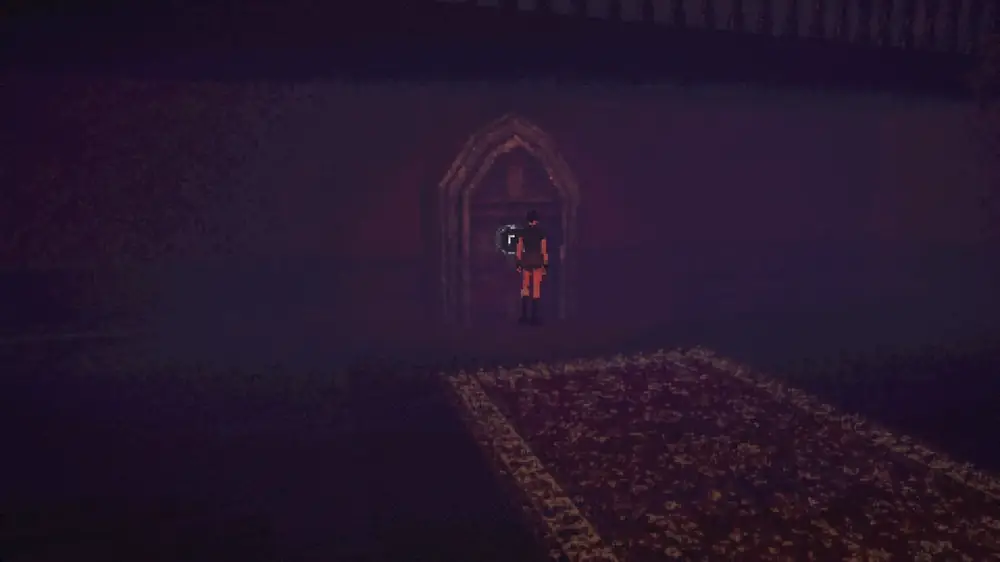
The Subway
10
PUZZLE KEEPSAKE In the Office, print four colour-coded papers and deliver each one to its matching receptacle while avoiding the enemies. Completing all four gives you the Work ID from the copier.
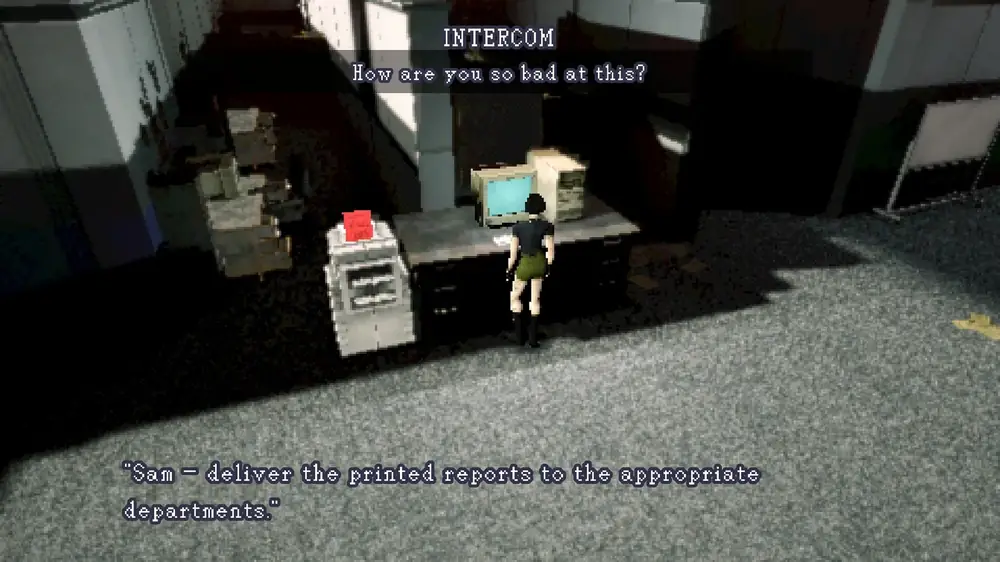
The Office and its printer
11
PUZZLE KEY ITEM Read the notes in the four separate gallery rooms for four words — DWELL, DESIRE, DEPRIVE, DREAD. Enter them into the emblem device for the Omega Emblem, which opens the Spooky House.
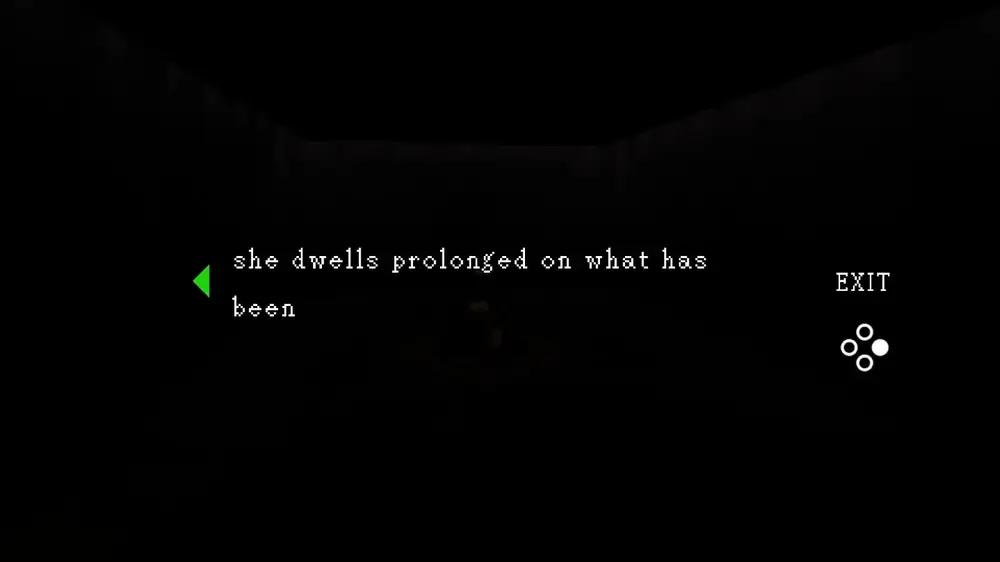
One of the four gallery notes
12
PUZZLE Inside the Spooky House, look at the eleven grandfather clocks first. Each one carries a symbol and a stopped time, and the time tells you which slot that symbol goes in. The order is: 1 Moon, 2 Book, 3 Ship, 4 Candle, 5 Cloud, 6 Water, 7 Widow, 8 Time, 9 Death, 10 Earth, 11 Devil.
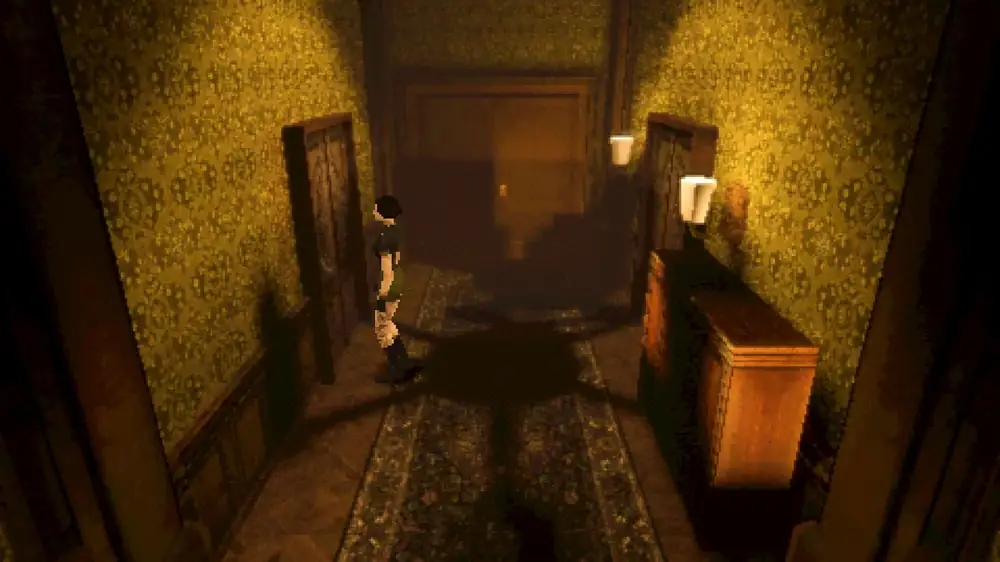
The junction near the Spooky House
13
PUZZLE KEEPSAKE The sliding puzzle upstairs is shuffled differently every playthrough, so there is no fixed set of moves. Slide the tiles into the clock order above. Solving it puts the Eulogy on a floating path.
14
POSSUM A possum is in the Clock Tower storage room. Sweep for it before you finish here.
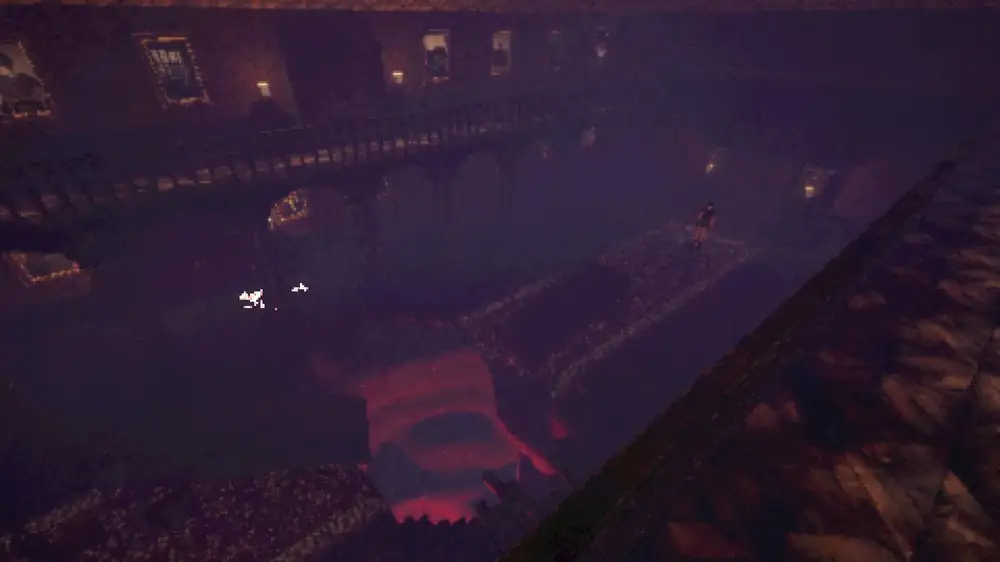
The hall with the display case
15
Place all four keepsakes — Crucifix, Videotape, Work ID and Eulogy — in the display case. The elevator to floor R opens.
Back at the Archivevisit 4 of 4 — the last stop
Put the Clock Tower Page into the tome. A cutscene plays and the Ancient Key appears by the door you came in from.
This is the last time you stand in this room. Feed the Clock Tower photo into the machine, check the count — three photos is the best ending — and save. Then use the Ancient Key on the cathedral front door.
AREA 5The Cathedralthe Tape Keeper, and the ending
1
BOSS The Tape Keeper, in two phases. You cannot damage it directly. The lanterns are the whole fight.
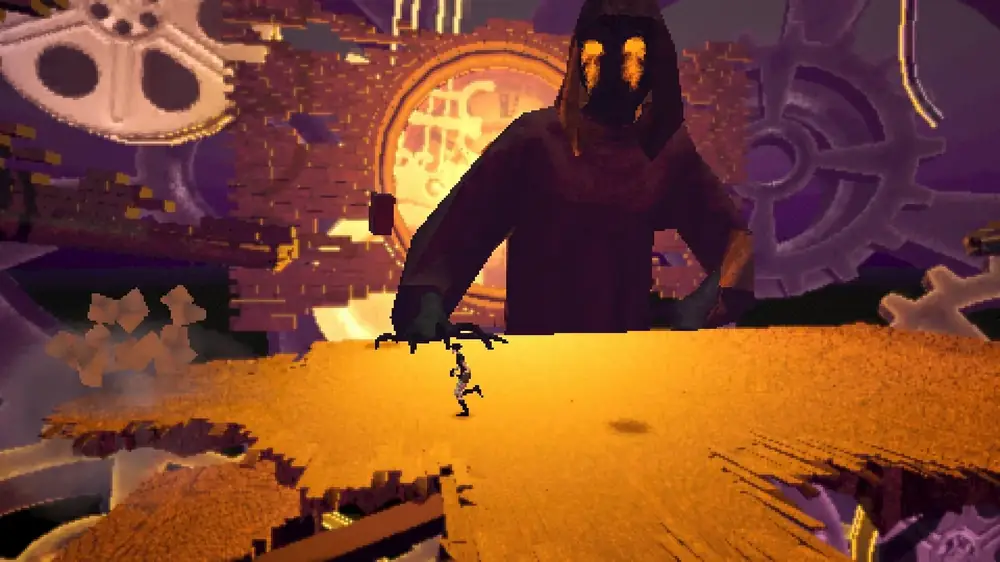
The Tape Keeper arena
2
Phase 1: dodge the smashes, the sweeps and the falling debris. When the arena turns purple, photograph the four corner lanterns. That stuns the Keeper — then photograph the Keeper itself.
3
Phase 2: the same loop, but now five lanterns including one in the centre, and it adds film attacks from below and from its chest. Staying in a corner avoids most of what it throws.
4
KEY ITEM Beating it gives you the Clock Tower Page from the crypt.
Before you take the elevator. Make sure you have all ten possums and all three photos, and save. Once you insert photos into the Archive machine you are committed to that ending unless you reload — and saving here is what lets you collect all three ending achievements from one run.
5
PHOTO Return to the
Archive photo machine and insert your photos. Three photos gives the best ending. See the
All Endings tab for exactly what each count gives you.