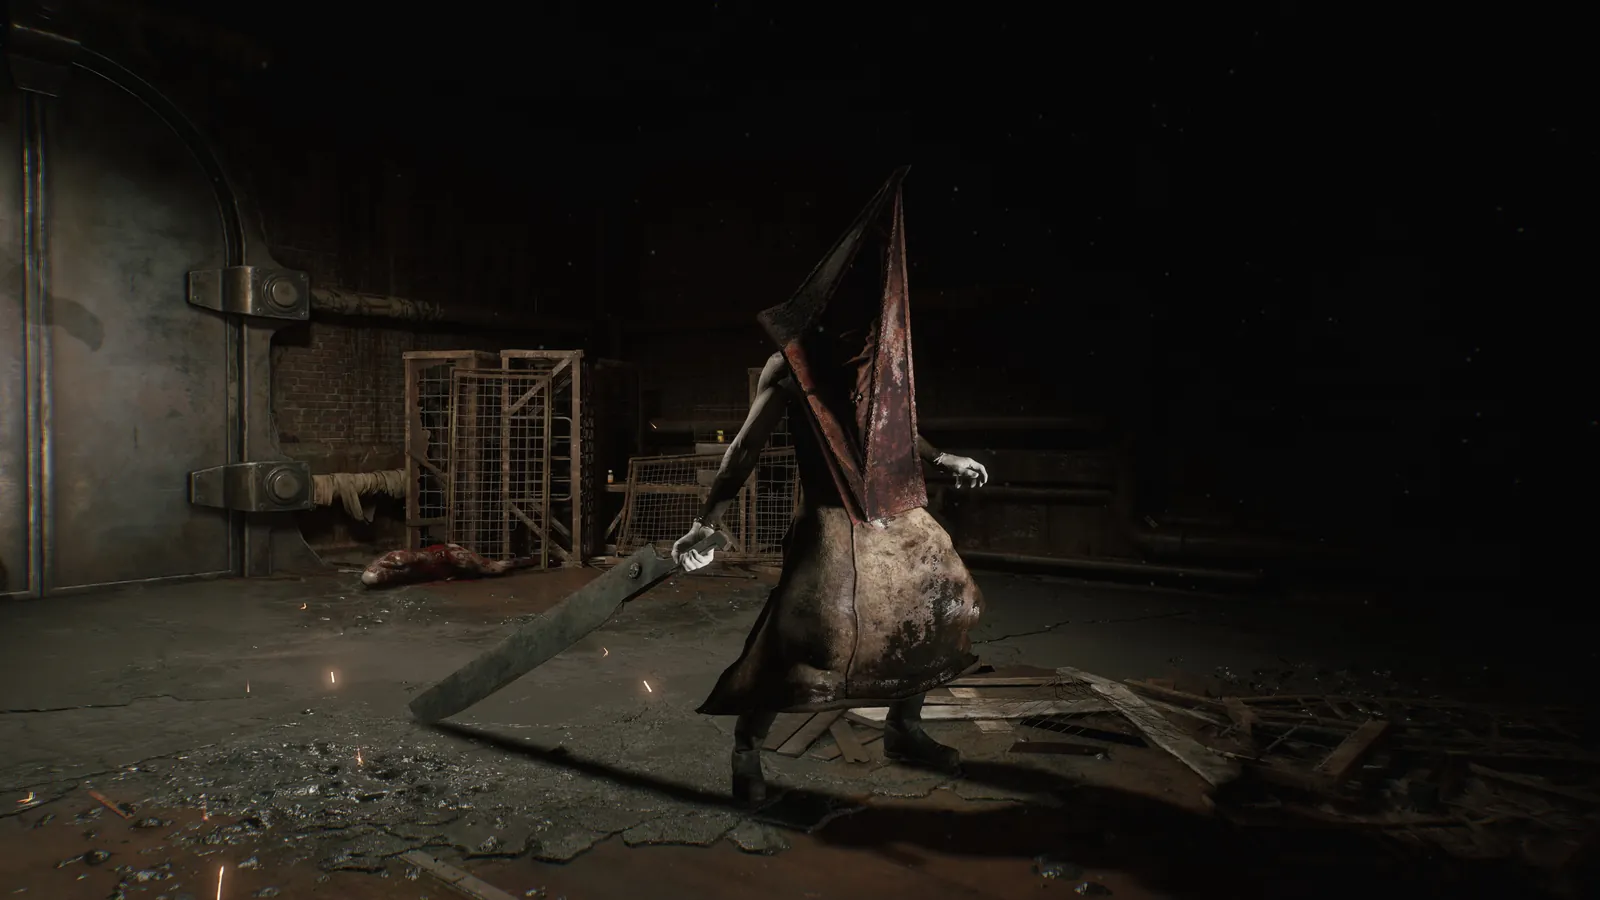
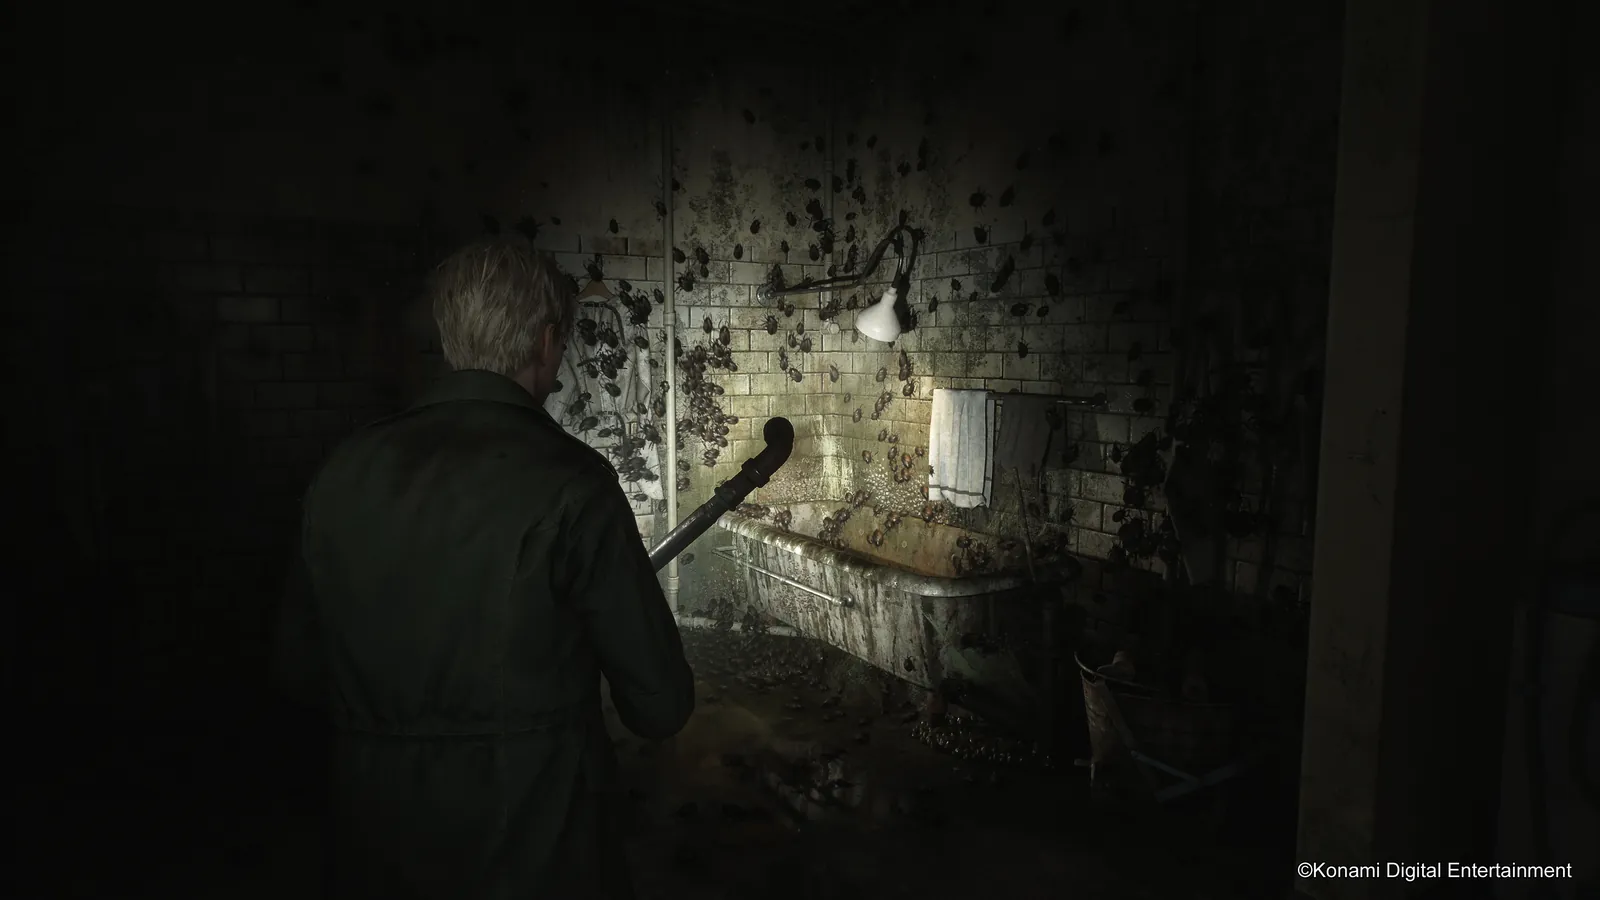
Chapter 3: Blue Creek Apartments, South Vale (West) & Brookhaven Hospital
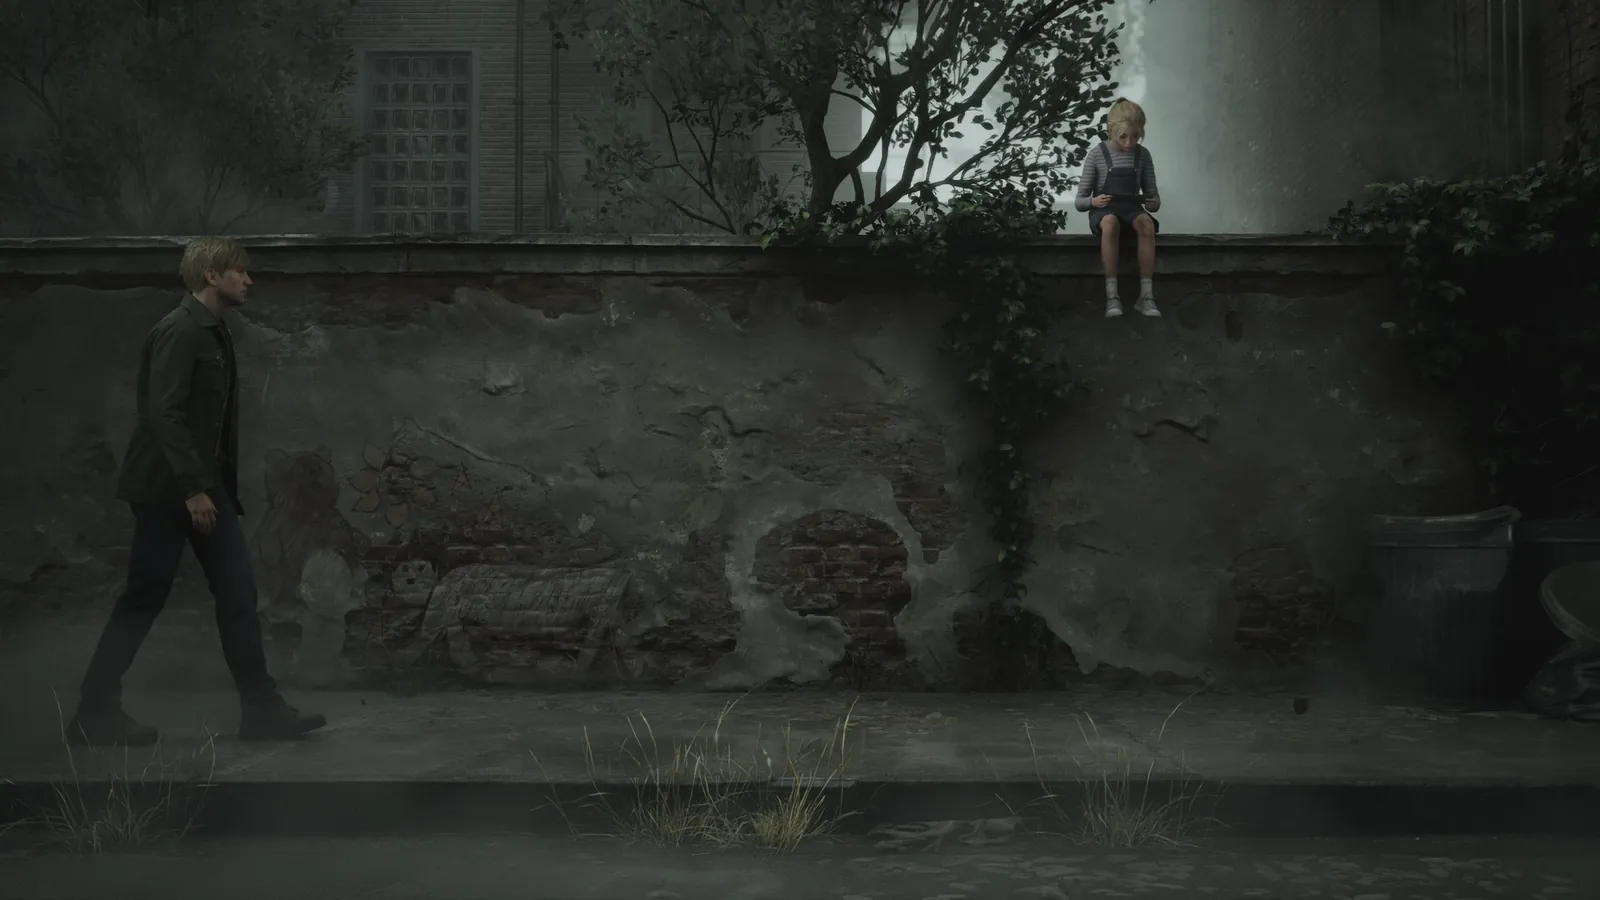
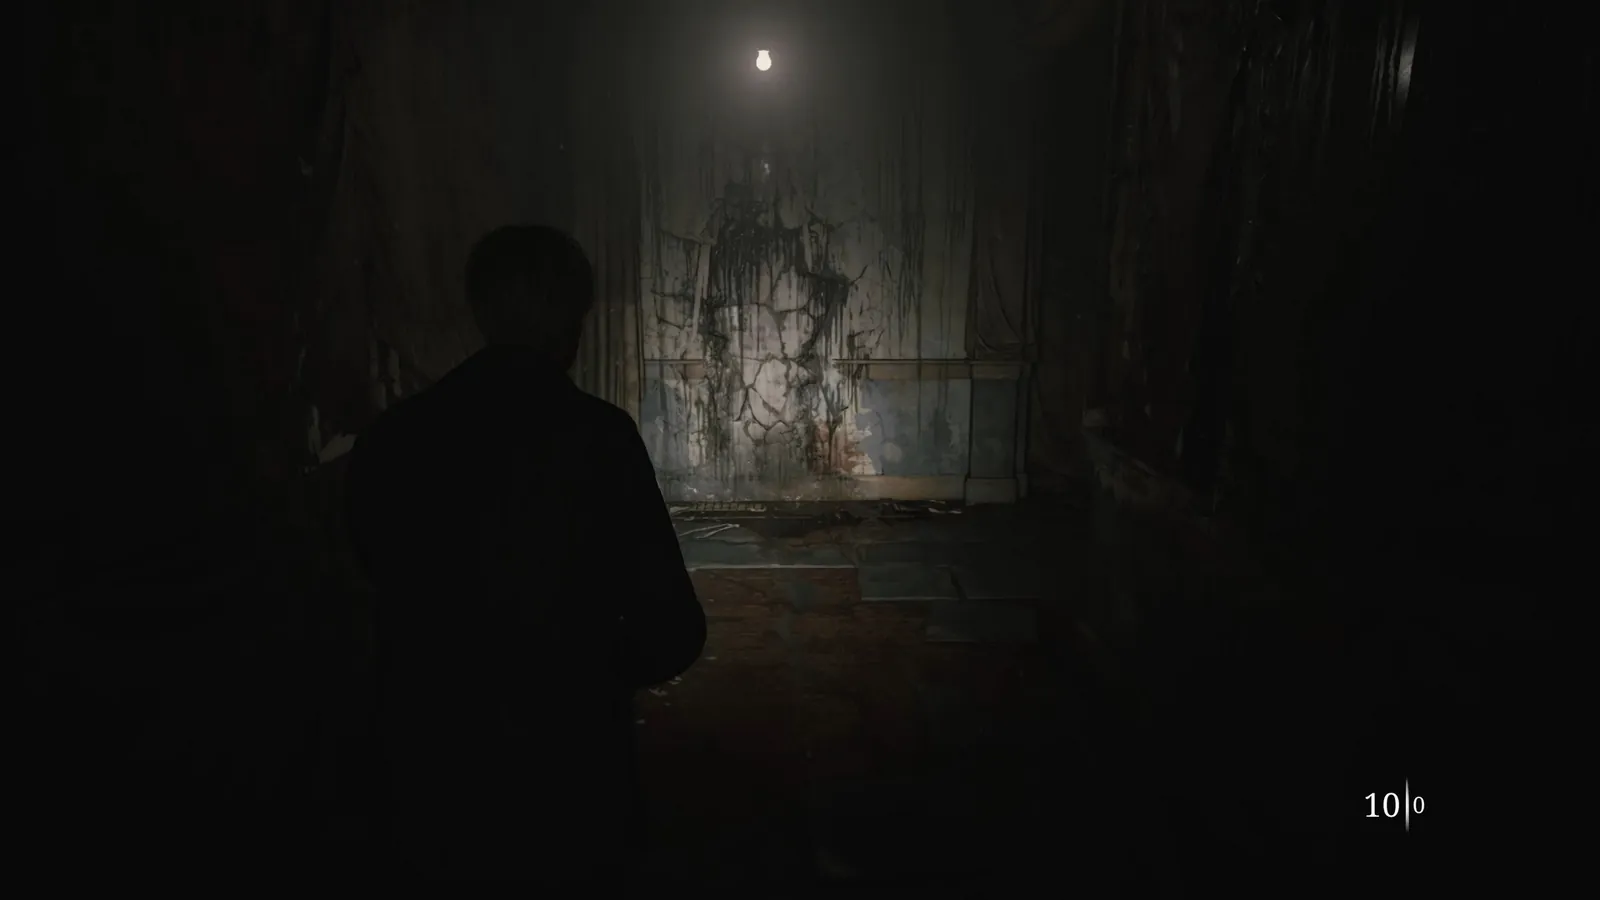
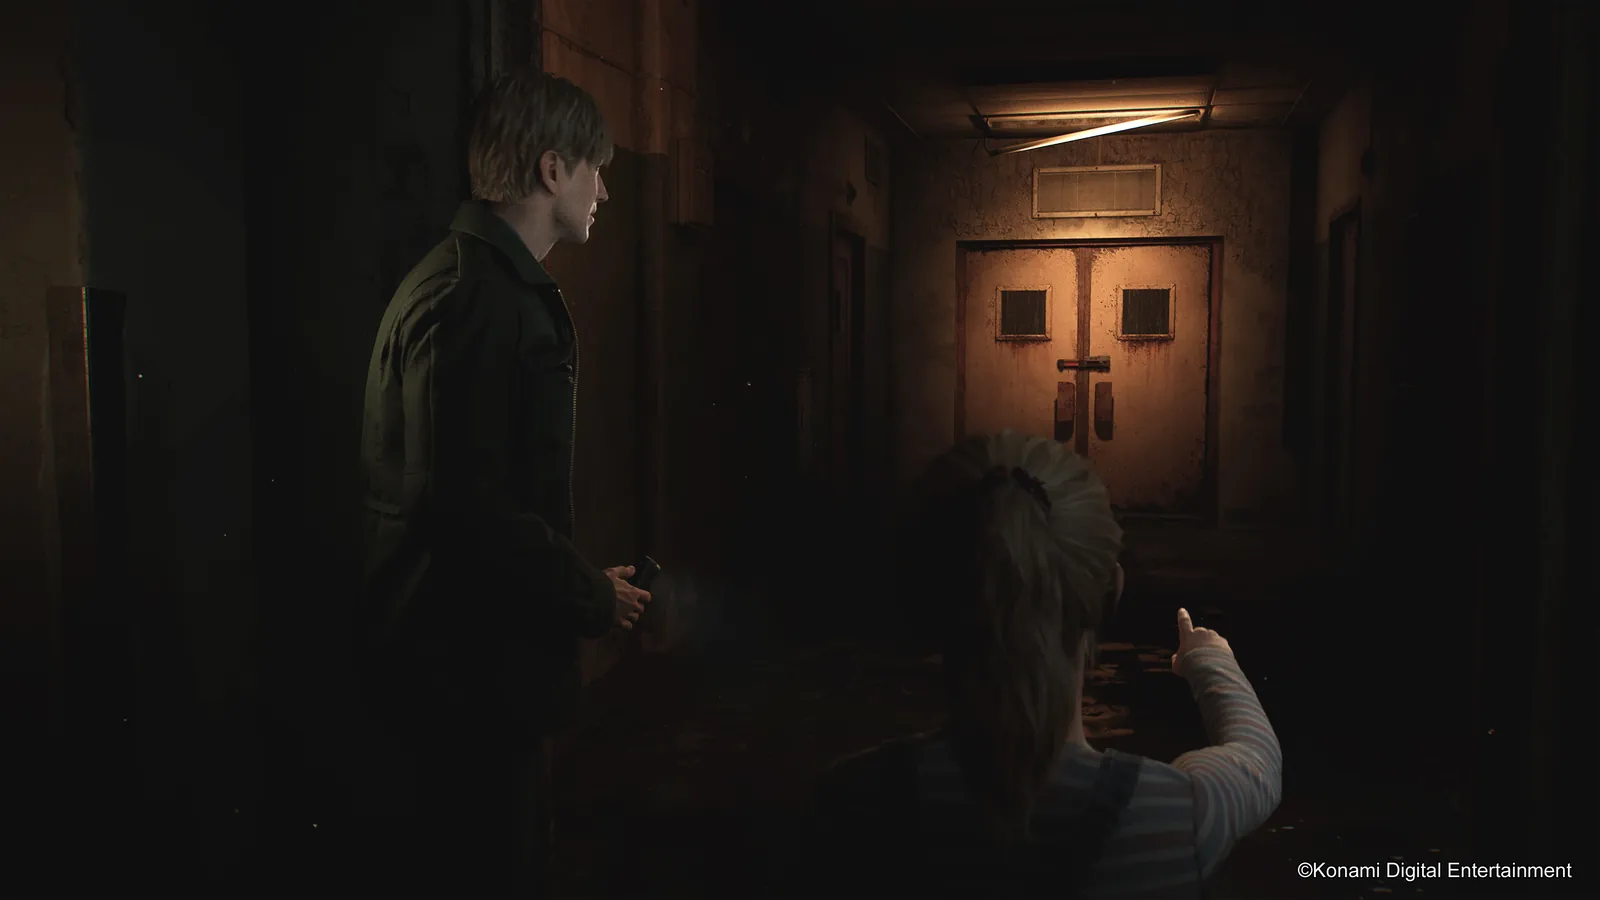
Laura drawing on the wall
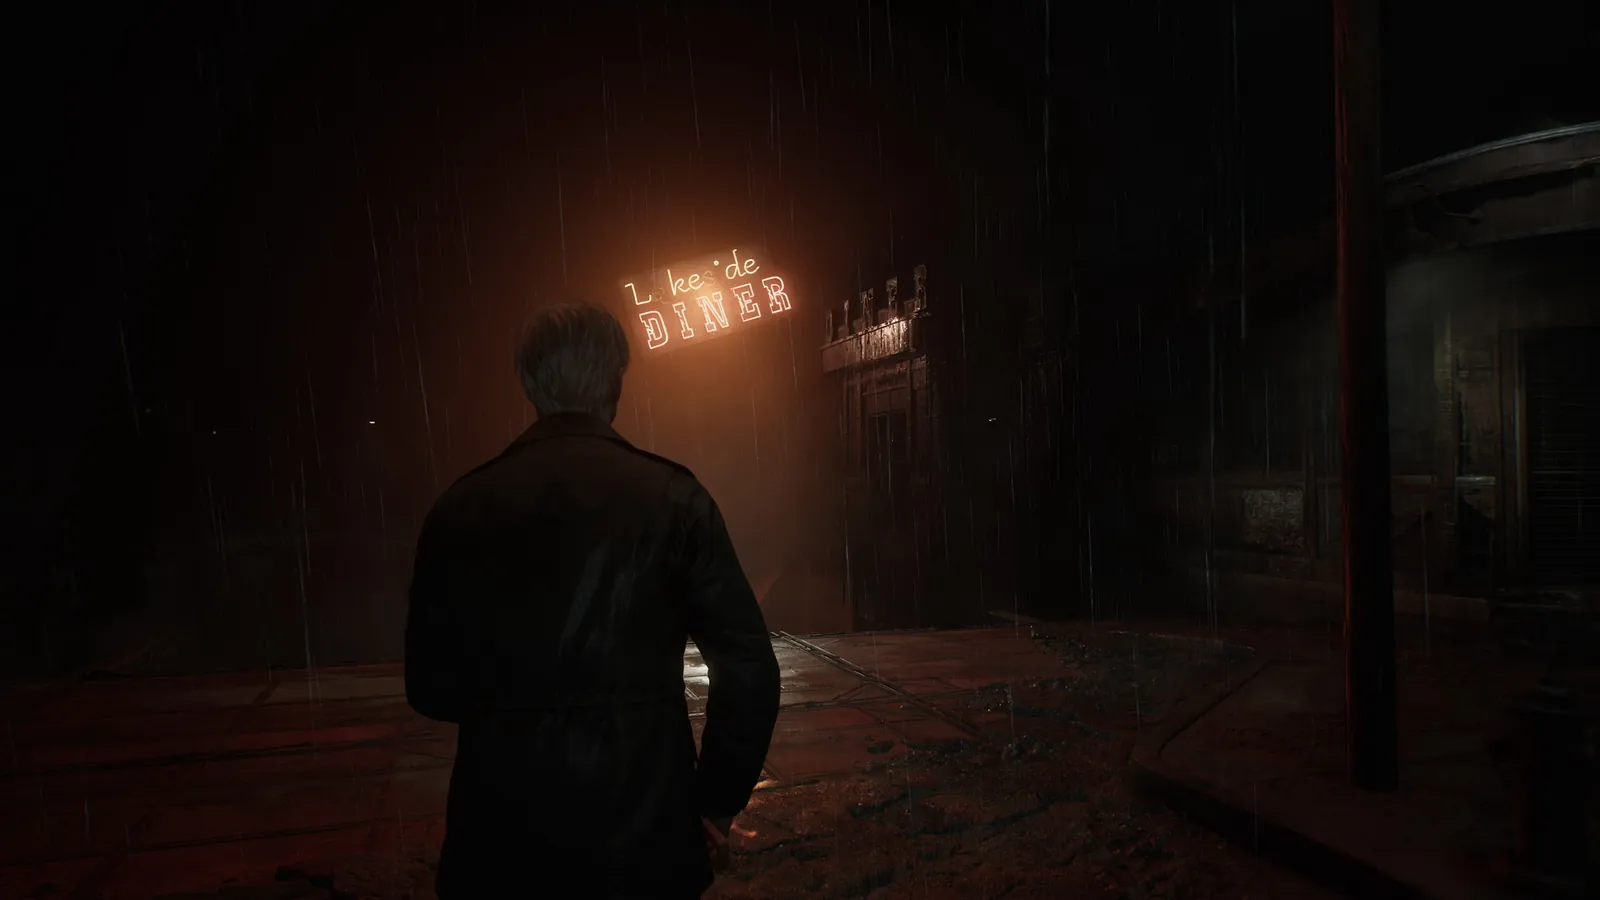
This chapter spans three major areas: the Blue Creek Apartments (with the clock puzzle and Flesh Lip boss), South Vale (West) - the second town exploration section - and the sprawling Brookhaven Hospital, one of the largest and most collectible-dense areas in the game.
Blue Creek Apartments
1
Map On the wall in the corridor.
2
Key Item Apt 306 Key: Apt 307 with the hanging radio, through the balcony to Apt 305 back rooms.
3
Key Item Valve: On the wall in Apt 304, via 306.
4
Key Item The Hour Hand: Return to 307, use the Valve to drop the radio.
5
Key Item The Minute Hand: Apt 210 behind the H Door. Place the Hour Hand on the clock in 212, set to 9. Enter 210, break the kitchen wall, search the toilet 3 times.
6
Key Item Pigeon Figurine: Leave the bathroom, the apartment is corrupted; on a cabinet shelf.
7
Key Item Wooden Swan Head: Apt 211, shadow on the wall, in the corner.
8
Key Item Malformed Figurine Part: Apt 209, bathroom, break the glass on the bathtub.
9
Key Item Swan Figurine: Combine the Wooden Swan Head + Malformed Part.
10
Key Item Winged Key: Place the Swan and Pigeon on the seesaw in 210; Swan in the second notch.
11
Collectible Glimpse #7: Jump down the hole to Apt 110, broken TV stand.
12
Personal Angela's Knife: Automatically after the cutscene in 109. Do not inspect for the Maria ending.
13
Key Item Key of Resilience: On the table after the cutscene.
14
Strange Photo #5 "Forever together": Stairwell 1F, next to the barrel.
15
Key Item The Second Hand: Place the minute hand on 2, time 9:10, unlock Apt 202 (M door). Moth code: 582 (Light) / 373 (Standard). Search the hole 3 times.
16
Strange Photo #6 "How the time flies": Clock room corrupted, bedroom, on the floor.
17
Collectible Glimpse #8: Place the second hand on 3, time 9:10:15, unlock the S door 1F. Stairwell, examine the corpse.
POINT OF NO RETURN: Interacting with the S door triggers the Flesh Lip boss fight. After defeating it, you cannot return to Blue Creek Apartments.
18
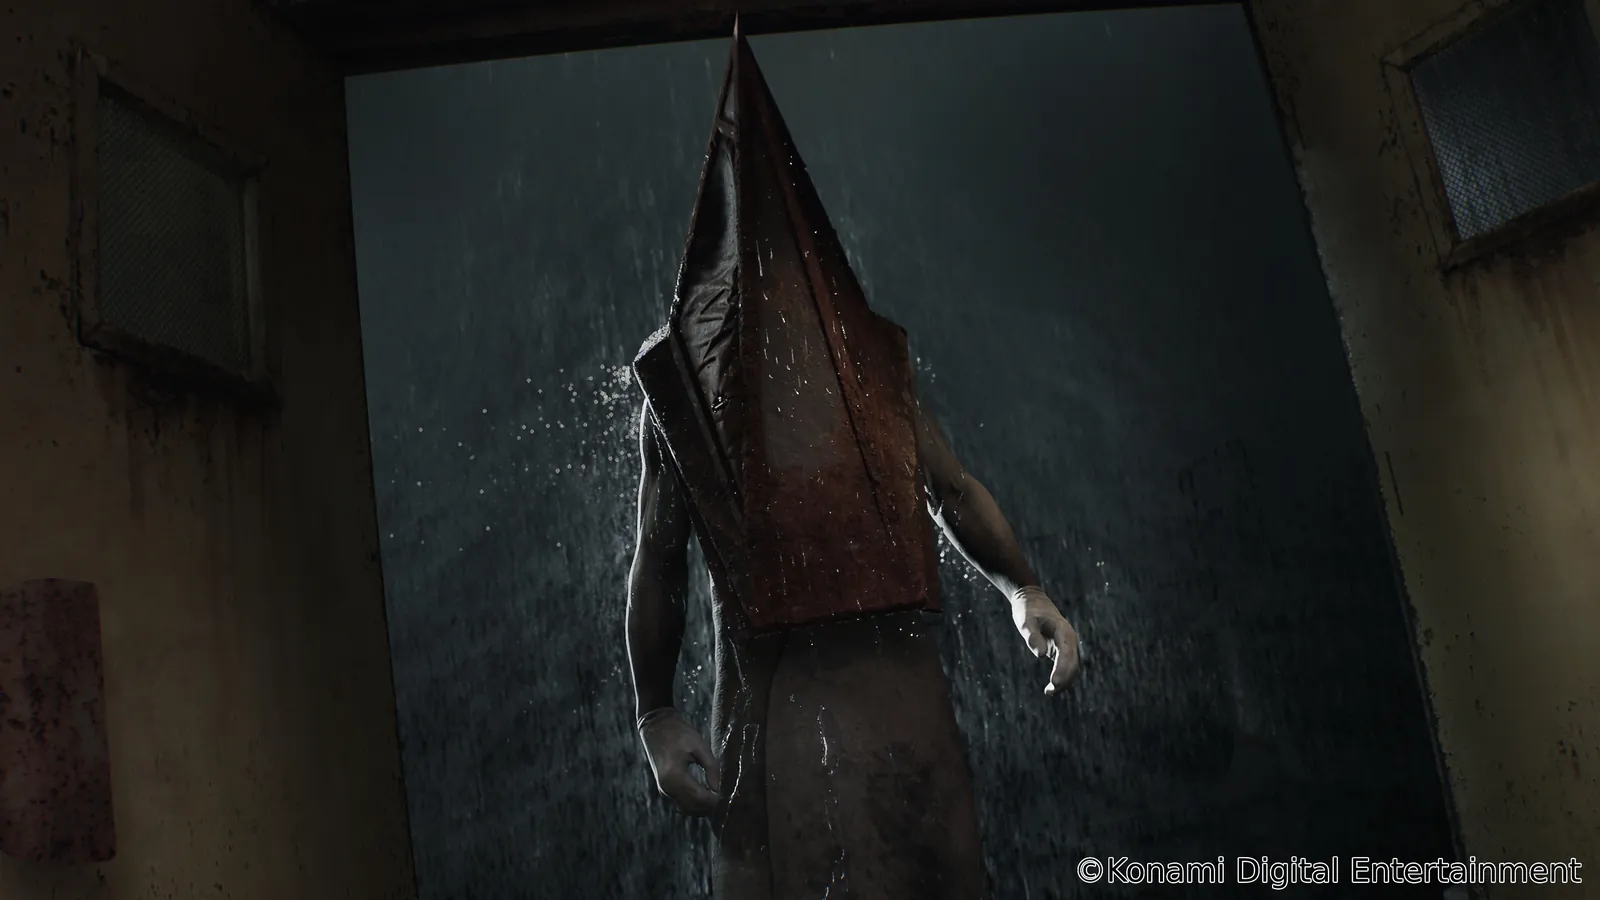
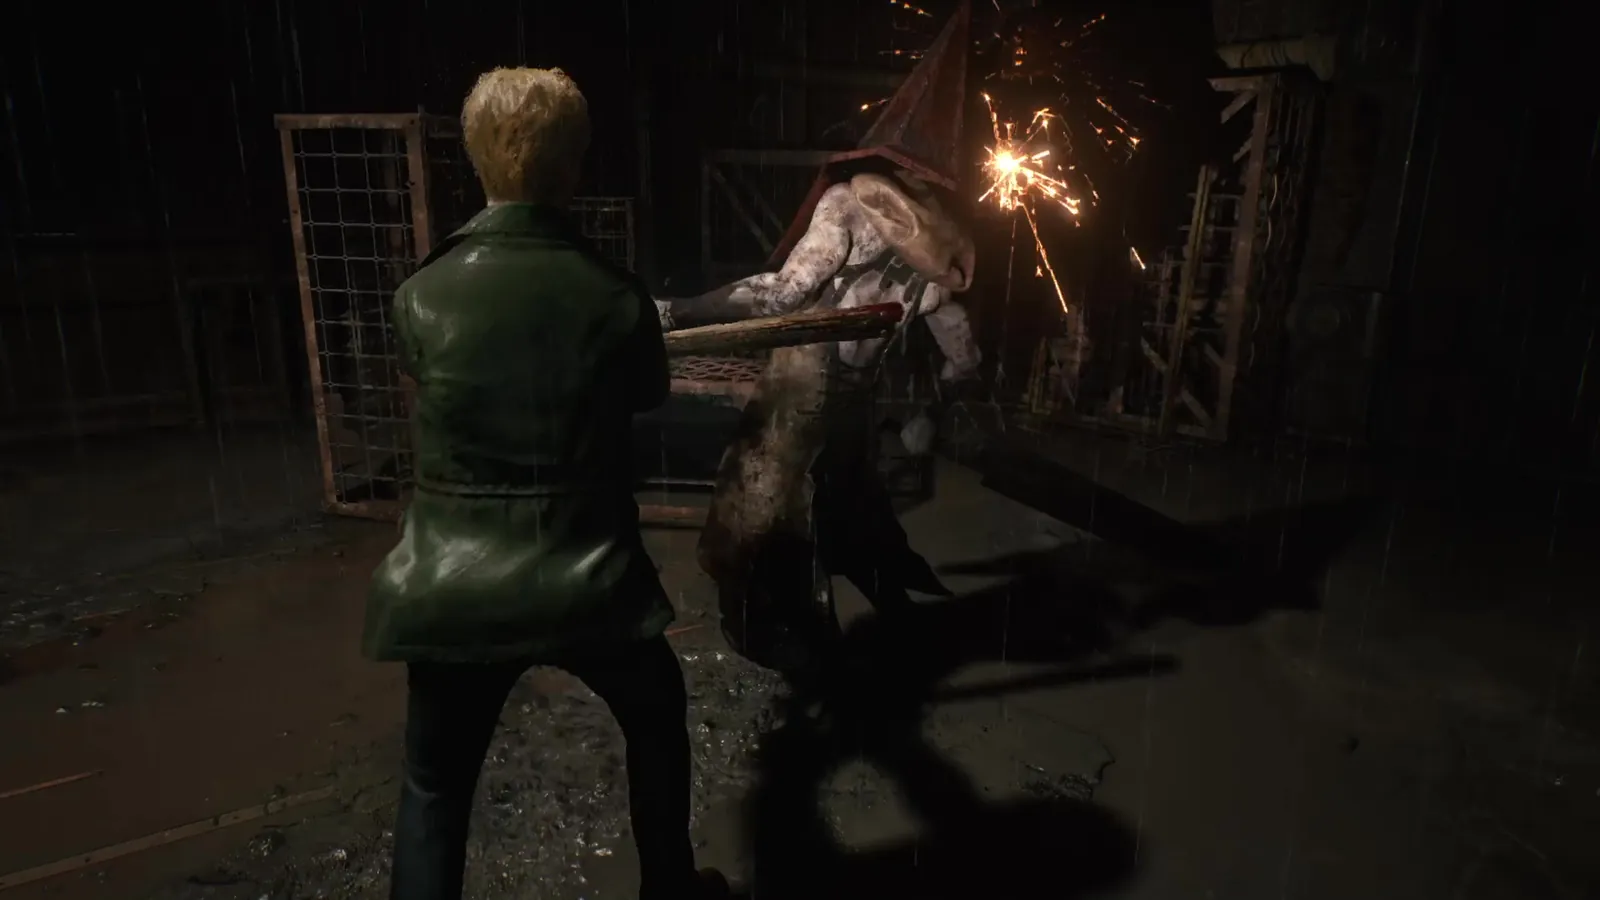
Boss Flesh Lip: Bed frame body. Shoot the head, dodge the tentacles, use the shotgun. Trophy "Nightmare Fuel".
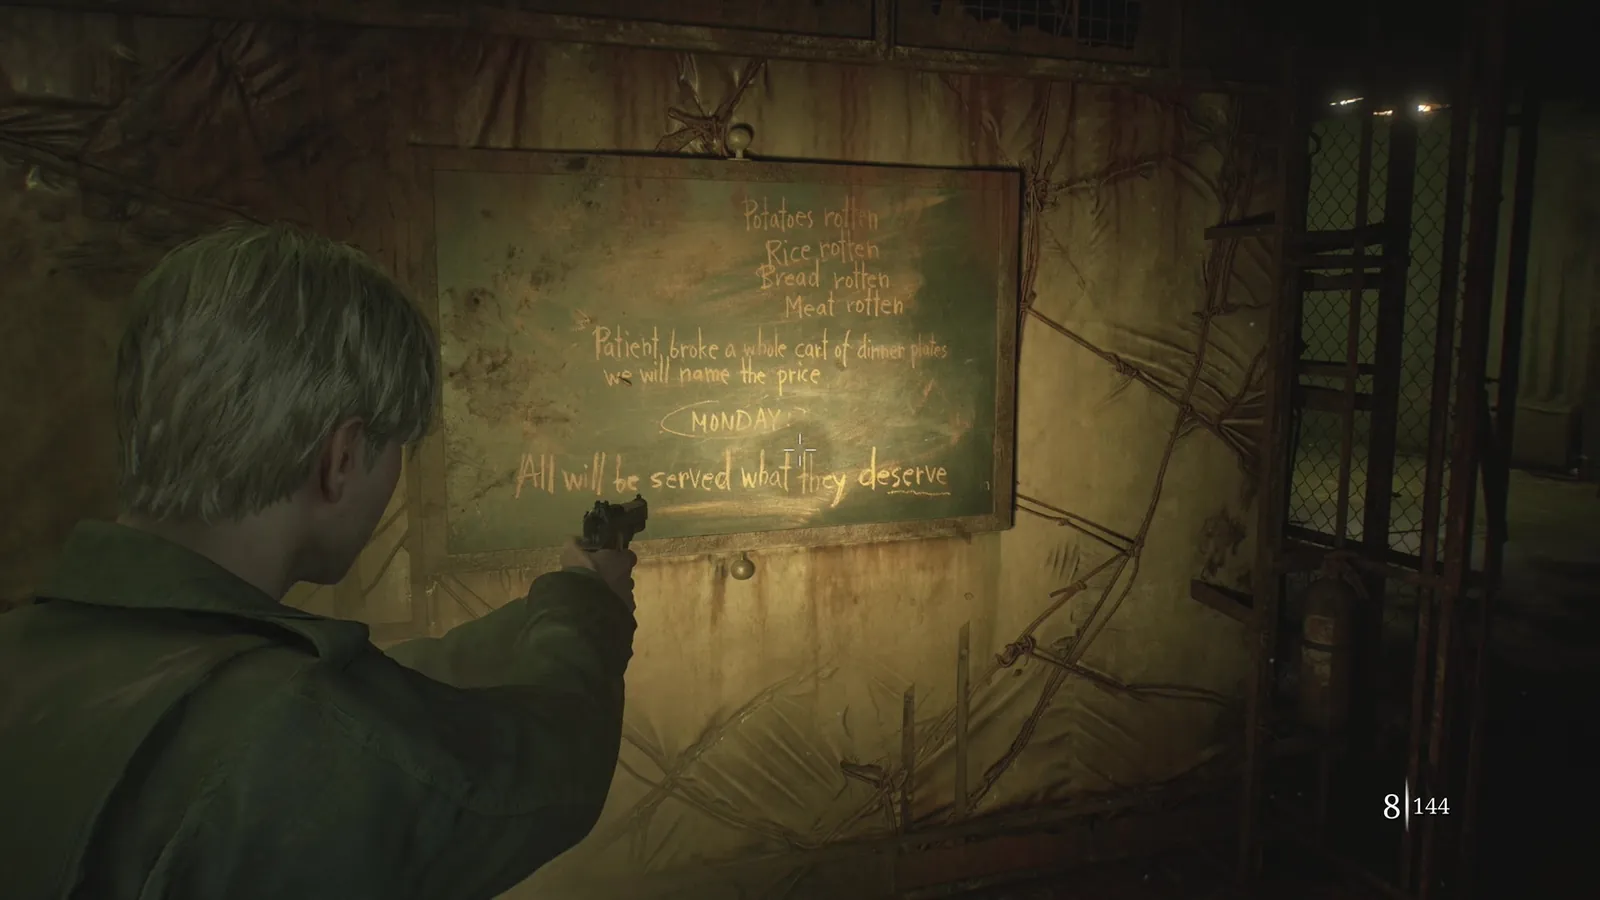
Blue Creek Apartments transition
- awarded after the boss fight.
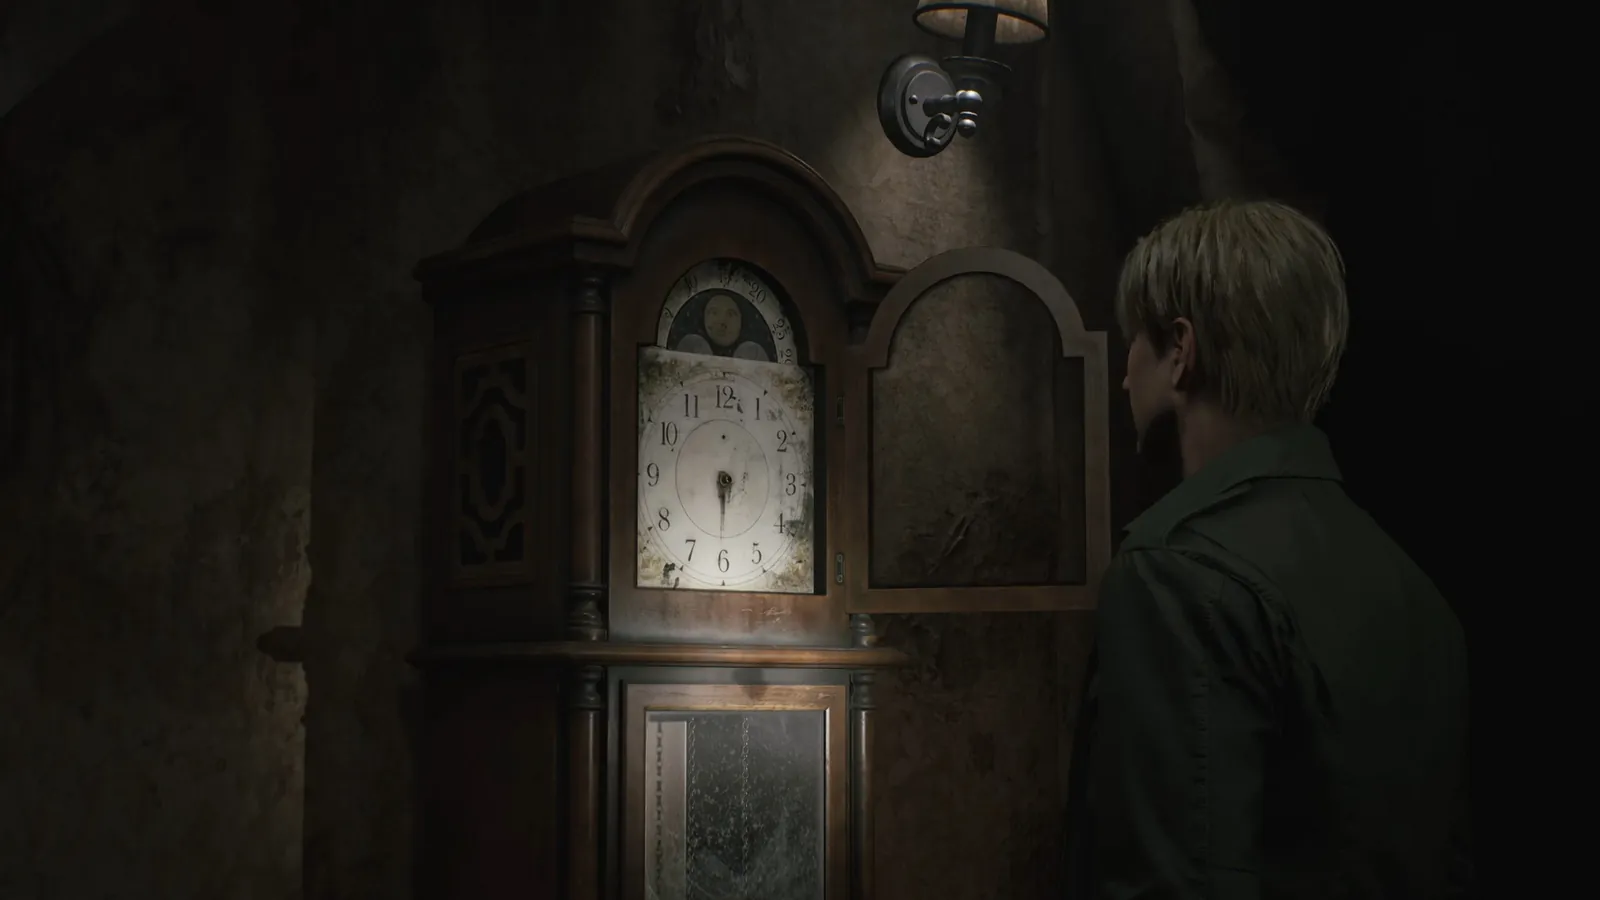
Clock Puzzle (Blue Creek Apartments)
Place the Hour Hand on 9 and the Minute Hand on 2 to set 9:10 (unlocks the M door). Then place the Second Hand on 3 to set 9:10:15 (unlocks the S door 1F).
Moth Lock (Apt 202)
Count the moths on the wall. Code: 582 (Light) / 373 (Standard).
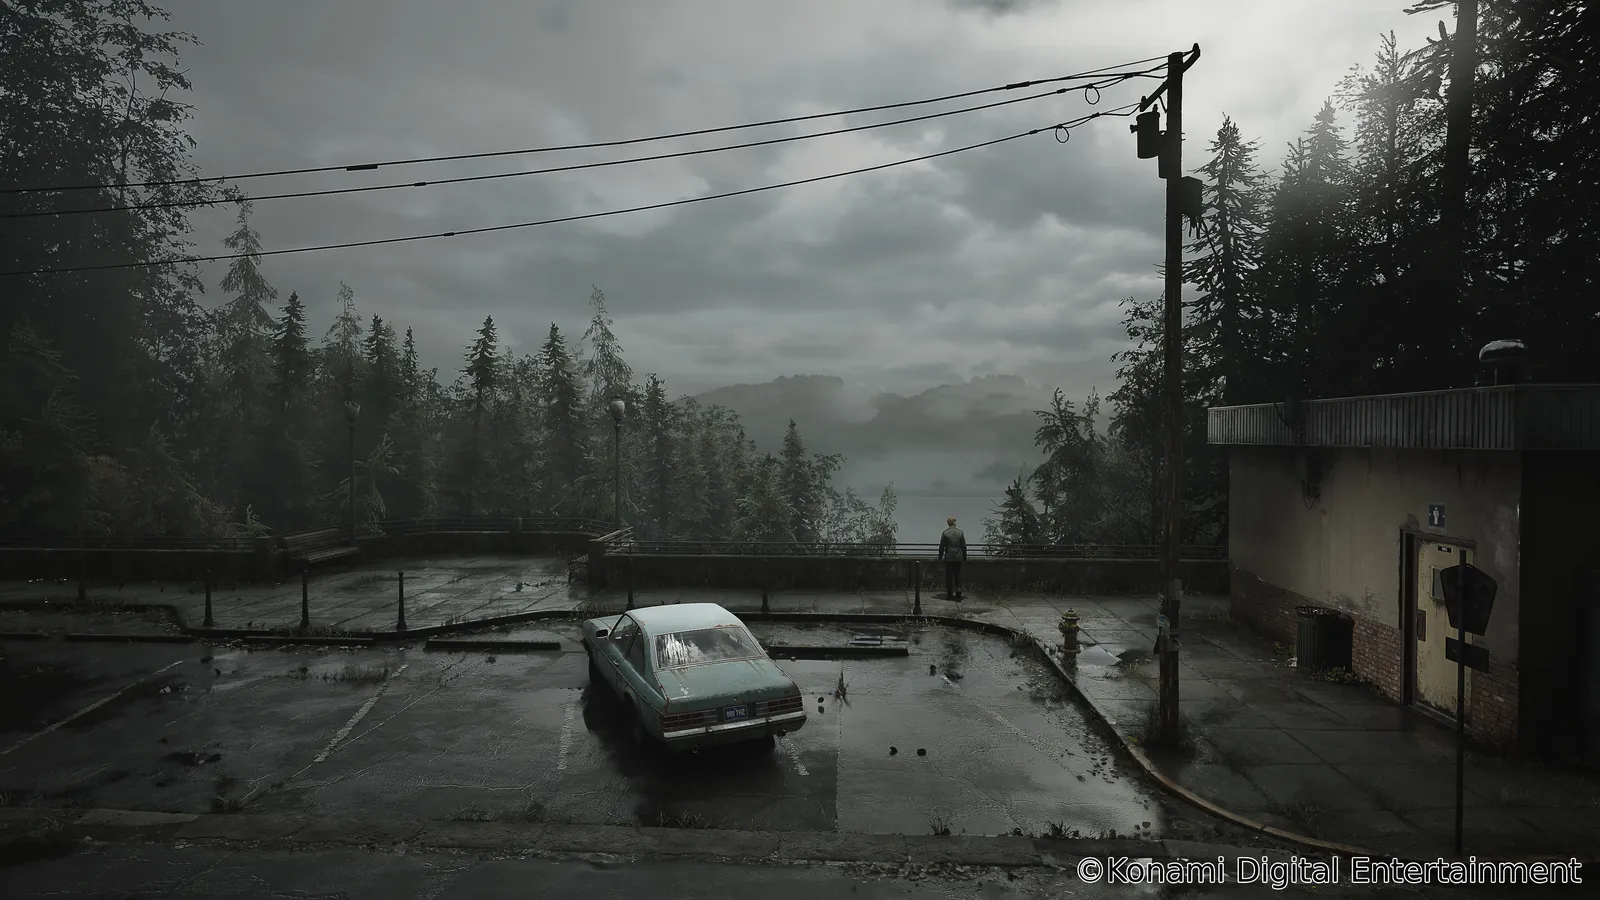
South Vale (West)
1
Trophy "Uncanny": After the cutscene at the Rosewater Park docks.
2
Strange Photo #7 "So far from home": Rosewater Park, right side, first nook, stone bench.
3
Memo #22 Bloody Note: West along Nathan Ave., next to the corpse at the road end.
4
Trophy "Leftovers": Pete's Bowl-O-Rama, pizza on the bench back left. Also counts as Glimpse #9.
5
NG+ Memo Cryptic Letter: Safe in Bowl-O-Rama, code 1887.
6
Collectible Glimpse #10: South of Bowl-O-Rama, stairs to the barred gate, examine.
7
Key Item Garage Jack Lever: Back lot of Octantis Fuels, green car.
8
Strange Photo #8 "made it!": Use the lever on the Garage Jack, inside the garage, red cabinet.
9
Memo #23 Reception Desk Note: Jack's Inn reception, bulletin board.
10
Key Item Gate Key: Safe in Jack's Inn, code 0451.
11
Memo #24 Toolbox Memo: Upstairs Jack's Inn, Room 108 via the window, break the wall to 107, on a table.
12
WARNING: Heading west on Katz St. locks previous areas.
13
Equipment Steel Pipe: Automatically after a cutscene.
14
MISSABLE Strange Photo #9 "Ready to kill it!": Heaven's Night, dressing room mirror. Missable before Moonlight Grove.
15
MISSABLE Strange Photo #10 "Church entrance": Moonlight Grove, southern path by the fountain. Missable before the theater.
16
MISSABLE Strange Photo #11 "Best Flavor!": Reverie Theater, right side seats behind Eddie. Missable before leaving.
17
Trophy "Admitted": Reach Brookhaven Hospital.
Brookhaven Hospital
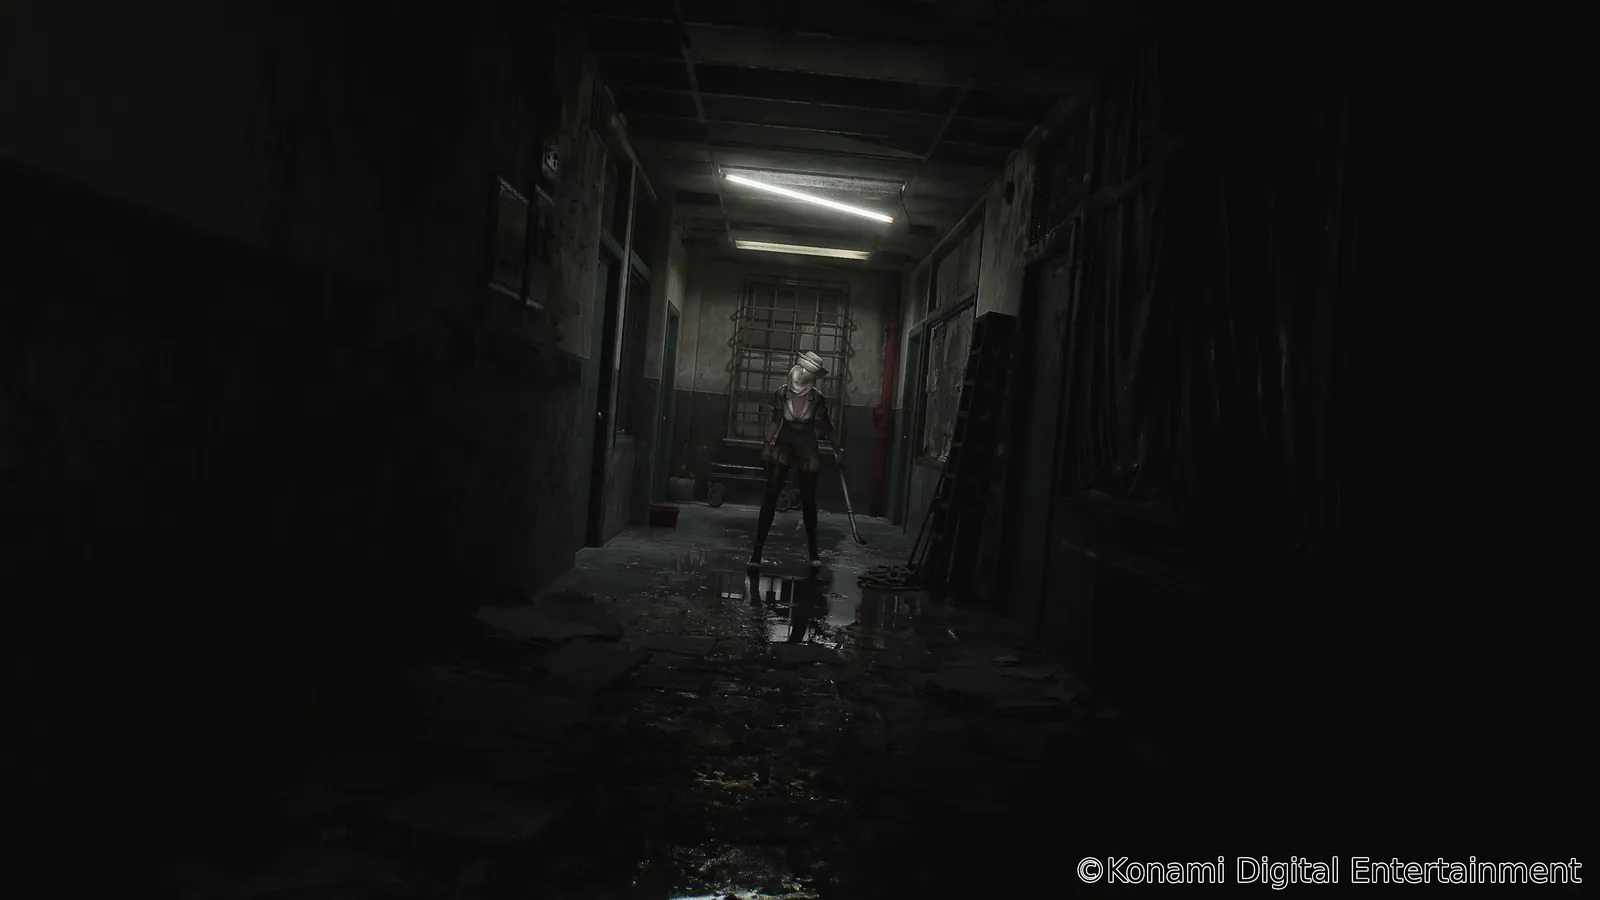
Brookhaven Hospital interior
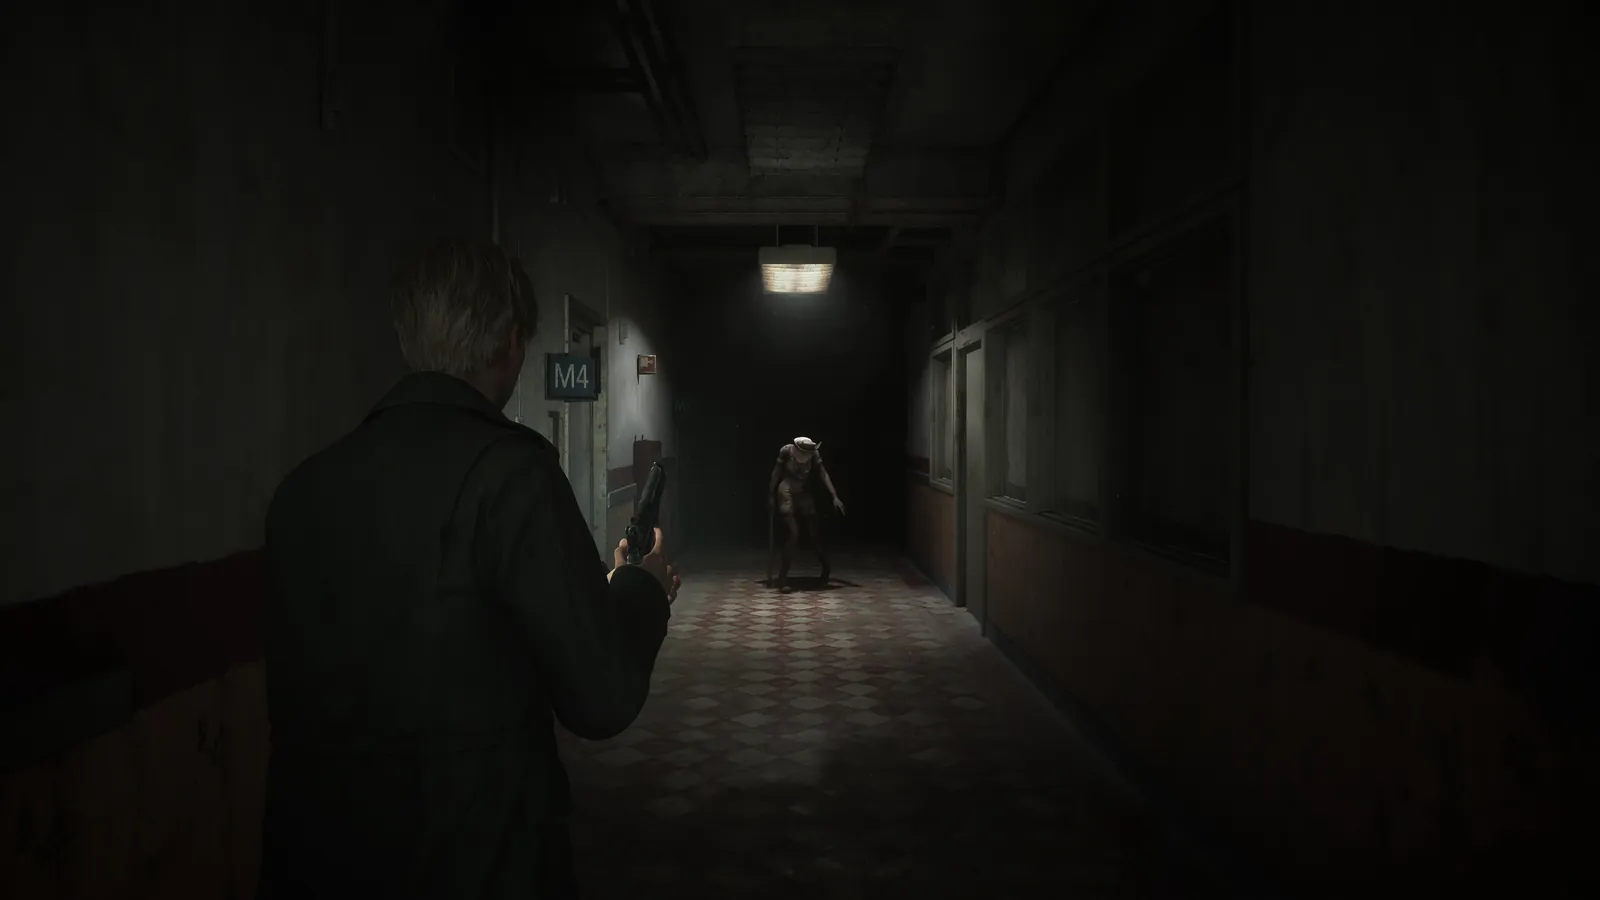
Brookhaven Hospital hallway
1
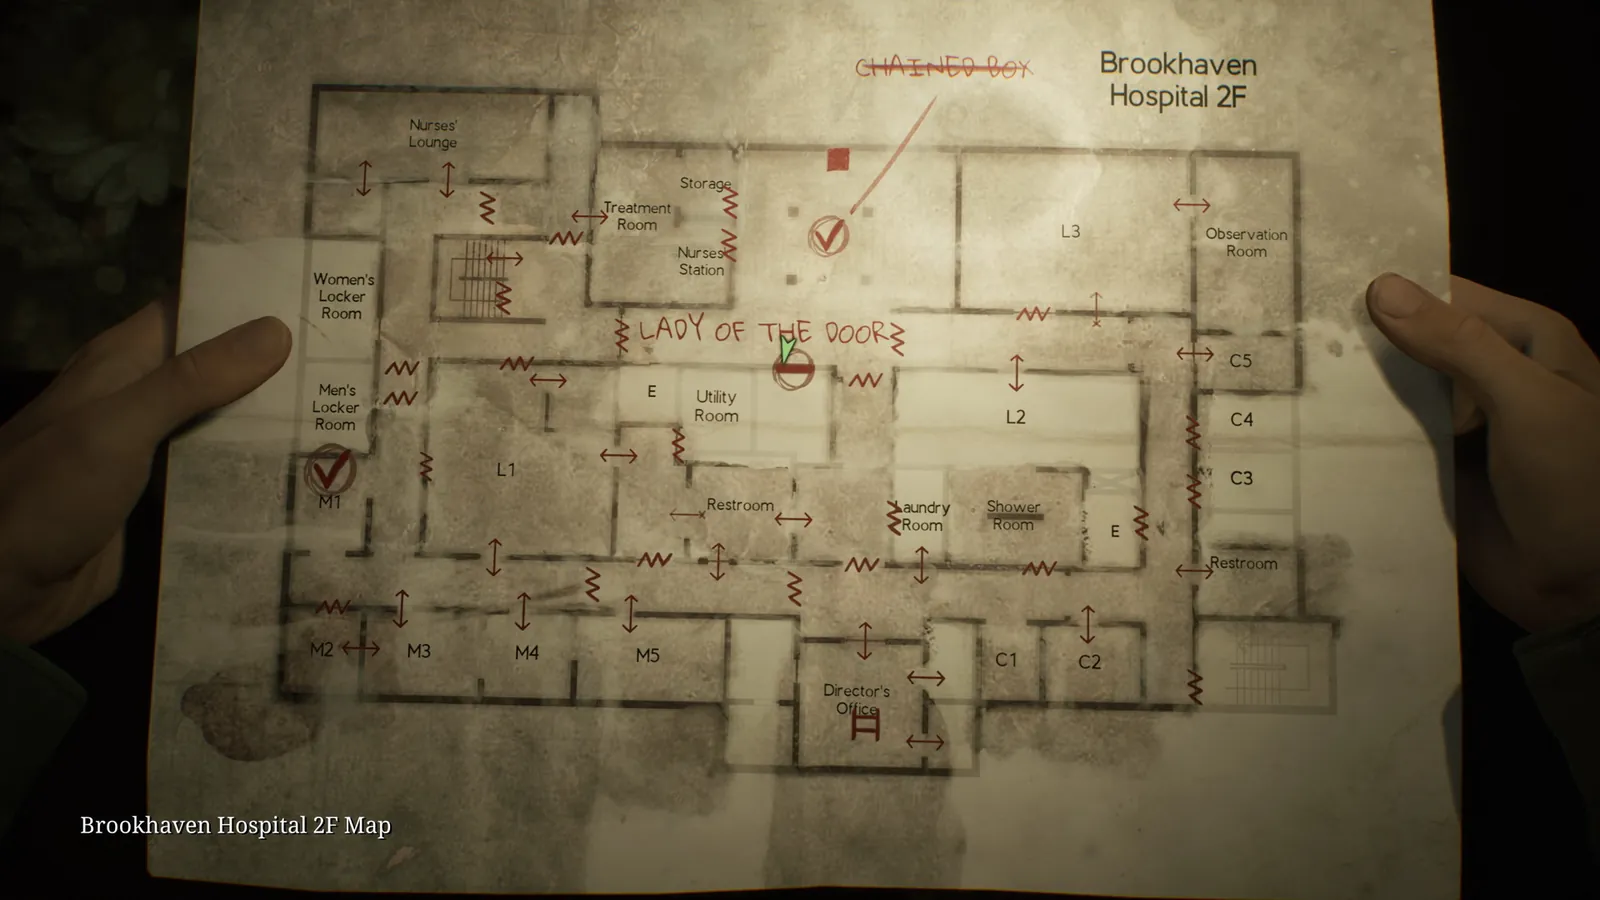
Map On the newspaper holder at the entrance.
2
Memo #25 Key Locker Note: Noticeboard in Reception.
3
Key Item Basement Key: Reception Office, key cabinet code 287 (Light) / 724 (Standard).
4
Memo #26 Nurse's Memo: Exam Room 3, break the window, next room, desk.
5
Map Hospital Basement Map: Down the staircase SE, directly in front in the basement.
6
Key Item Empty Fuel Can: Pallets in the Boiler Room.
7
Key Item Filled Fuel Can: Use the Empty Can on the red hose in Storage (move the laundry trolley, climb the gap).
8
Memo #27 Staff Memo: Use the Fuel Can in the Generator Room, press the button. Use the elevator to 2F. On the Nurses' Station window.
9
Strange Photo #12 "Her drawings": Observation Room, desk. Crawl through the vent to Room L3.
10
Collectible Glimpse #11: 2F Laundry Room, blue fabric in the bin.
11
Memos #28-30 Evaluation Cards (Patient #0050, #0090, #0130): Director's Office, counter.
12
Memo #31 Interview Transcript: Room C1, interact with the poster, search.
13
Collectible Glimpse #12: Bed in Room M1.
14
Key Item Bent Needle: Women's Locker Room, teddy bear on a chair.
15
Equipment Shotgun: First open locker in the same room.
16
Key Item L1 Room Key: Nurses' Lounge, coffee table.
17
Memo #32 Scribbled Note: Medical Records 1F, via wall space from Room L1 2F, on the ground.
18
Collectible Glimpse #13: Same room, typewriter.
19
Key Item Marked Bracelet: Same room, on a red book.
20
Key Item 1F Inner Ward Key: 3F Exam Room 5, smash the window, on a desk.
21
Memo #33 X-ray Memo: Bench in the X-Ray Room.
22
Key Item Radiograph of a Pelvis: Under the memo.
23
Strange Photo #13 "At least she was there": 1F Exam Room 1 (now unlocked), drawer.
24
Memo #34 Keypad Combination Note: Doctors' Lounge bulletin board (unlocks the Inner Ward door in the lobby).
25
Key Item Medical Tube: Dayroom > Pharmacy (climb window) > Garden > Greenhouse > Pool > Shower Room, on the faucet.
26
Key Item Medical Tube with Bent Needle: Combine the items.
27
Key Item Maintenance Key: Use the combined item on the drain in the Pharmacy.
28
Key Item Bloodstained Bracelet: Pool, use the key on the hatch to drain, smash the wall with the crying eye.
29
Key Item Mold Remover: Kitchen, west side 1F.
30
Memo #35 Treatment Room Note: 2F, unlock the Nurses' Station code 3578, through to the Treatment Room, bench.
31
Key Item Moldy Radiograph: Bathtub in the same room.
32
Key Item Cleaned Up Radiograph: Combine the Moldy Radiograph + Mold Remover.
33
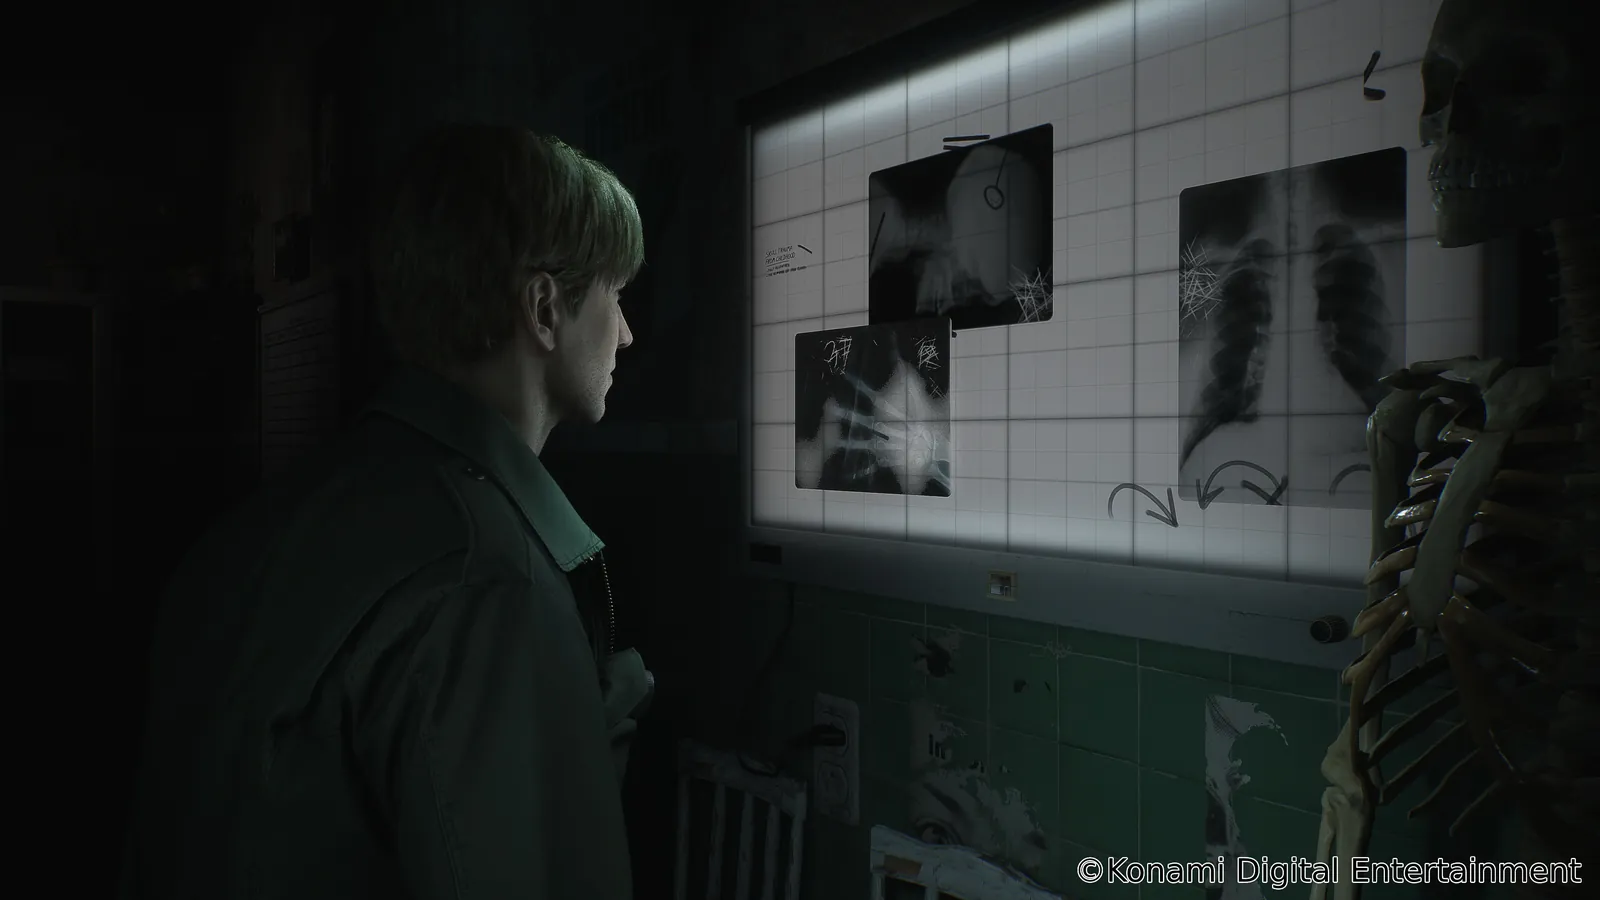
Key Item Filthy Bracelet: X-Ray Room 3F, use the Radiographs on the viewer, rotate to match. Code 4R, 37L, 12R. Room D1, interact with the bed.
34
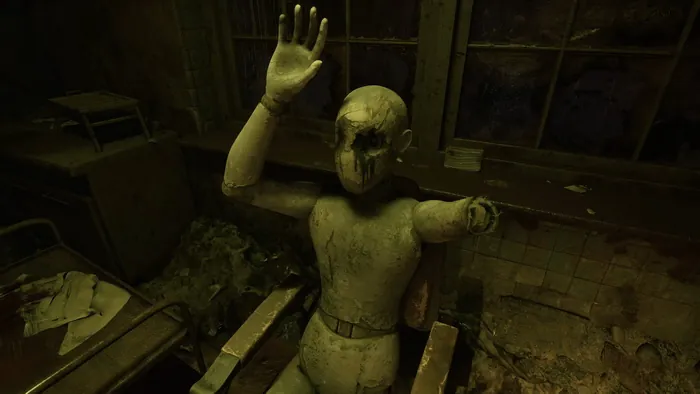
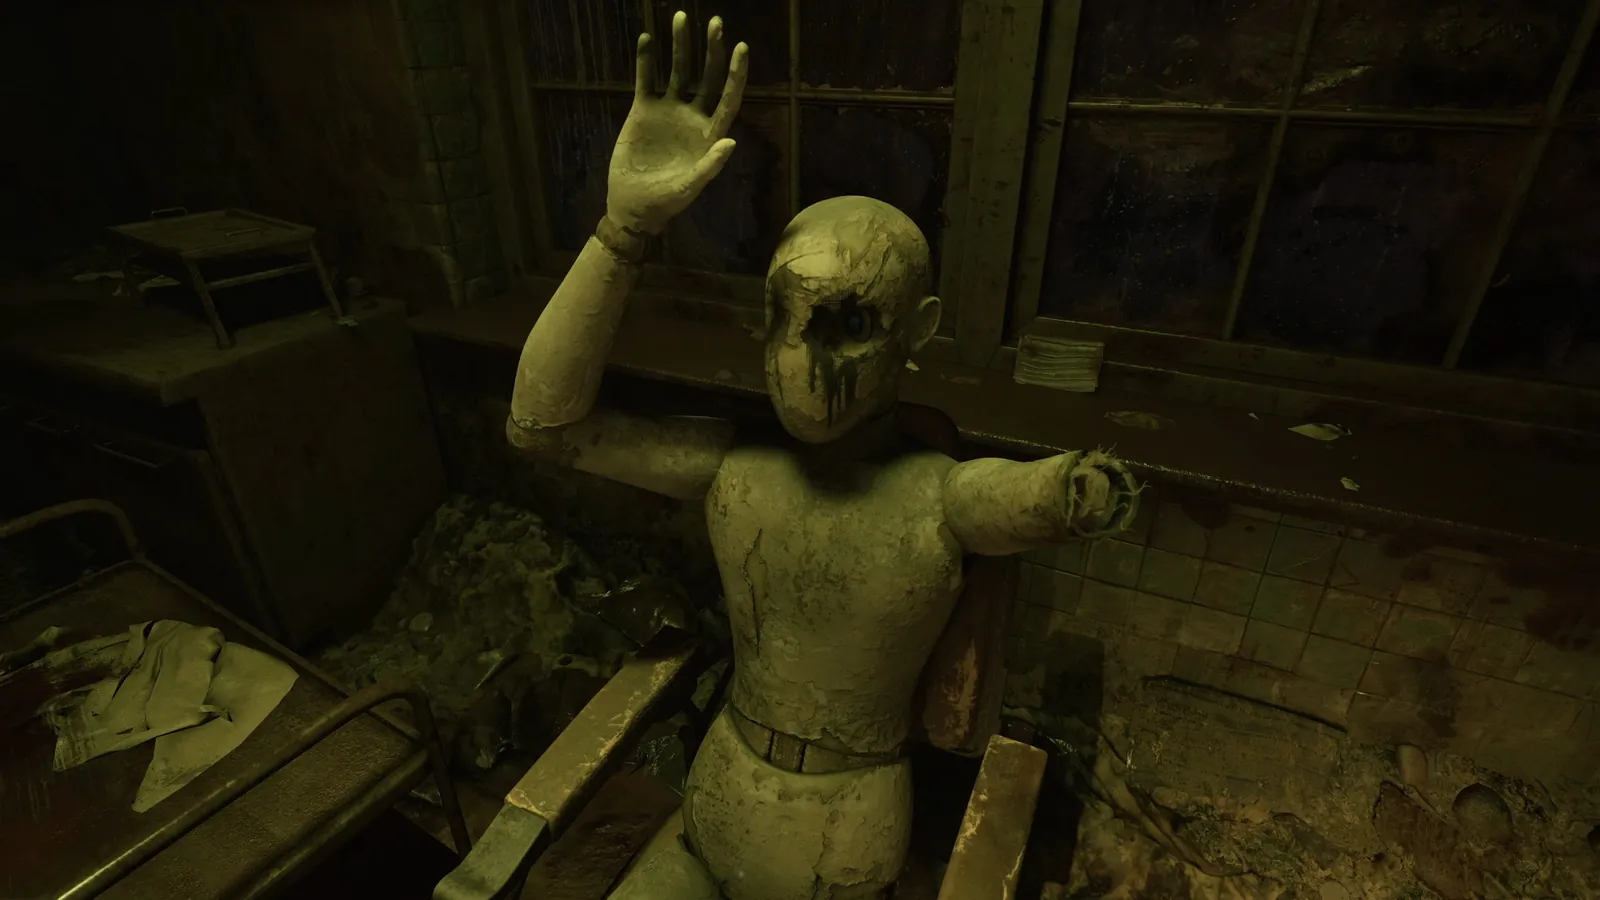
Key Item Director's Storage Room Key: Director's Office, place 3 bracelets on the mannequin hand: Bloodstained (Top), Marked (Mid), Filthy (Bottom). Rotate to 92-45-71.
35
Key Item Safe Button: Use the key on the room next to the save point.
36
Key Item Rooftop Key: Organize the books on the shelf, match the lion. Safe code: Triangle in Circle, h, Circle with Arrow, Circle with Dot, Stickman with Horns, Circle with Lines.
37
Memo #36 Safe Note: In the safe.
38
Collectible Glimpse #14: Rooftop, catwalk opposite the door. HIGHLY MISSABLE.
39
Memo #37 Page From A Diary: On the floor re-entering from the Rooftop. HIGHLY MISSABLE.
40
Collectible Glimpse #15: After the cutscene, Room I3, blood-stained wall behind the door.
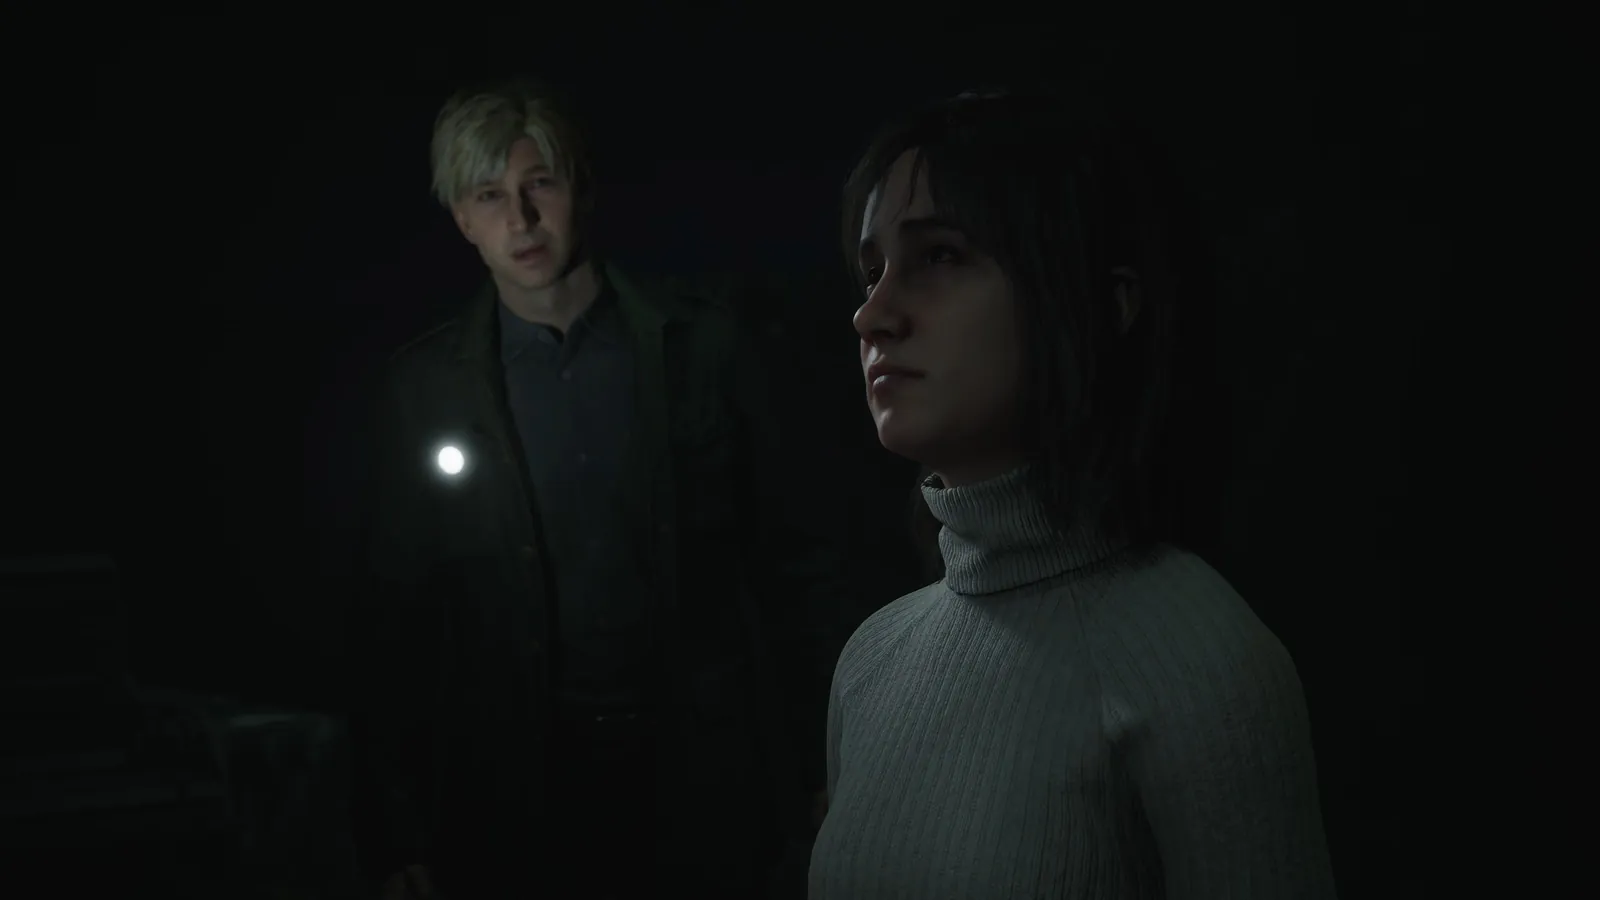
POINT OF NO RETURN: Going towards Laura triggers the boss fight. Complete all collectibles first.
41
Boss Abstract Daddy: Head to Laura, watch the cutscene, then complete the fight. Trophy "Nightmare Fuel" / "Unforgivable".