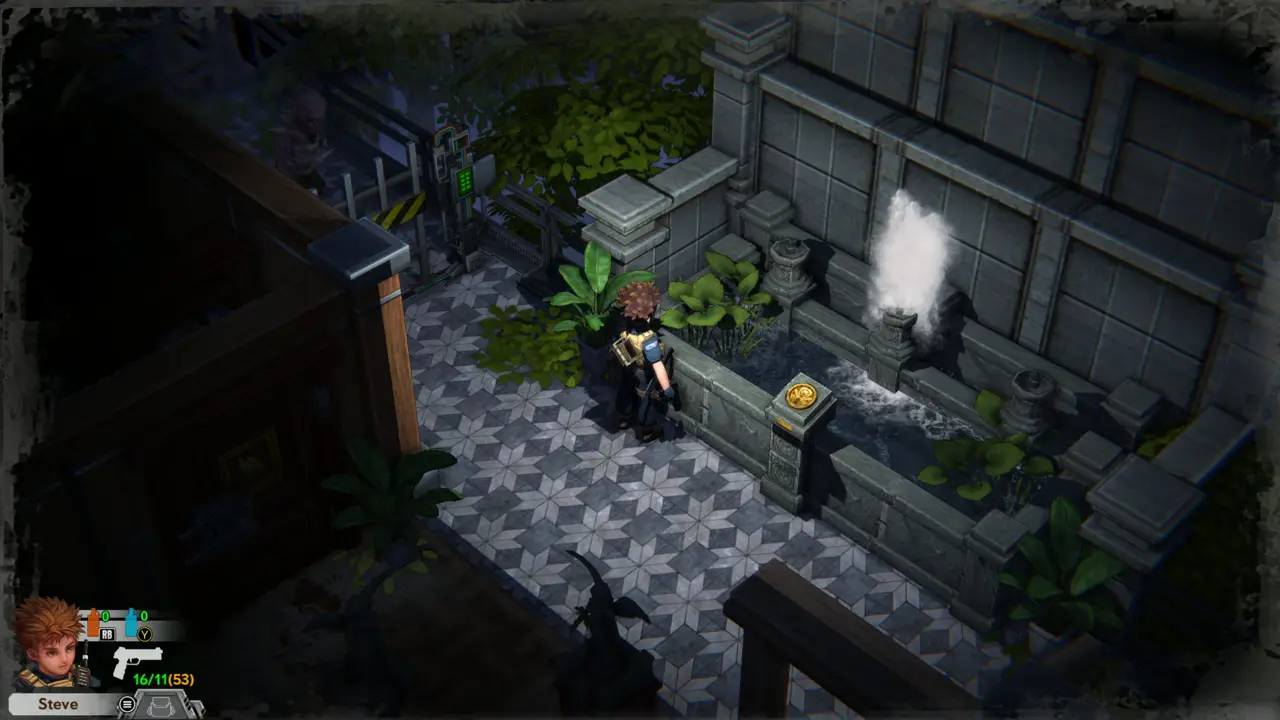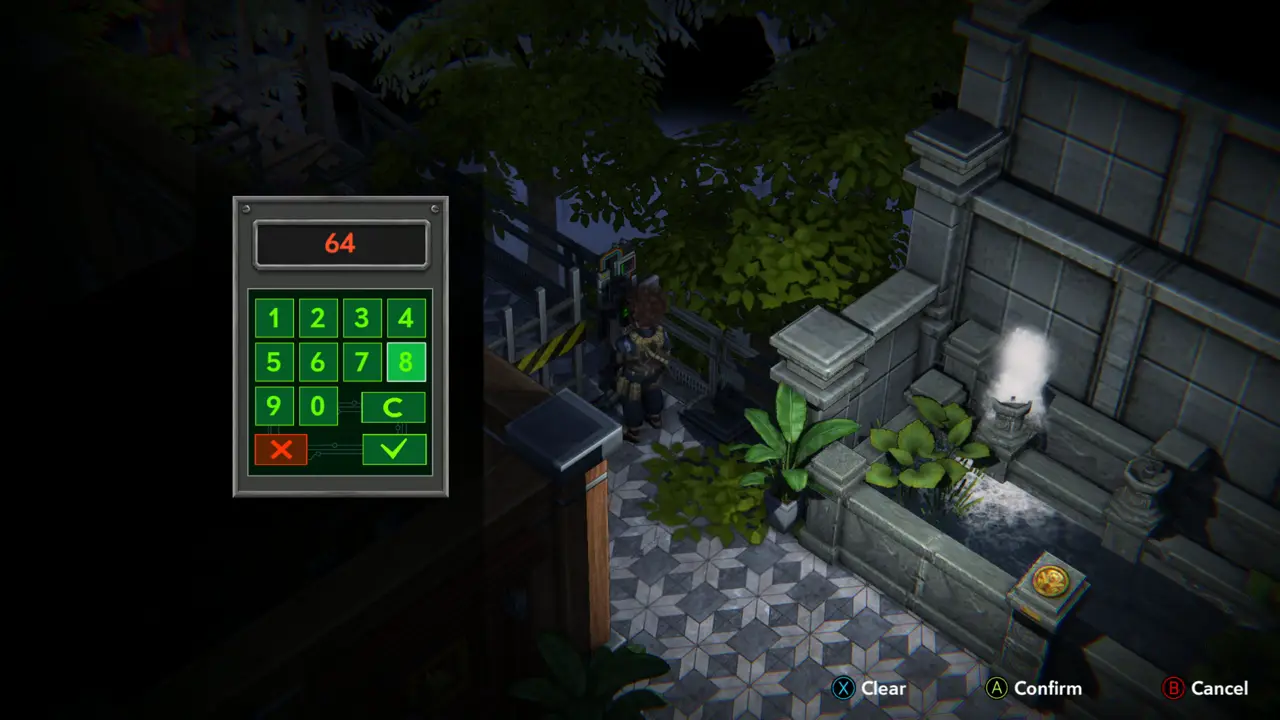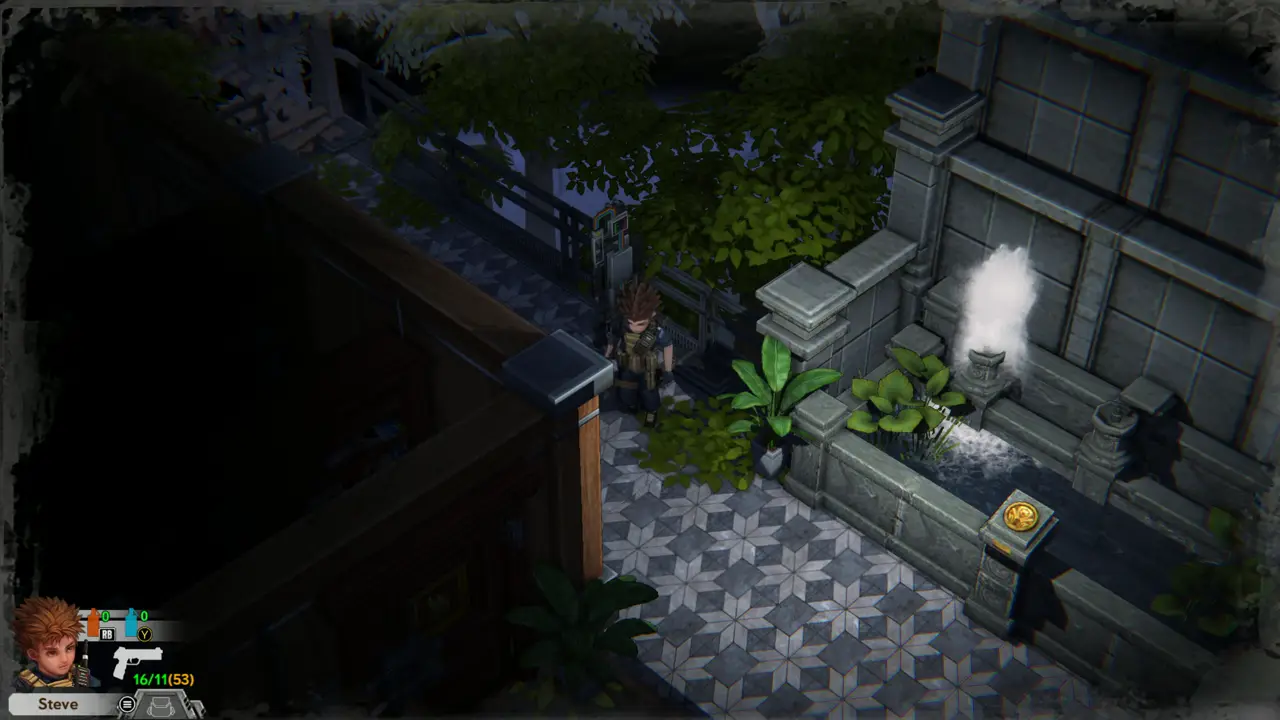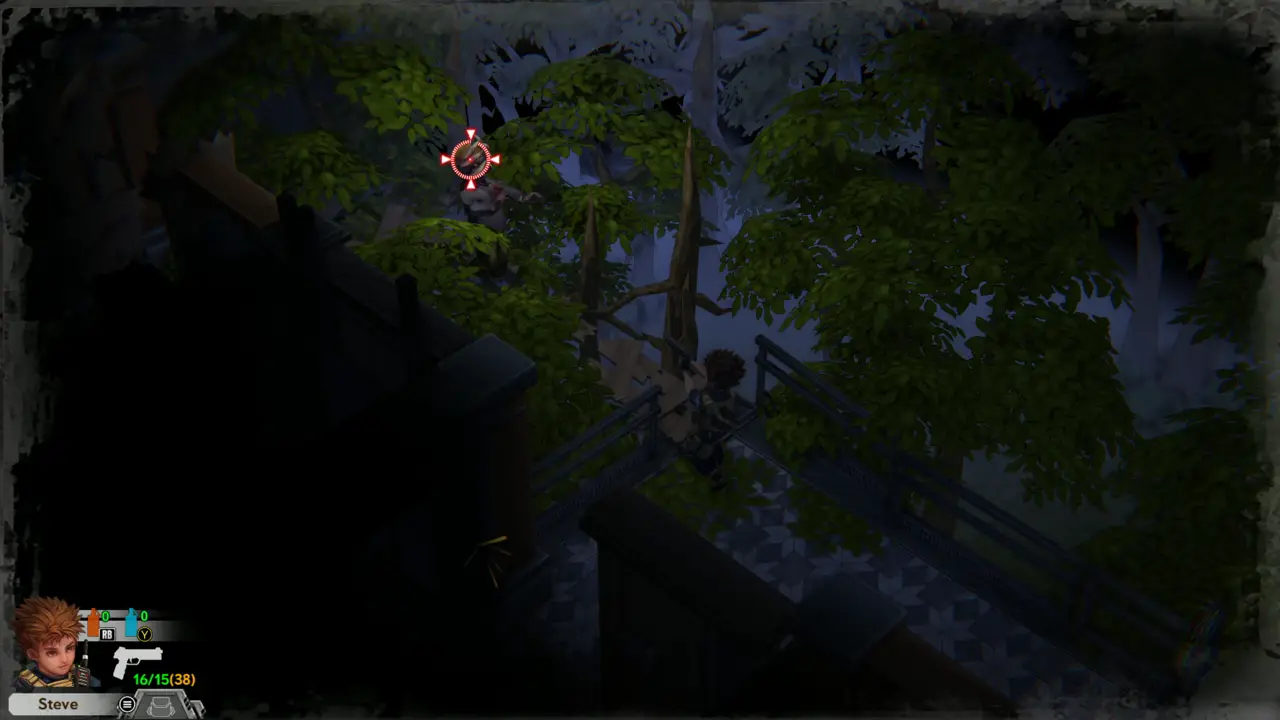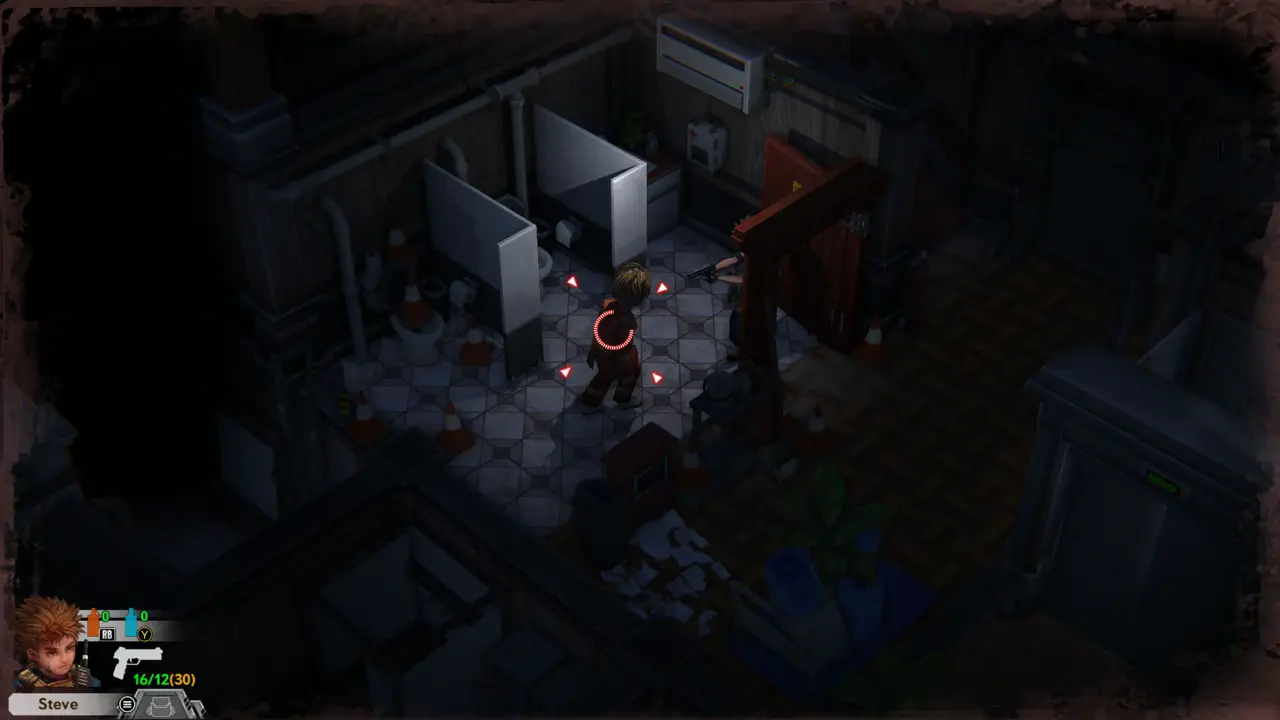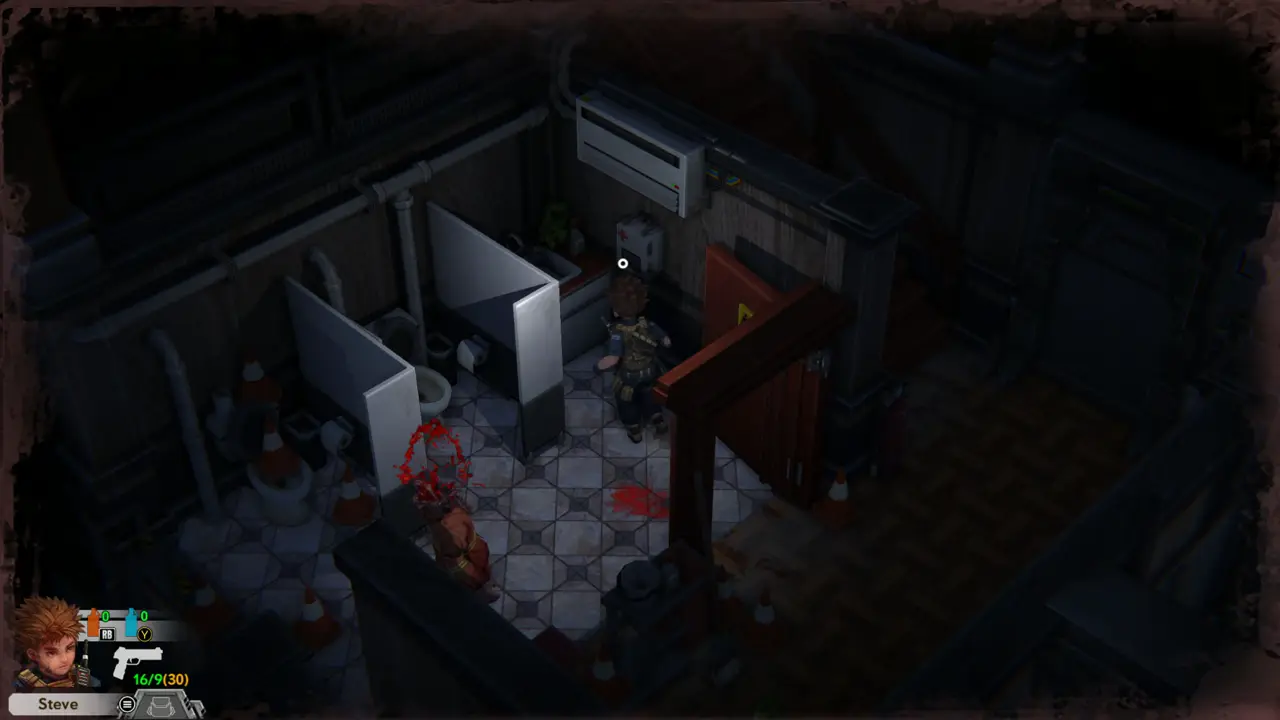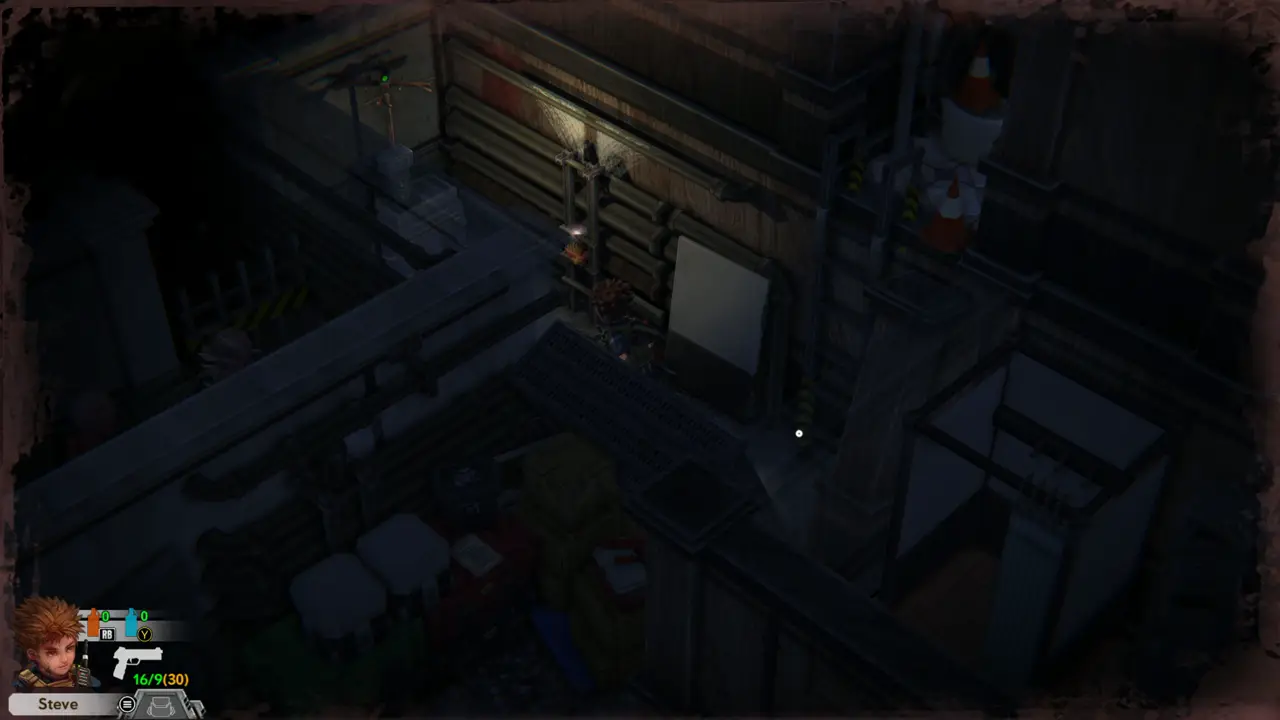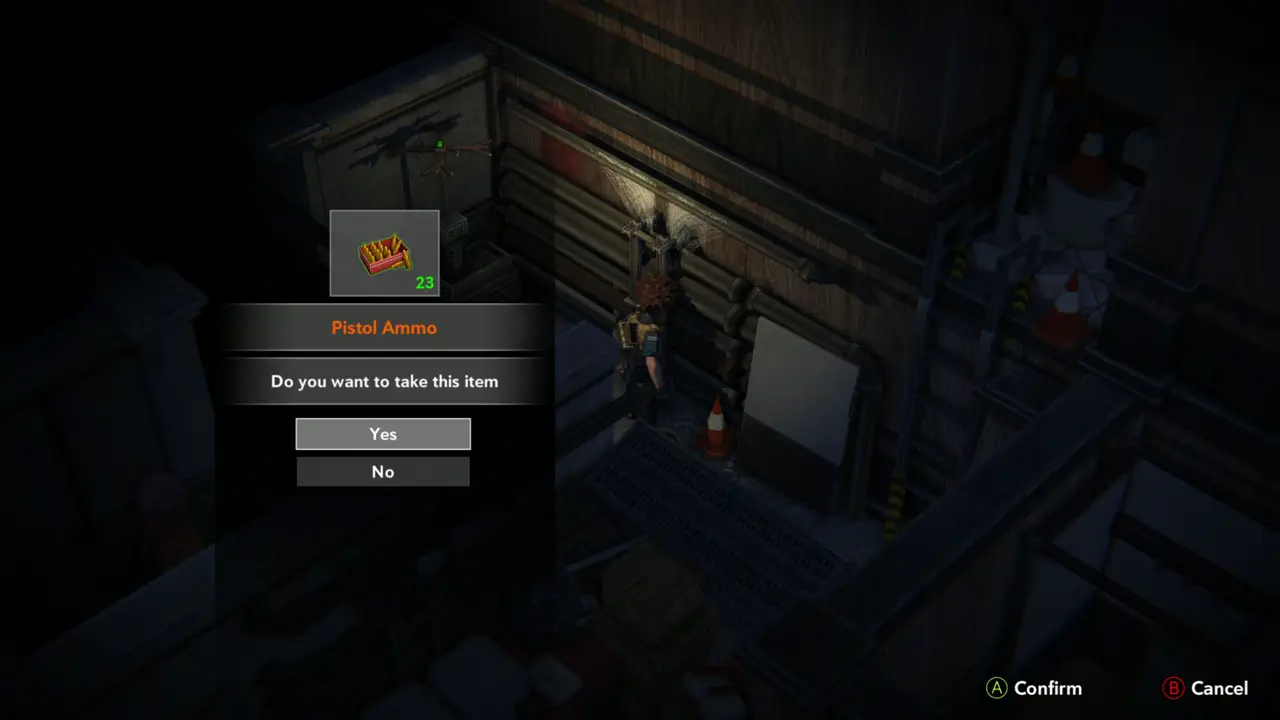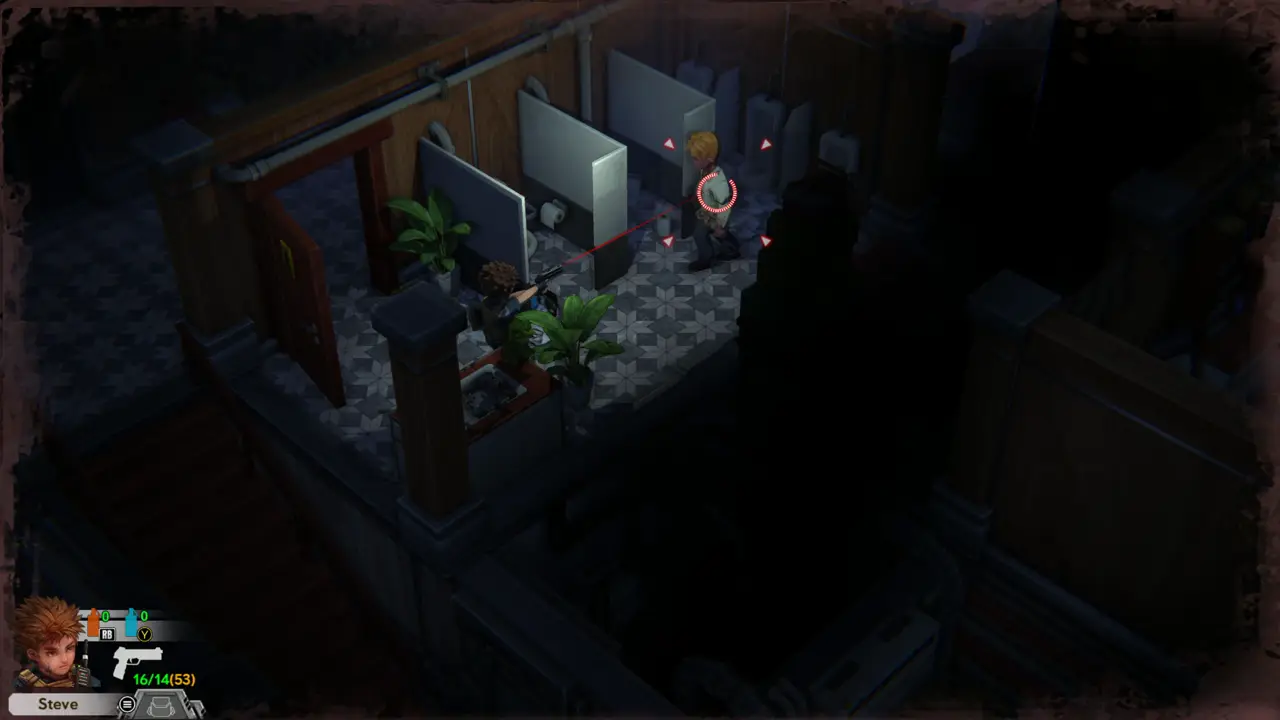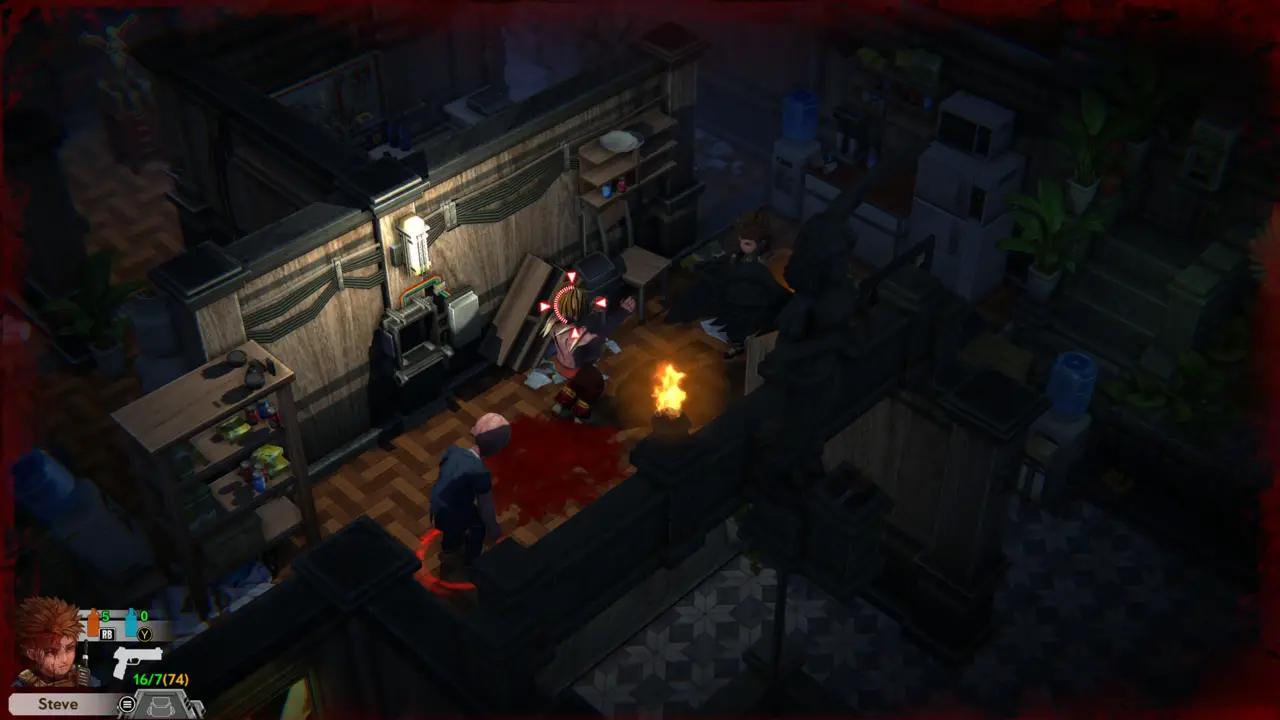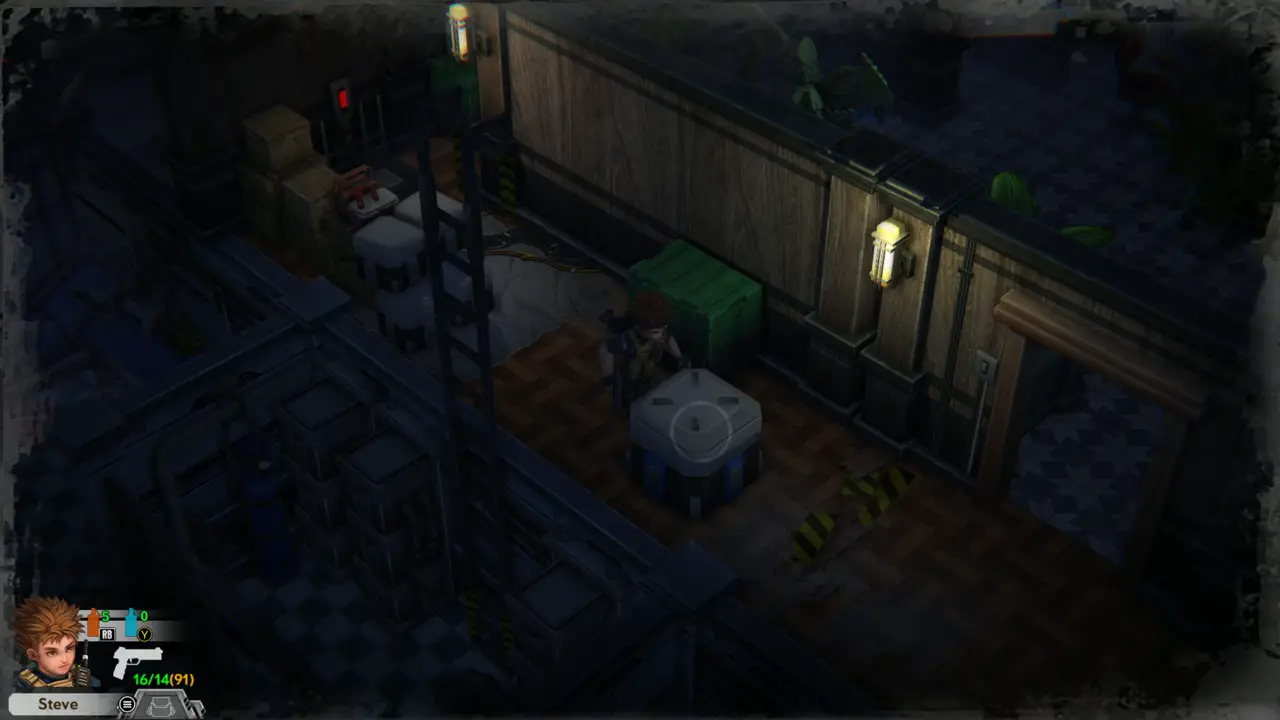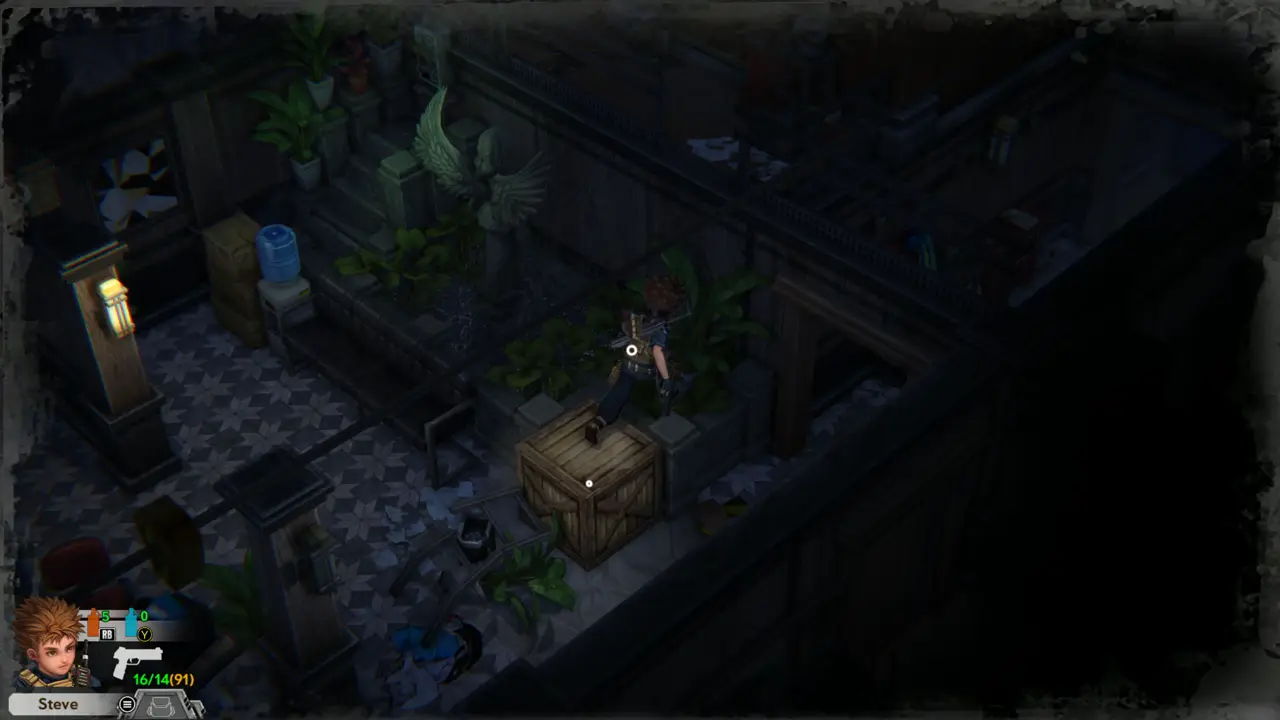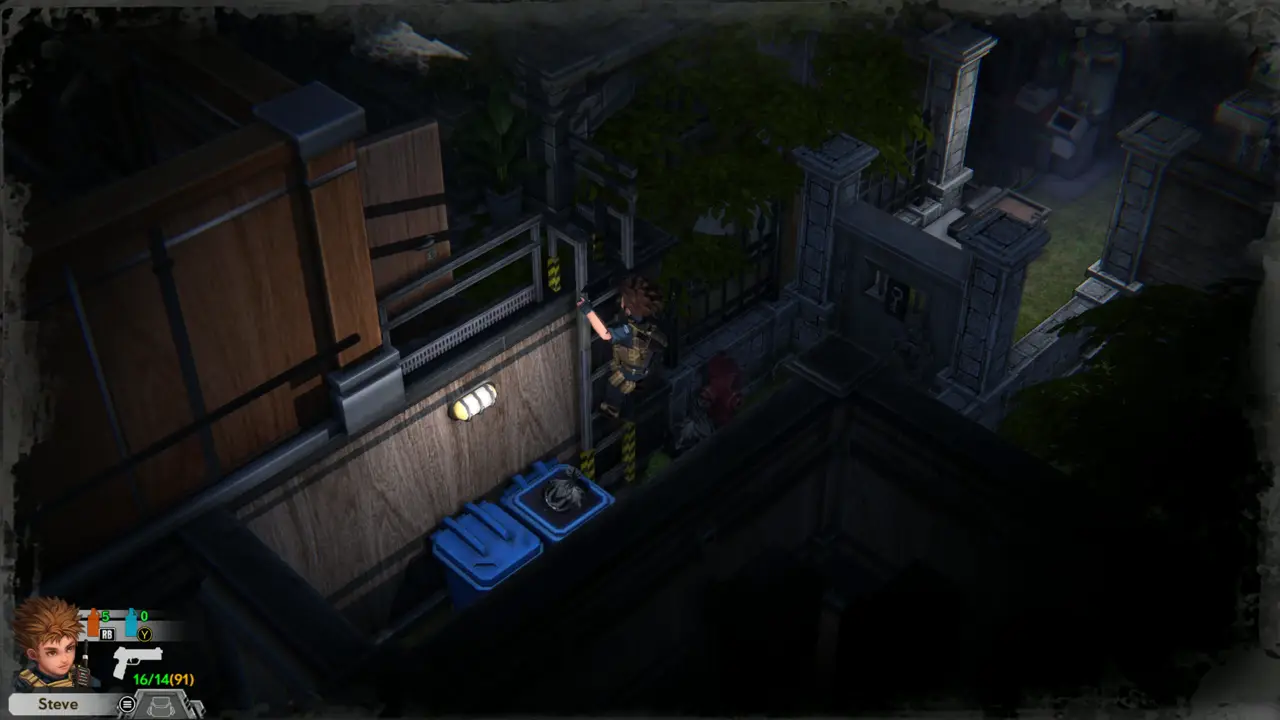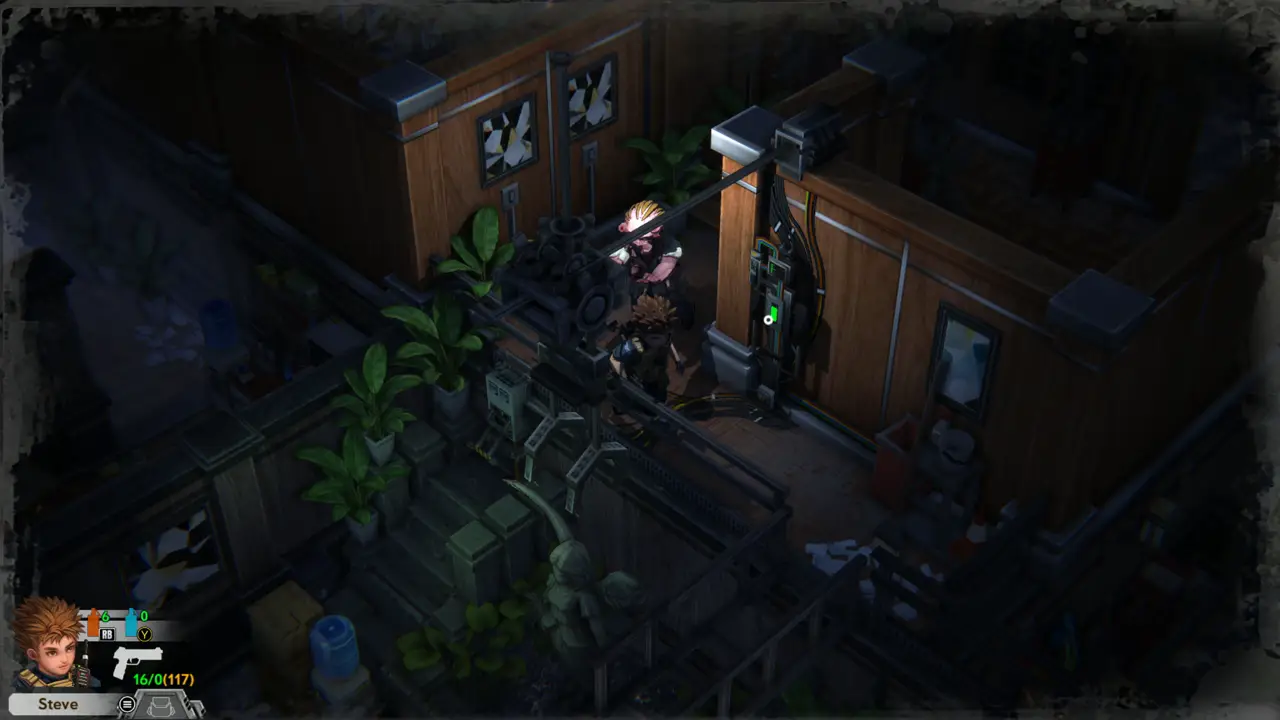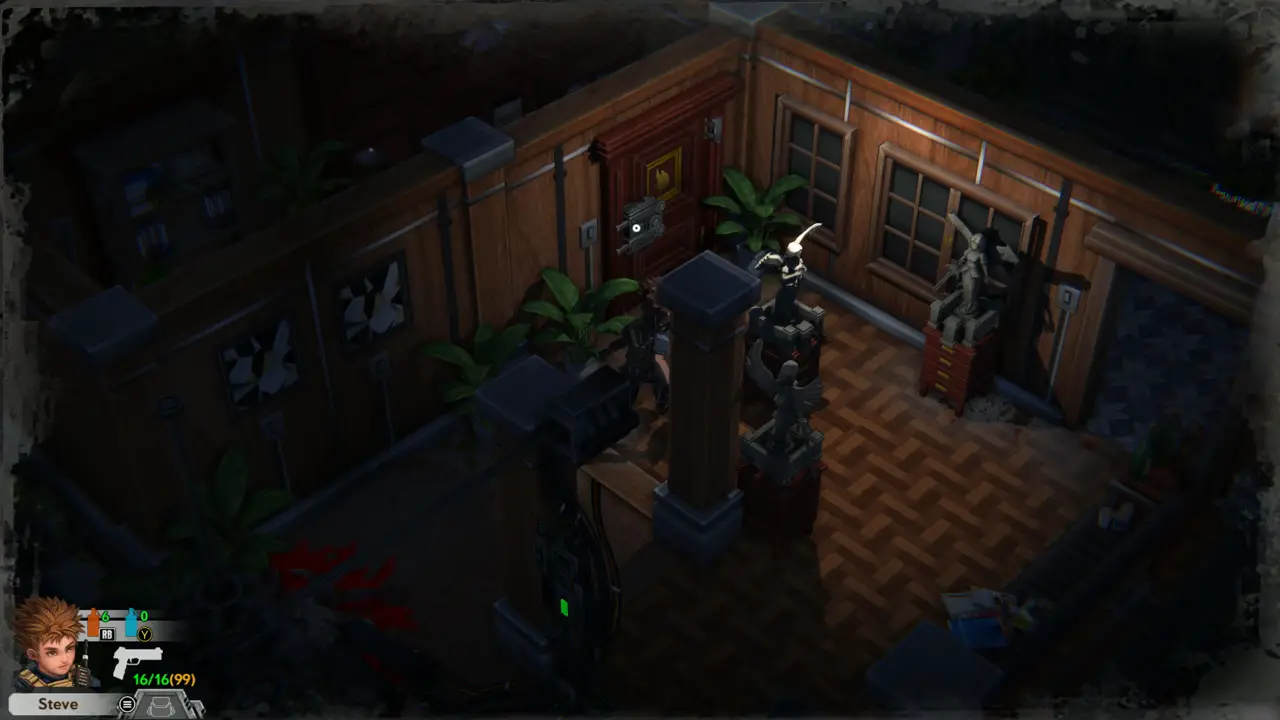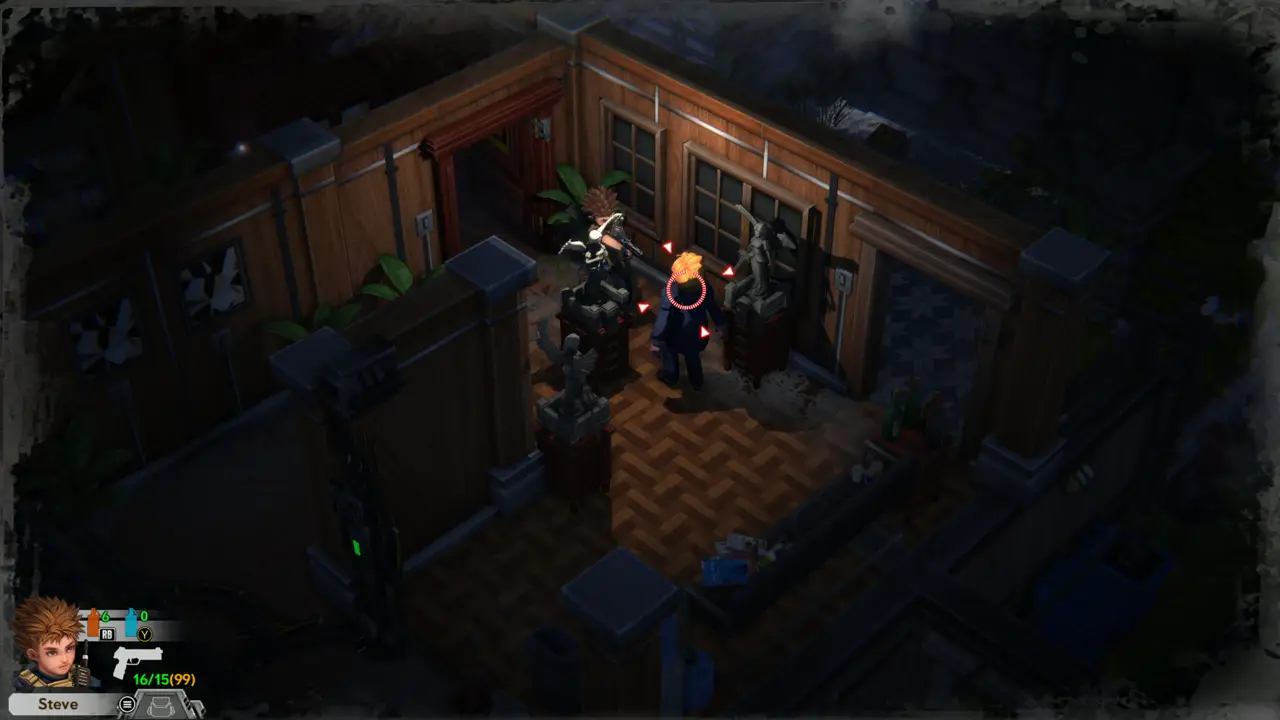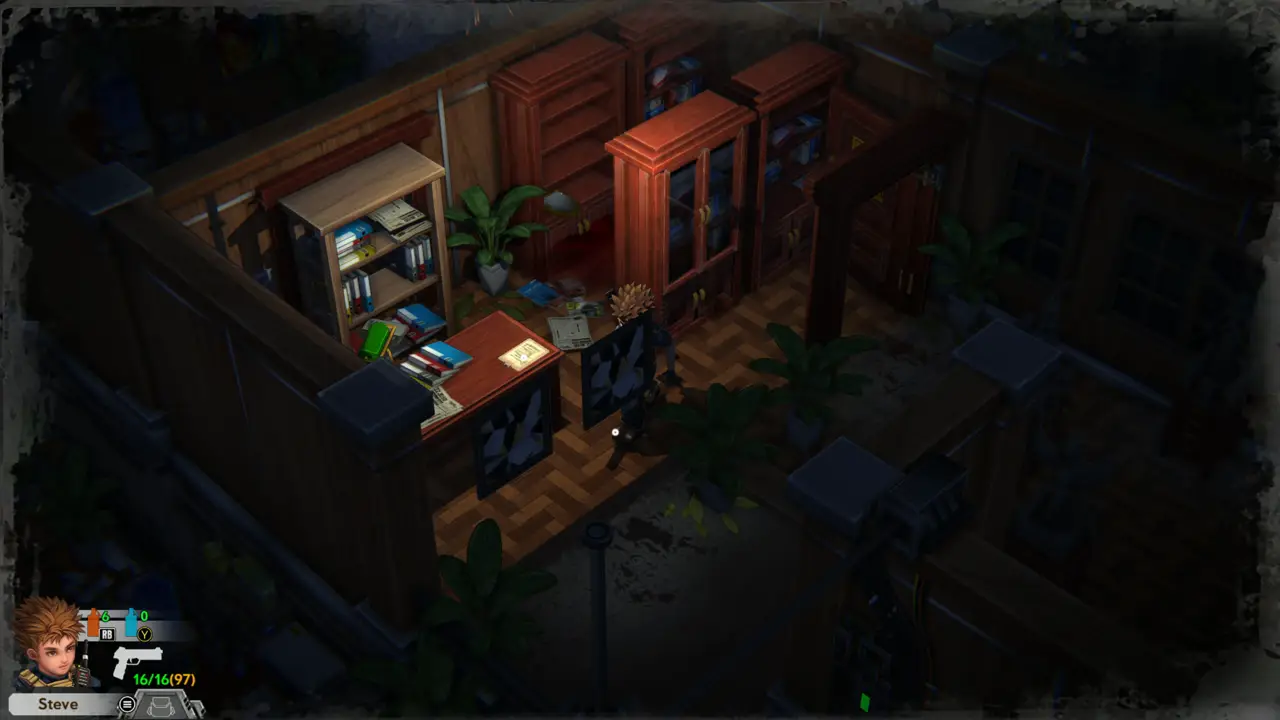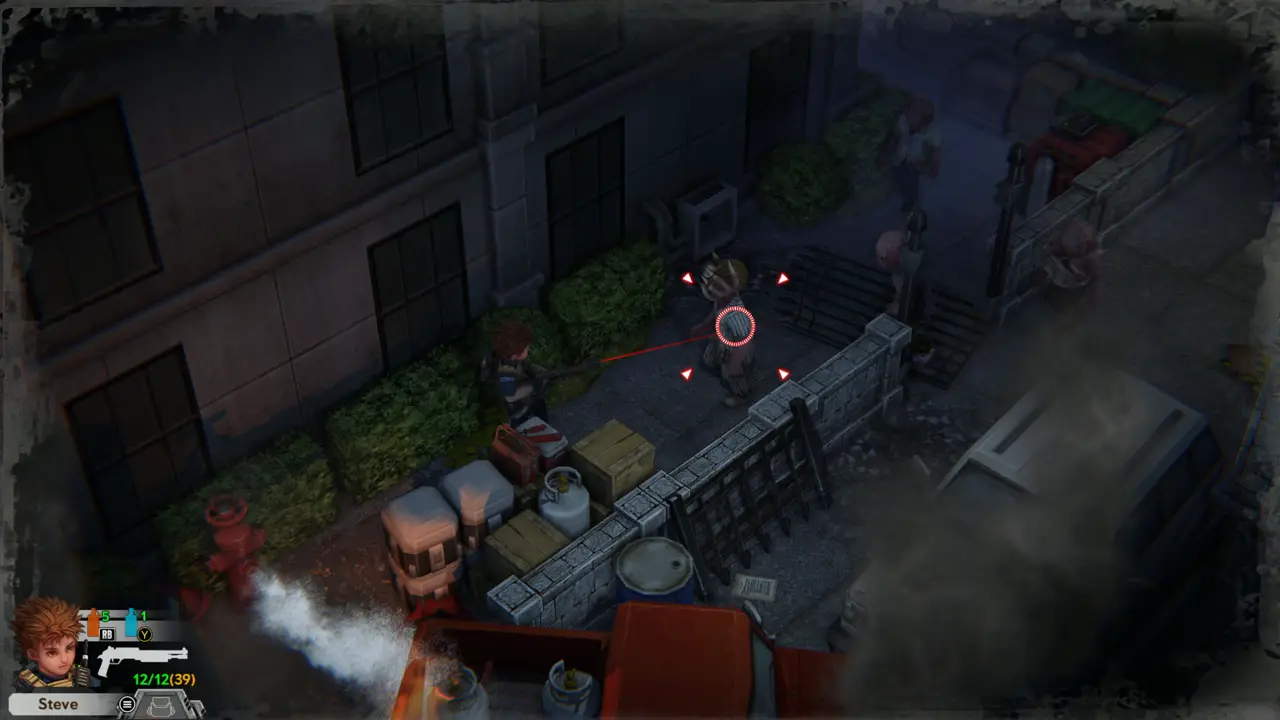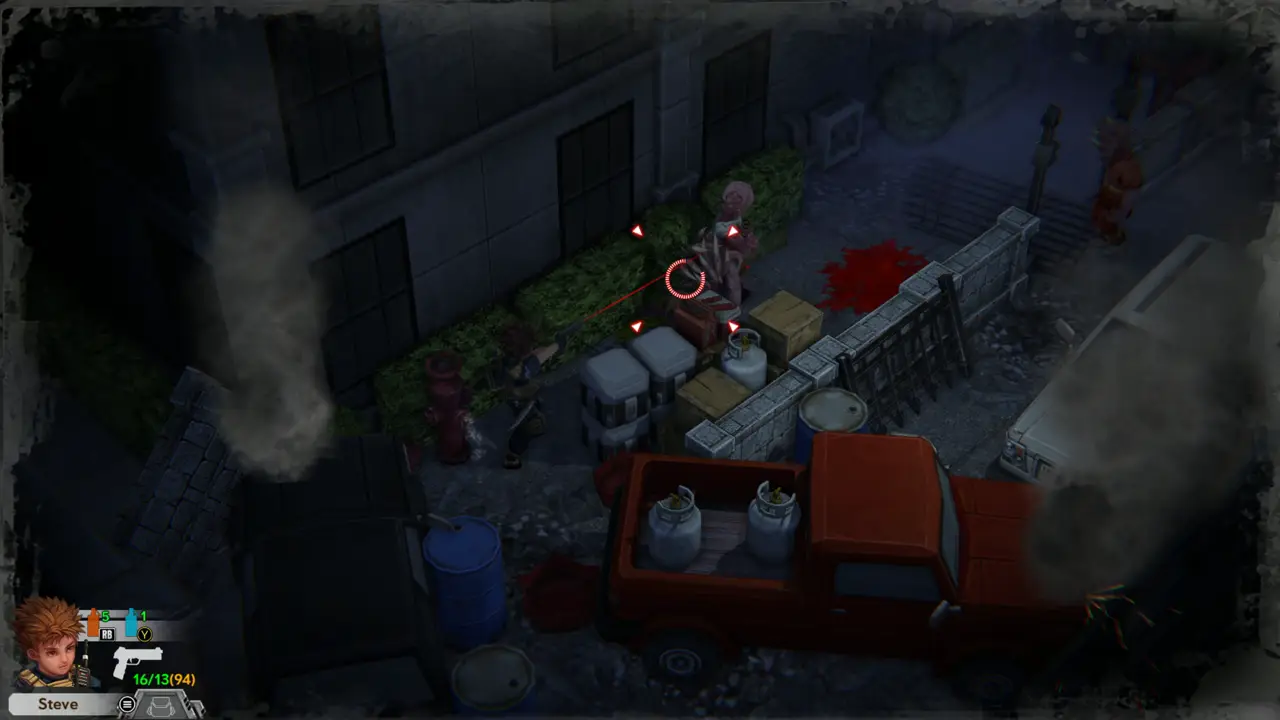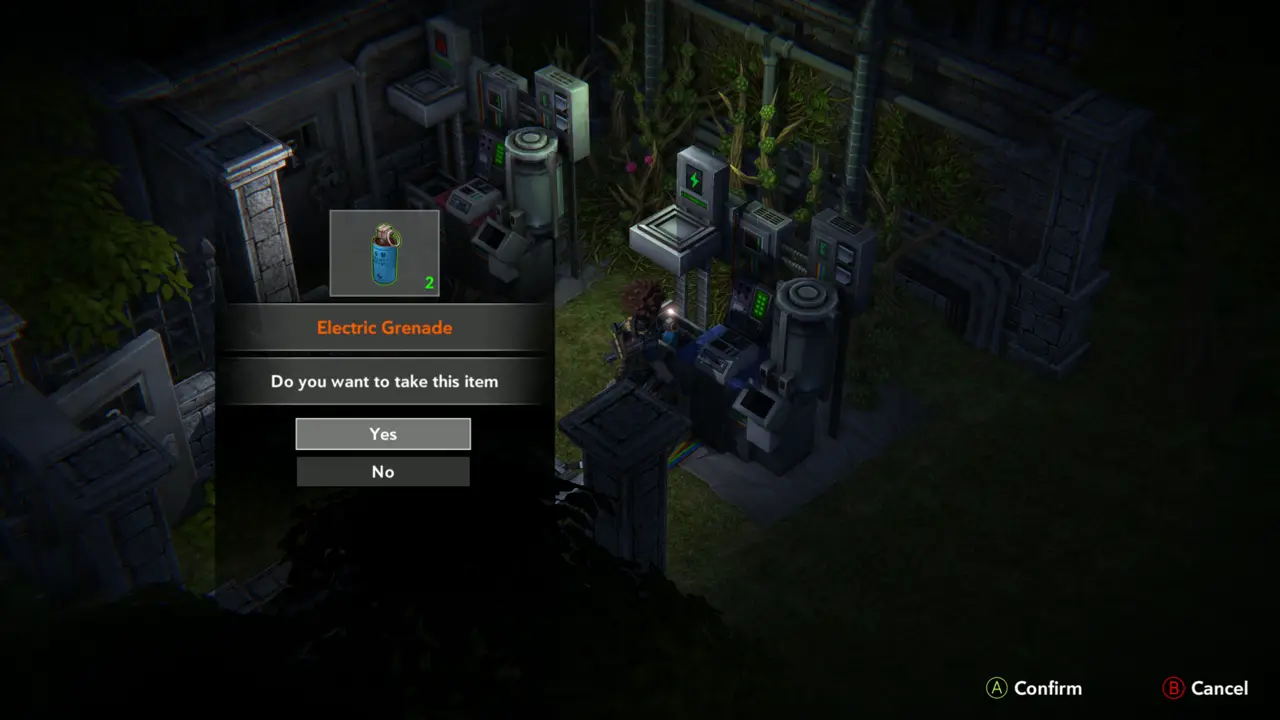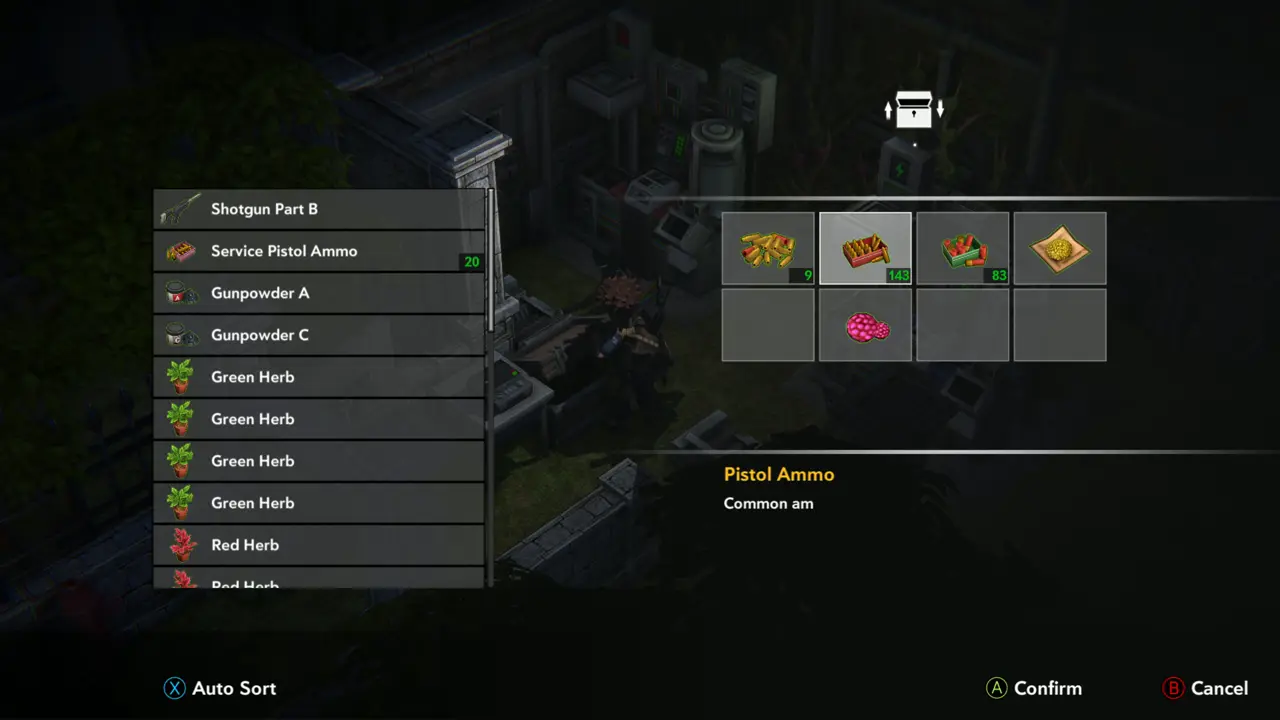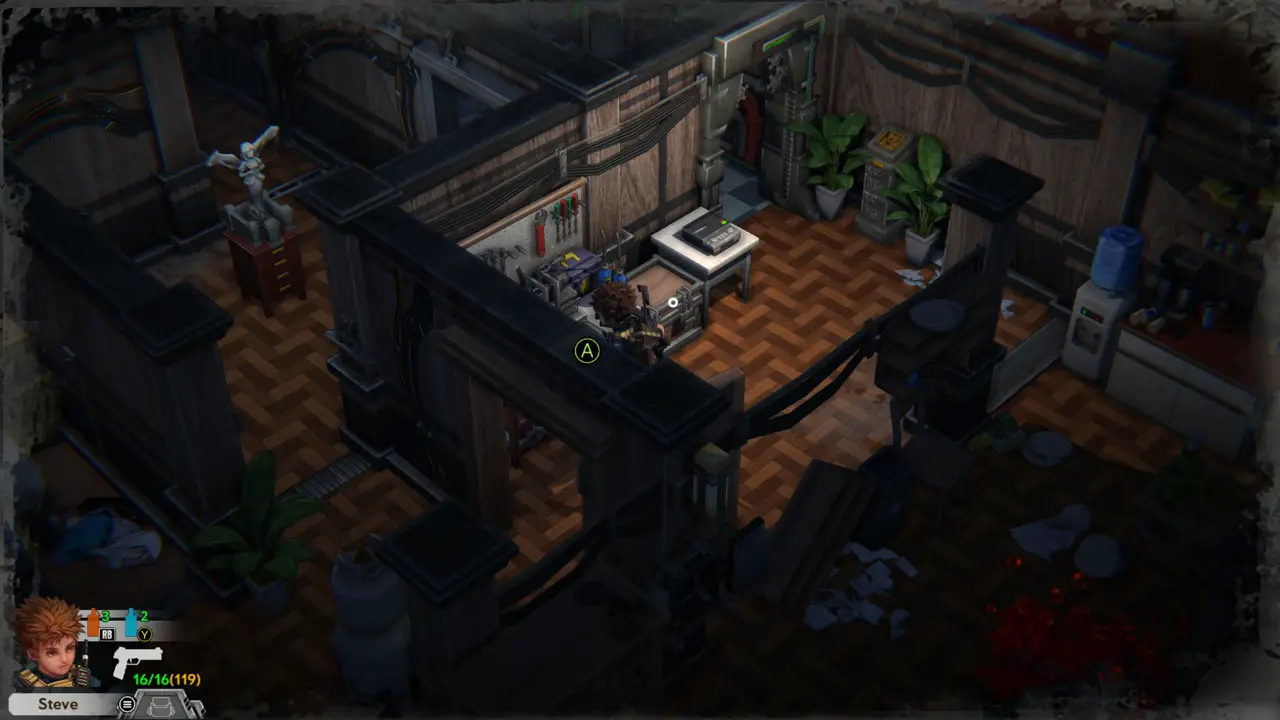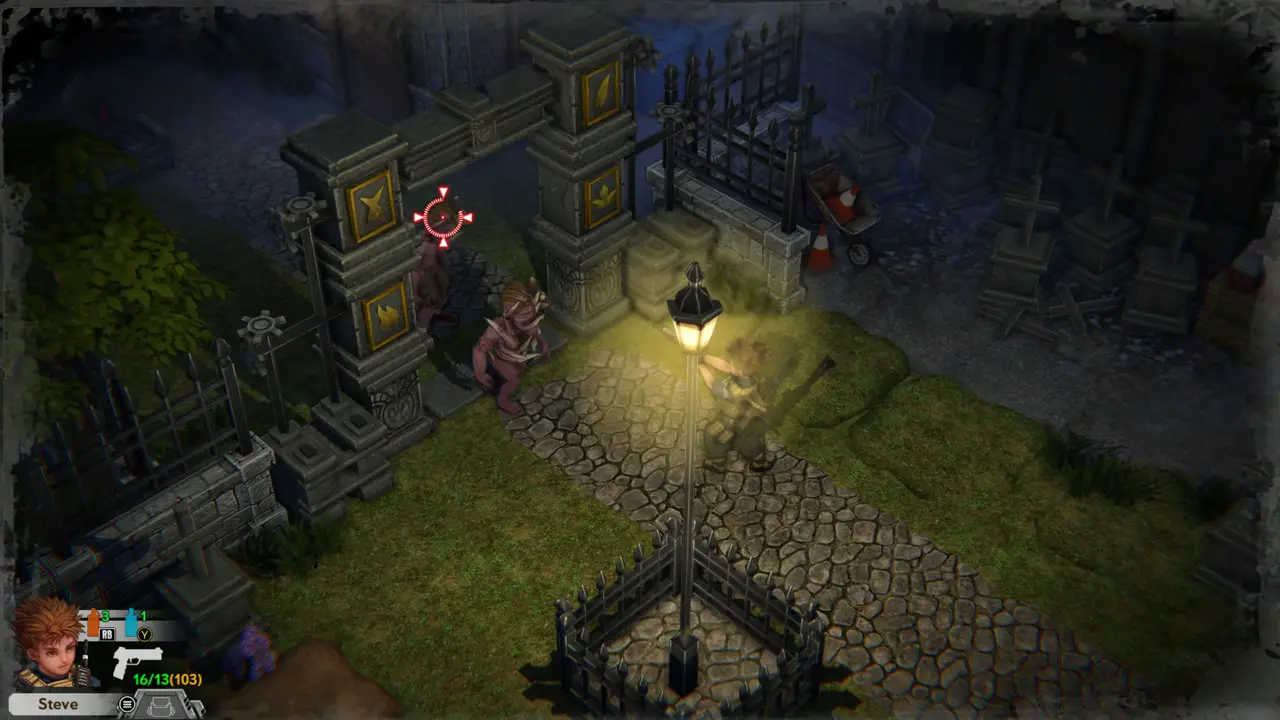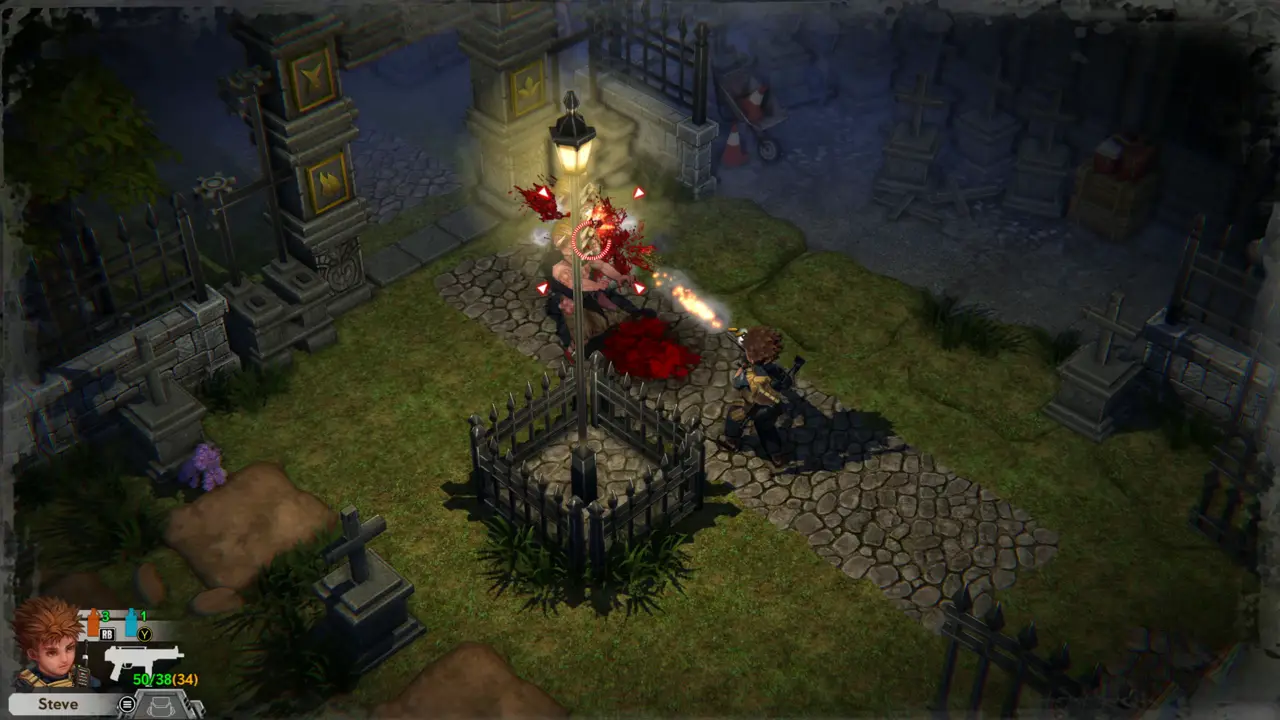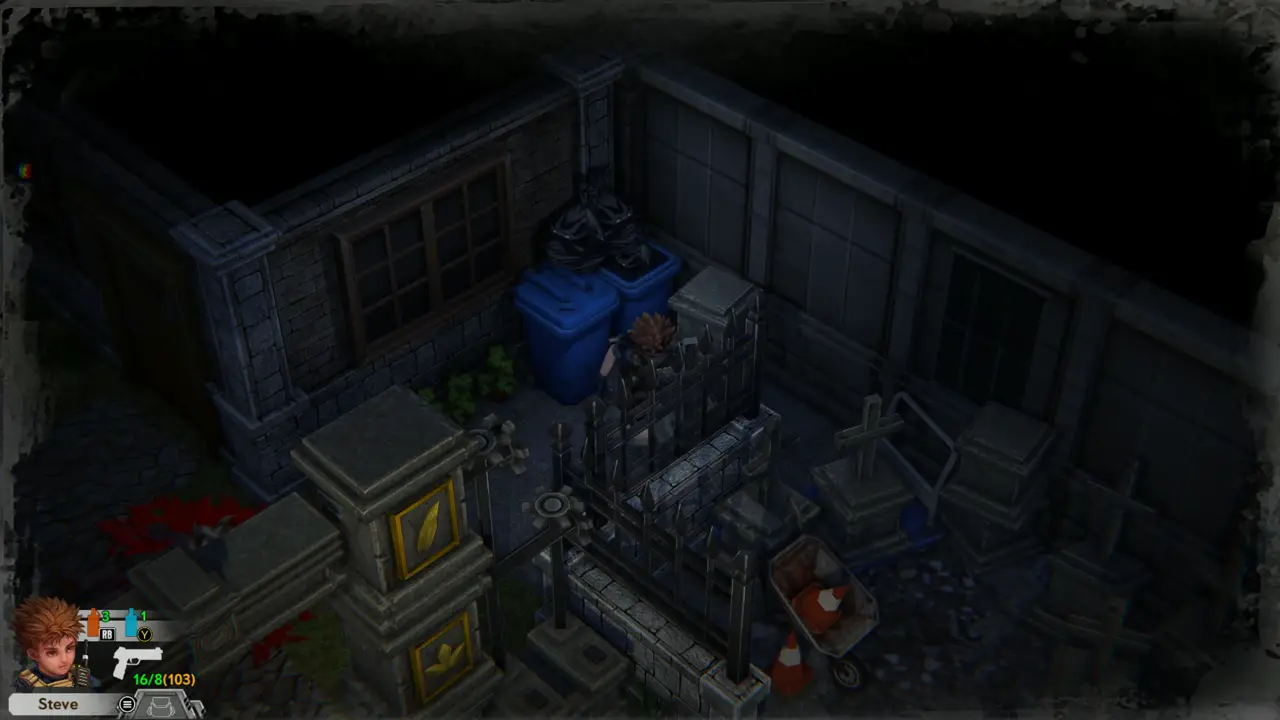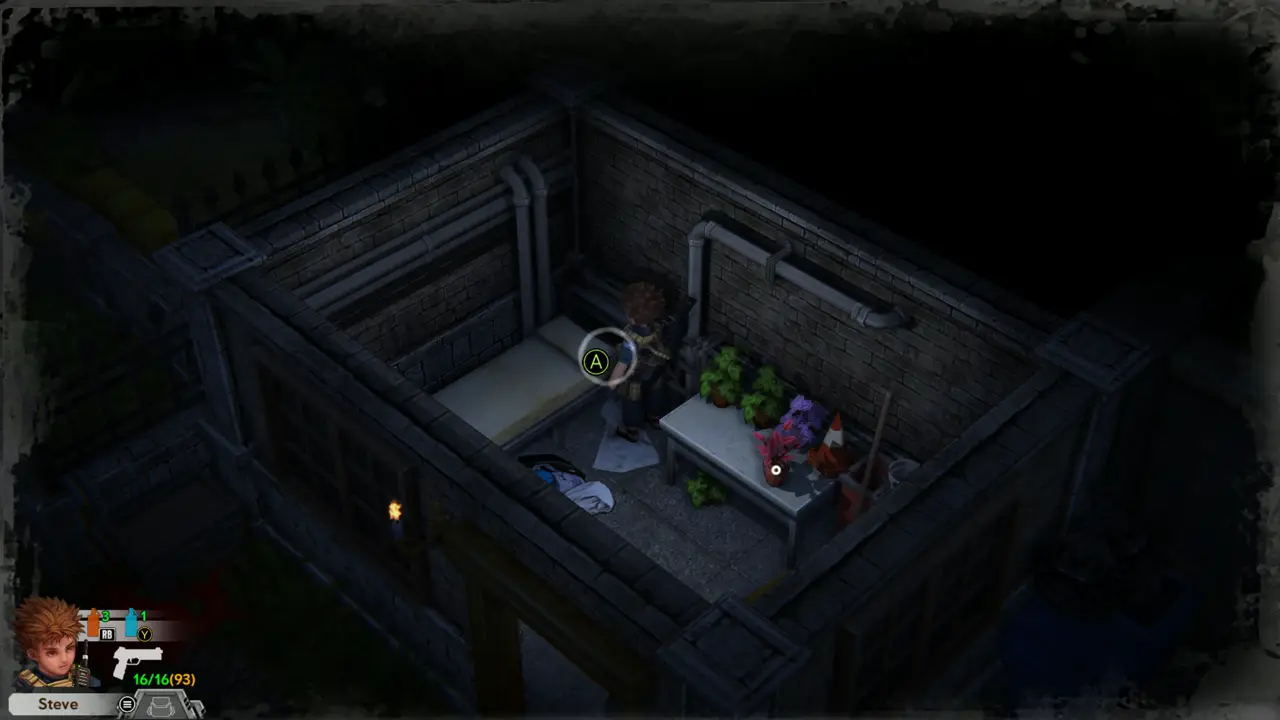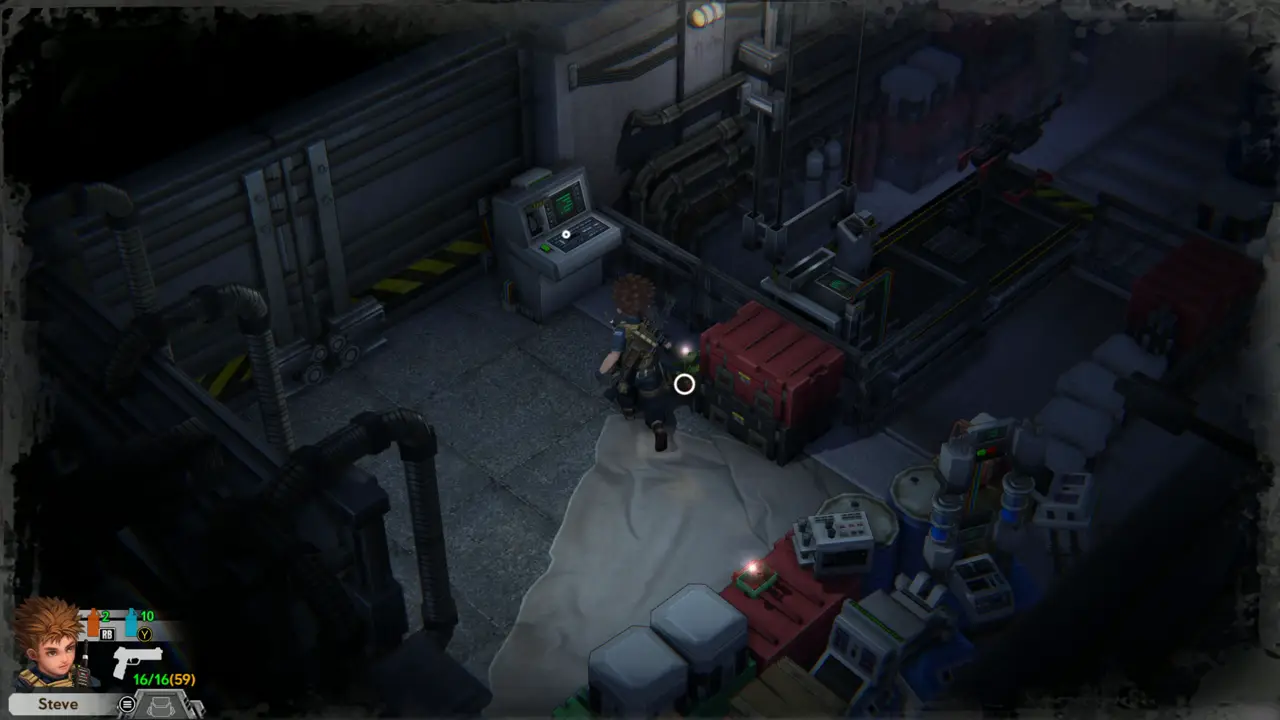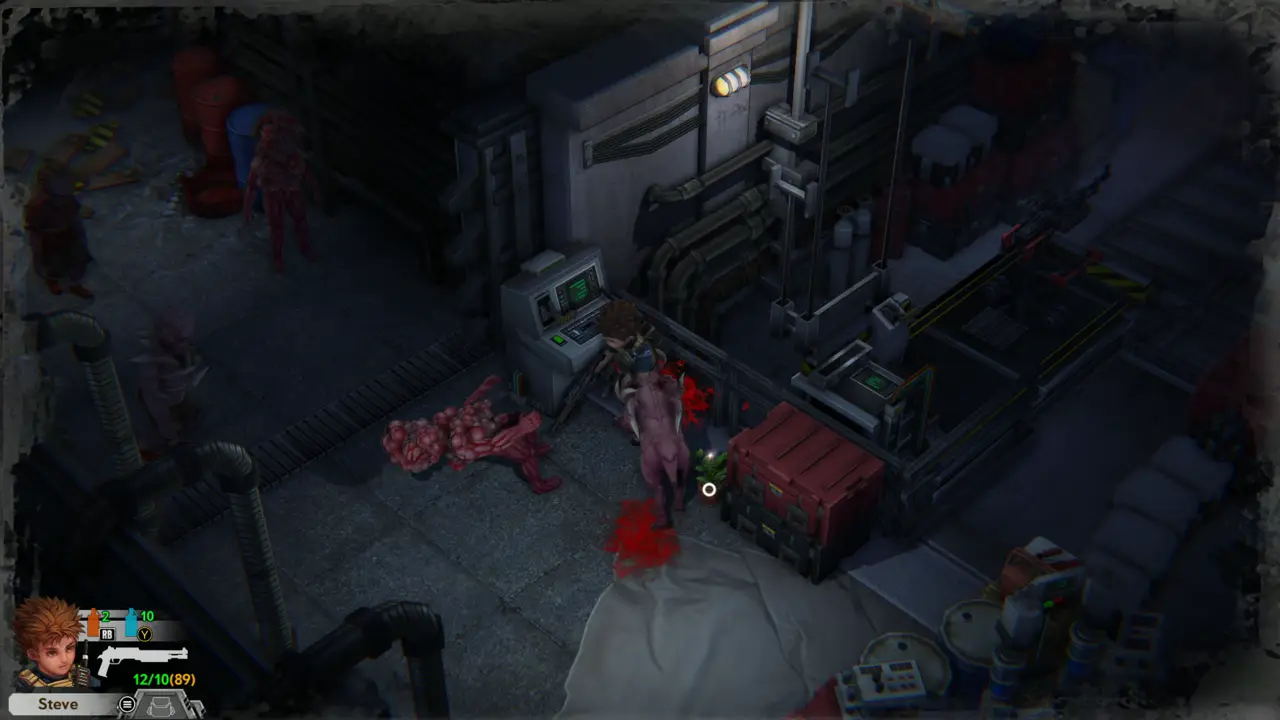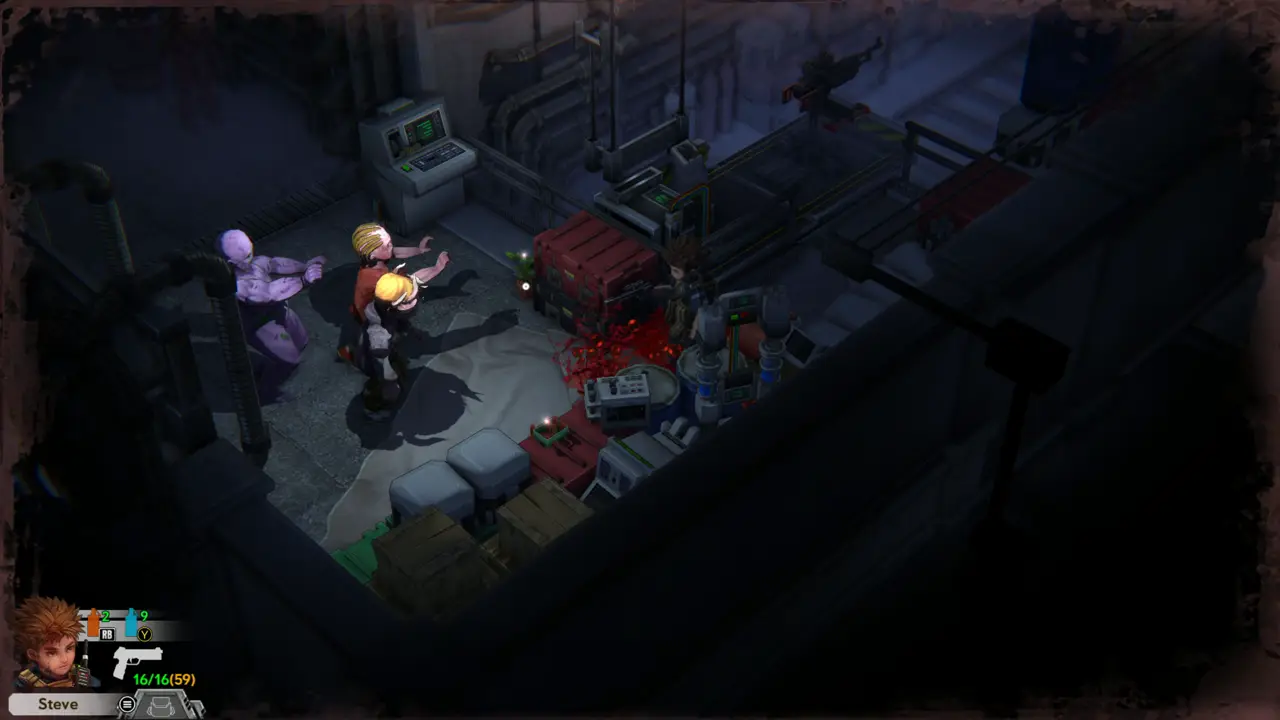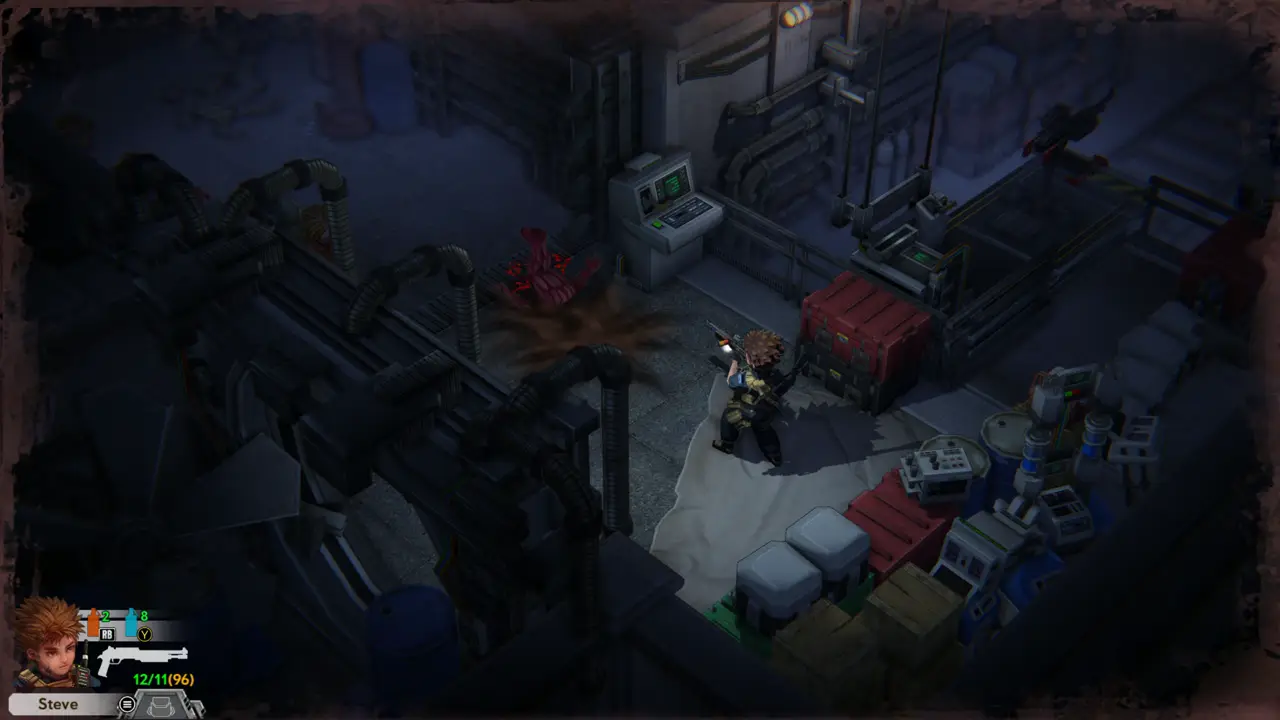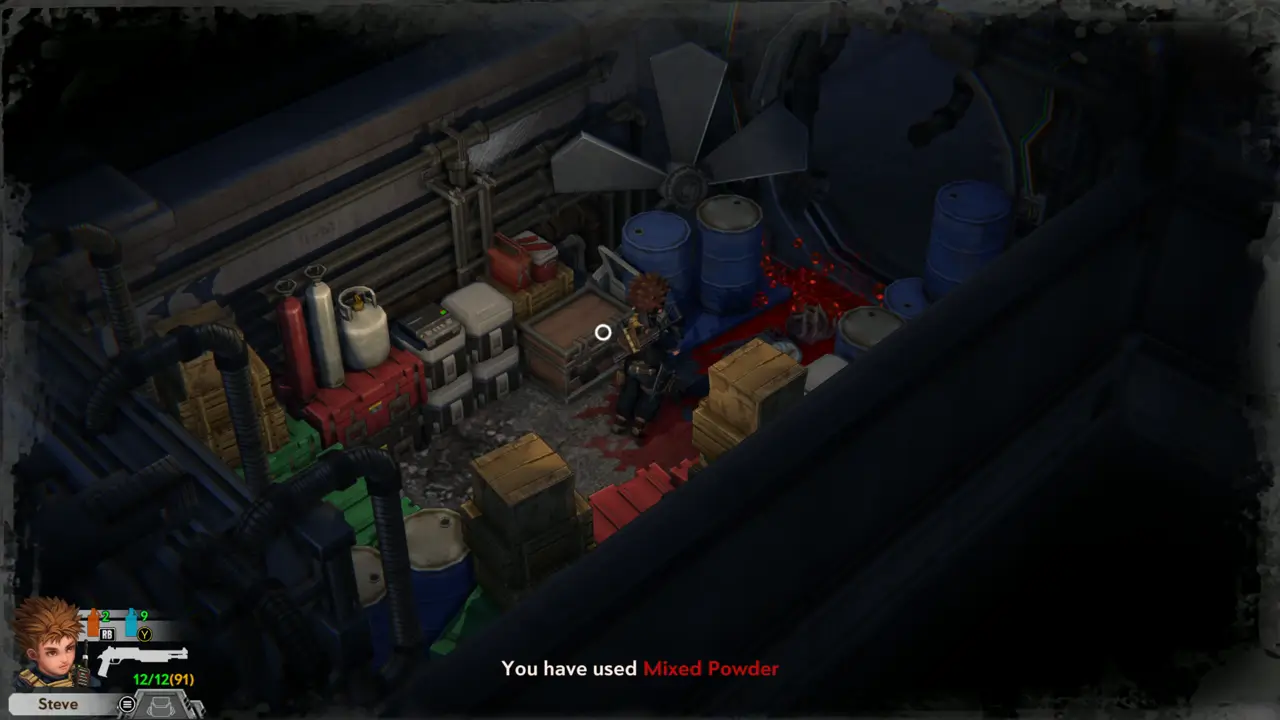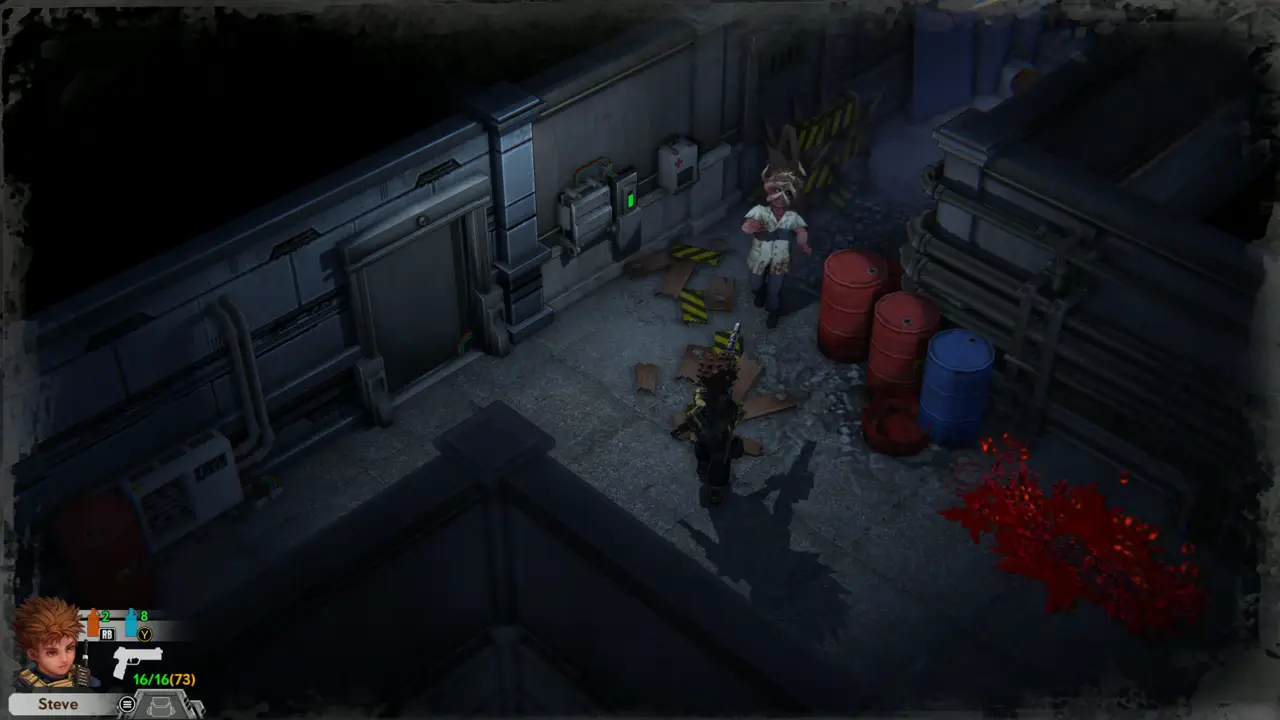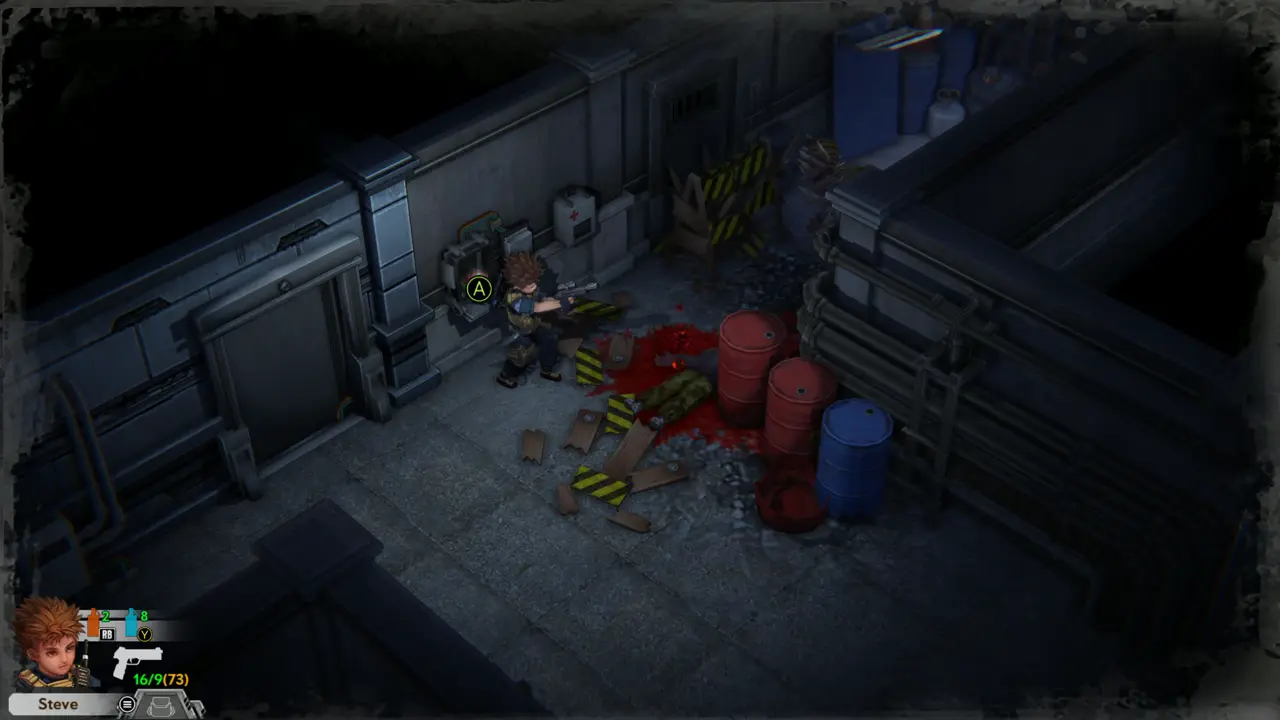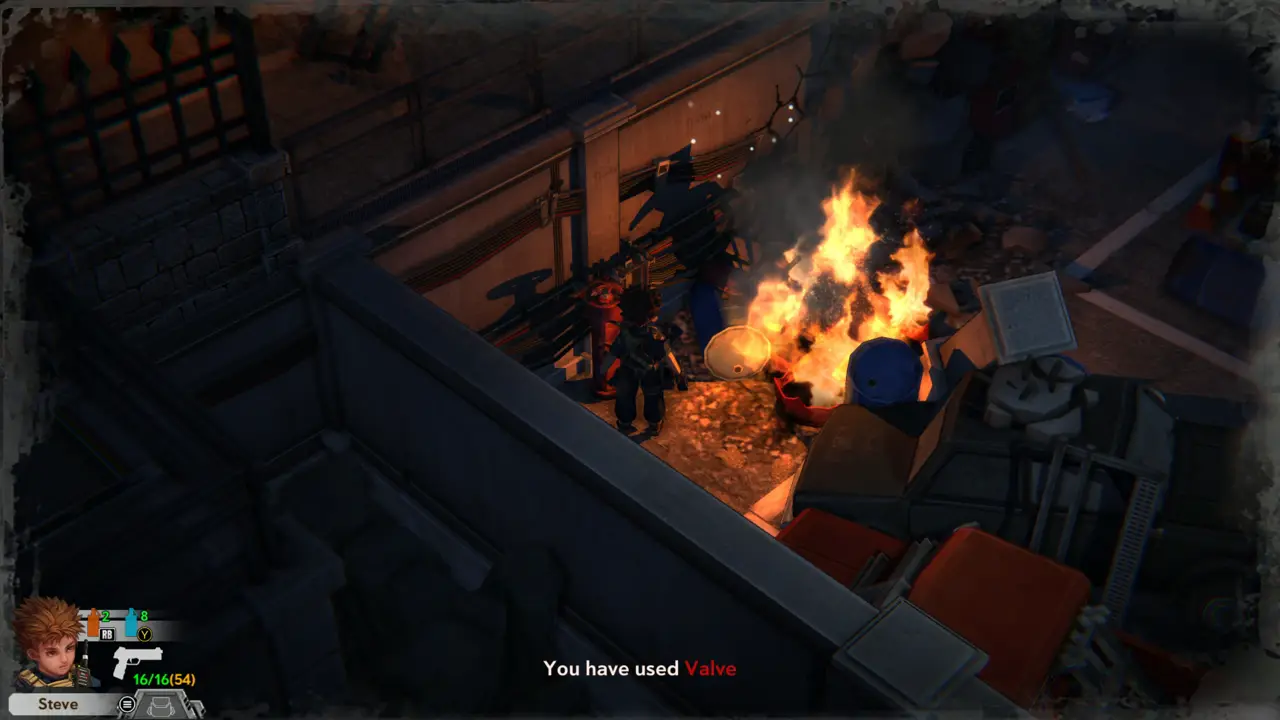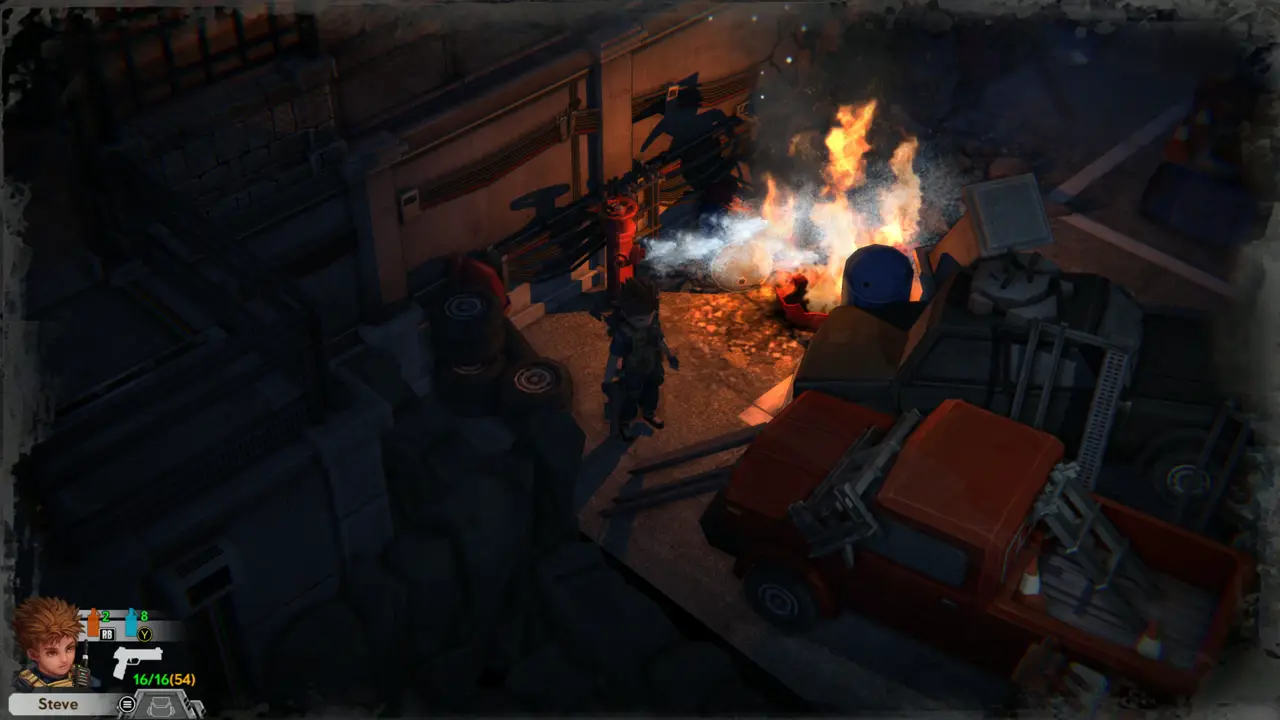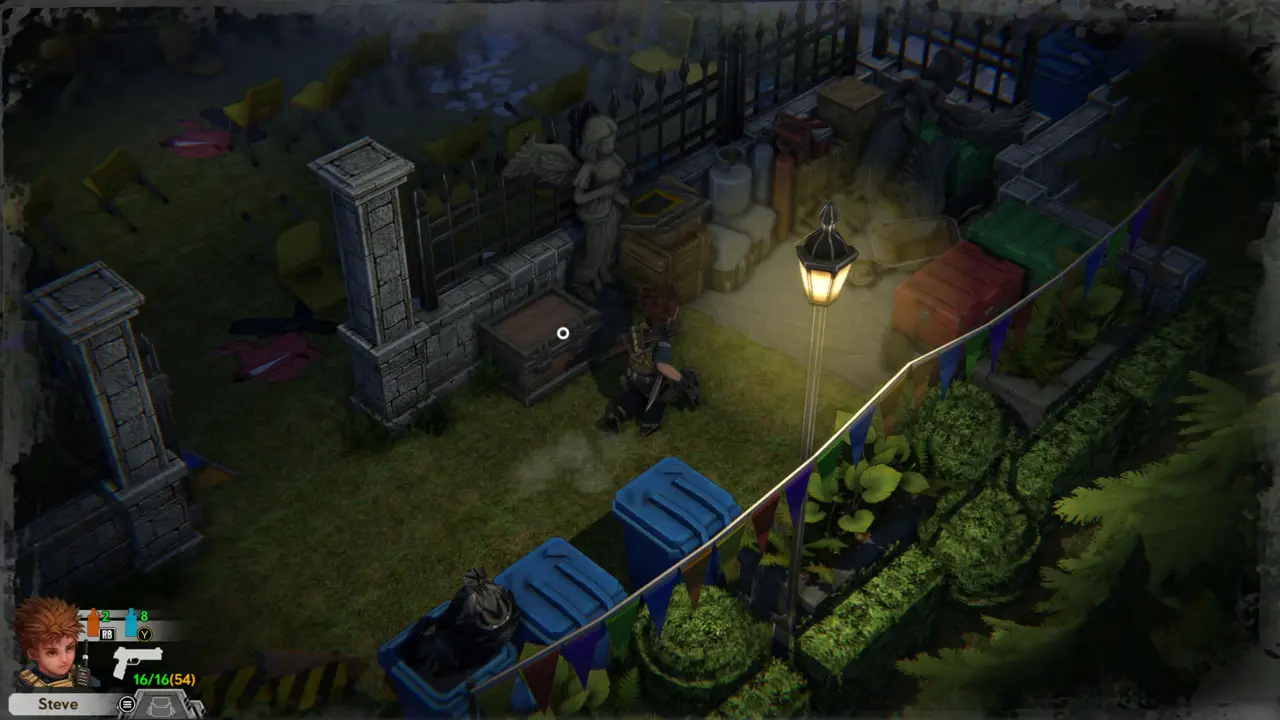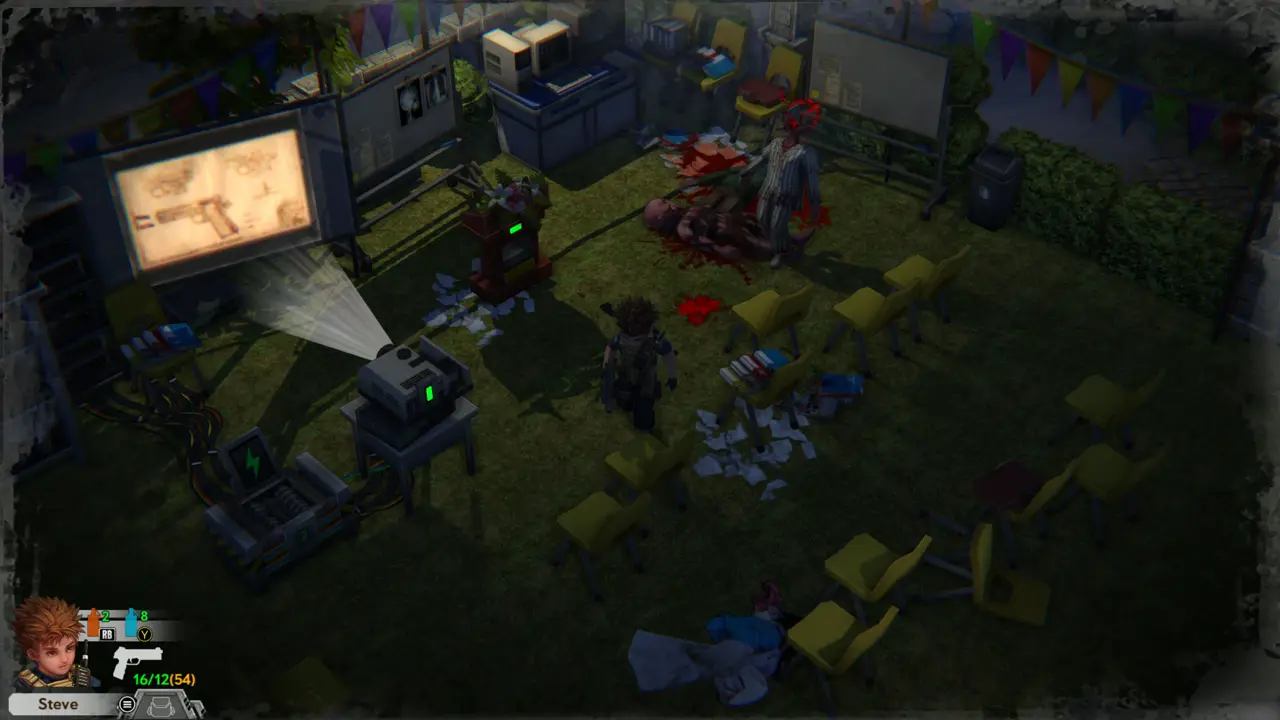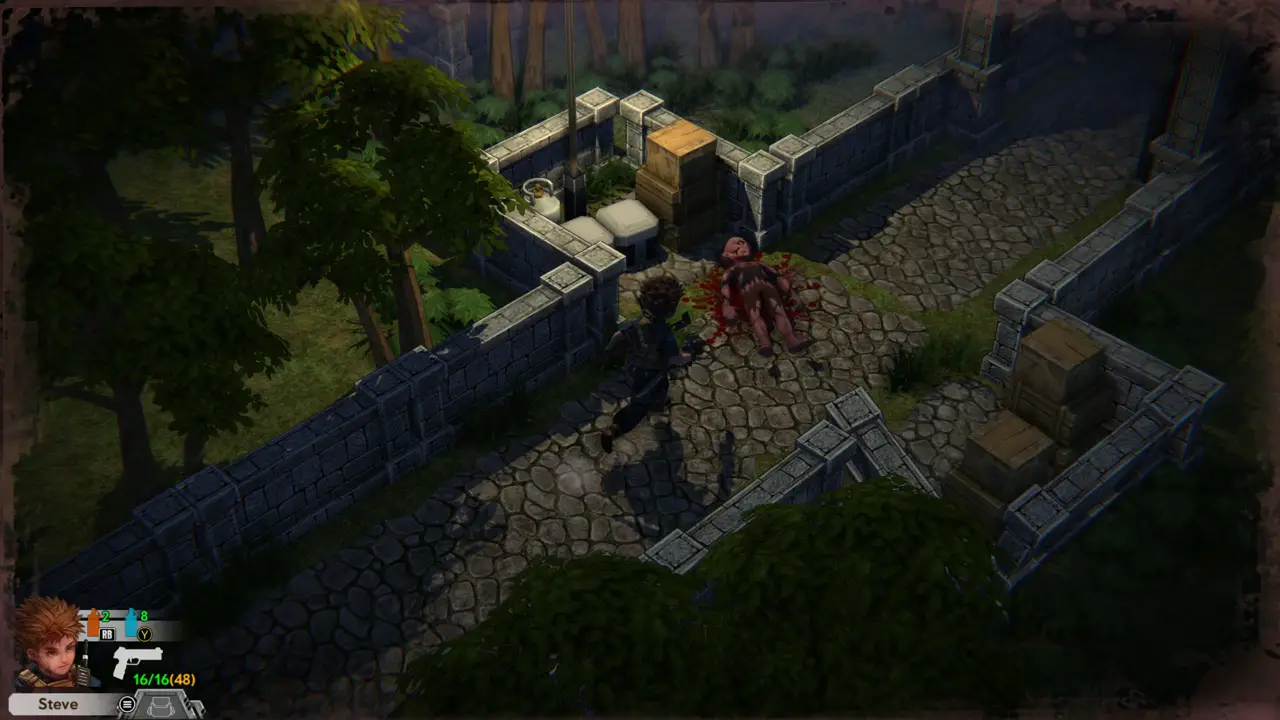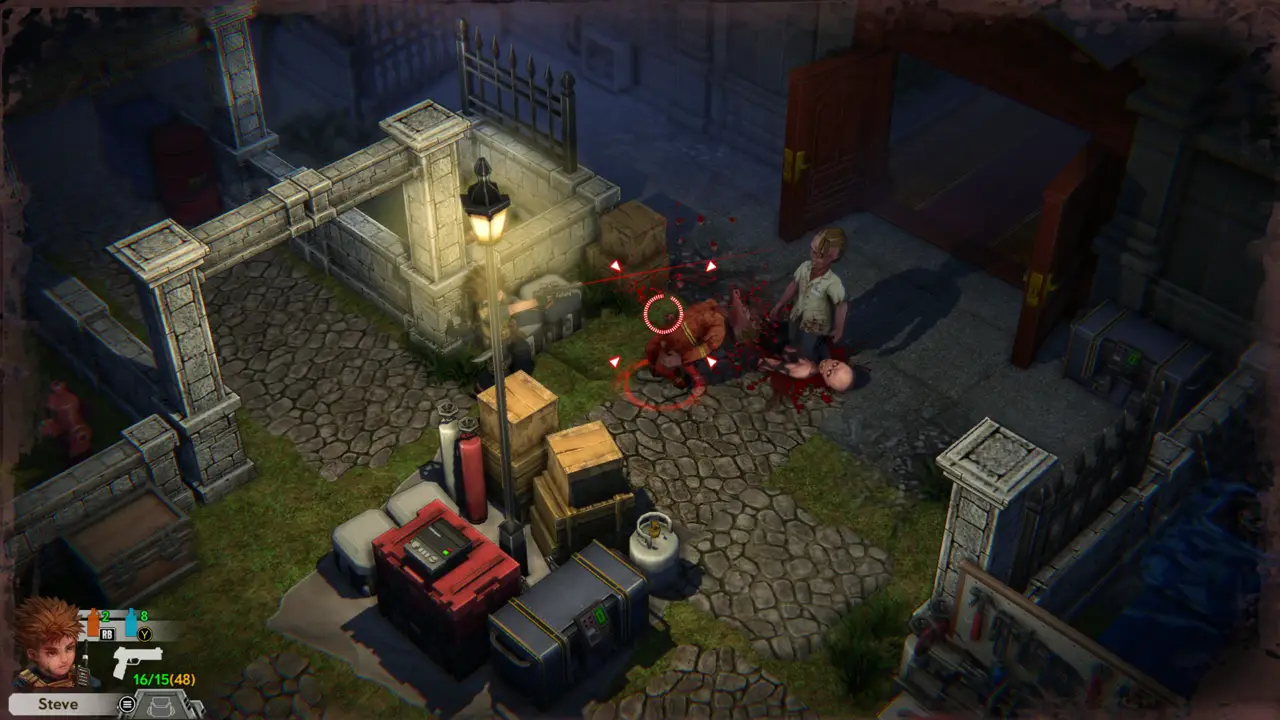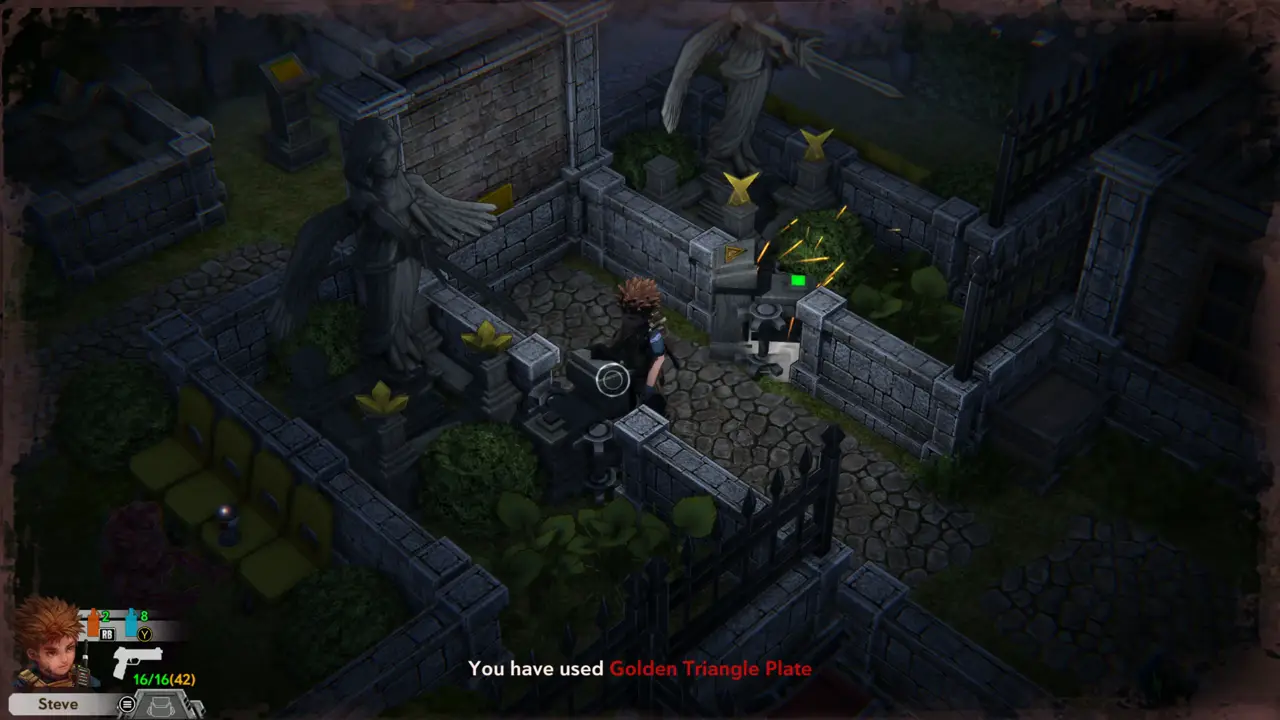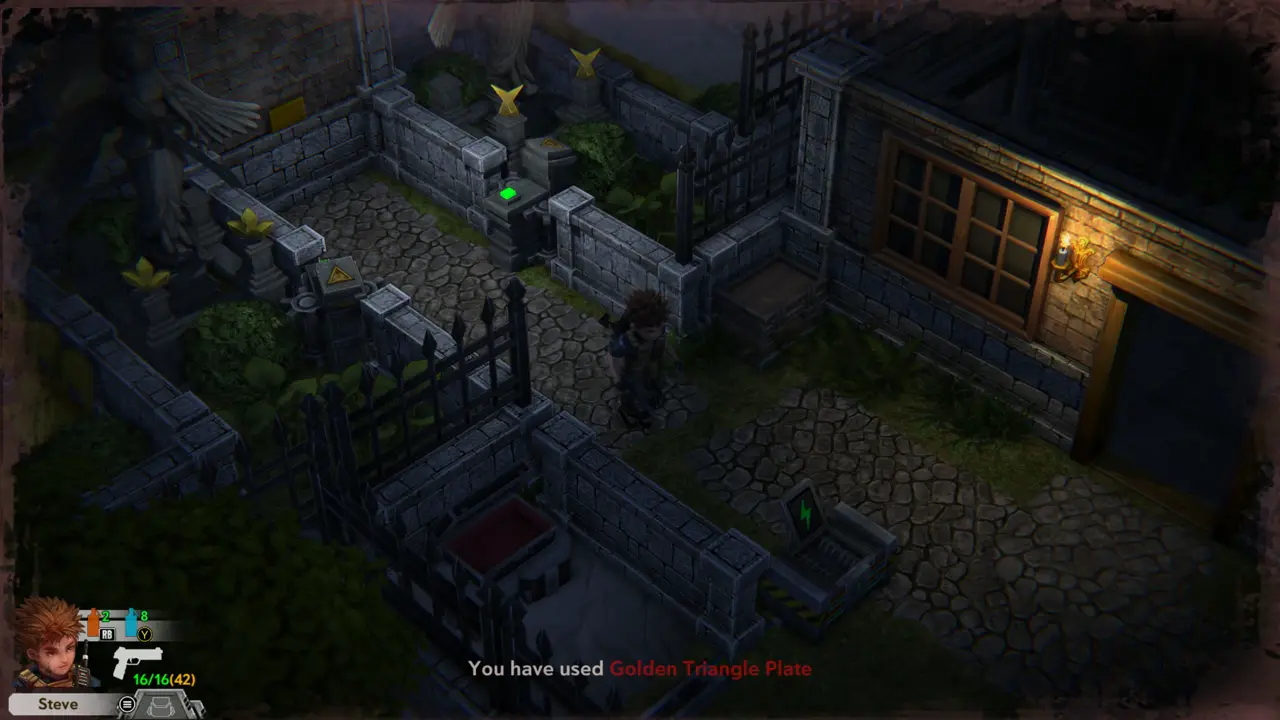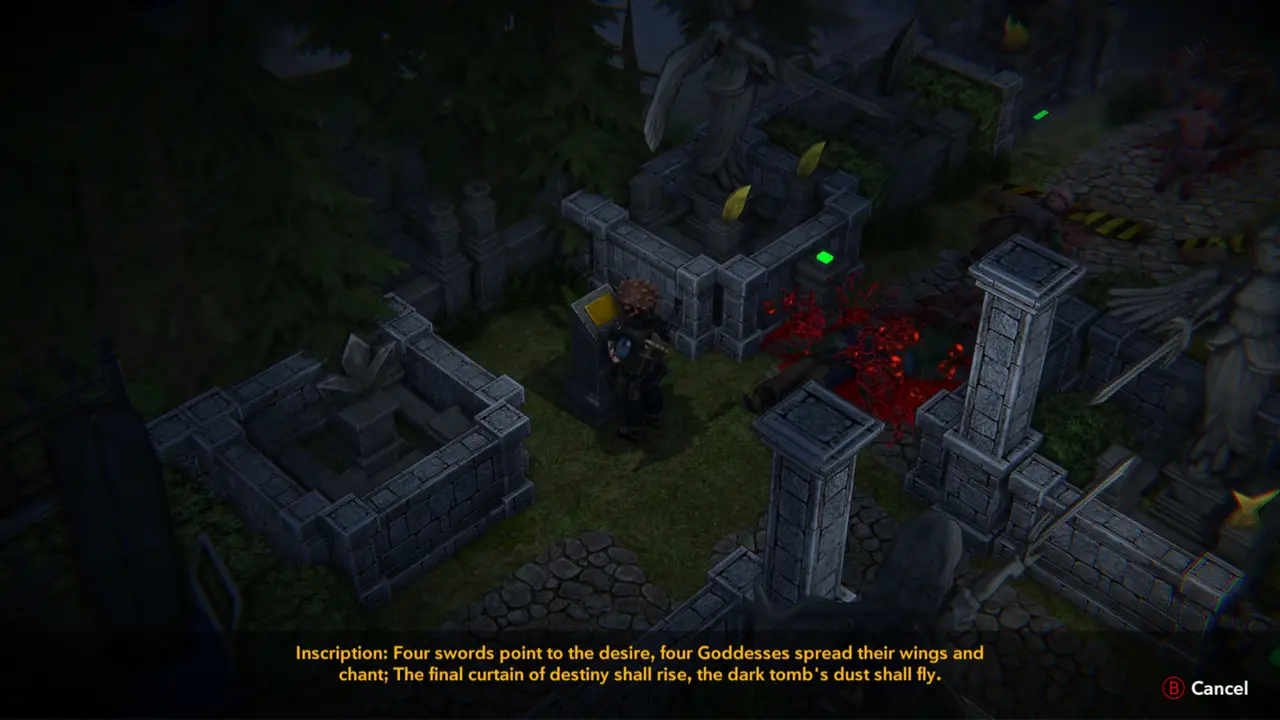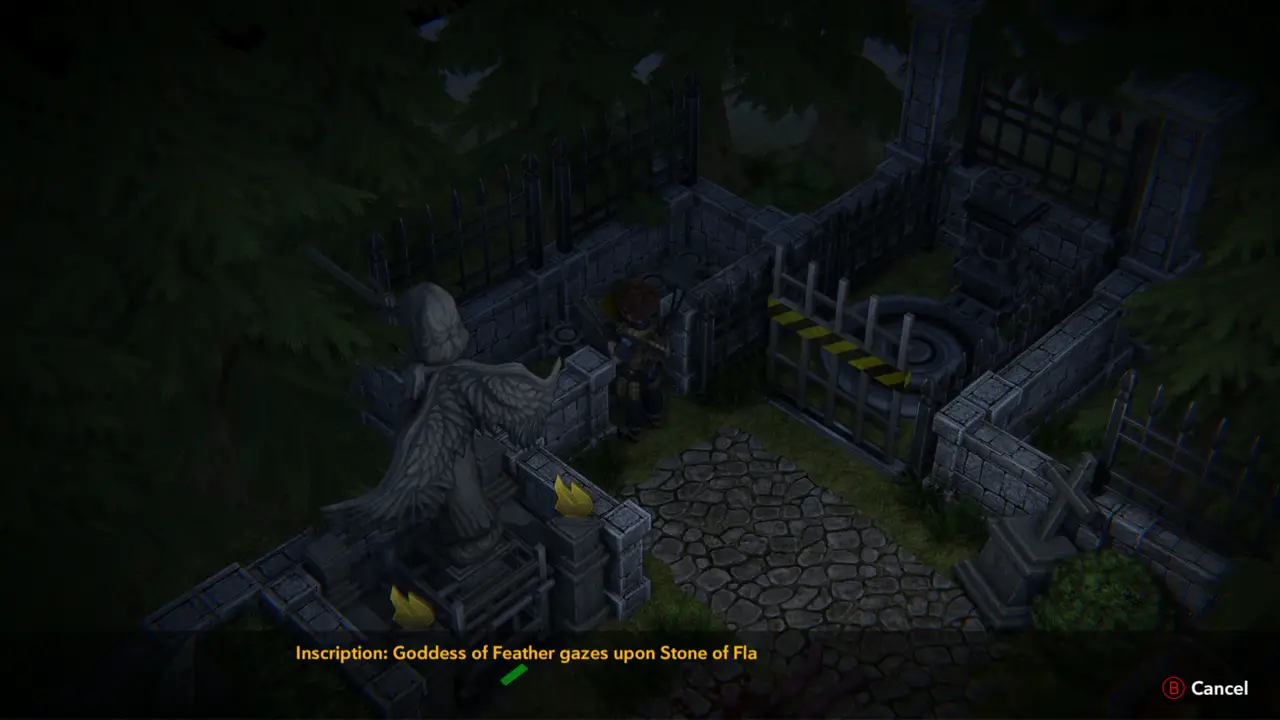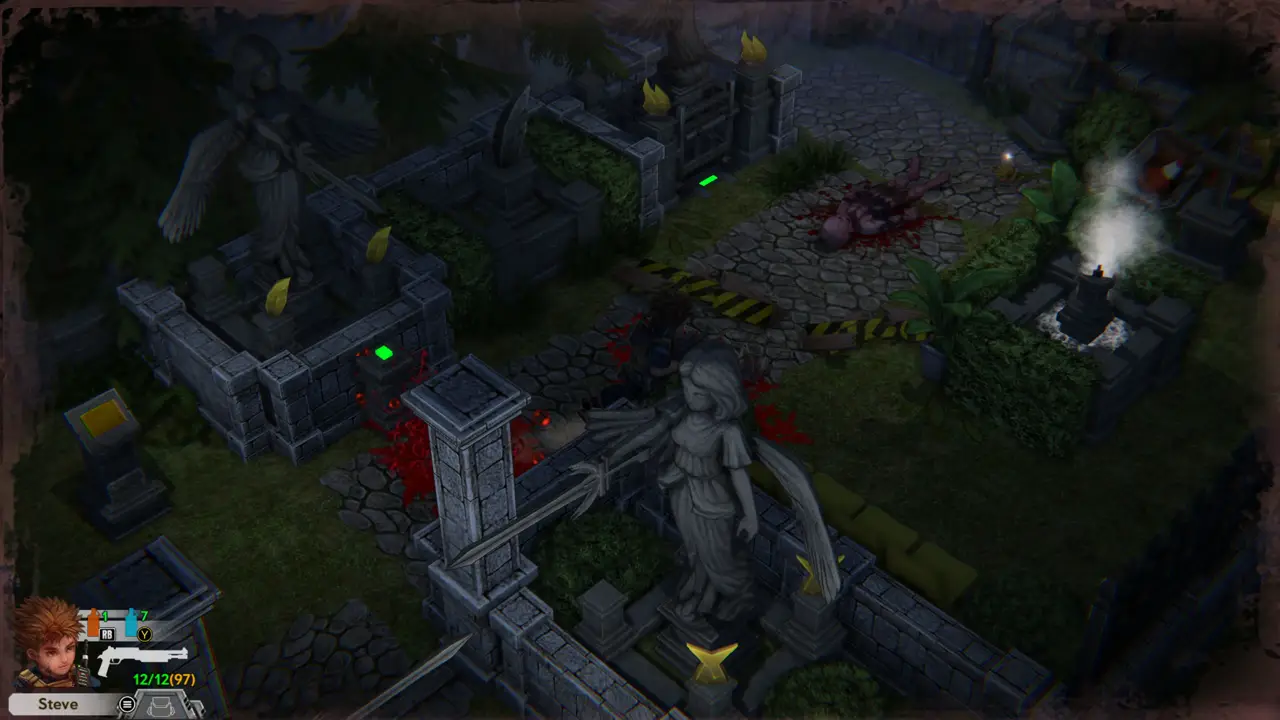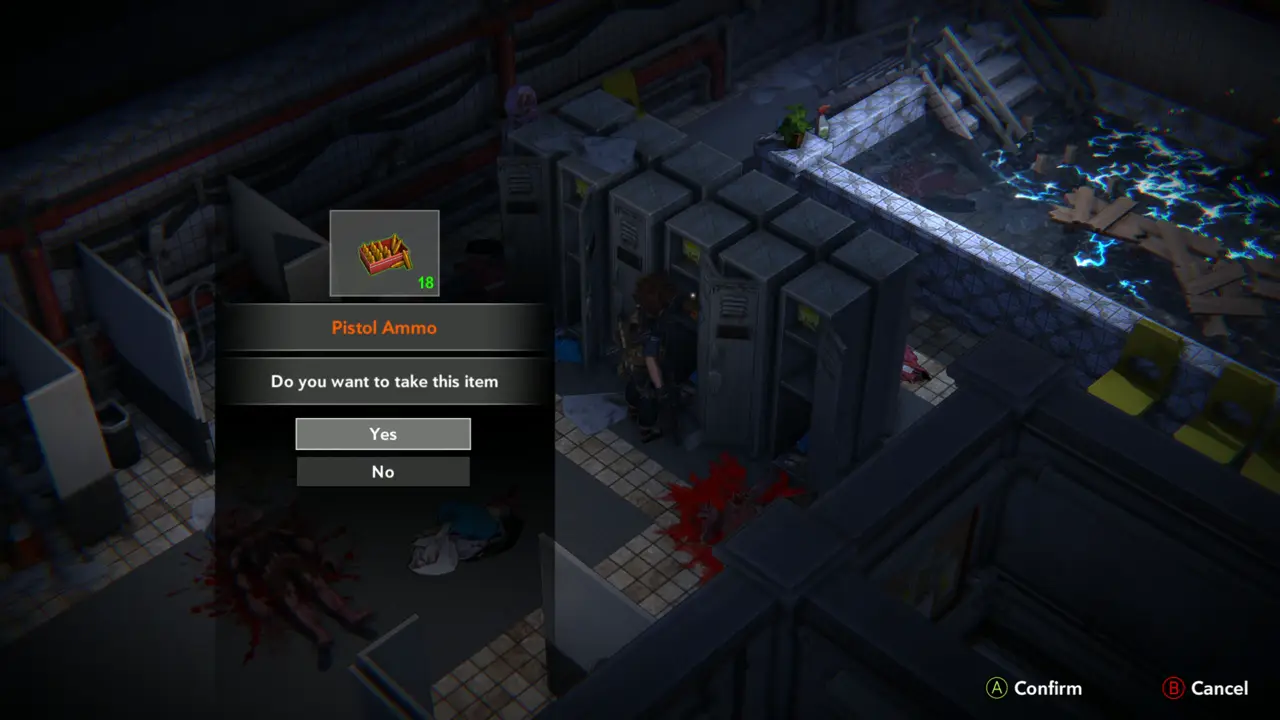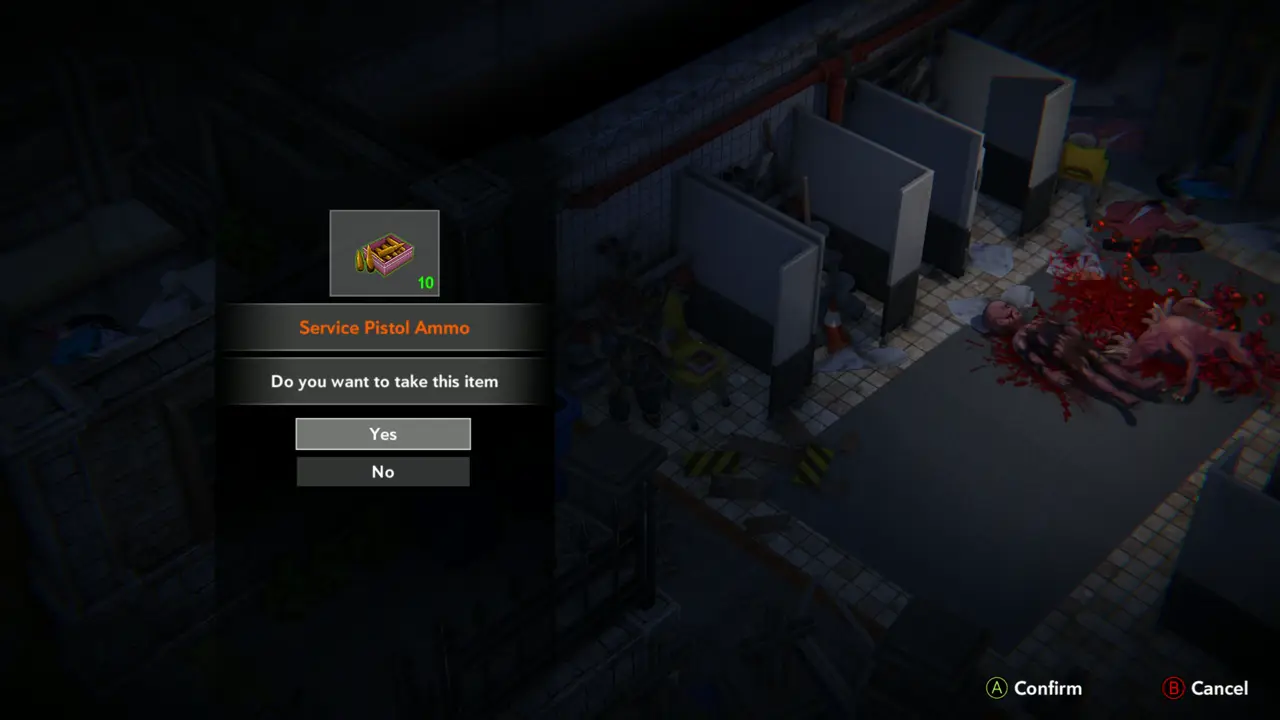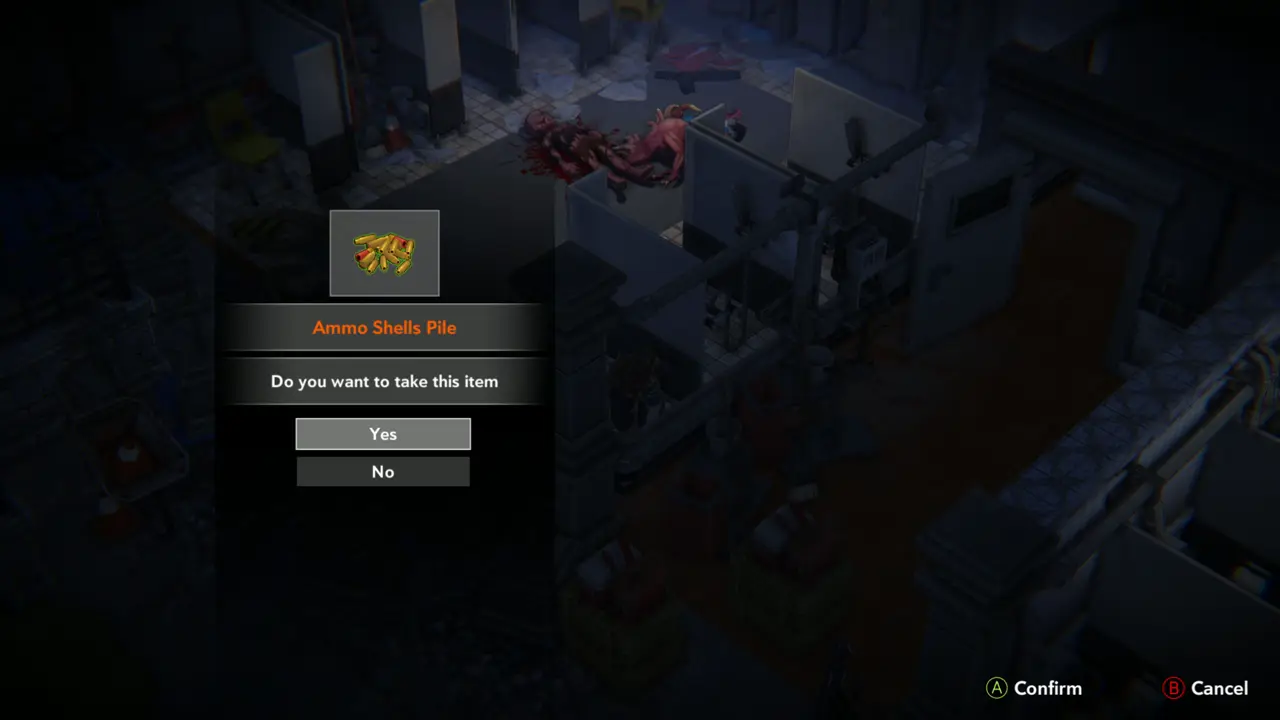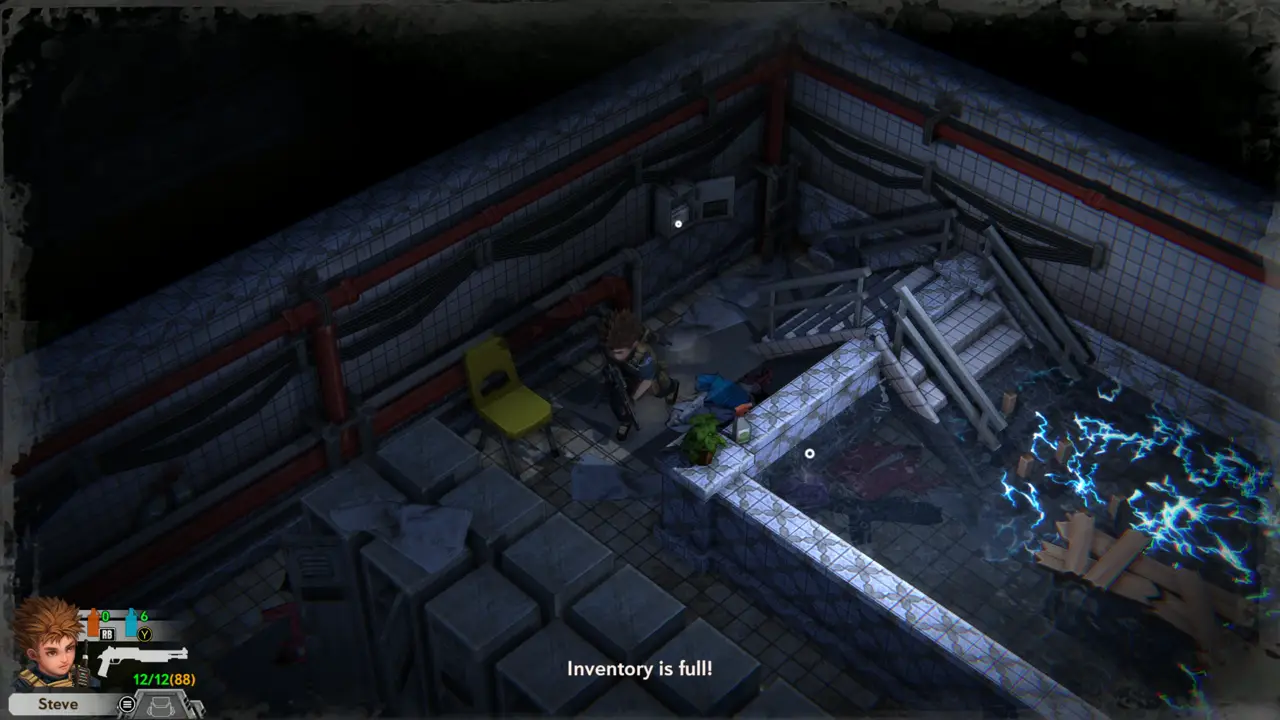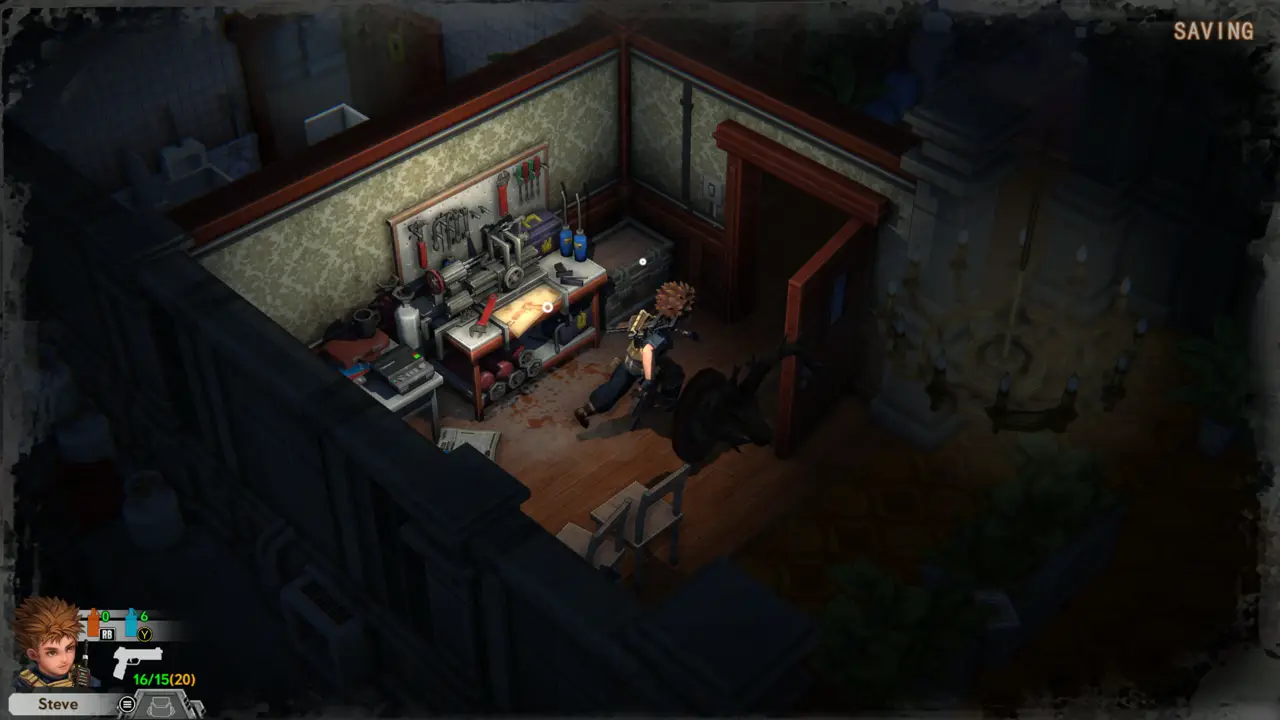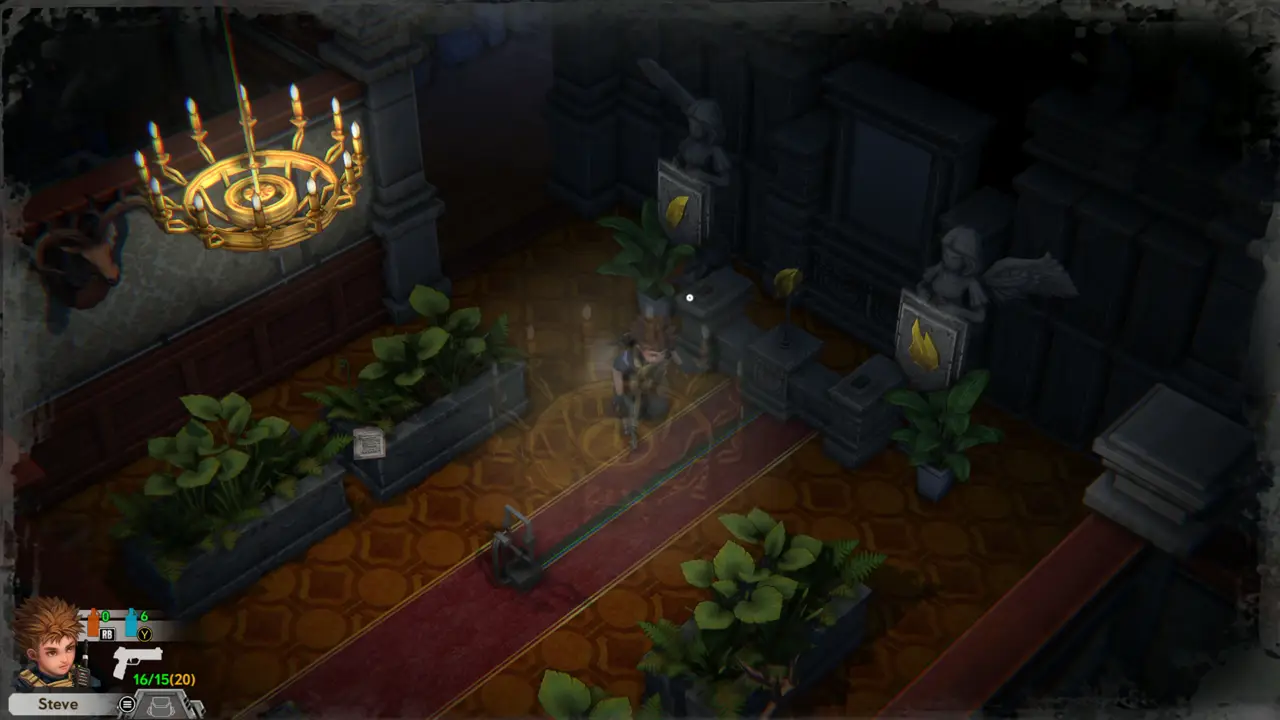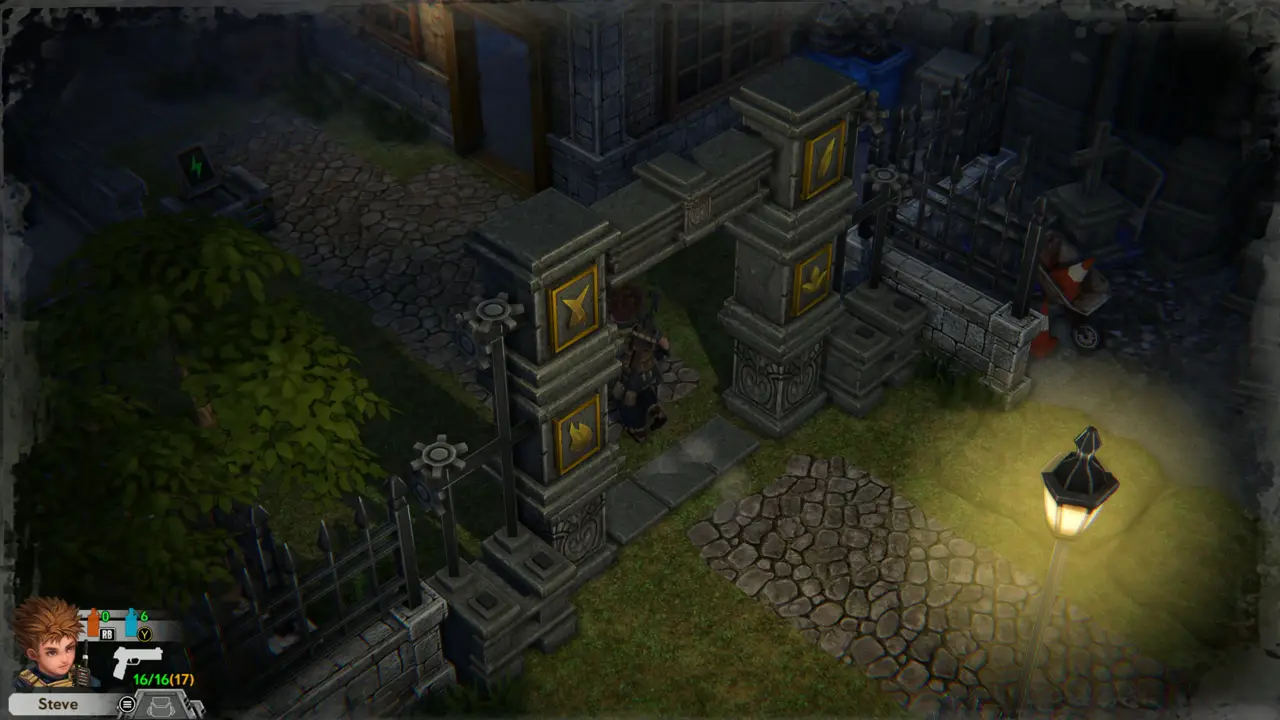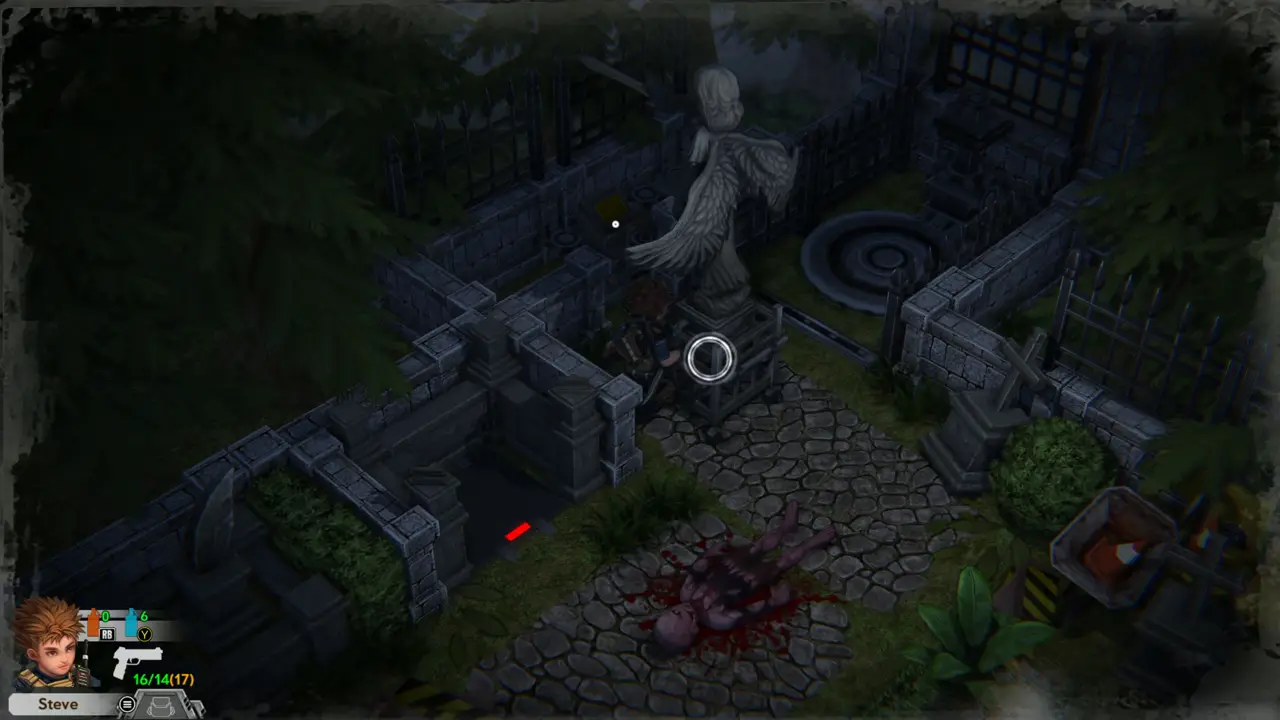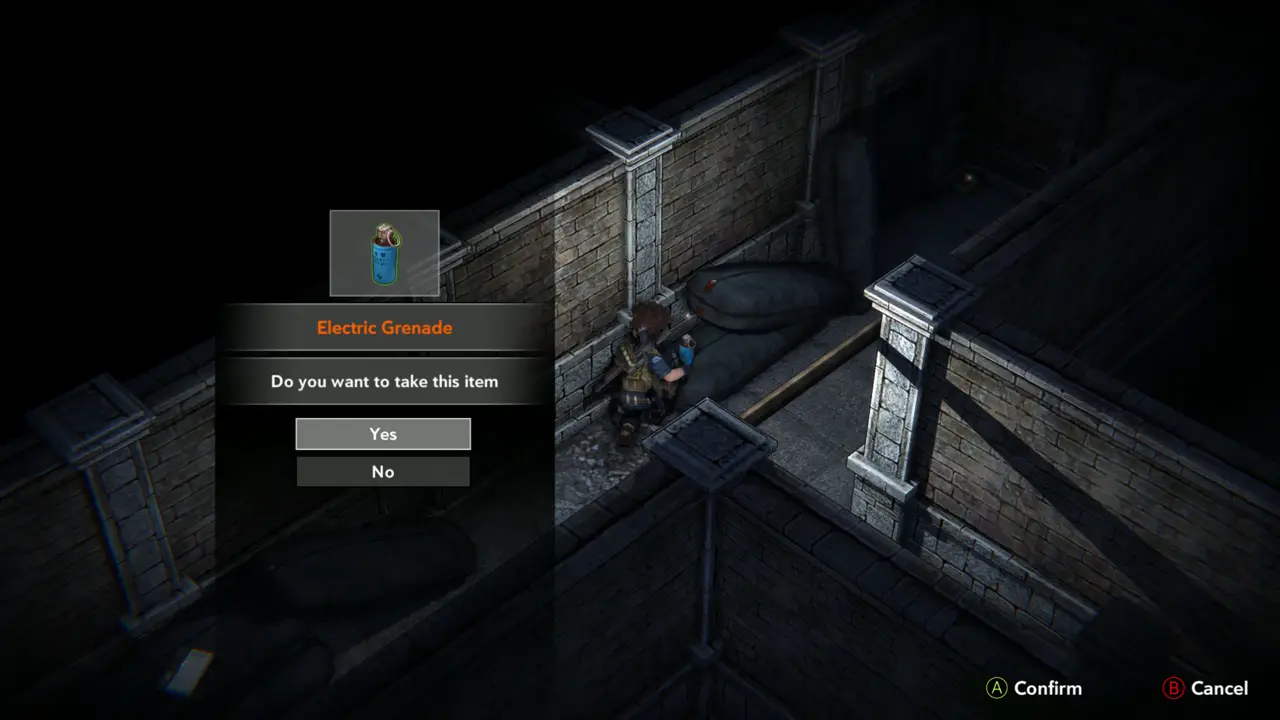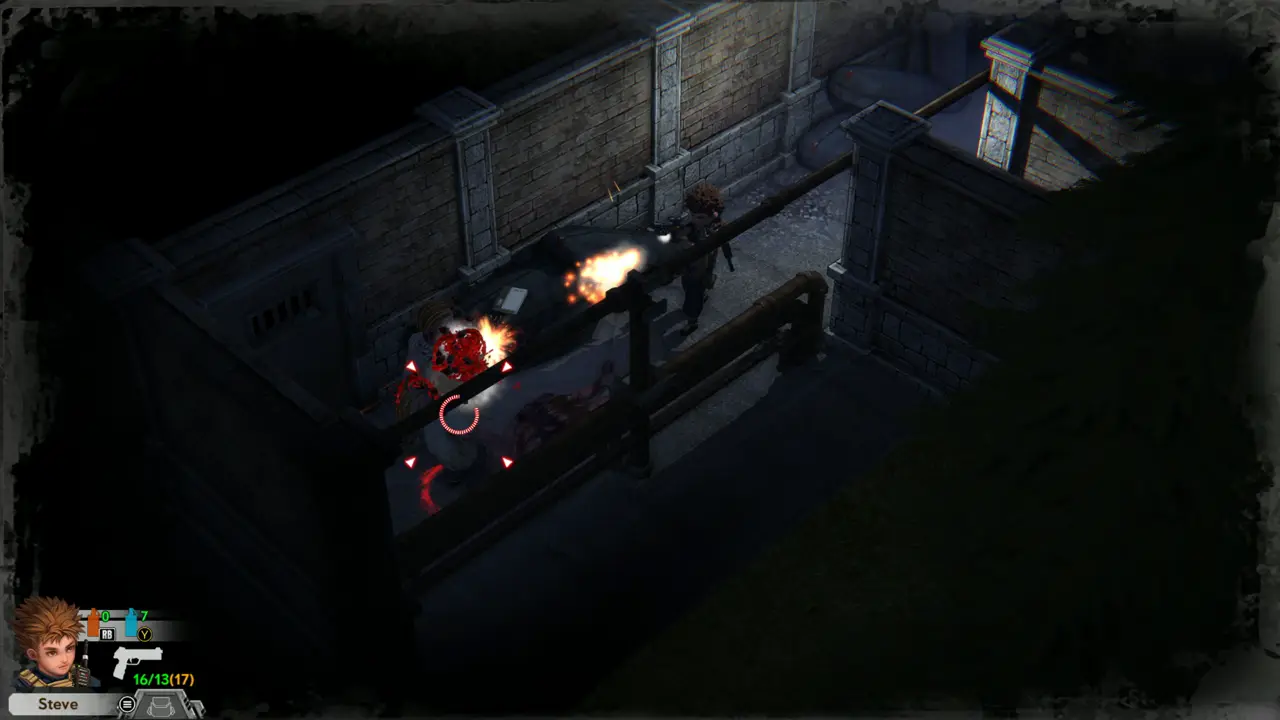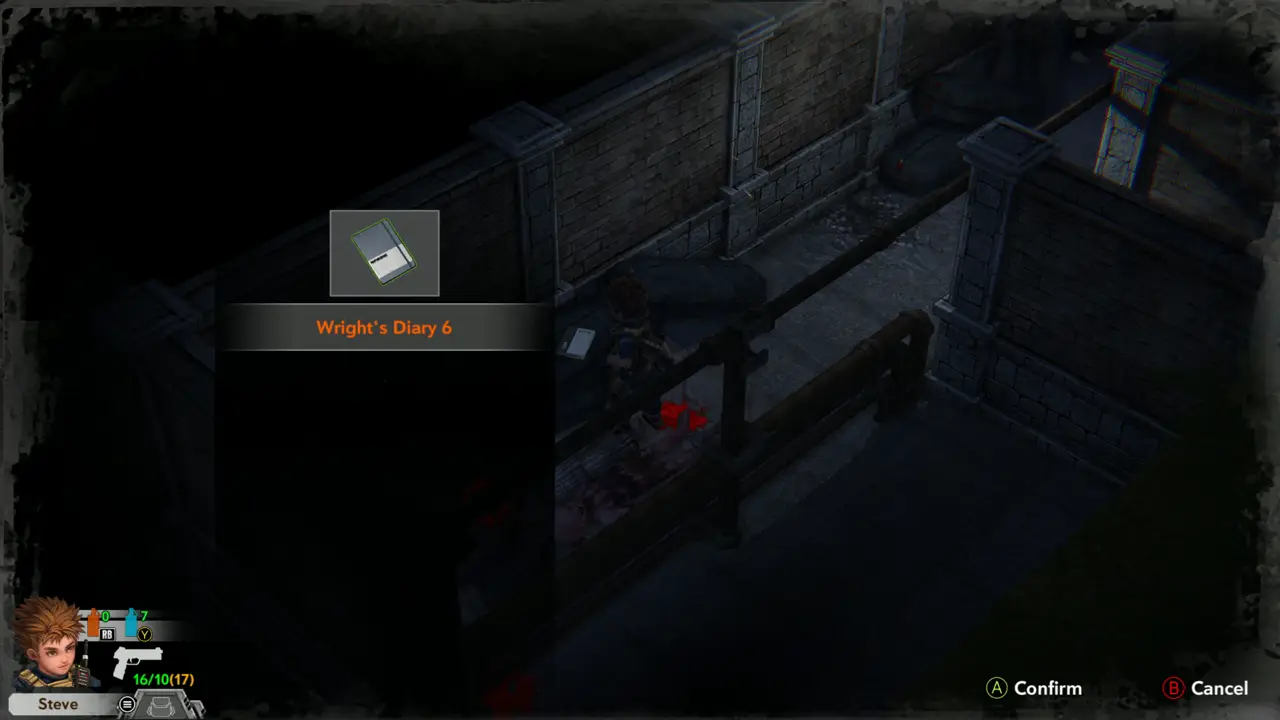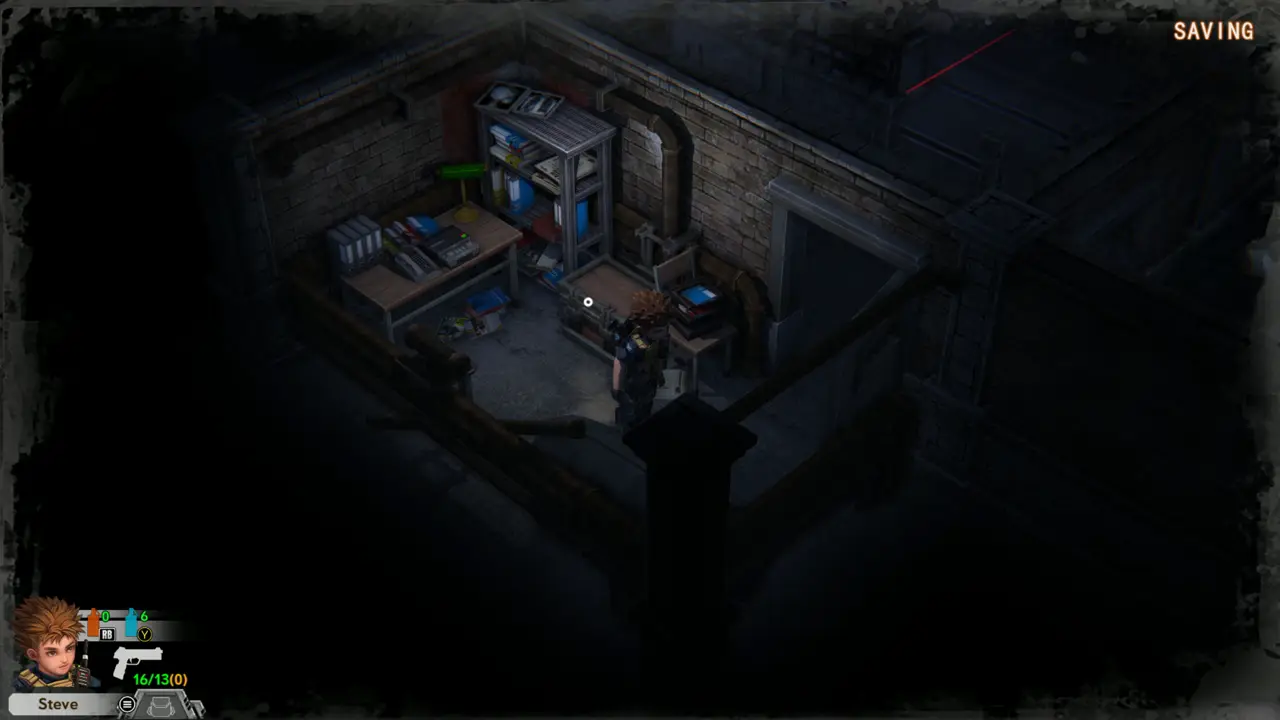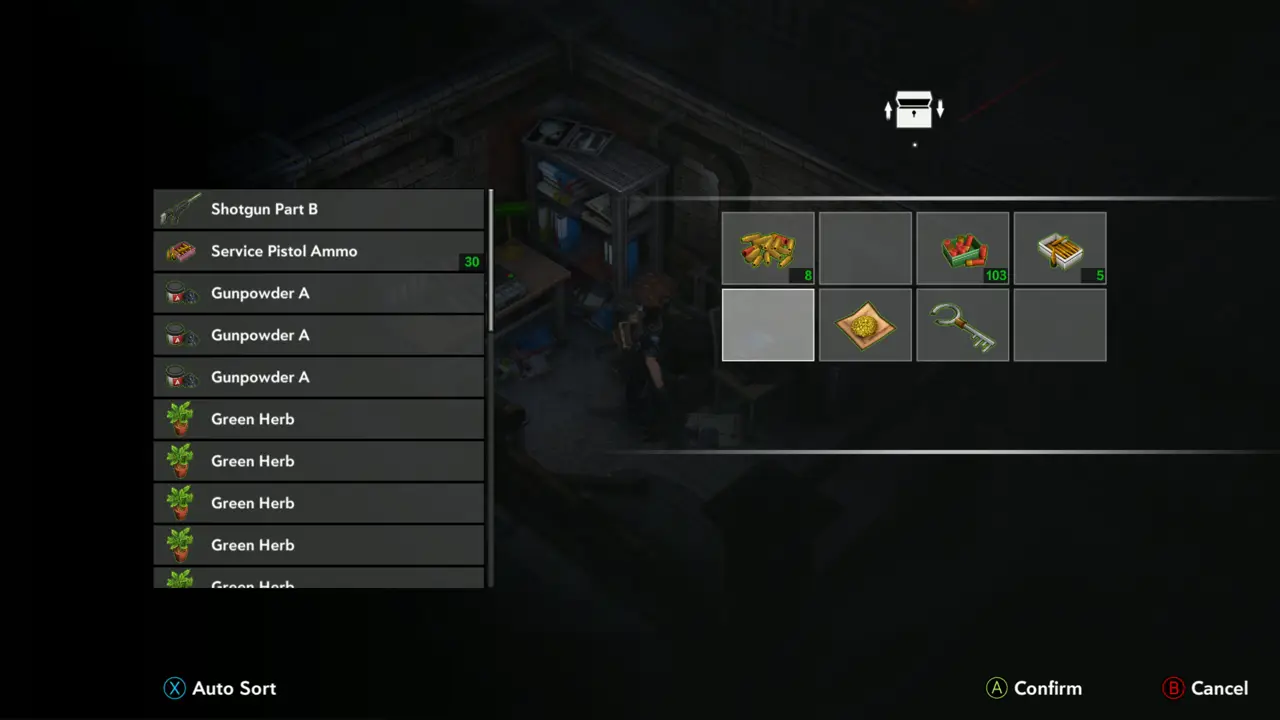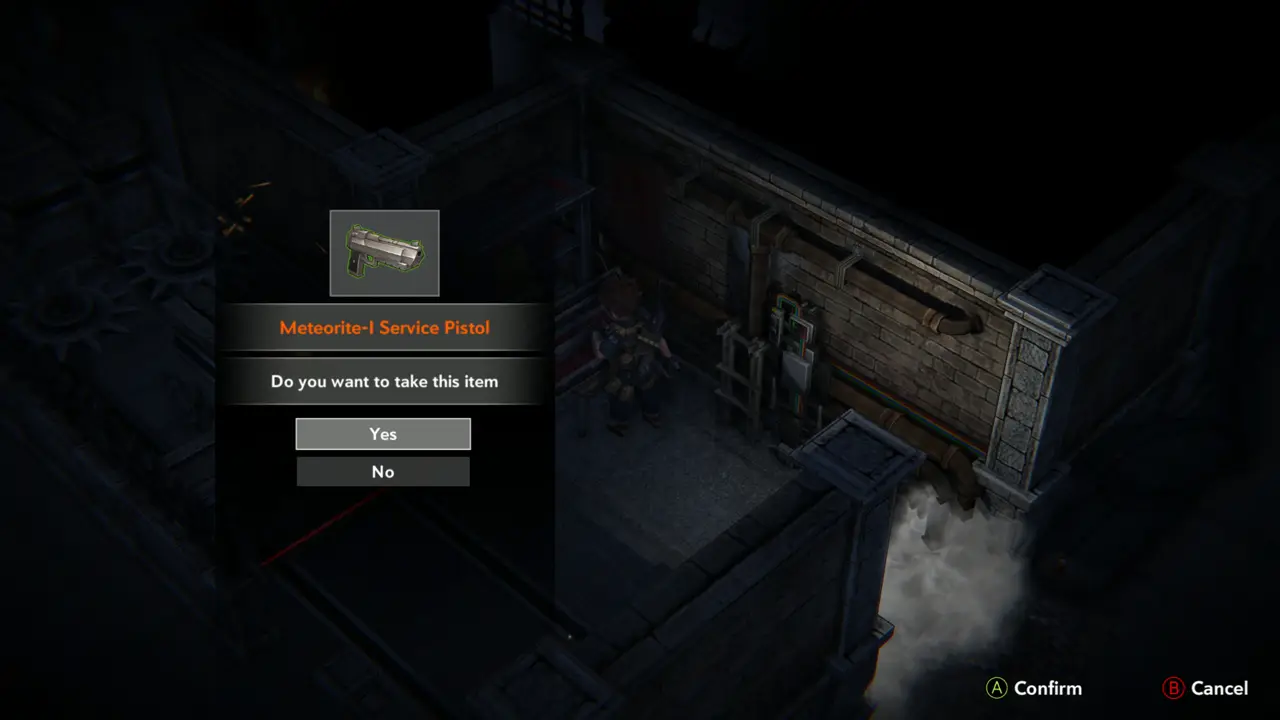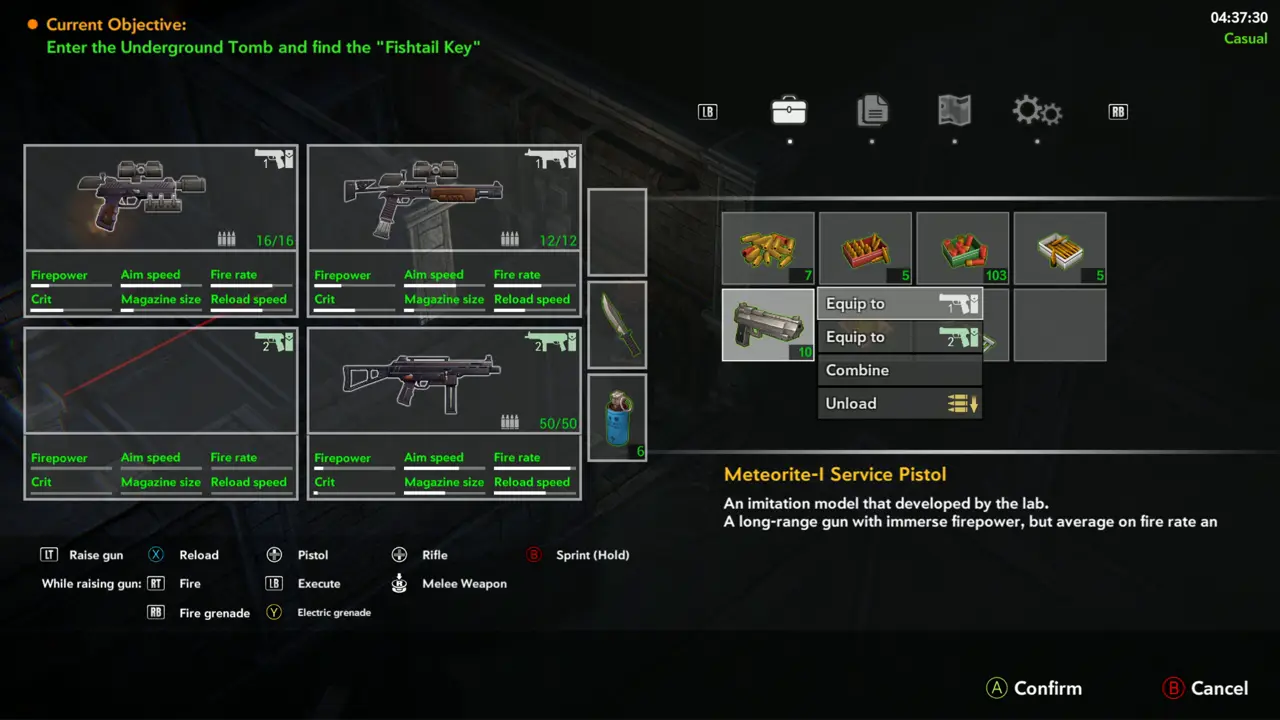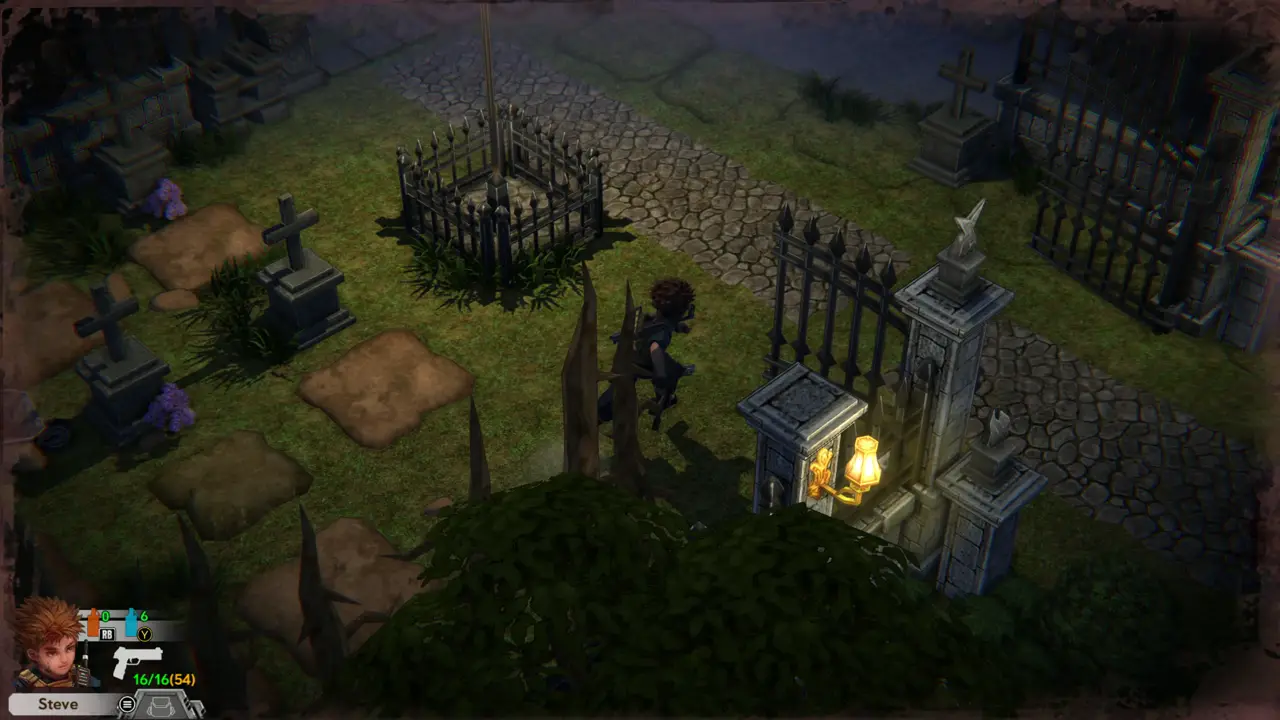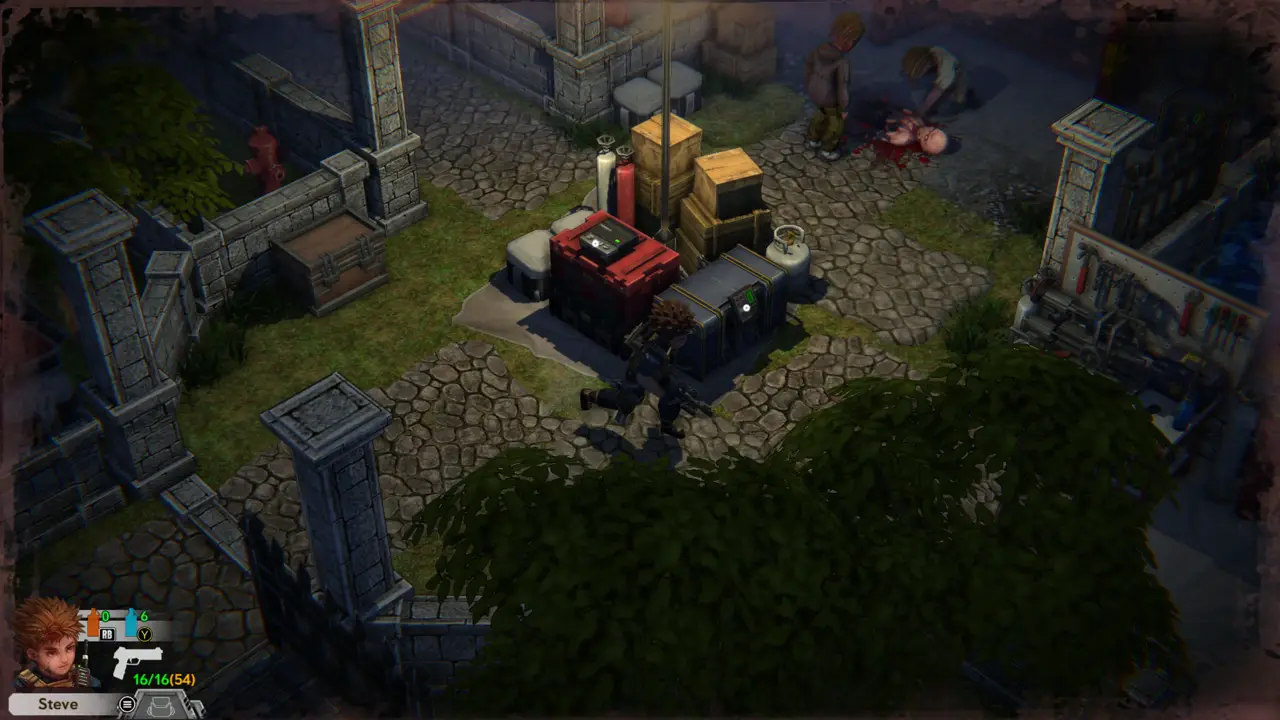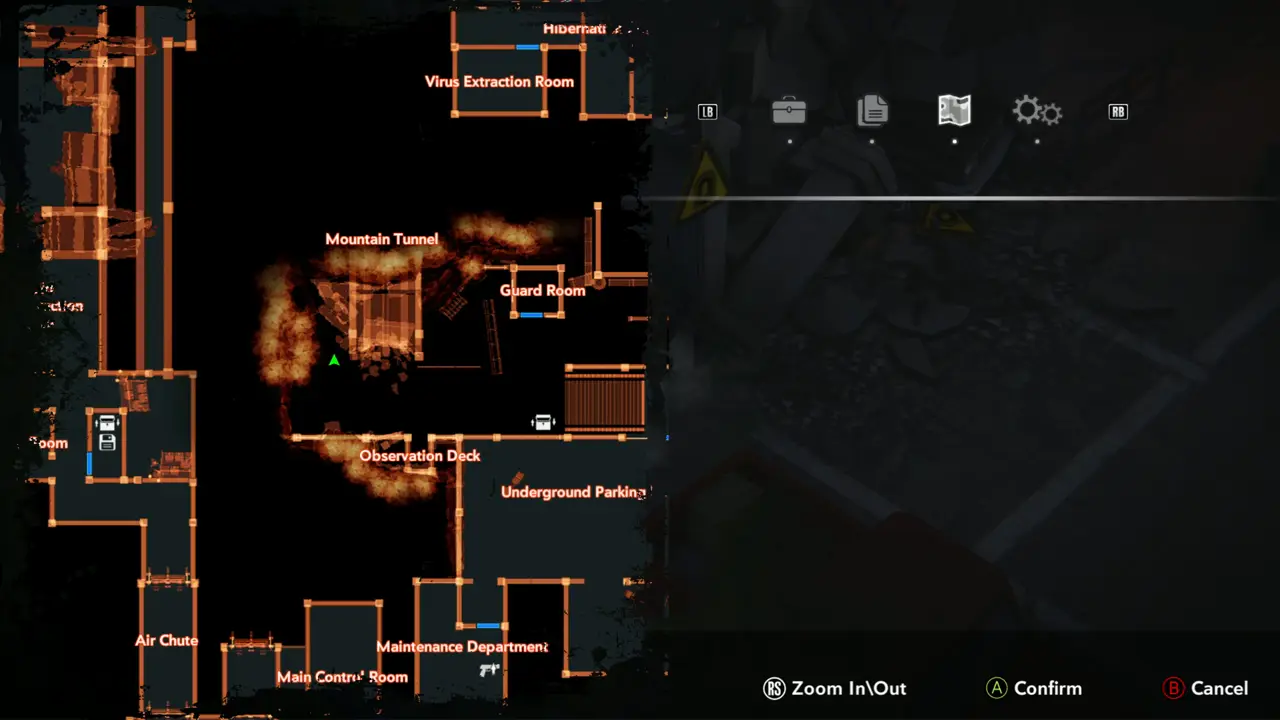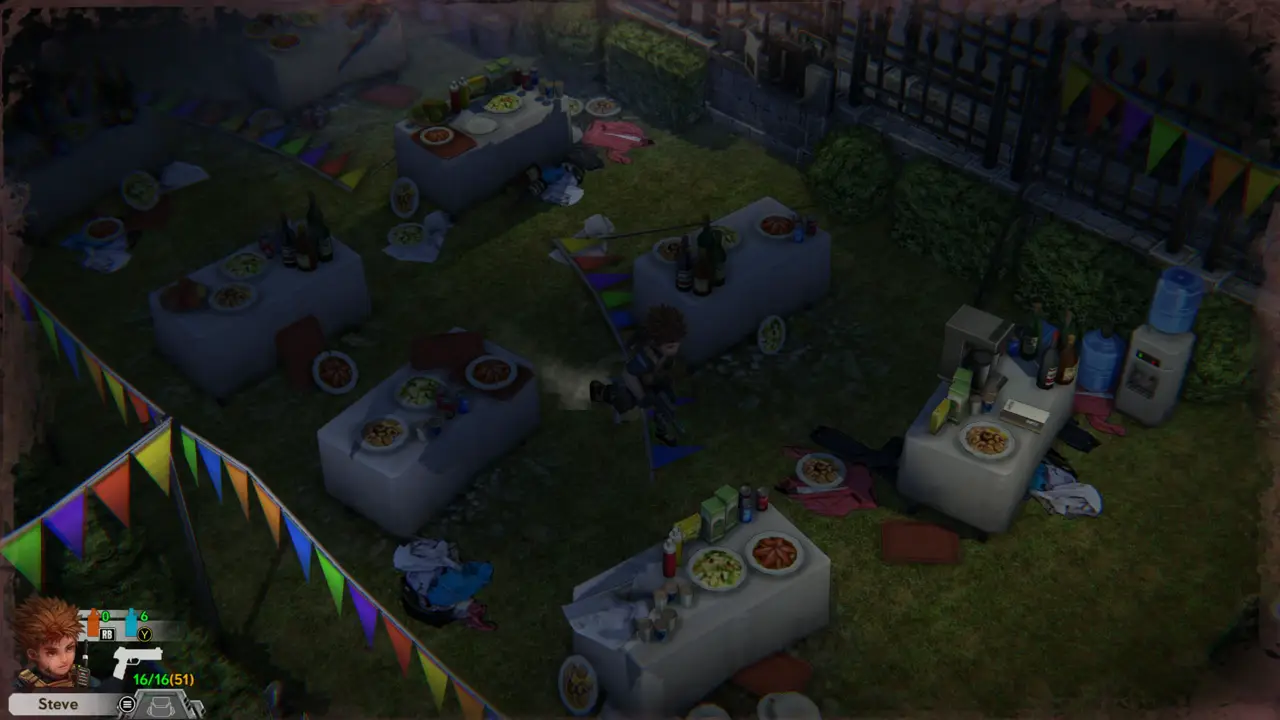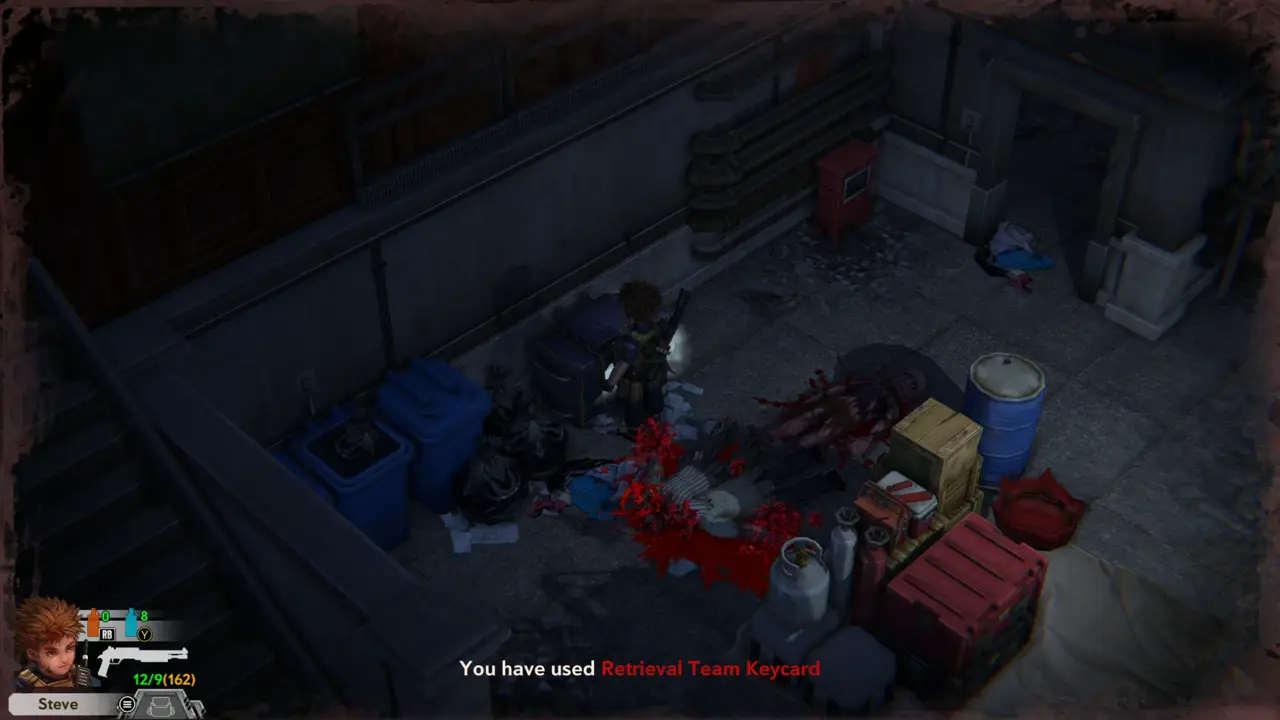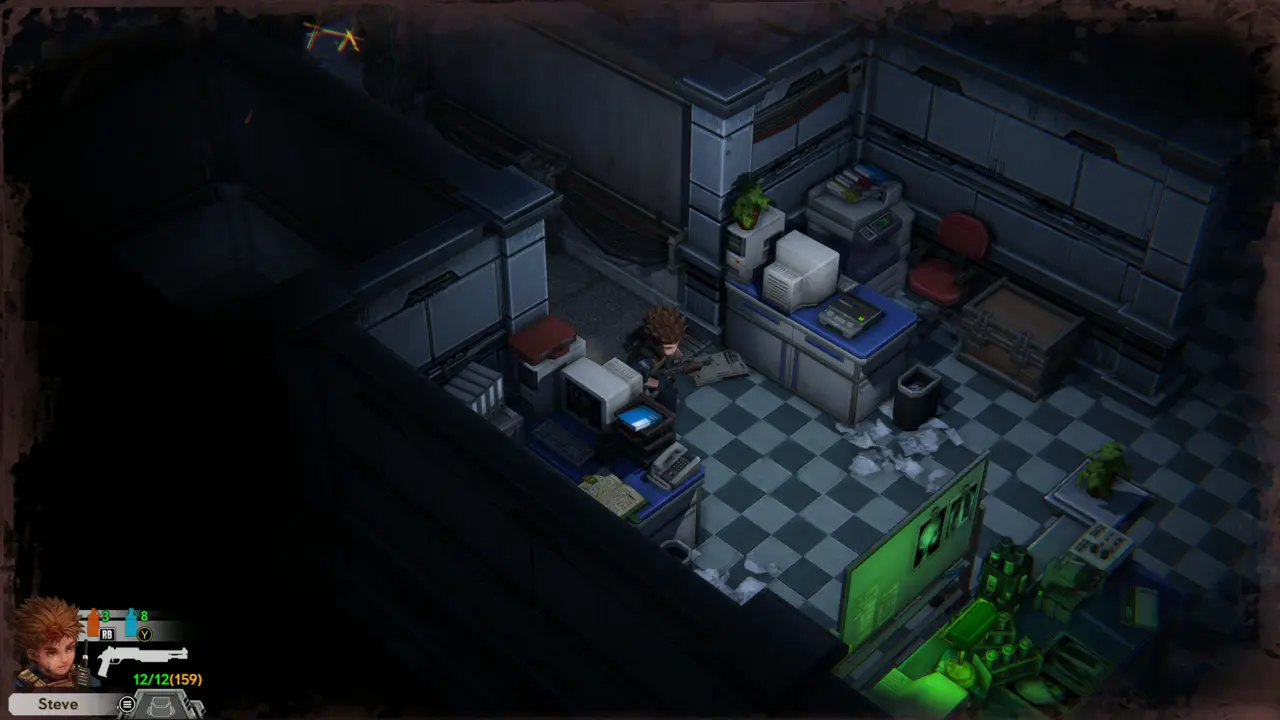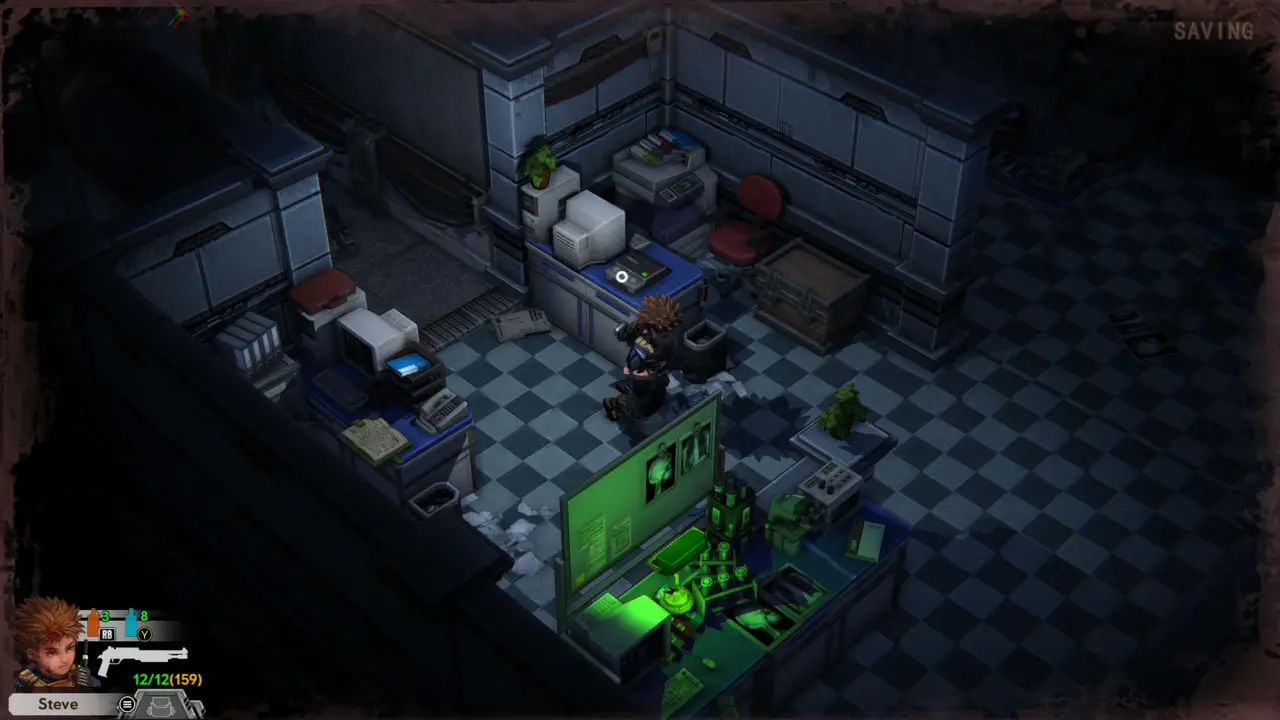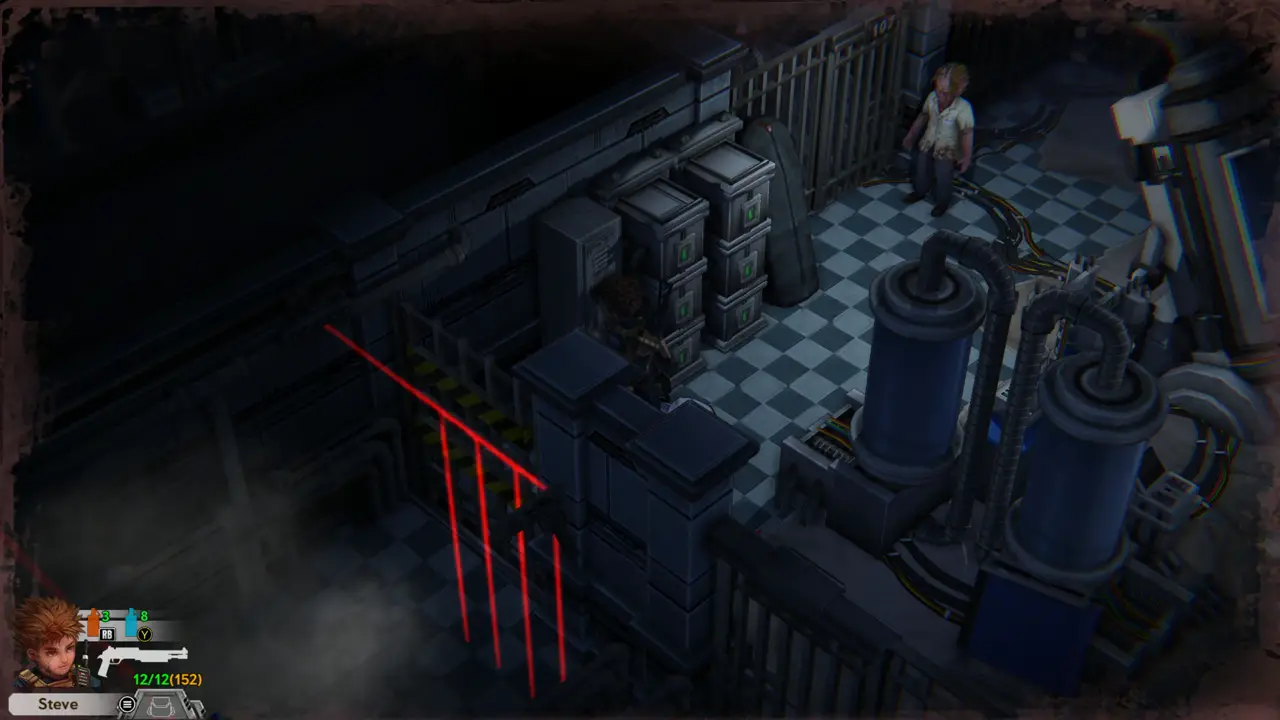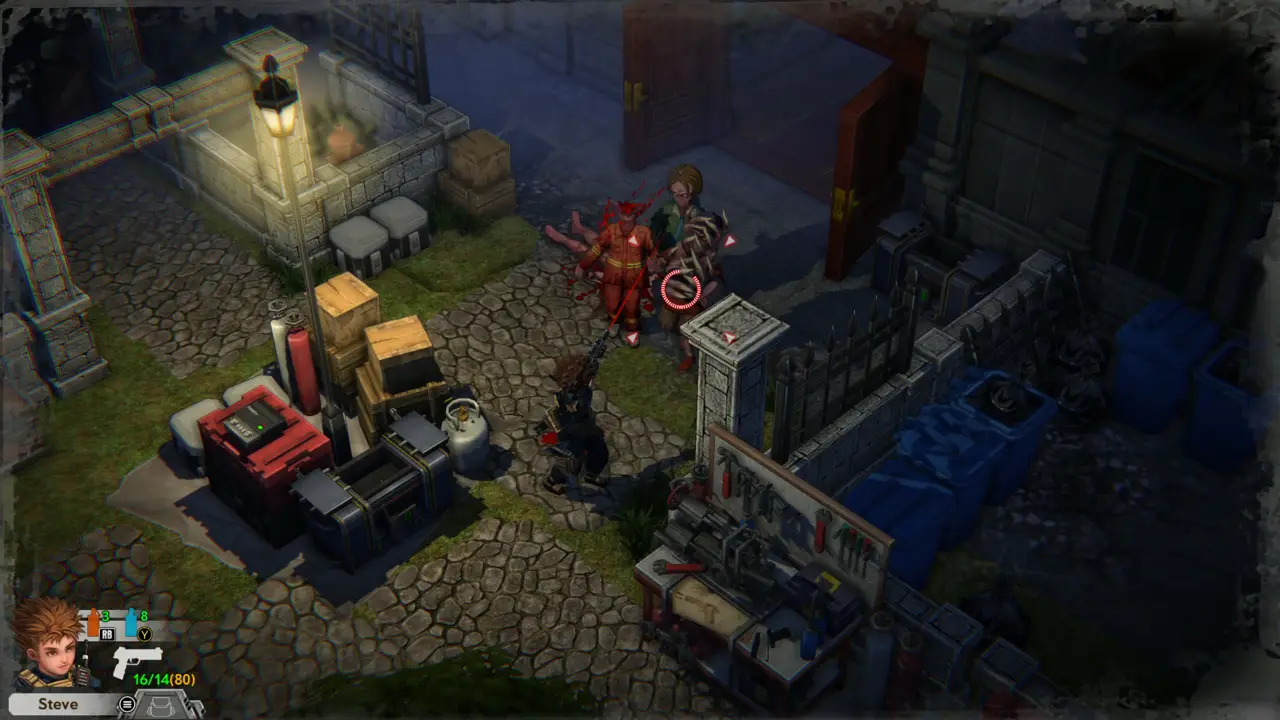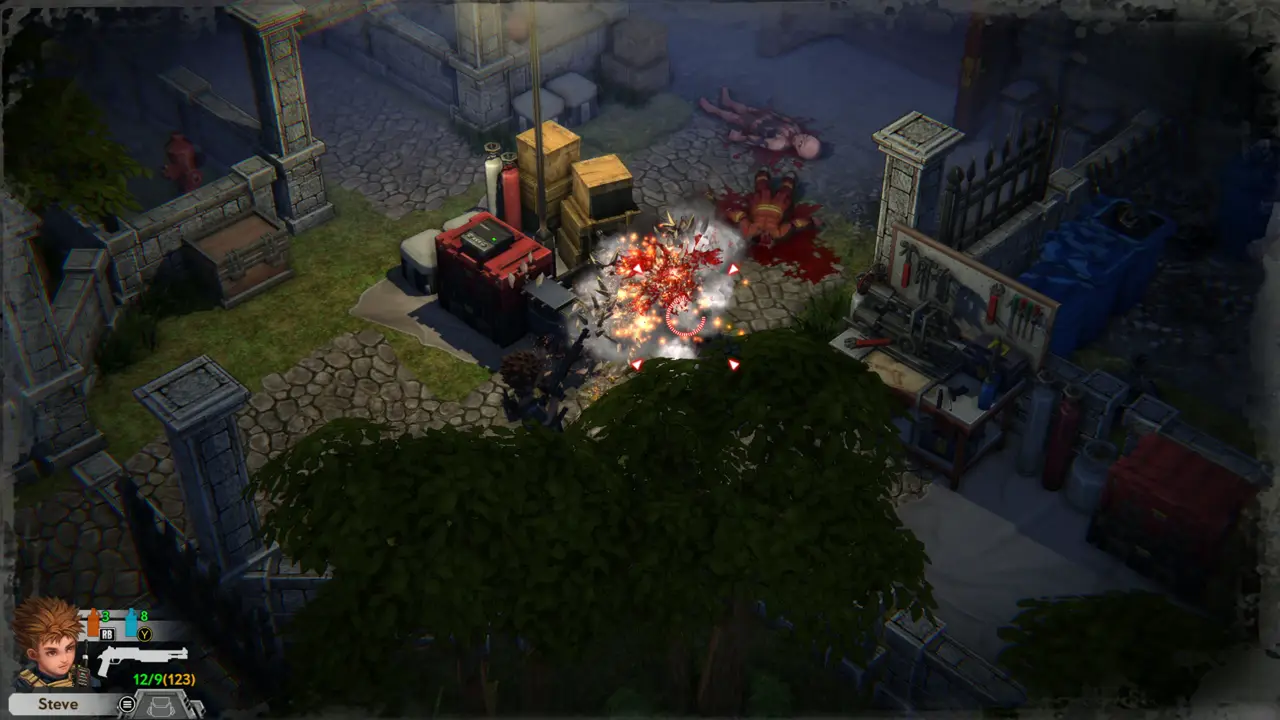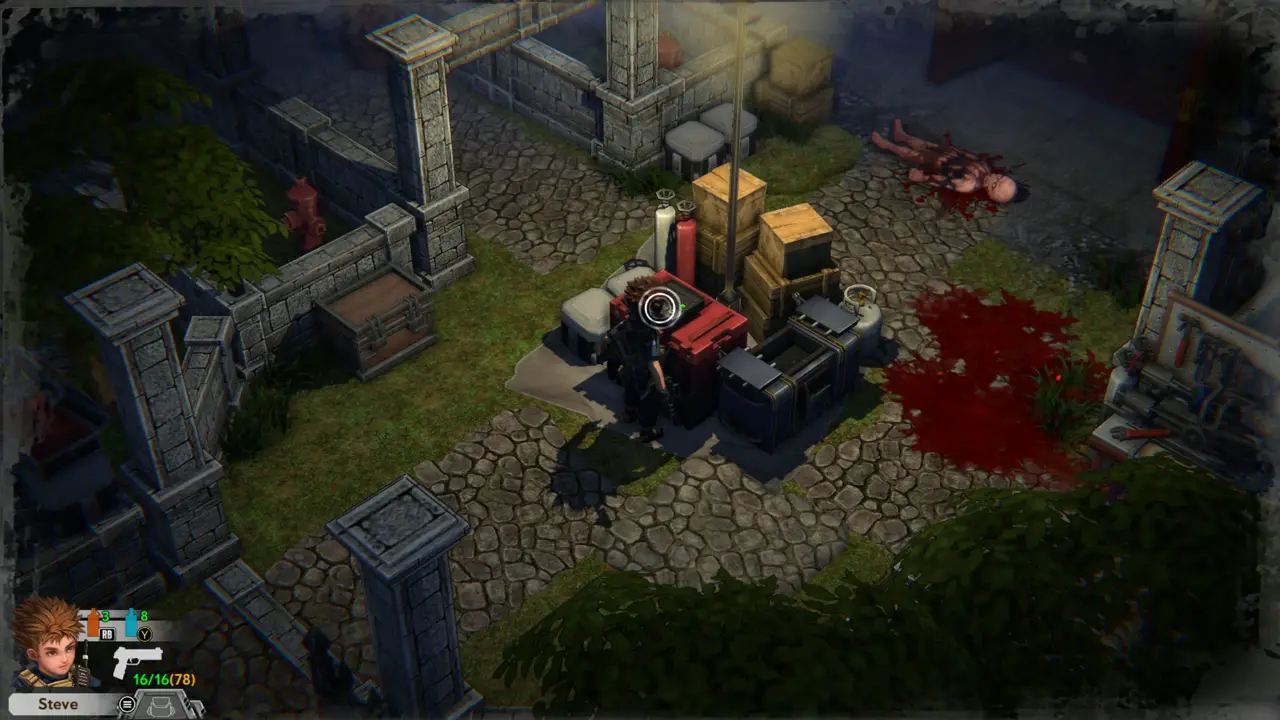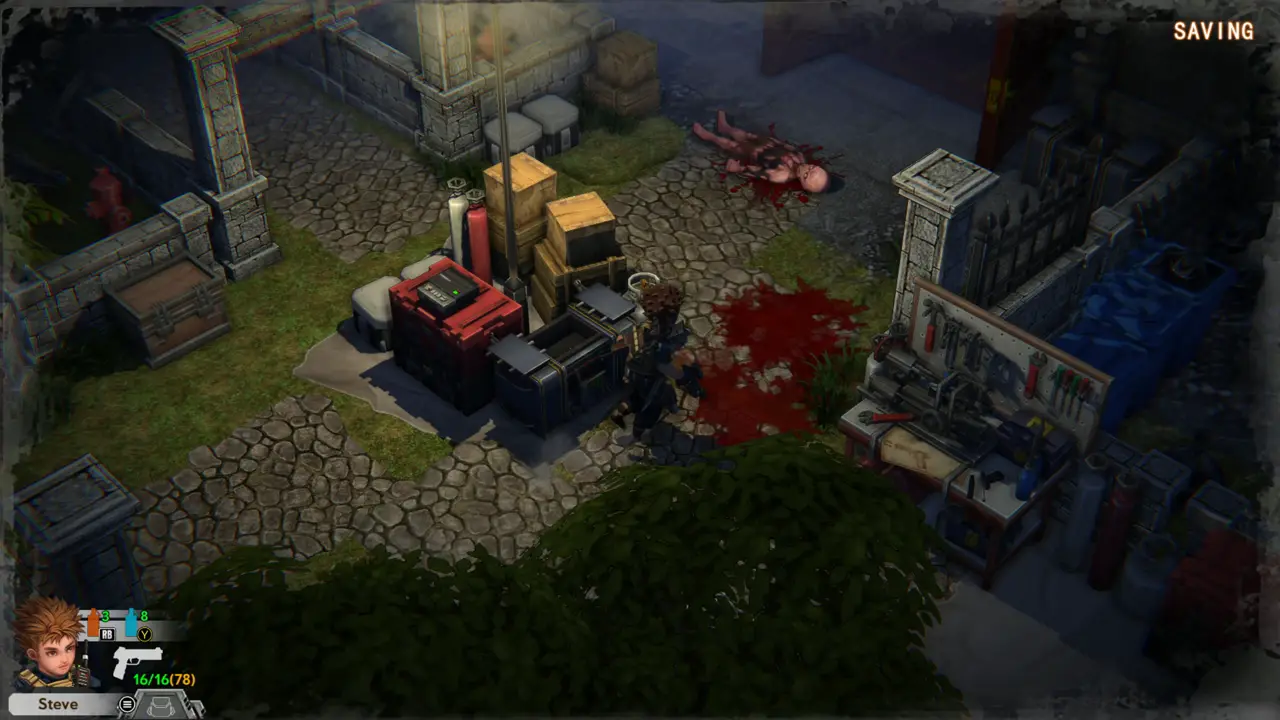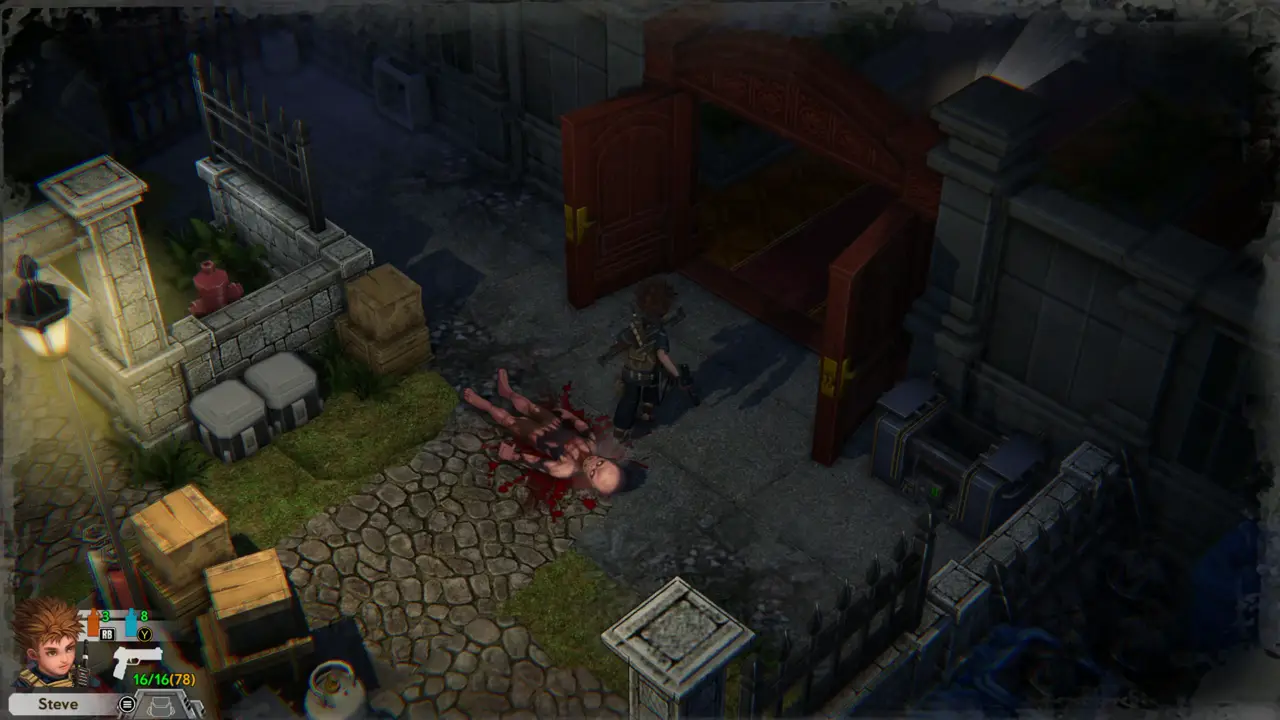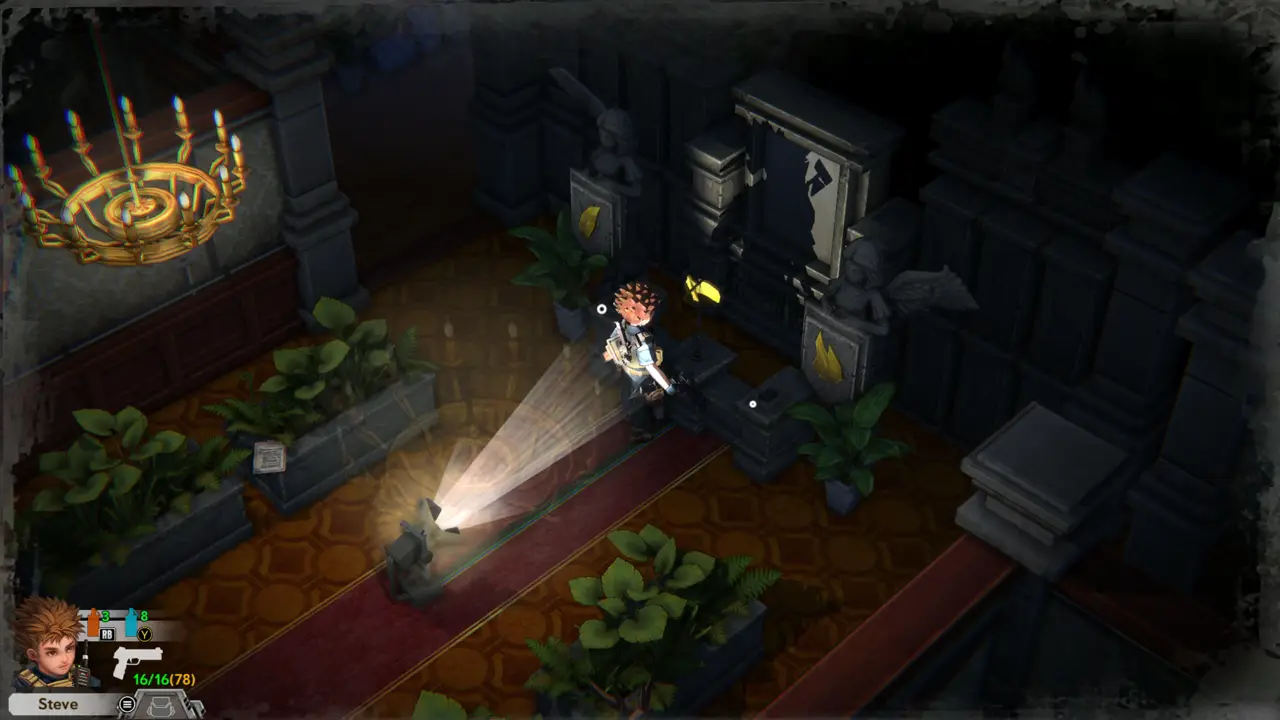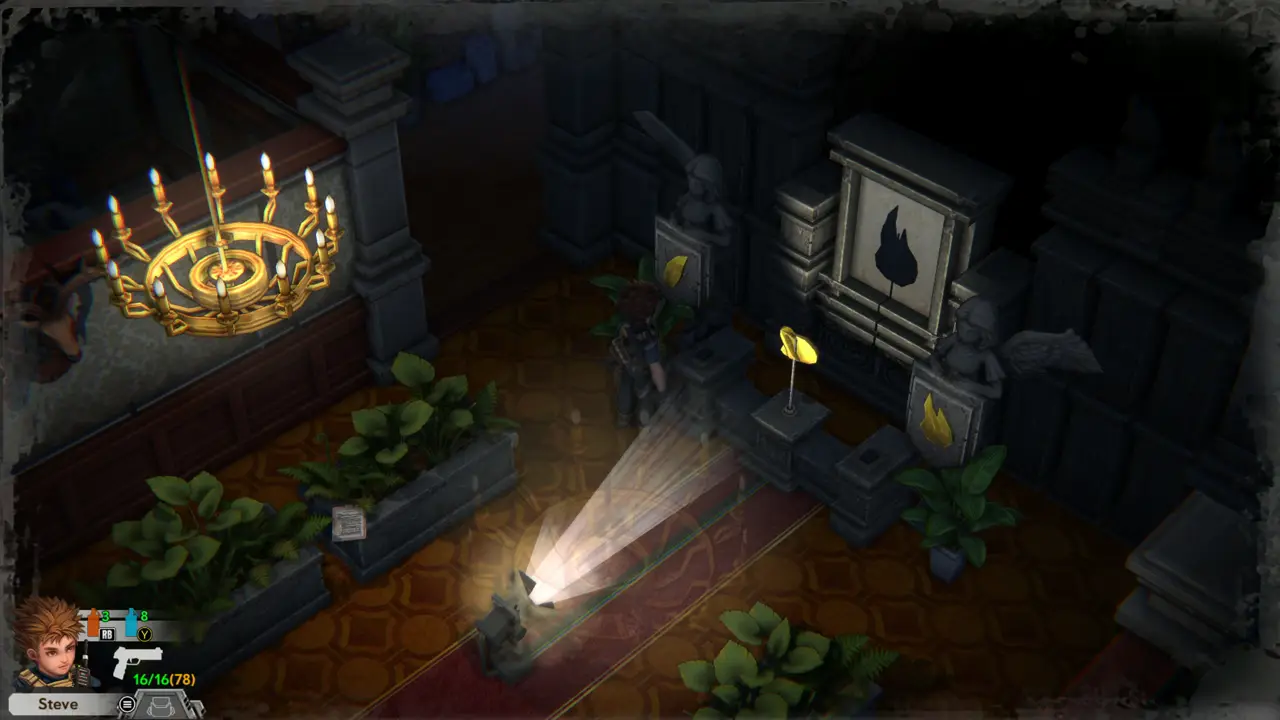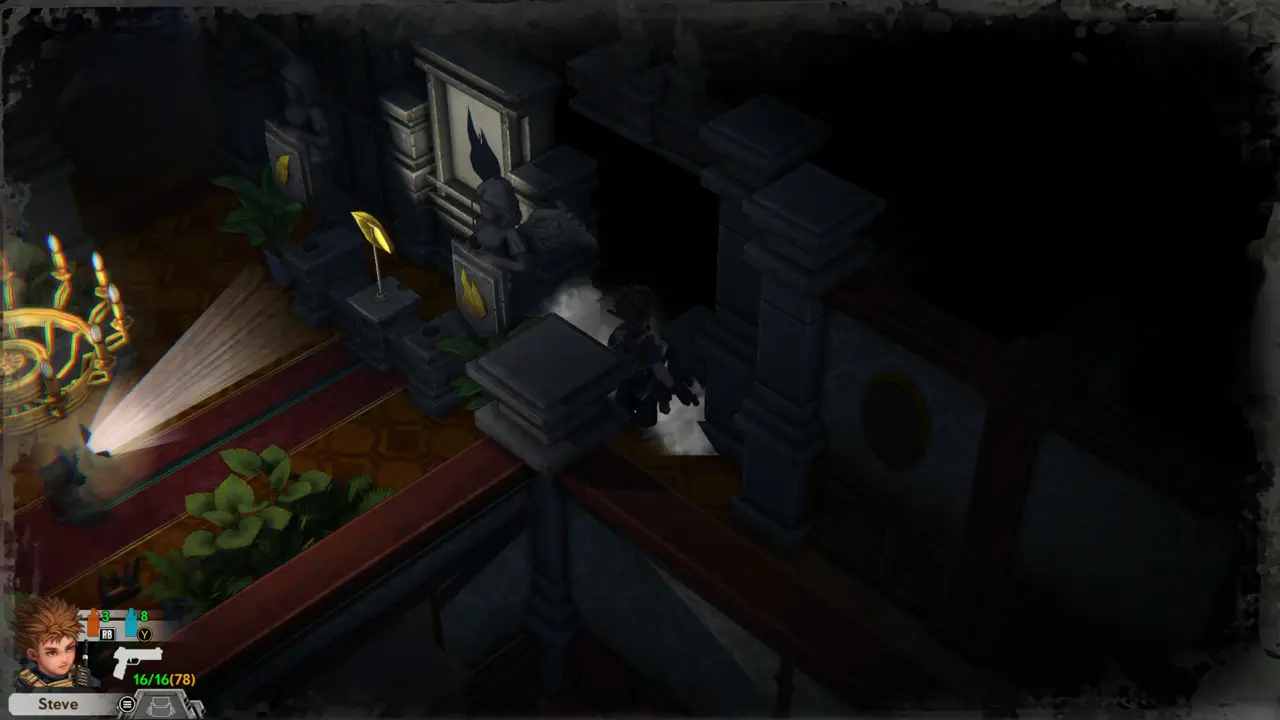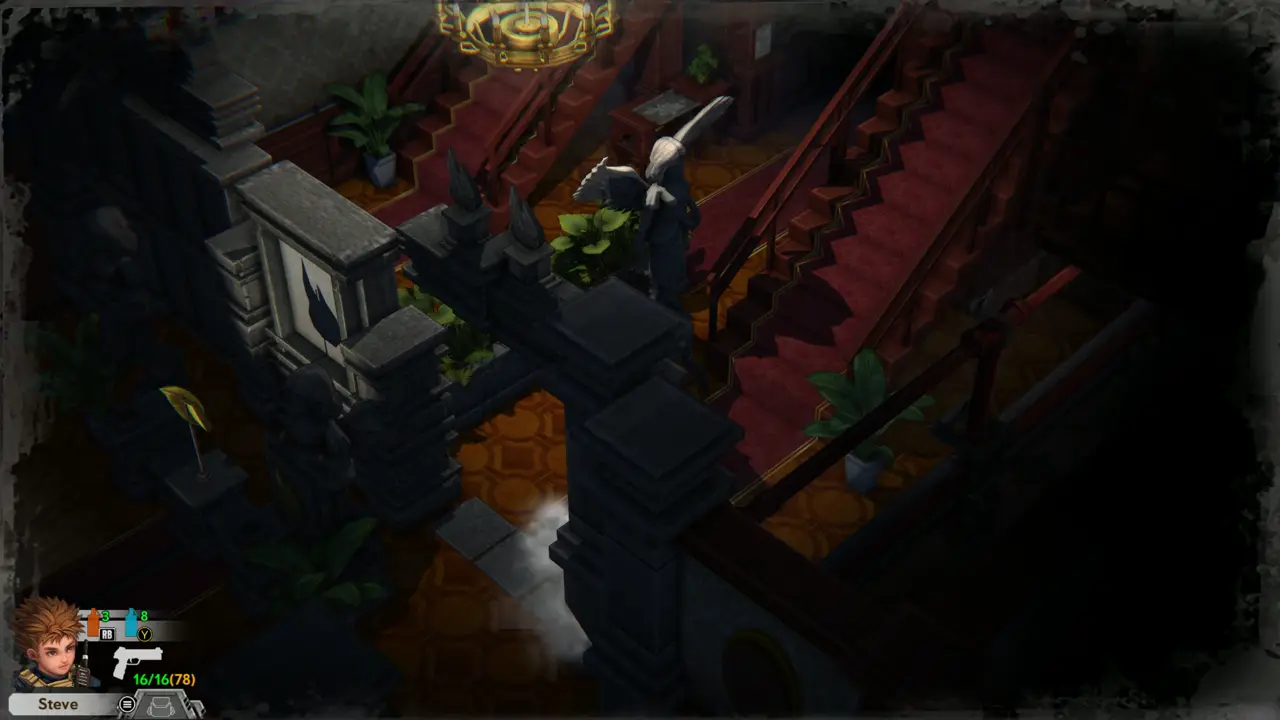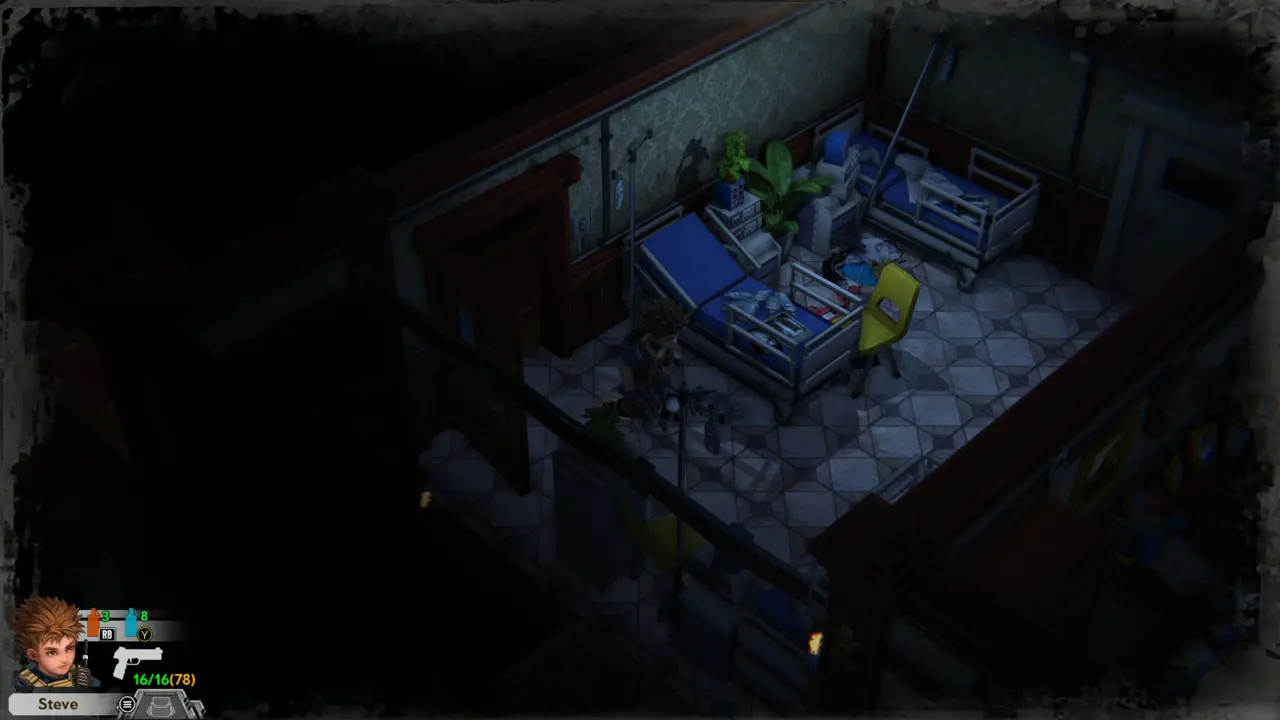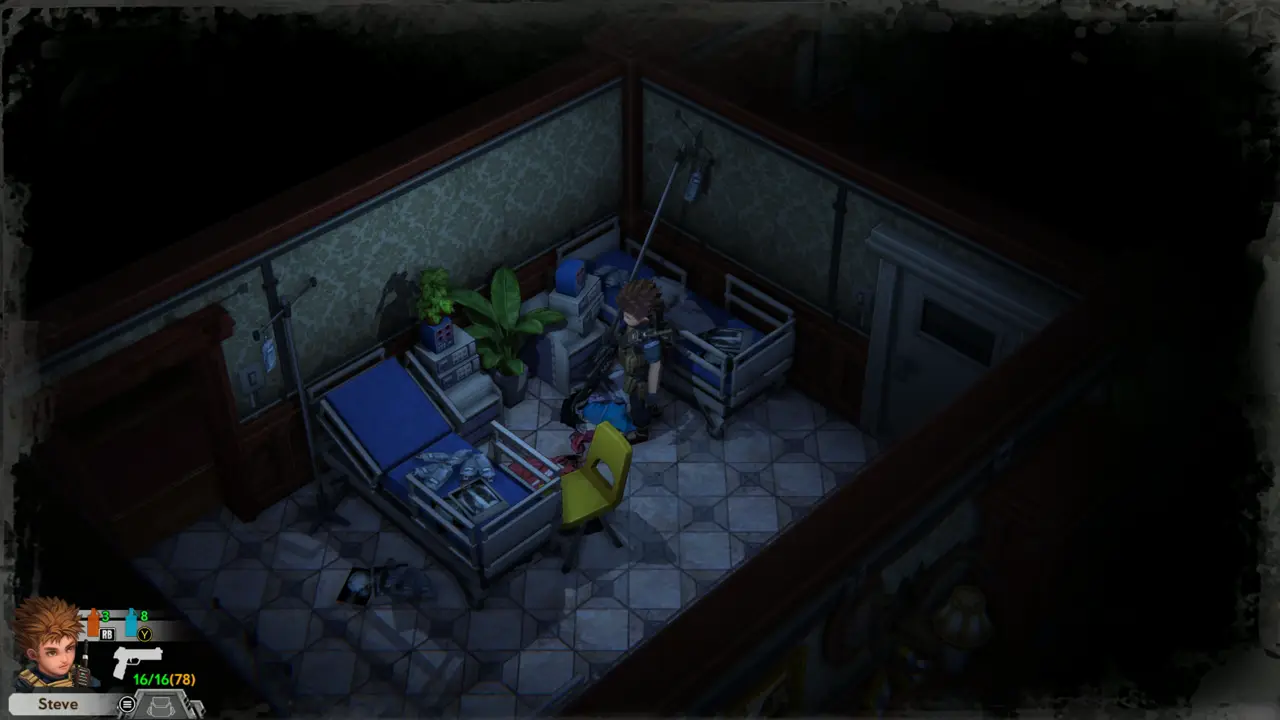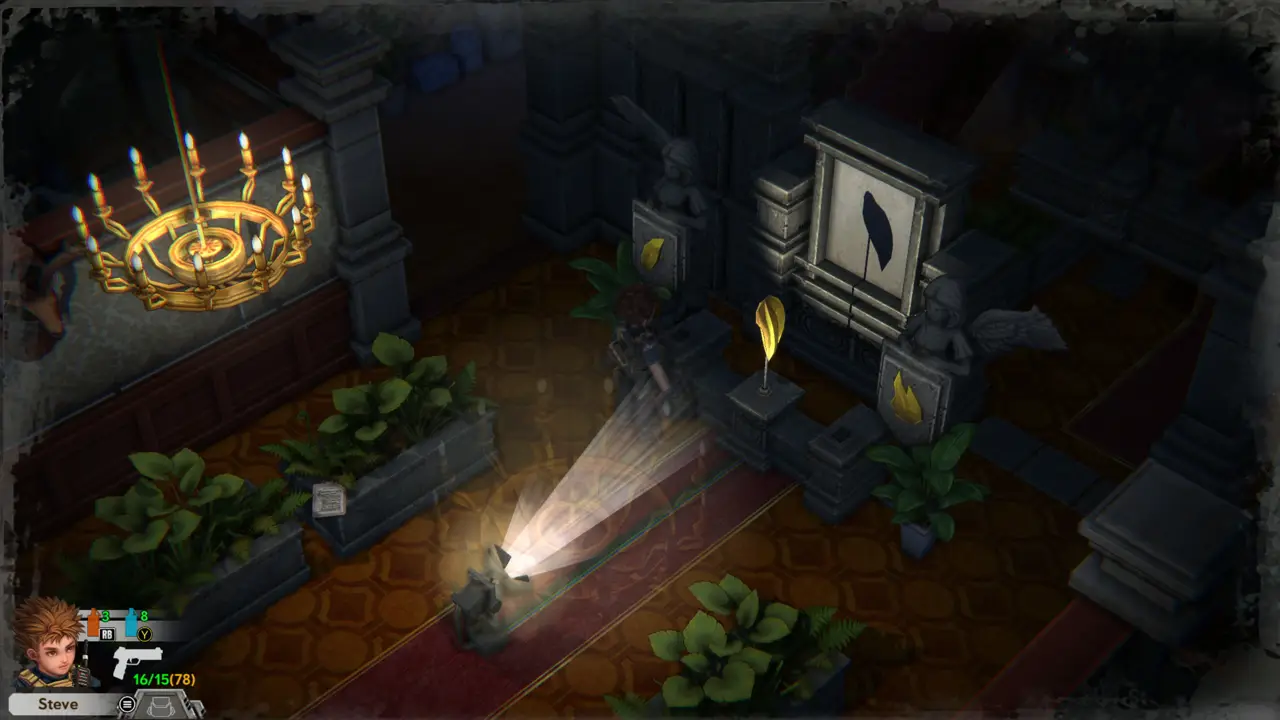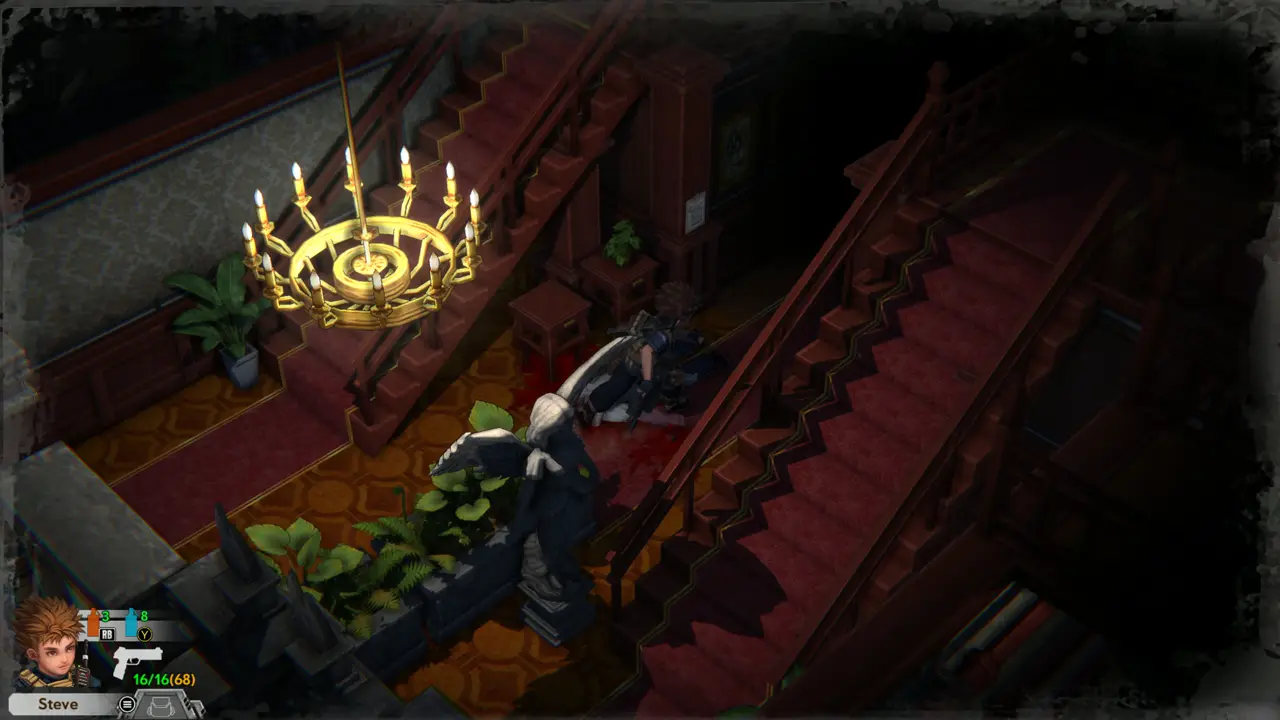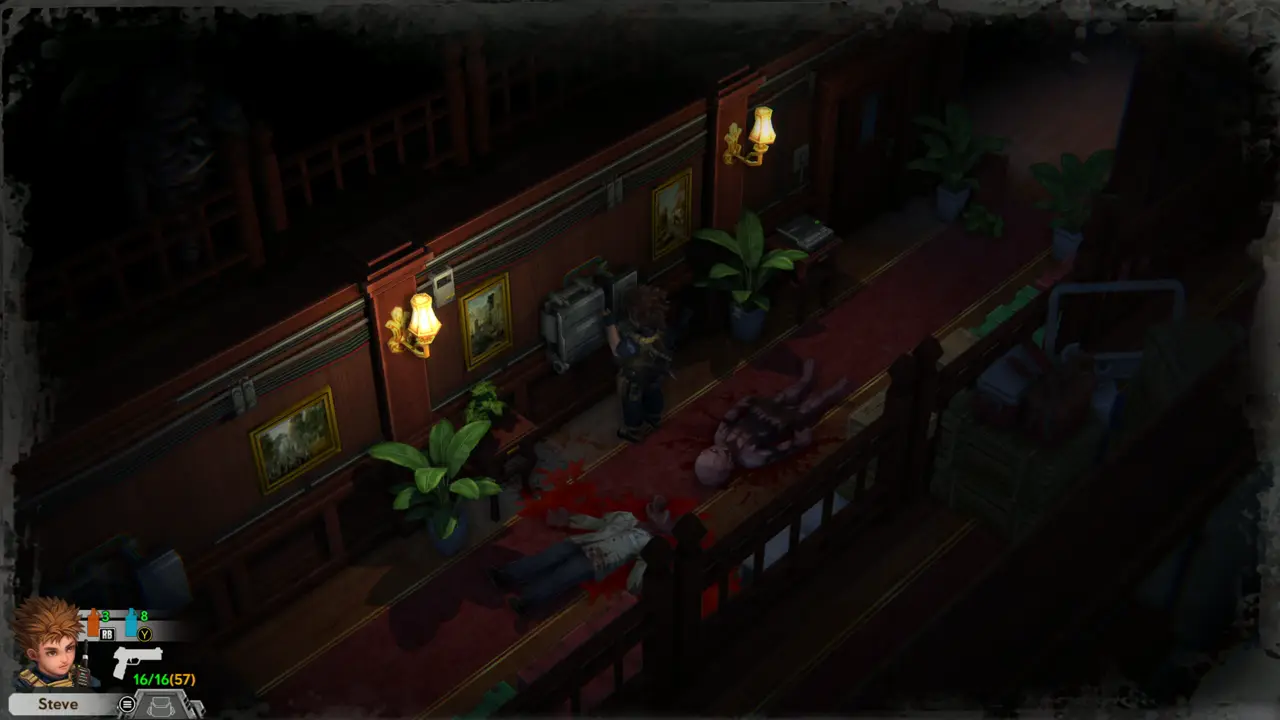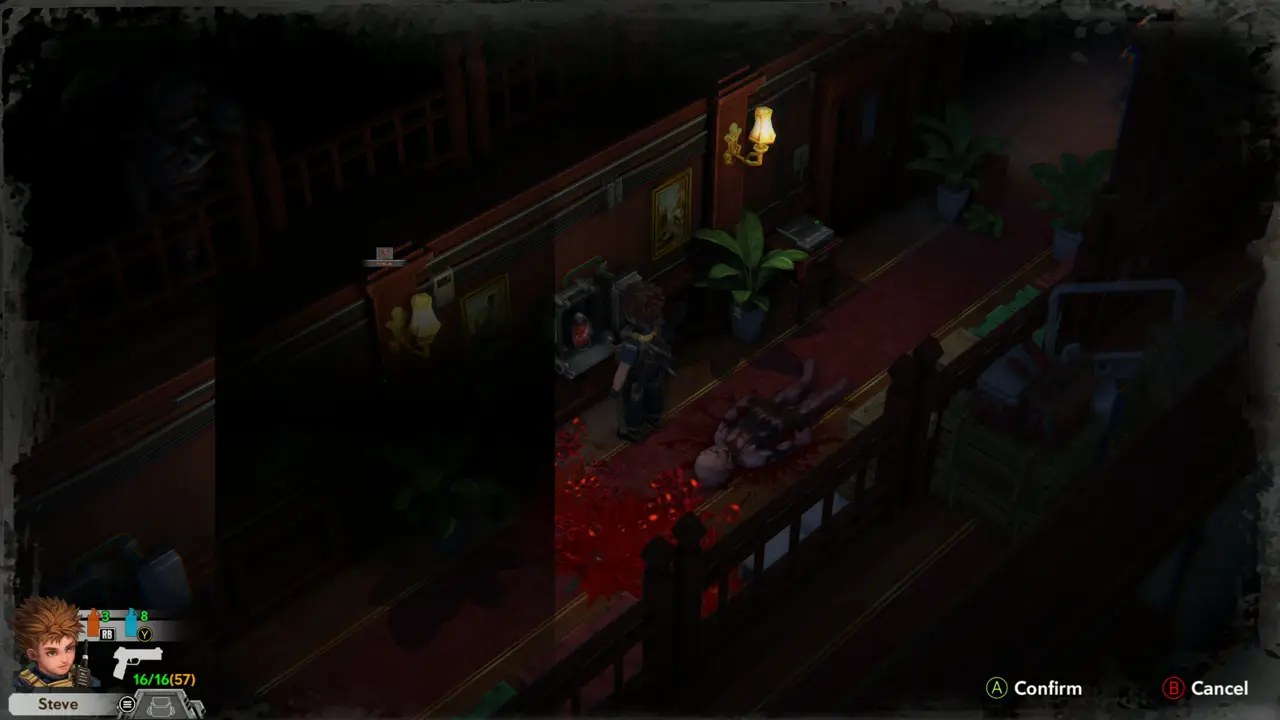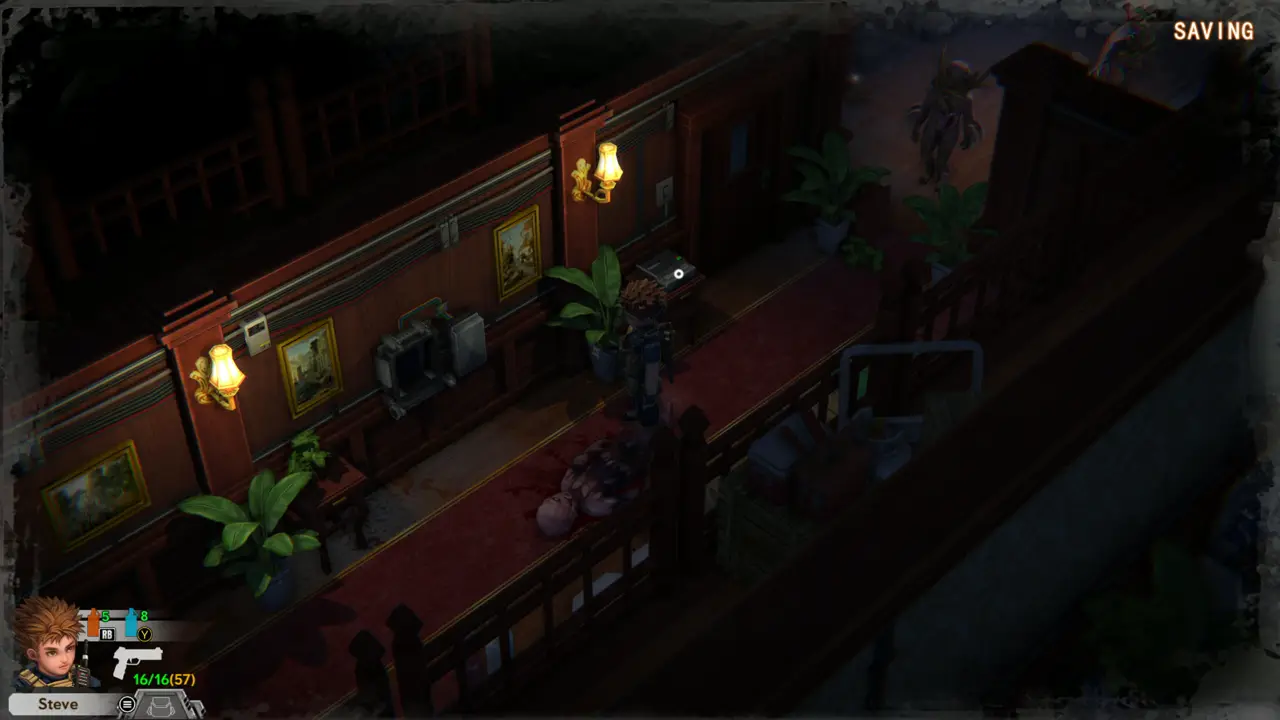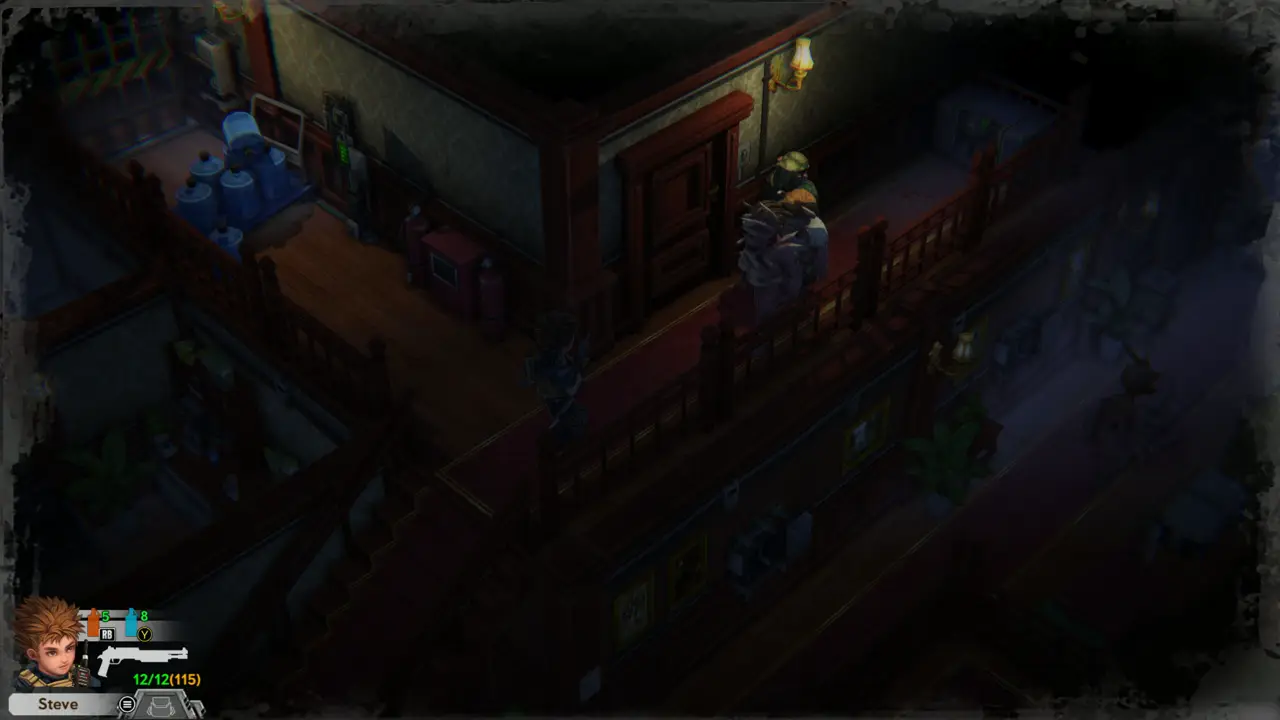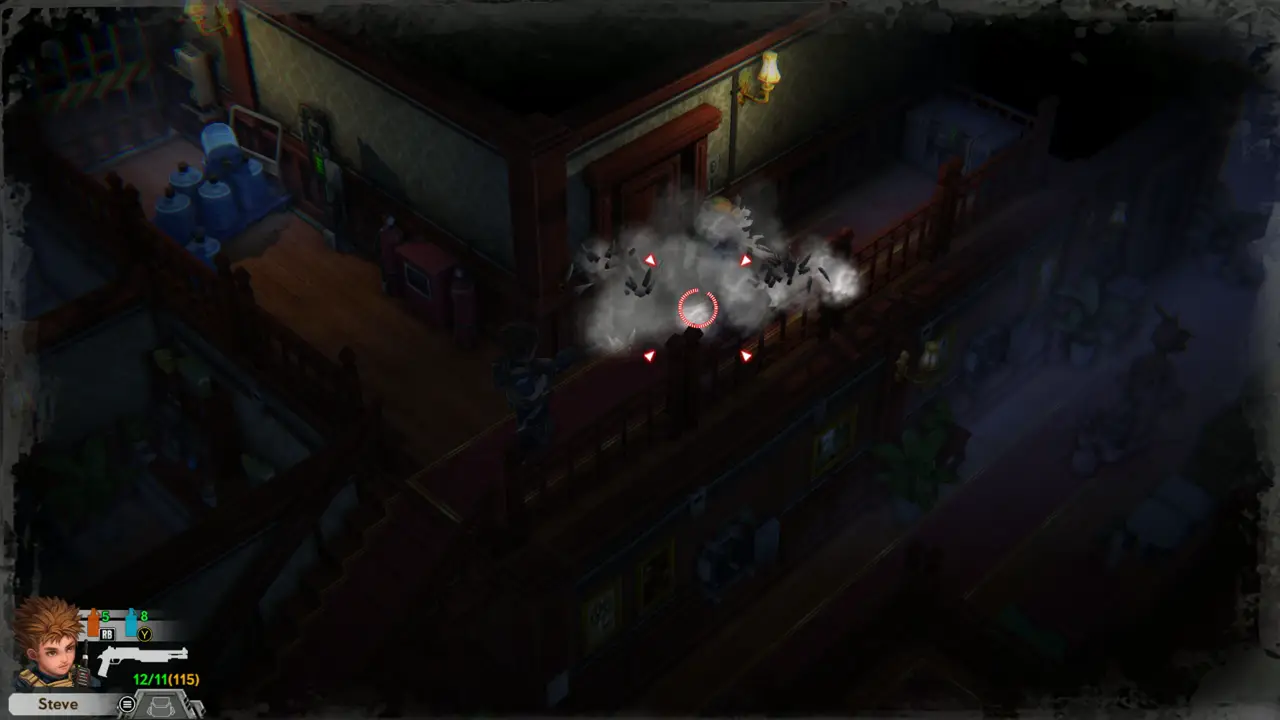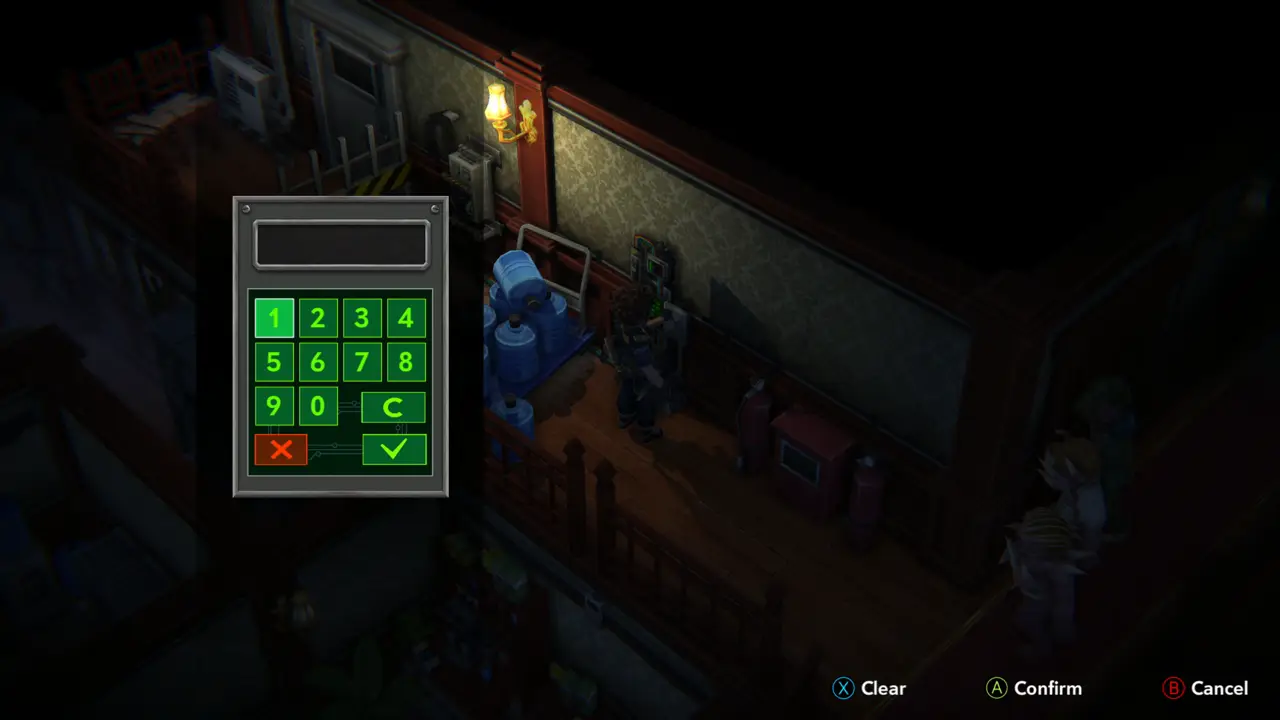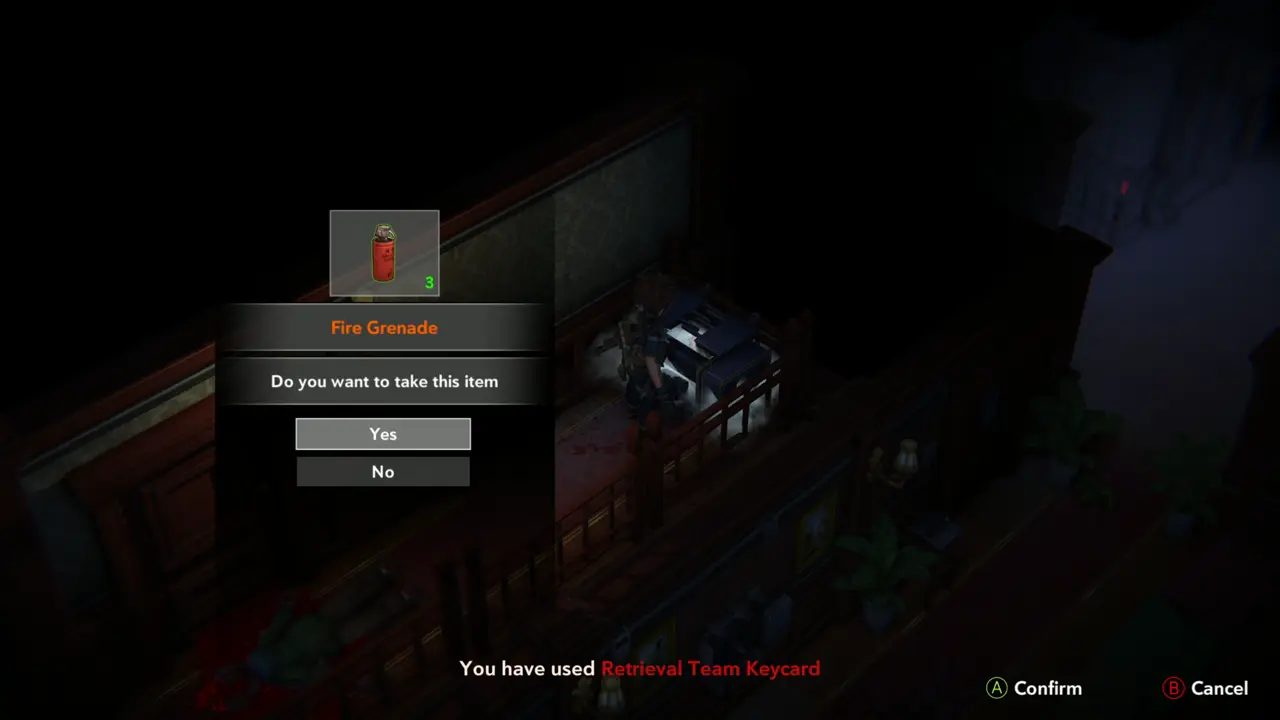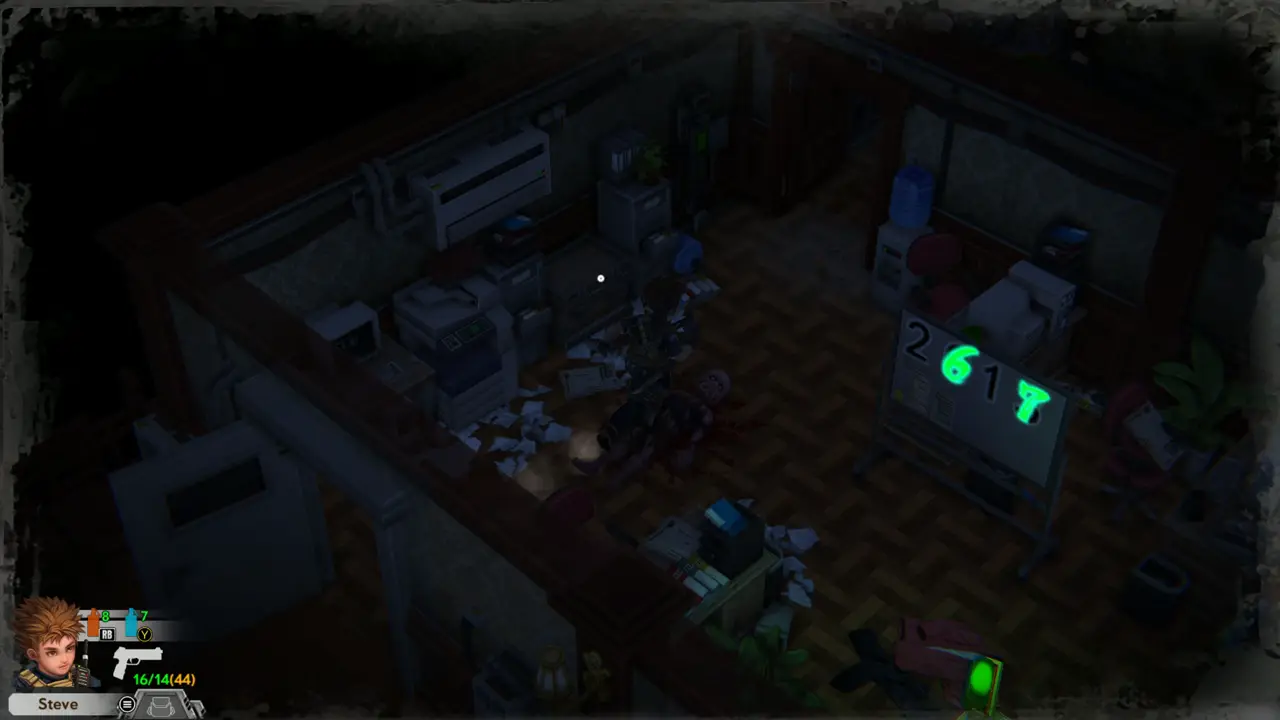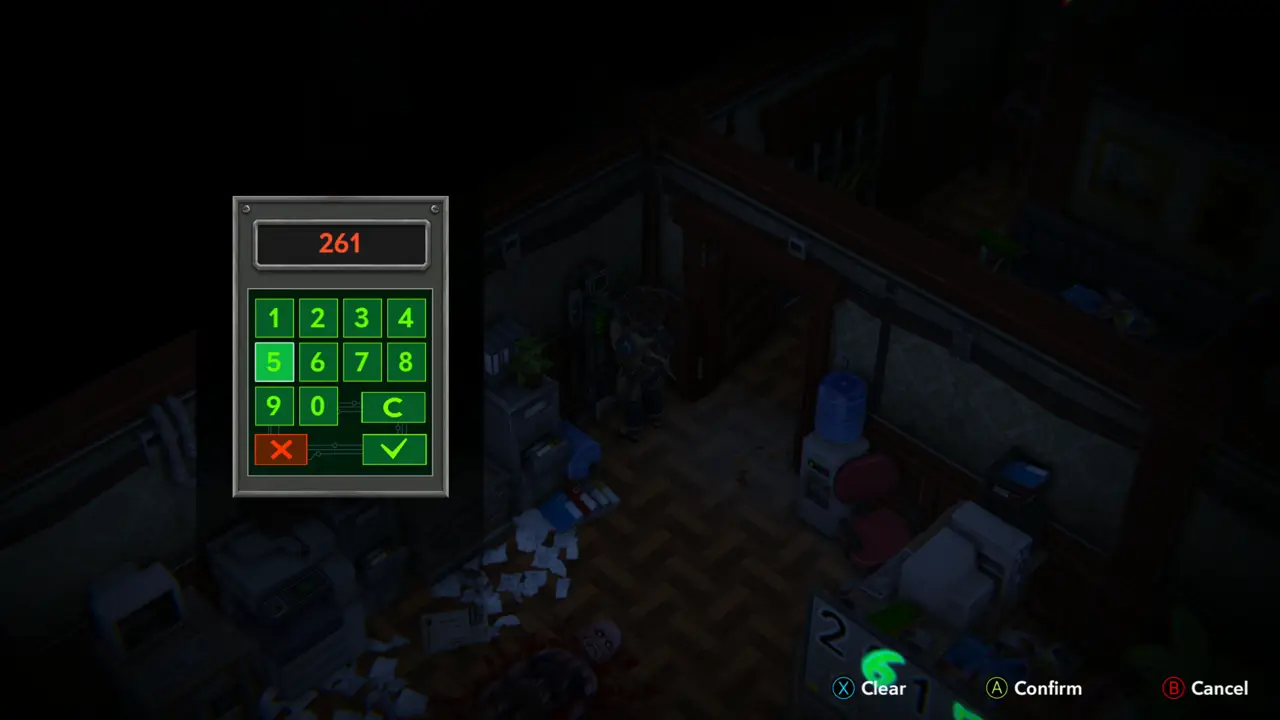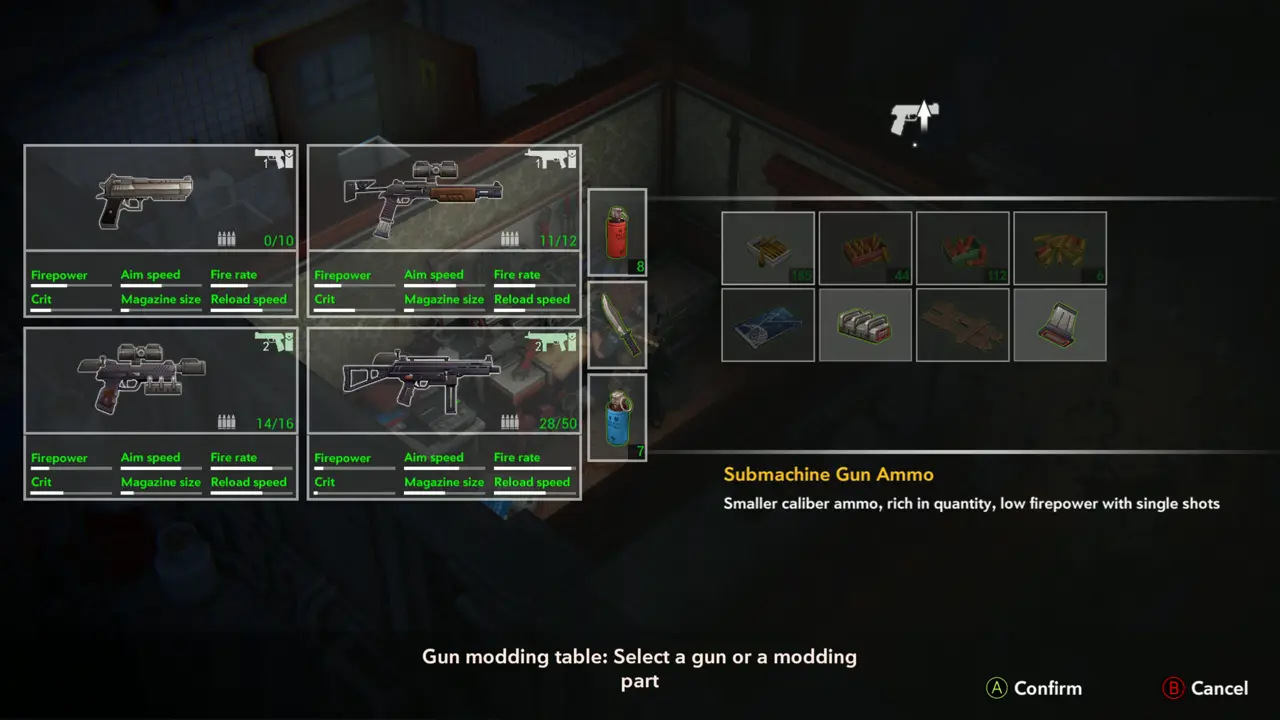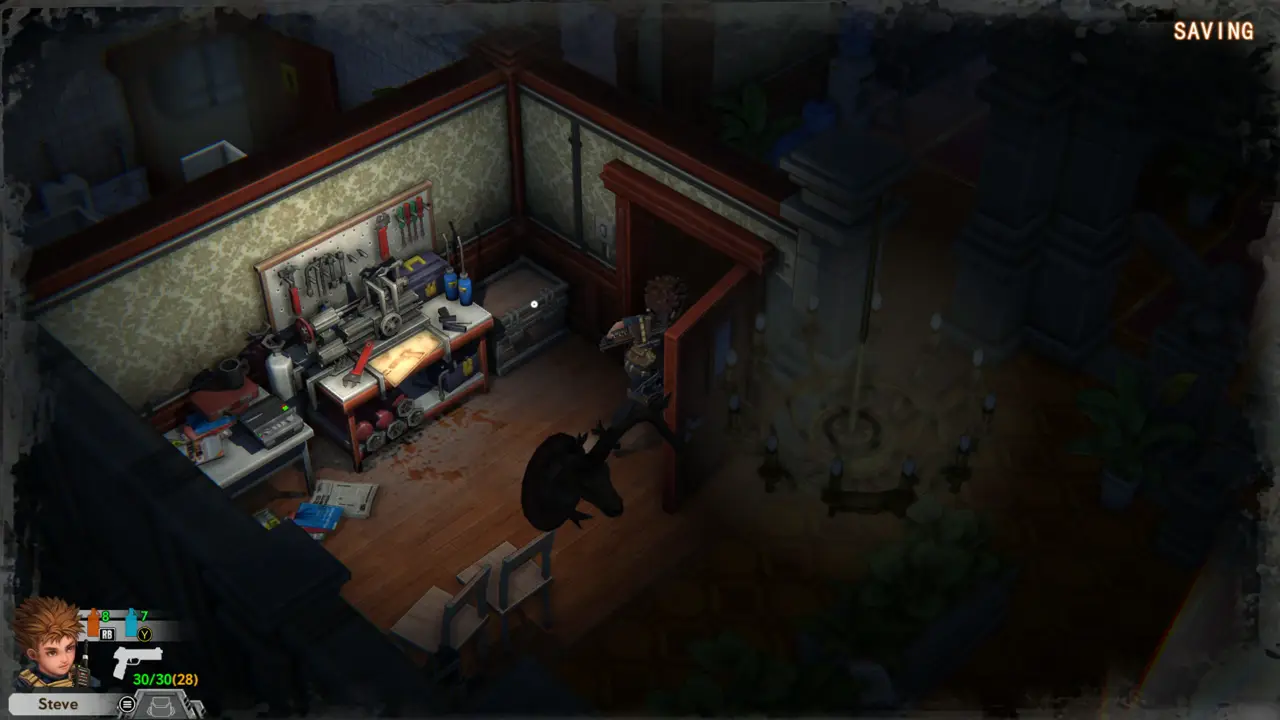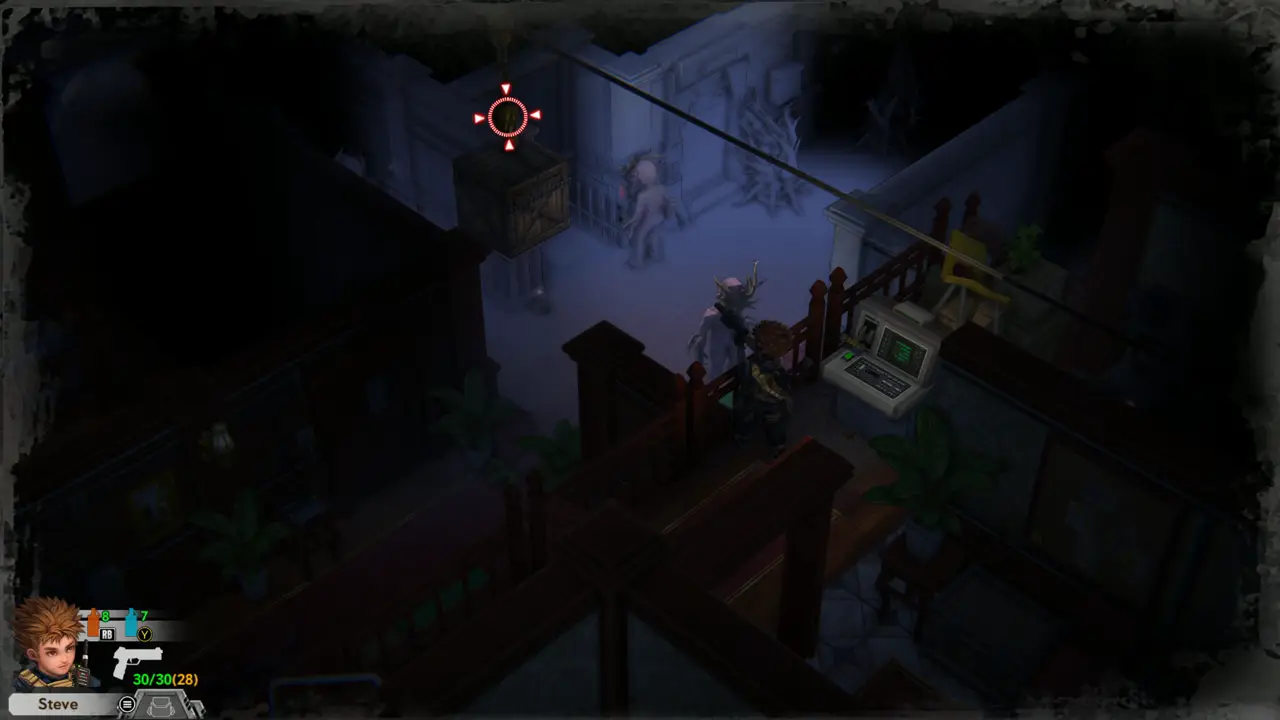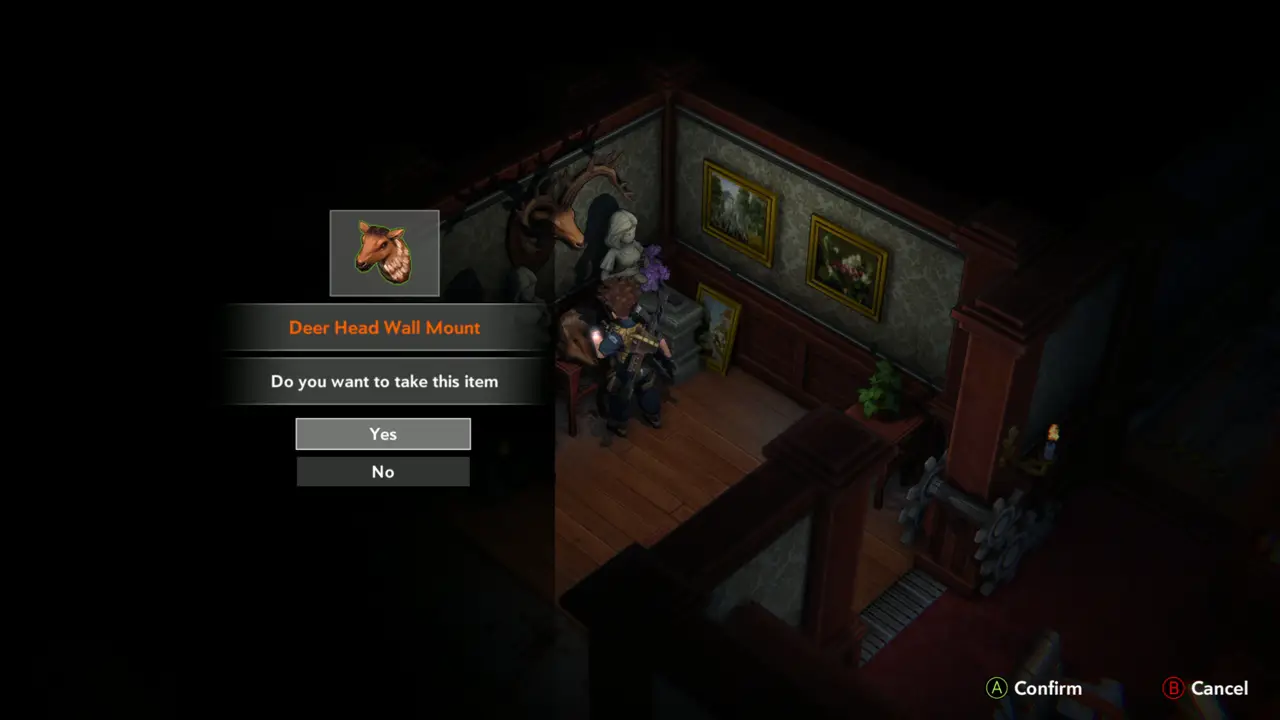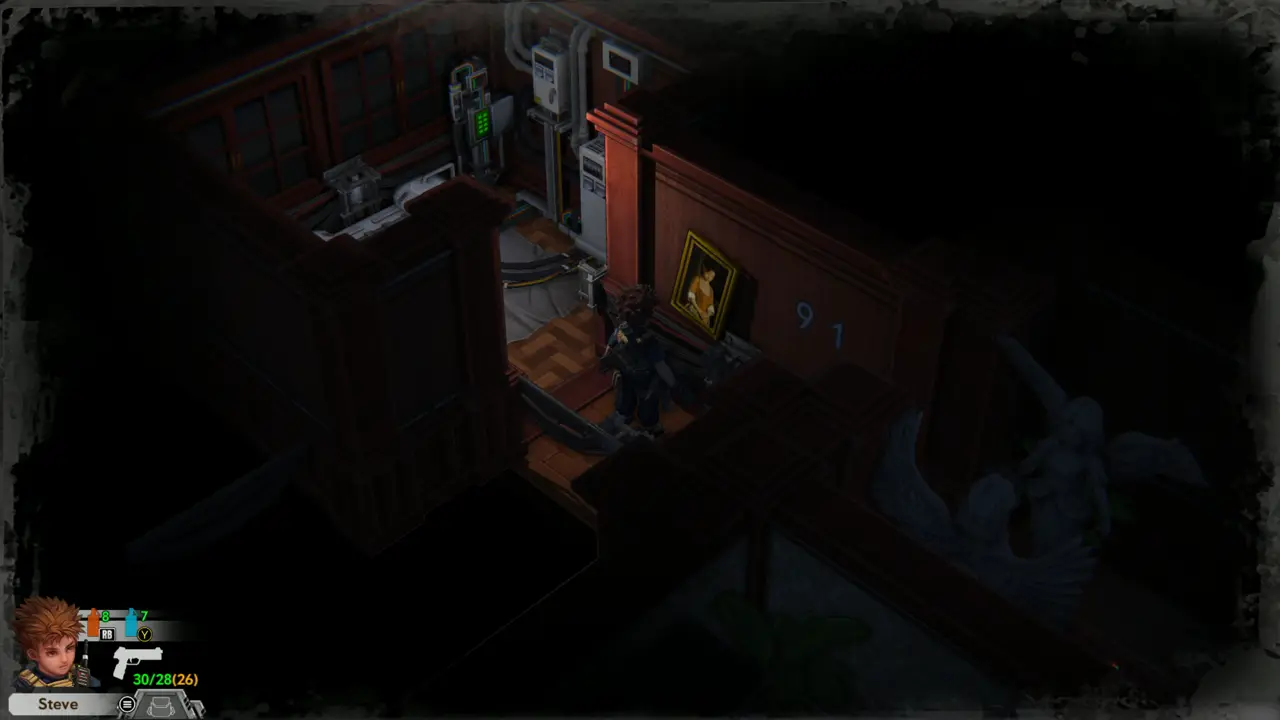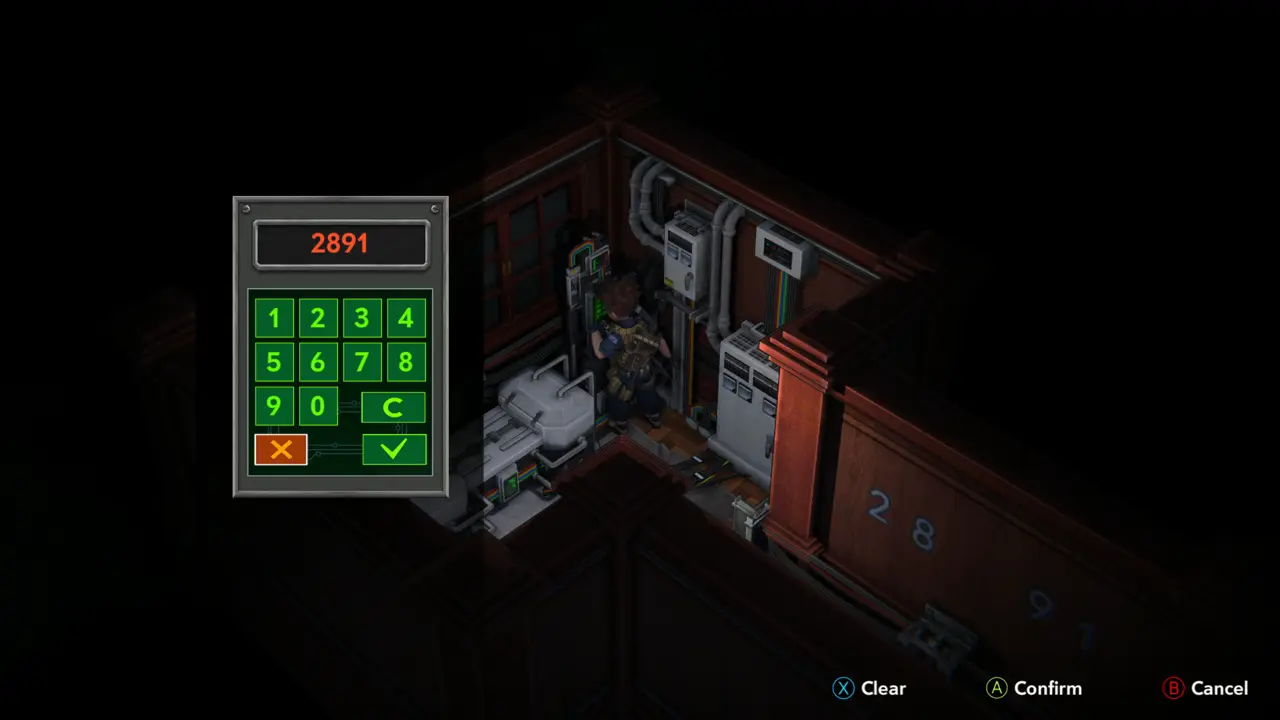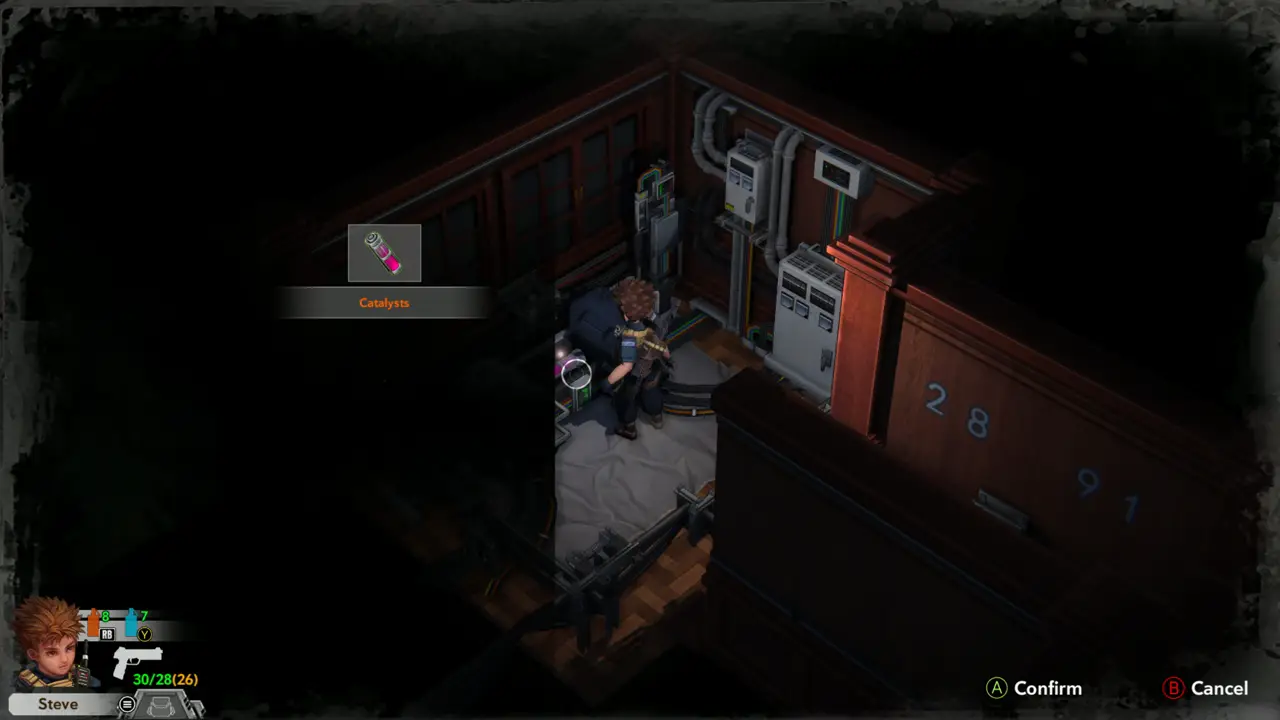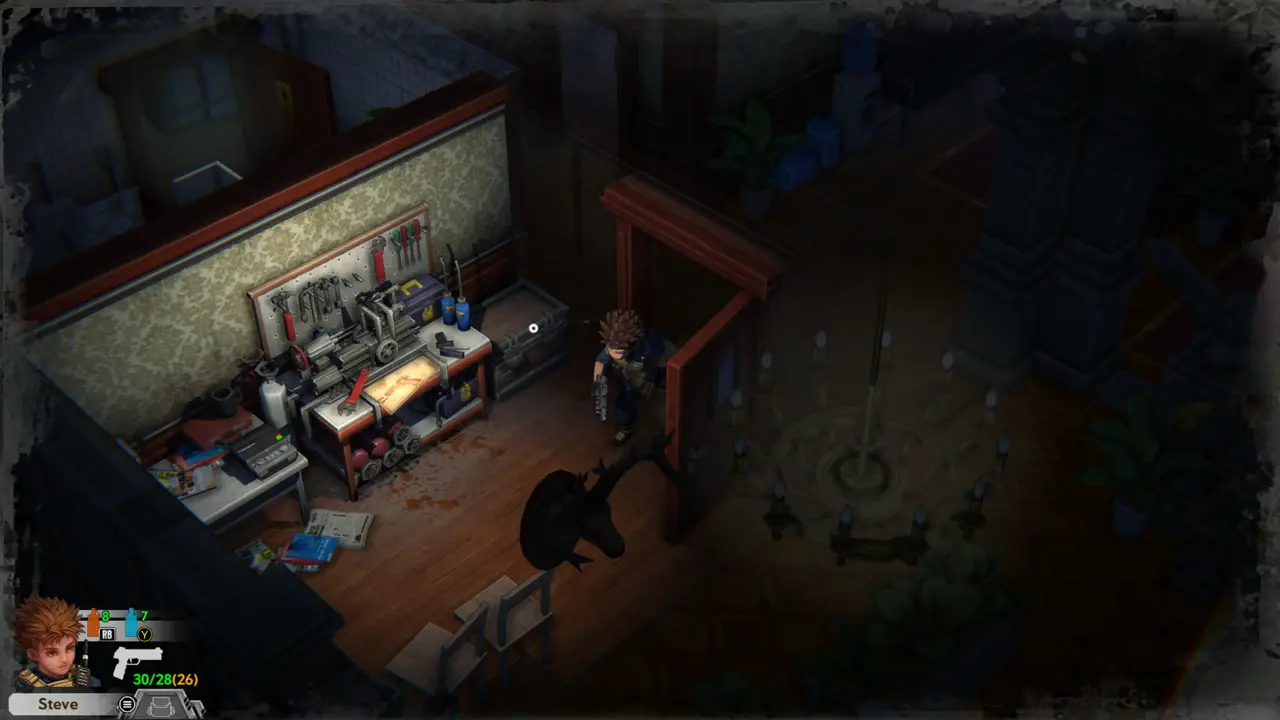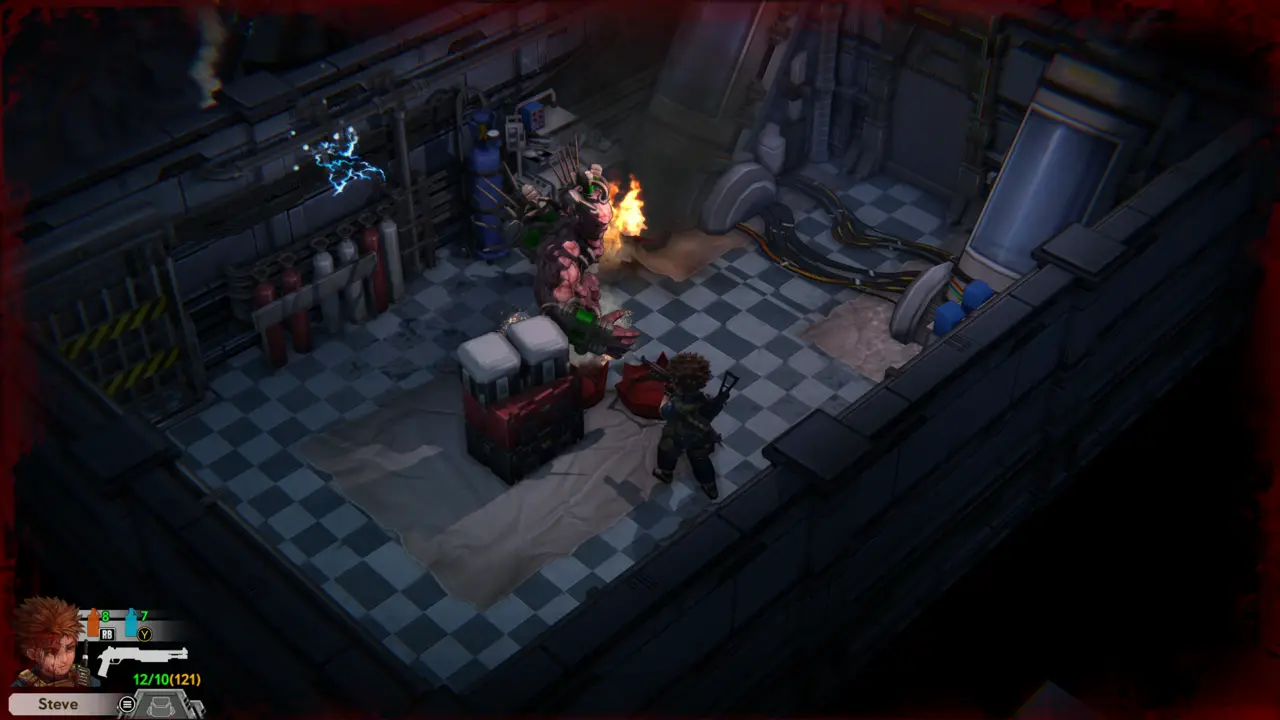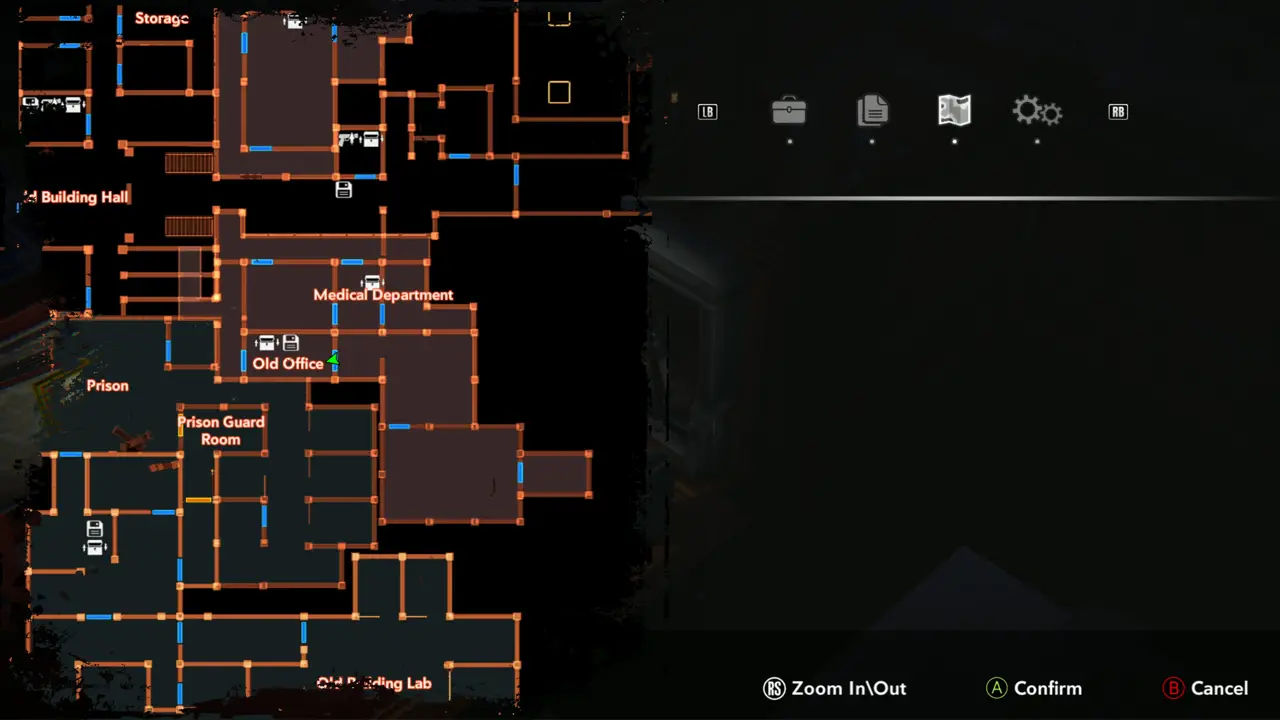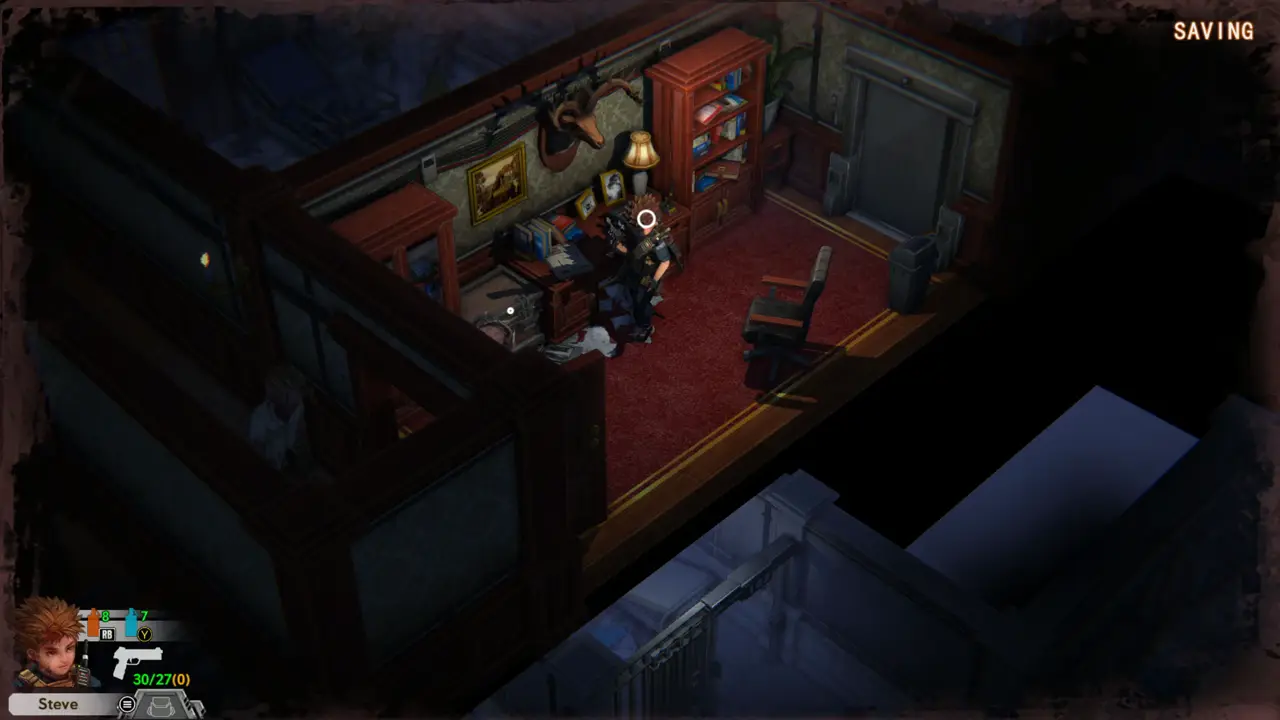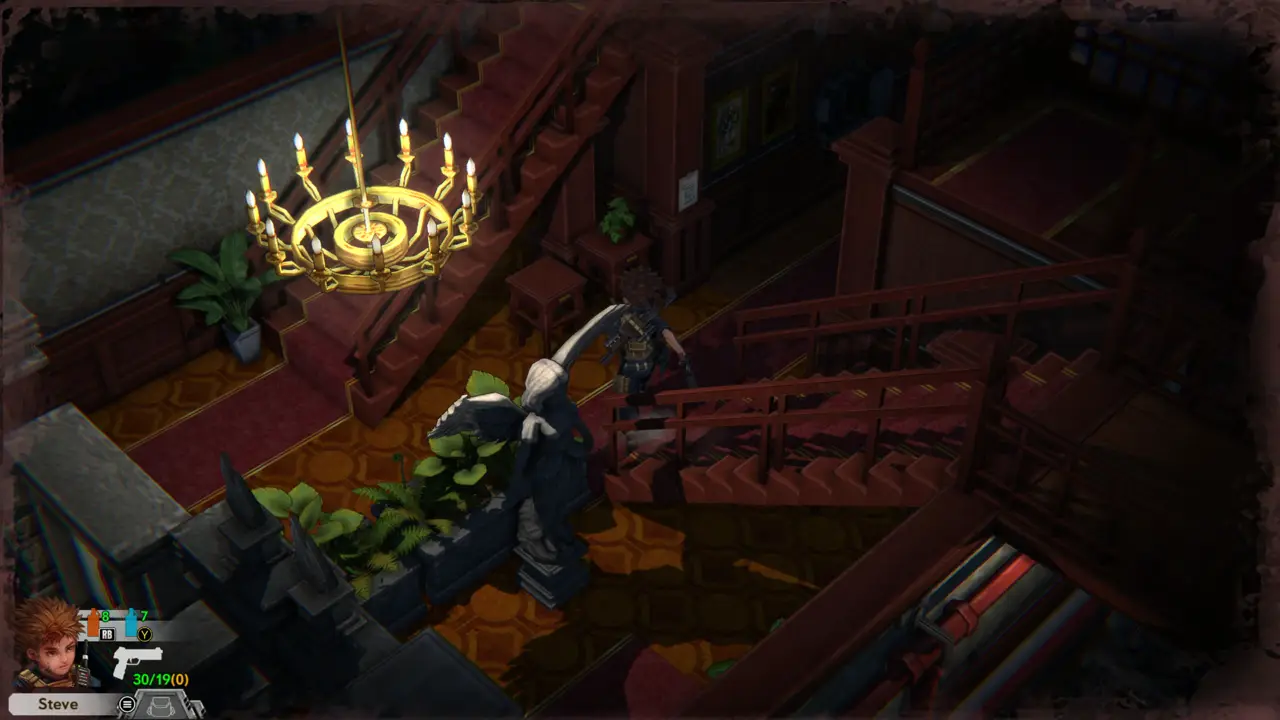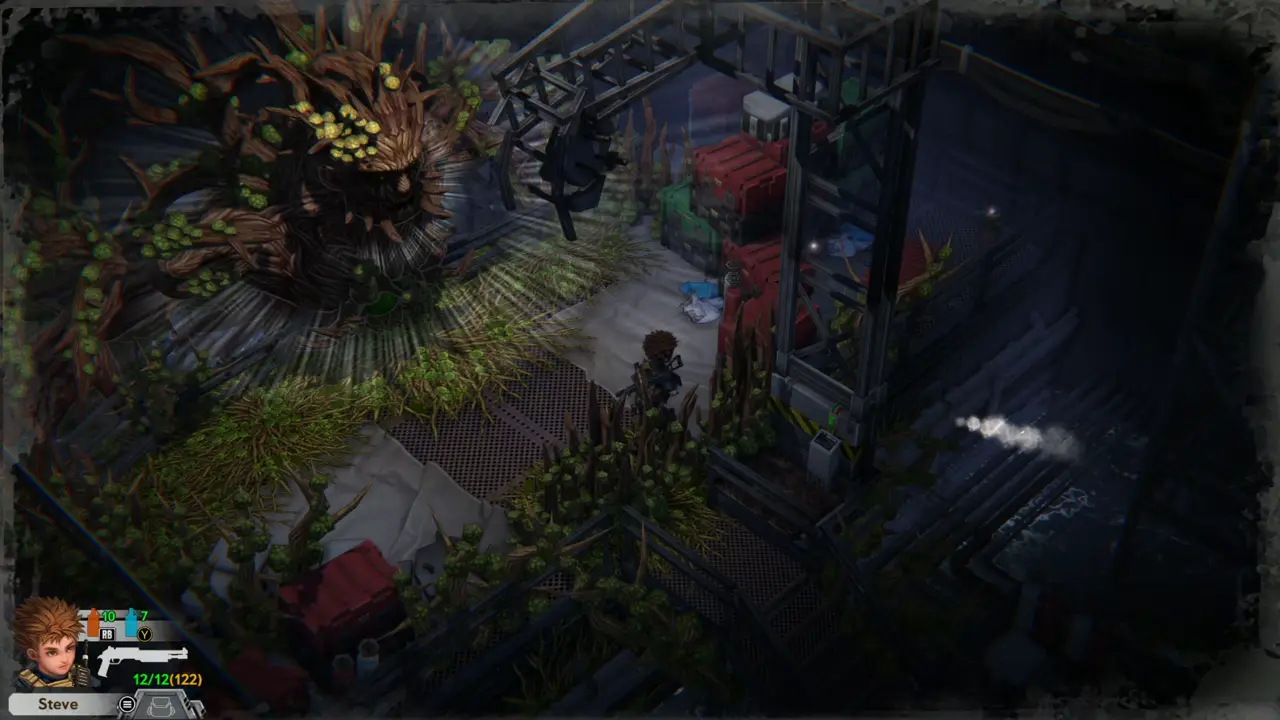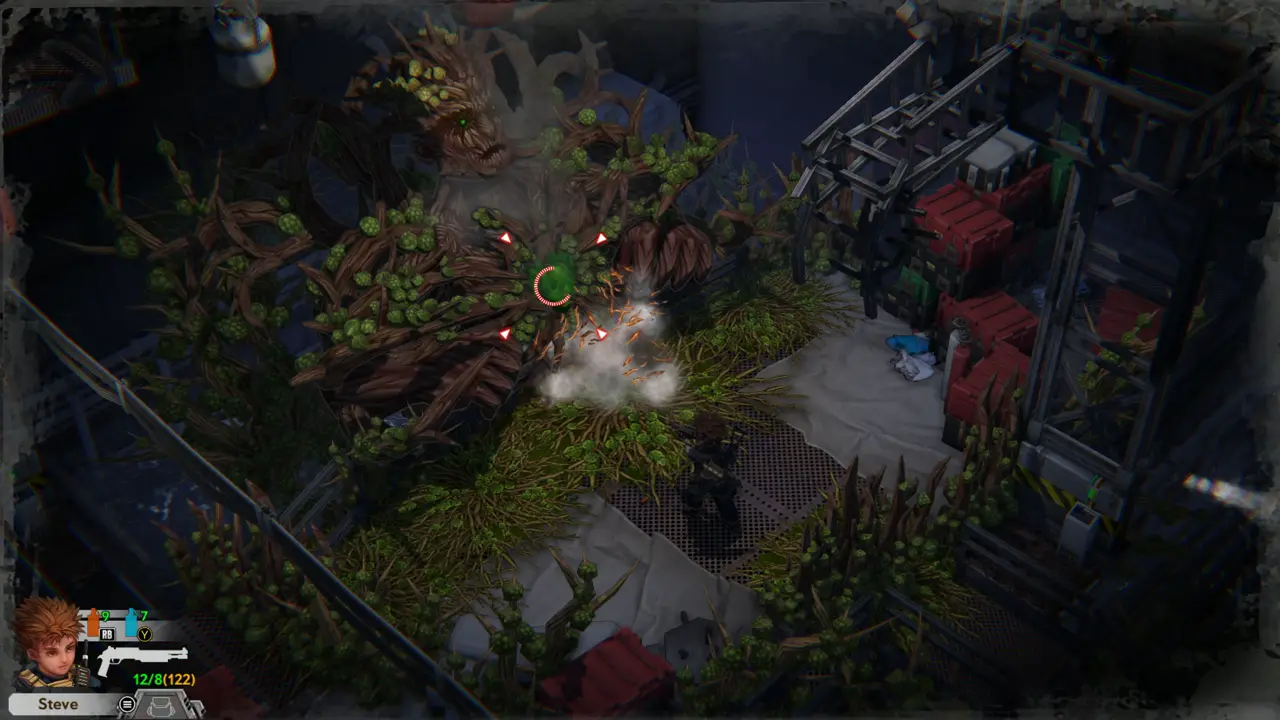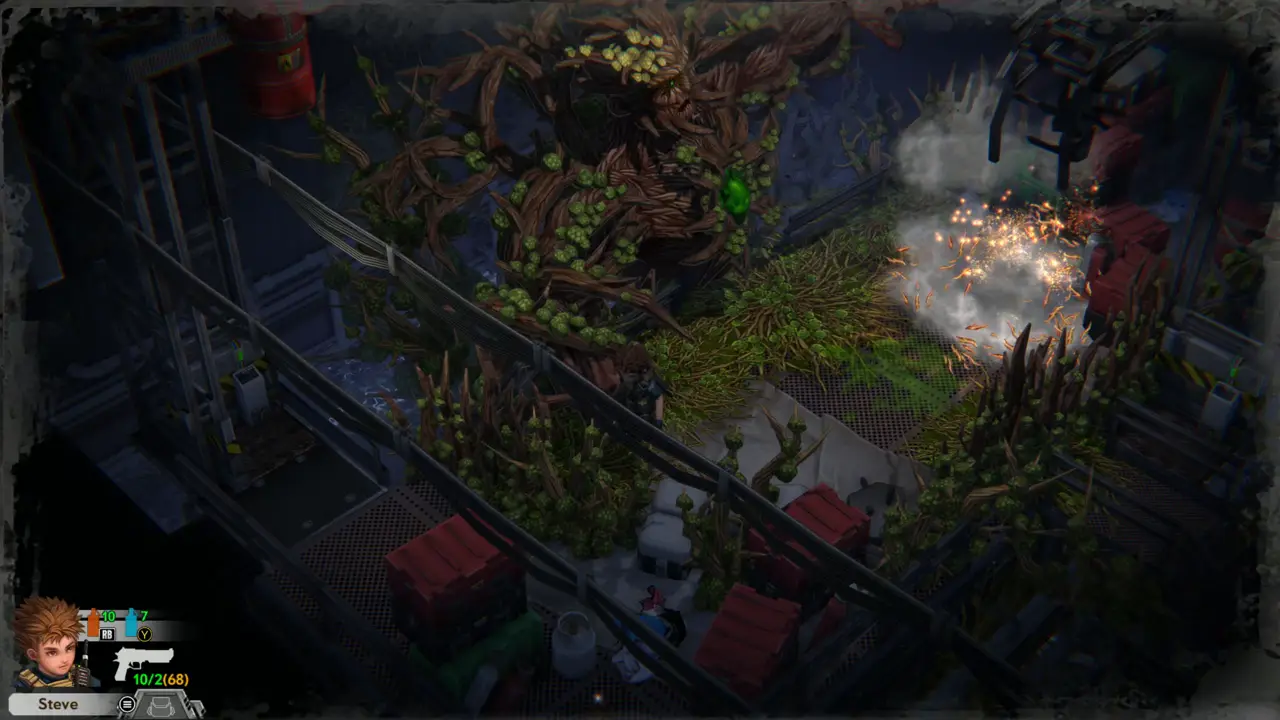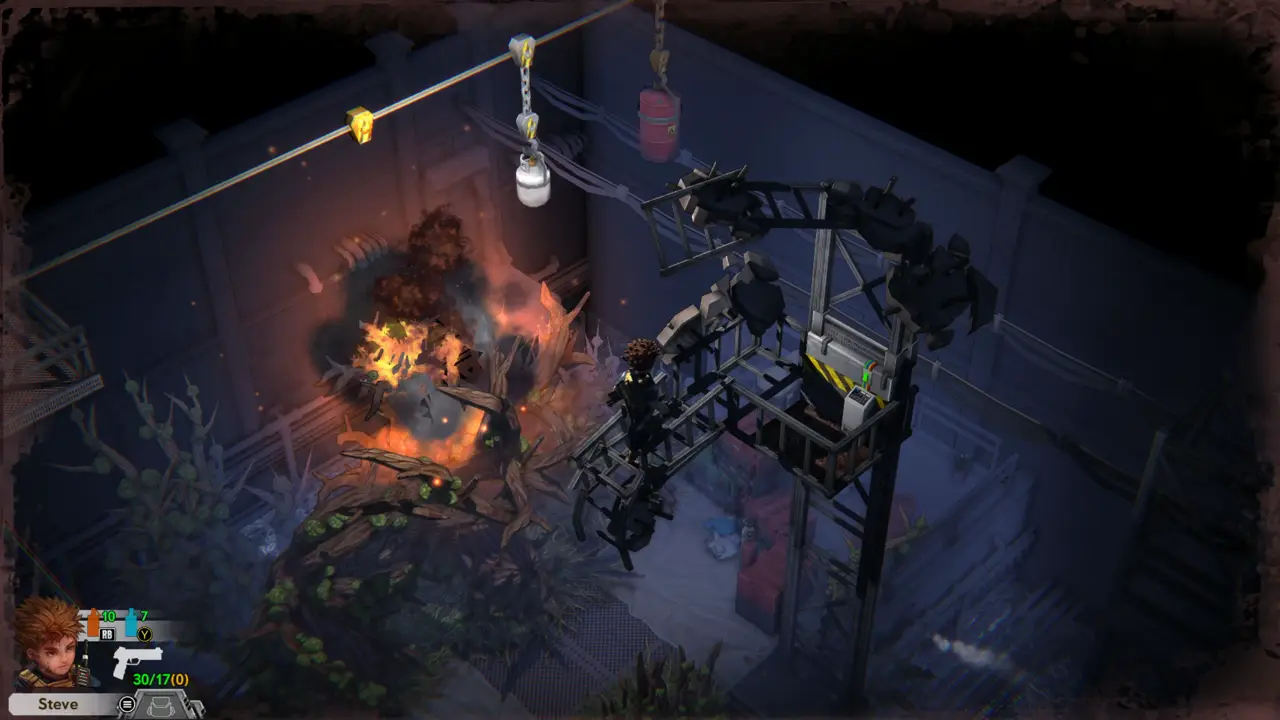
Heaven Dust 2 key art

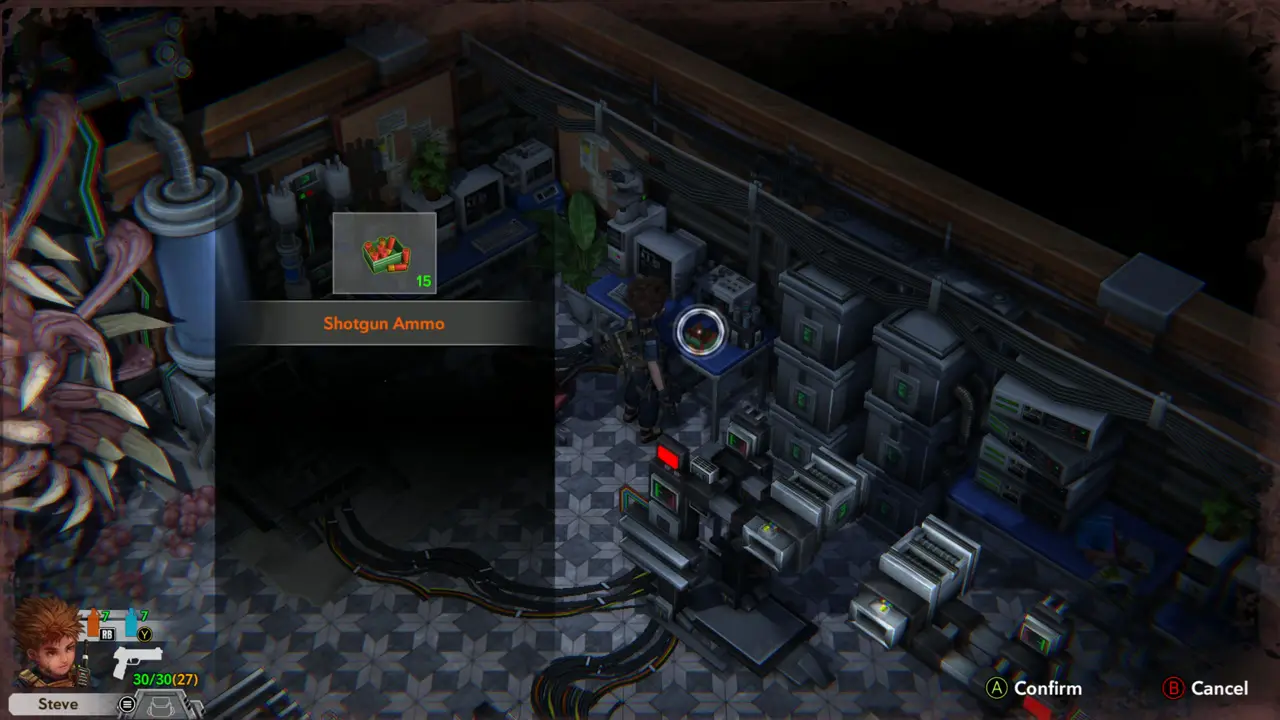
HEAVEN DUST 2

Walkthrough — Guide in progress
423
Steps
210
Items
61
Documents
9
Codes

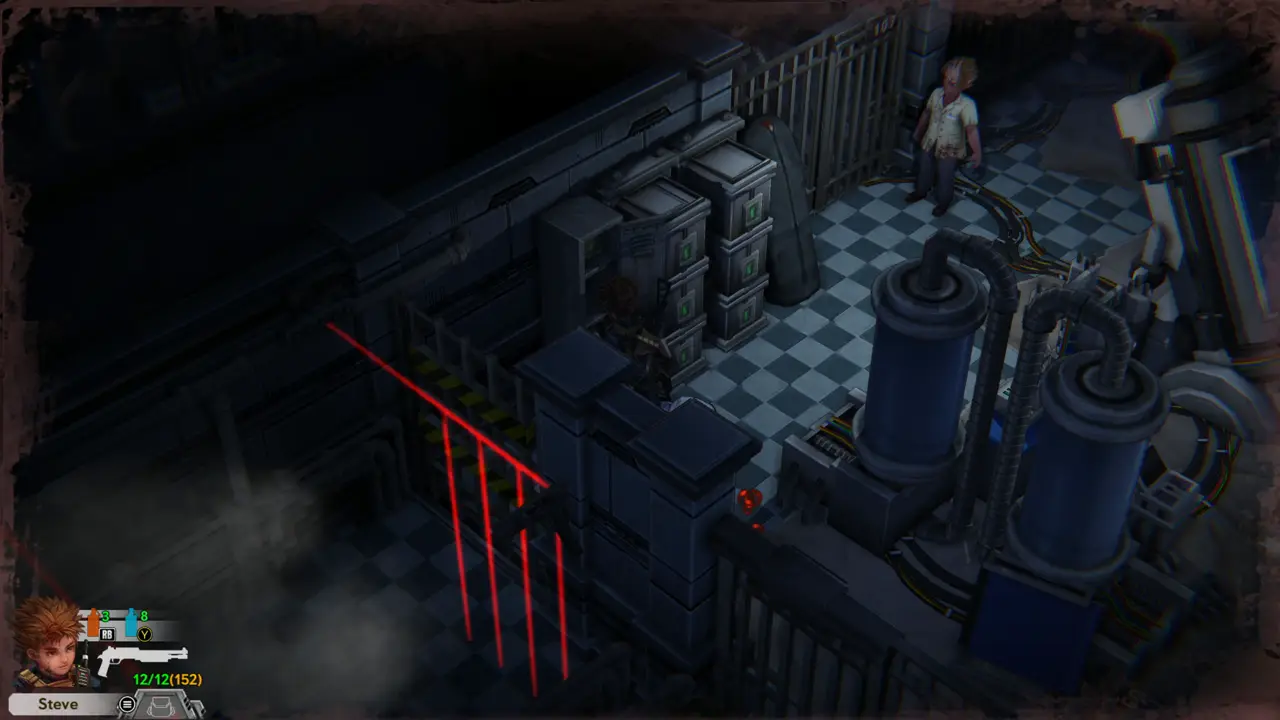
Heaven Dust 2

Heaven Dust 2 is an isometric survival-horror game. You play Steve, who wakes up in a hibernation lab and works his way through a ruined research complex with a radio link to Alexander. Ammo and inventory space are tight, almost every door is gated by a key, a keypad or a small puzzle, and the documents you read hold most of the clues.

This walkthrough follows a full run on Casual difficulty, step by step, with screenshots: where every pickup lies, which key opens which door, what each keypad takes and how each puzzle is solved. It covers the New Building Lab, the library and second floor, the park, the graveyard, the Old Lab Building with its prison, the Underground Tomb, the Old Building and the way into the Botany Lab.

Where to start

Basics that save you time

Walkthrough

Every step is in the order of a full playthrough. Room names are the labels on the in-game map; where a room has no label the step names the nearest landmark. Screenshots read left to right in the order things happen.

How to read the tags. Every pickup in the walkthrough carries a coloured tag, and the number inside a tag is a permanent ID — click it and it takes you straight to that entry.
TagWhat it marksNumber
ITEMAmmo, herbs, crafting parts, grenades and maps1–173 · opens Items
KEY ITEMOpens a door, a lock or a device1–25 · opens Items
WEAPONA gun, a gun part or a piece of equipment1–12 · opens Items
FILEA note, diary or document to read1–61 · opens Documents
CODEA keypad code that works1–9 · opens Codes
SAVESave pointCounted per part
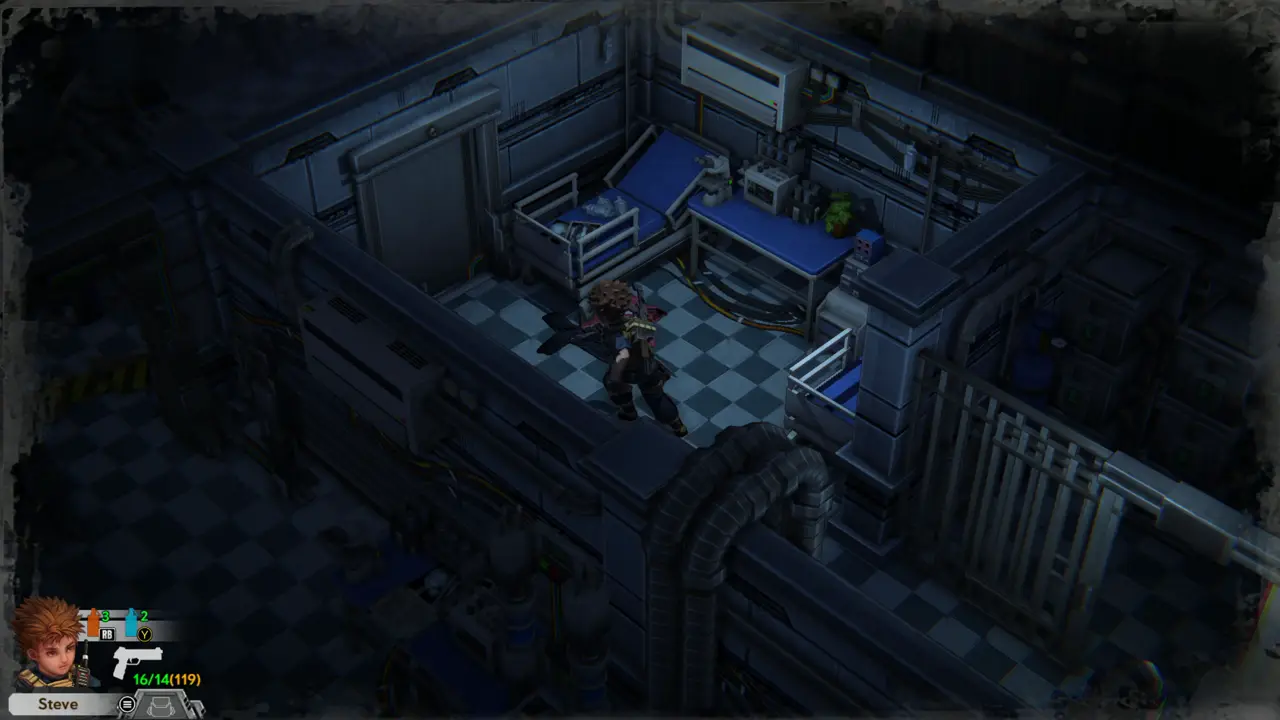
PUZZLEA puzzle with its solutionCounted per part
DOORA locked or sealed door and what it needsMarker — no ID
BOSSA boss fightFight marker — no ID
FIGHTA fight worth preparing forFight marker — no ID
MAPWhere the map helpsMarker — no ID
MISSABLEEasy to missWarning flag — no ID
NOTEUseful backgroundMarker — no ID
TUTORIALAn in-game tutorial that pops upComment — no ID
  1. Part 1 — Wake-up and the New Building Lab
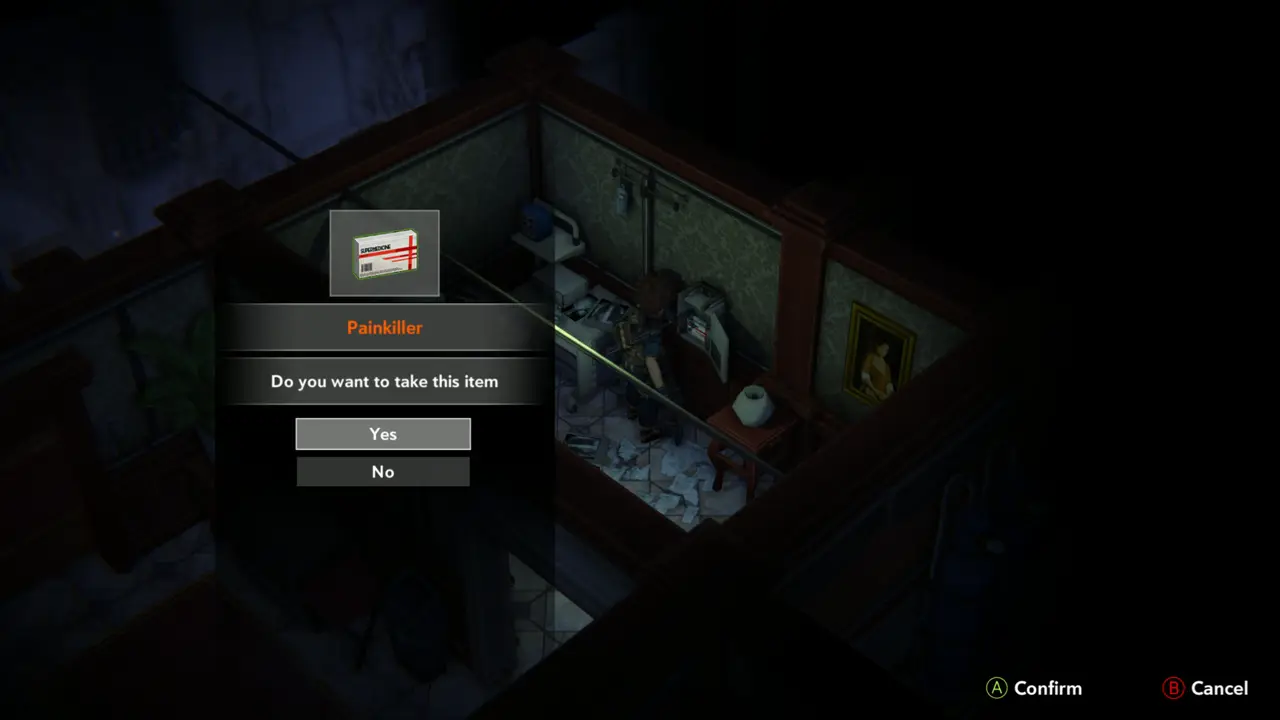
  2. Part 2 — Library, courtyard and the second floor
  3. Part 3 — Office Hall, pool room and projector room
  4. Part 4 — New Building Hall
  5. Part 5 — Outside: the picnic garden and the park
  6. Part 6 — The park laser puzzle and the Underground Parking Lot
  7. Part 7 — The graveyard and the Wood Cabin
  8. Part 8 — Old Lab Building: offices and the billiard room
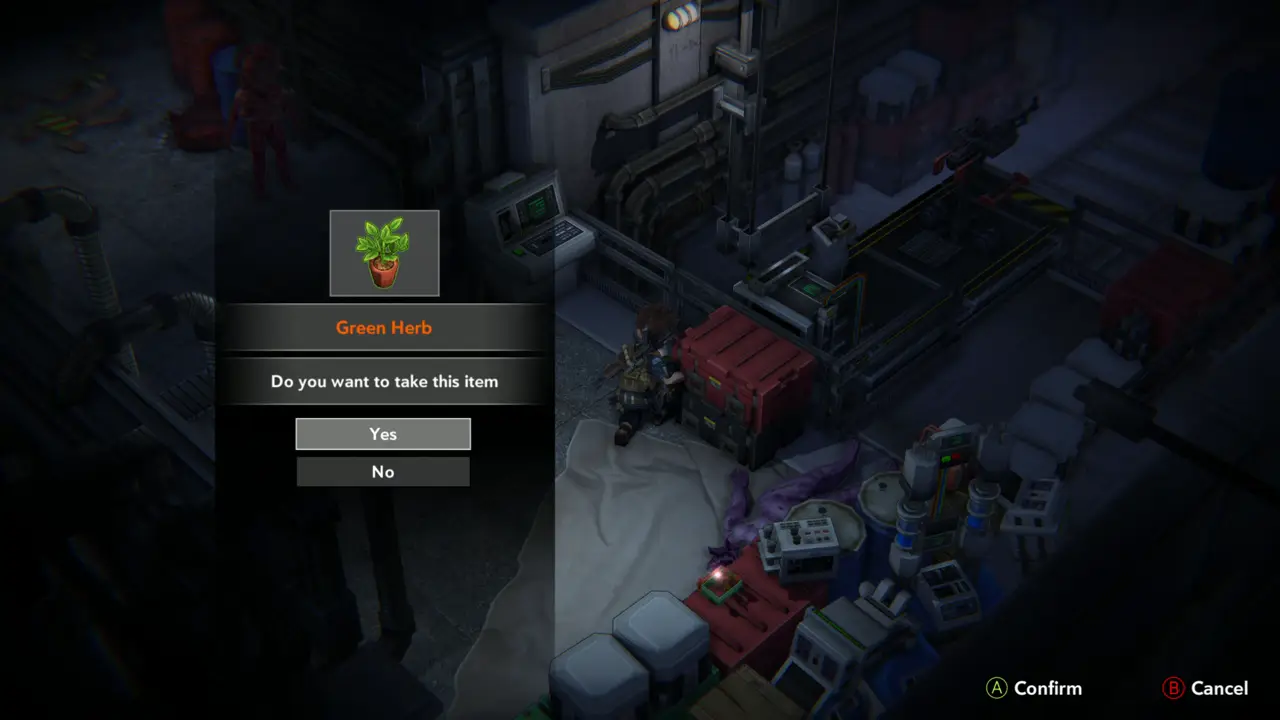
  9. Part 9 — Old Lab Building: the prison
  10. Part 10 — Underground Station and the graveyard
  11. Part 11 — Underground Tomb
  12. Part 12 — Old Building: garden, office and lab
  13. Part 13 — Management Office and Medical Department
  14. Part 14 — Waste Disposal Area and the Botany Lab

Part 1 — Wake-up and the New Building Lab

In-game goal. Find your way to the elevator and ride it to the first floor.
1
Hibernation Room
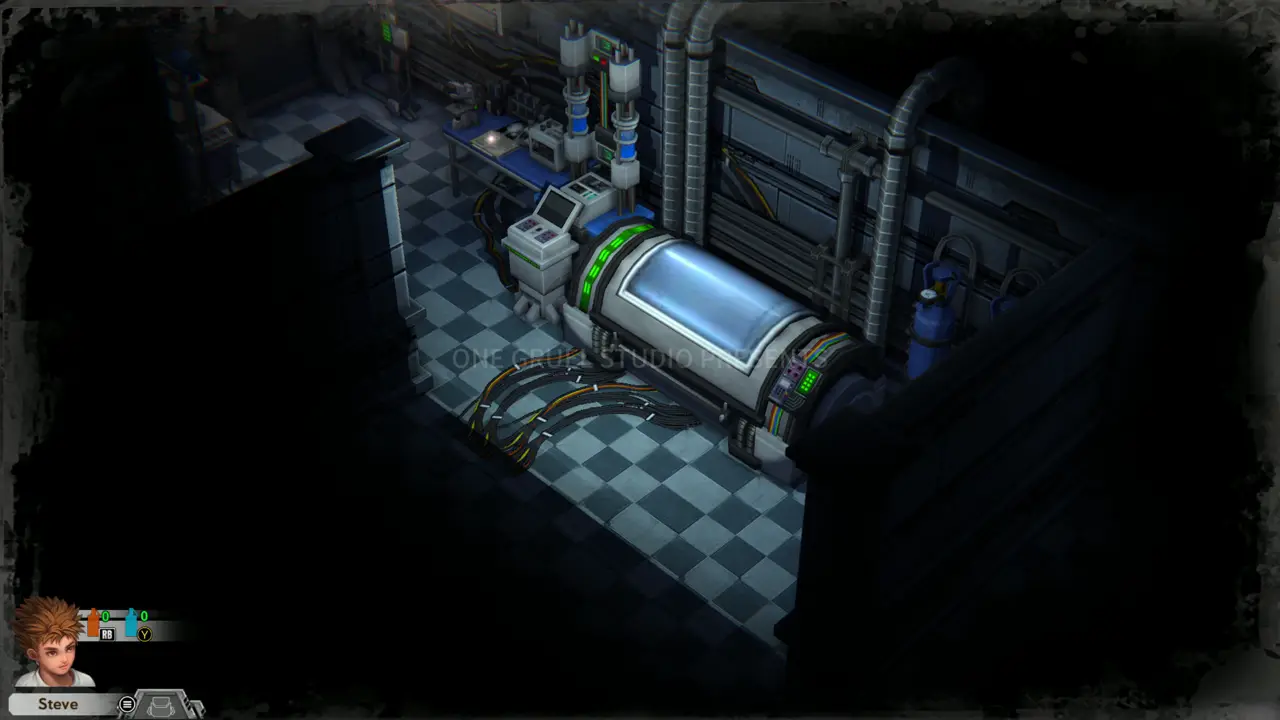
Wake up beside the cryo chamber in the Hibernation Room.
Intro card at the chamber
TUTORIAL Basic Tutorial I: move with W, A, S, D and hold Space to sprint. K calls the hint up again.
TUTORIAL Basic Tutorial II explains interaction (A) and the Start menu with its tabs: Inventory, Files, Map and System.
2
Hibernation Room
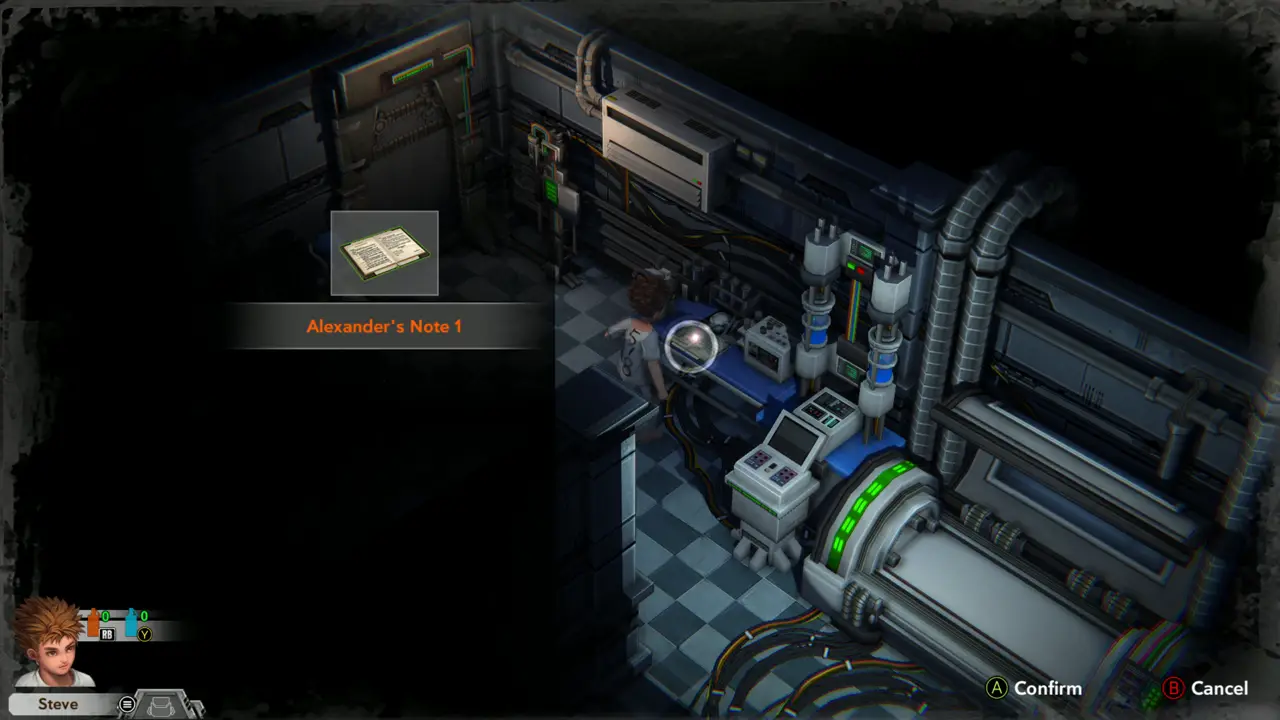
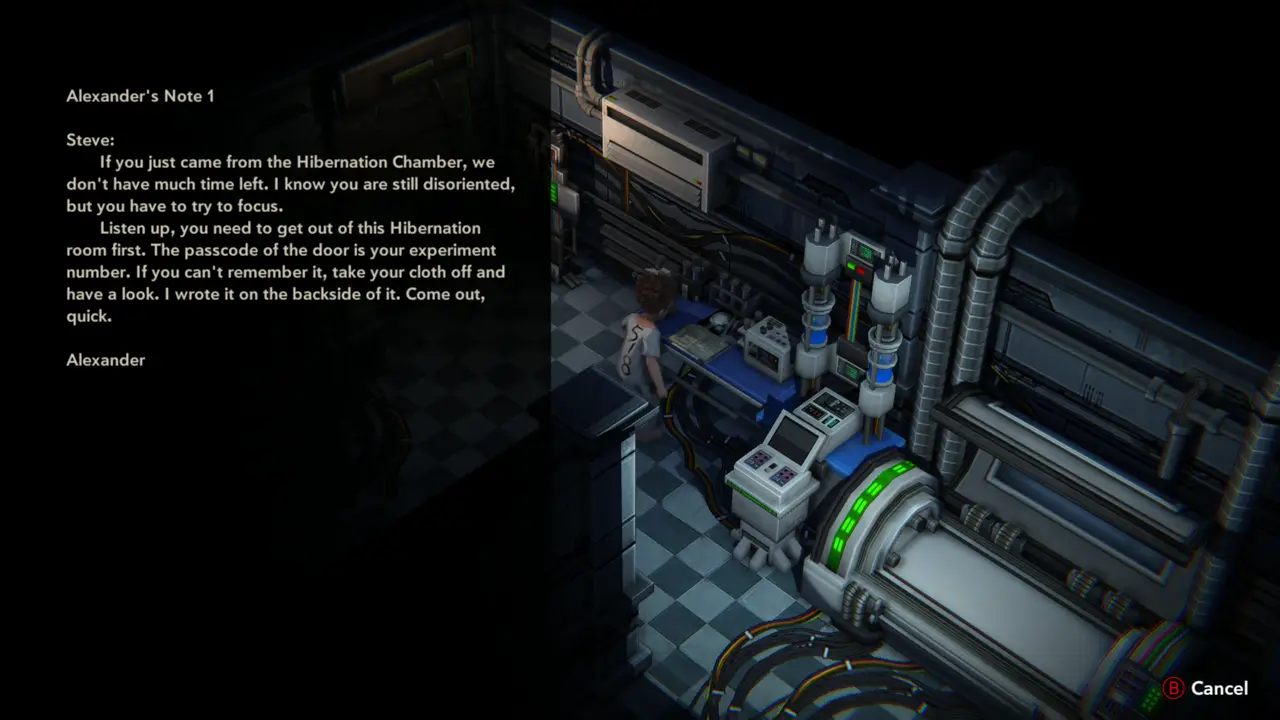
FILE 1 Go to the lab bench to the left of the chamber. Take Alexander's Note 1 and read it: the door passcode is your experiment number, written on the back of your cloth.
Note 1 prompt on the bench
Note 1 text
Note 1 text
3
Hibernation Room
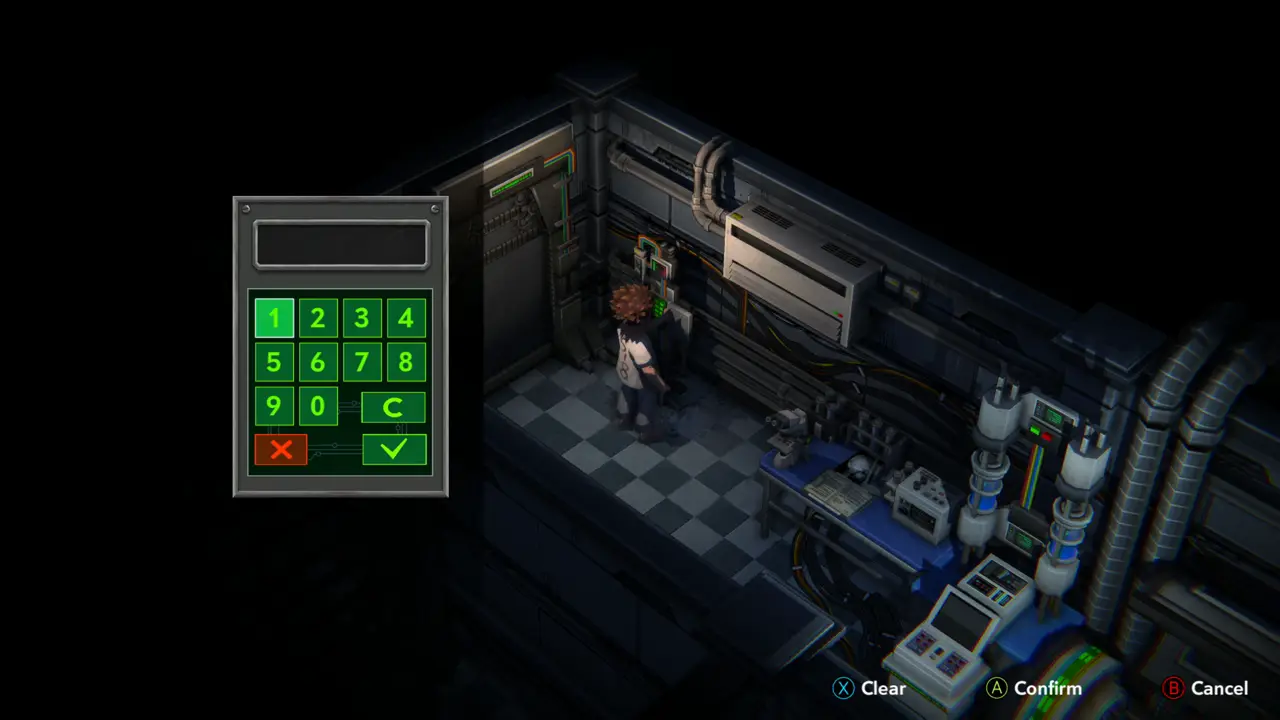
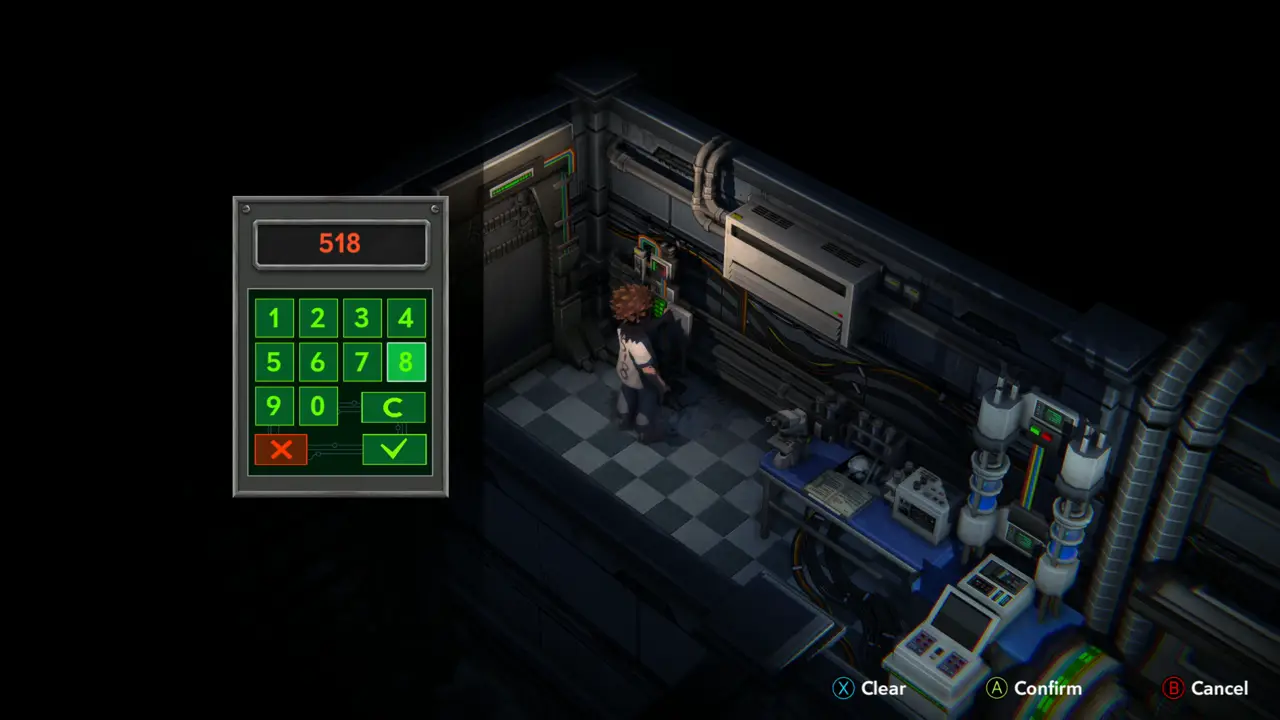
CODE 1DOOR Go to the keypad on the wall by the room door, type 518 and confirm with the tick. The door opens.
Keypad opens
Keypad opens
518 typed
518 typed
TUTORIAL Moving Crate tutorial: stand next to a crate, press A to grab it, push or pull with the left stick and press B to release it.
4
Lab - near the blue tanks
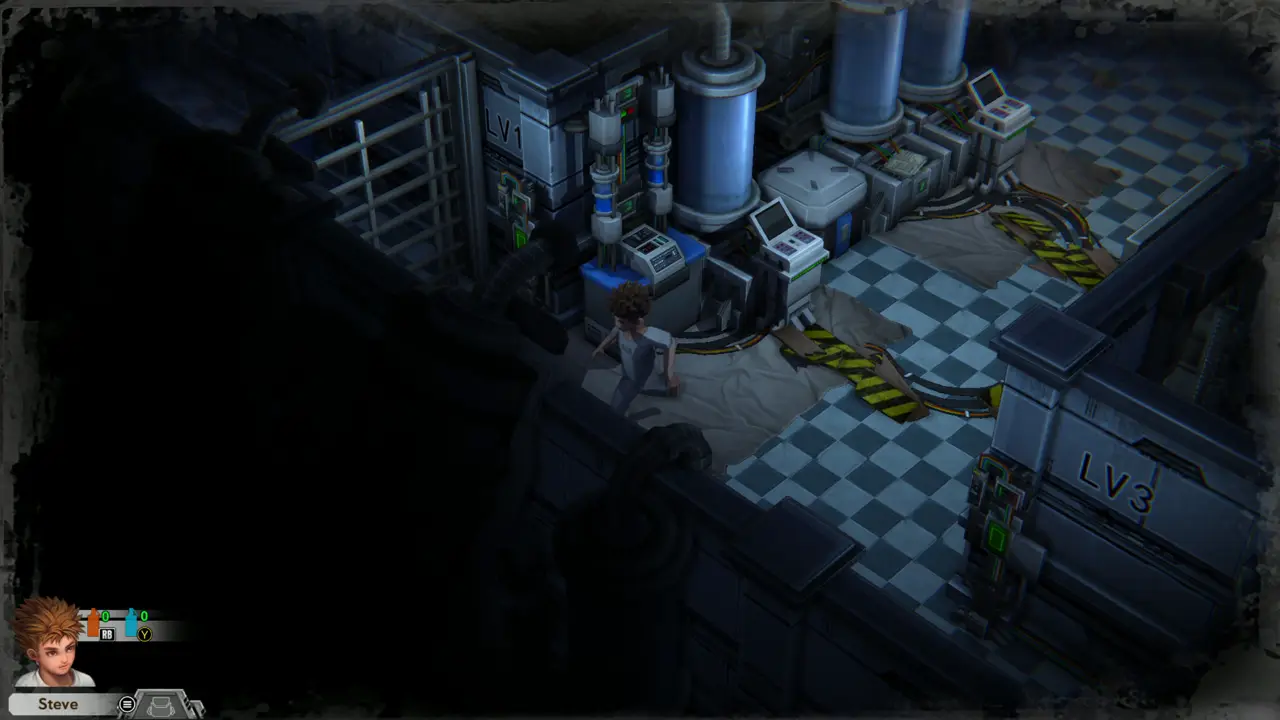
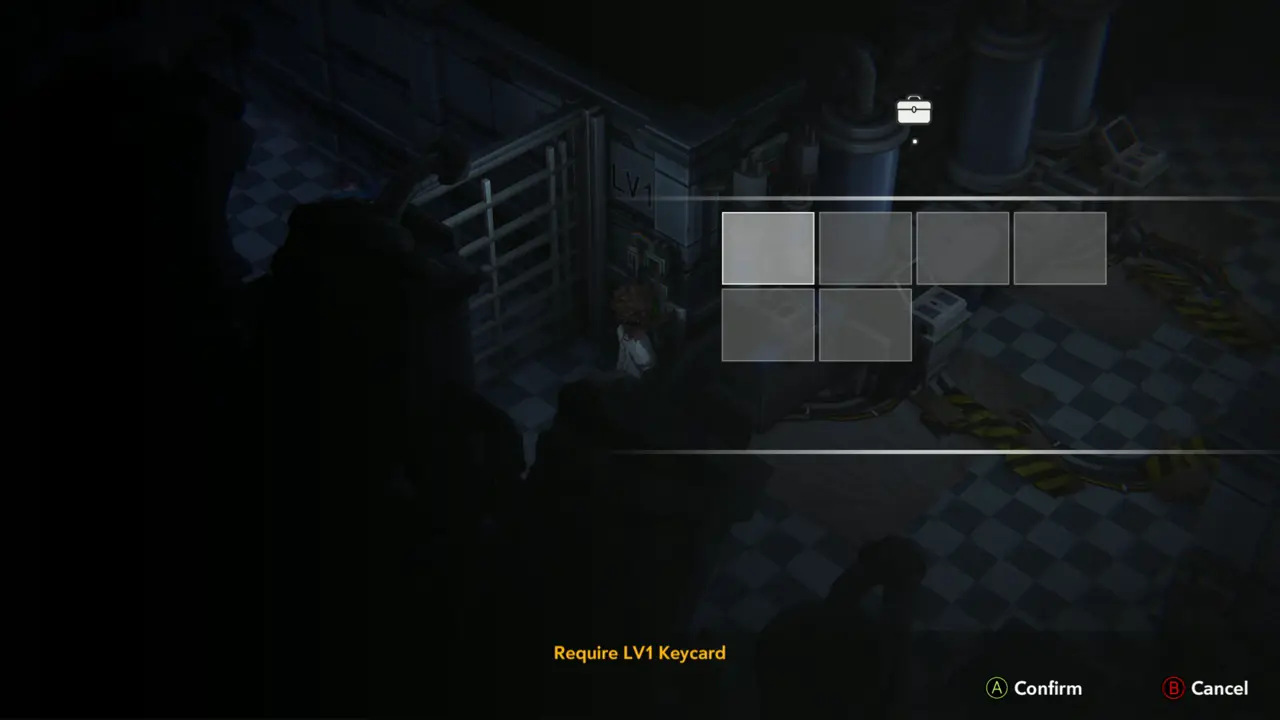
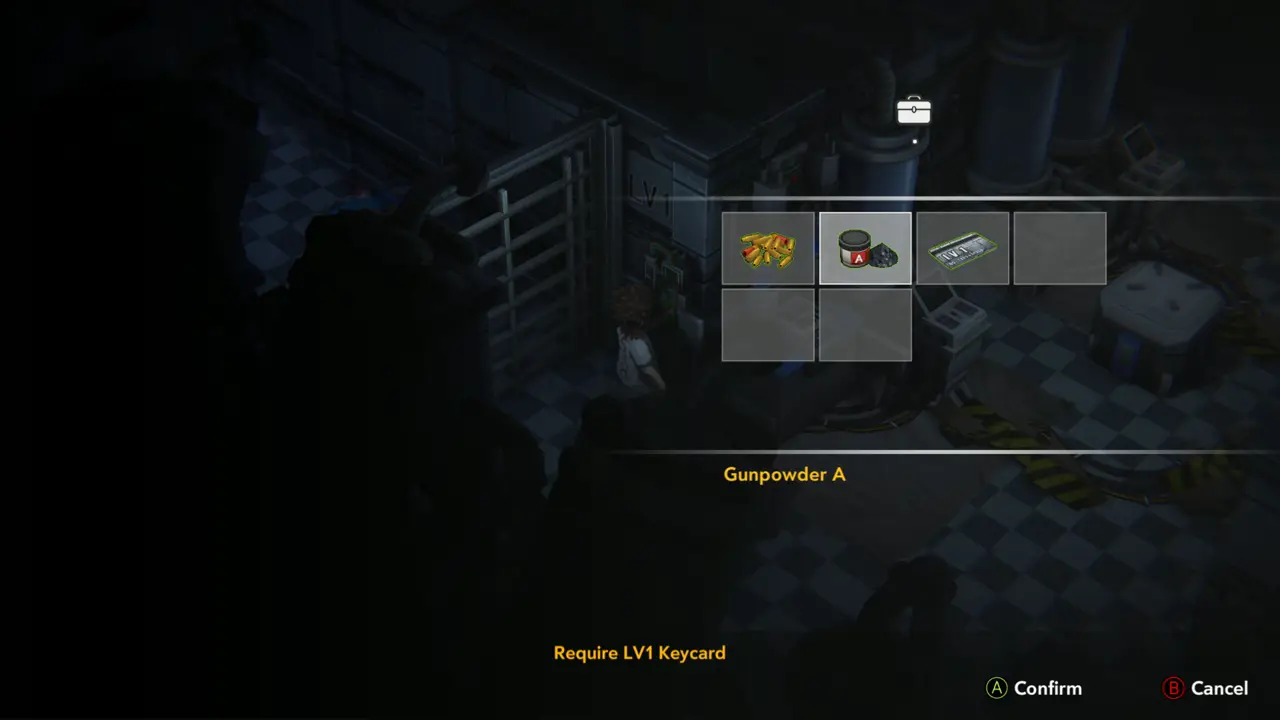
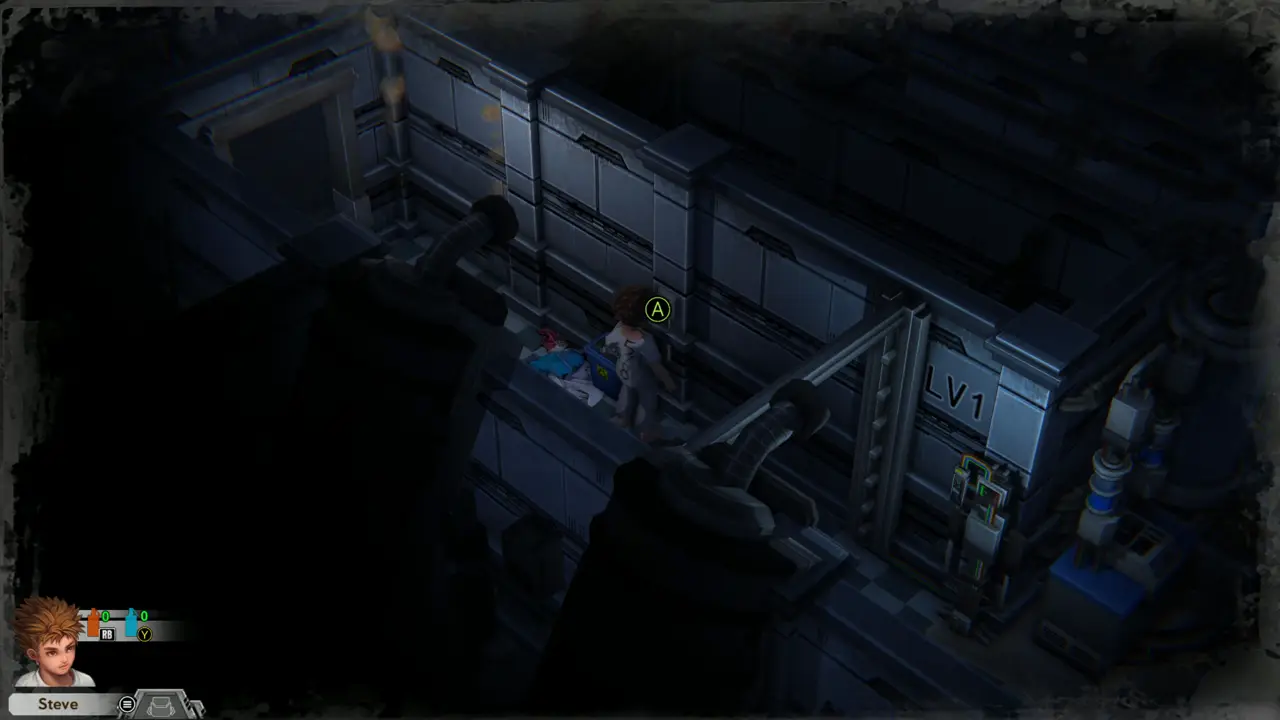
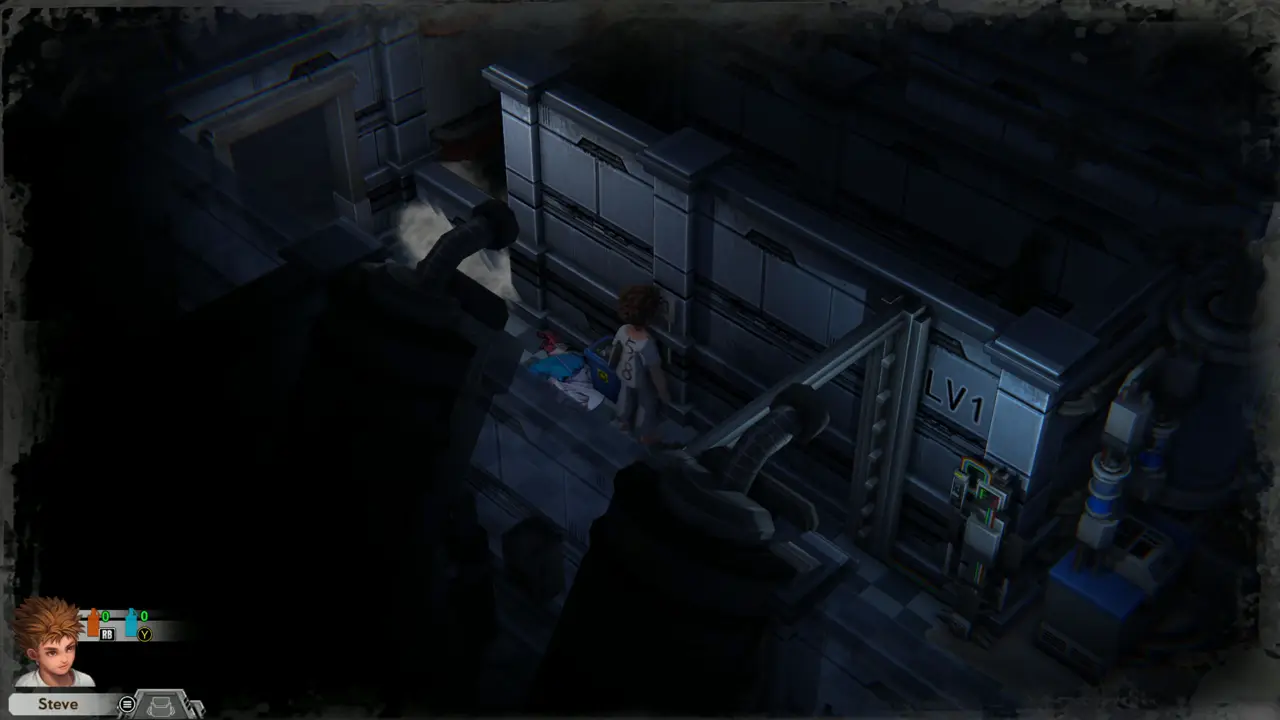
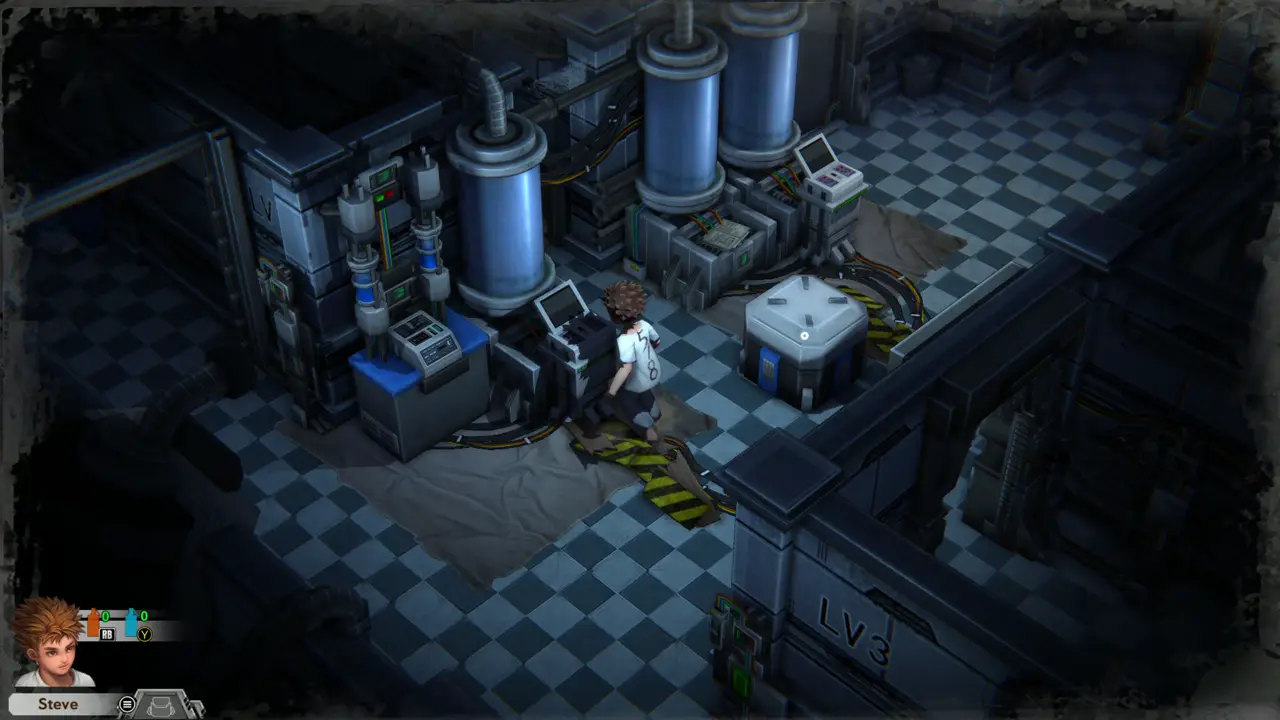
DOOR Try the door marked LV1 on the wall of the tank room: “Require LV1 Keycard”. You need the keycard first.
LV1 door in the tank room
Require LV1 Keycard
Require LV1 Keycard
5
Lab - near the blue tanks
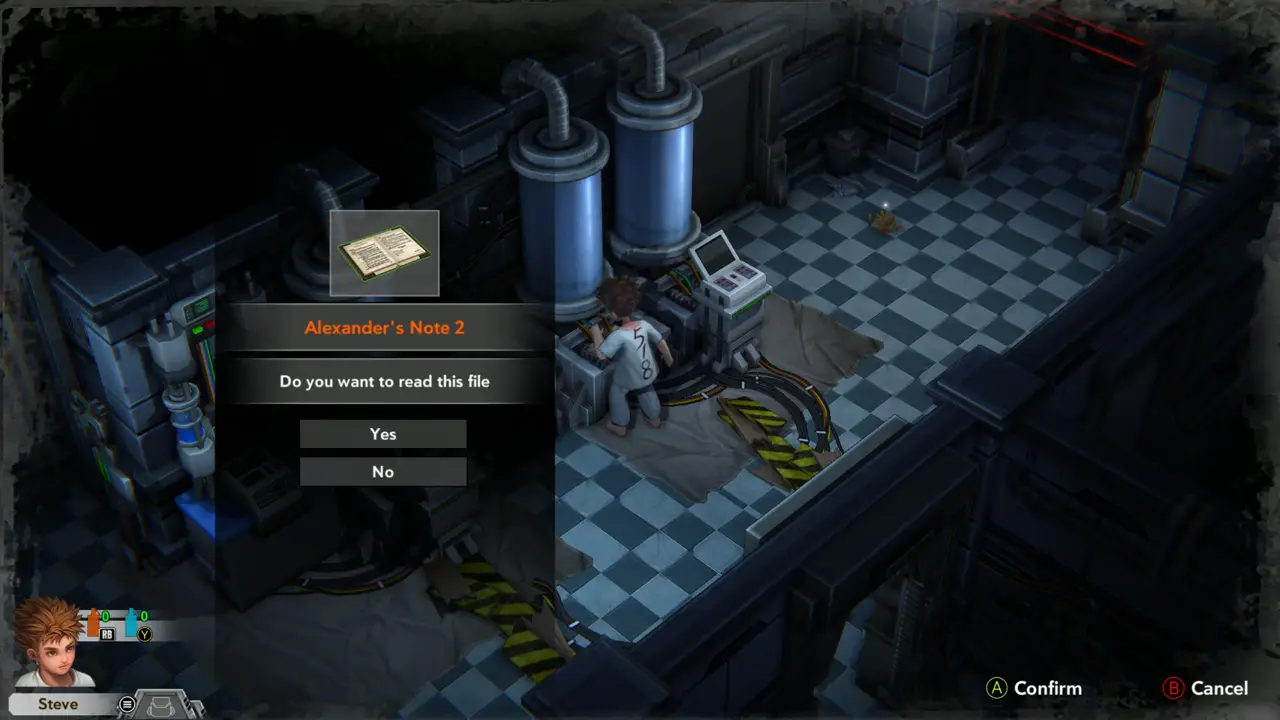
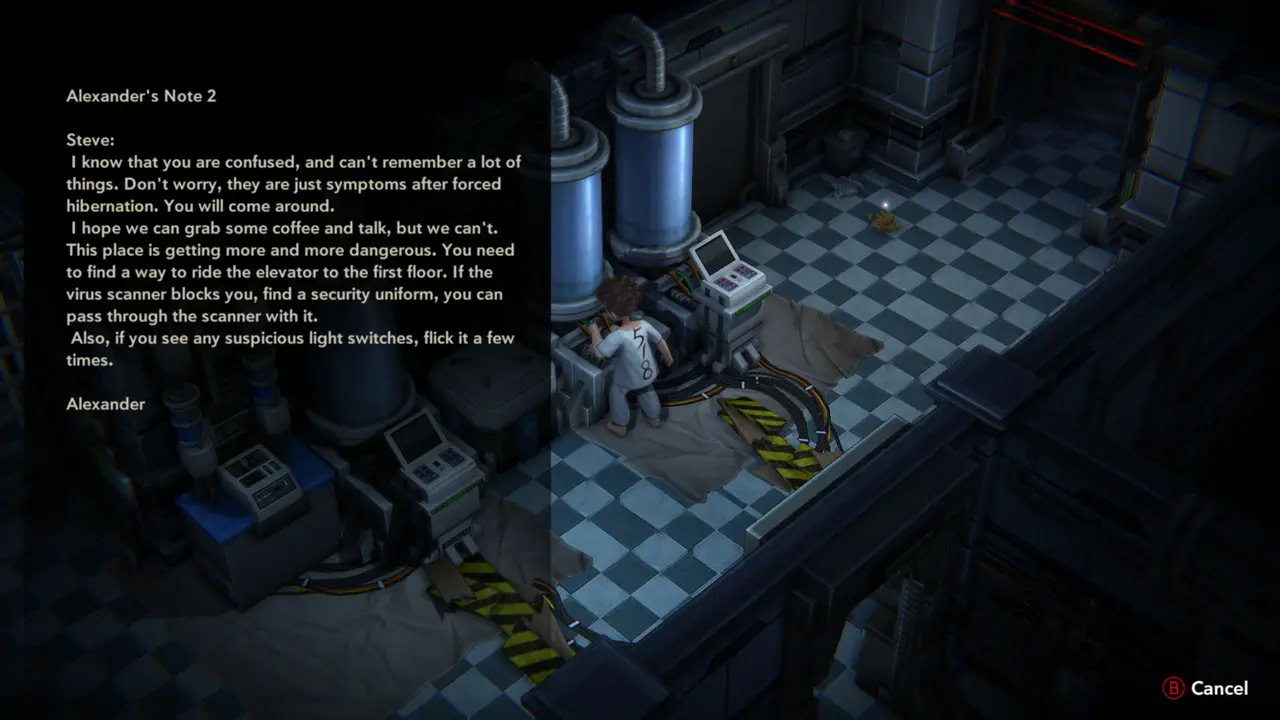
FILE 2WEAPON 1 Take Alexander's Note 2 from the console between the tanks and read it. It tells you to reach the elevator to the first floor, to find a security uniform if the virus scanner blocks you, and to flick suspicious light switches a few times.
Note 2 prompt
Note 2 prompt
Note 2 text
Note 2 text
6
Lab - near the blue tanks
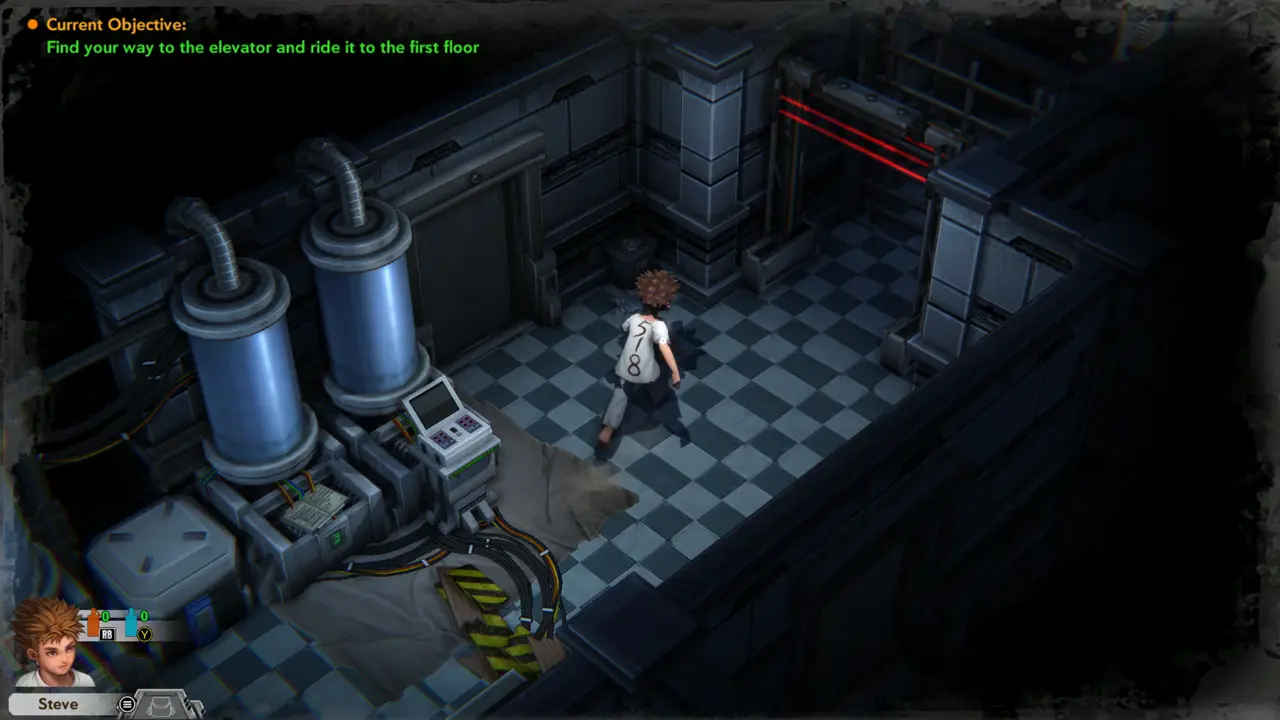
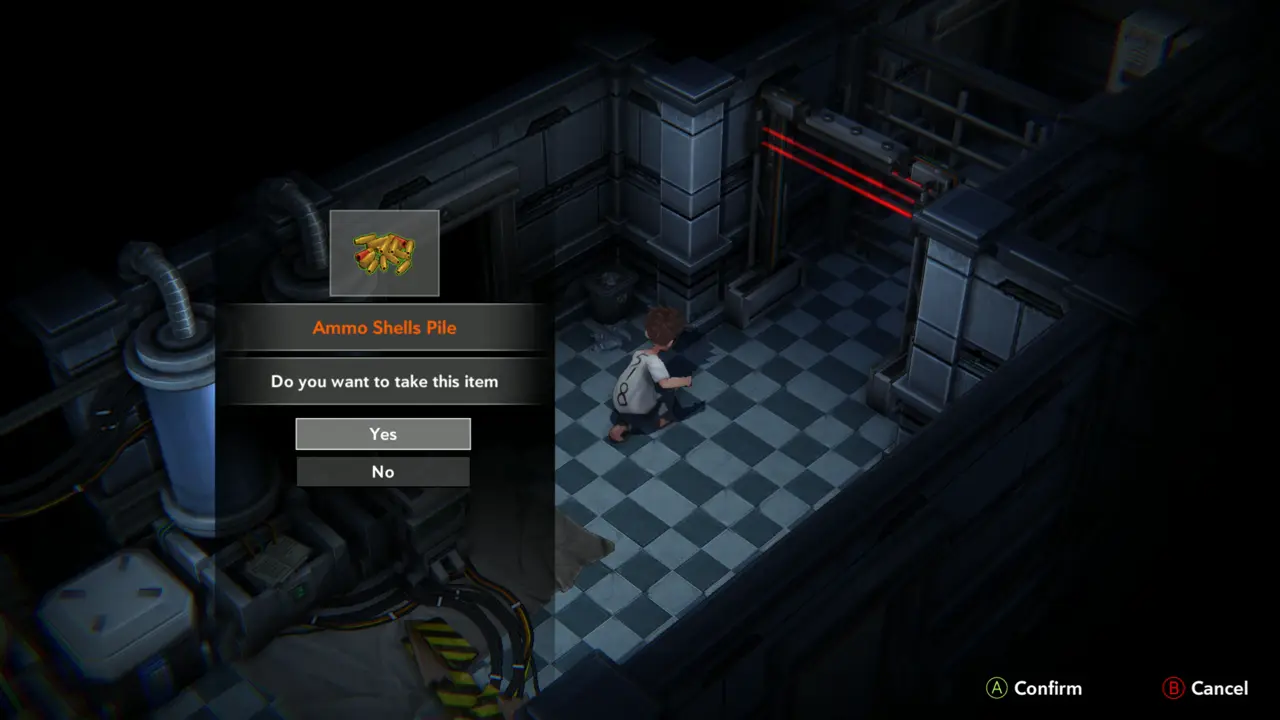
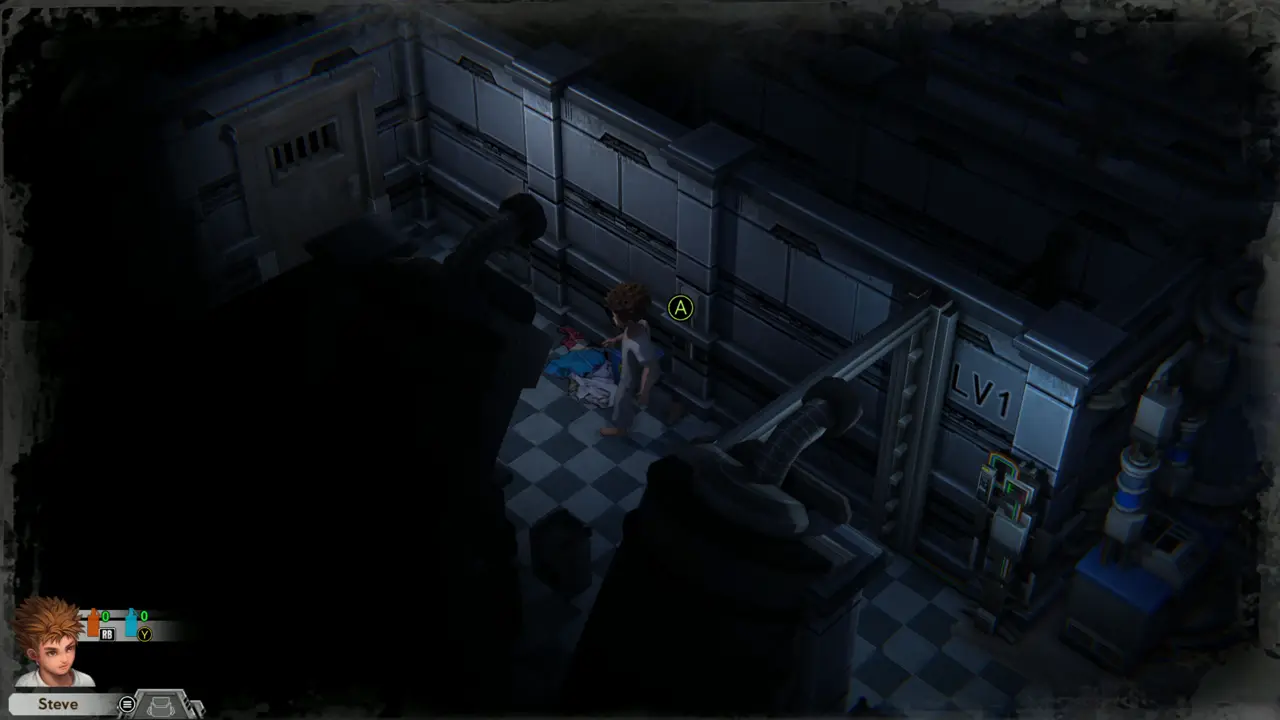
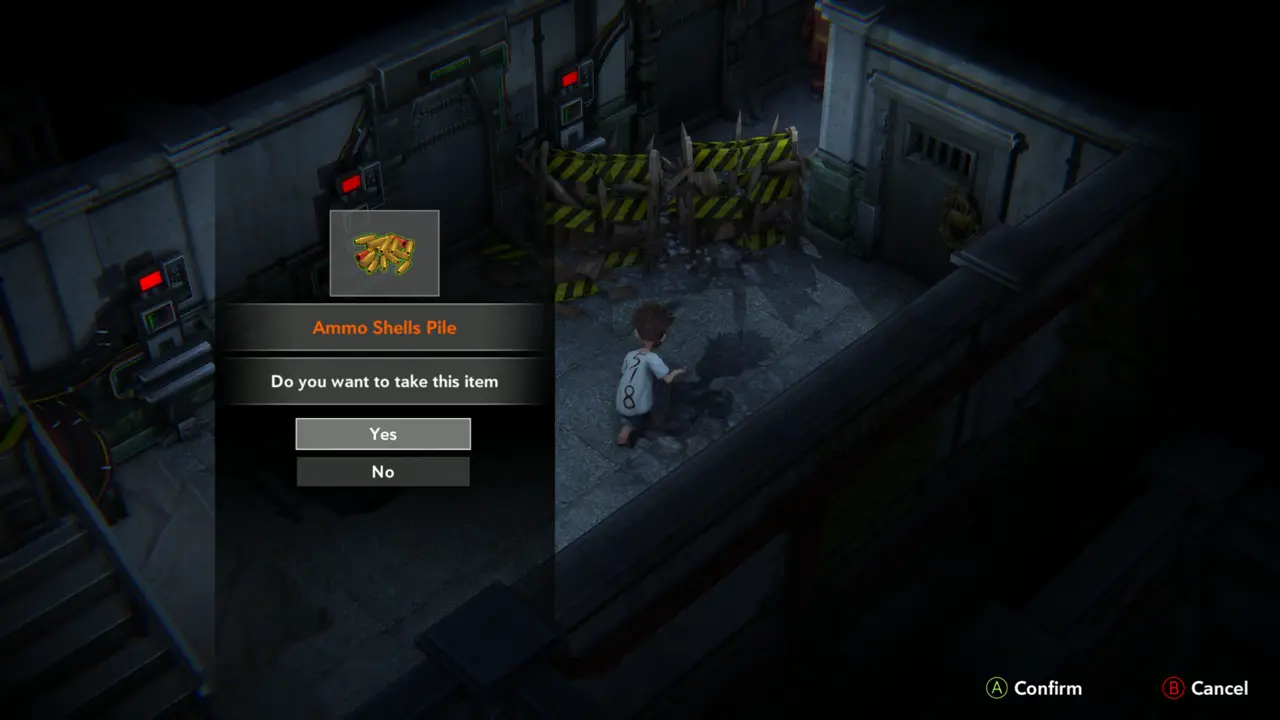
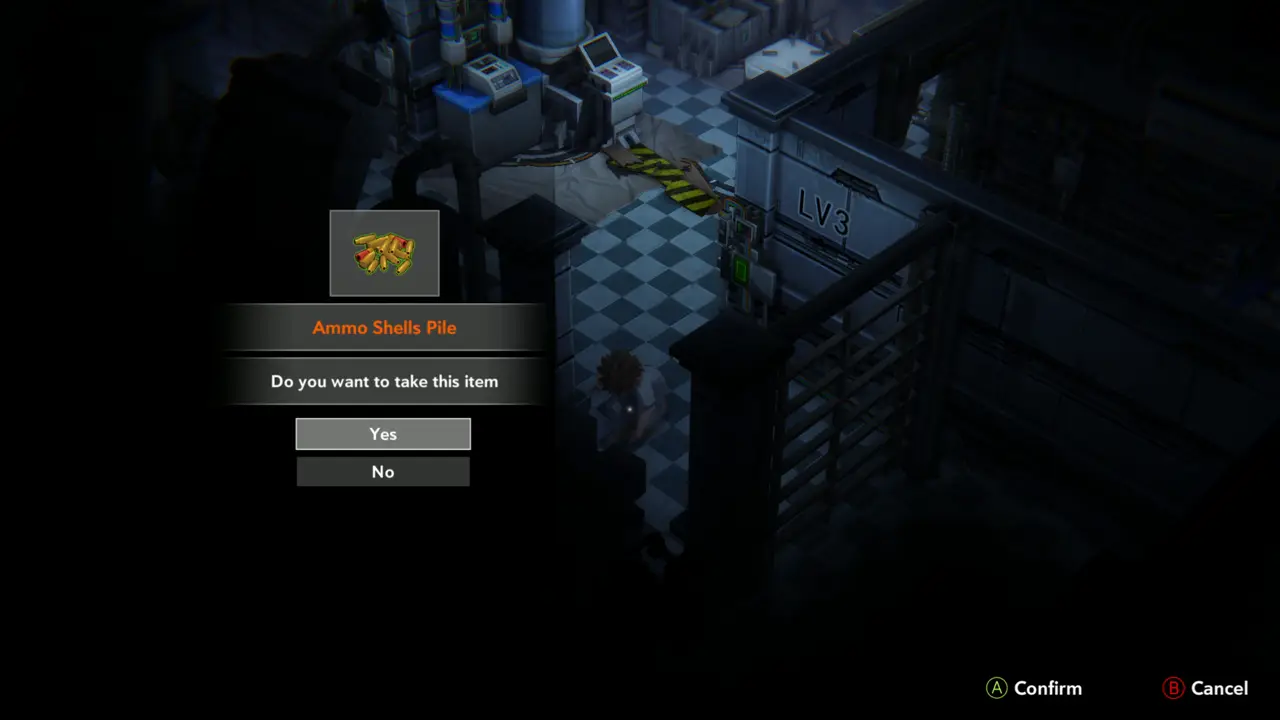
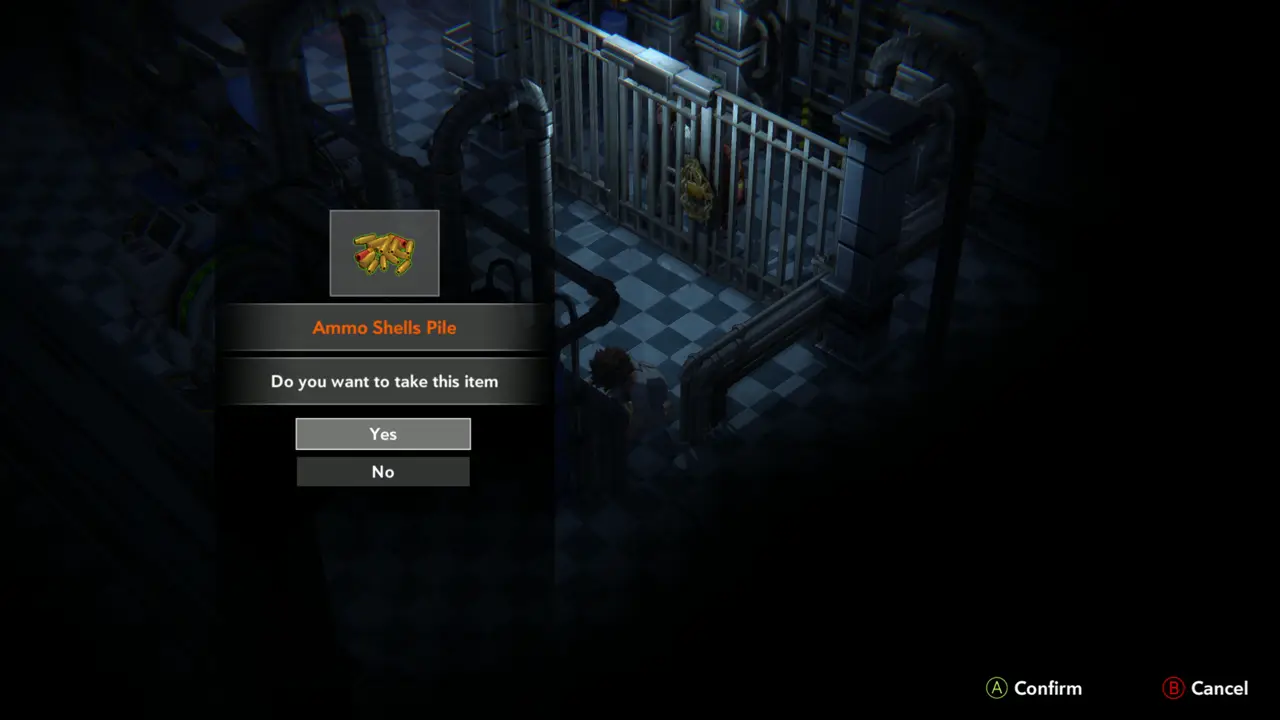
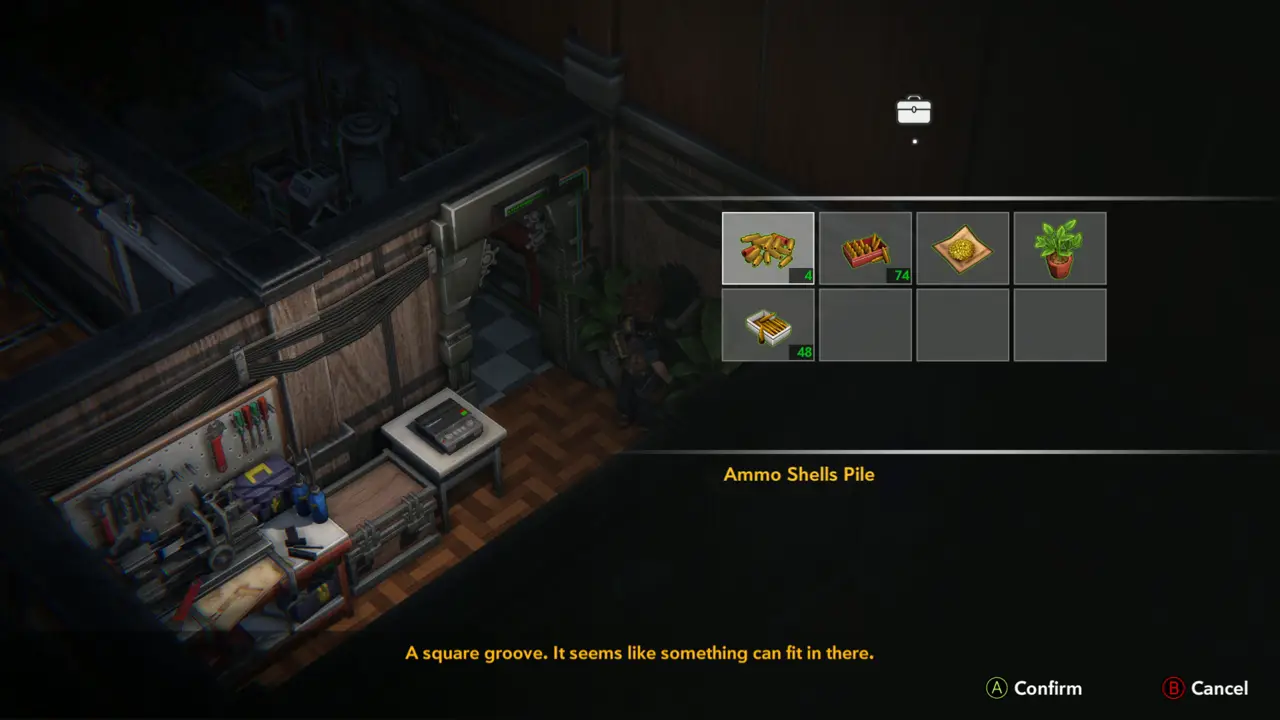
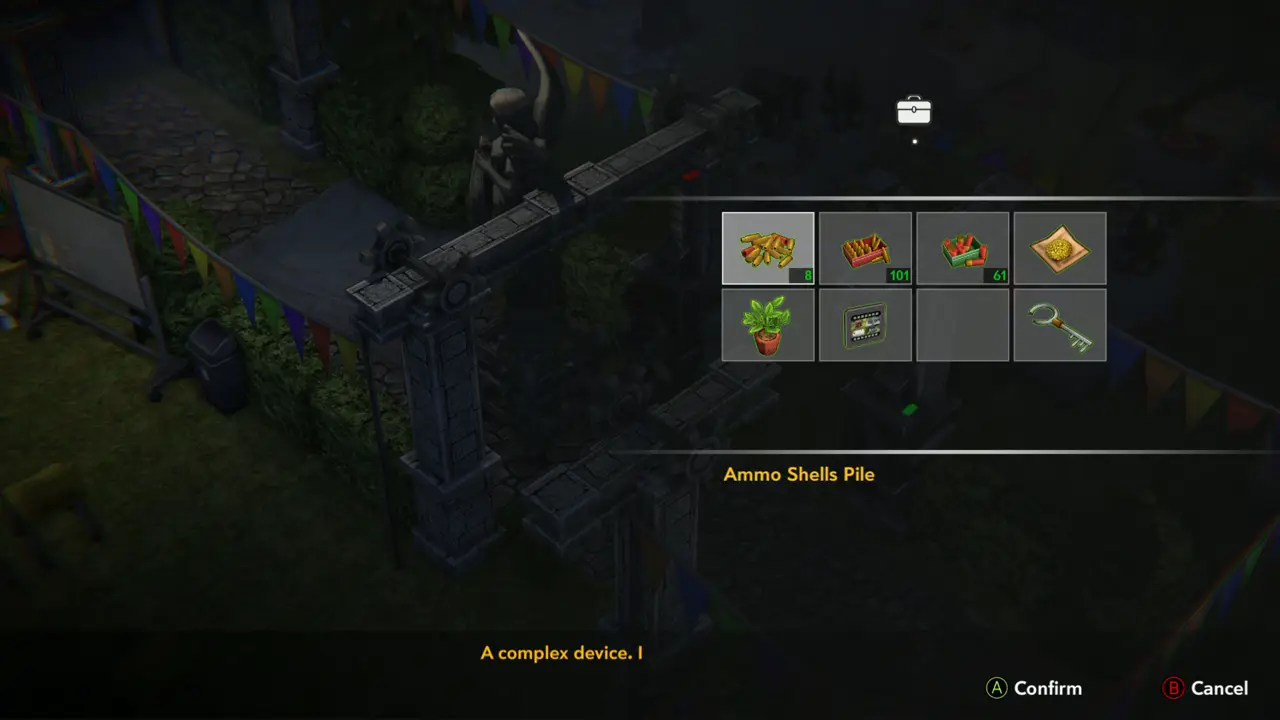
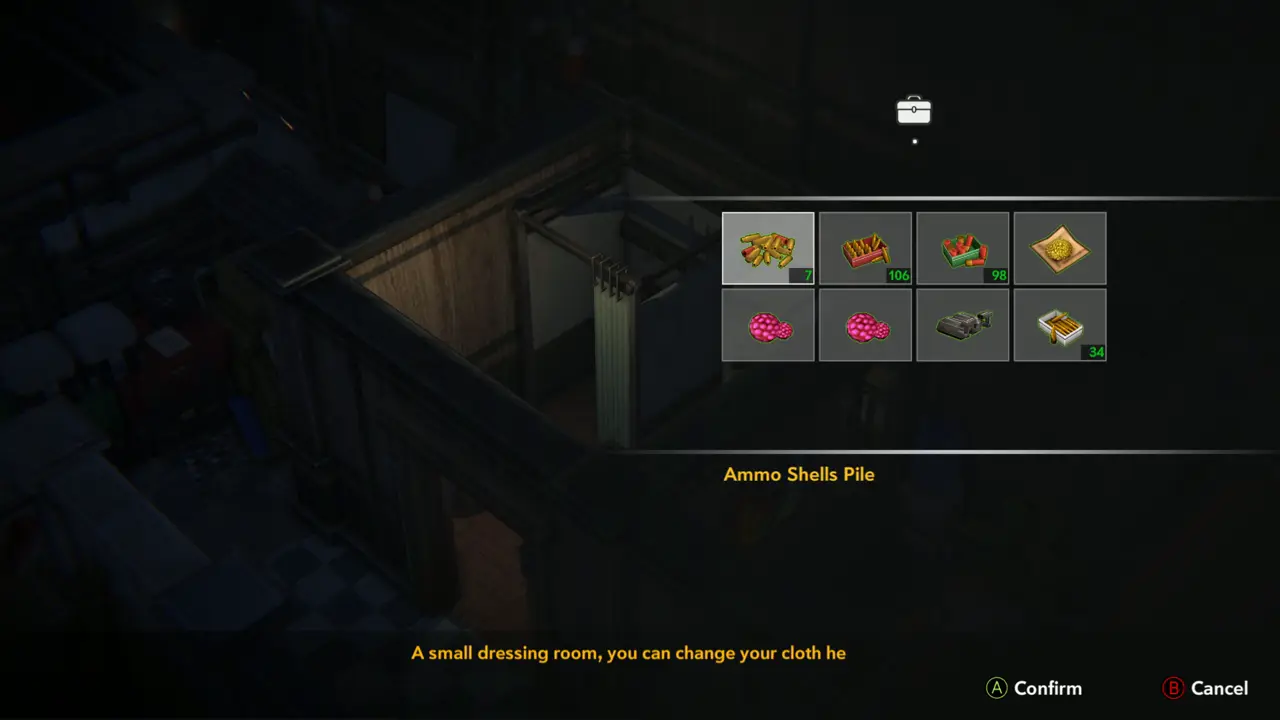
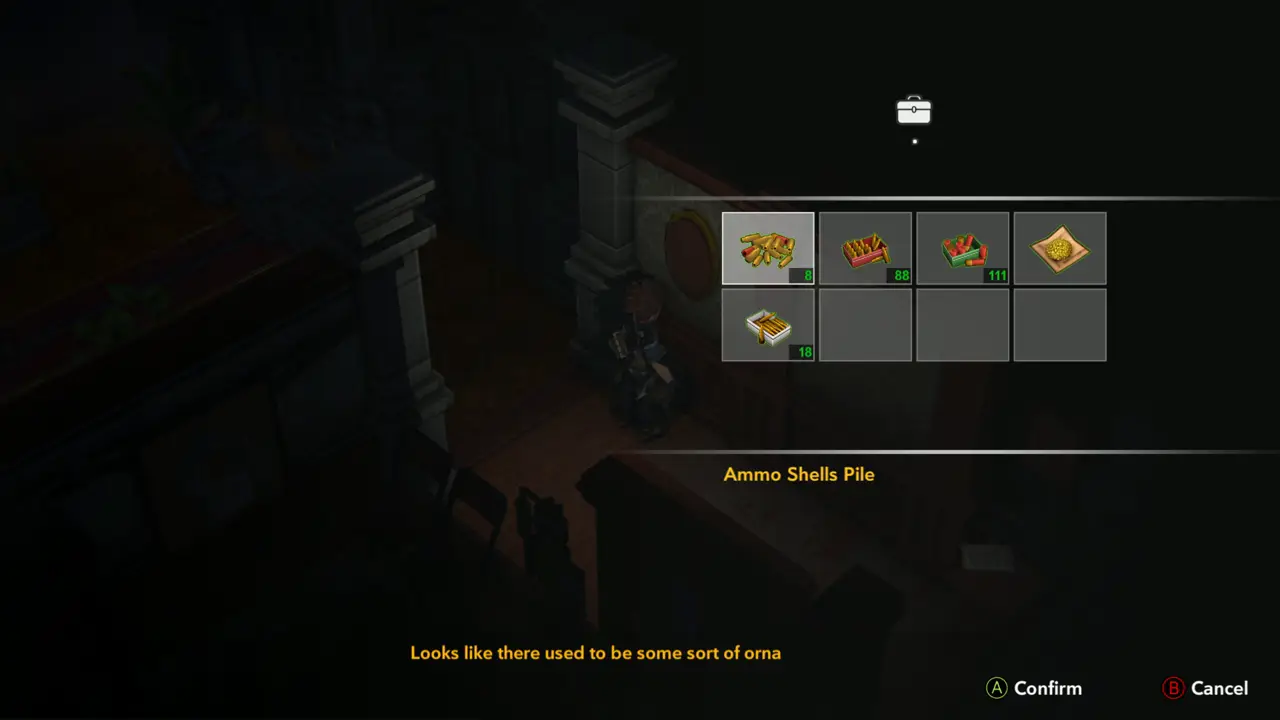
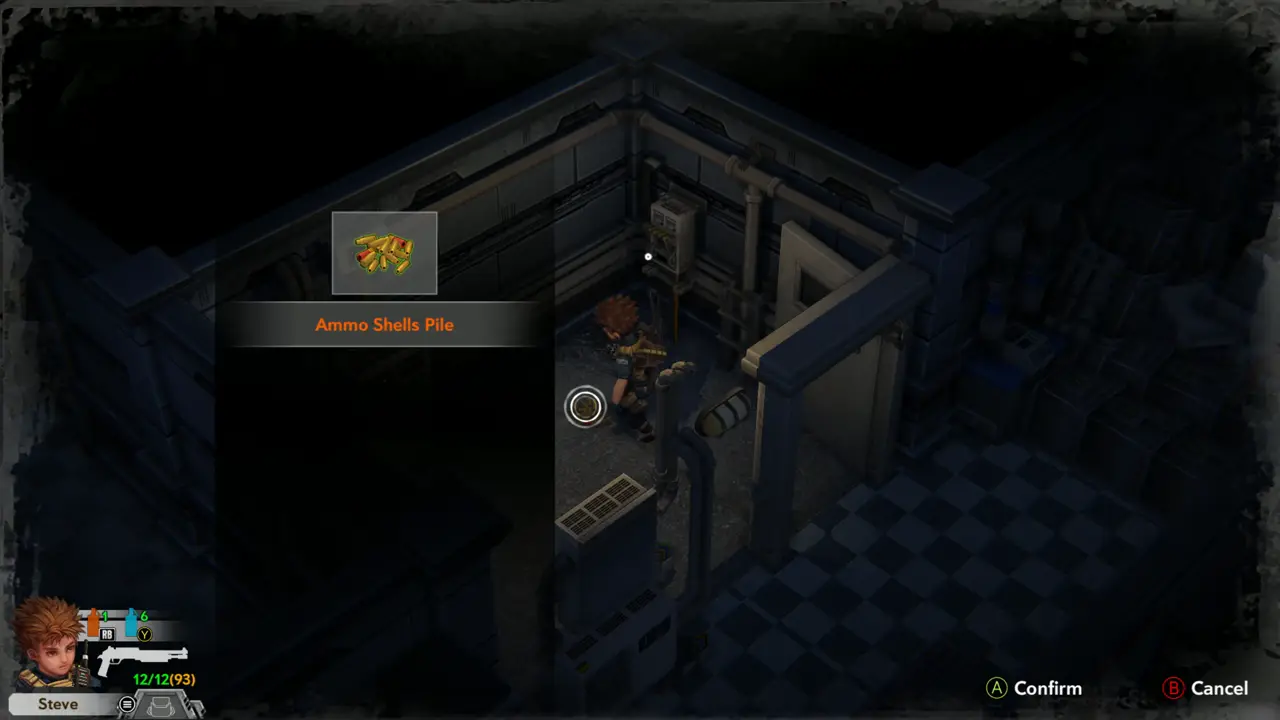
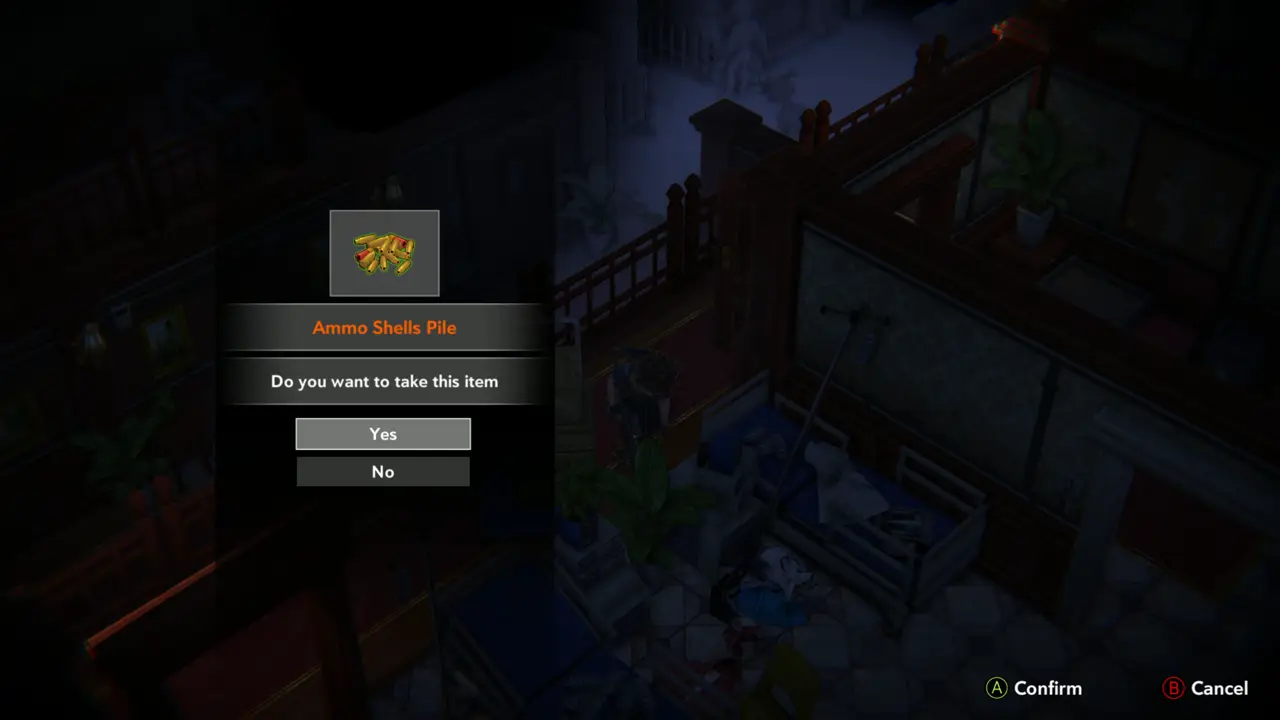
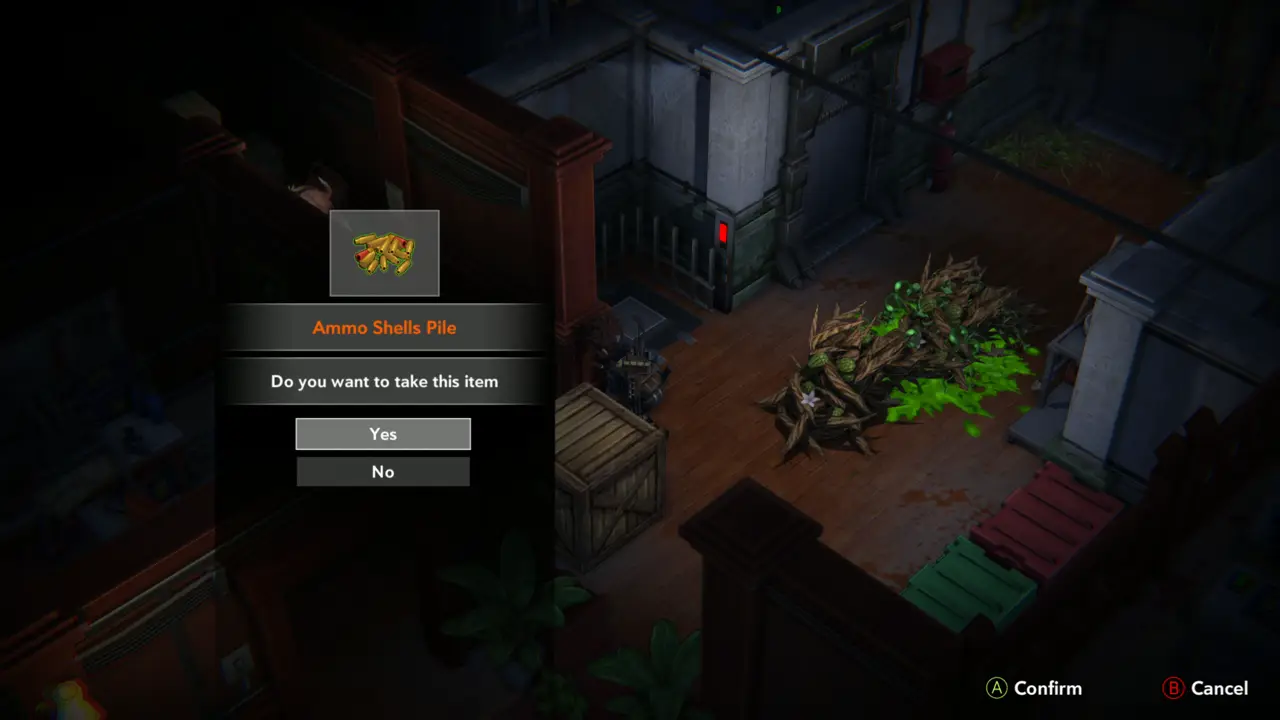
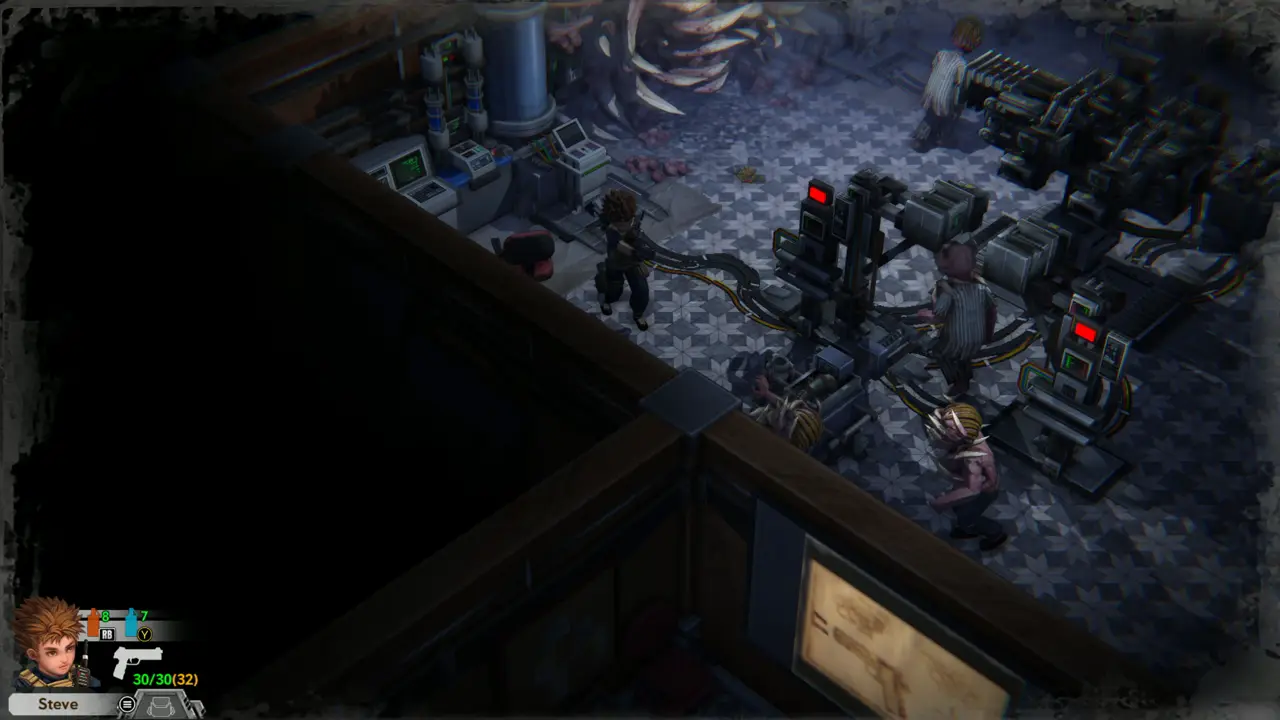
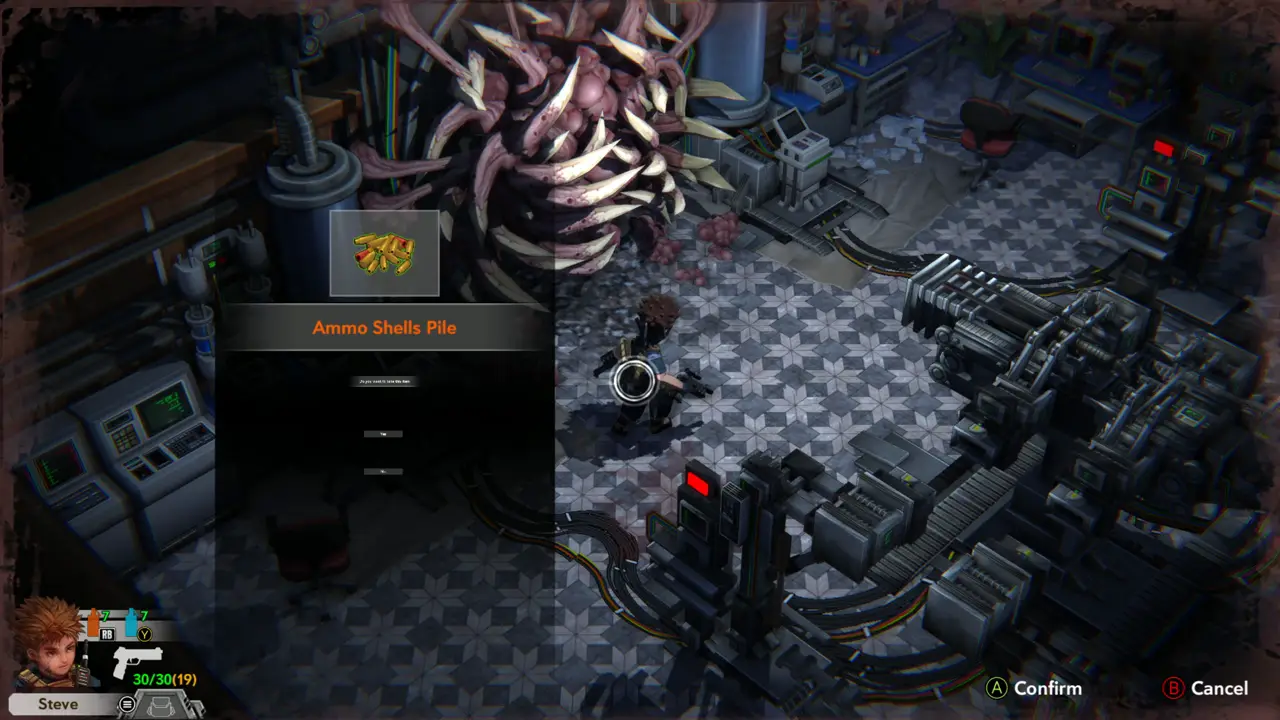
ITEM 1 Take the Ammo Shells Pile lying on the floor near the tanks. The Current Objective is “Find your way to the elevator and ride it to the first floor”.
Objective on screen
Objective on screen
Ammo Shells Pile prompt
TUTORIAL Basic Tutorial III explains saving (answering machines), loading (System menu) and storage boxes.
7
Lab - computer room
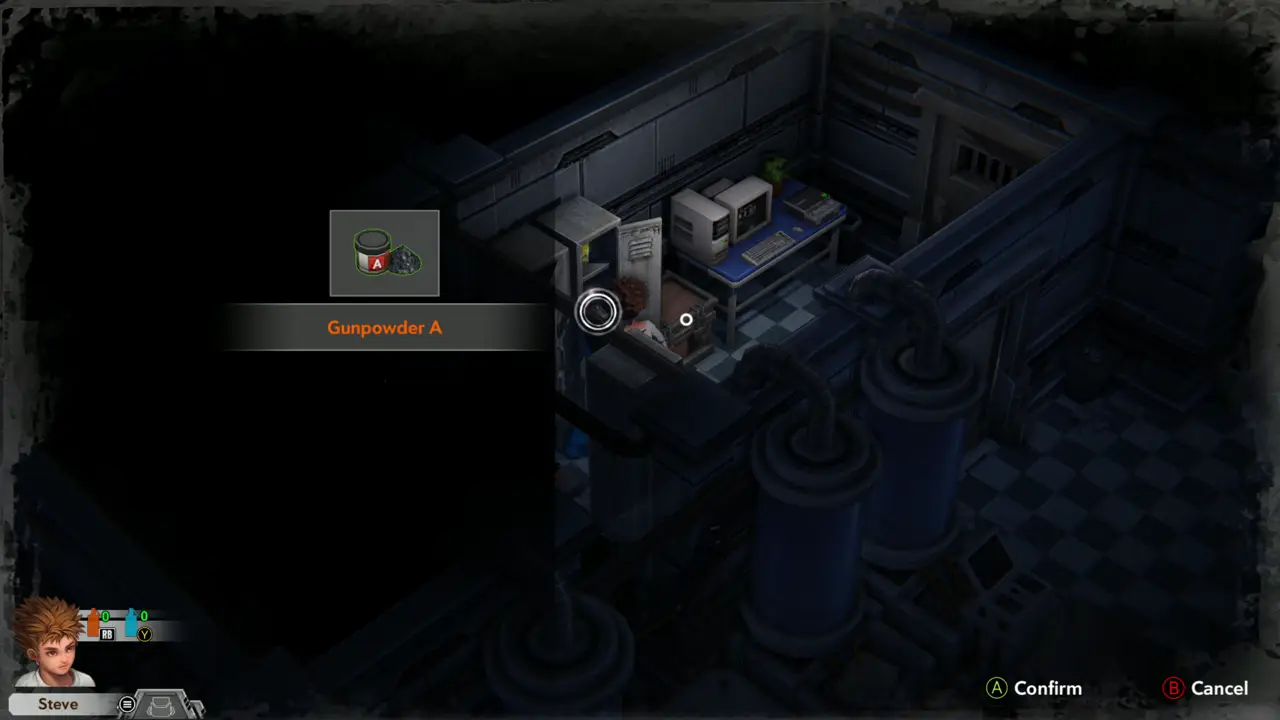
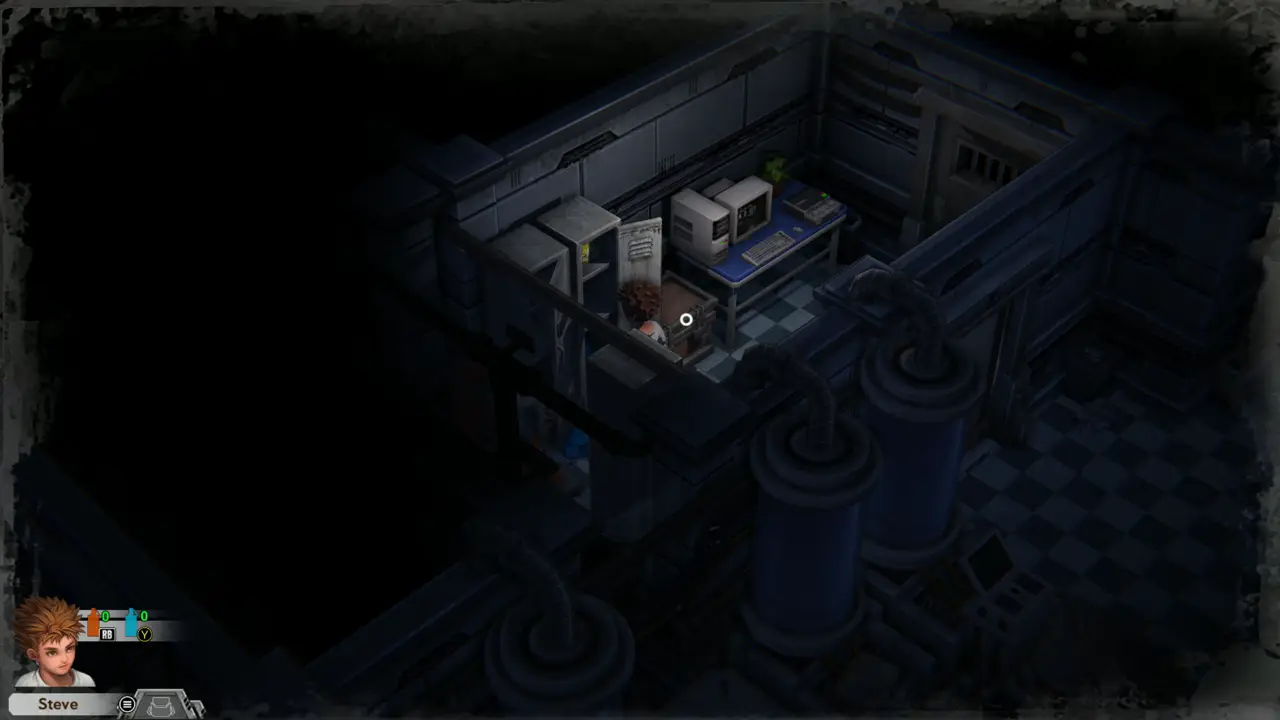
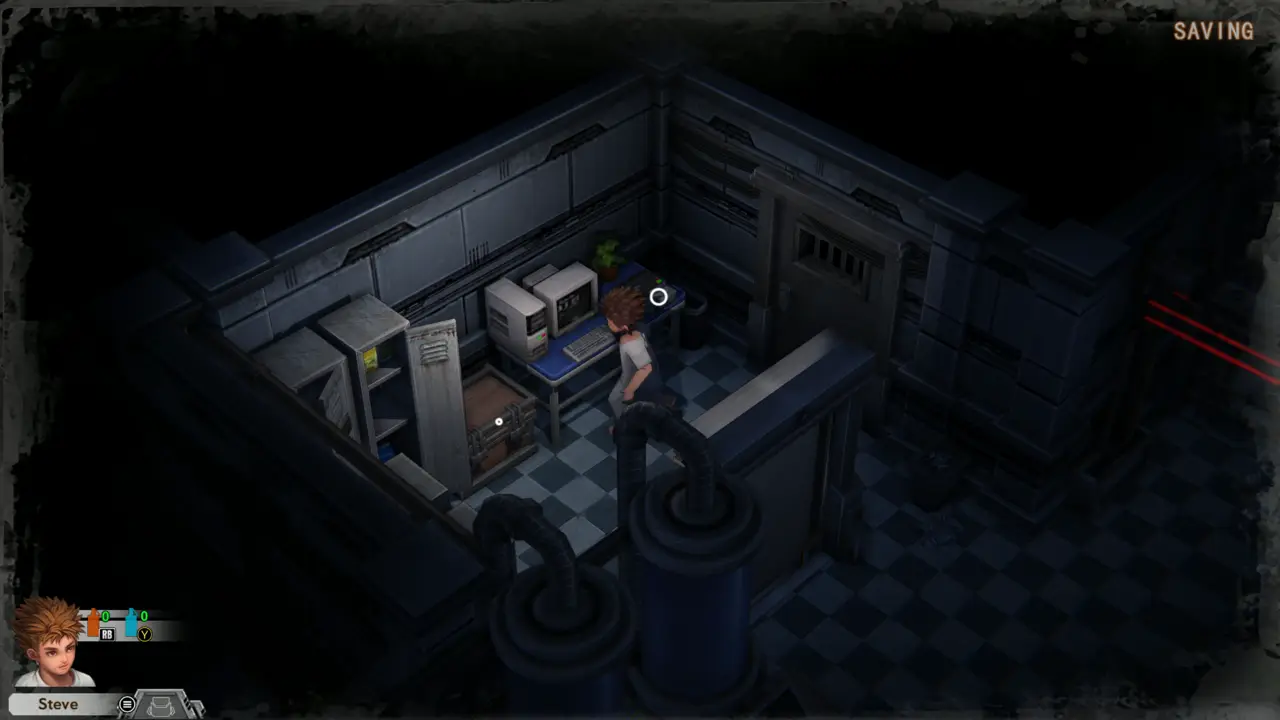
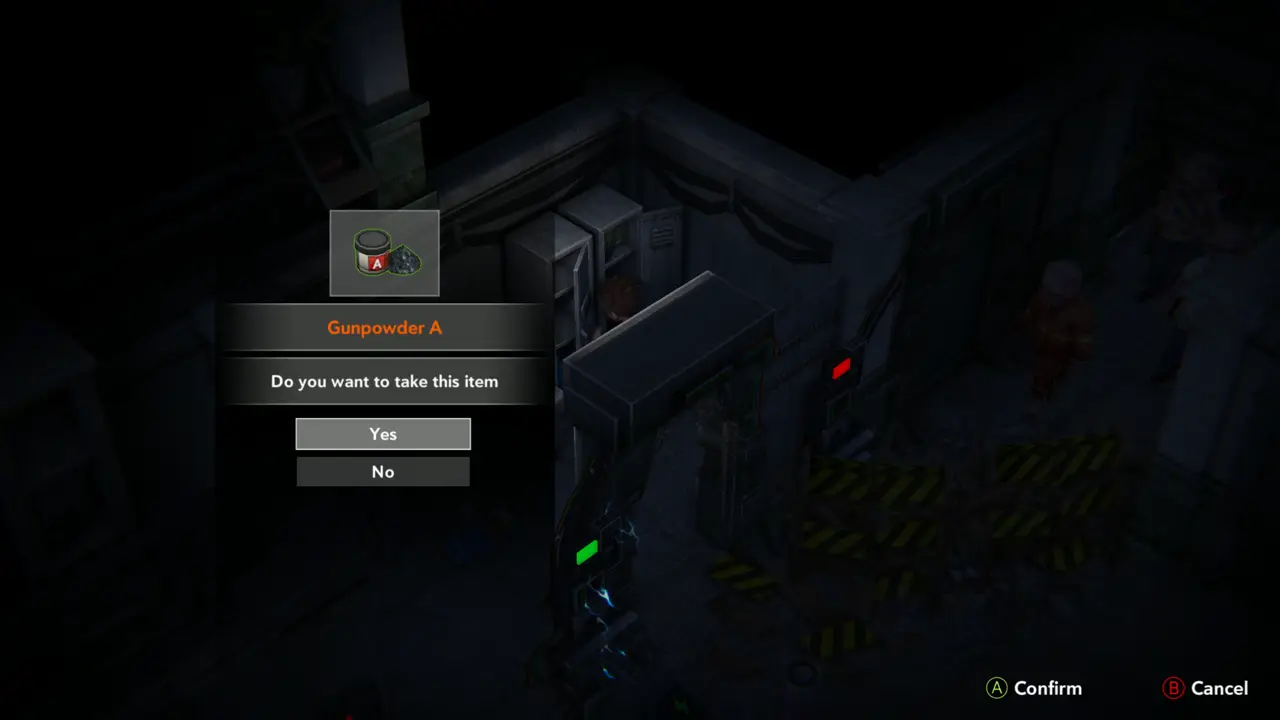
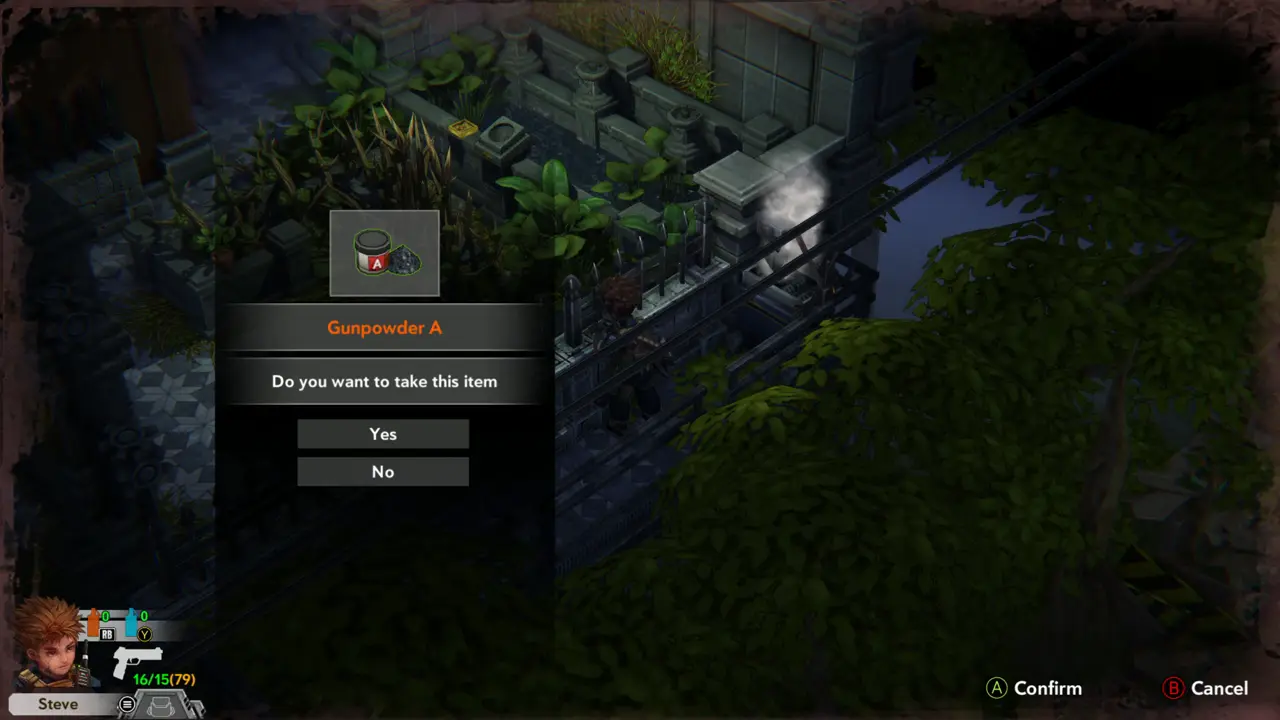
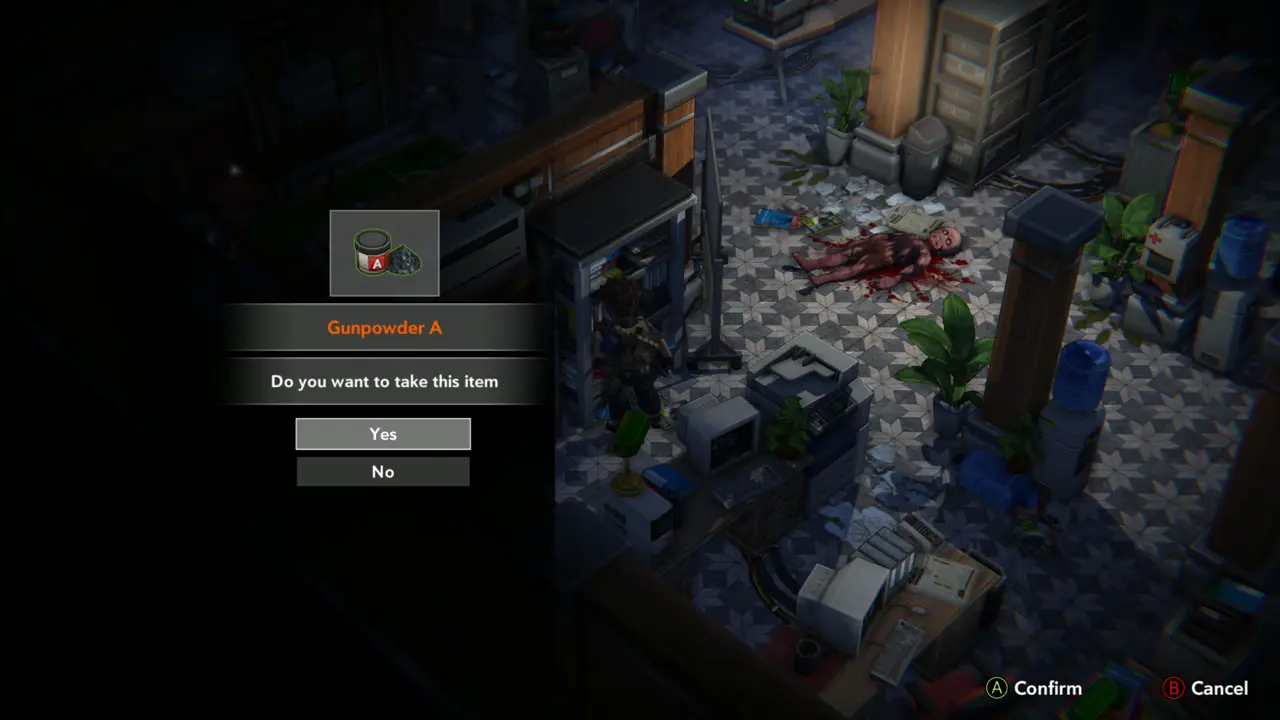
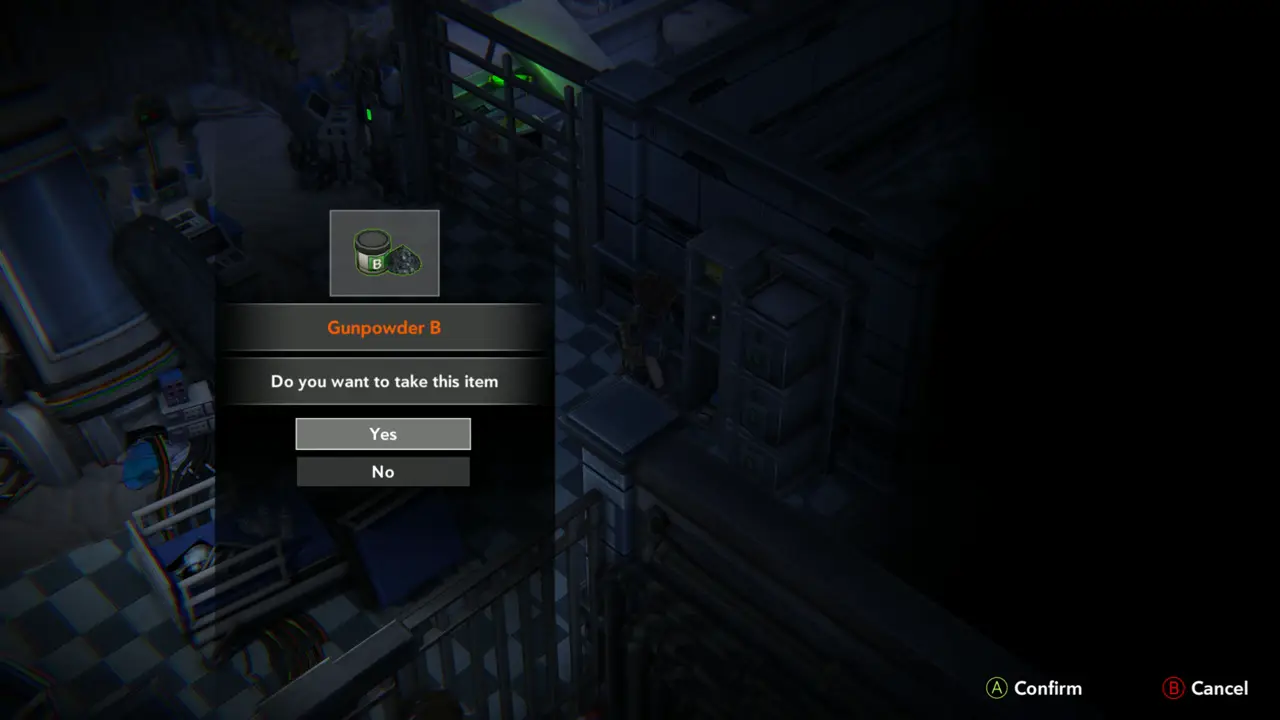
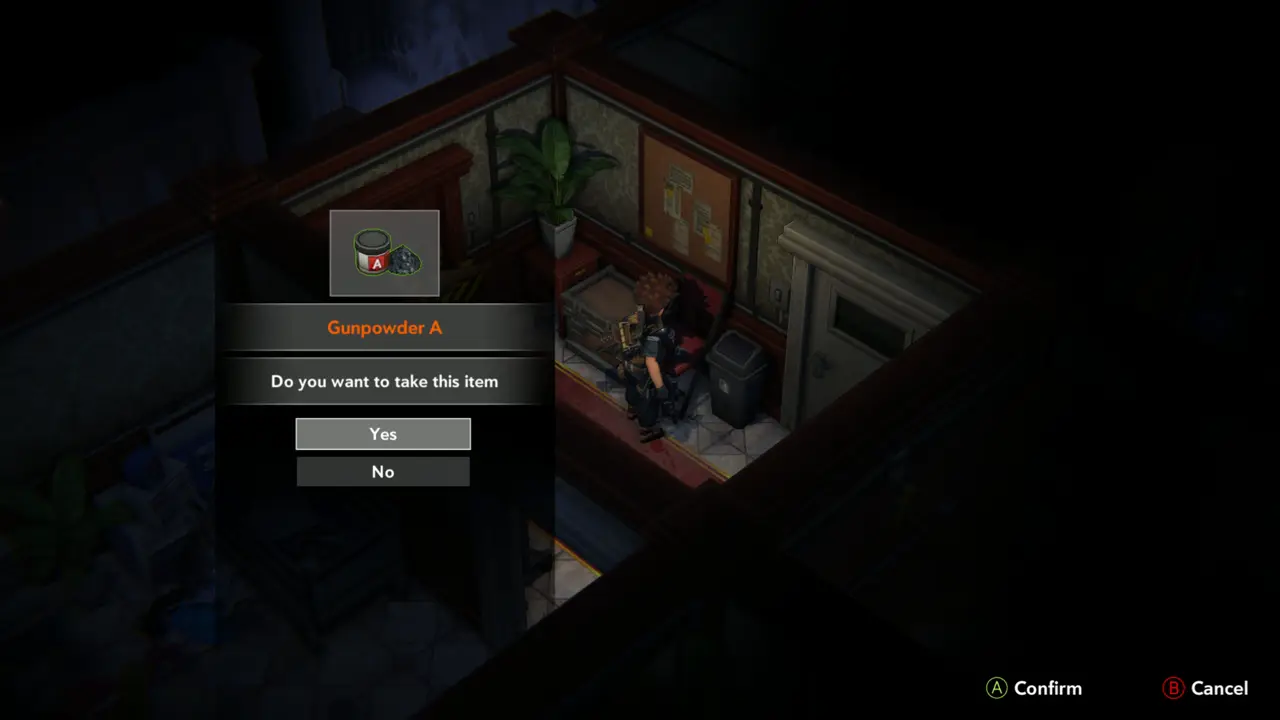
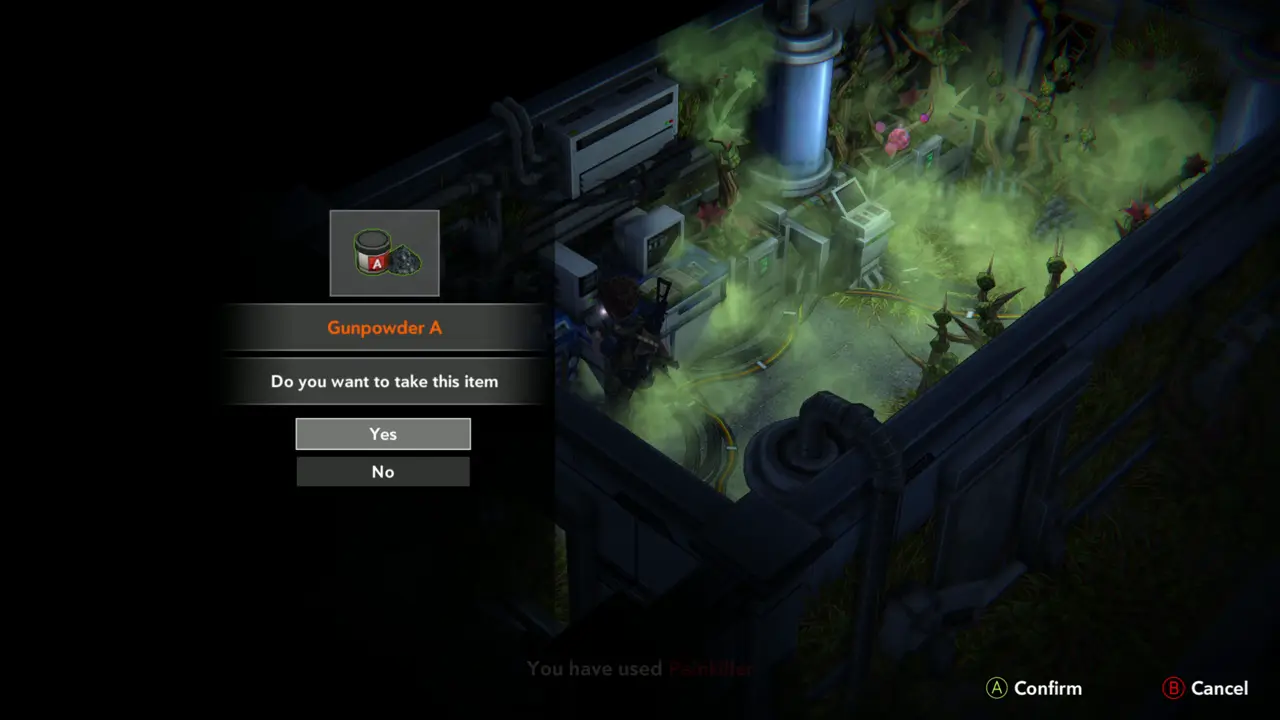
ITEM 2 Enter the small room with the computers and take Gunpowder A from beside the desk.
Gunpowder A prompt
Gunpowder A prompt
Computer room desk
Computer room desk
8
Lab - computer room
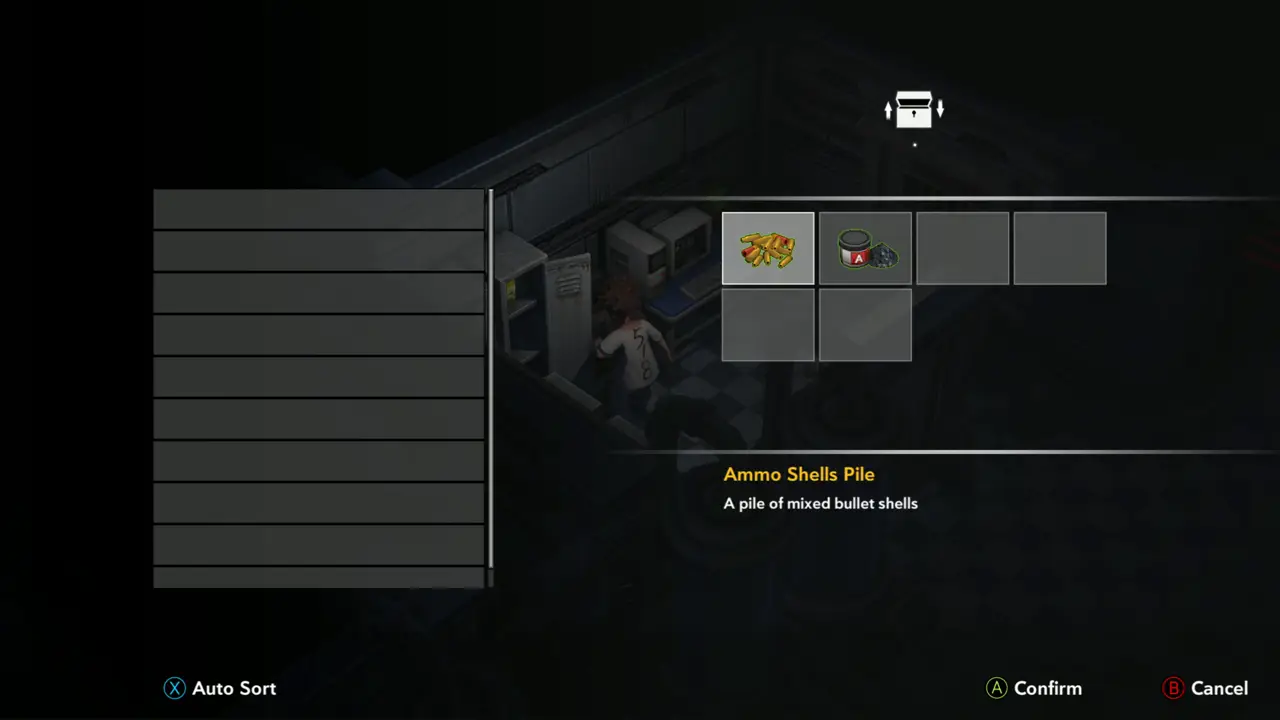
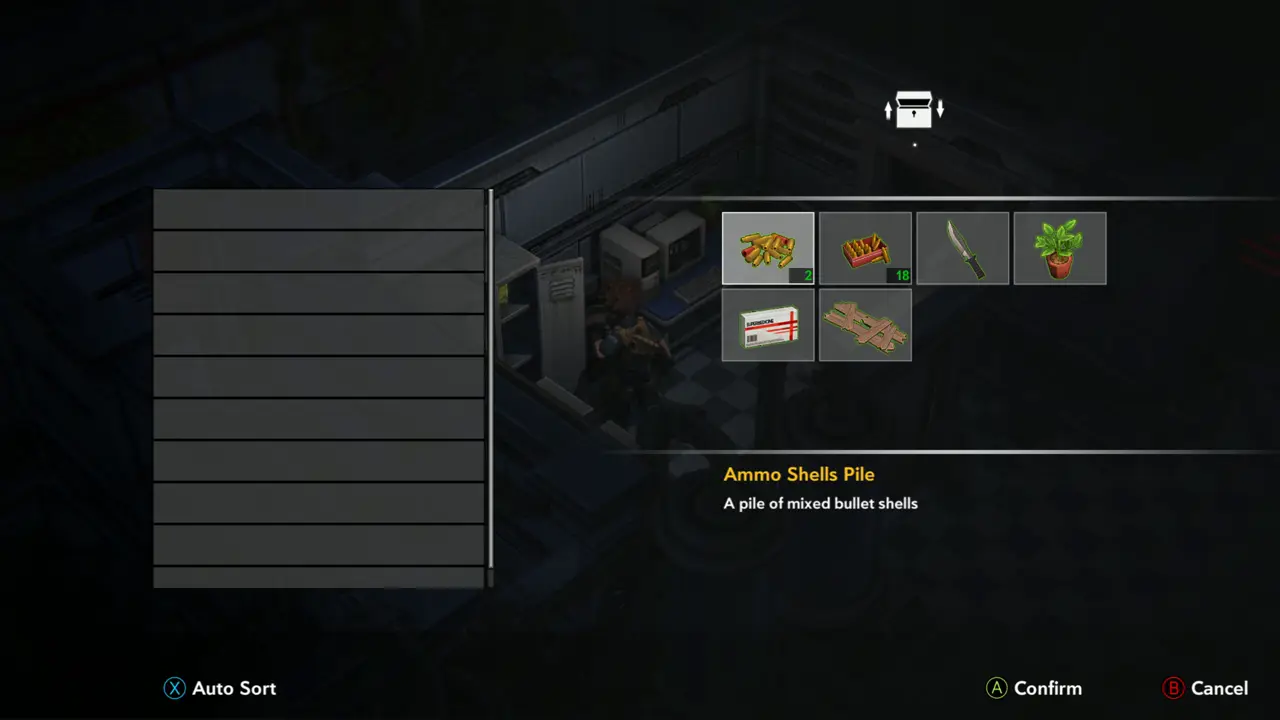
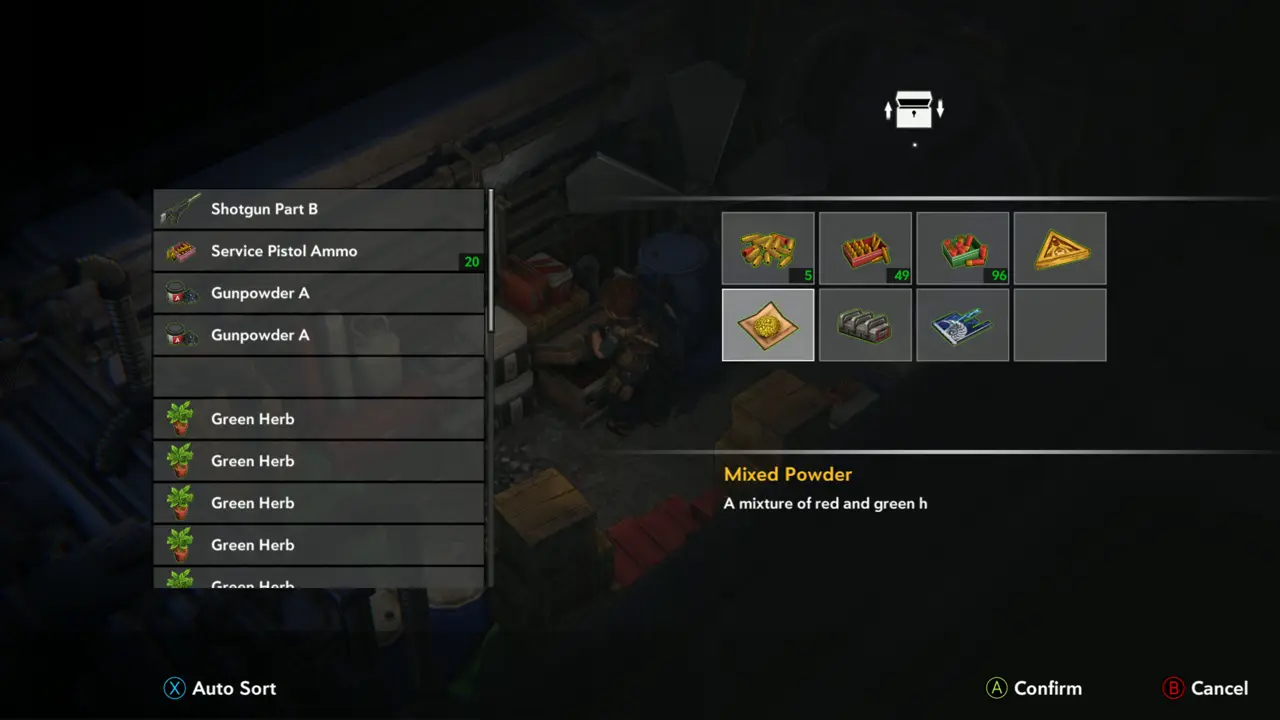
NOTE The grey cabinet to the left of the desk is the storage box. Use it to store spare items.
Storage box screen
Storage box screen
9
Lab - computer room
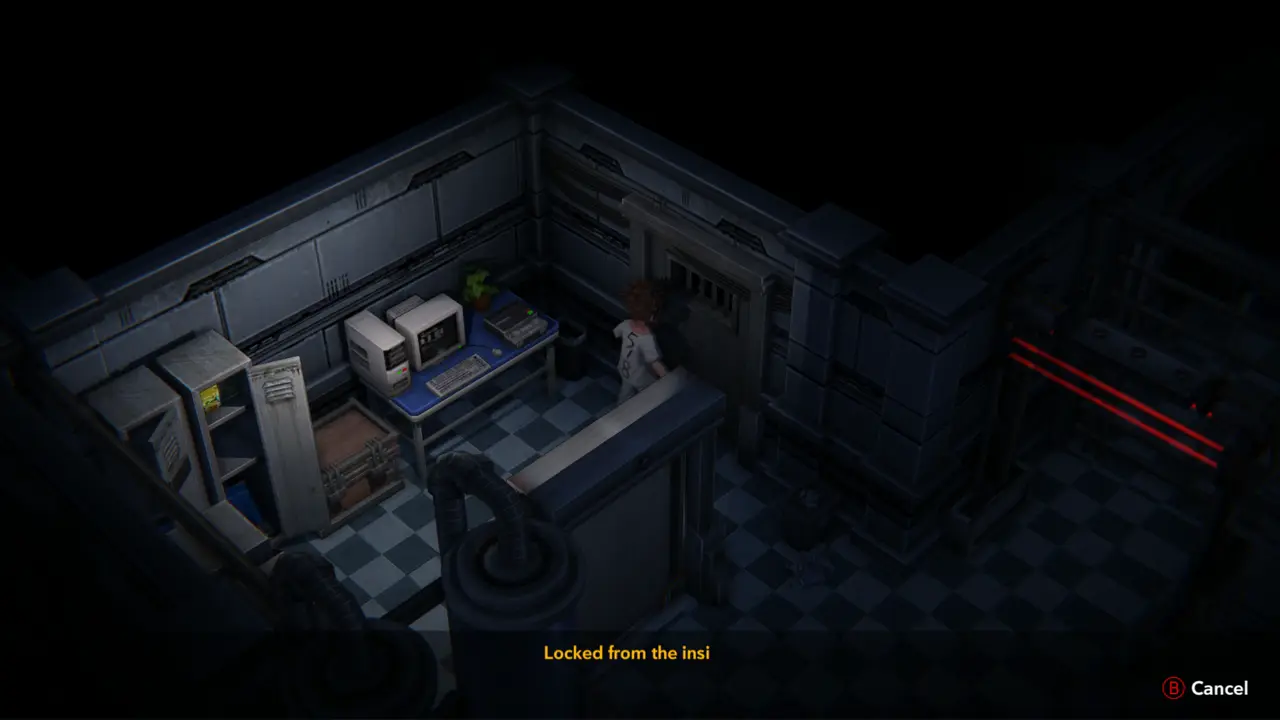
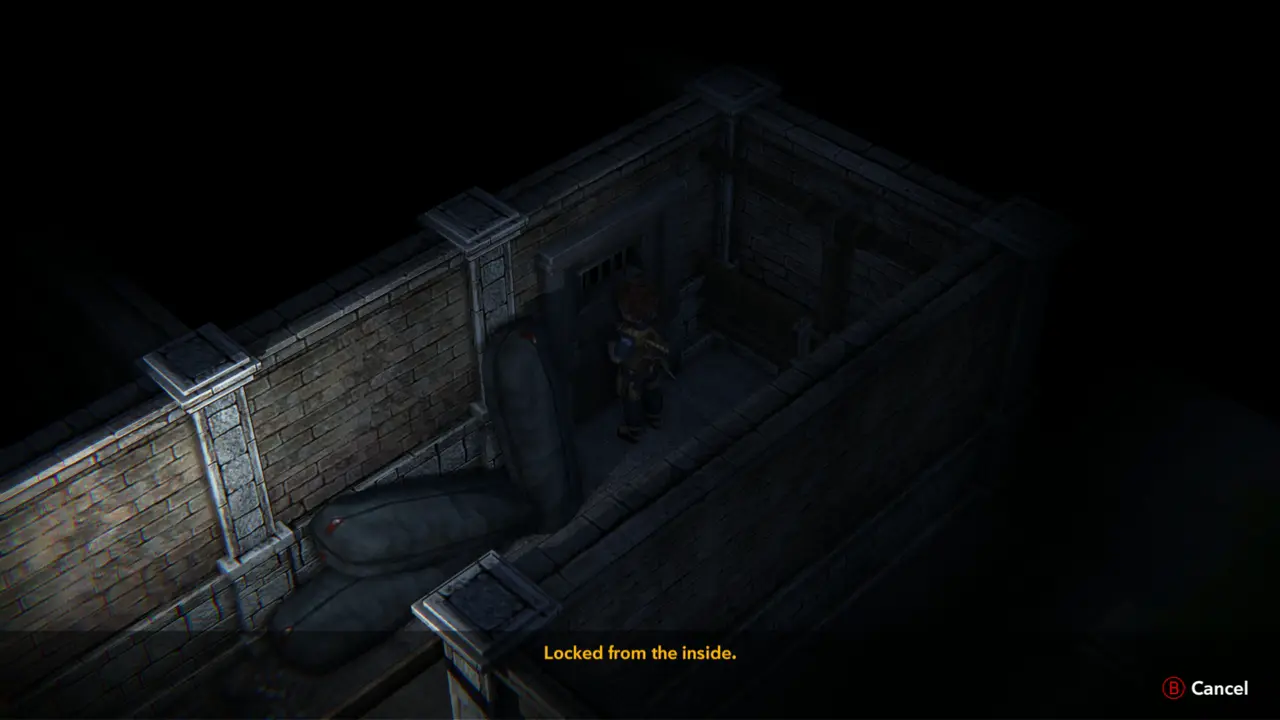
DOOR The door on the right wall of the computer room is “Locked from the inside.” It does not open from this side.
Locked from the inside
10
Lab - computer room
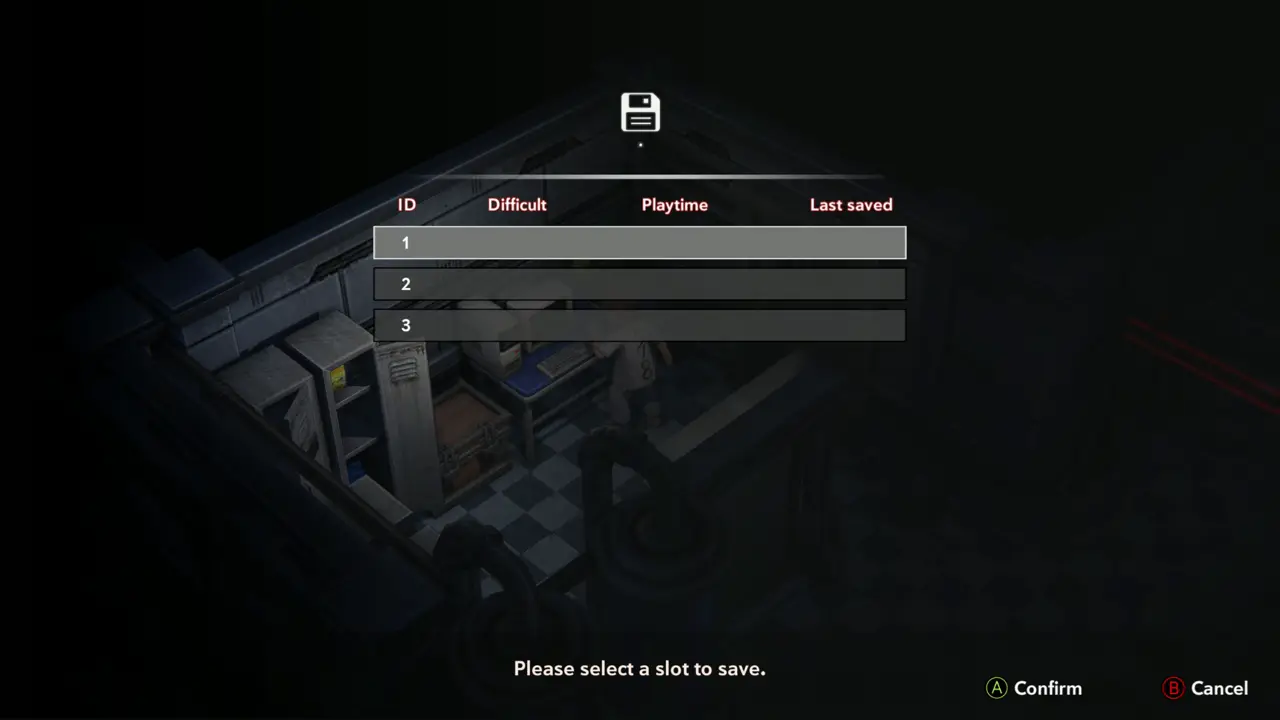
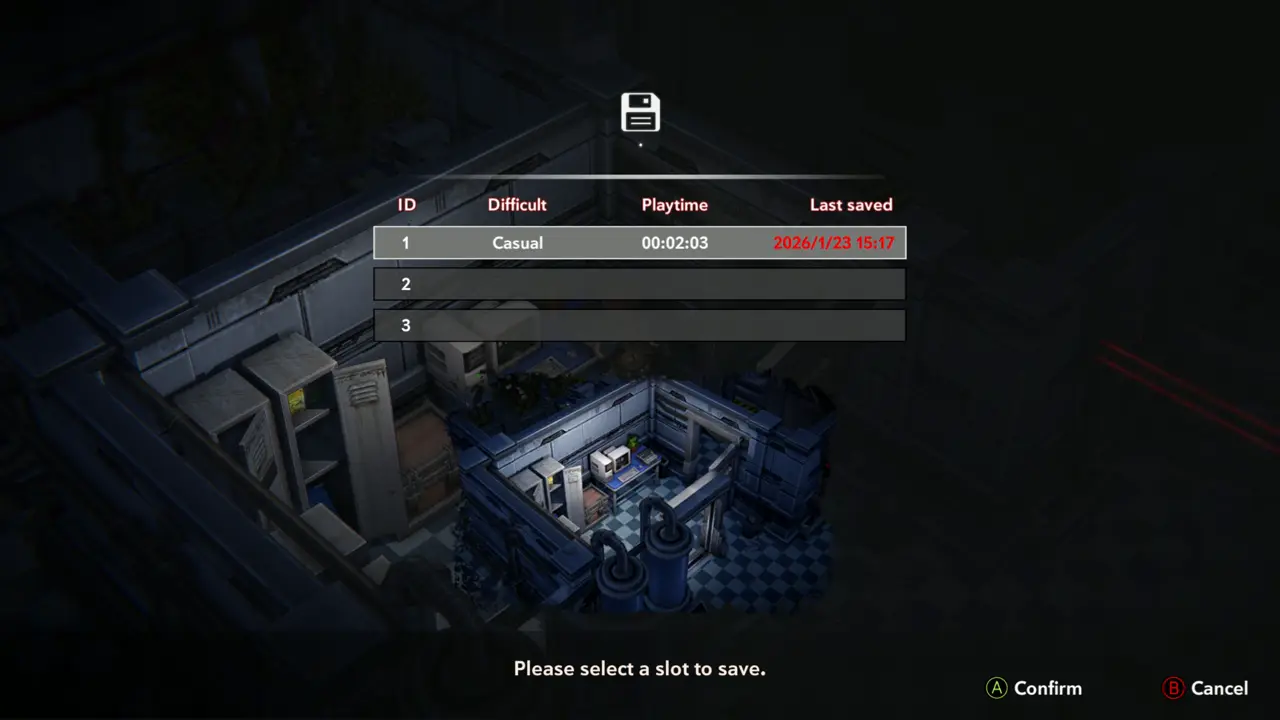
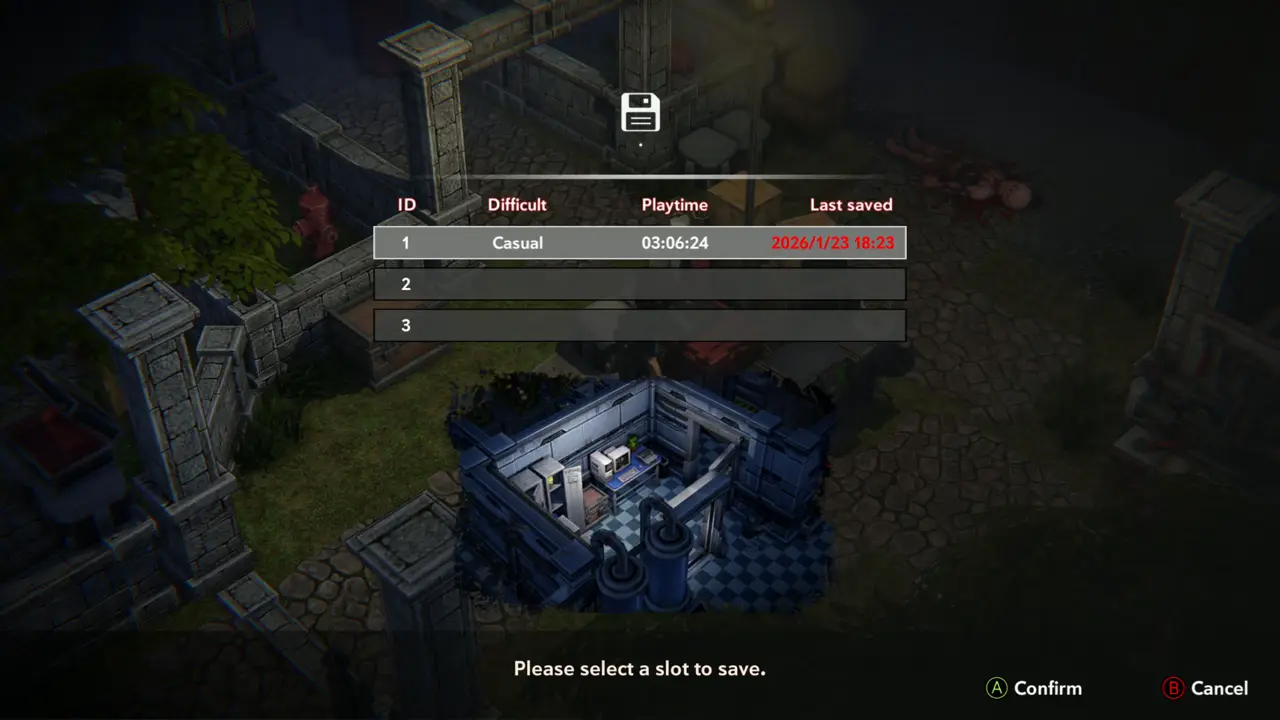
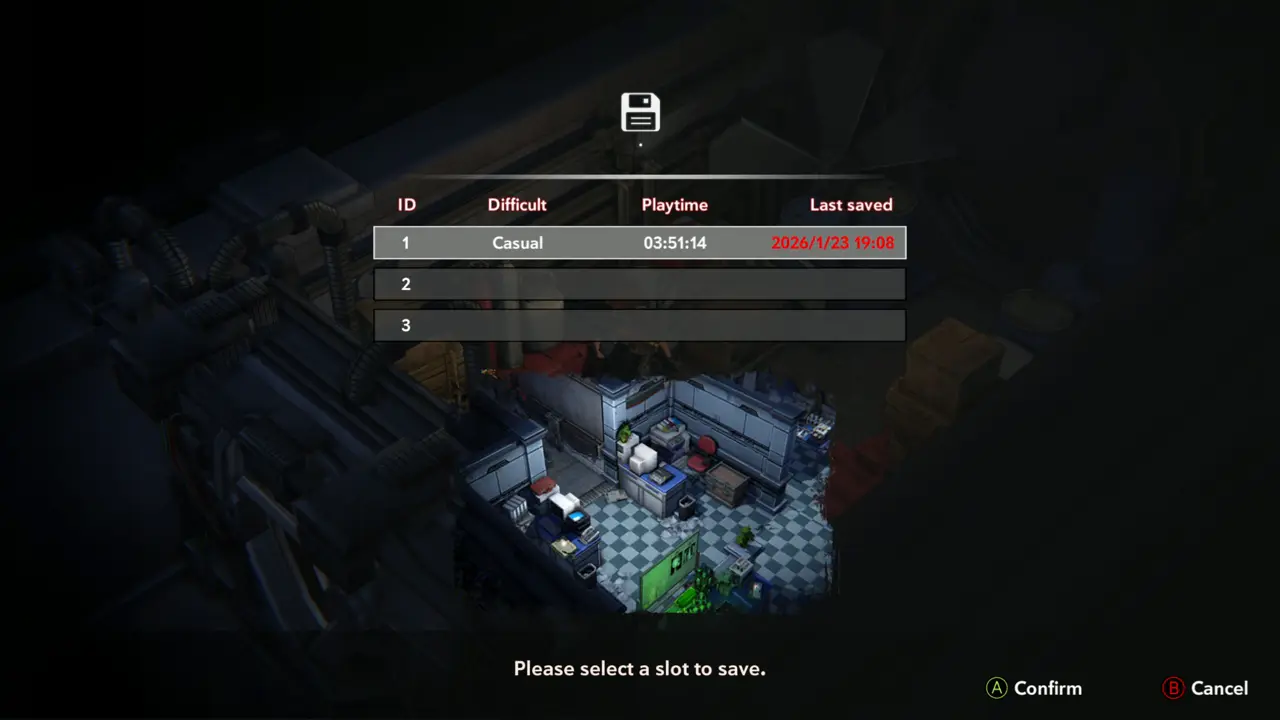
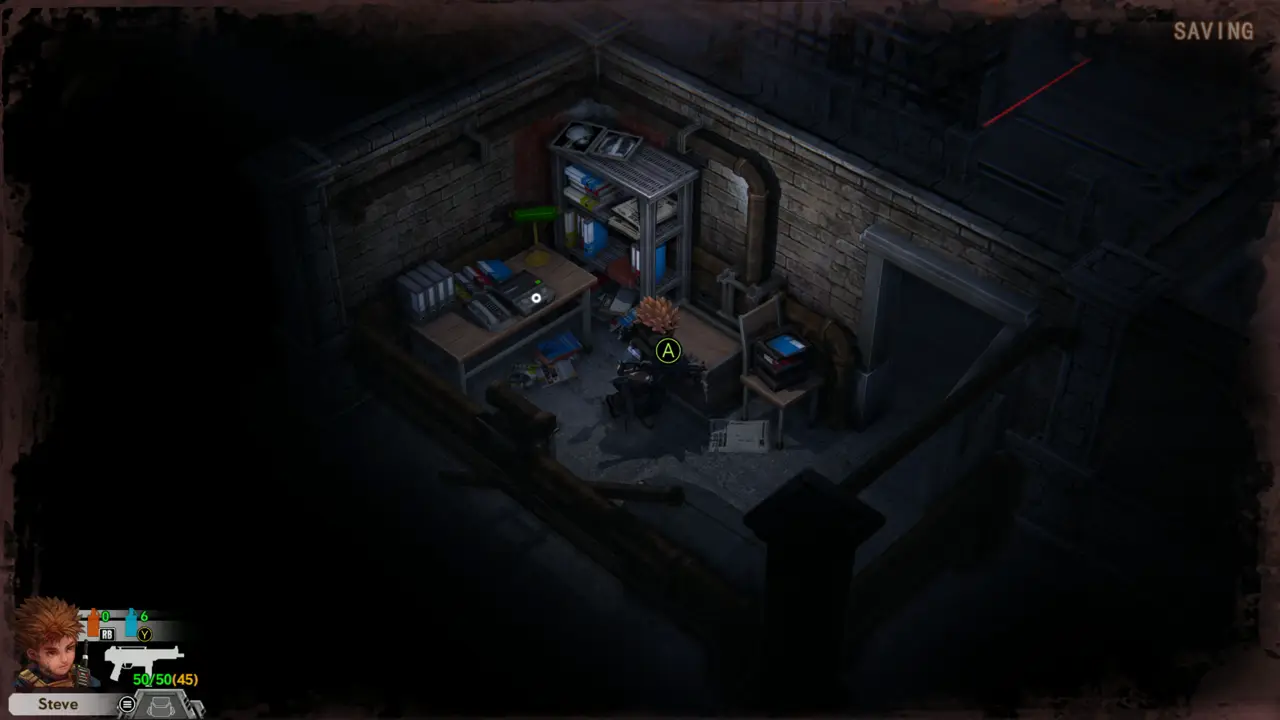
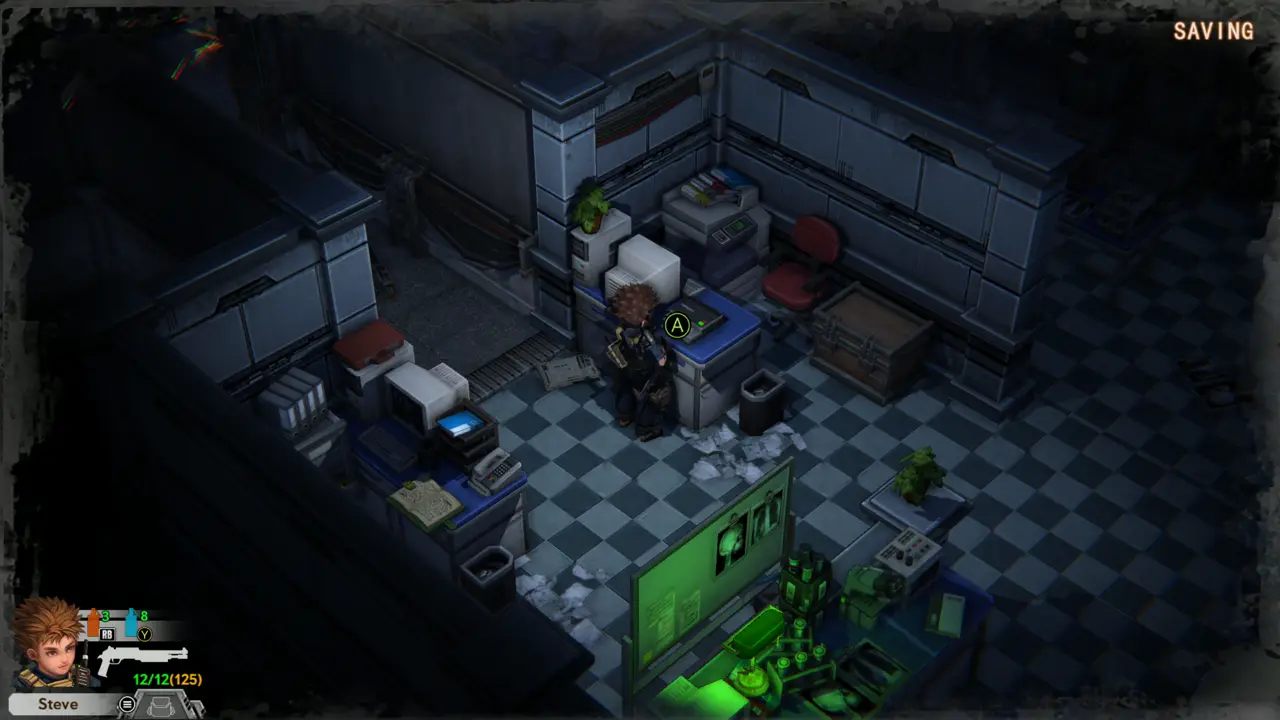
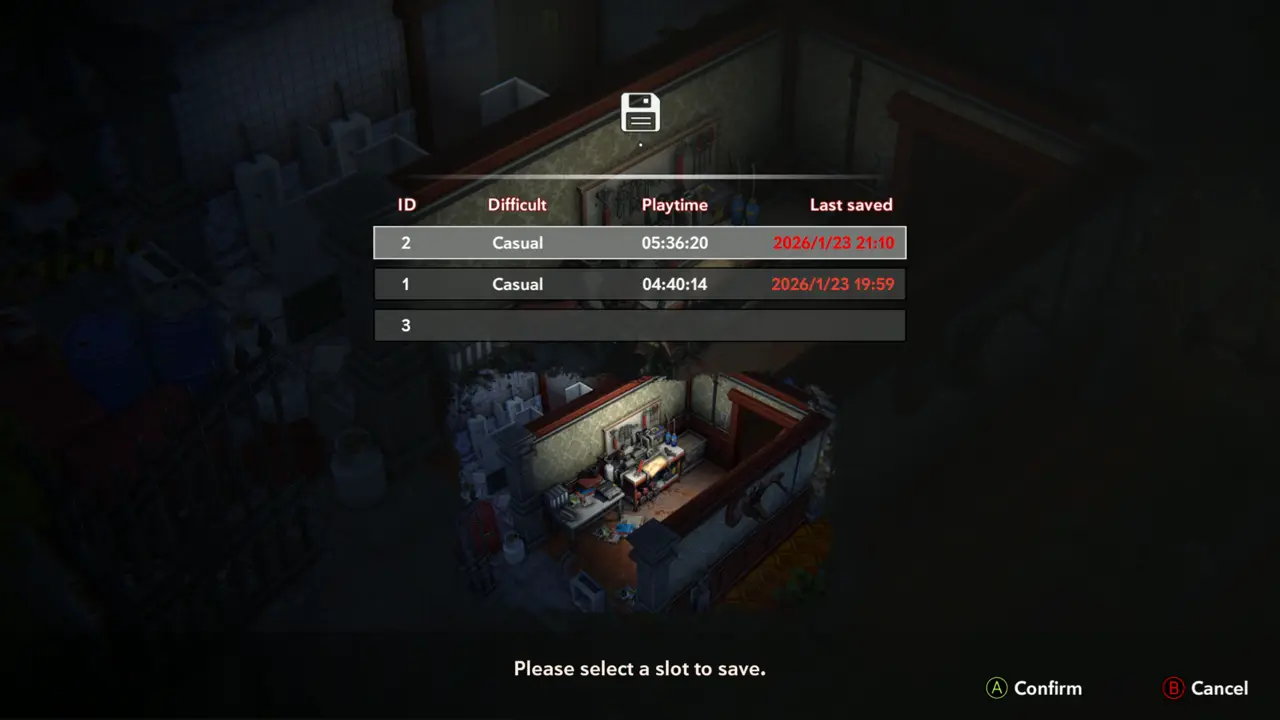
SAVE 1 Save at the save point on the desk of the computer room (three slots).
Save slot screen
Save slot screen
Saving
Saving
11
Lab - near the red laser gate
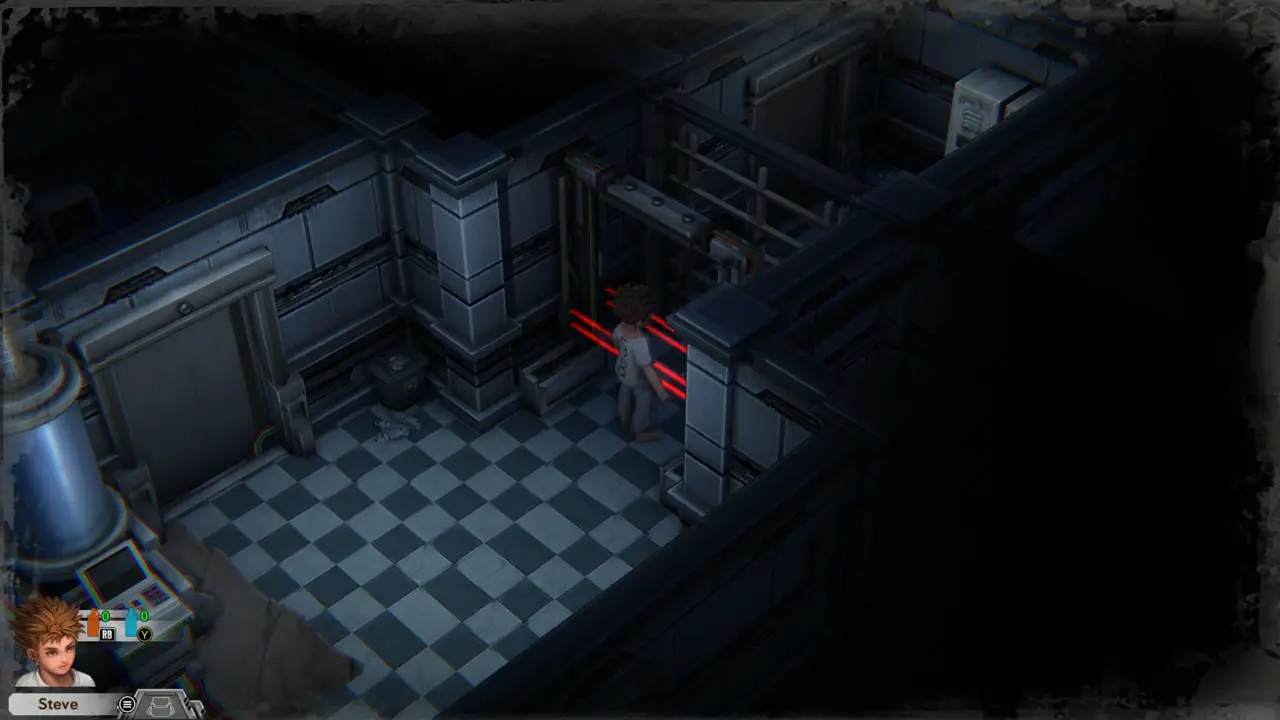
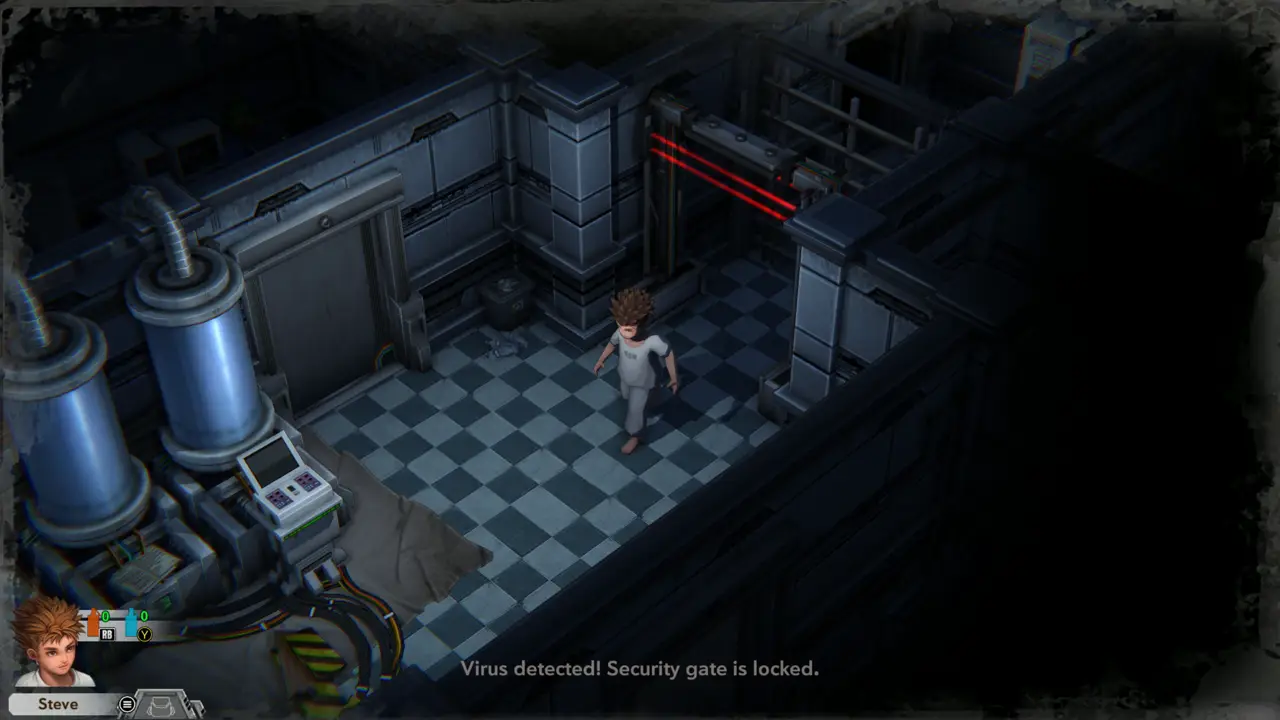
DOOR The red laser gate near the tank room is locked: “Virus detected! Security gate is locked.” Alexander's Note 2 says a security uniform lets you through, so come back wearing one.
Steve at the red lasers
Virus detected message
12
Lab - dark room beside the tanks
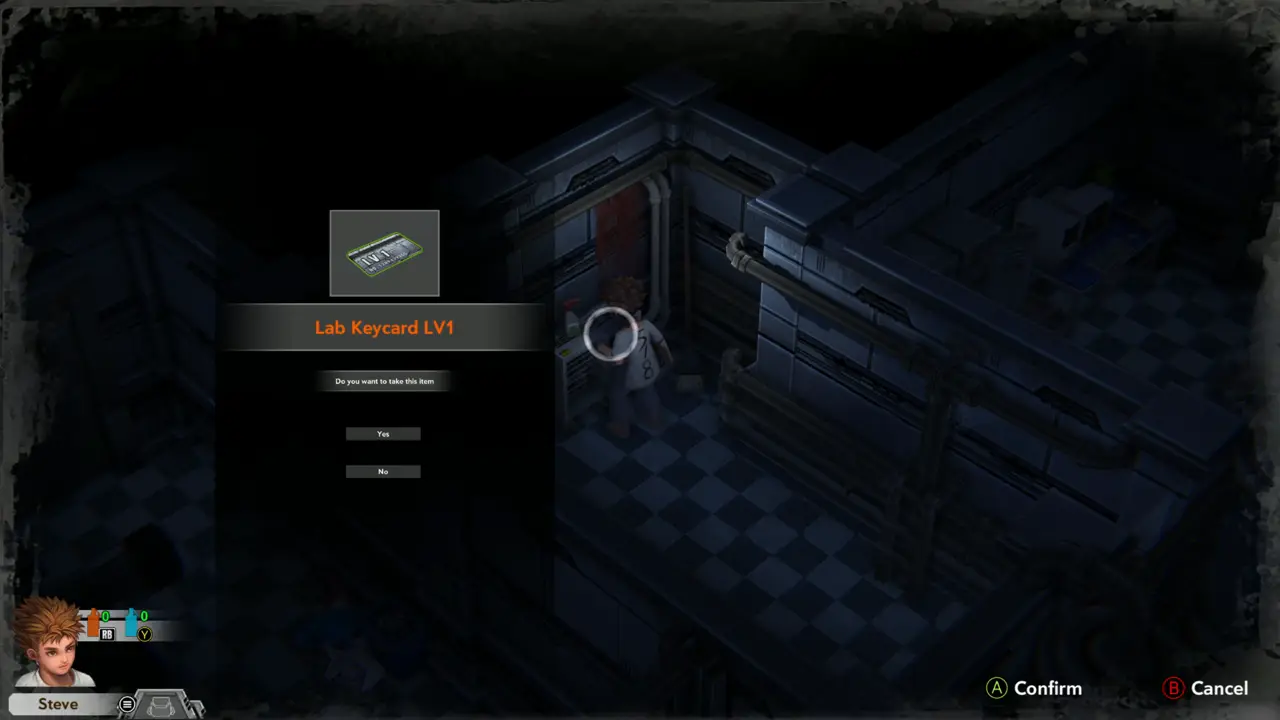
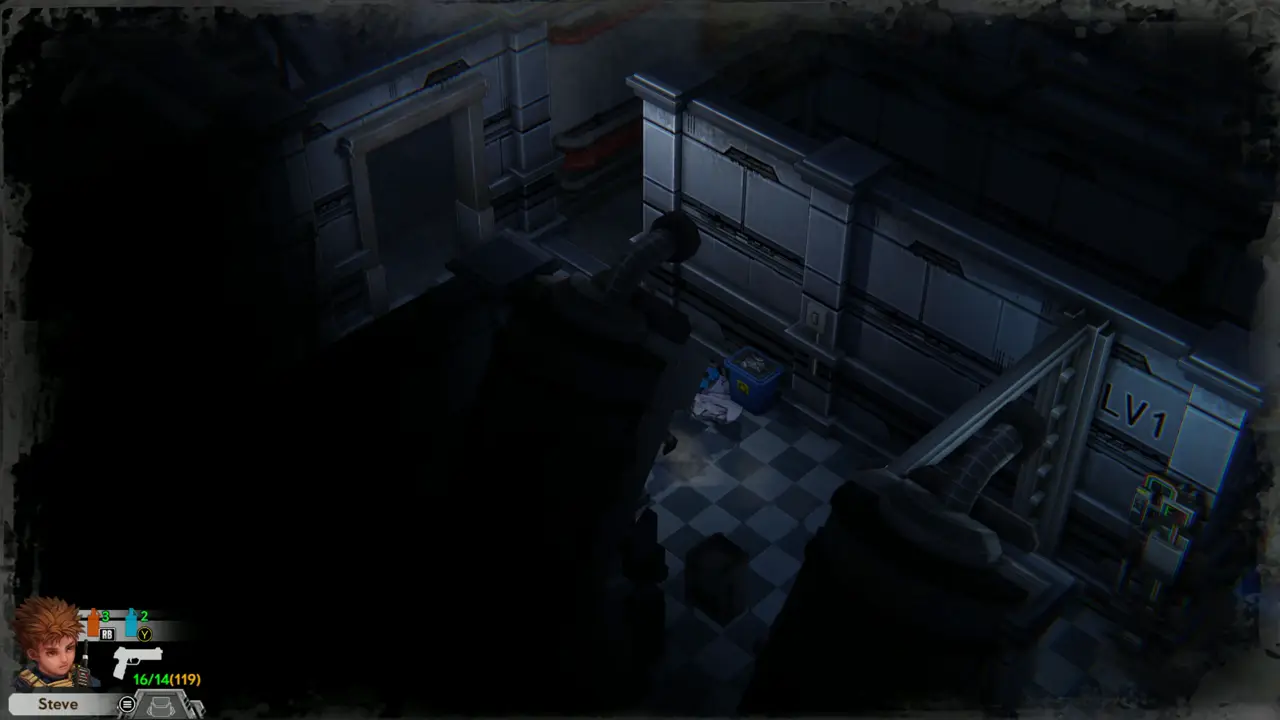
KEY ITEM 1 Go into the dark room with the red-lit door past the tank room and take the Lab Keycard LV1.
Dark room
Dark room
Lab Keycard LV1 prompt
13
Lab - near the blue tanks
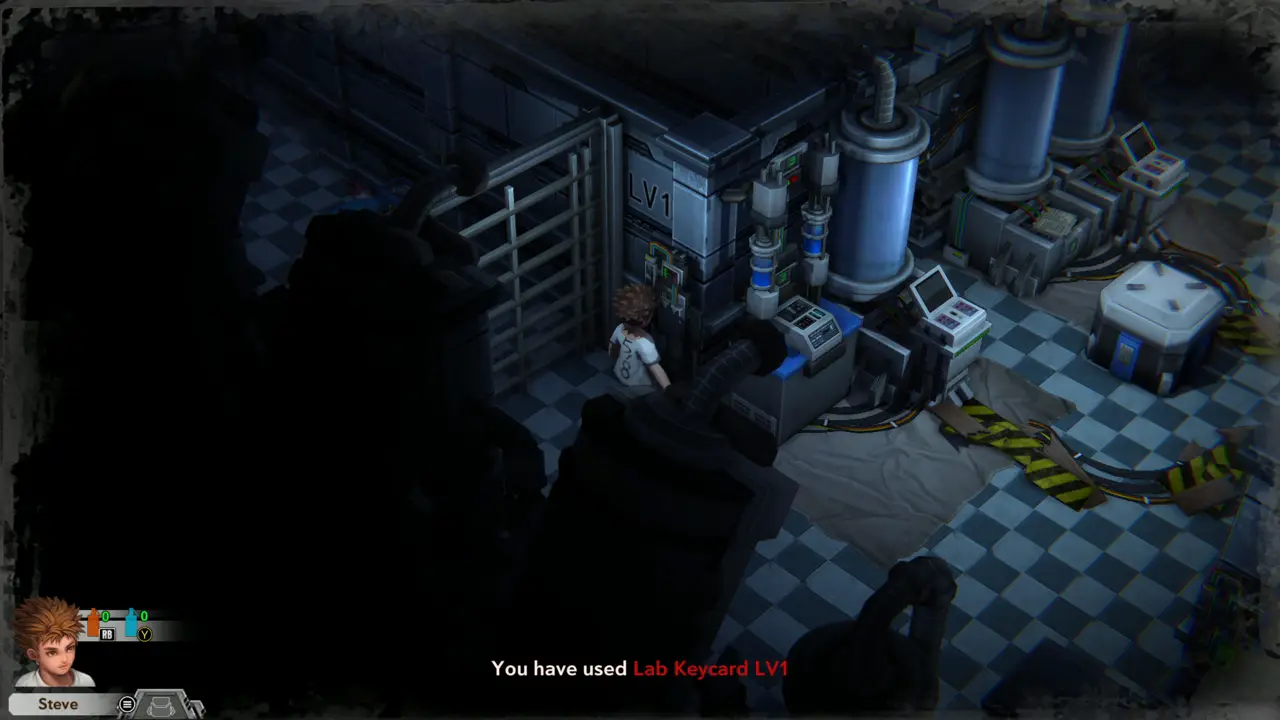
KEY ITEM 1DOOR Return to the LV1 door, choose the Lab Keycard LV1 from the inventory and confirm. “You have used Lab Keycard LV1” appears and the door opens.
Use the keycard
Use the keycard
You have used the keycard
14
Lab - dark corridor behind the LV1 door
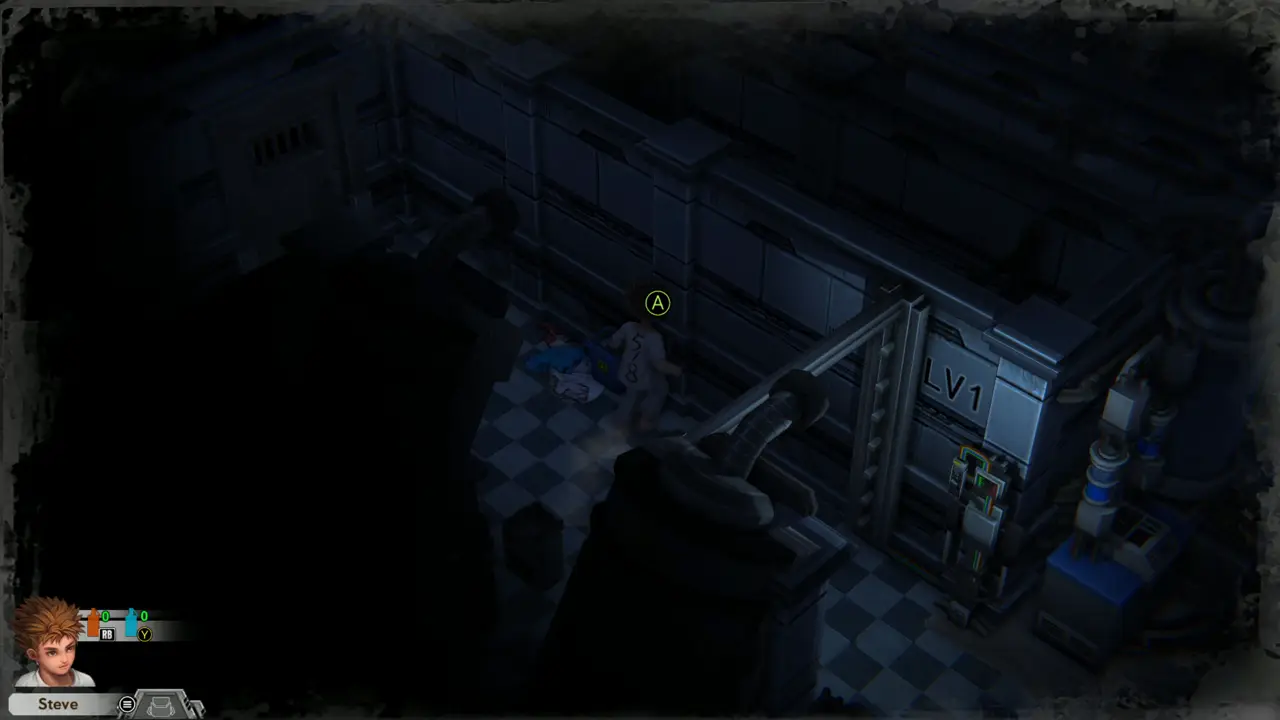
PUZZLE 1DOOR The corridor beyond is dark. Follow the wall to the light switch and flick it repeatedly until the door at the far end of the corridor opens.
Switch prompt in the dark
Flicking the switch
Flicking the switch
15
Lab - generator room (stairs)
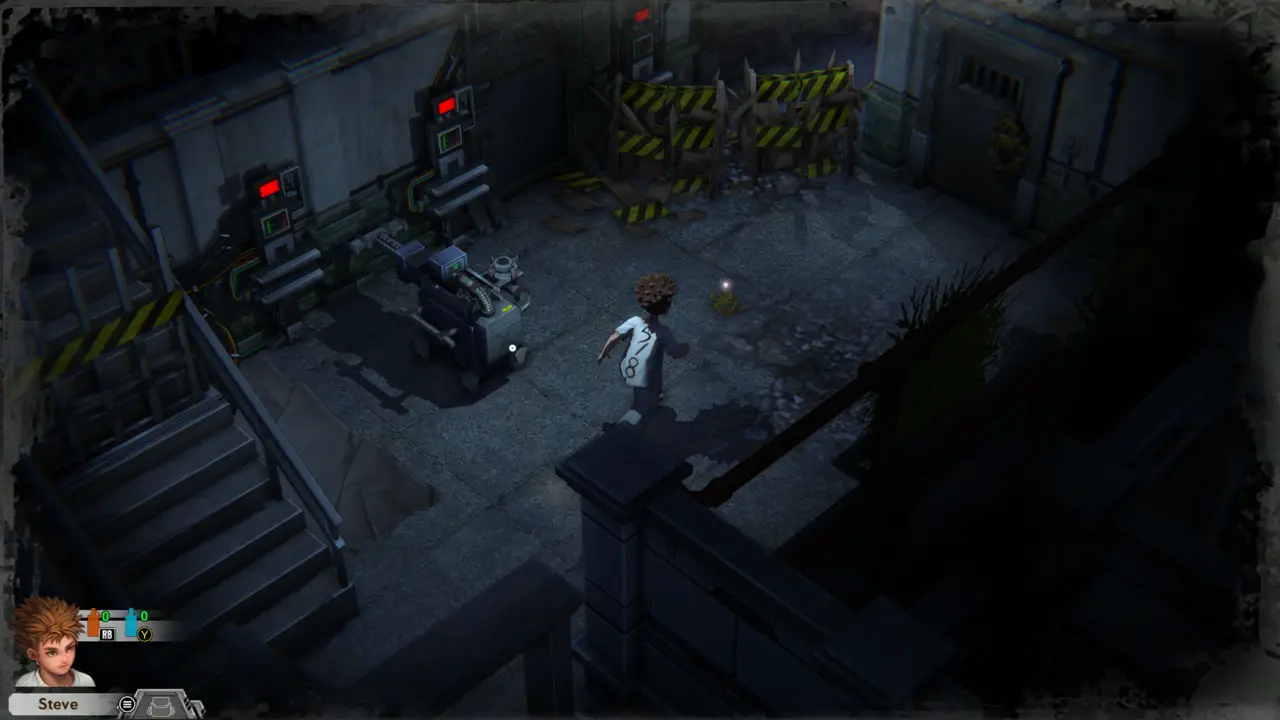
ITEM 3 Go through the door into the room with the stairs and take the Ammo Shells Pile on the floor in front of the generator.
Entering the stair room
Ammo Shells Pile prompt
16
Lab - generator room (stairs)
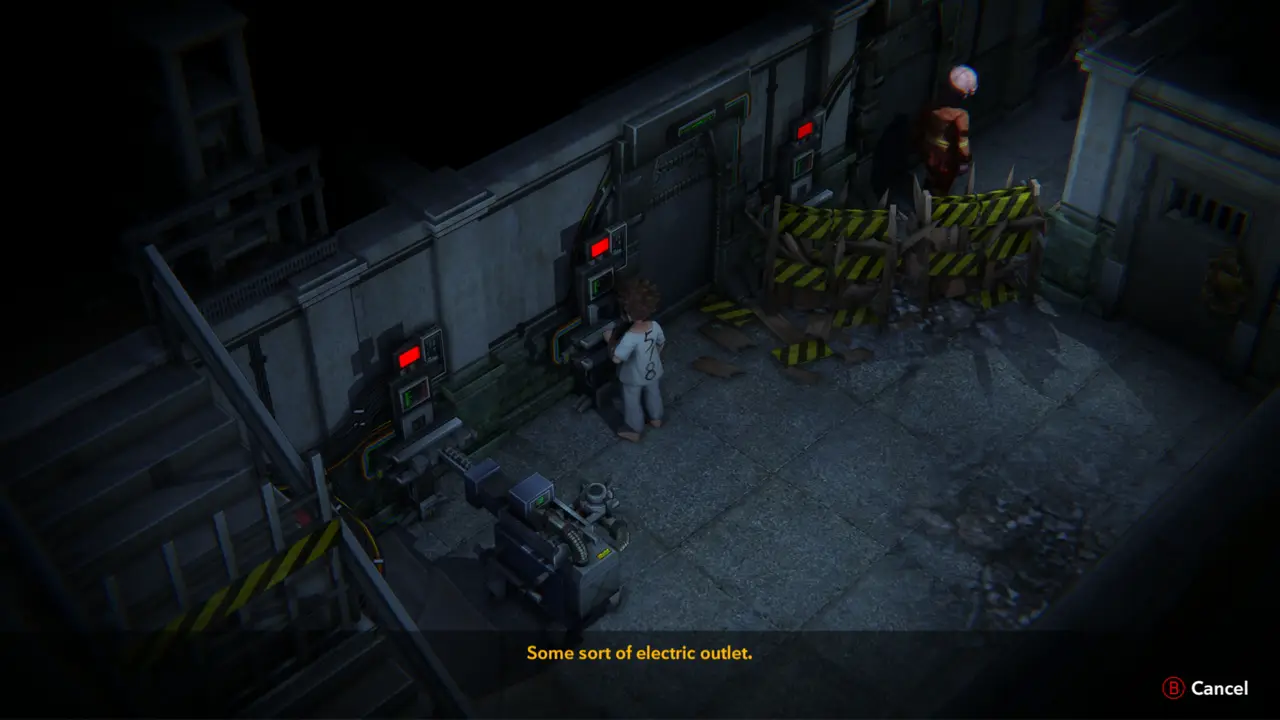
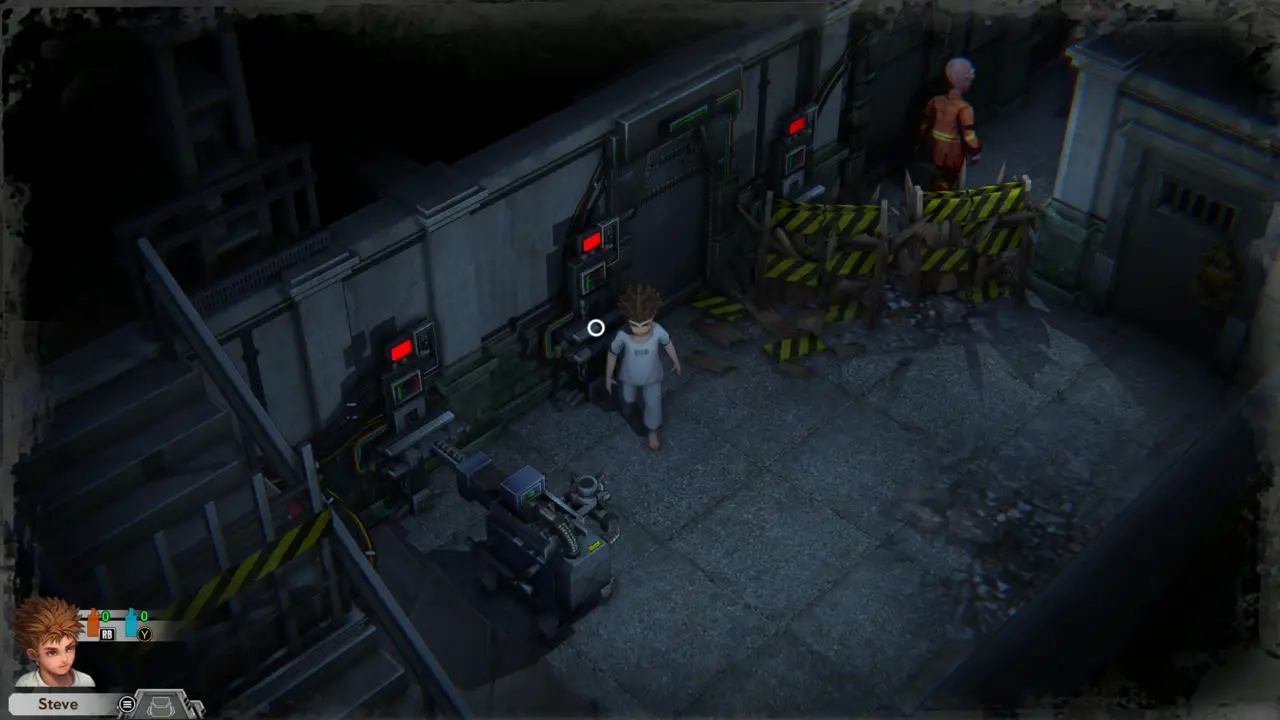
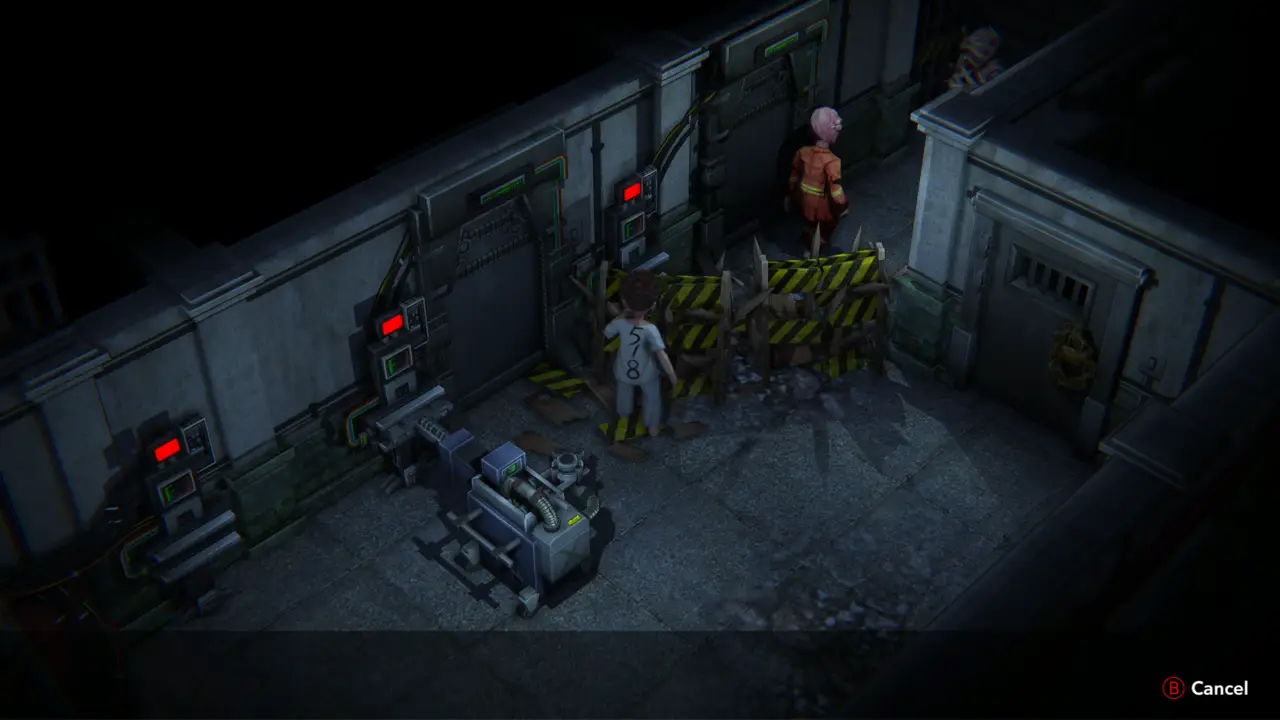
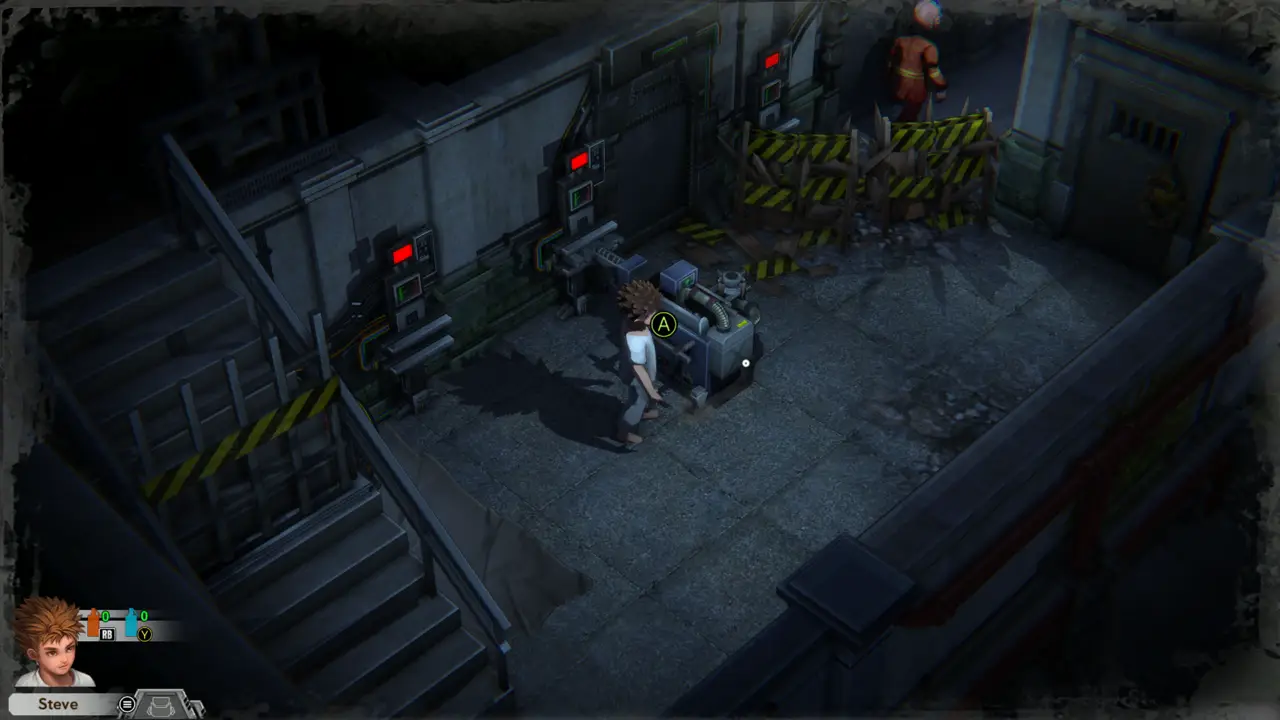
NOTE Examine the generator under the stairs: “A small, strange-looking fuel generator, but the fuel tank is empty.” It needs fuel. The wall socket reads “Some sort of electric outlet.”
Generator description
Electric outlet
Electric outlet
17
Lab - generator room (stairs)
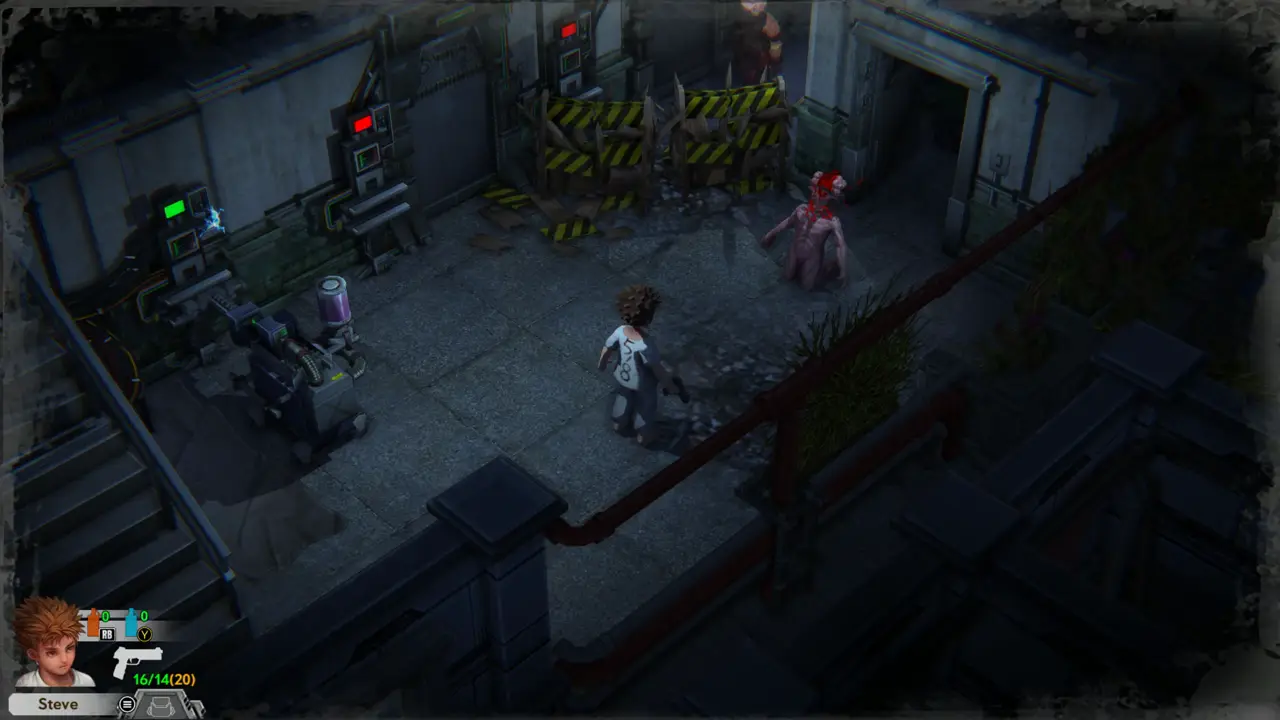
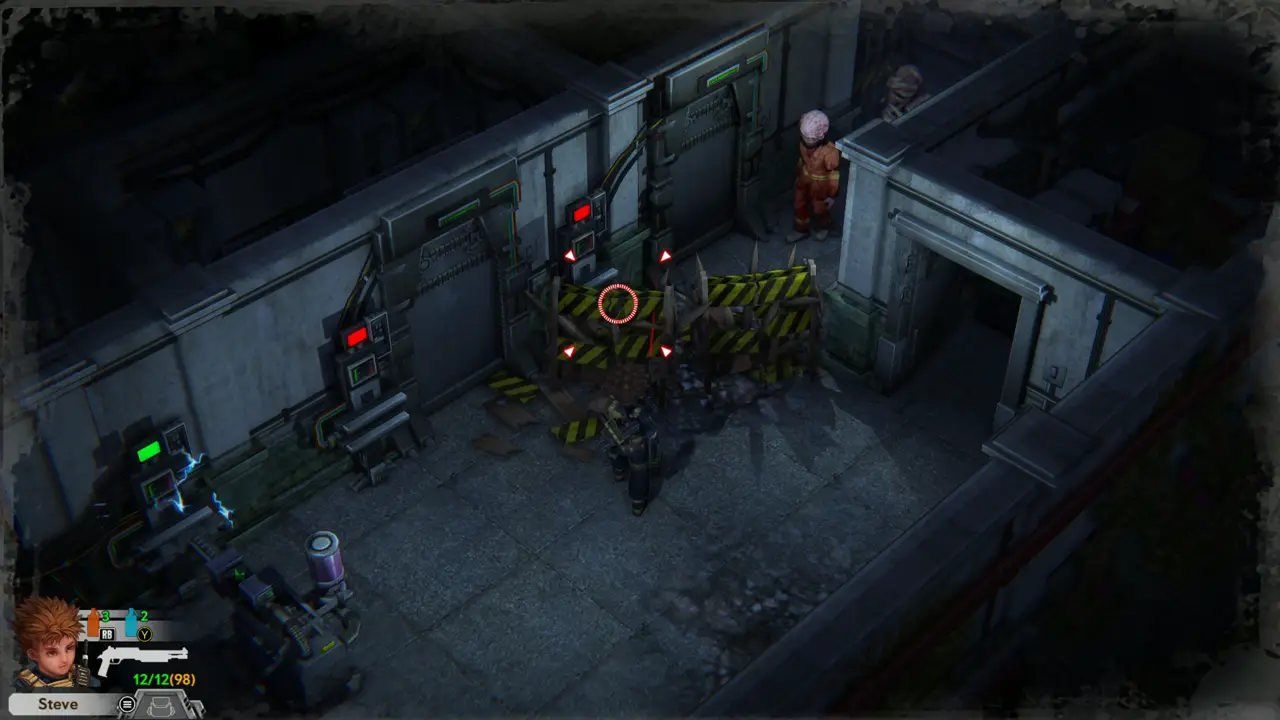
DOORFIGHT A zombie in red clothes stands behind the barricade at the back of the room. The door lock to the right of the barricade reads “A rusty lock. It requires only a bit of aim and a bullet to take it down.” You need a gun for it.
Zombie behind barricade
Barricade text bar
Barricade text bar
18
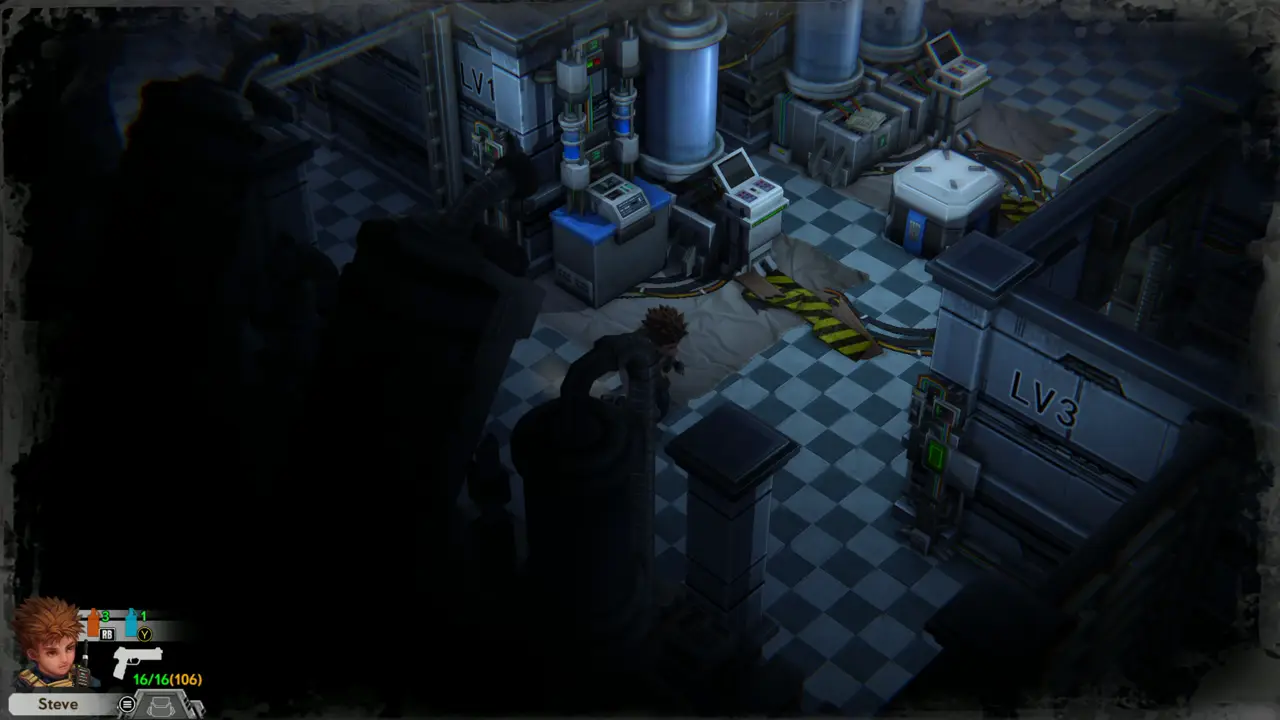
Lab - near the LV3 door
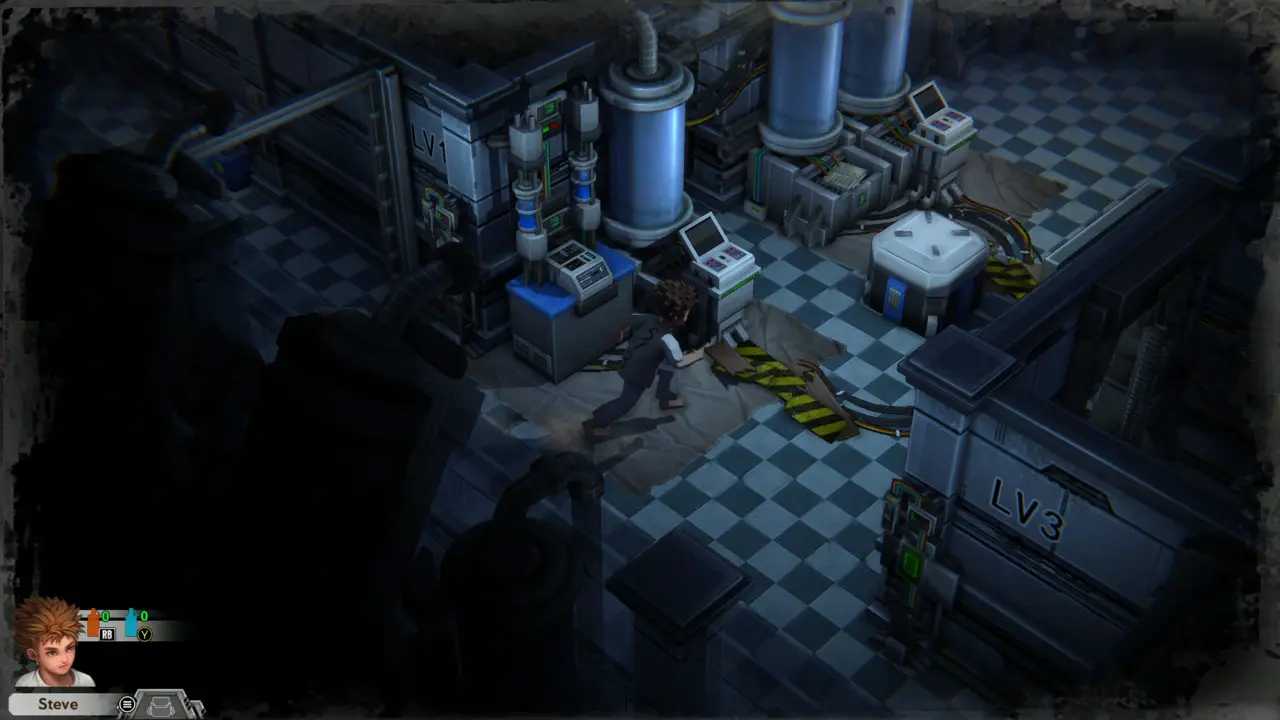
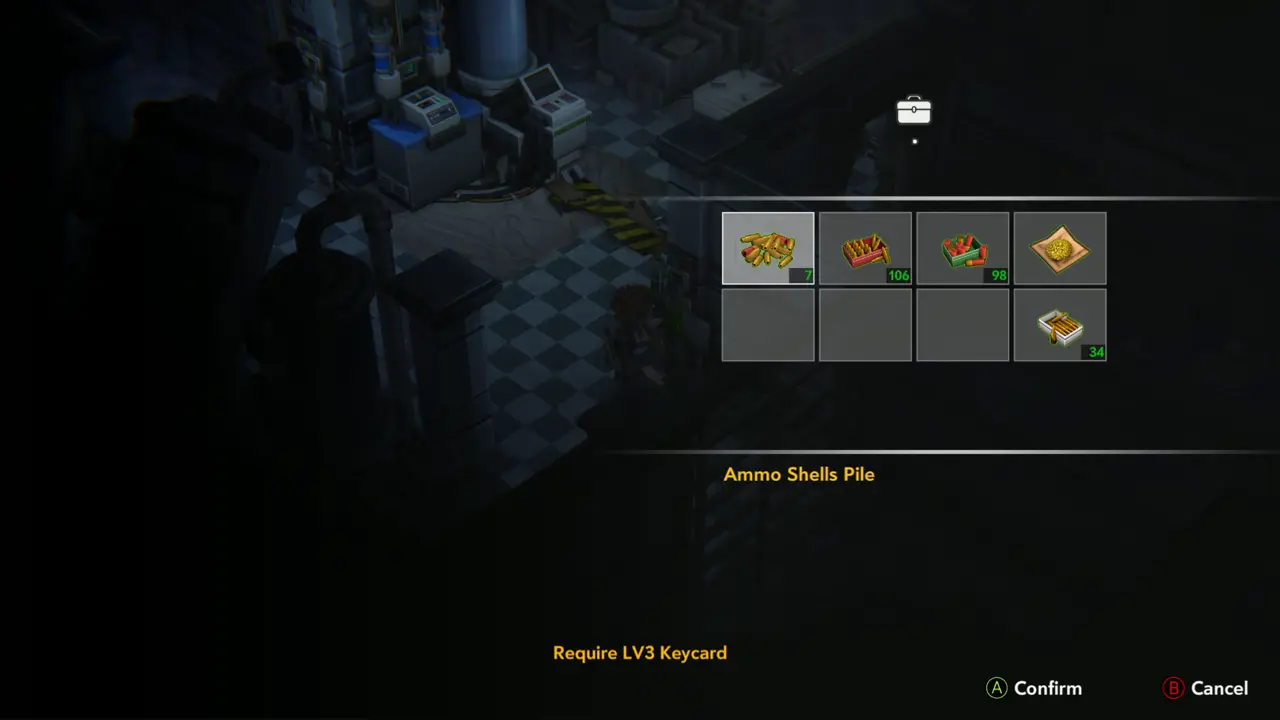
ITEM 4 Go back to the tank area and take another Ammo Shells Pile to the left of the door marked LV3.
Tank area
Tank area
Ammo Shells Pile prompt
19
Lab - dark corridor behind the LV1 door
DOOR Go back to the light switch in the dark corridor and take the doorway at the top-left of the corridor into the plant room.
At the switch again
At the switch again
Doorway to the plant room
20
Lab - plant room
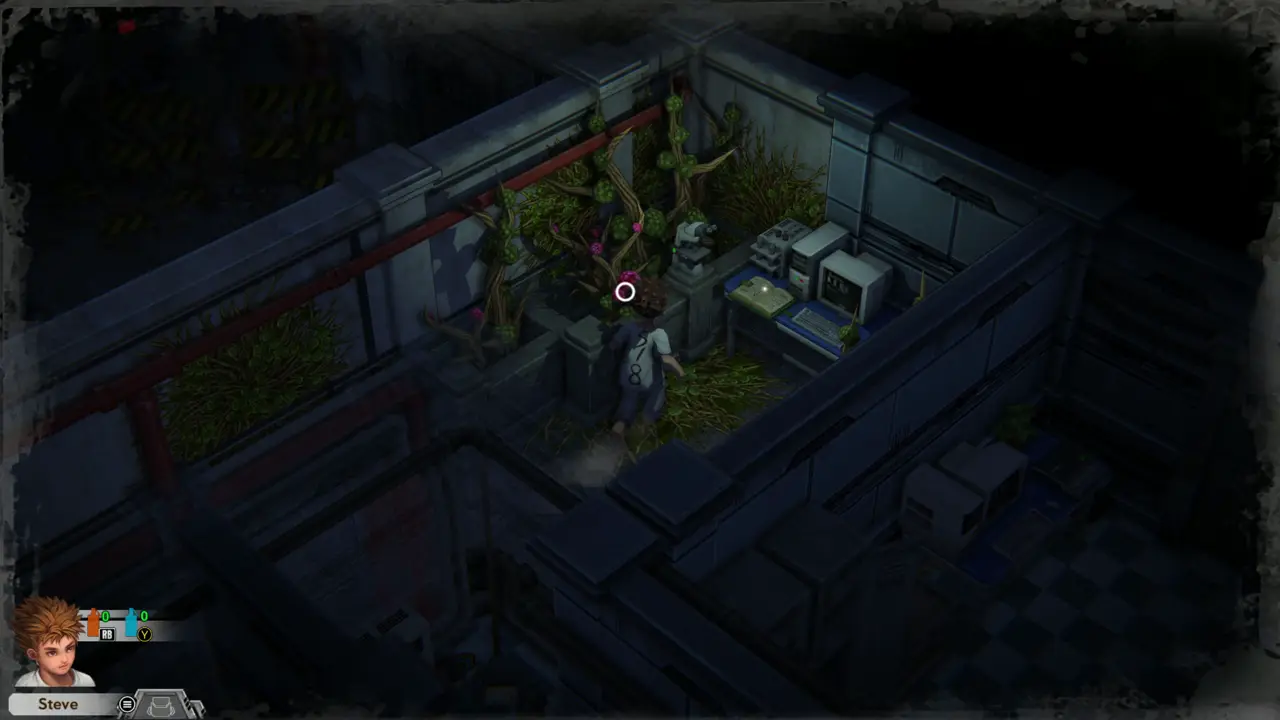
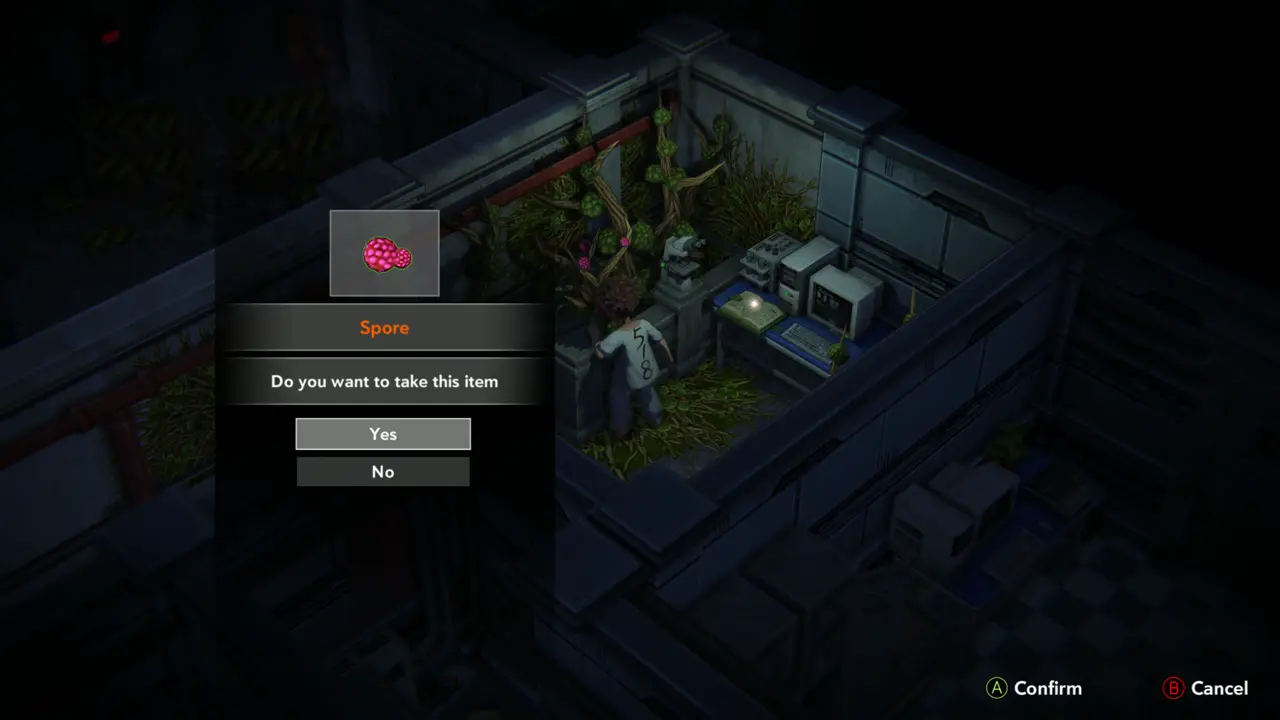
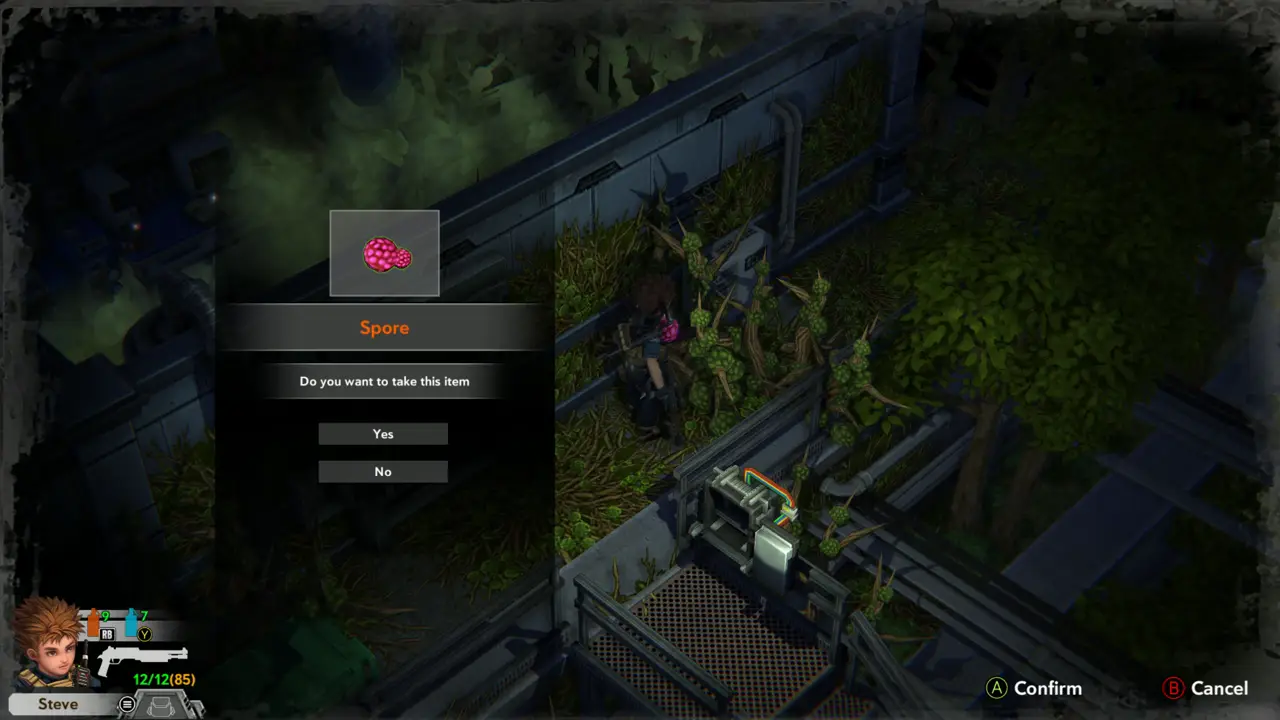
ITEM 5 Walk into the overgrown plant room with the computers and take the Spore from the purple plant. The Combine Items tutorial appears.
Plant room
Plant room
Spore prompt
Spore prompt
21
Lab - plant room
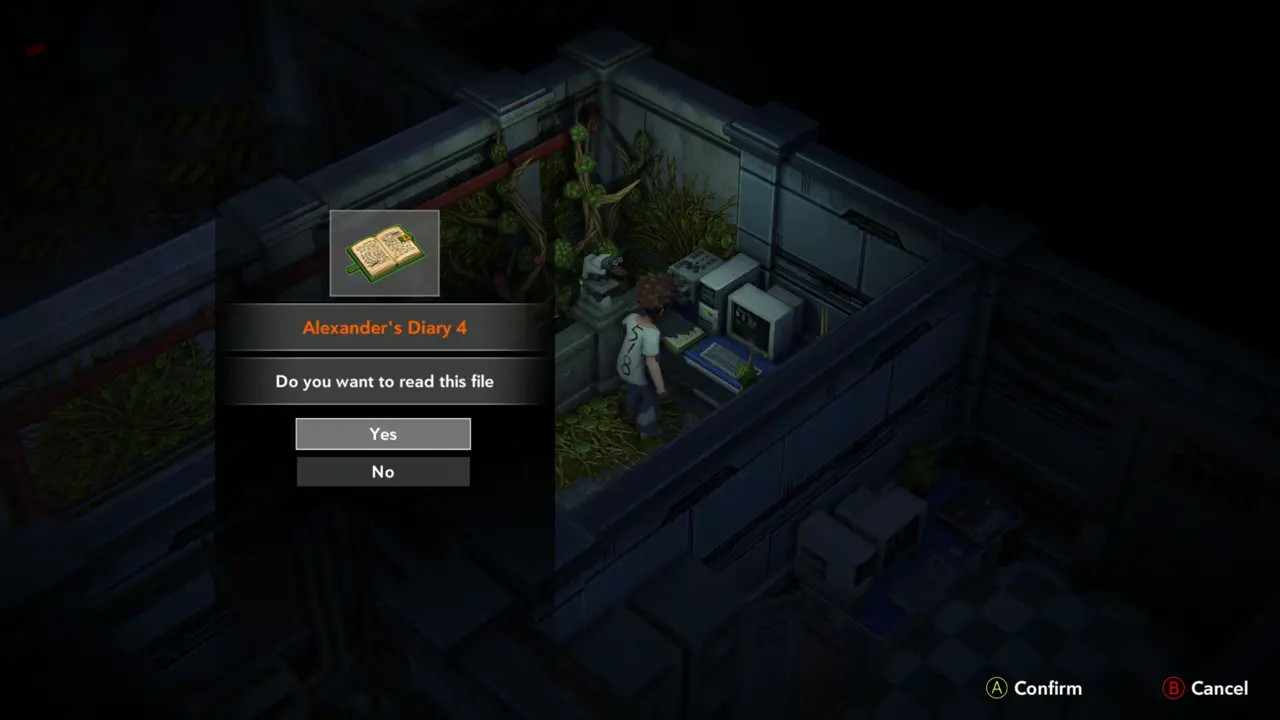
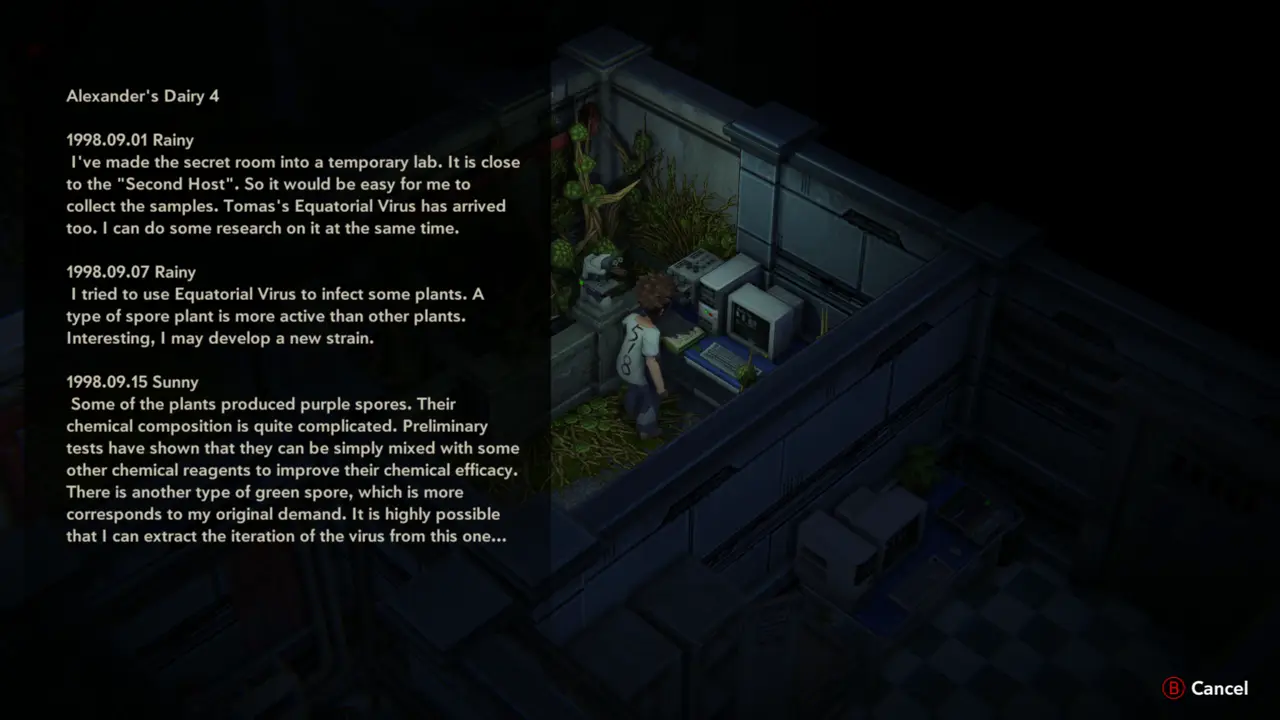
FILE Take Alexander's Diary 4 from the desk with the computers and read it: Alexander built a hidden temporary lab near the Second Host and found that spore plants produce purple spores that can be mixed with chemicals.
Diary 4 prompt
Diary 4 prompt
Diary 4 text
Diary 4 text
22
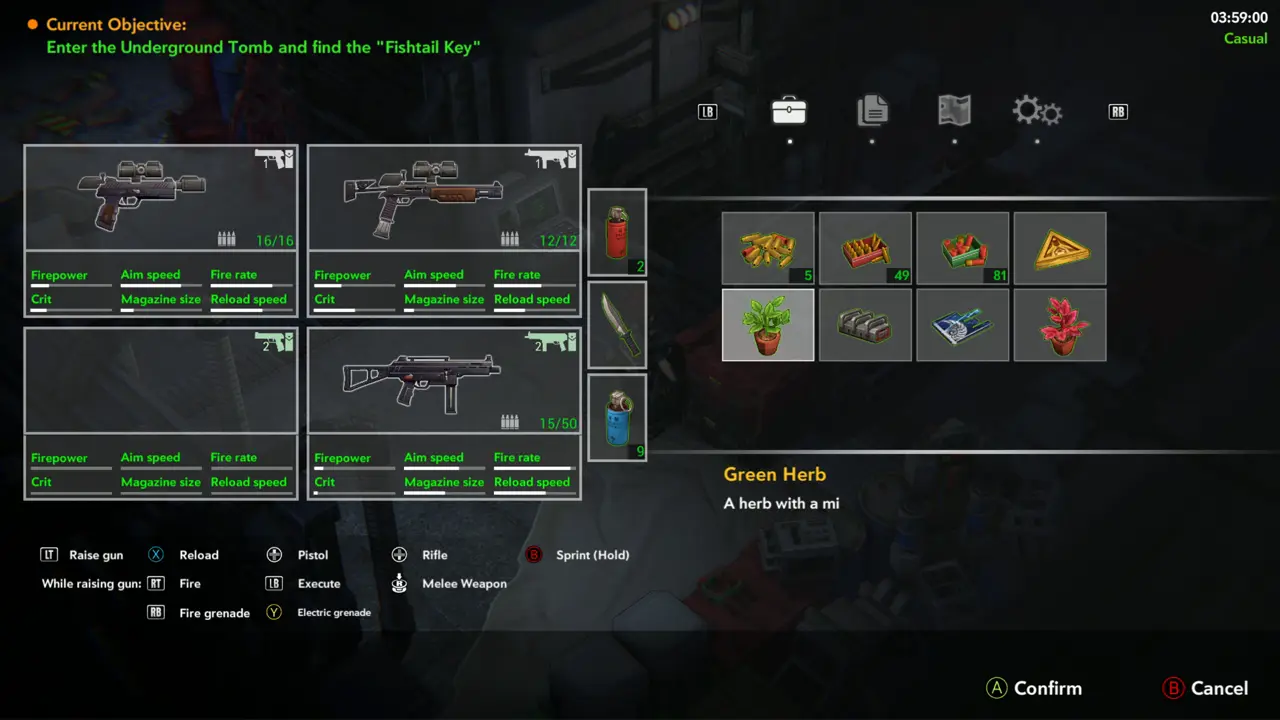
Inventory
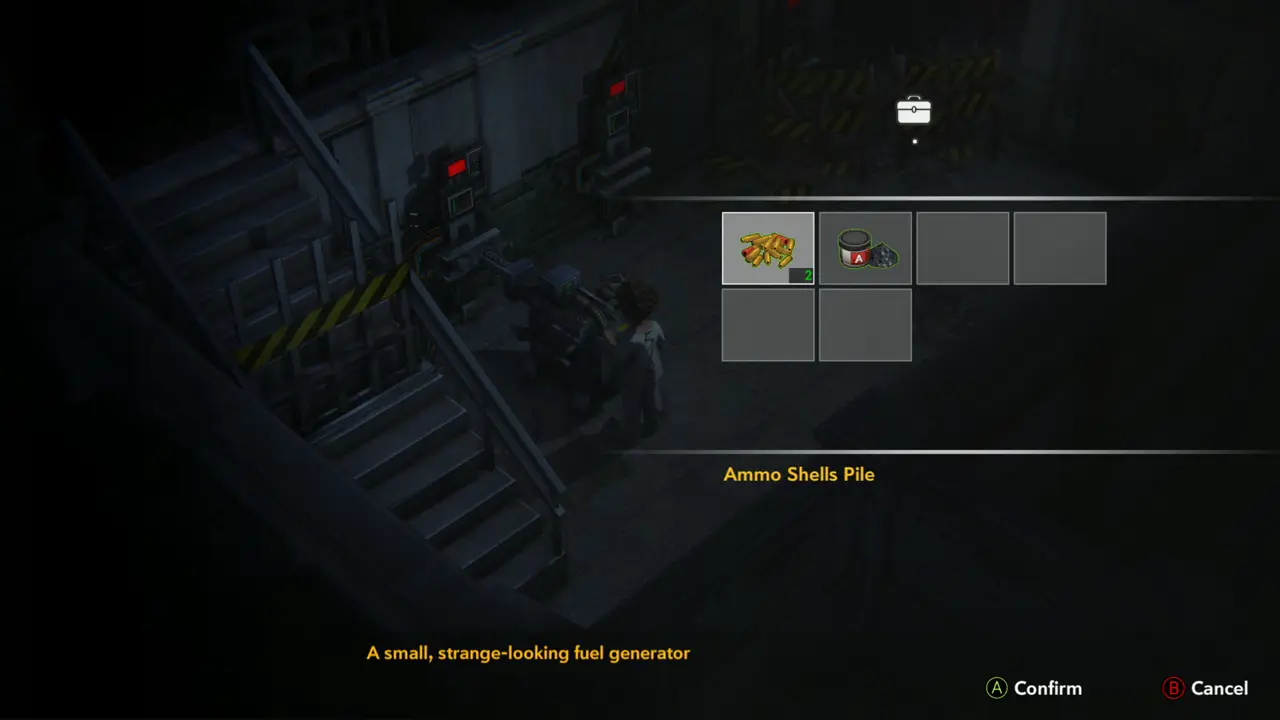
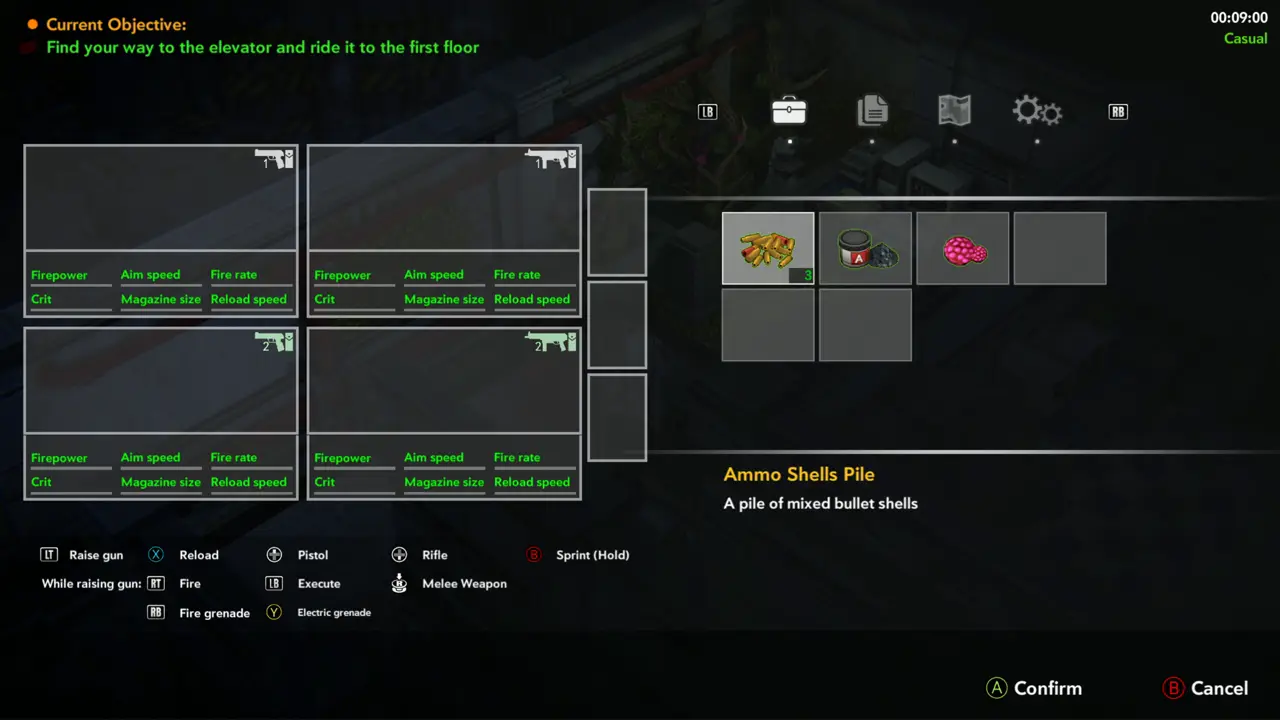
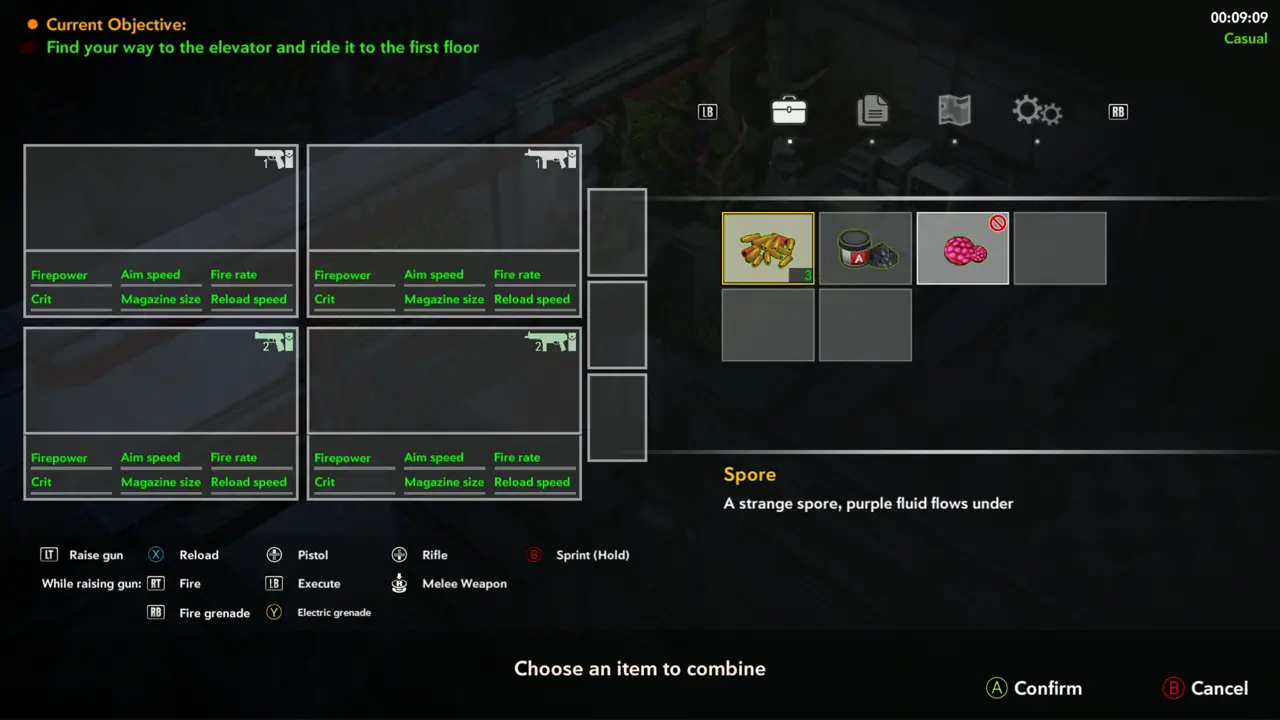
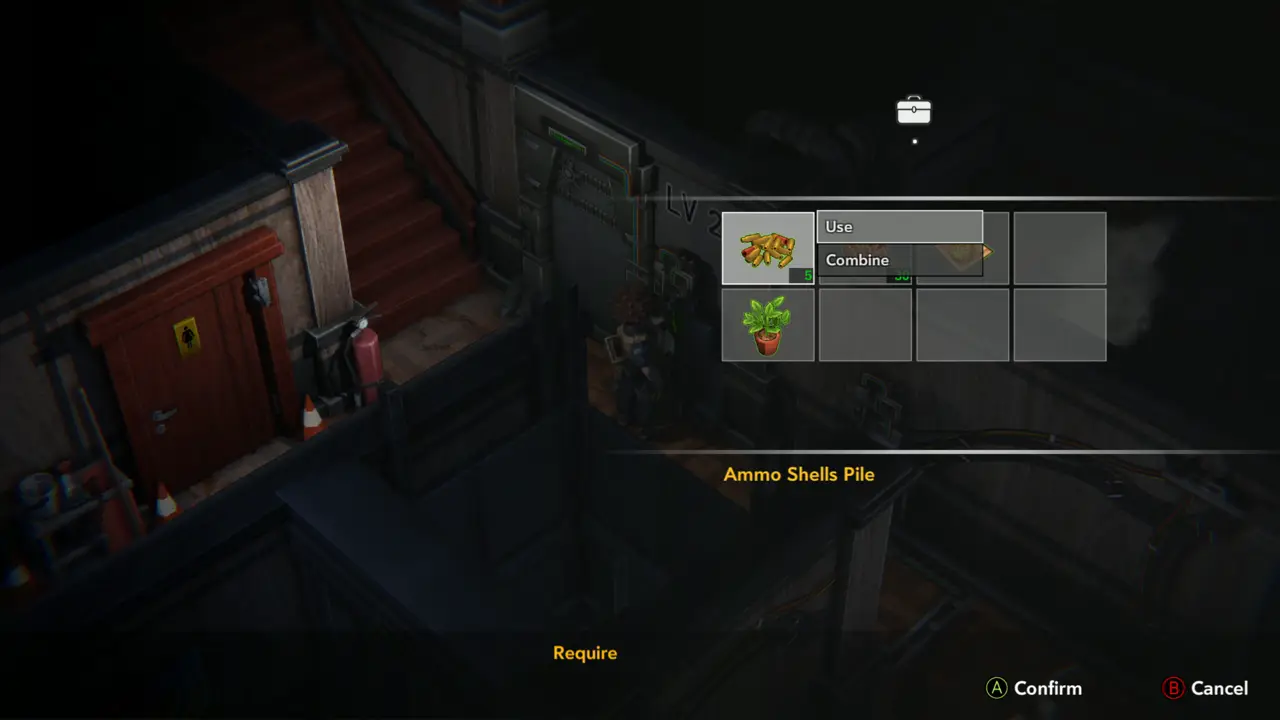
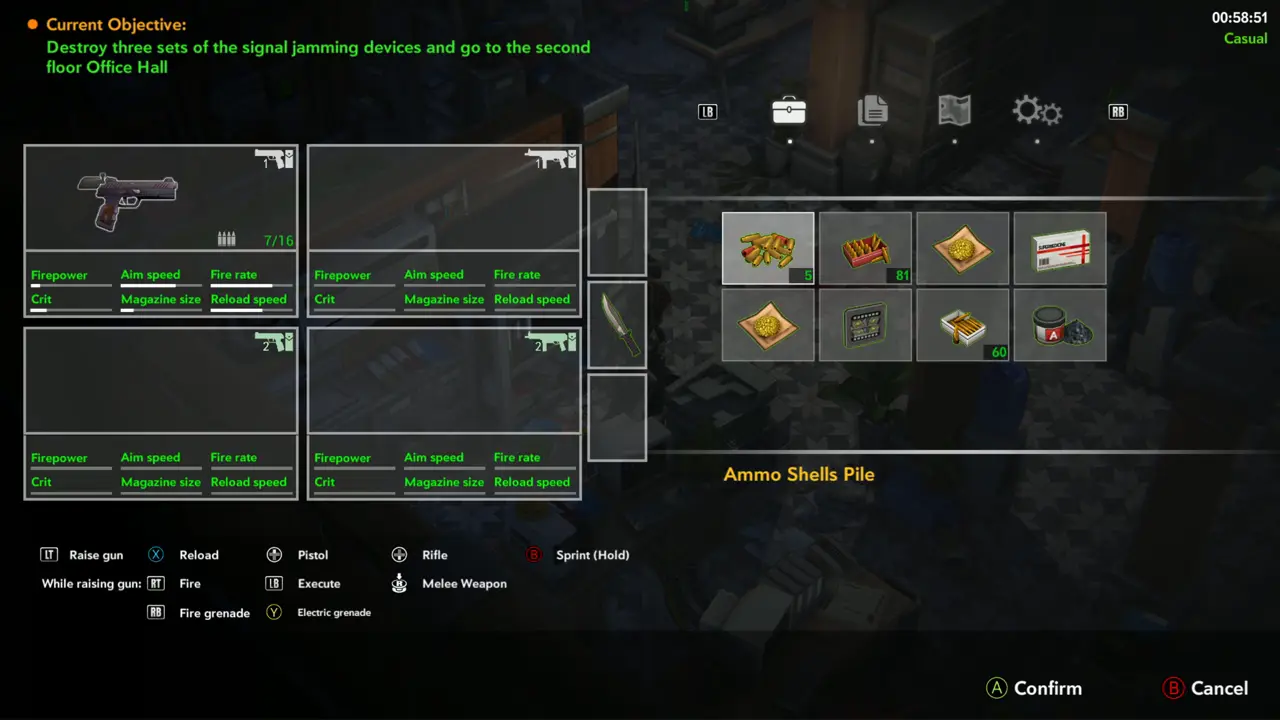
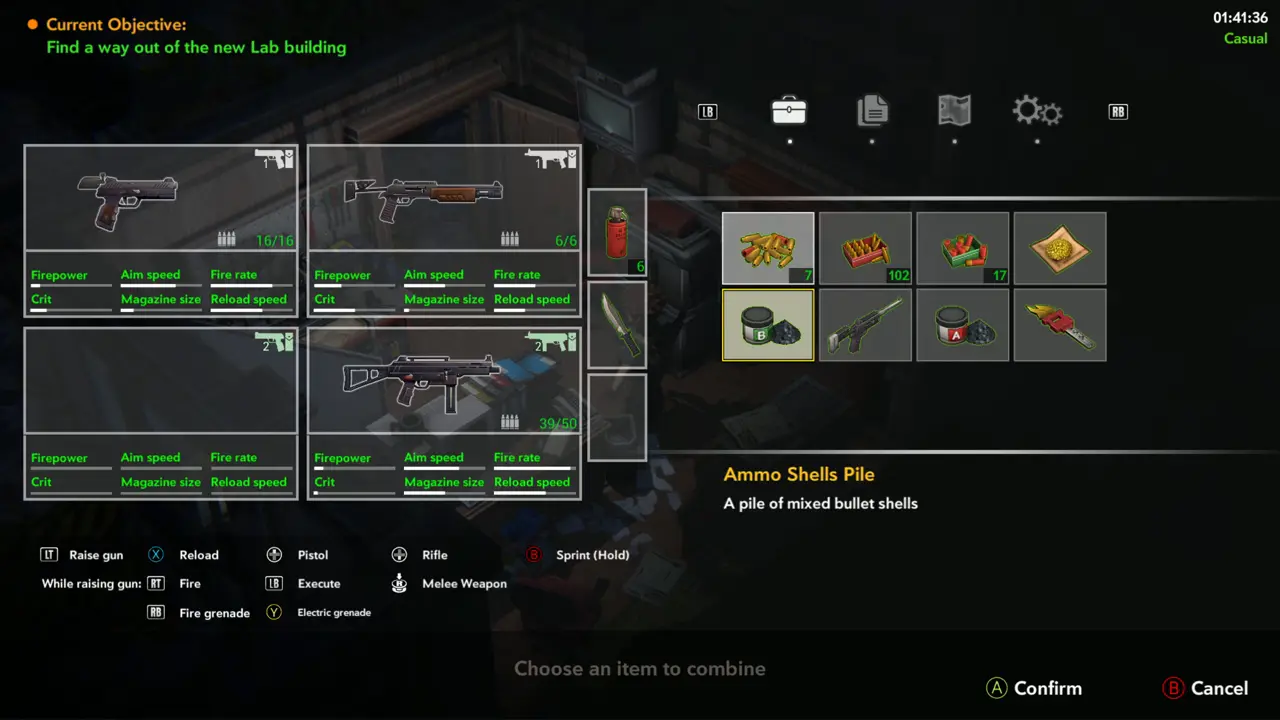
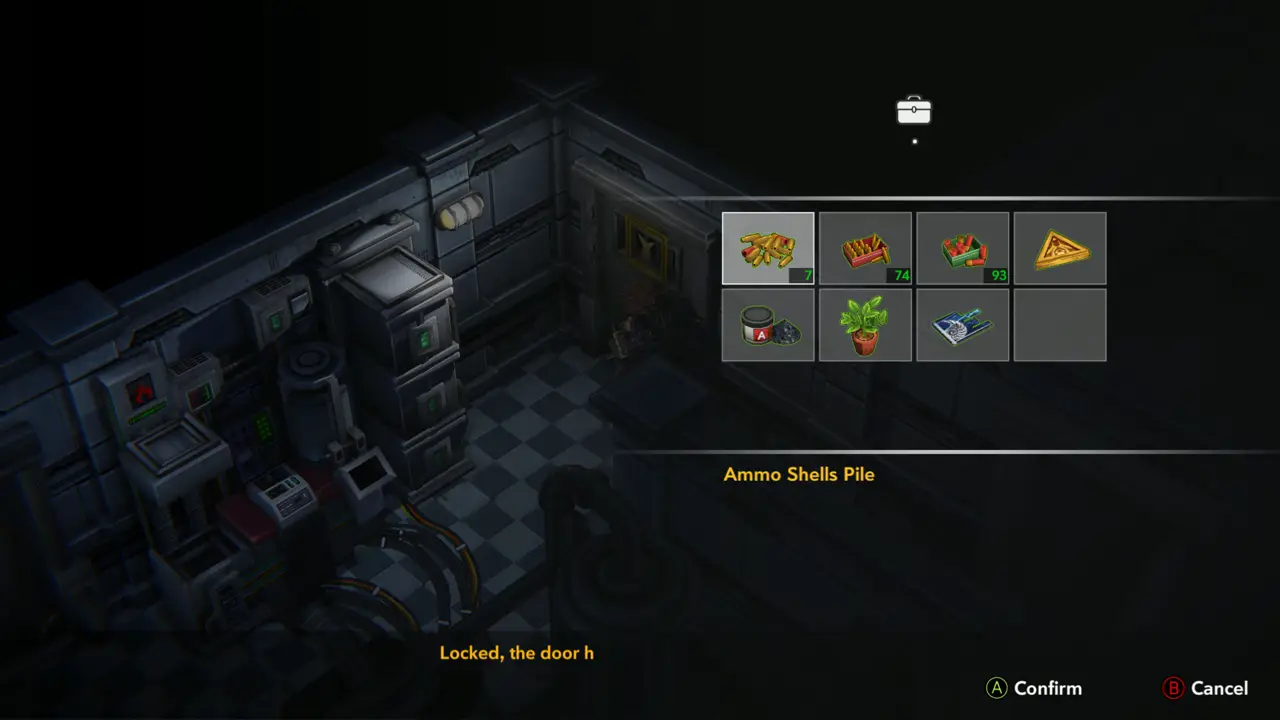
NOTE Open the inventory, select the Ammo Shells Pile (3), choose Combine and pick Gunpowder A. You get a new ammo item stacked at 8 and the Ammo Shells Pile drops to 2.
Inventory with 3 items
Choose an item to combine
23
Files Menu
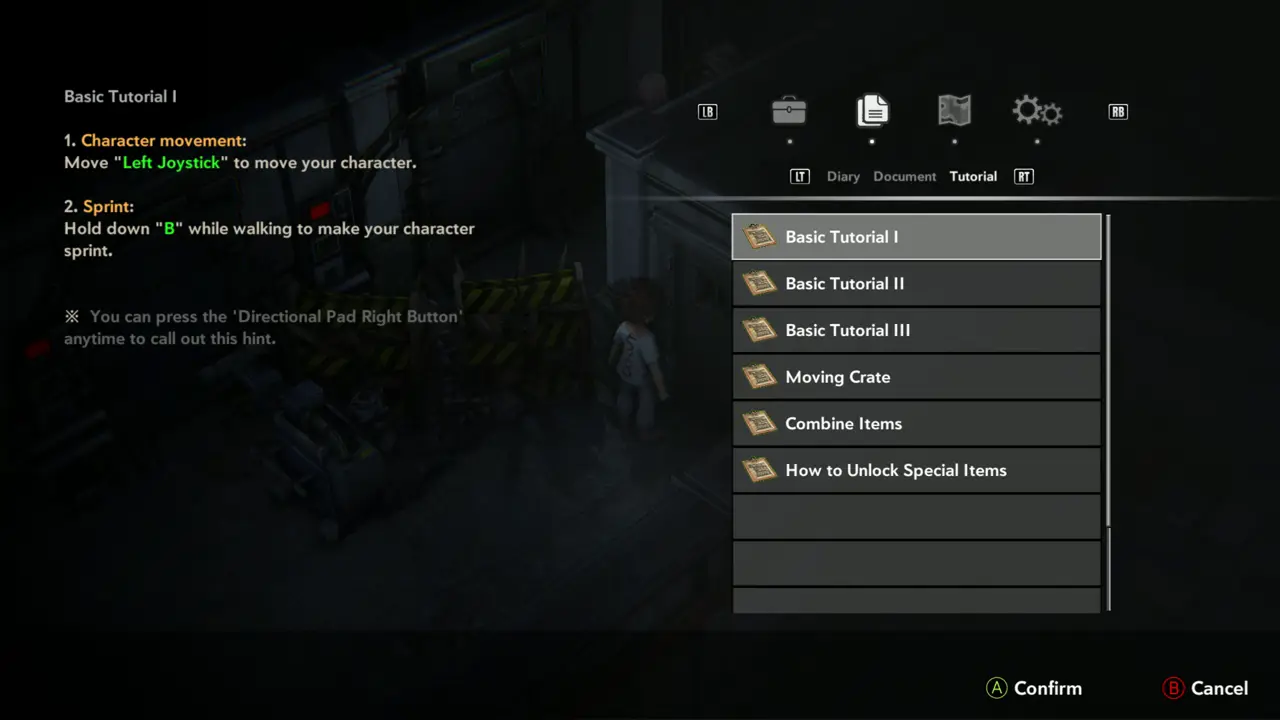
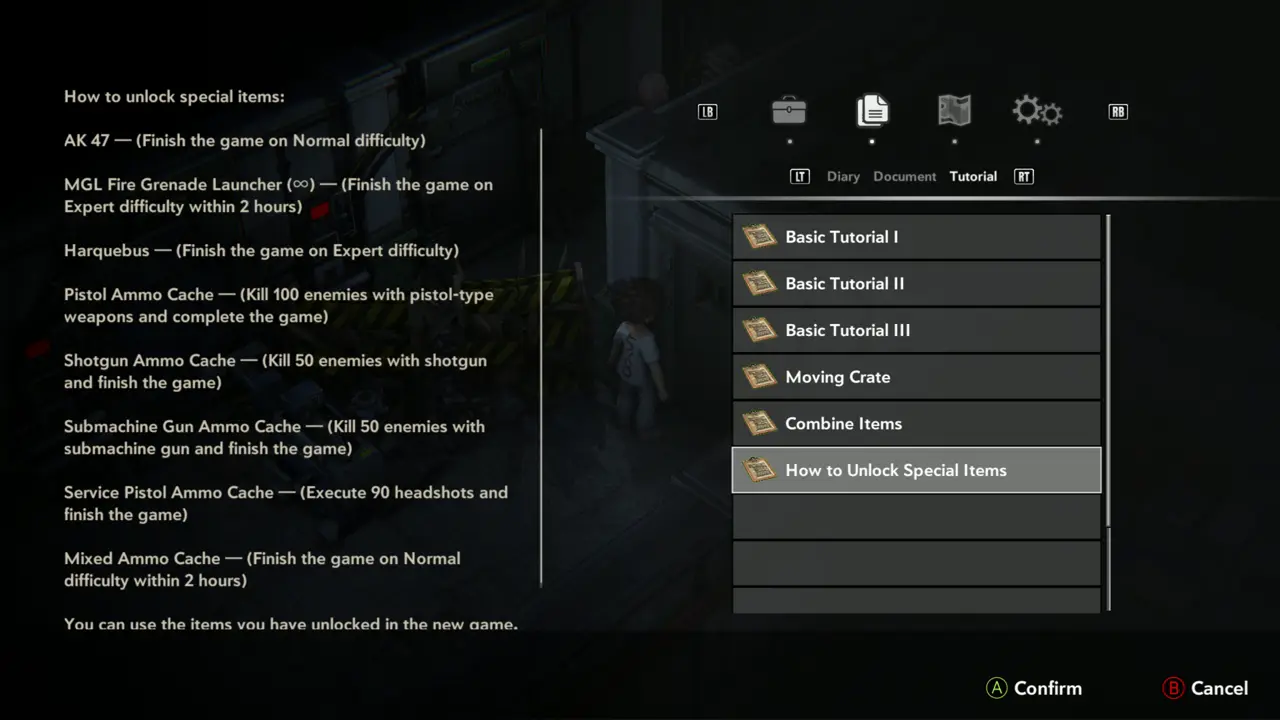
NOTE Open the Files menu. The Tutorial tab lists Basic Tutorial I, II, III, Moving Crate, Combine Items and How to Unlock Special Items; the Diary tab lists Alexander's Diary 4.
Tutorial list
Tutorial list
Unlock list
Unlock list
24
Lab - near LV1/LV3 machines
Head back down through the lab, past the machine units marked LV1 and LV3, to the Hibernation Room with the cryo chamber.
LV1 machine wall
LV1 machine wall
LV3 machine room
LV3 machine room
25
Hibernation Room
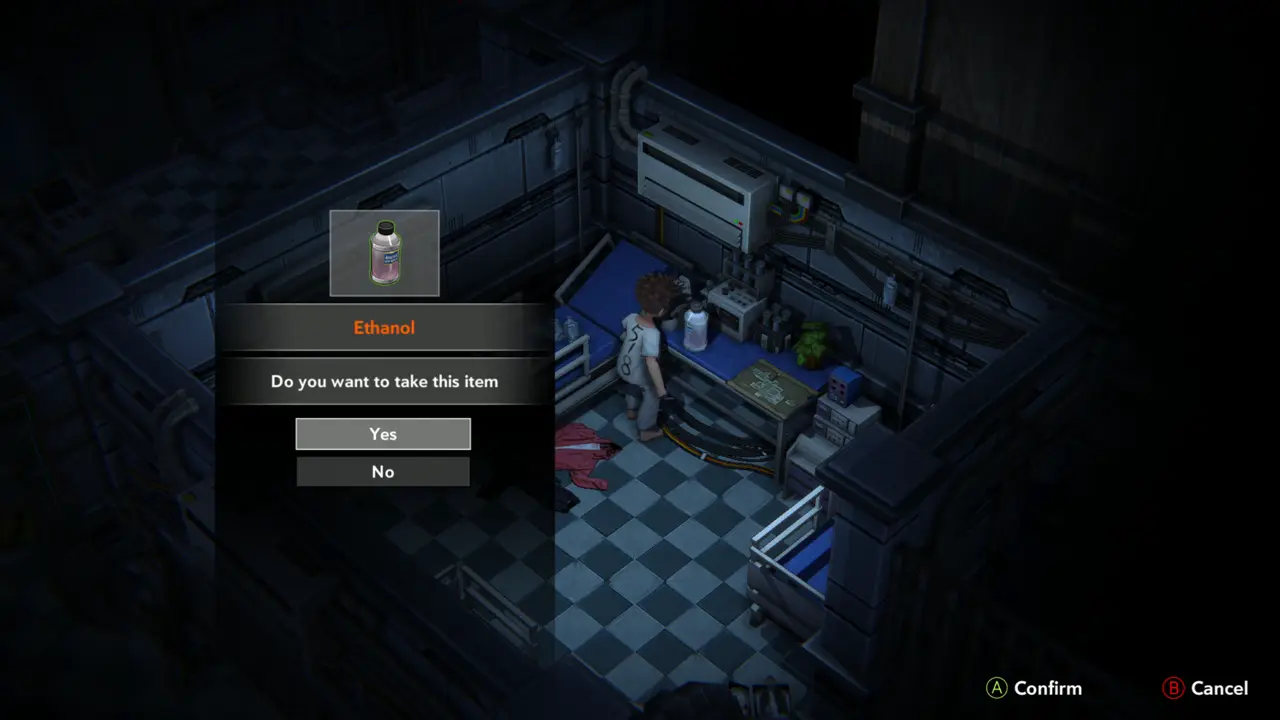
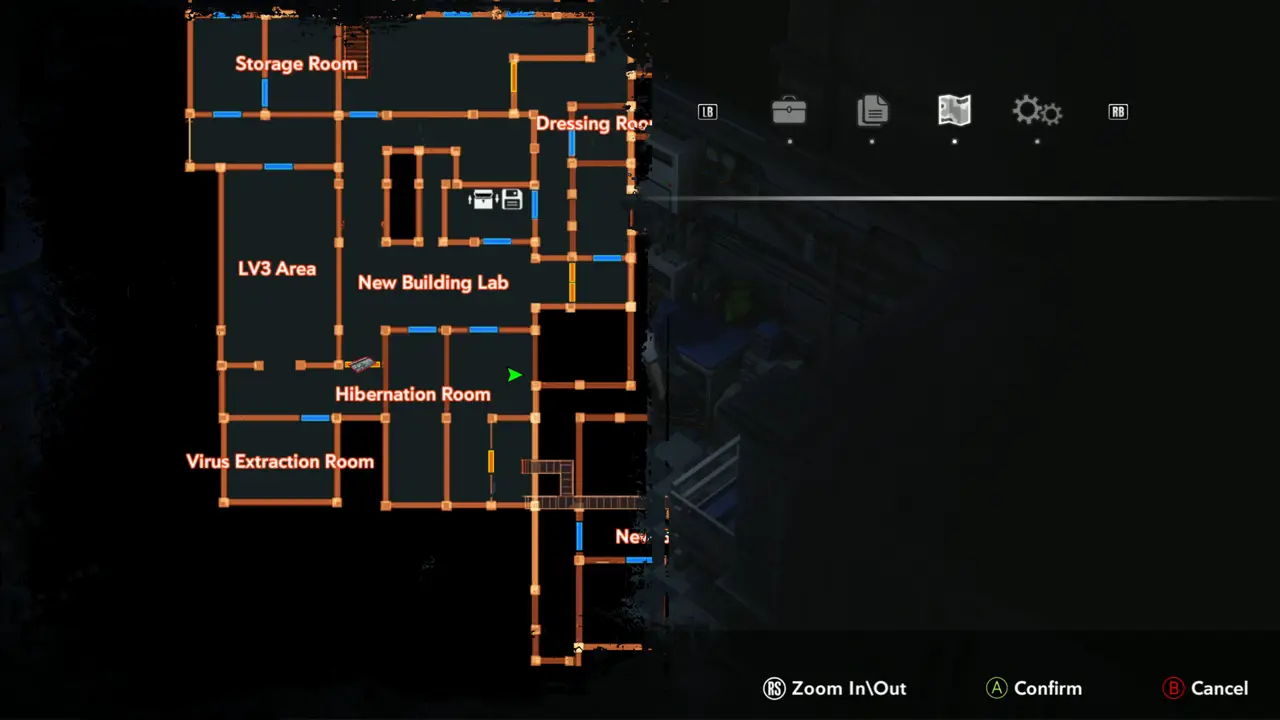
ITEM 6–7MAP Take the Ethanol and the New Building Map (1) from the lab bench with the green screen beside the cryo chamber. The map unlocks the new building: the Map tab now shows Storage Room, Dressing Room, LV3 Area, New Building Lab, Hibernation Room, Extraction Room, New Building Hall and Second Floor.
Ethanol prompt
Ethanol prompt
Map opened
Map opened
26
Lab - cage room with the ladder
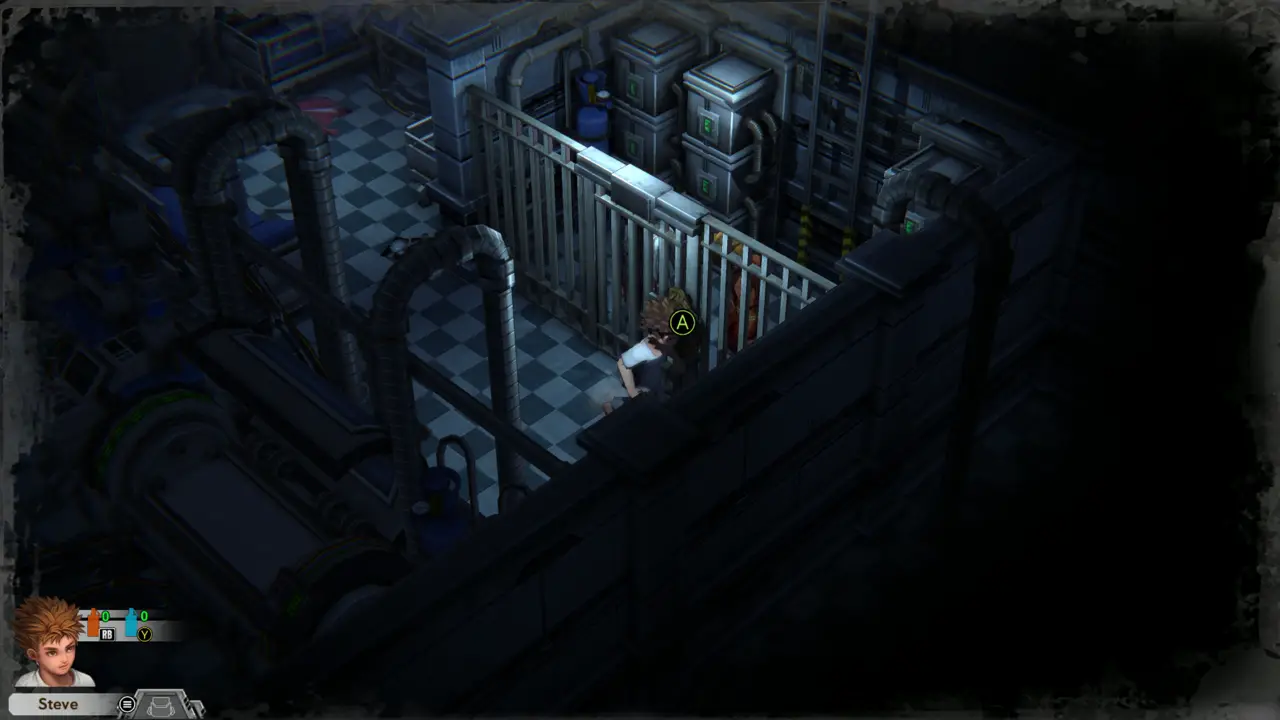
ITEM 8 Walk into the cage with the bed frames and take the Ammo Shells Pile at the gate.
At the cage gate
At the cage gate
Cage room
Cage room
27
Inventory
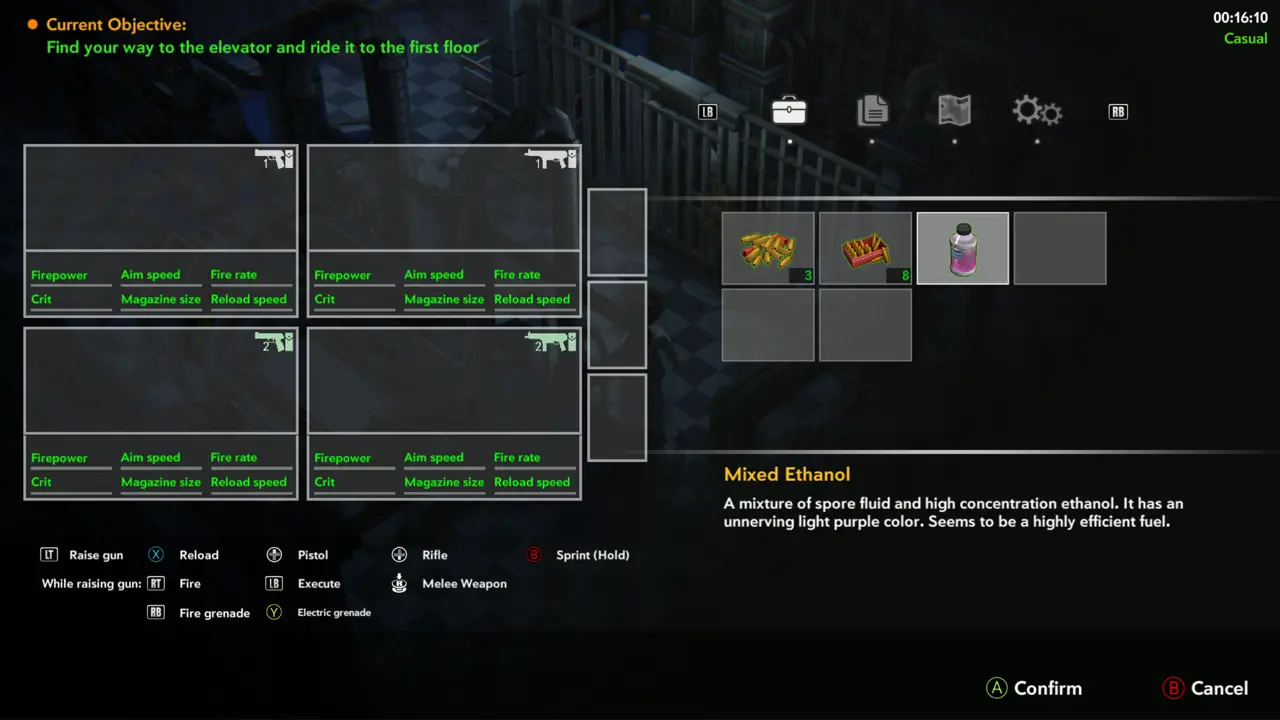
ITEM 9PUZZLE 2 Open the inventory and combine the Spore with the Ethanol. You get Mixed Ethanol: “A mixture of spore fluid and high concentration ethanol. It has an unnerving light purple color. Seems to be a highly efficient fuel.”
Mixed Ethanol in inventory
28
Lab - generator by the stairs
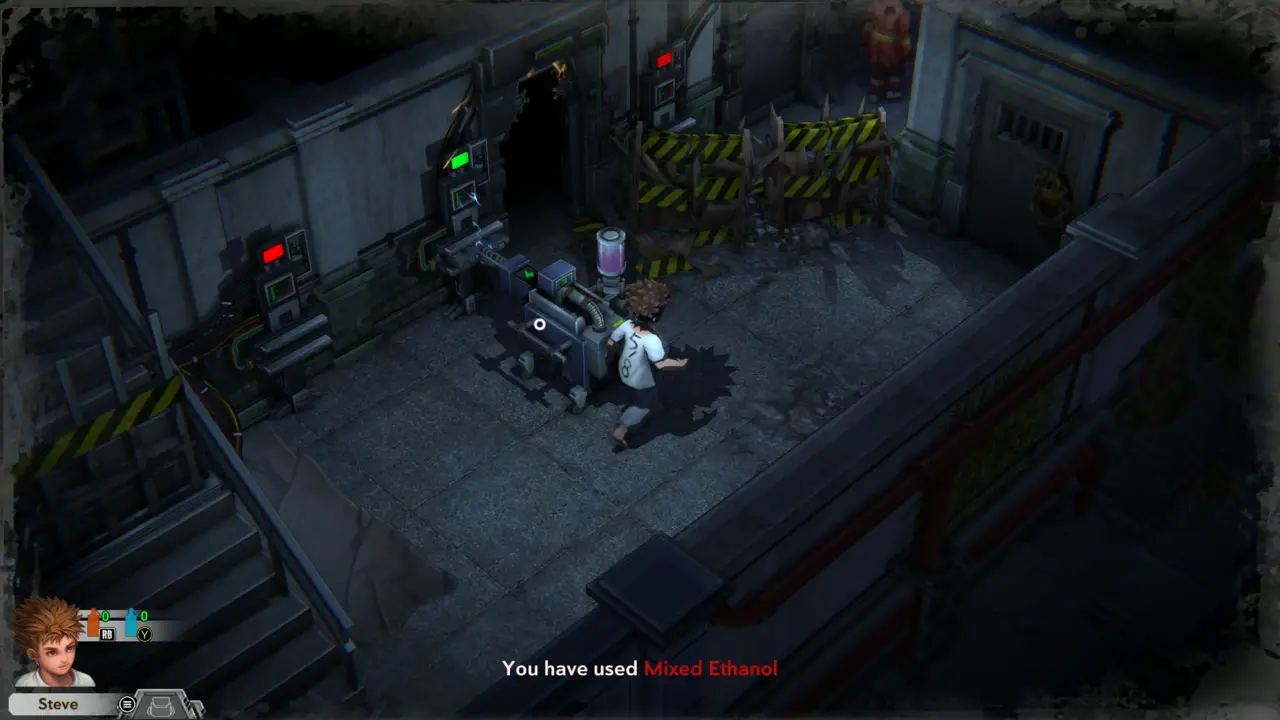
PUZZLE 3 Go to the generator with the purple canister under the stairs and use the Mixed Ethanol on it. “You have used Mixed Ethanol” appears and the panels turn green: the power is back.
Generator under stairs
Mixed Ethanol used
Mixed Ethanol used
29
Lab - storage room beside the generator
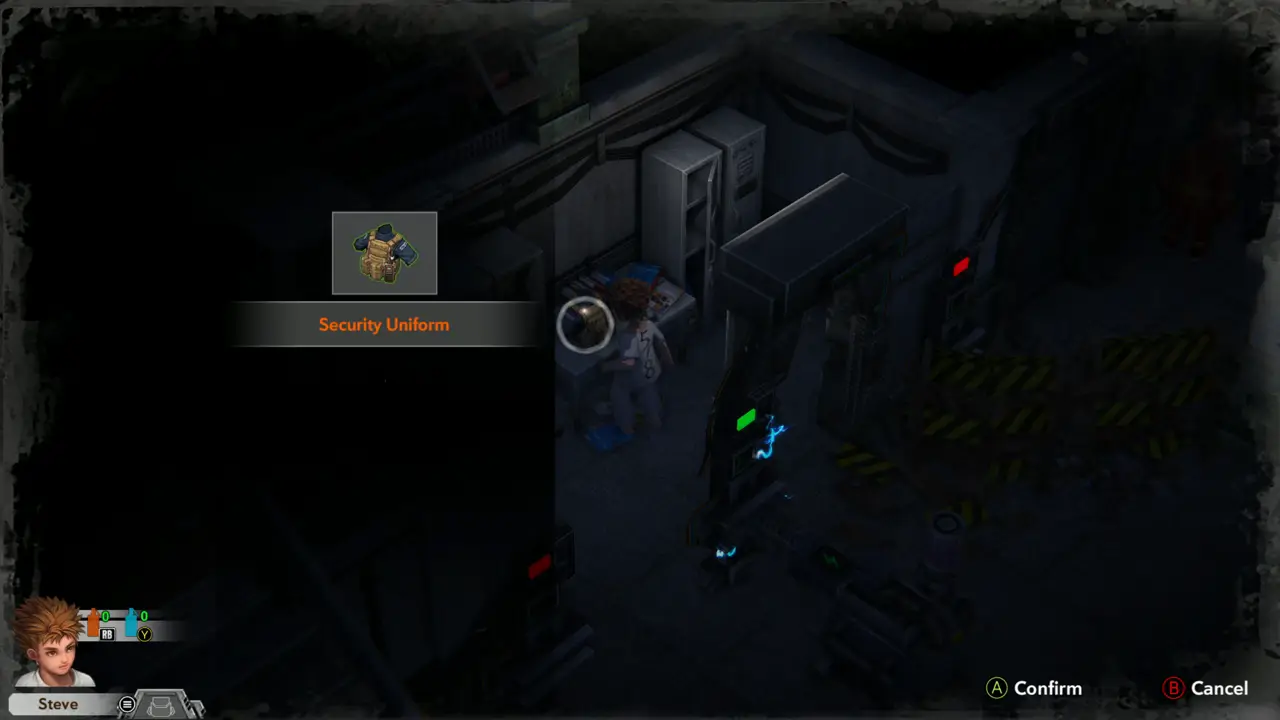
ITEM 10KEY ITEM In the room beside the generator take the Security Uniform from the table, then Gunpowder A from the same table. The uniform reads “A set of high-standard security uniforms, also equipped with a walkie-talkie. (Where can I change my clothes?)”
Security Uniform prompt
Gunpowder A prompt
Gunpowder A prompt
30
Lab - generator by the stairs
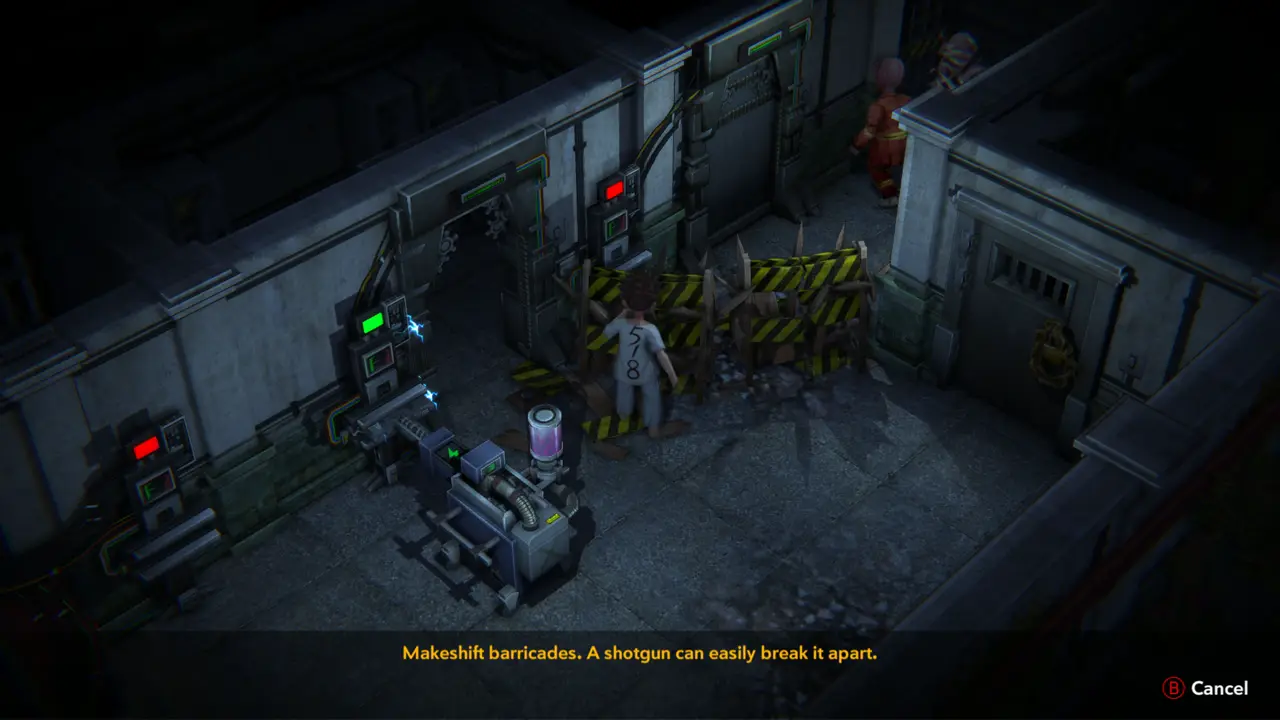
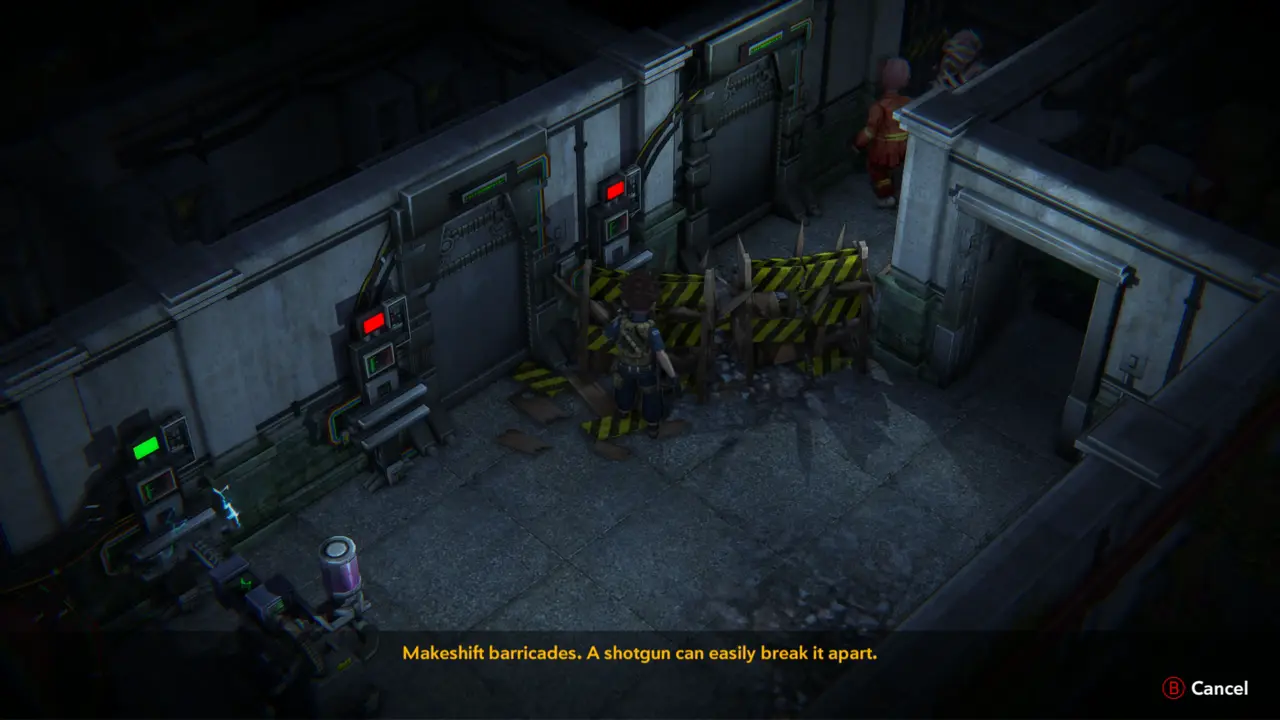
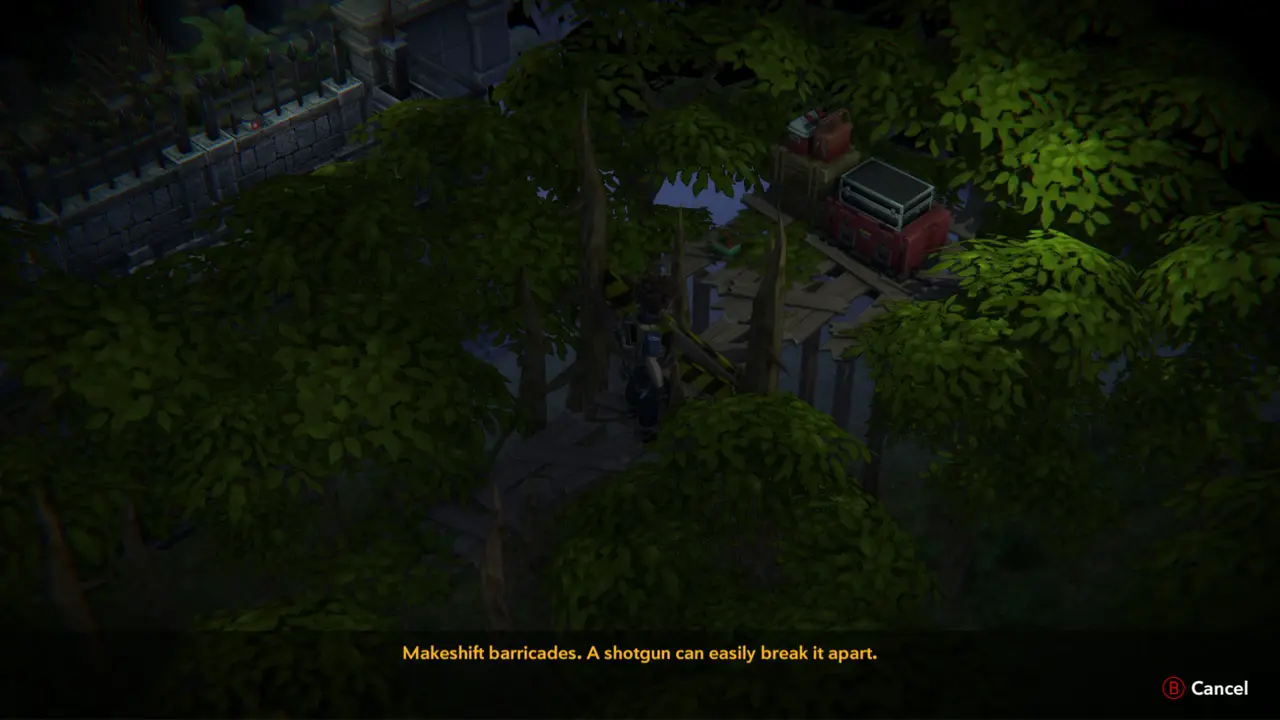
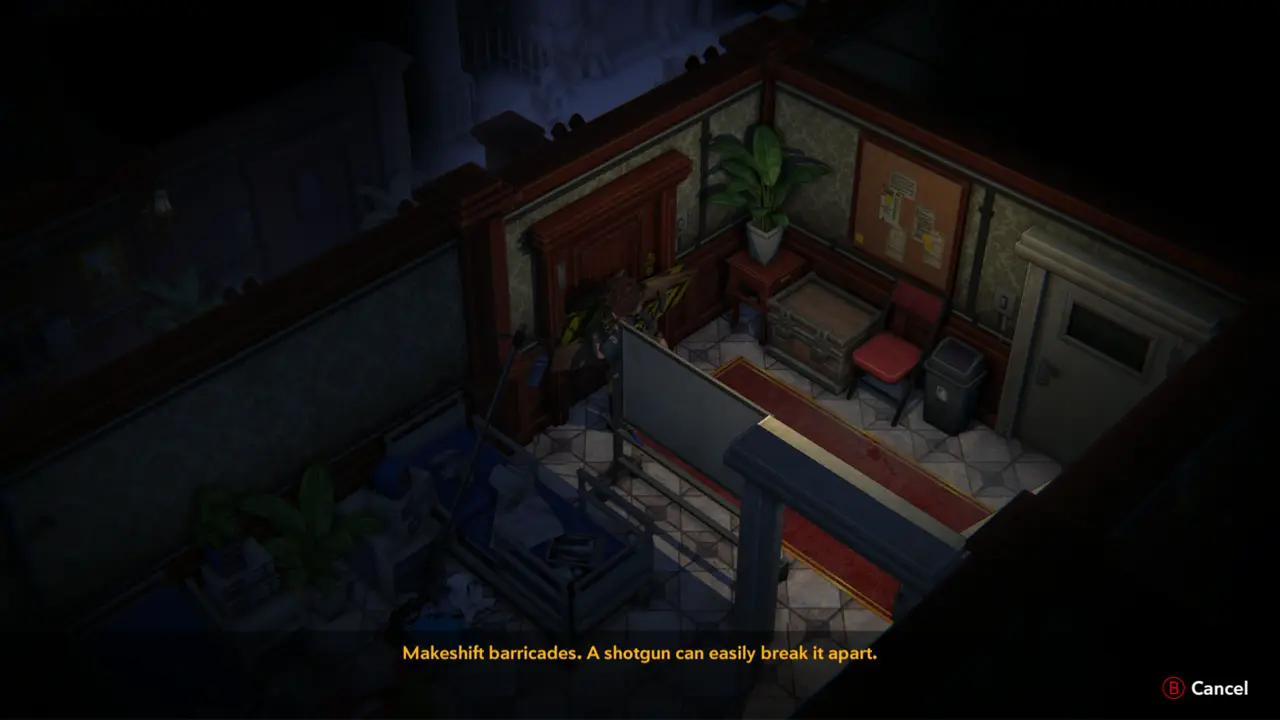
DOOR Examine the wooden barricade by the generator: “Makeshift barricades. A shotgun can easily break it apart.” Do not waste pistol ammo on it; it needs a shotgun.
Barricade message
Barricade message
Pistol does not break it
31
Security Room
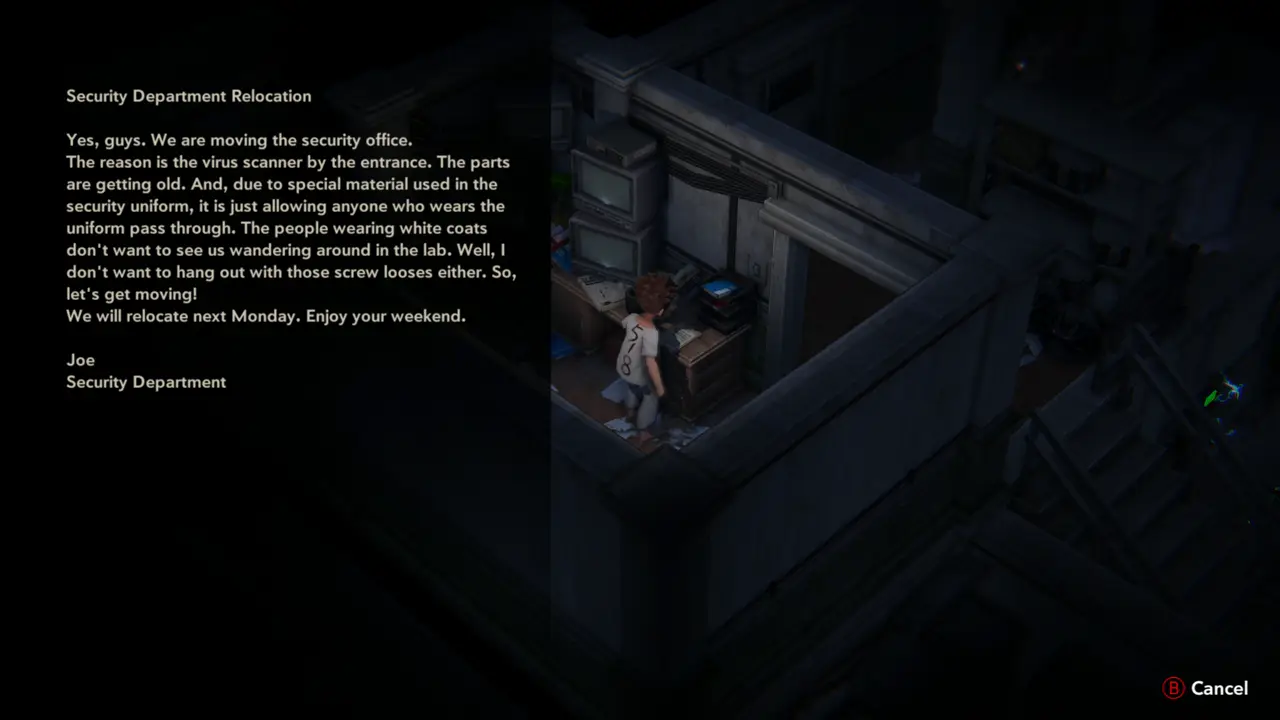
FILE 10NOTE Enter the Security Room (top-left office on the map) and read Security Department Relocation on the desk. It says the virus scanner lets anyone in the security uniform pass.
Desk in Security Room
Relocation text
Relocation text
32
Security Room
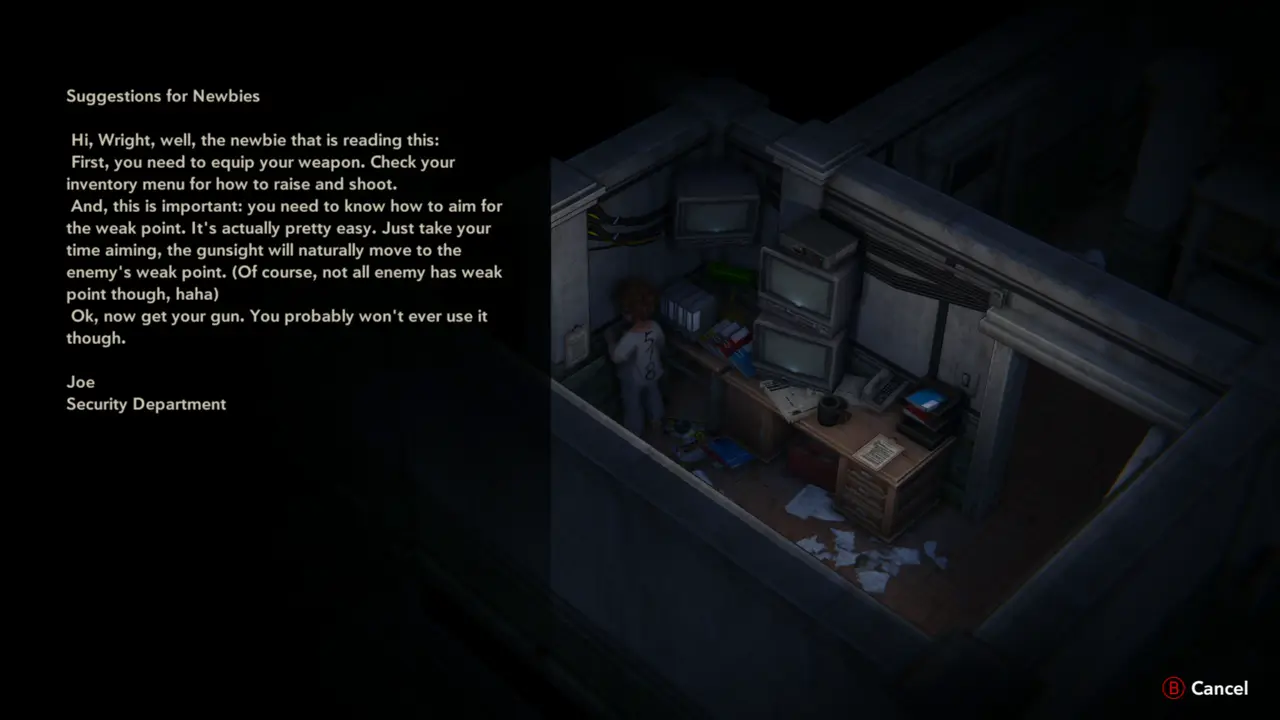
FILE 11 Read Suggestions for Newbies on the same desk. It tells you to equip your weapon and aim for the weak point.
Suggestions text
Suggestions text
33
Security Room
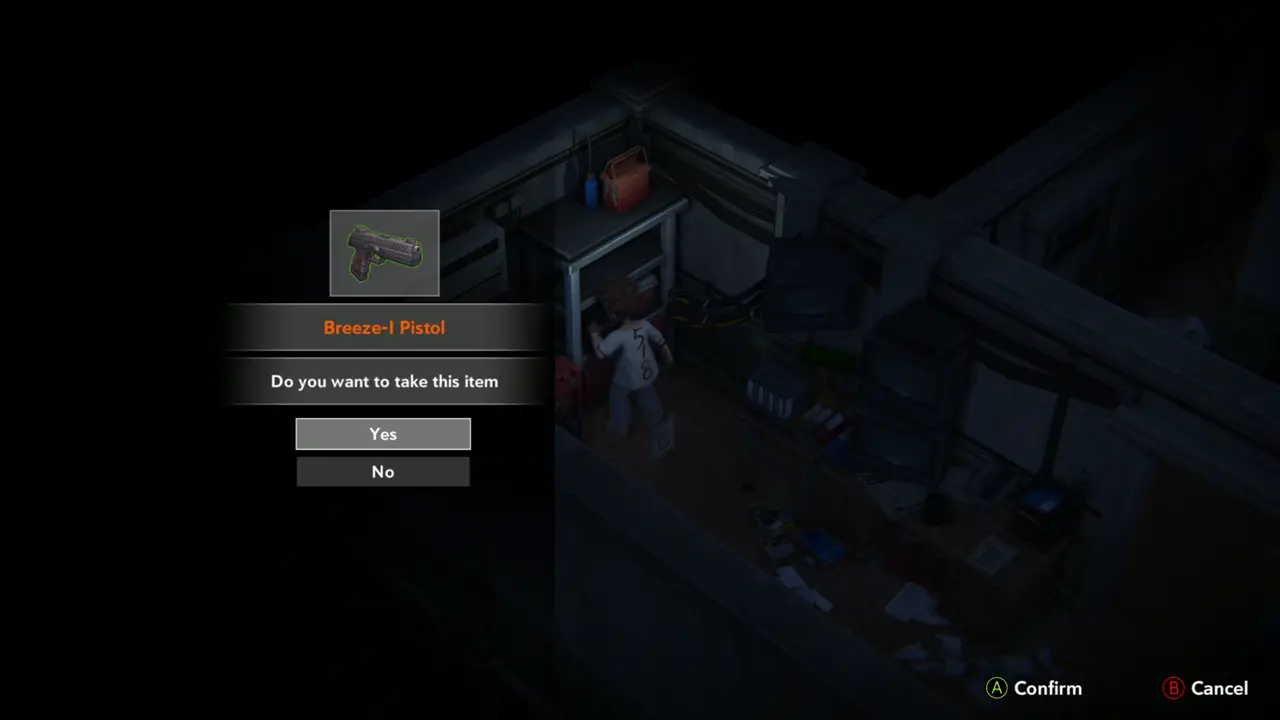
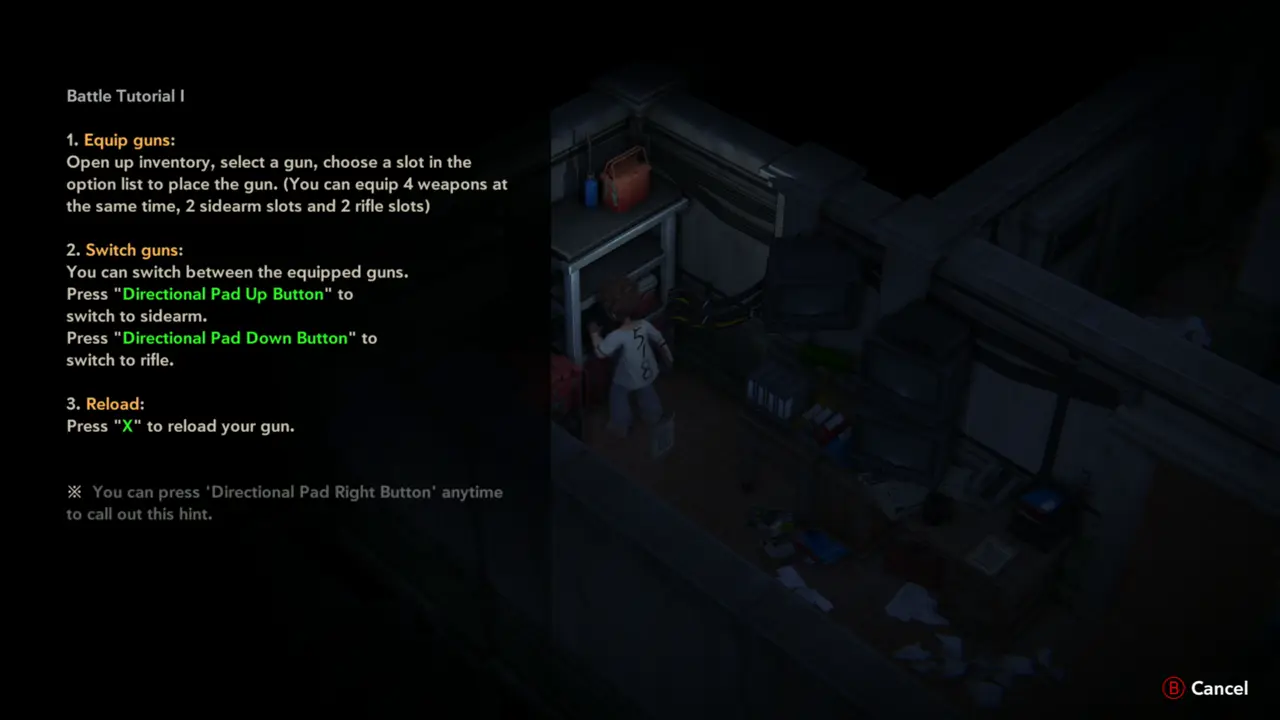
WEAPON 2FILE 12 Take the Breeze-I Pistol from the shelf at the back of the room. Battle Tutorial I opens.
Pistol prompt
Pistol prompt
Battle Tutorial I
Battle Tutorial I
34
Inventory
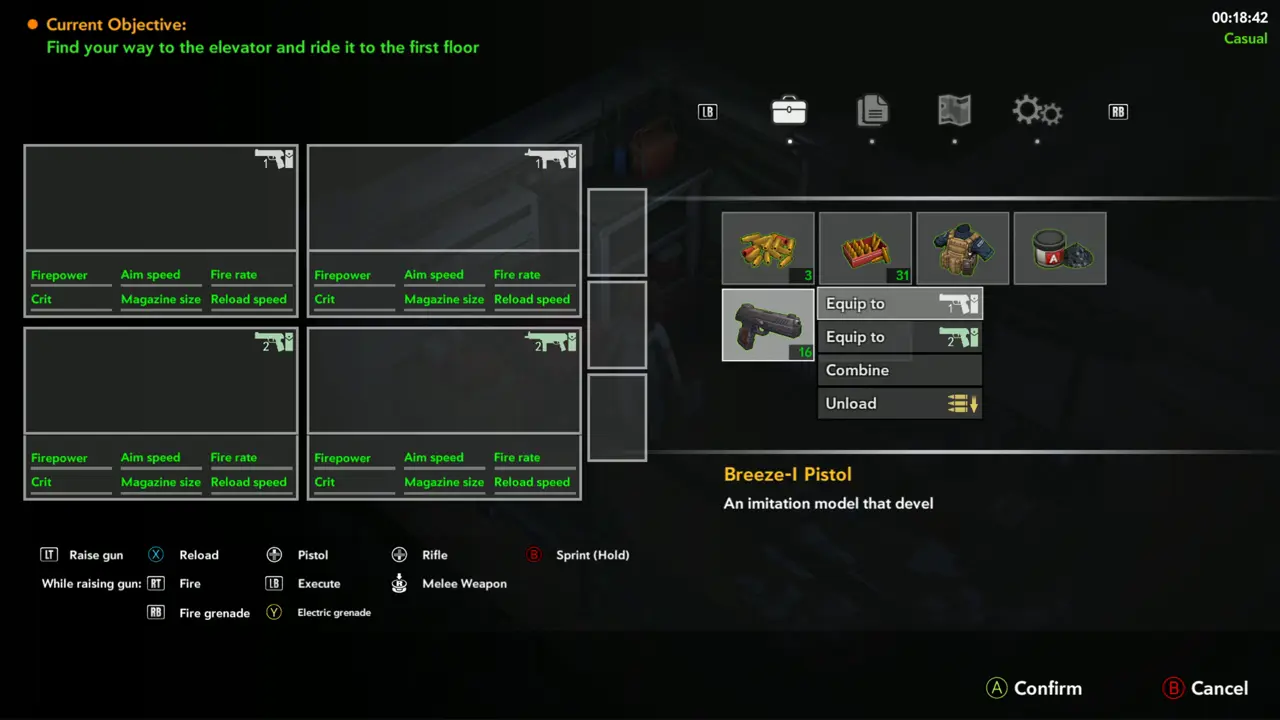
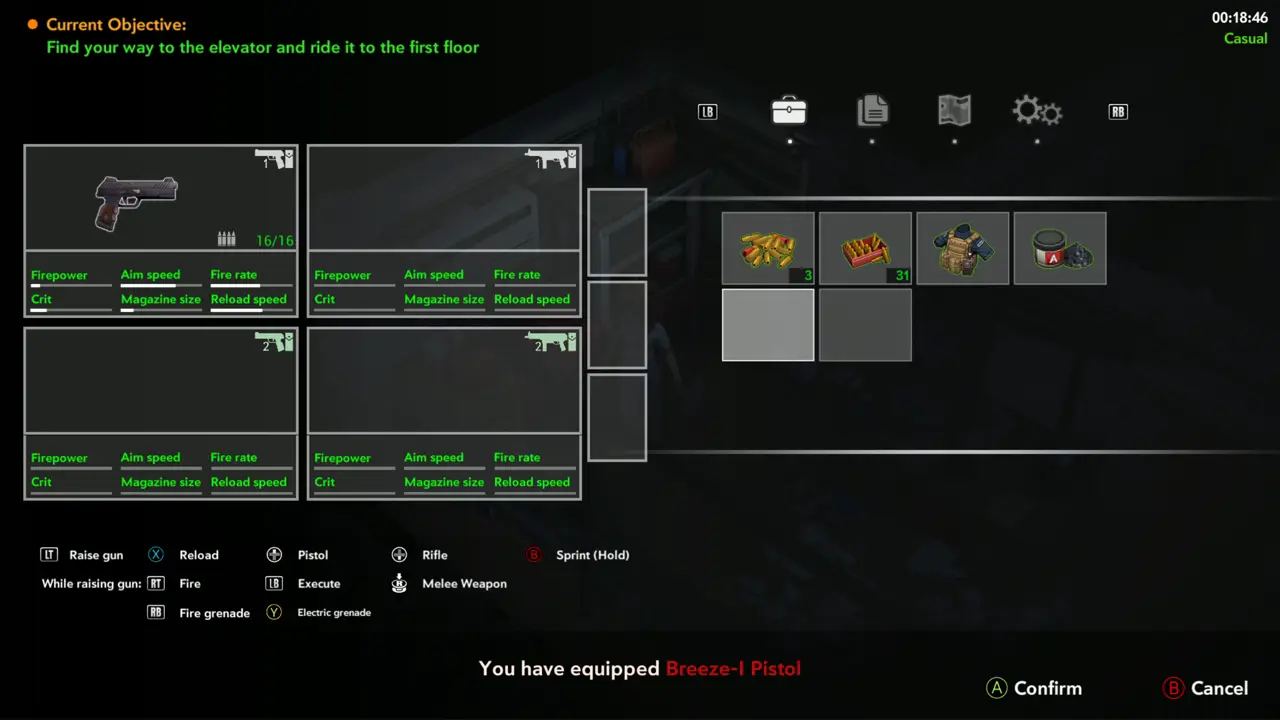
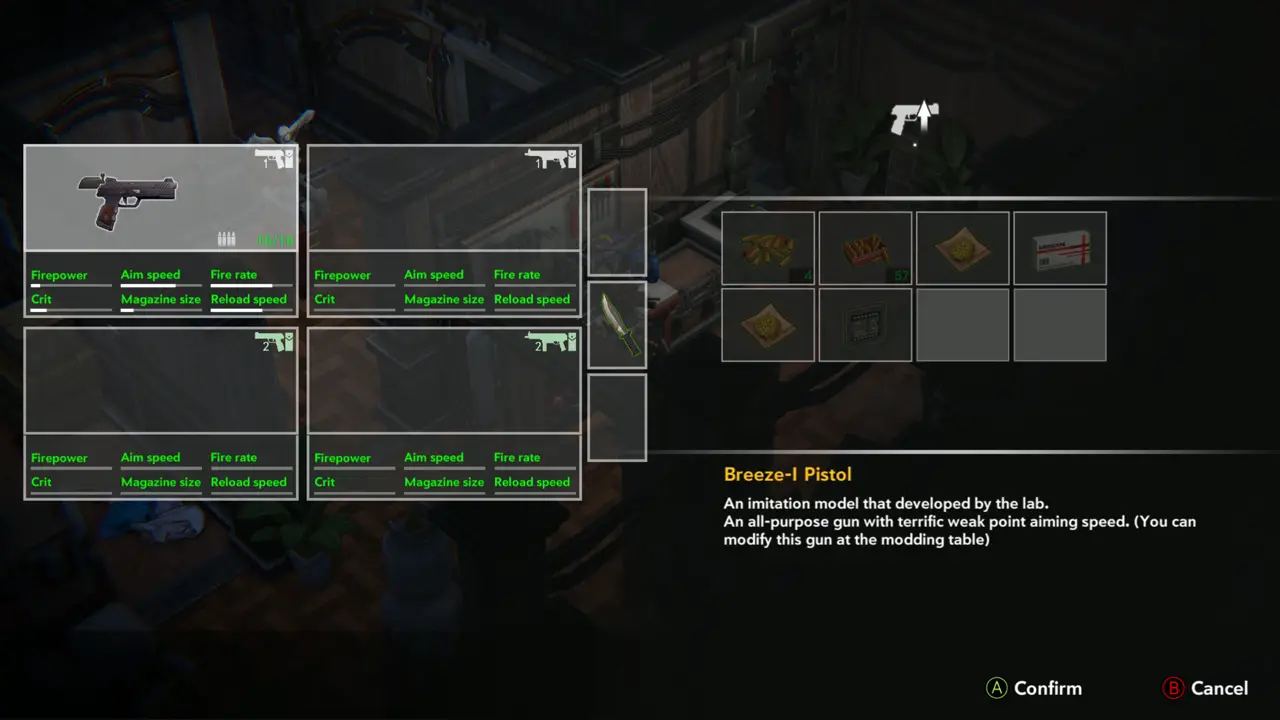
WEAPON 2 Open the inventory, select the Breeze-I Pistol and choose Equip to a slot. “You have equipped Breeze-I Pistol” appears.
Equip menu
Equip menu
Pistol equipped
Pistol equipped
35
Security Room - washroom and next room
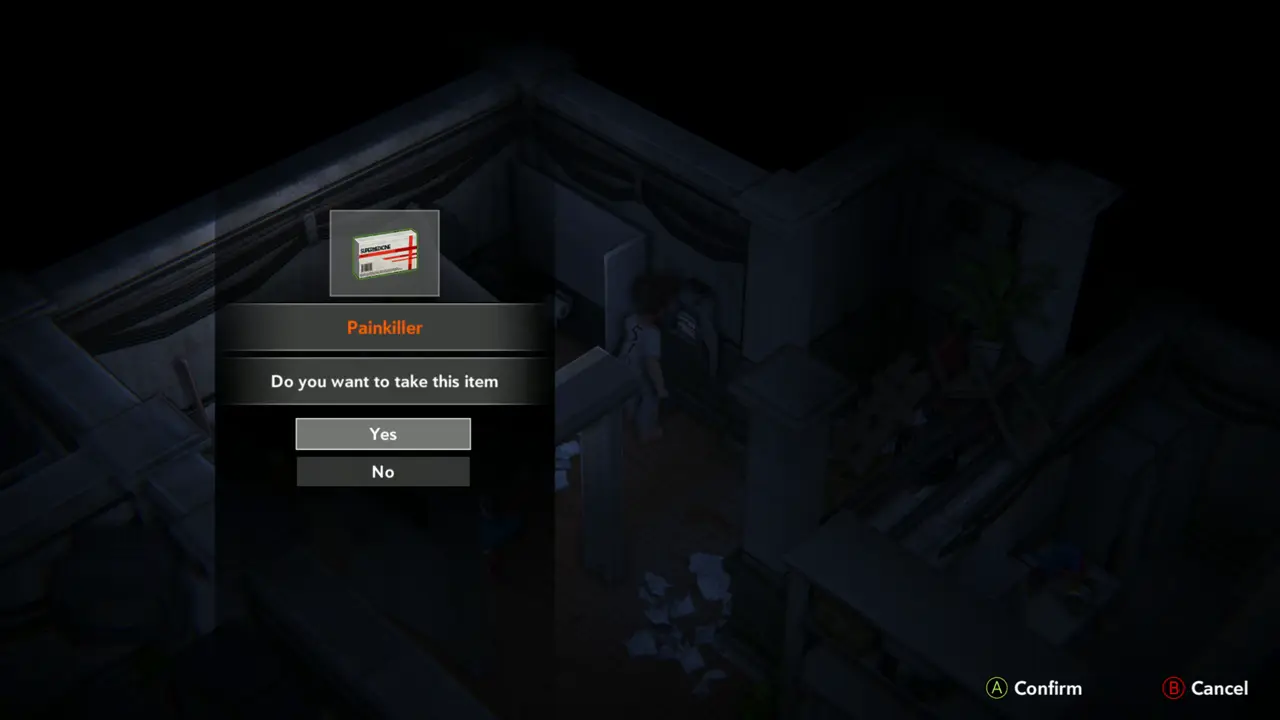
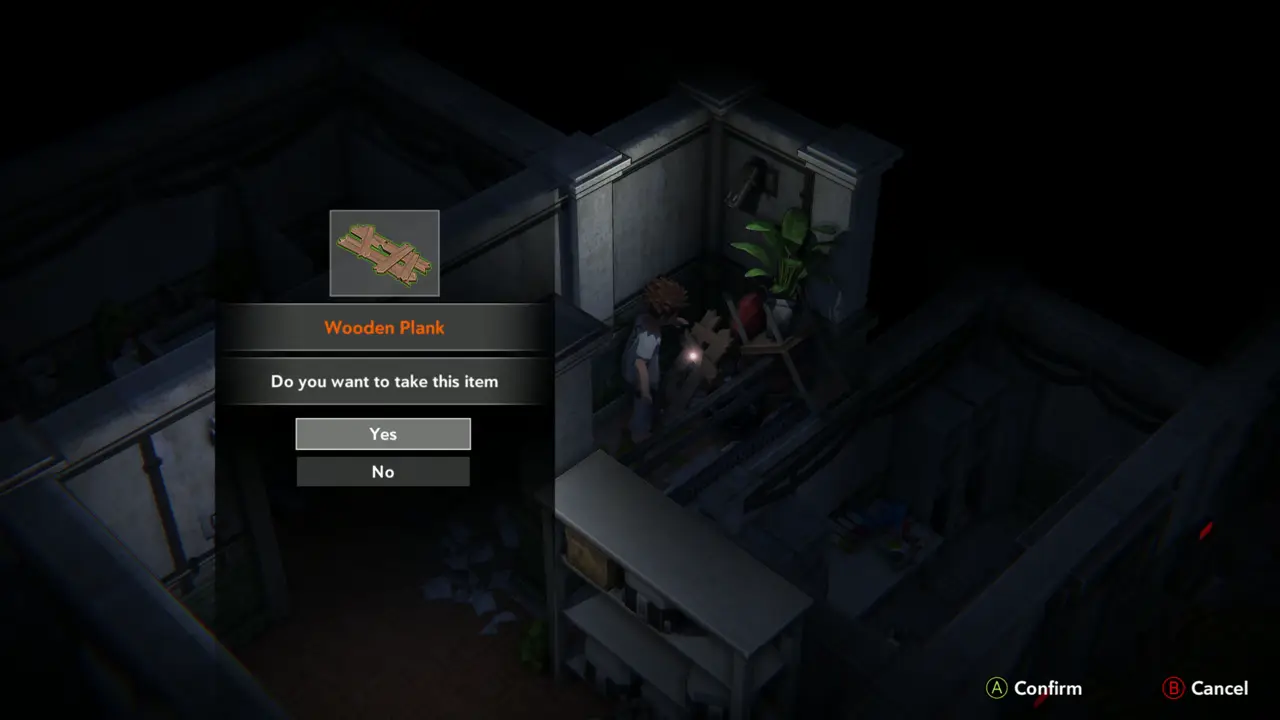
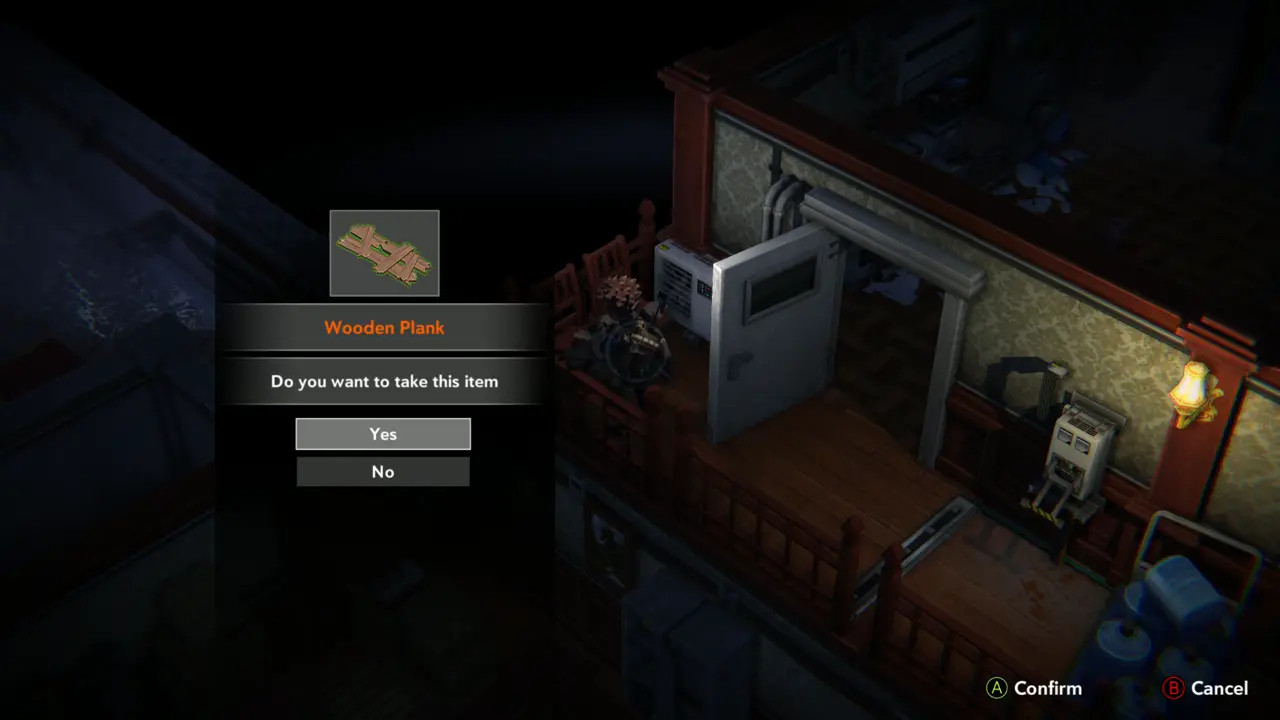
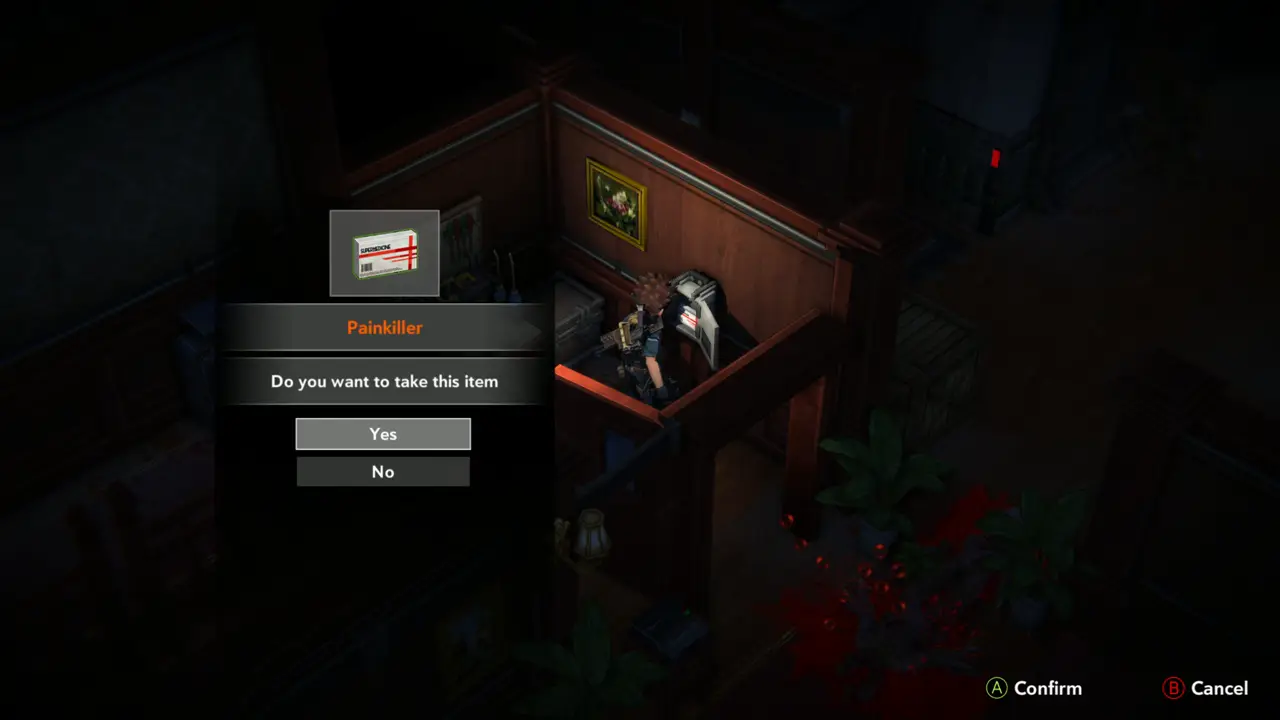
ITEM 11–12 In the small washroom area past the desk take the Painkiller. Then take the Wooden Plank from the table by the shelf in the next room.
Painkiller prompt
Painkiller prompt
Wooden Plank prompt
Wooden Plank prompt
36
Lab - generator by the stairs
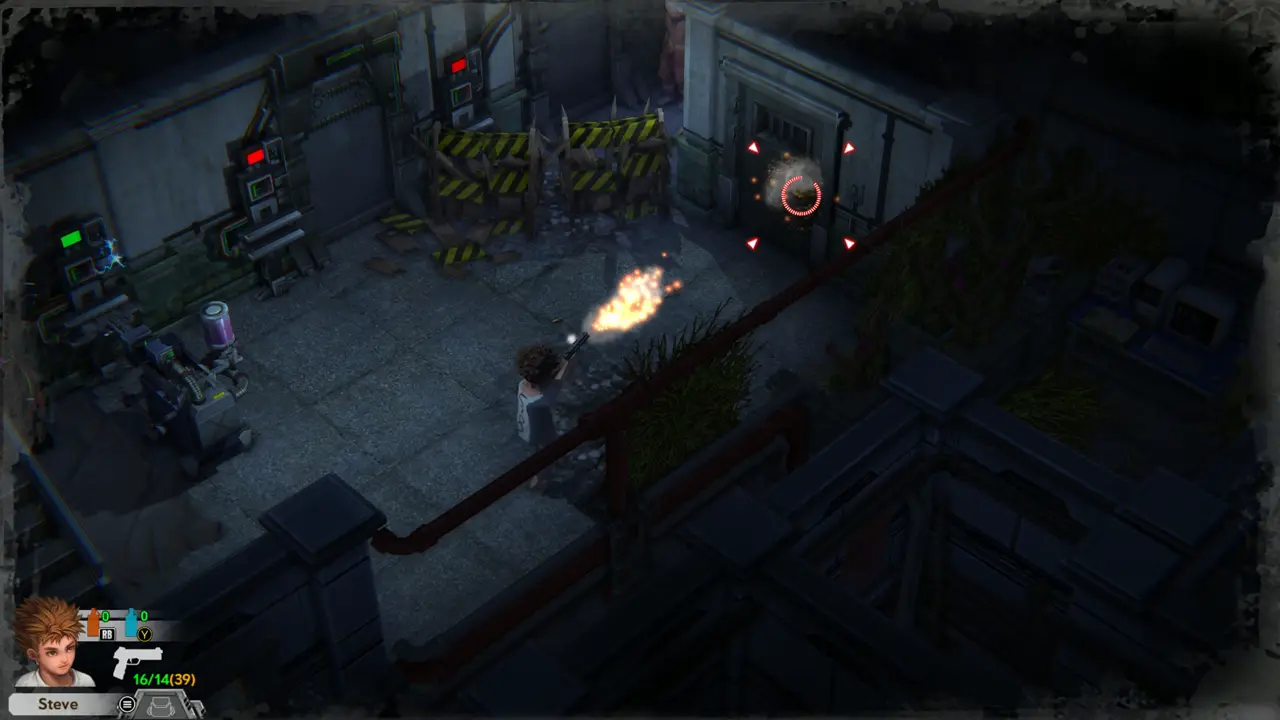
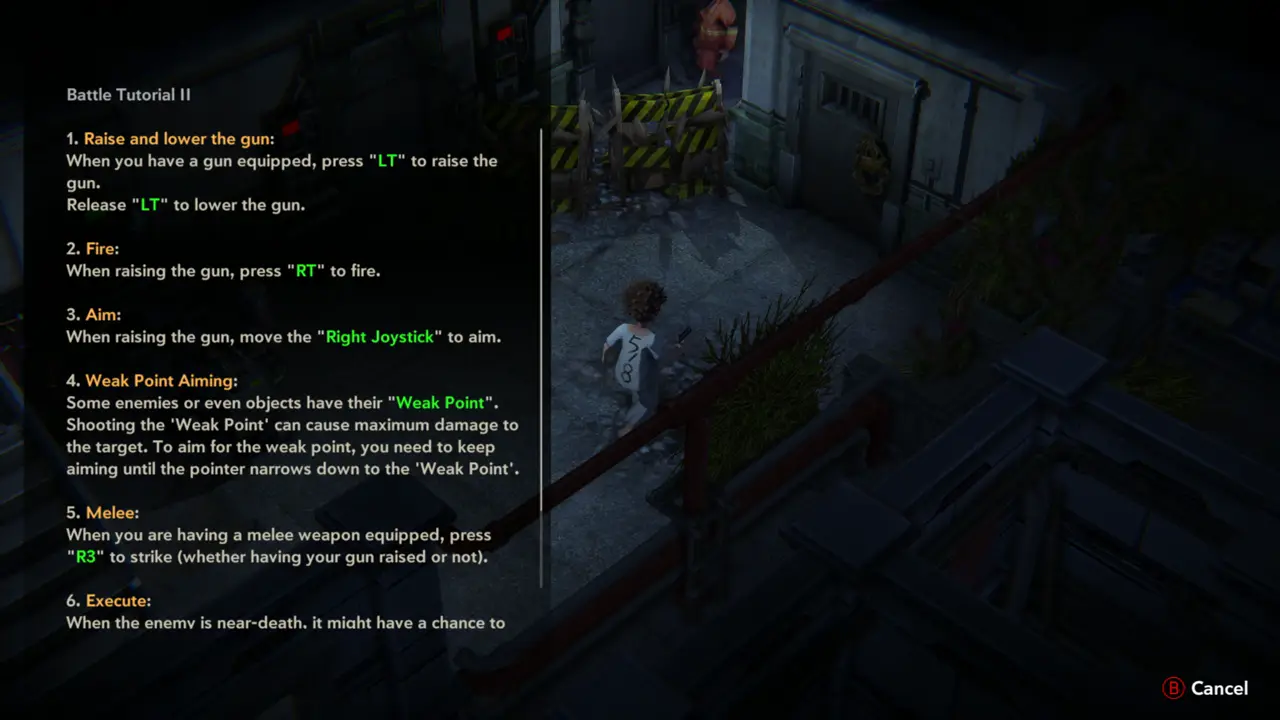
FIGHTDOORFILE 13 Return to the generator room, raise the pistol and shoot the round rusty lock on the door at the right end of the room. Battle Tutorial II opens. Zombies come through the barricade; shoot them in the head.
Shooting the lock
Shooting the lock
Battle Tutorial II
Battle Tutorial II
37
Lab - crate room
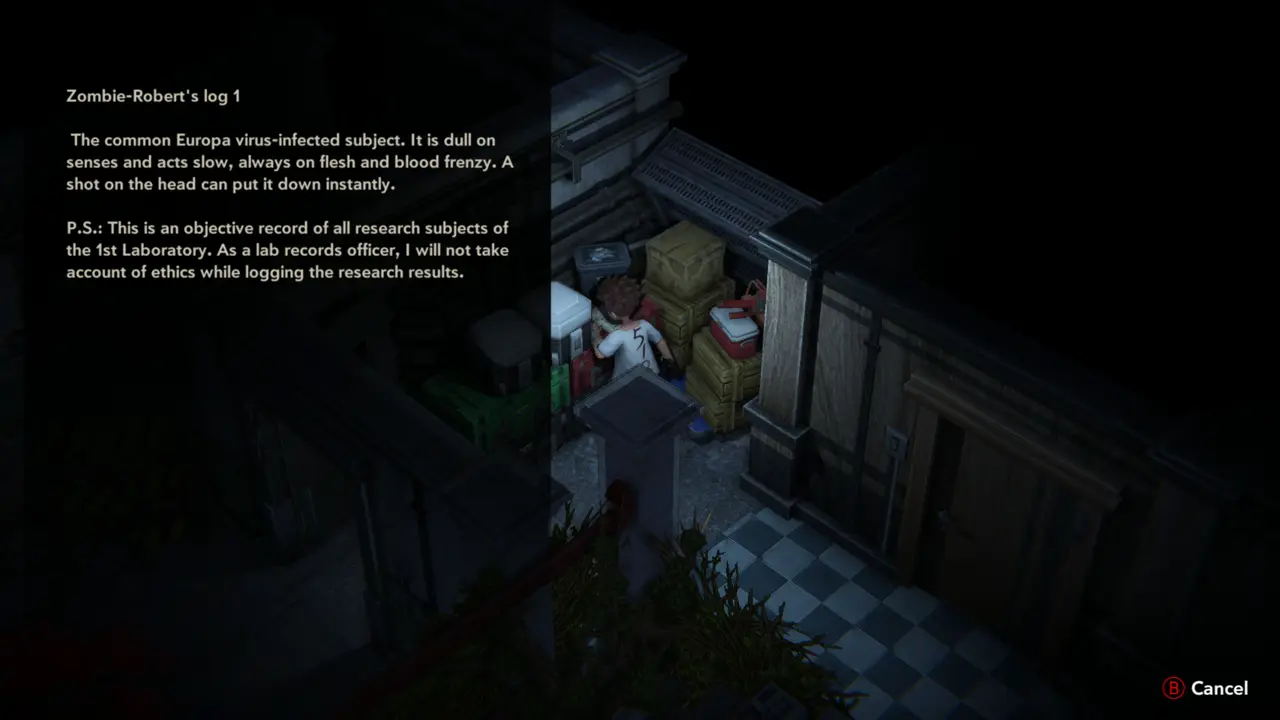
FILE 14 Enter the crate room behind the lock and read Zombie-Robert's log 1.
Crate room entrance
Crate room entrance
Log text
Log text
38
Dressing Room
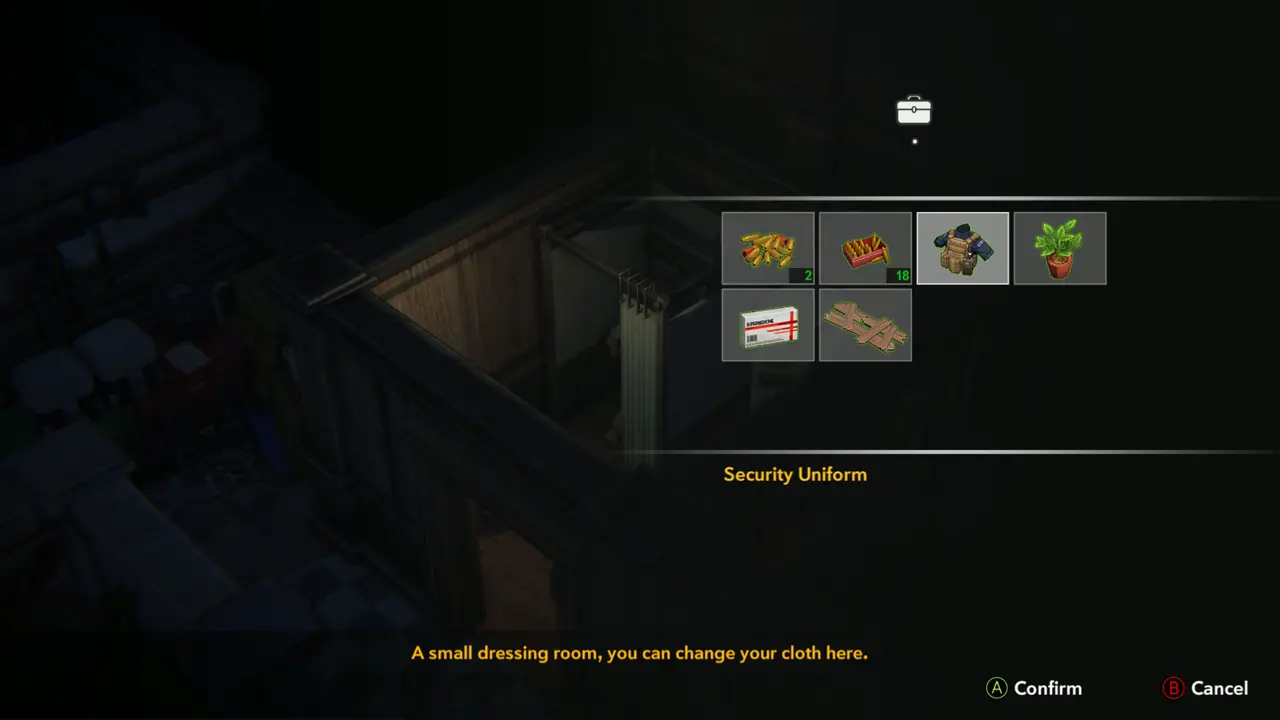
WEAPON 1KEY ITEM Enter the Dressing Room: “A small dressing room, you can change your cloth here.” Open the inventory, select the Security Uniform and use it to change clothes.
Before the room
Before the room
Dressing room message
39
Dressing Room
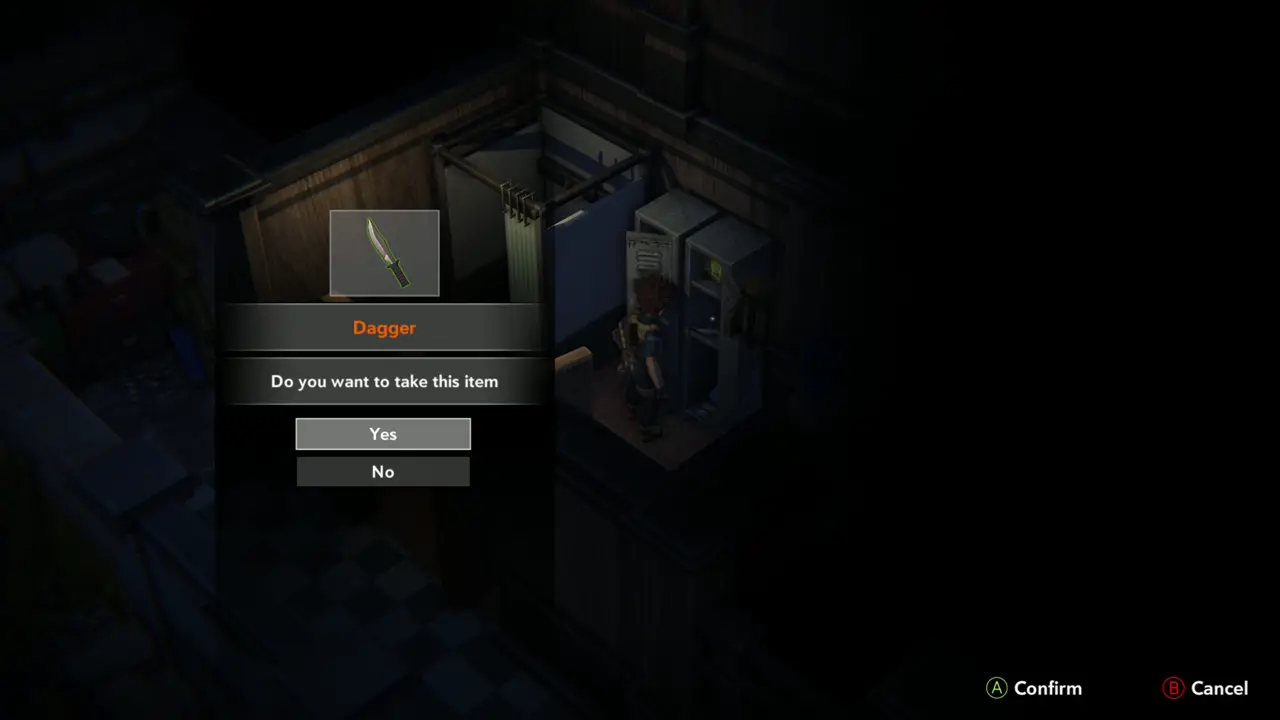
WEAPON 3 Take the Dagger from the cabinet beside the changing booth. It is a melee weapon.
Dagger prompt
Dagger prompt
40
New Building Lab
SAVE 2 In the New Building Lab, save at the save point next to the desk with the monitors and use the storage box beside it to store spare items.
Save slot screen
Save slot screen
Storage box
Storage box
41
New Building Lab - security scanner
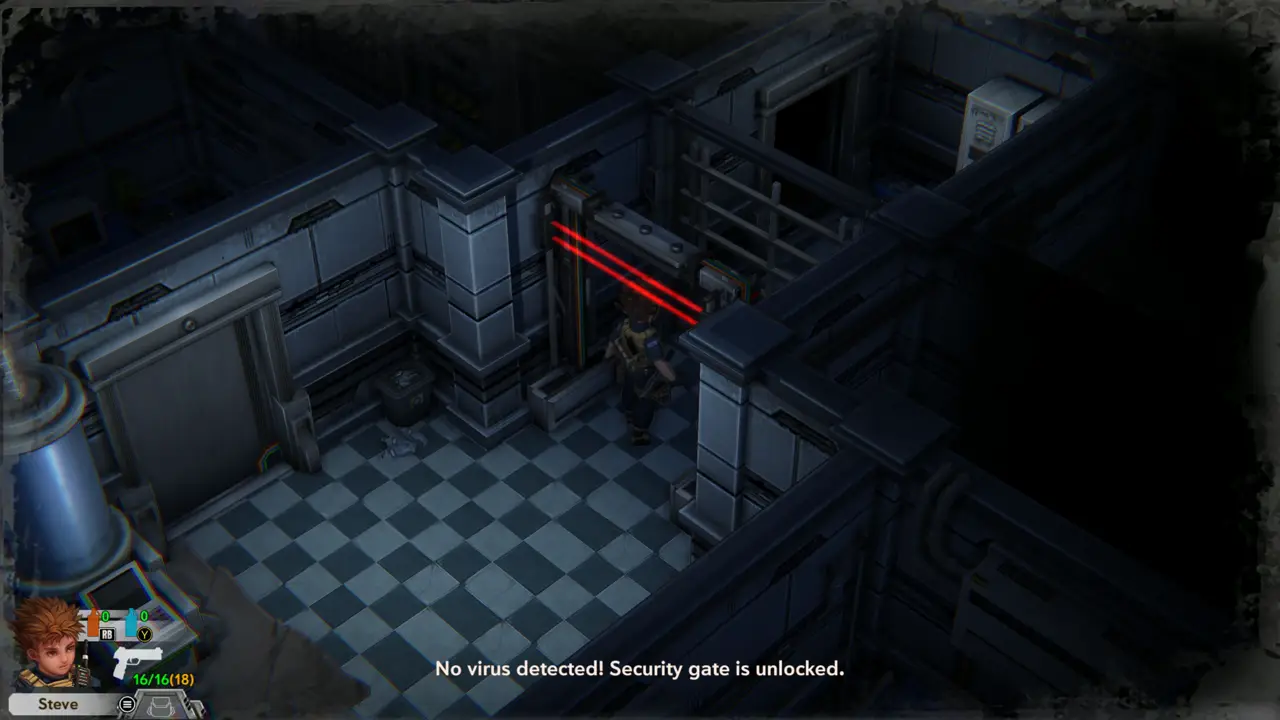
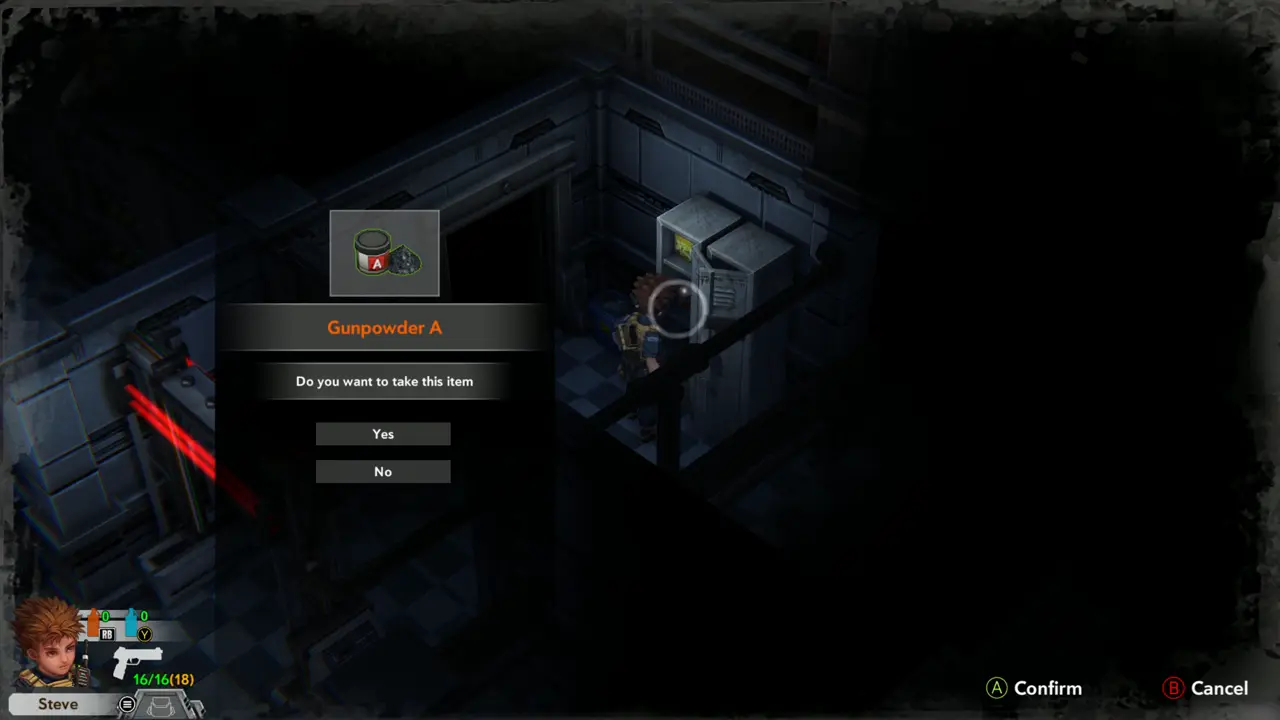
ITEM 13DOOR Walk through the red-beam security scanner wearing the uniform: “No virus detected! Security gate is unlocked.” Take the Gunpowder A from the cabinet just beyond it.
Scanner unlocked
Scanner unlocked
Gunpowder A prompt
Gunpowder A prompt
42
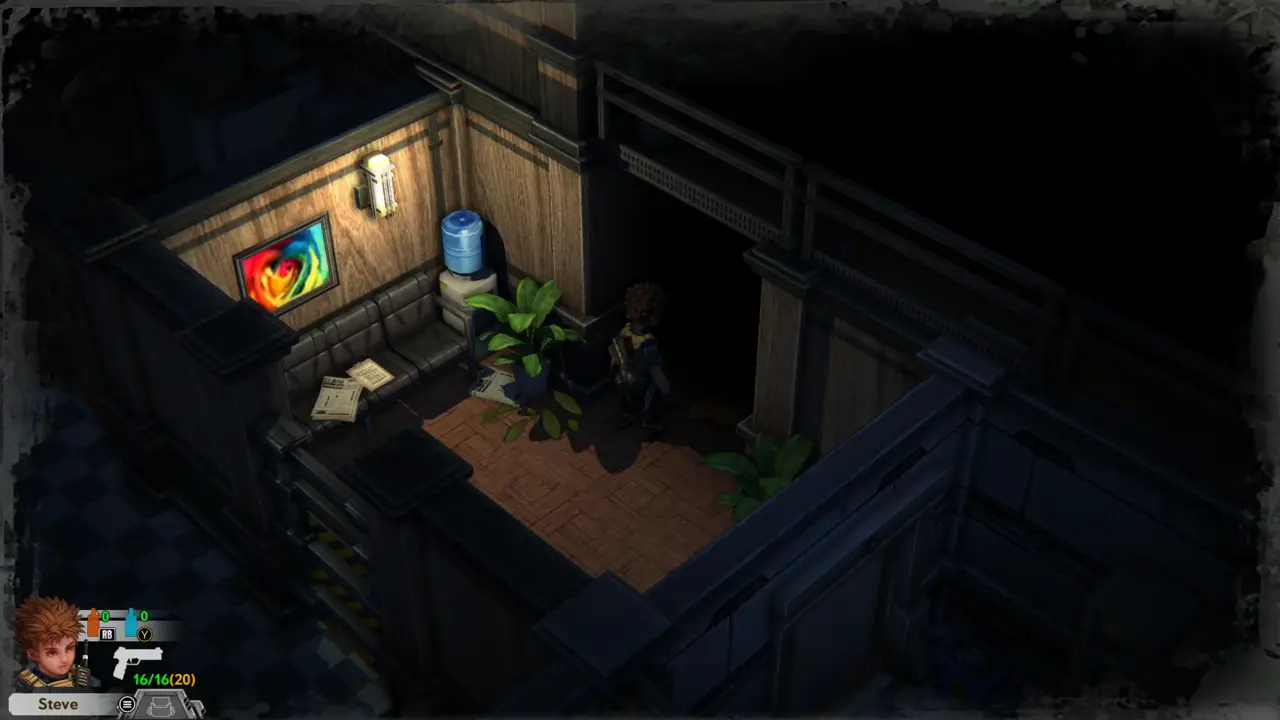
Lounge with couch and water cooler
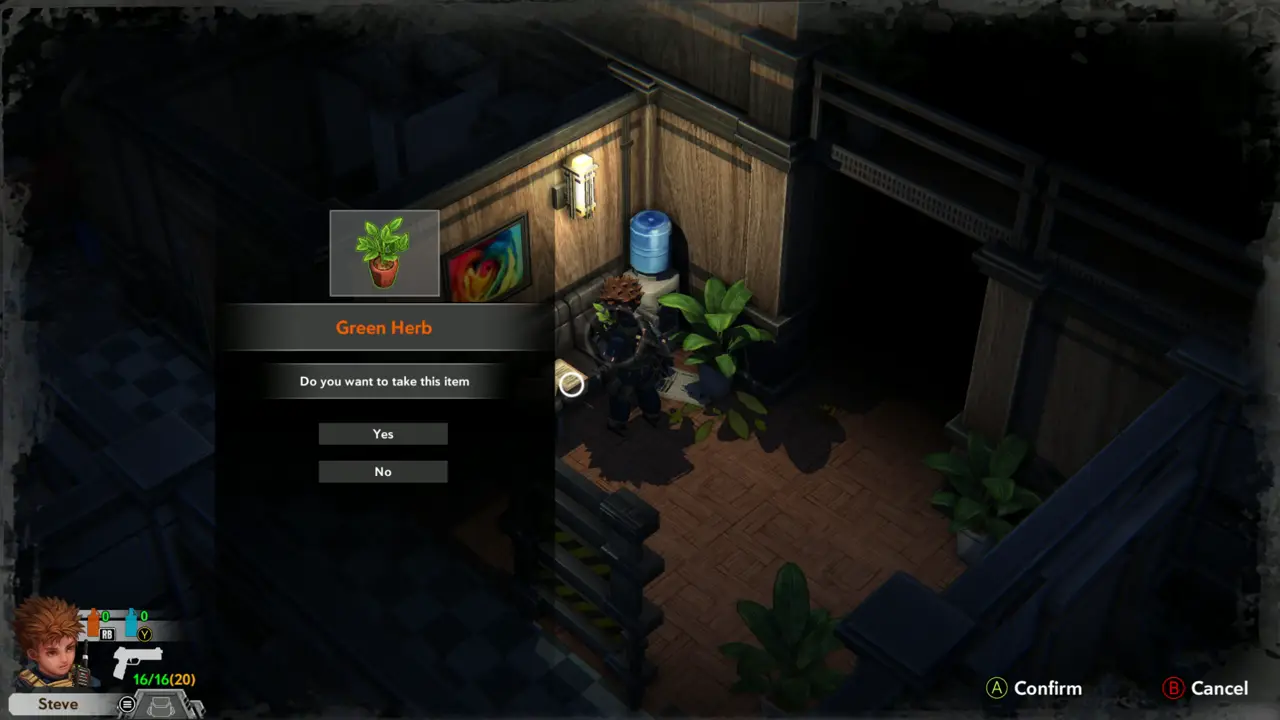
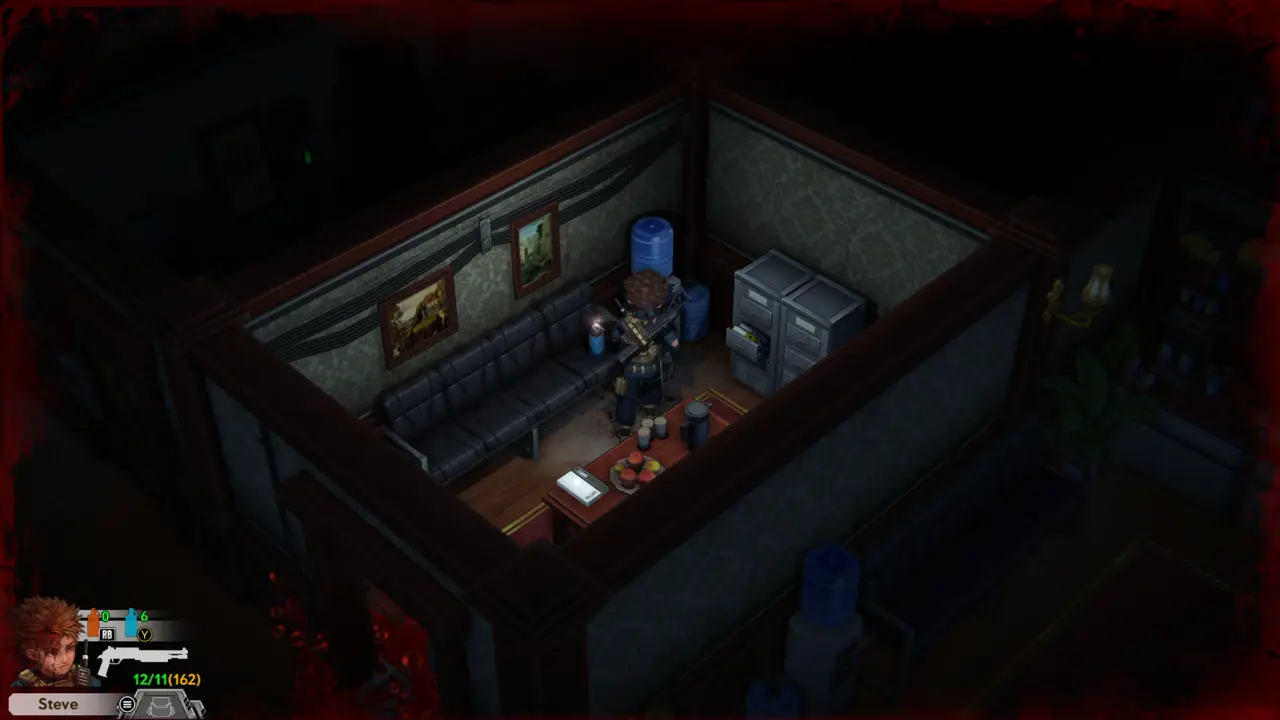
ITEM 14 In the lounge with the couch, the painting and the water cooler, take the Green Herb.
Green Herb prompt
Green Herb prompt
43
Lounge with couch and water cooler
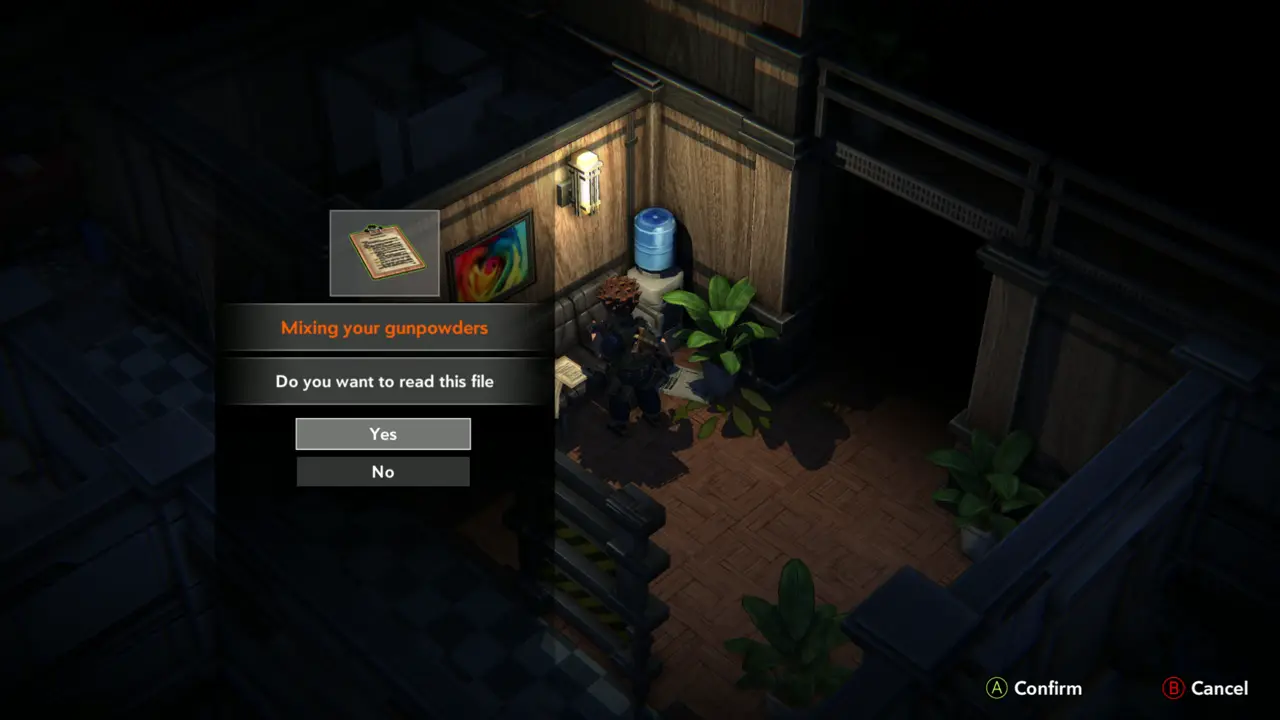
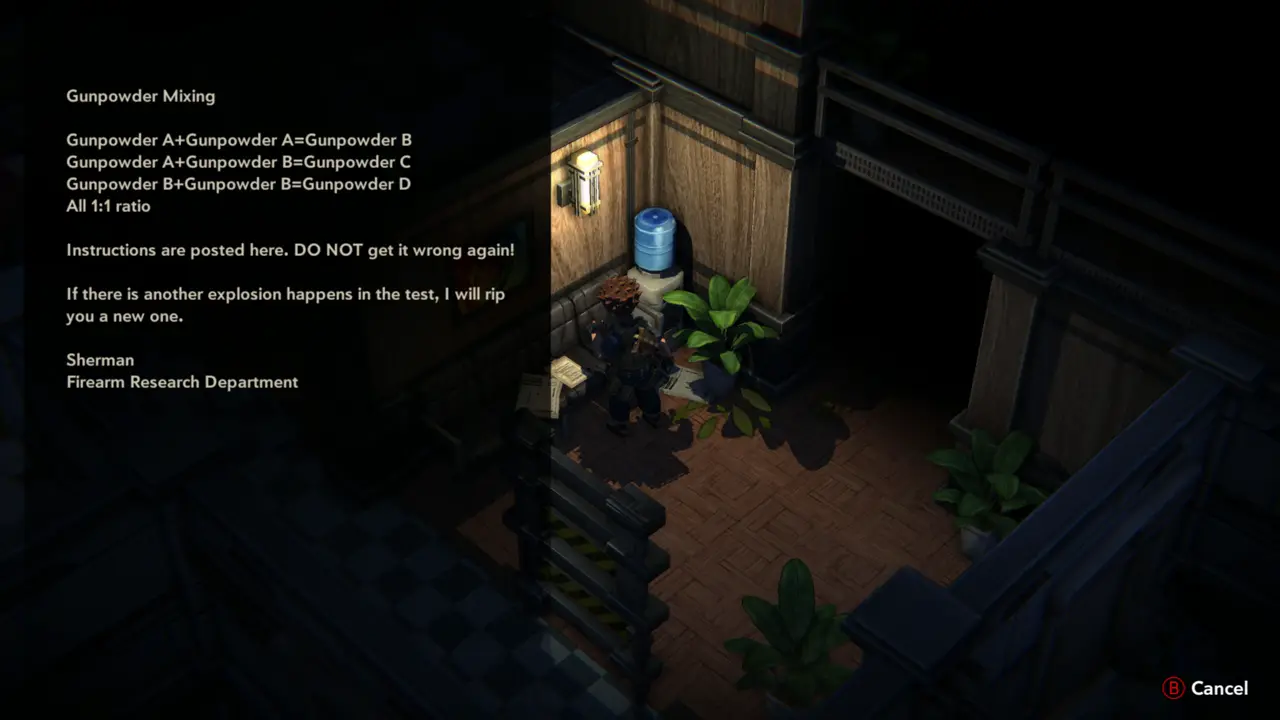
FILE 15NOTE Read the file “Mixing your gunpowders” (Gunpowder Mixing) on the couch table. It lists the gunpowder recipes.
File prompt
File prompt
Mixing text
Mixing text
44
Lounge with couch and water cooler
ITEM 15 Take the Ammo Shells Pile from the table in the lounge.
Ammo Shells prompt
Ammo Shells prompt
45
Map
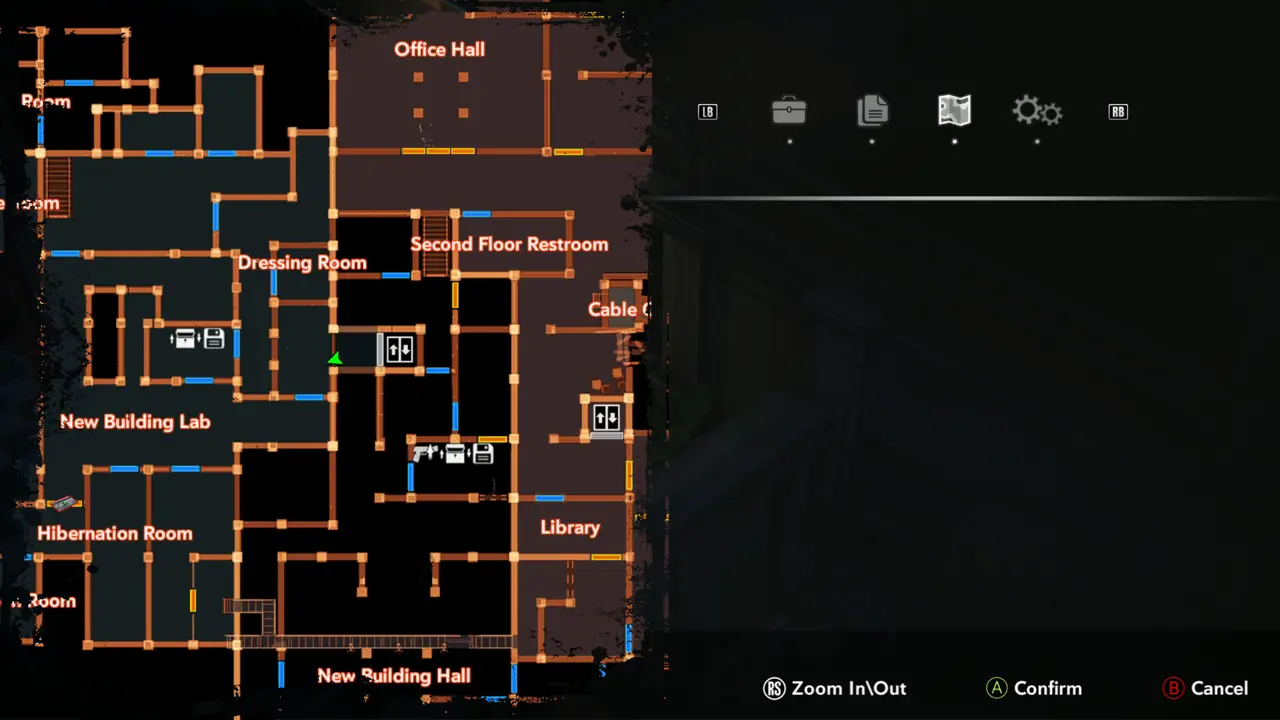
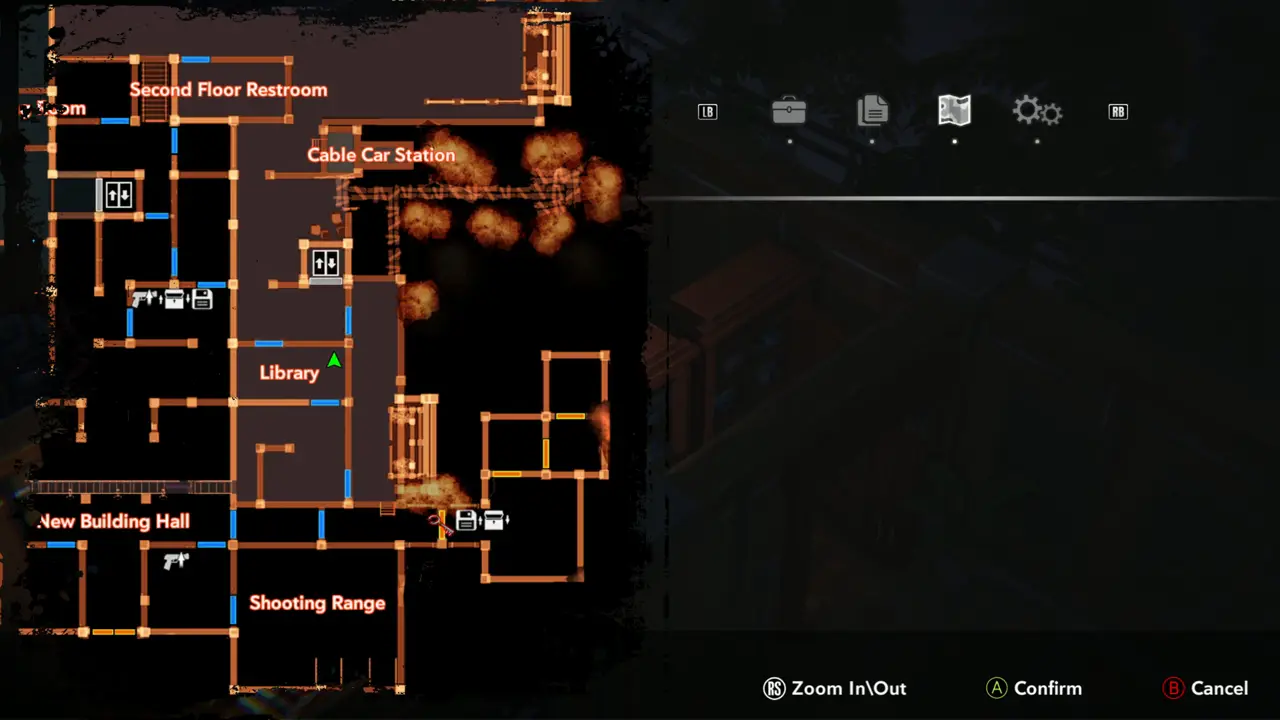
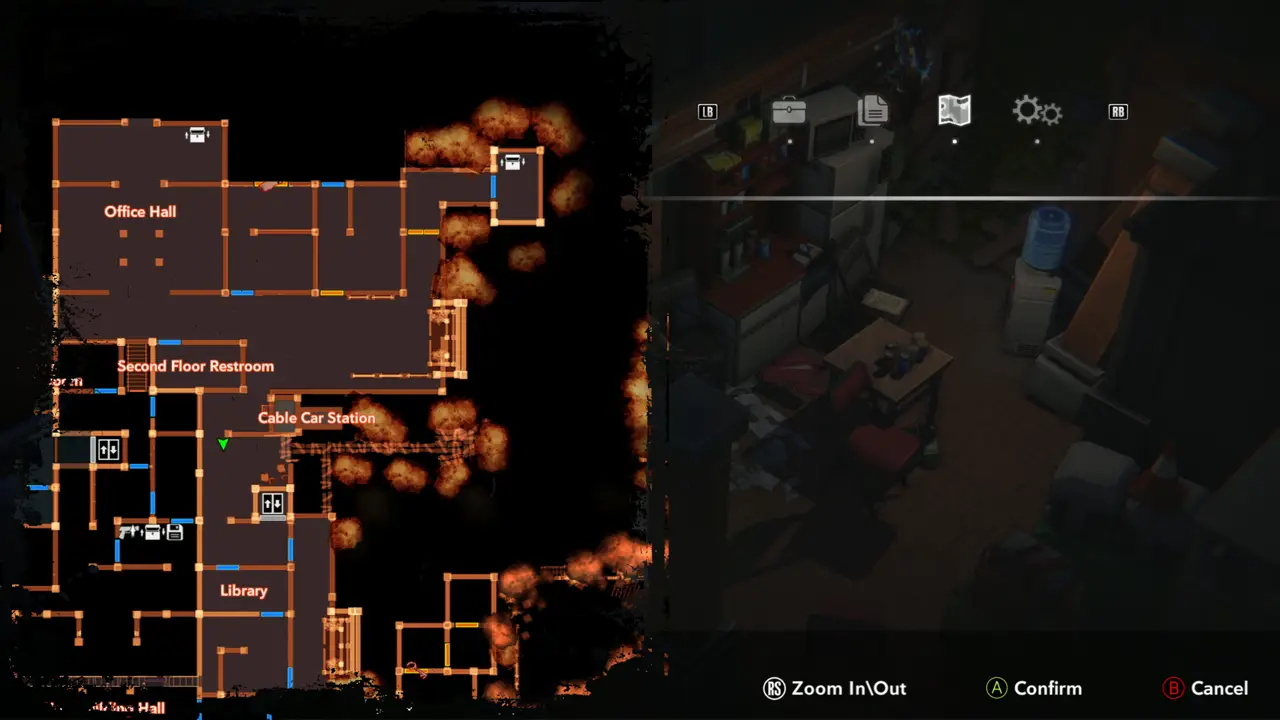
MAP Open the map. You are at the right edge of the Dressing Room beside an elevator icon. Office Hall, Second Floor Restroom, Cable room and Library lie to the east.
Map near elevator
Map near elevator
46
Elevator beside the lounge
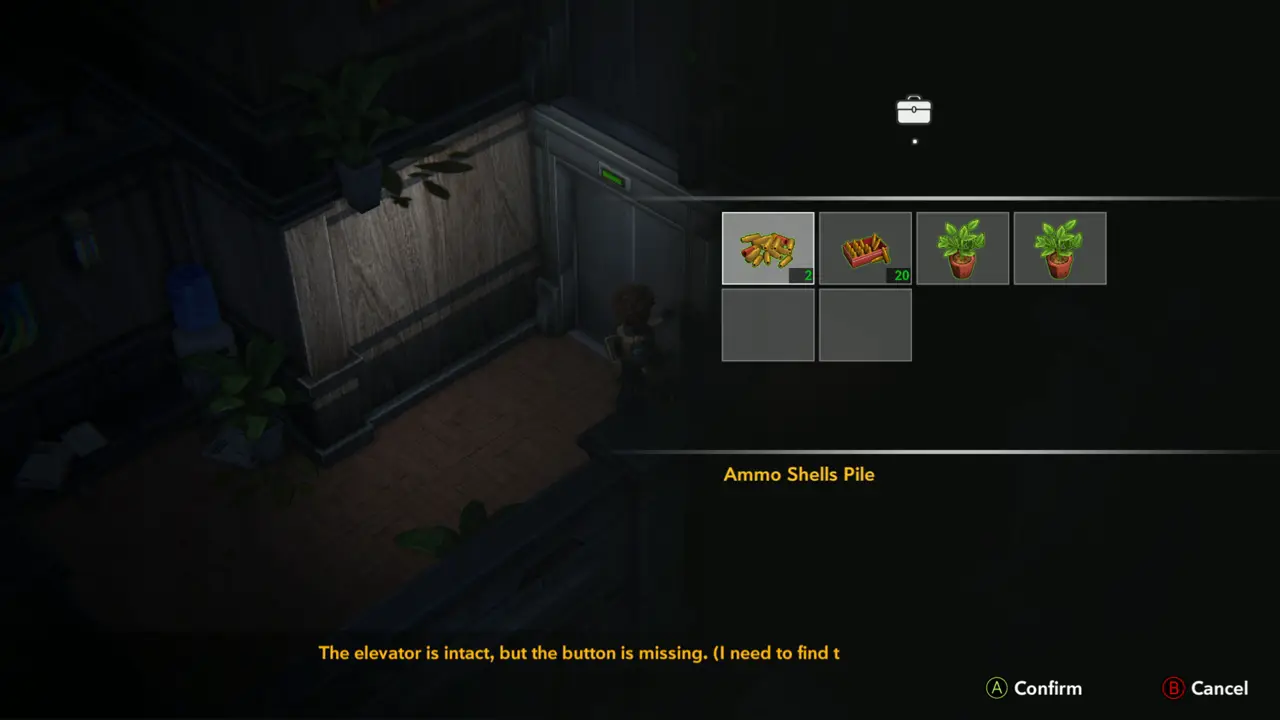
DOOR Check the elevator: “The elevator is intact, but the button is missing. (I need to find the button first)” The Elevator Button must be found elsewhere.
Elevator message
Elevator message
47
Lab - cage room with the ladder
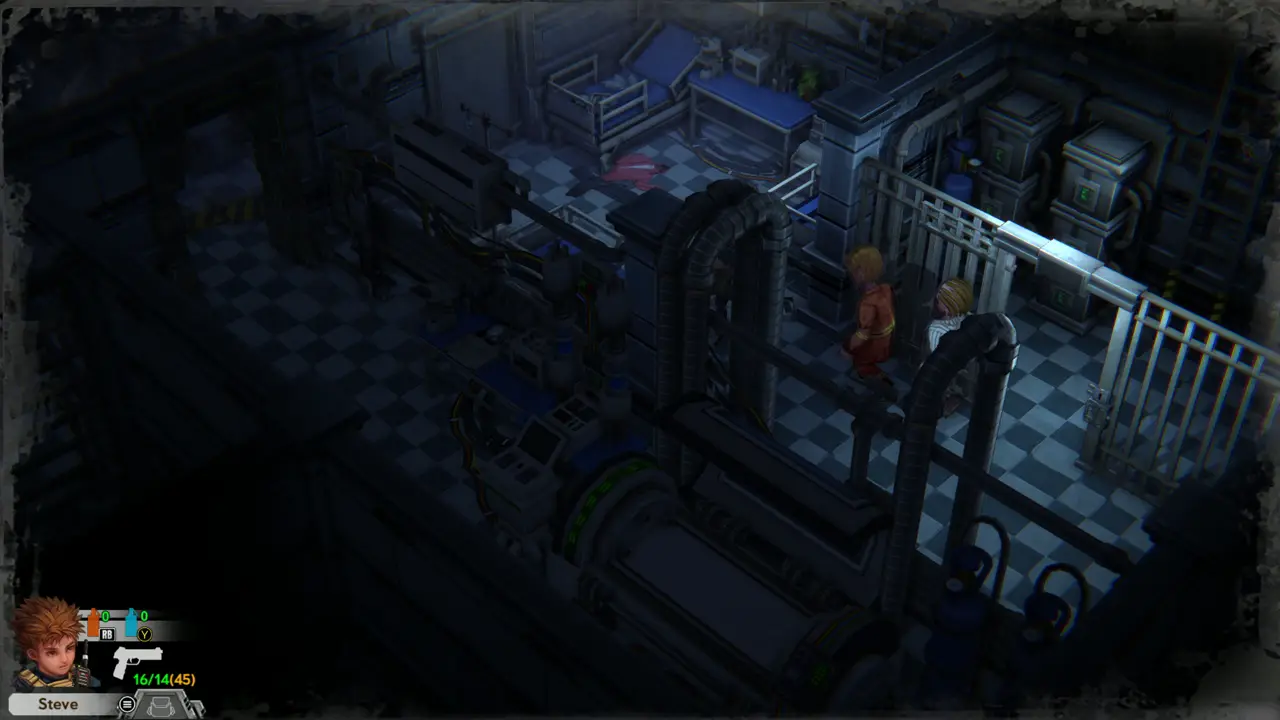
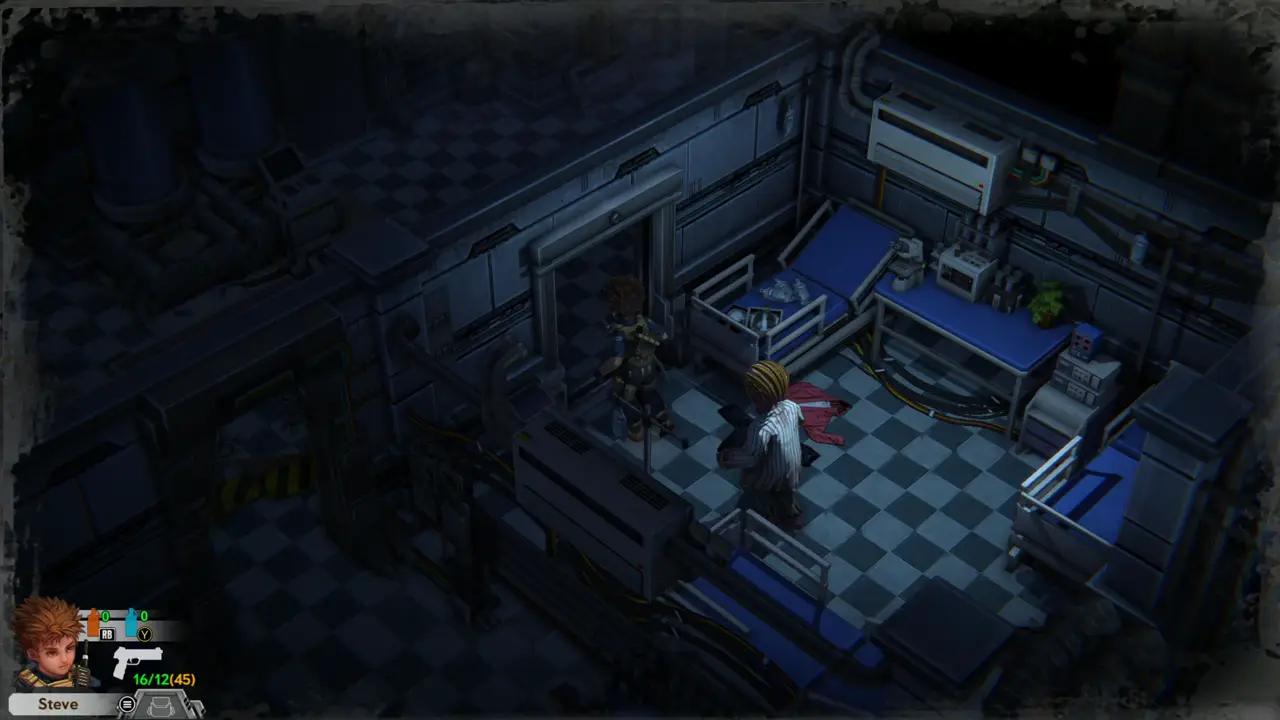
FIGHT Zombies wander the lab and the cage room. Keep your distance and shoot them in the head.
Zombies near beds
Zombies near beds
Fighting
Fighting
48
Lab - cage room with the ladder
DOOR Go to the foot of the ladder at the back of the cage room, press the interact button and climb up.
Ladder prompt
Ladder prompt
Climbing
Climbing
49
Upper floor - plant terrace with angel statue
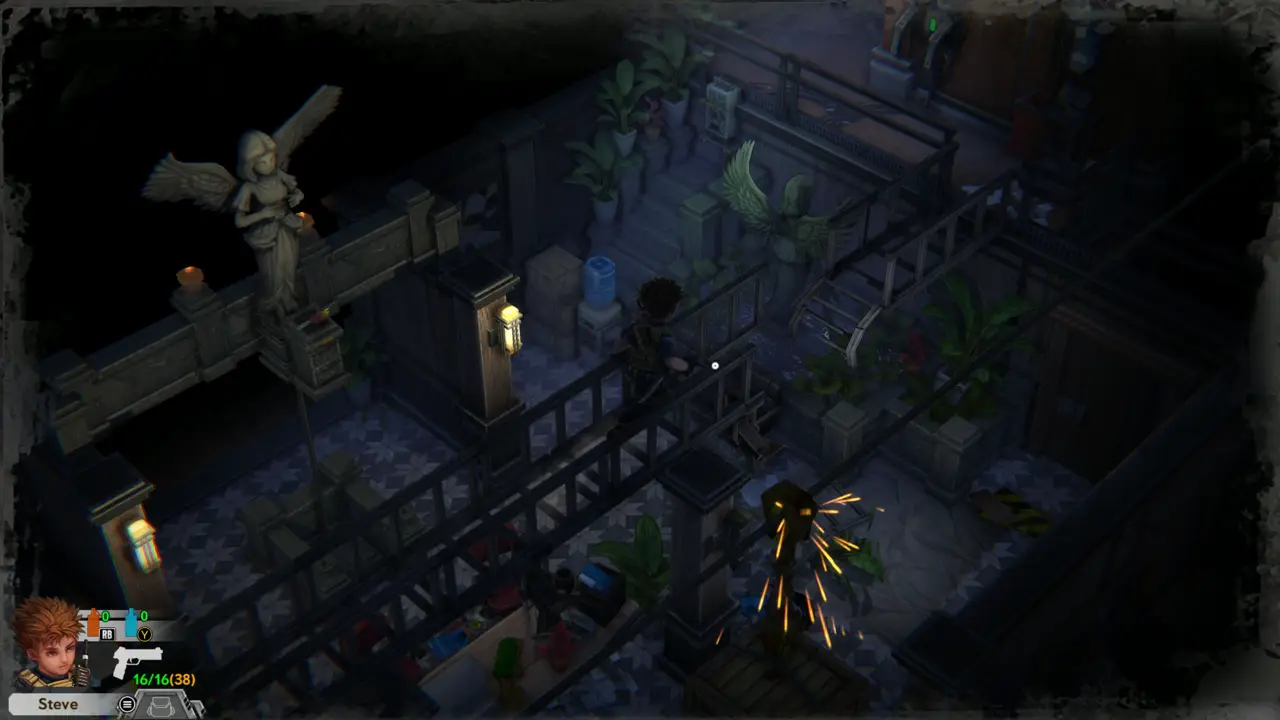
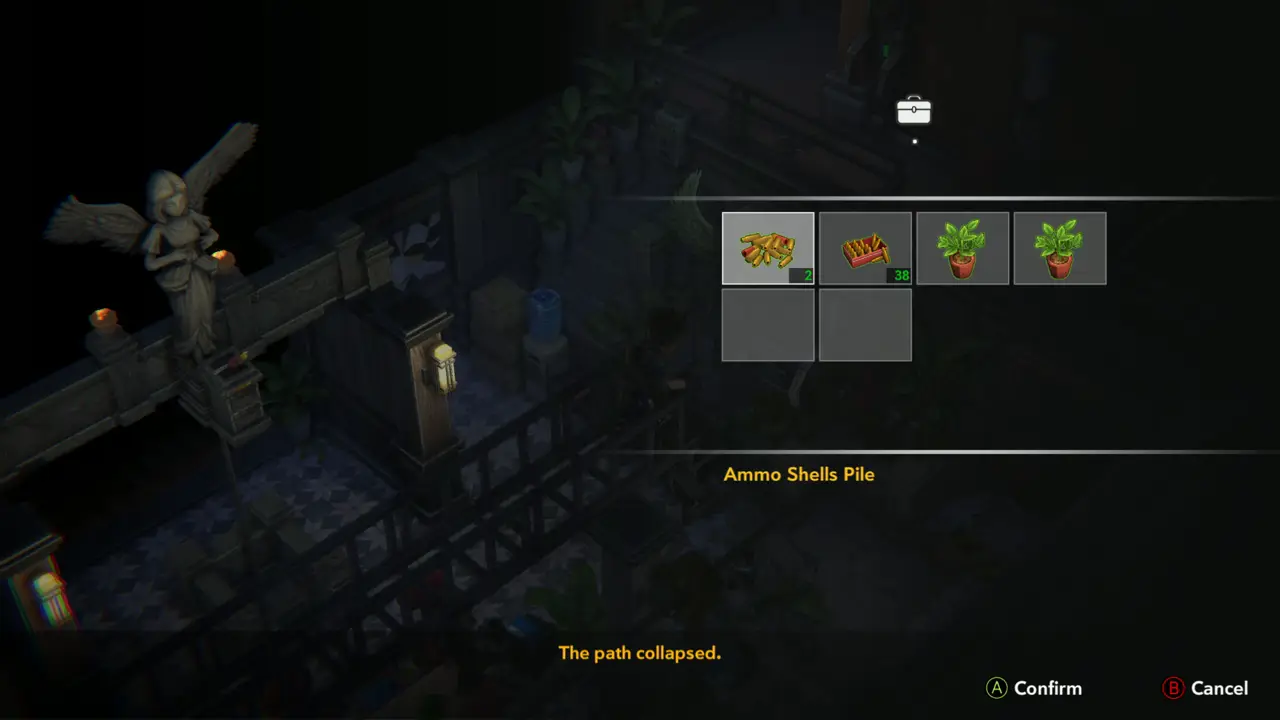
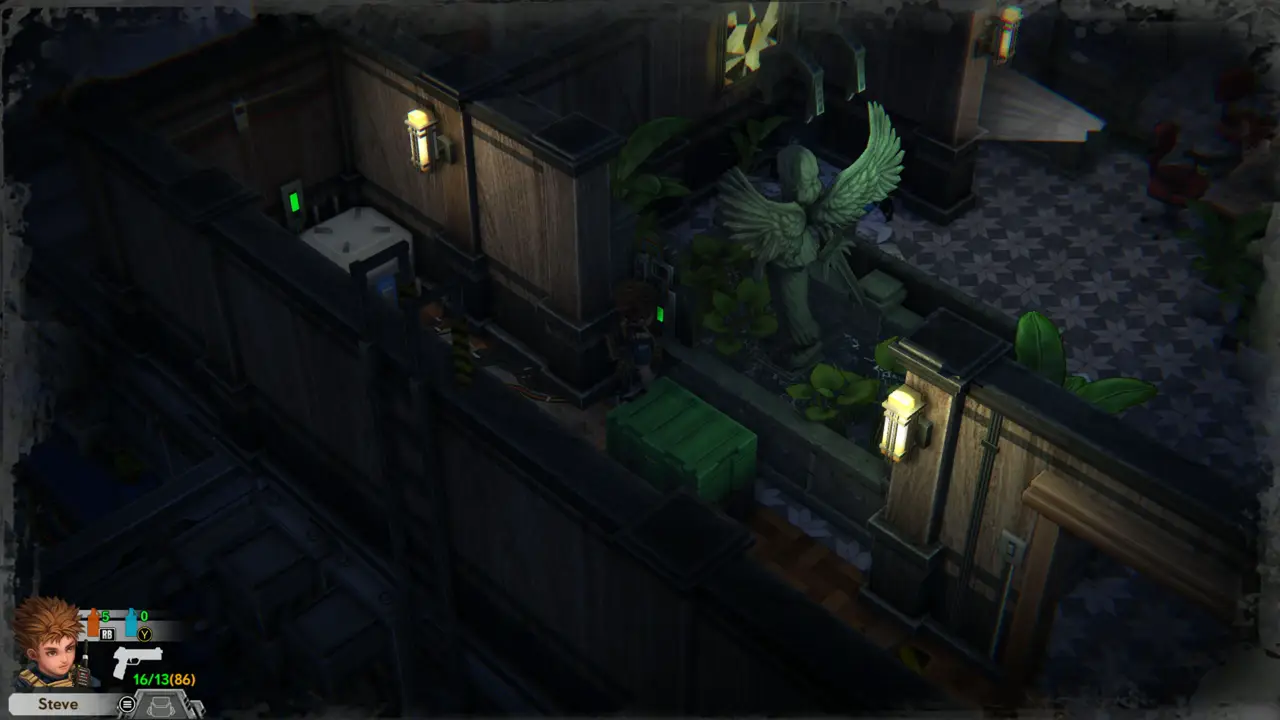
DOOR On the planted terrace next to the angel statue the way on is blocked: “The path collapsed.”
Statue terrace
Statue terrace
Path collapsed
Path collapsed

Part 2 — Library, courtyard and the second floor

In-game goal. Find your way to the elevator and ride it to the first floor.
1
near Library - Statue Room
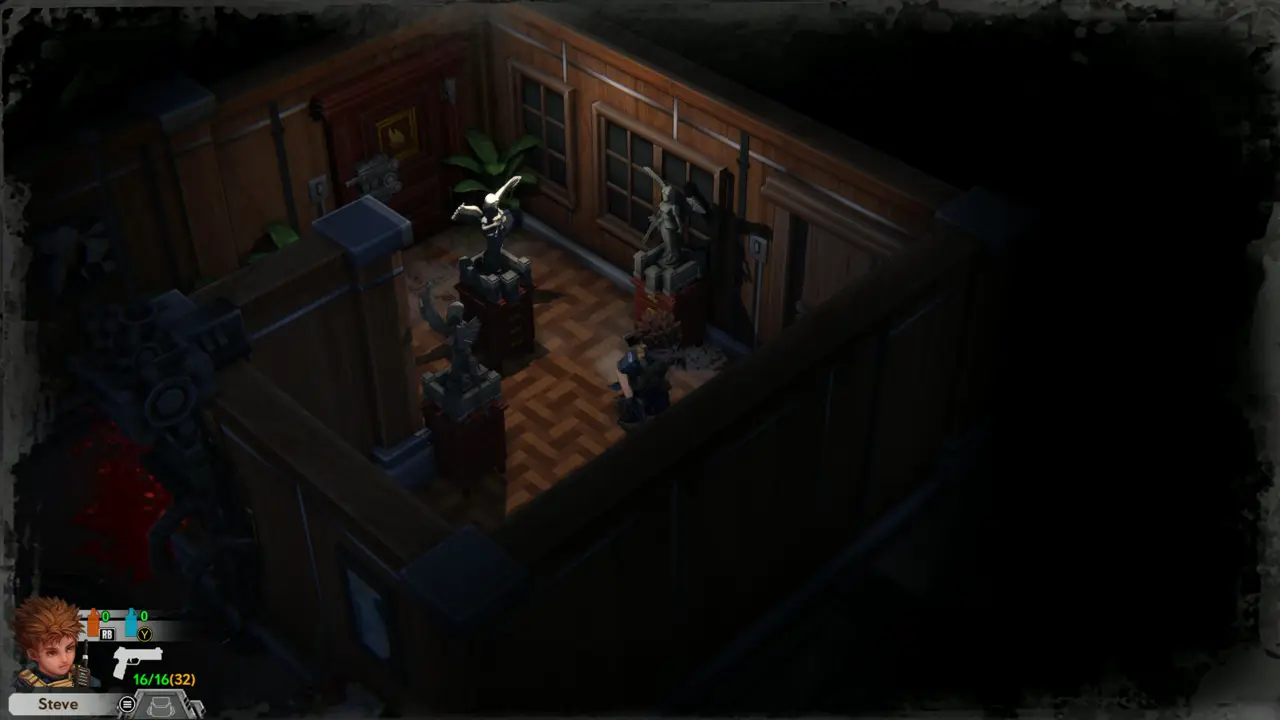
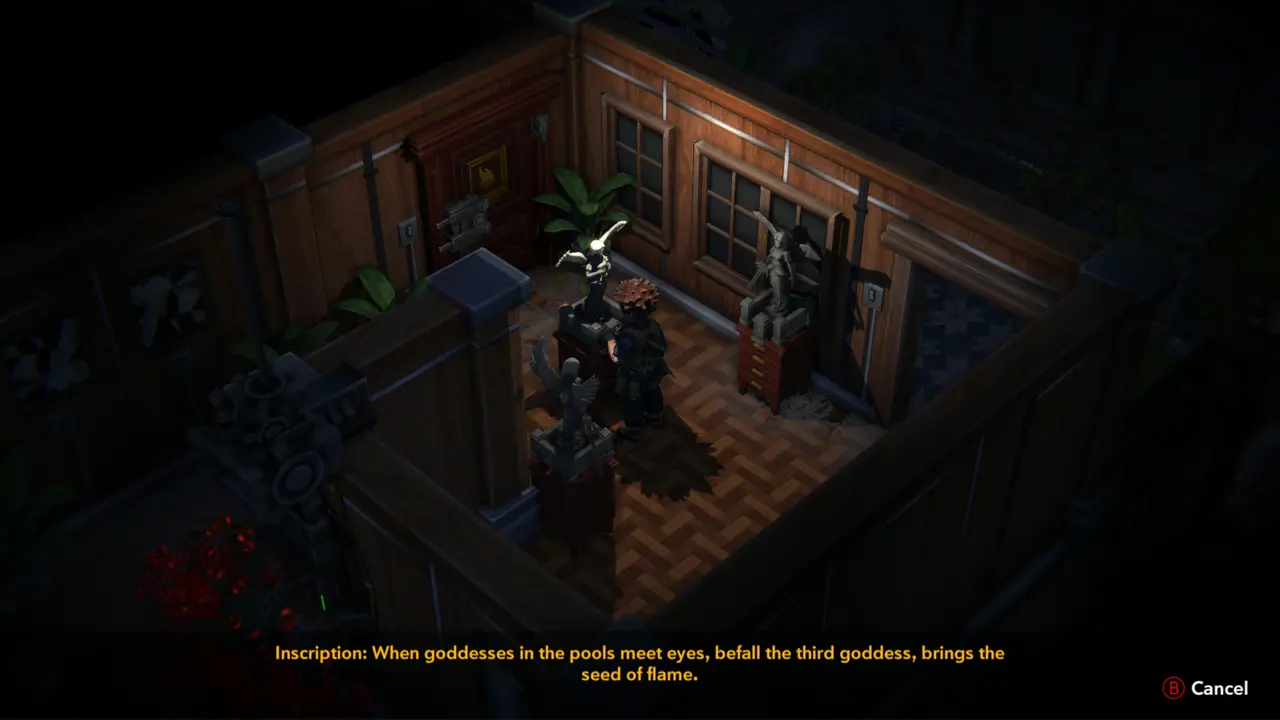
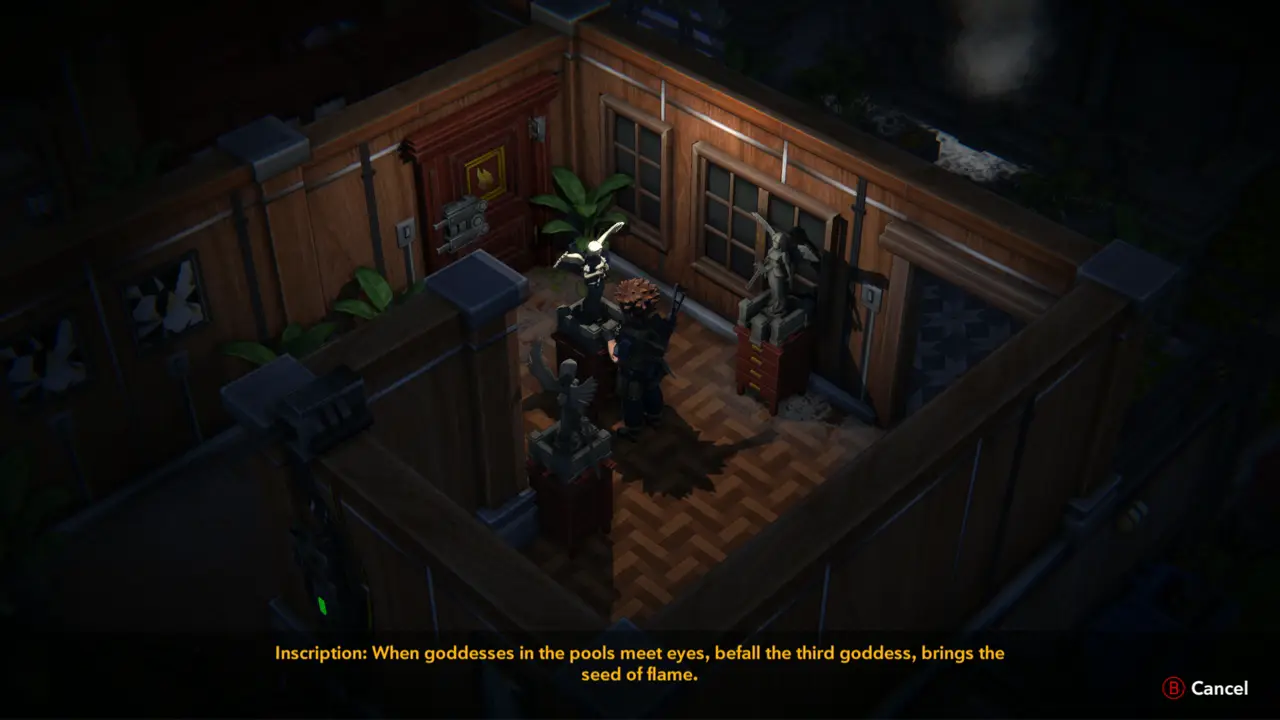
ITEM 16DOORPUZZLE 1 Enter the small statue room with three goddess statues and a red door with a golden flame plaque on the left wall. Take the Ammo Shells Pile, then examine the central statue: “Inscription: When goddesses in the pools meet eyes, befall the third goddess, brings the seed of flame.” This is the clue for the fountain pools outside.
Statue room and flame door
Inscription on the statue
2
near Library - Fountain Courtyard
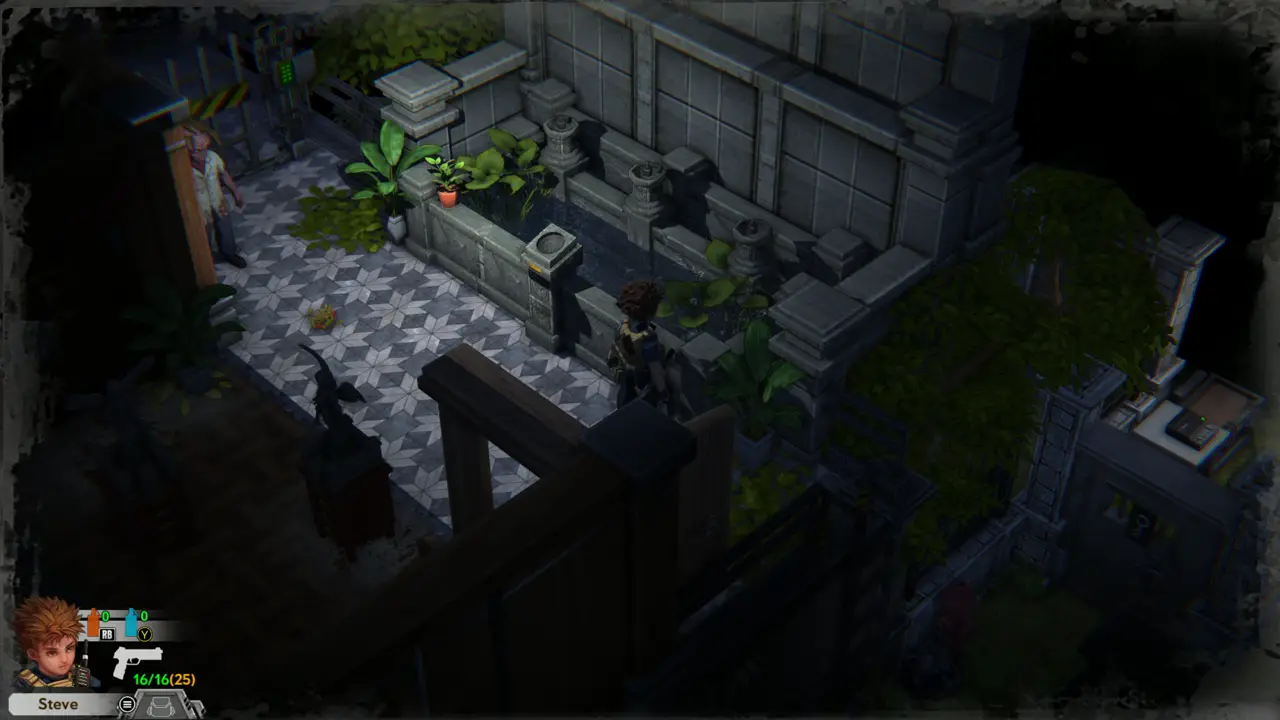
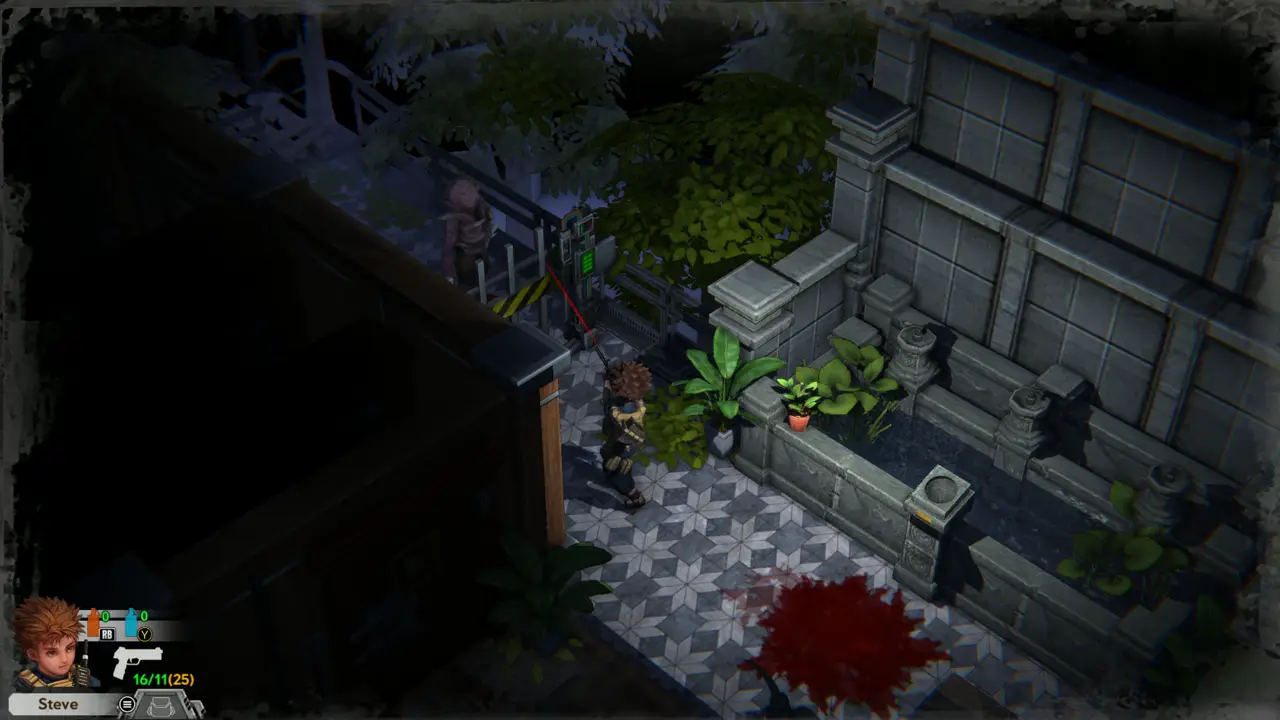
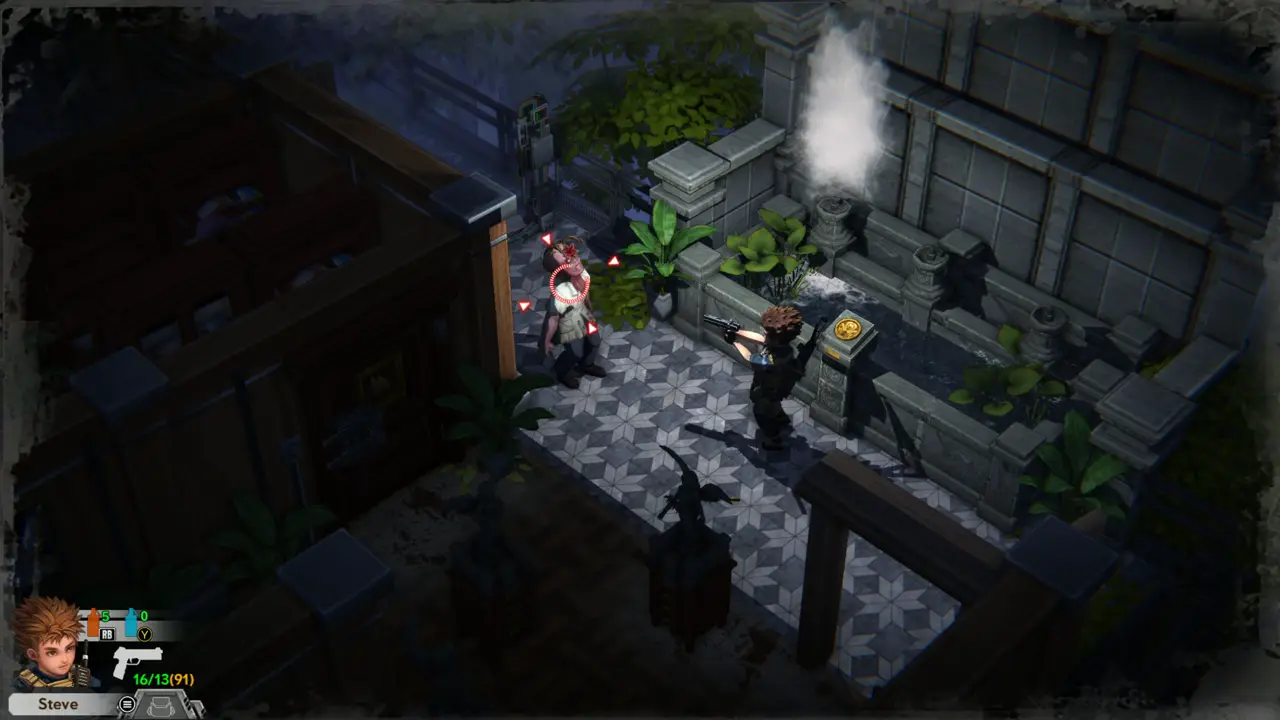
ITEM 17FIGHT Step out to the tiled courtyard with the stone pool and kill the zombie by the gate. Take the Red Herb and the Green Herb lying in the courtyard.
Courtyard and zombie
Zombie at the gate box
3
near Library - Fountain Courtyard
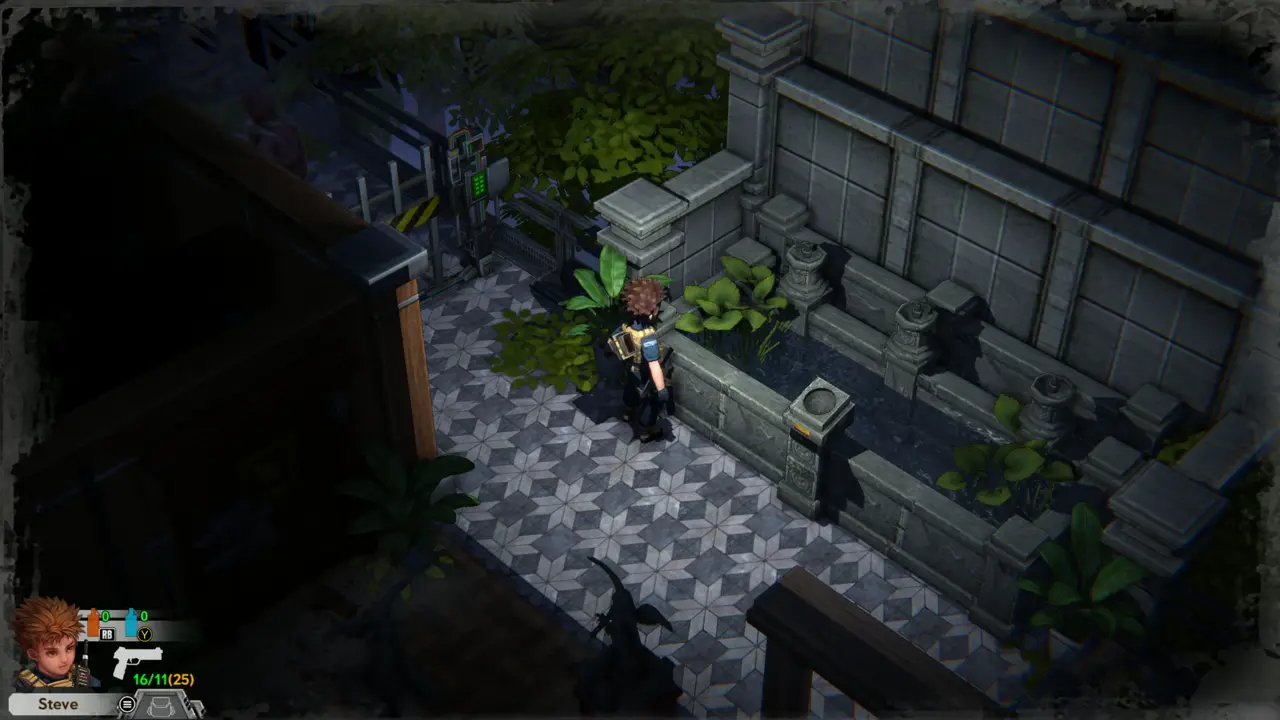
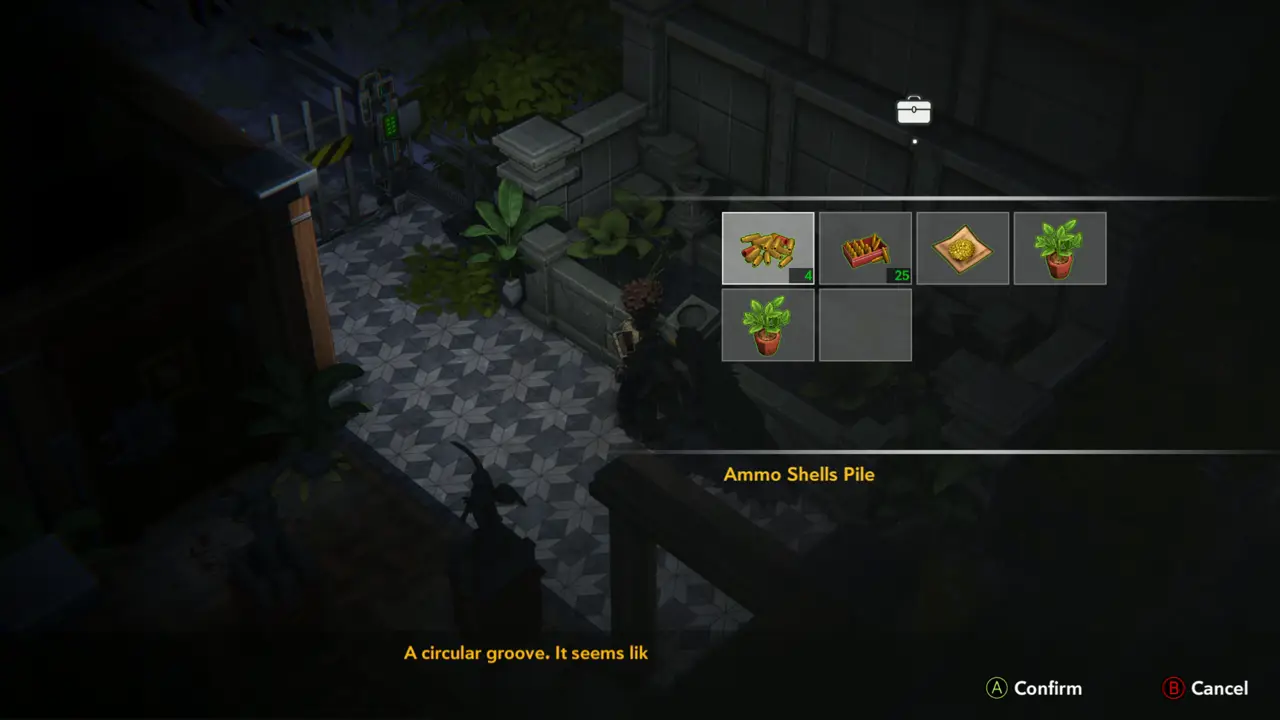
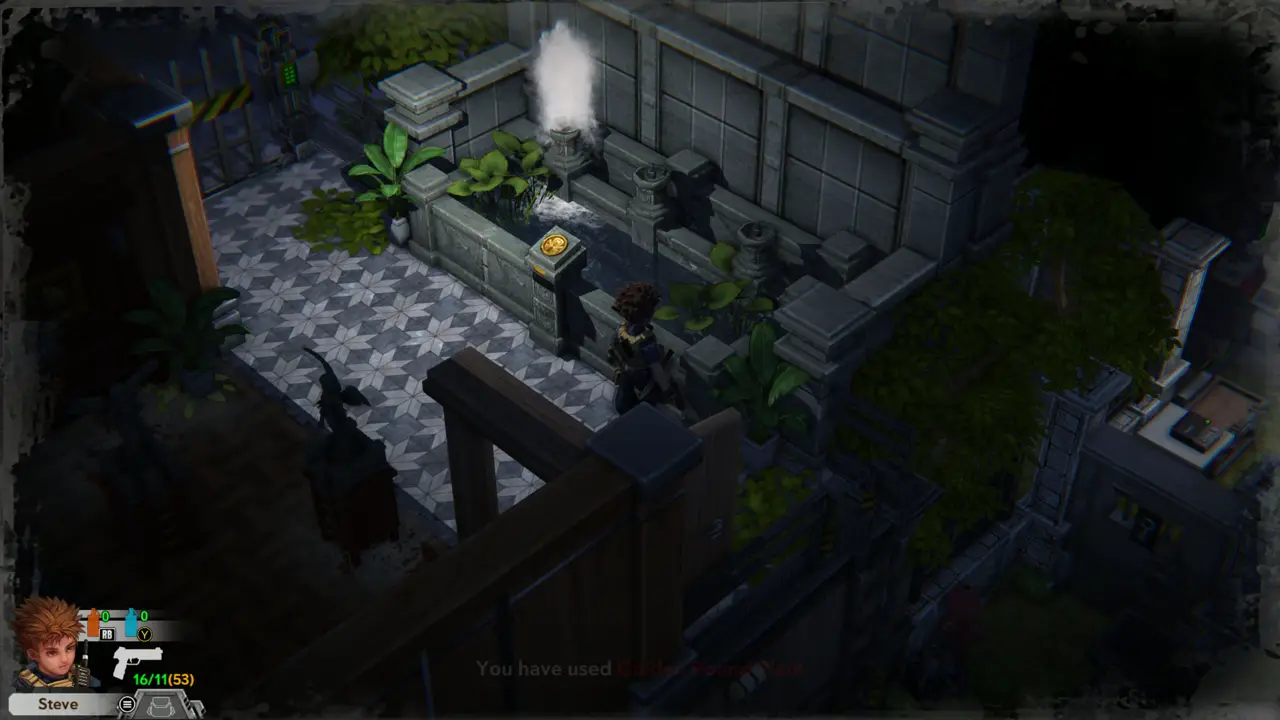
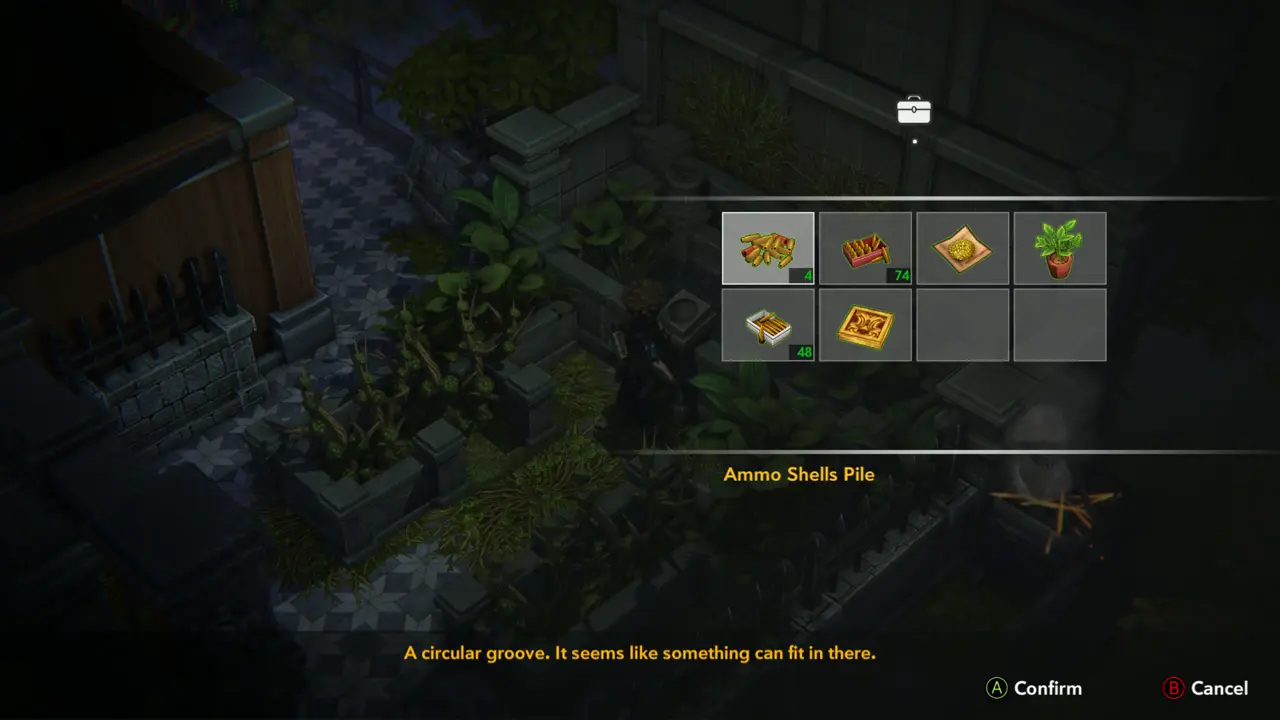
PUZZLE 2 Examine the small pedestal at the edge of the pool: “A circular groove. It seems like something can fit in there.” It needs a round plate.
Empty pedestal at pool edge
Circular groove message
4
near Library - Outer Corner
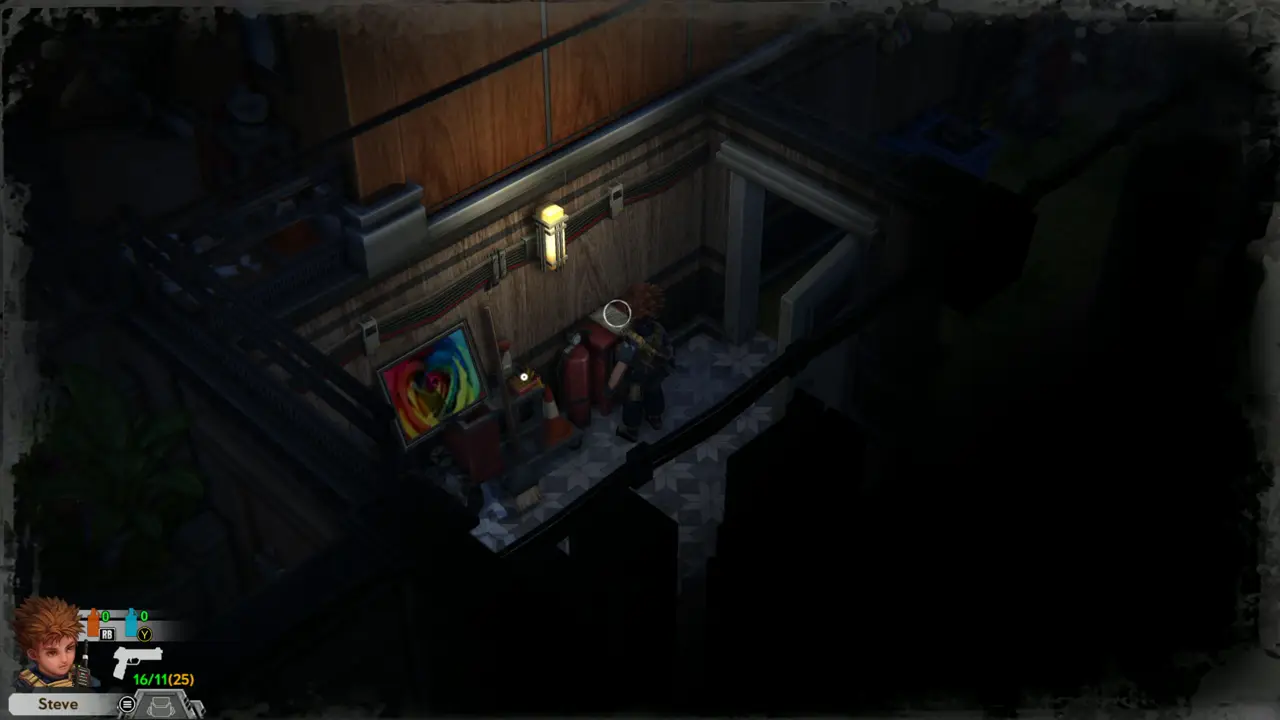
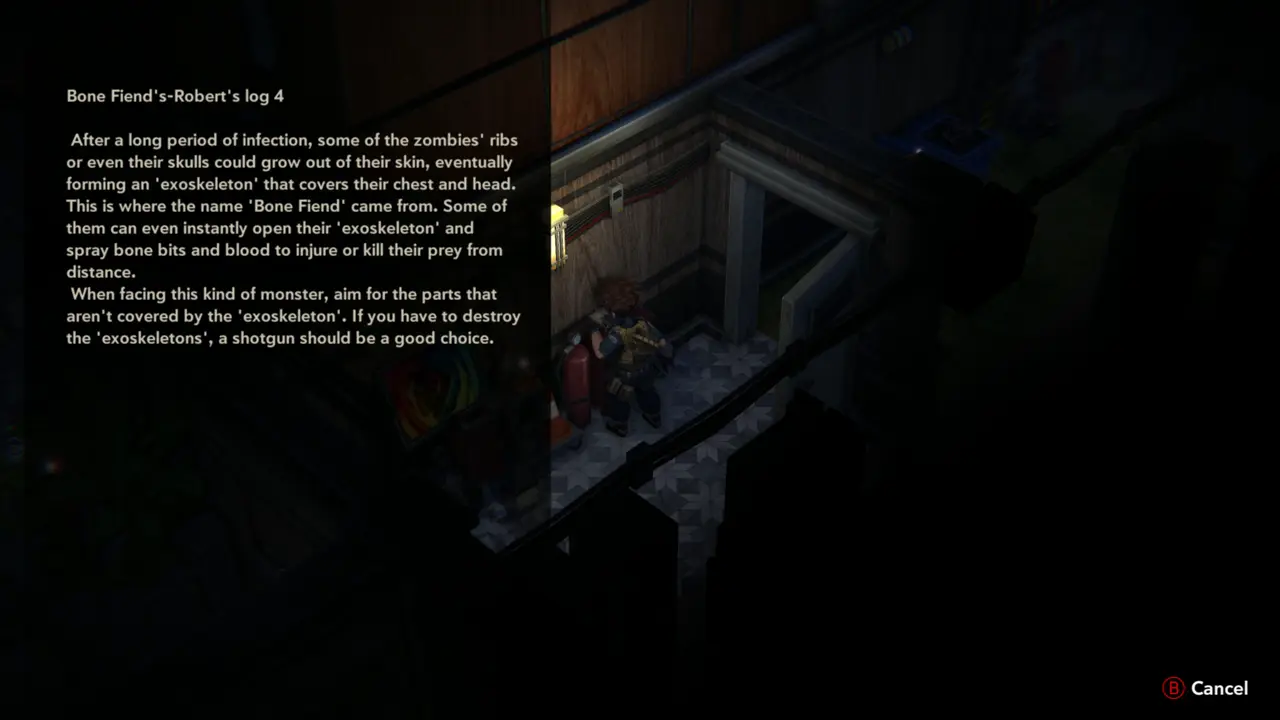
FILE 16 Go around to the outer corner with the red desk, fire extinguisher and rainbow rose painting. Read Bone Fiend's-Robert's log 4, a warning about armoured Bone Fiends.
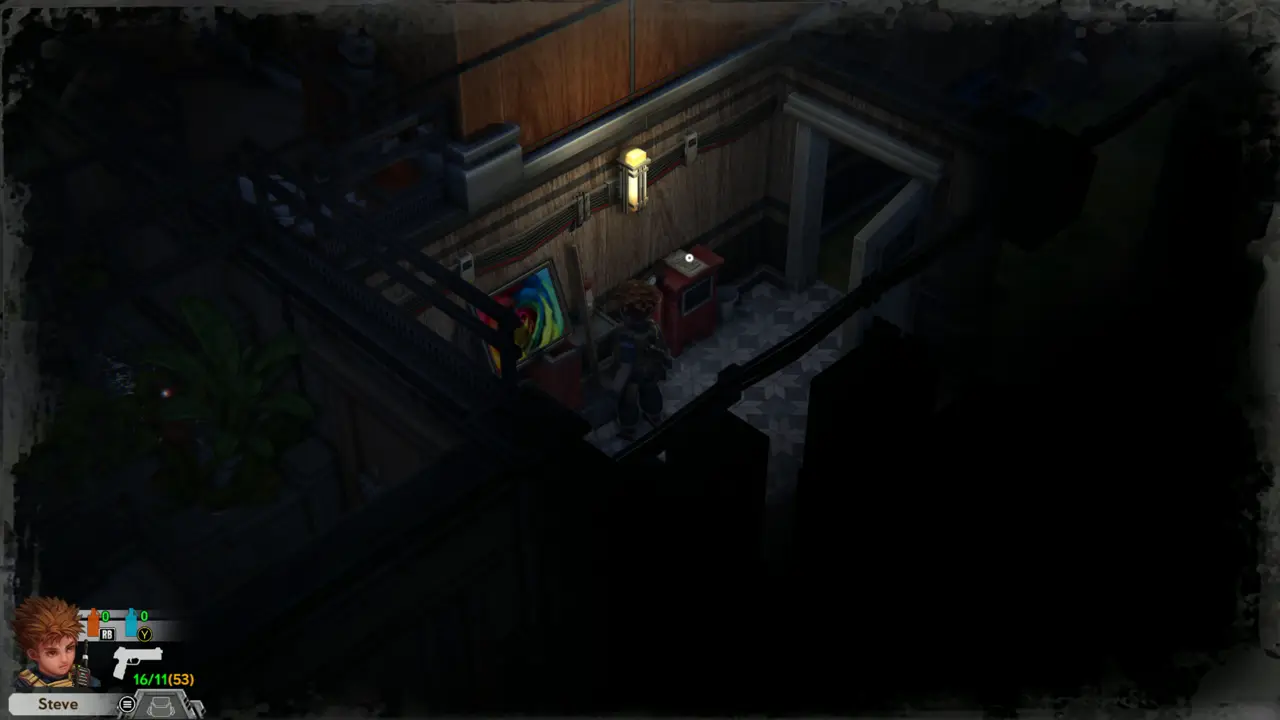
Desk with extinguisher
Log 4 page
Log 4 page
5
near Library - Outer Corner
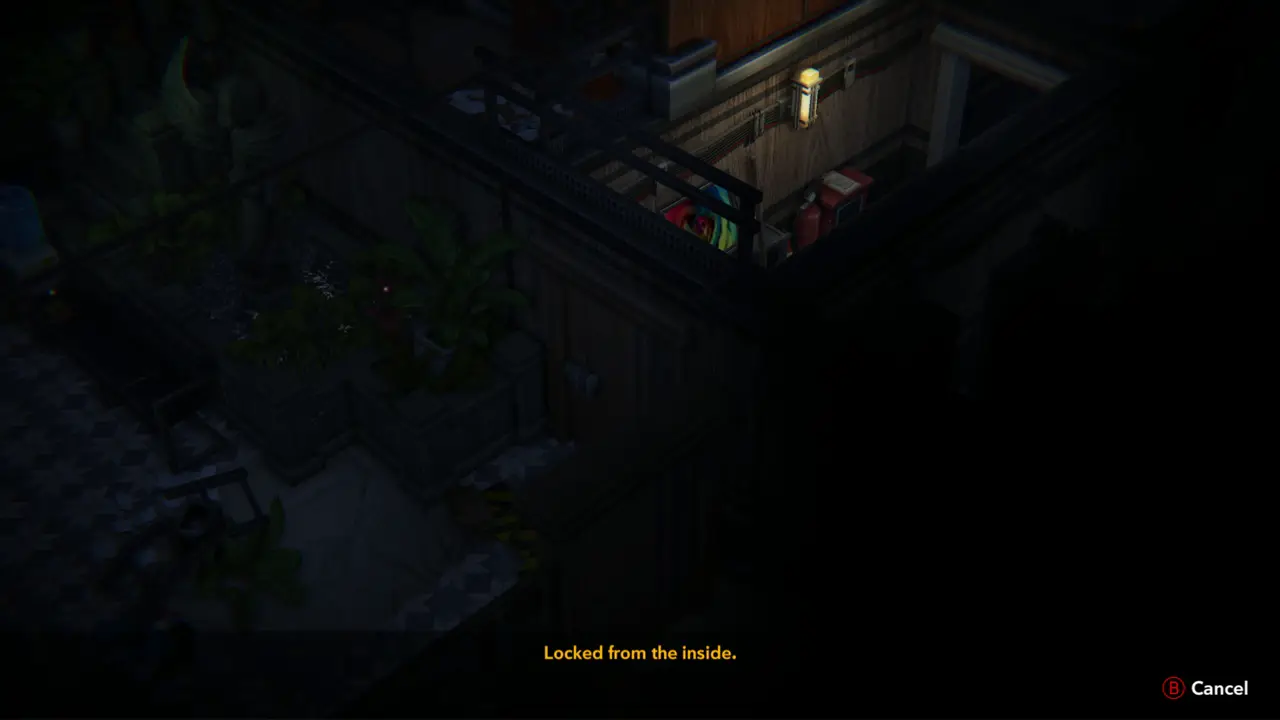
ITEM 19DOOR Take the Pistol Ammo from the red box by the wall (pistol reserve goes from 25 to 53). The next door is locked: “Locked from the inside.”
Red box by the wall
Red box by the wall
Locked from the inside
6
near Library - Blue Dumpsters
KEY ITEM 2 Check the two blue dumpsters in the yard by the red hydrant and take the Golden Round Plate from the left dumpster.
Plate on the left dumpster
7
near Library - Fountain Courtyard
PUZZLE 3KEY ITEM 2CODE 2DOOR Return to the pedestal in the courtyard and use the Golden Round Plate on the circular groove: “You have used Golden Round Plate.” Watch the three pots on the back wall of the pool. They puff steam one after another from left to right, about once a second, and the number of puffs from each pot is one digit: the left pot puffs 6 times, the middle pot 4 times and the right pot 5 times. The cycle repeats, so you can count it again. Then use the green keypad box at the gate left of the pool and type 645.
Plate used message
Plate used message
Middle pot puffing steam
Code typed on keypad
8
near Library - Walkway
FIGHT Cross the gate onto the railed walkway through the trees and shoot the zombies that come along it.
Walkway beyond the gate
Zombie on the walkway
9
near Library - Barricade
DOORNOTE Examine the broken planks: “Makeshift barricades. A shotgun can easily break it apart.” You cannot open it yet, so go around to the room with the water cooler and kitchen shelf.
Barricade message
Barricade message
10
near Library - Kitchenette Room
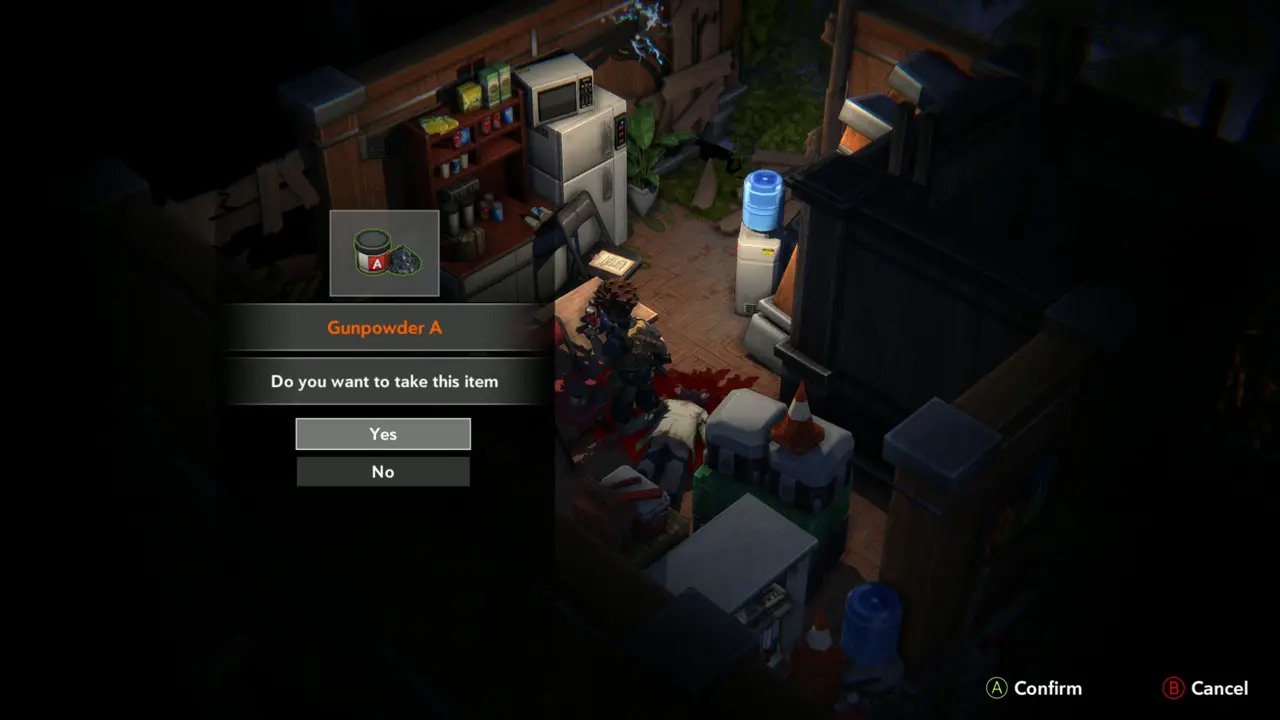
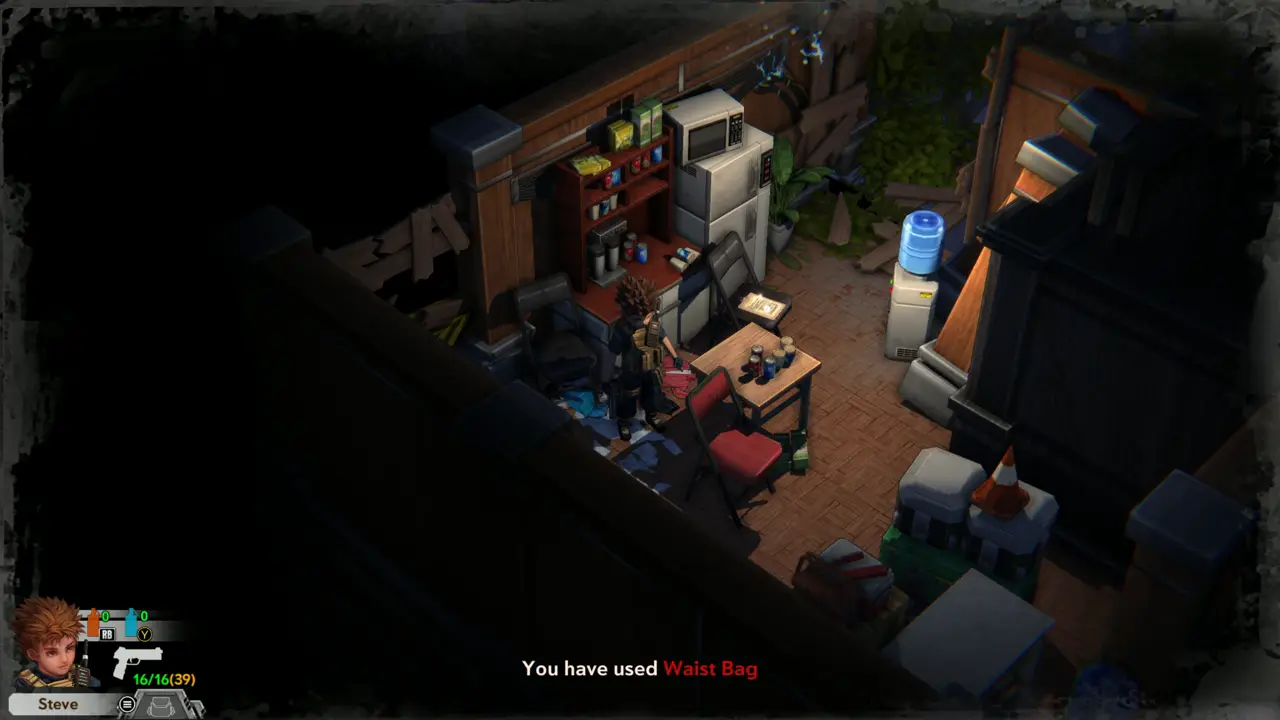
ITEM 20 Kill the zombie lying by the table and take Gunpowder A, then the Waist Bag next to the coffee machine. Open the inventory and use the Waist Bag (“You have used Waist Bag”) to add inventory slots.
Gunpowder A prompt
Gunpowder A prompt
Waist Bag used
Waist Bag used
11
near Library - Elevator
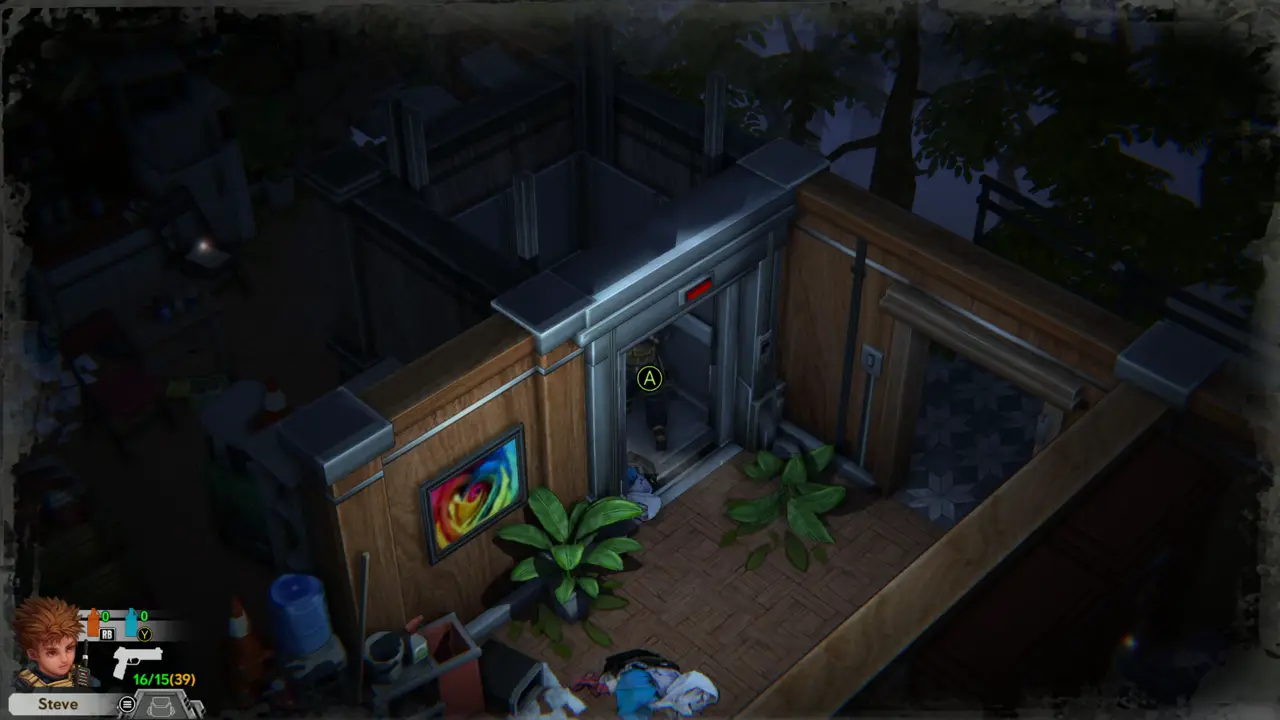
NOTE Walk to the elevator in the room with the rainbow rose painting. The objective reads “...the elevator and ride it to the first floor”.
Steve at the elevator
12
near Library - Kitchenette Room
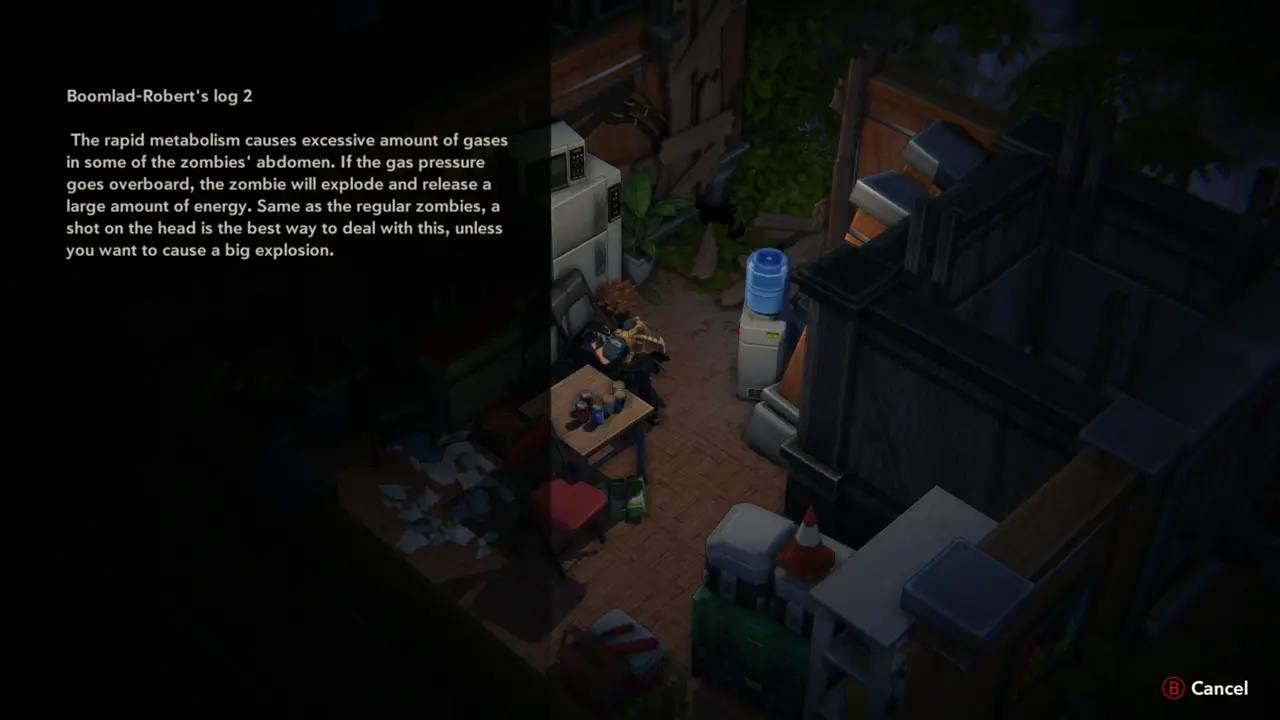
FILE 17 Go back to the kitchenette room and read Boomlad-Robert's log 2 from the papers on the table. Exploding zombies: shoot the head, because a body shot makes a big explosion.
Log 2 page
Log 2 page
13
near New Building Hall
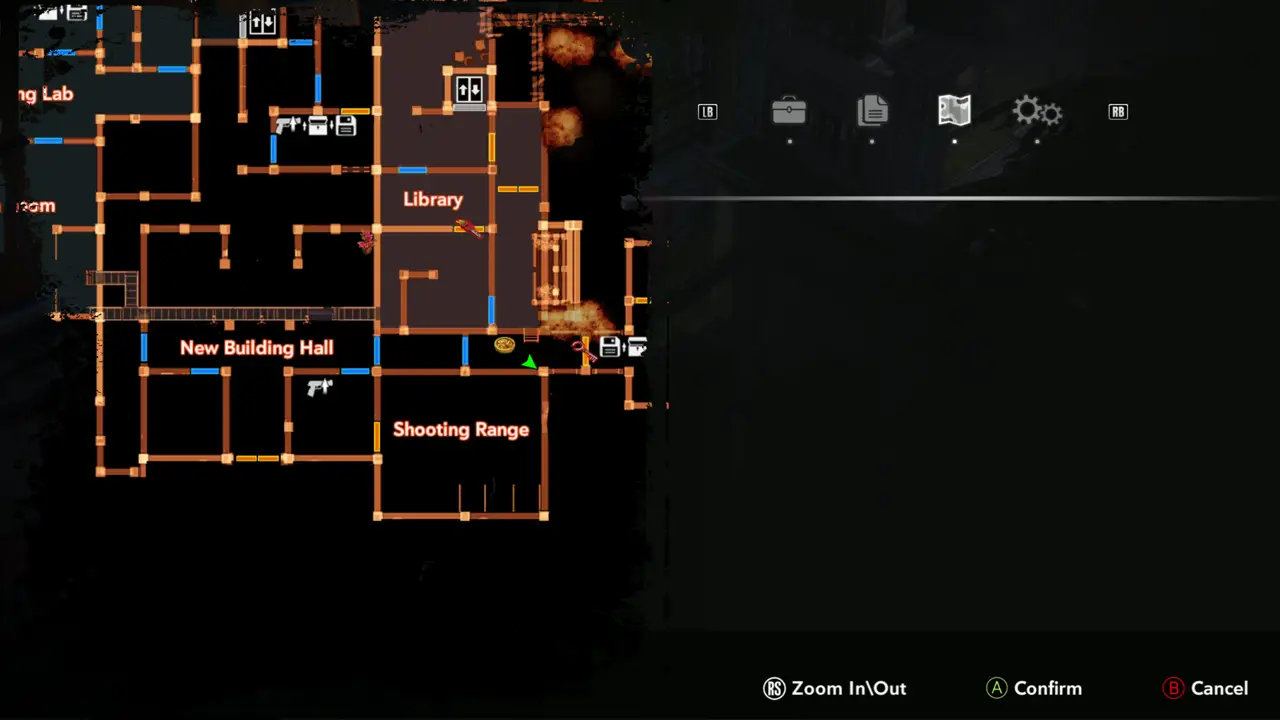
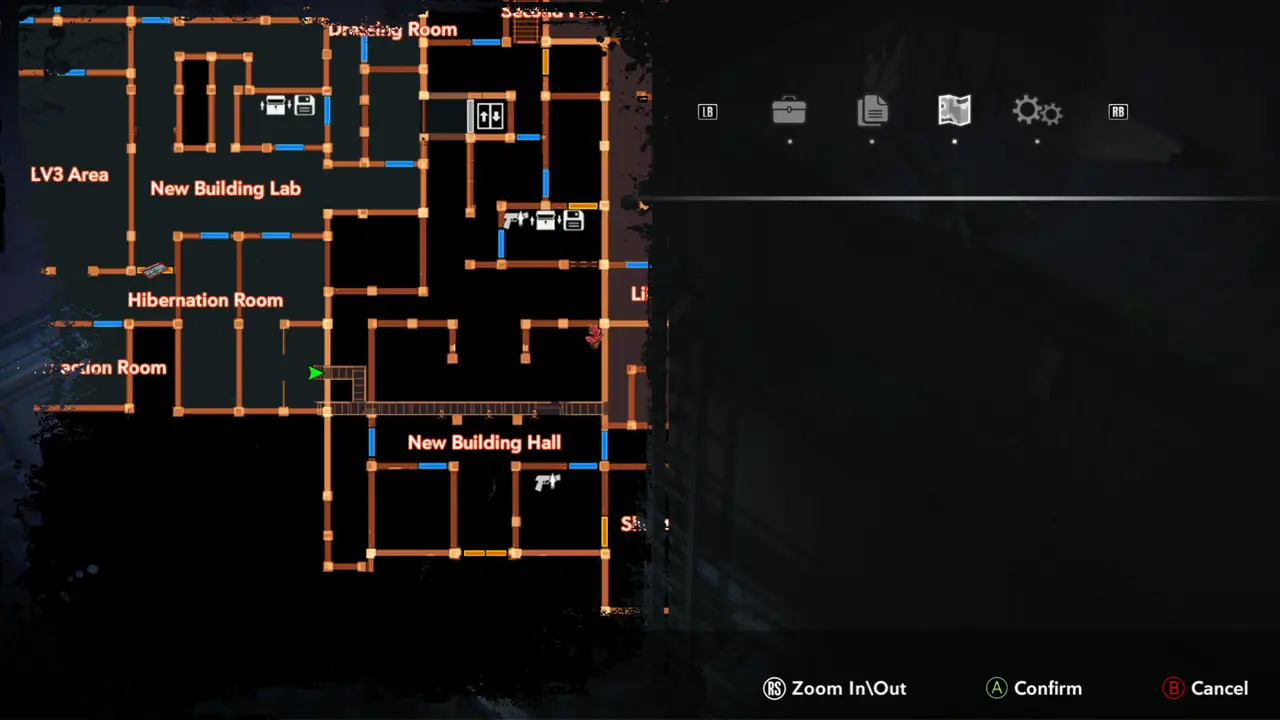
MAP Head west toward New Building Hall. The map shows the bridge left of New Building Hall, toward Hibernation Room.
Map with Steve
Map with Steve
14
Second Floor - near the elevator door
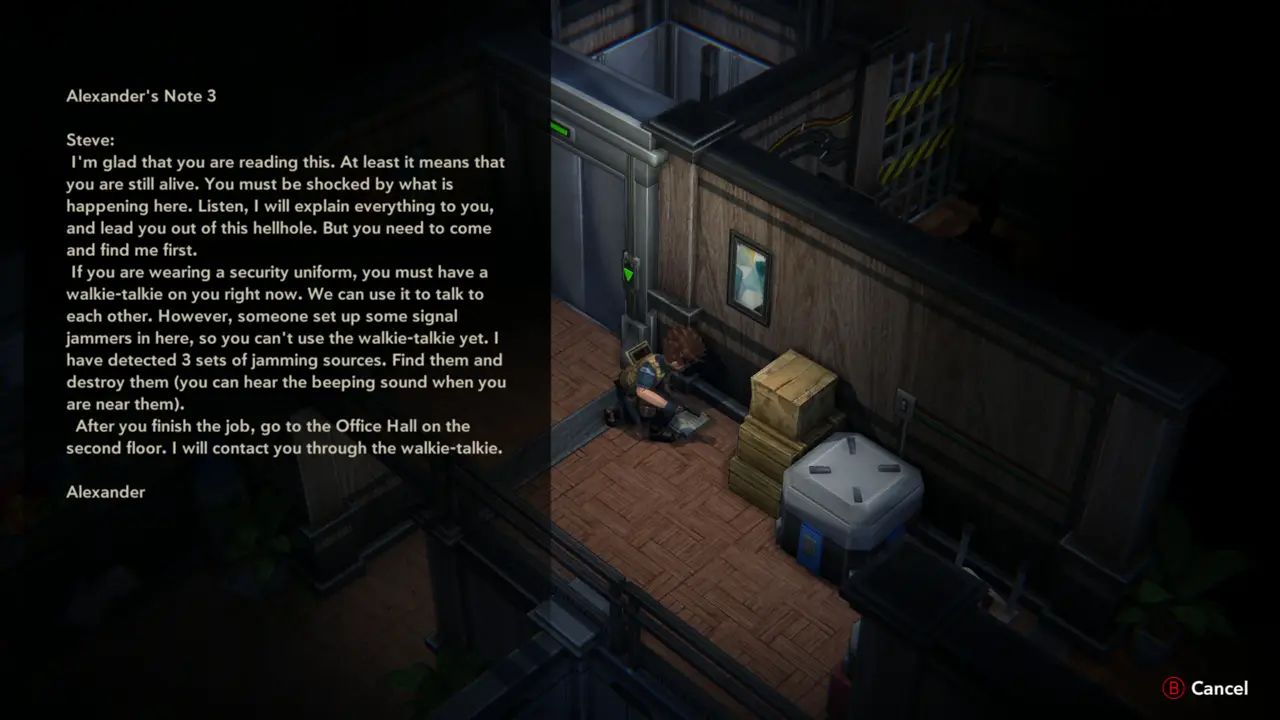
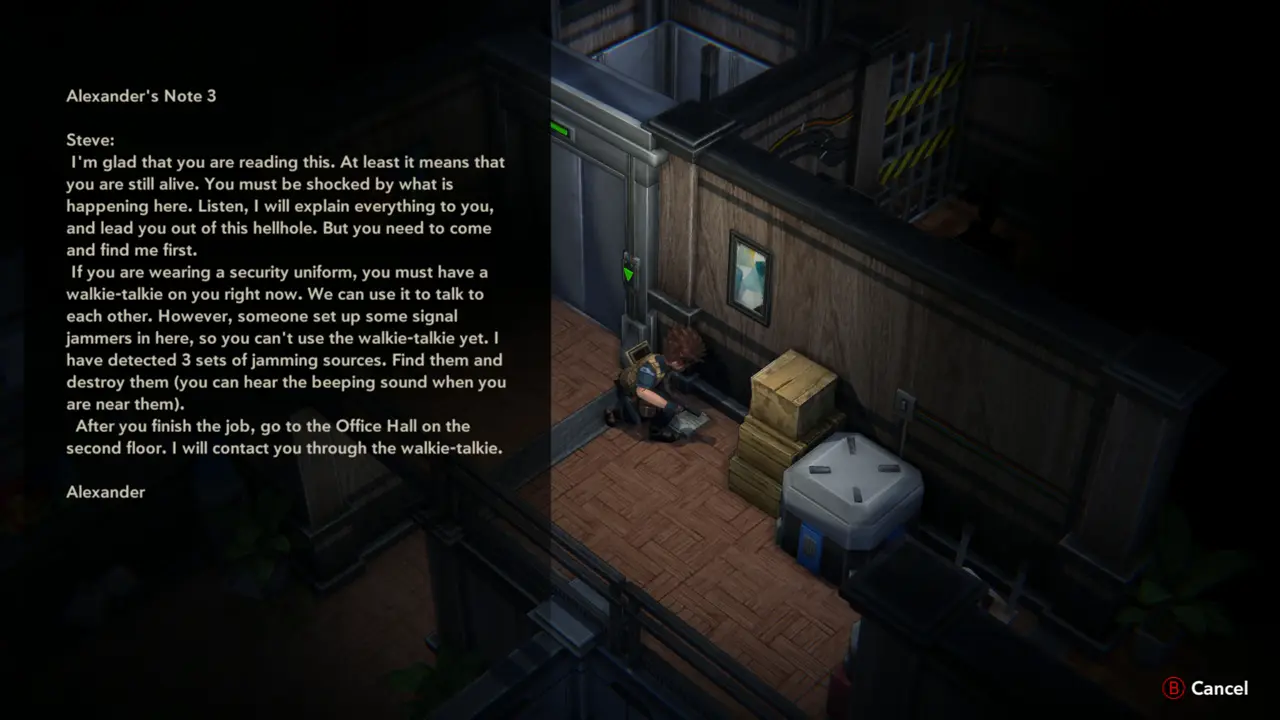
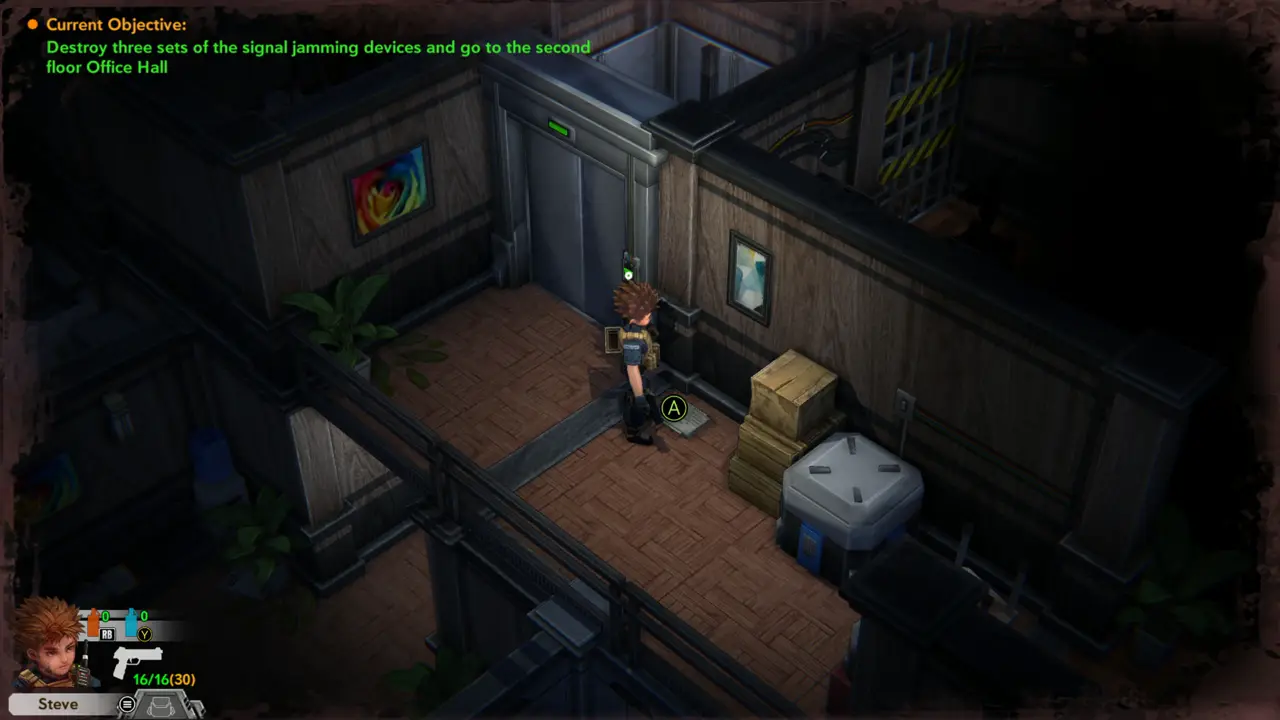
FILE 18NOTE On the Second Floor beside the elevator door, read Alexander's Note 3. It tells you to find and destroy the 3 signal jammers (a beeping sound gives them away) and then go to the Office Hall on the second floor.
Alexander's Note 3 open
Elevator door and crates
15
Second Floor - Save Room (chest, gun and save icons on the map)
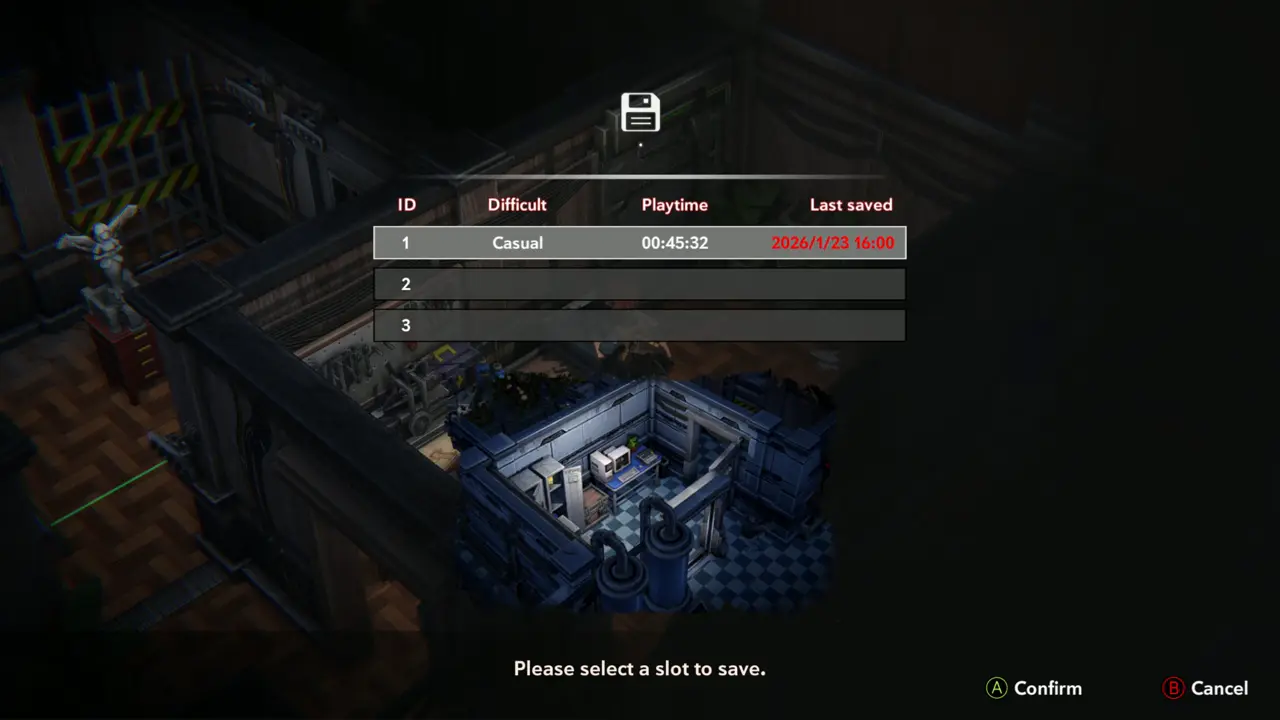
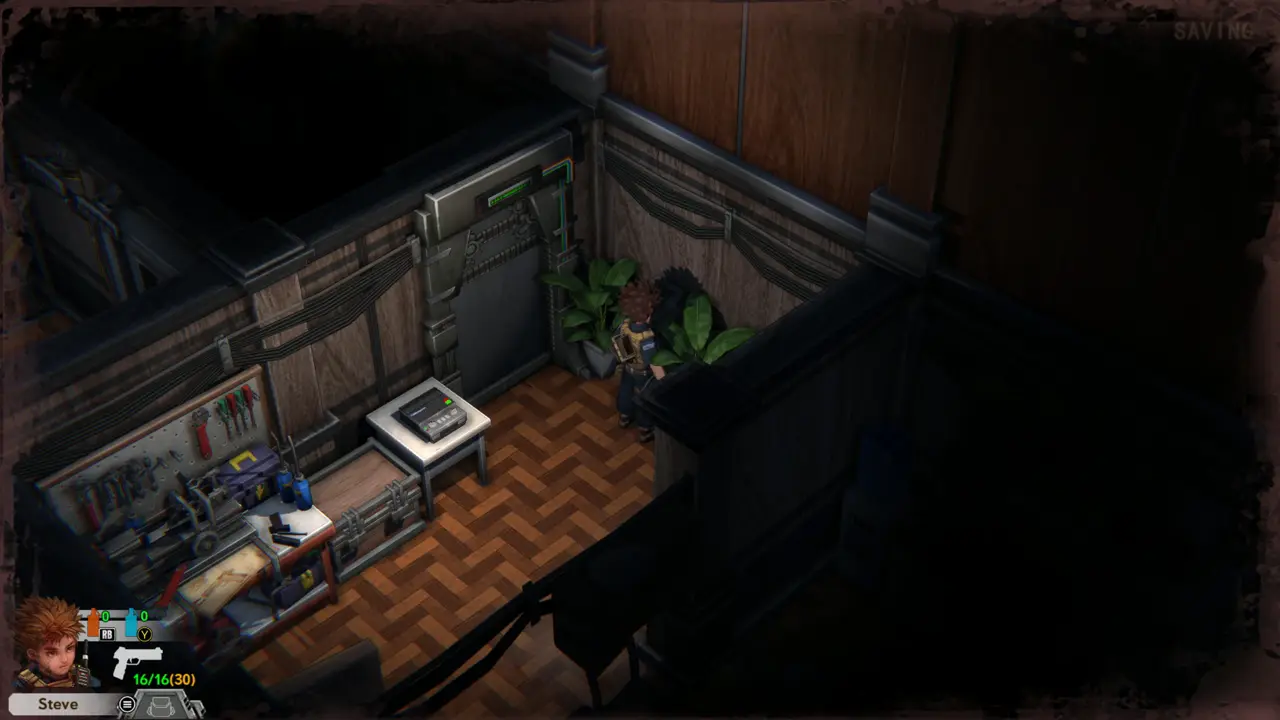
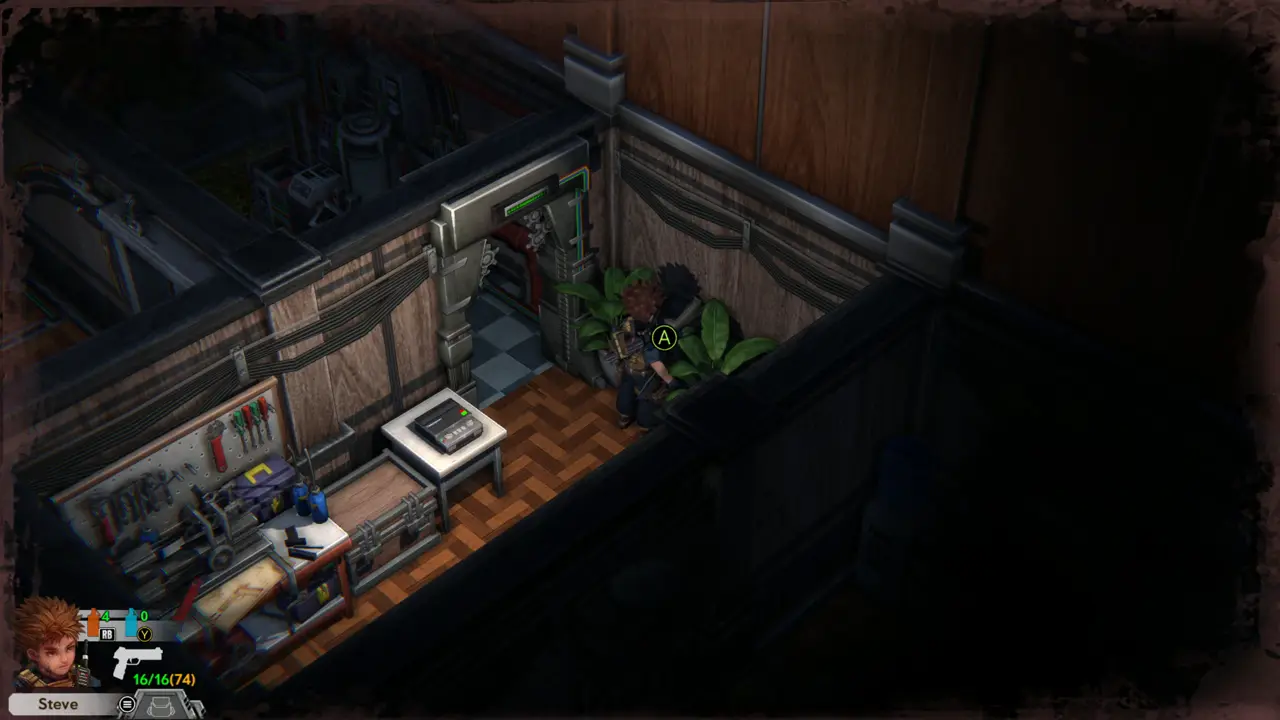
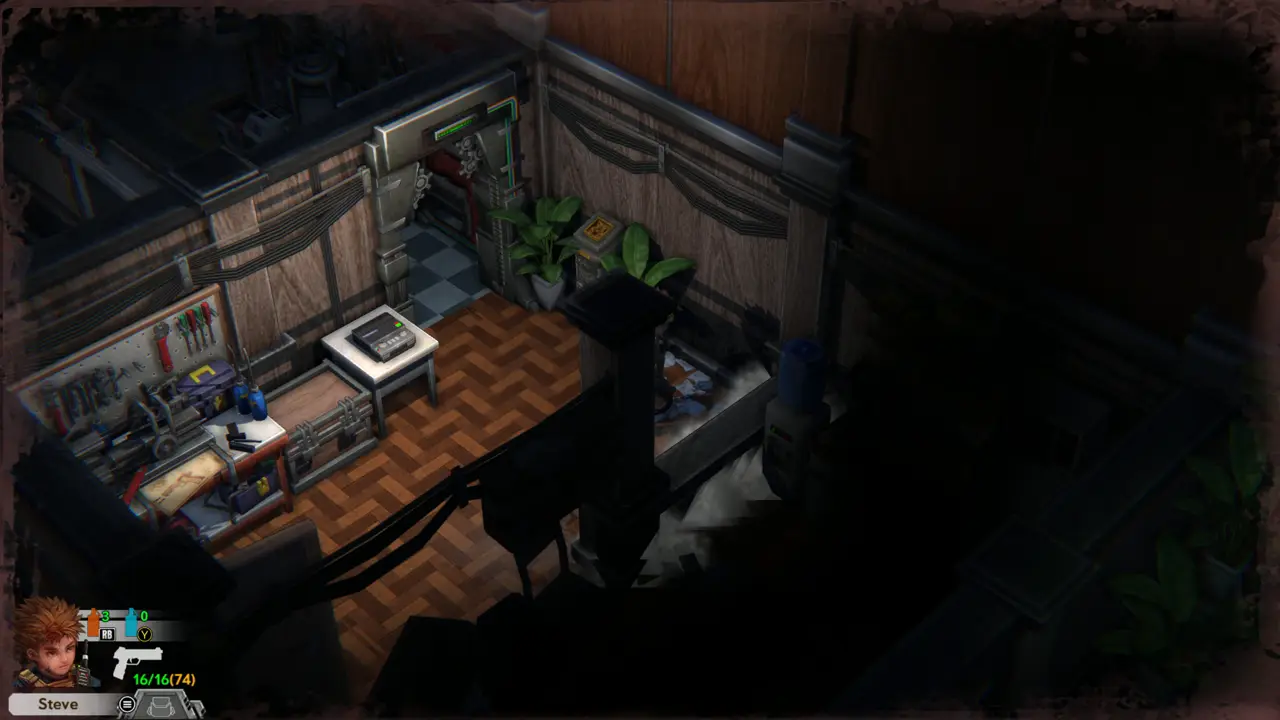
SAVE 1 Save at the recorder in the room with the storage chest and the weapon table.
Room around the recorder
Save slot screen
Save slot screen
16
Second Floor - Workshop (fire grenade machine room)
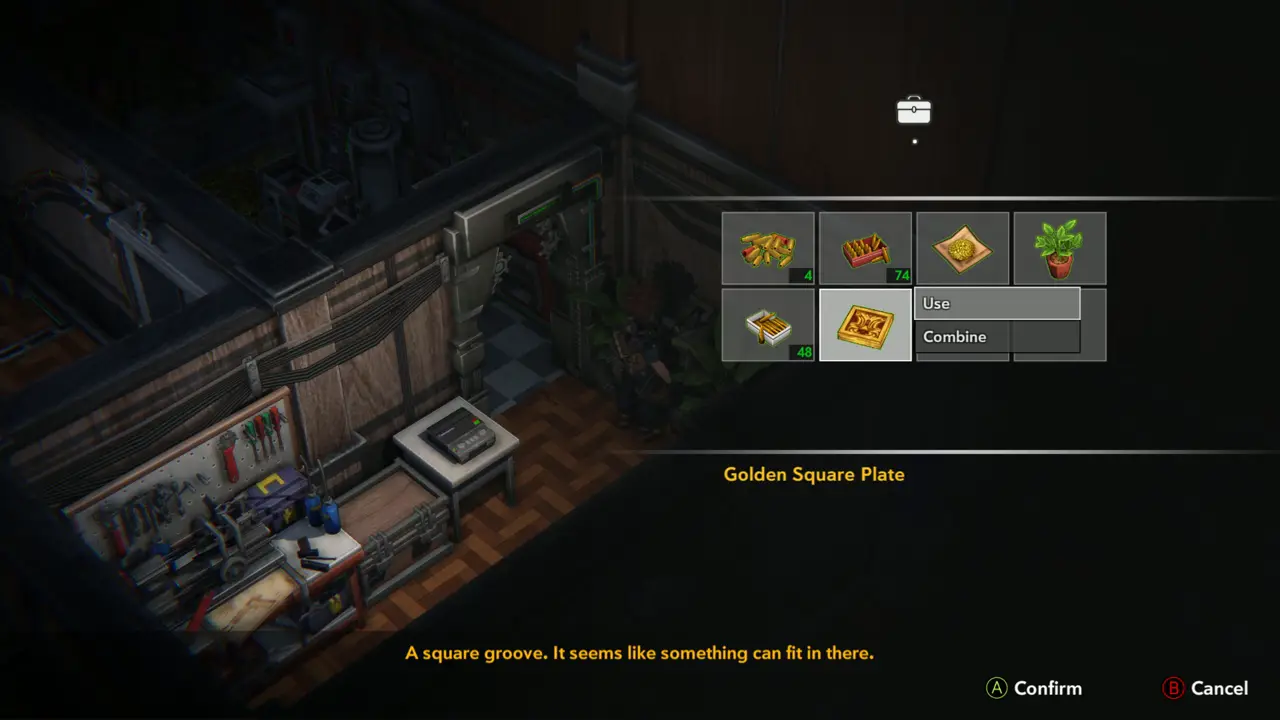
PUZZLE 4 Examine the wall slot: “A square groove. It seems like something can fit in there.” You need a square plate for it.
Square groove message
Workshop with spore machine
17
Second Floor - Workshop (fire grenade machine room)
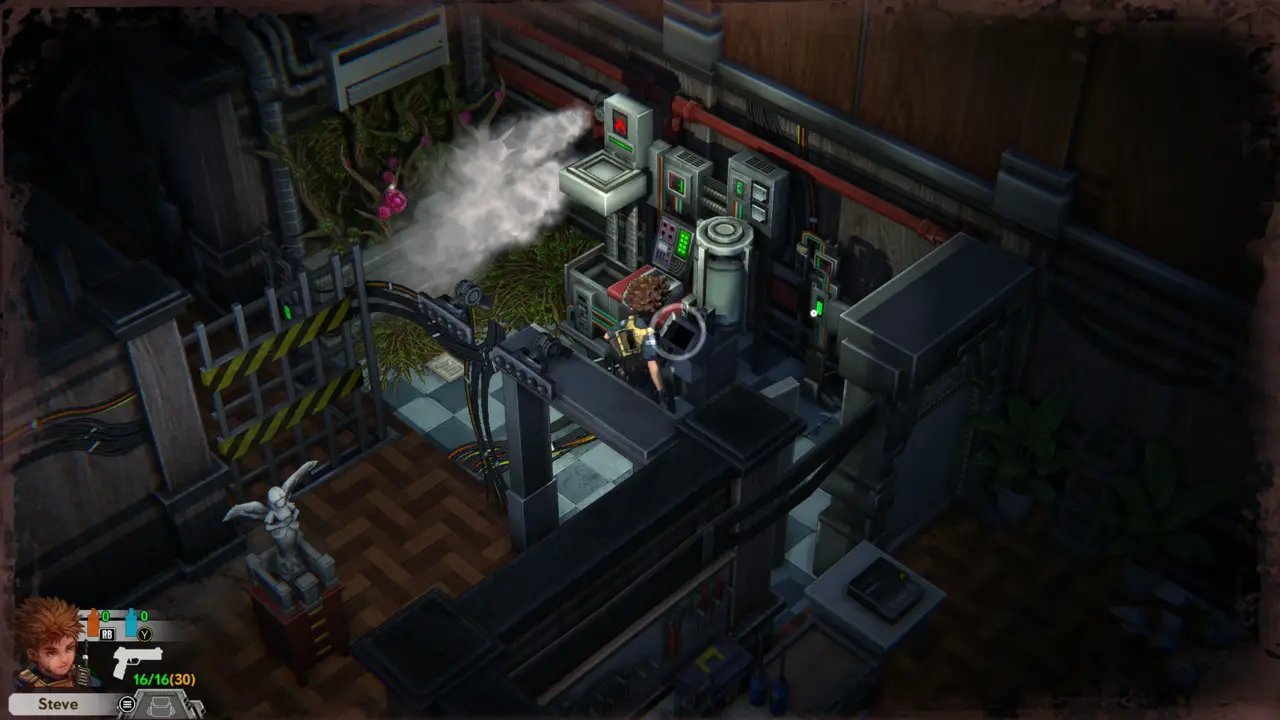
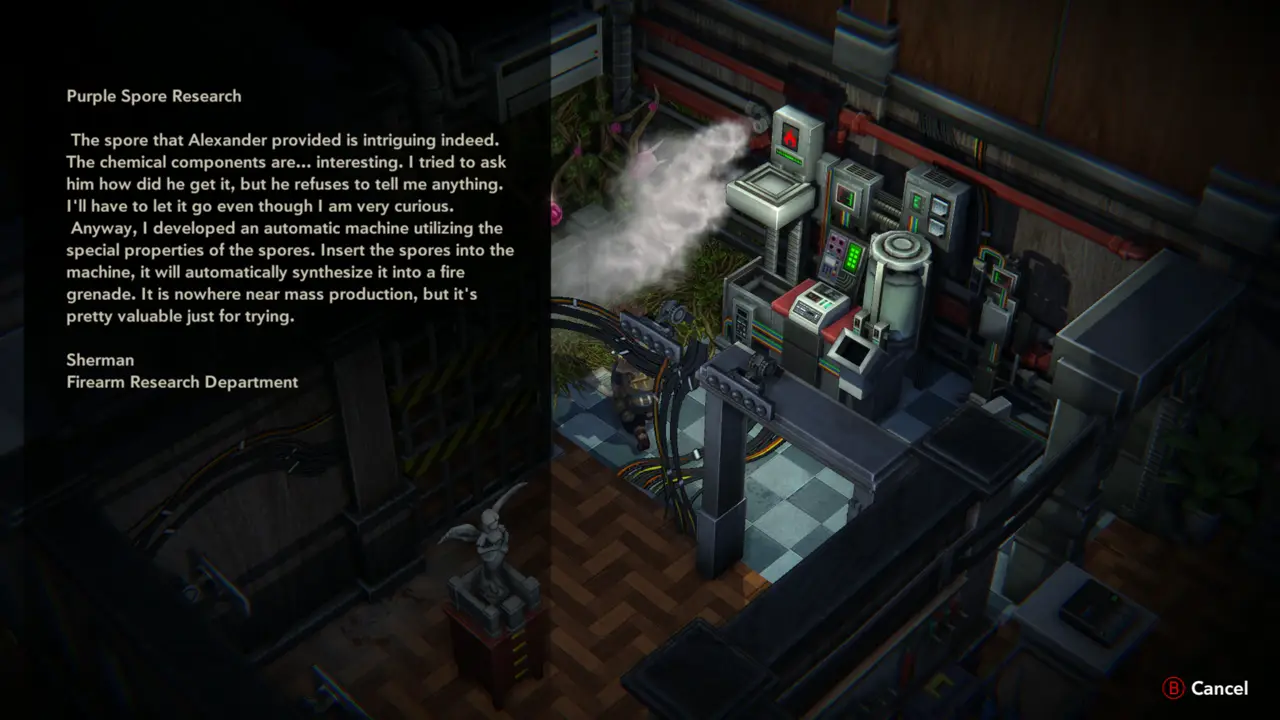
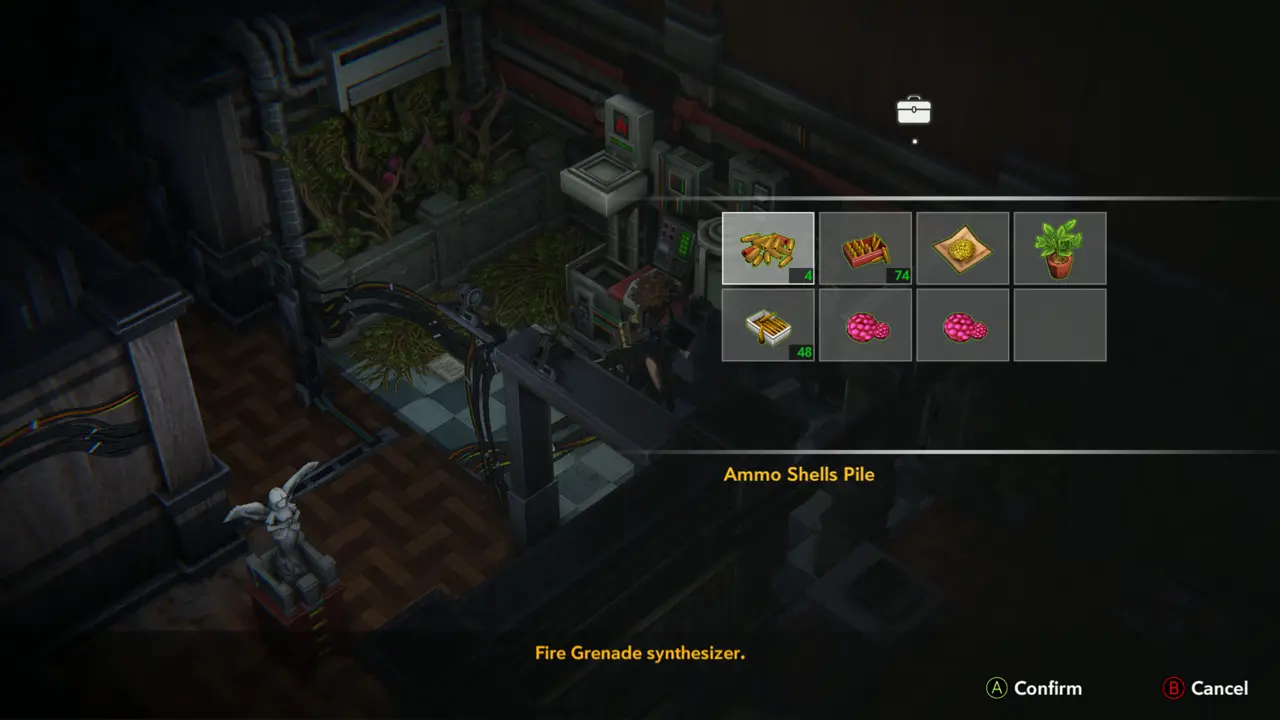
FILE 19NOTE Examine the machine next to the green spore plants: “Fire Grenade synthesizer.” Take and read Purple Spore Research from the table beside it: spores inserted into the machine are synthesized into a fire grenade.
Examining the synthesizer
Purple Spore Research page
18
Second Floor - Workshop (fire grenade machine room)
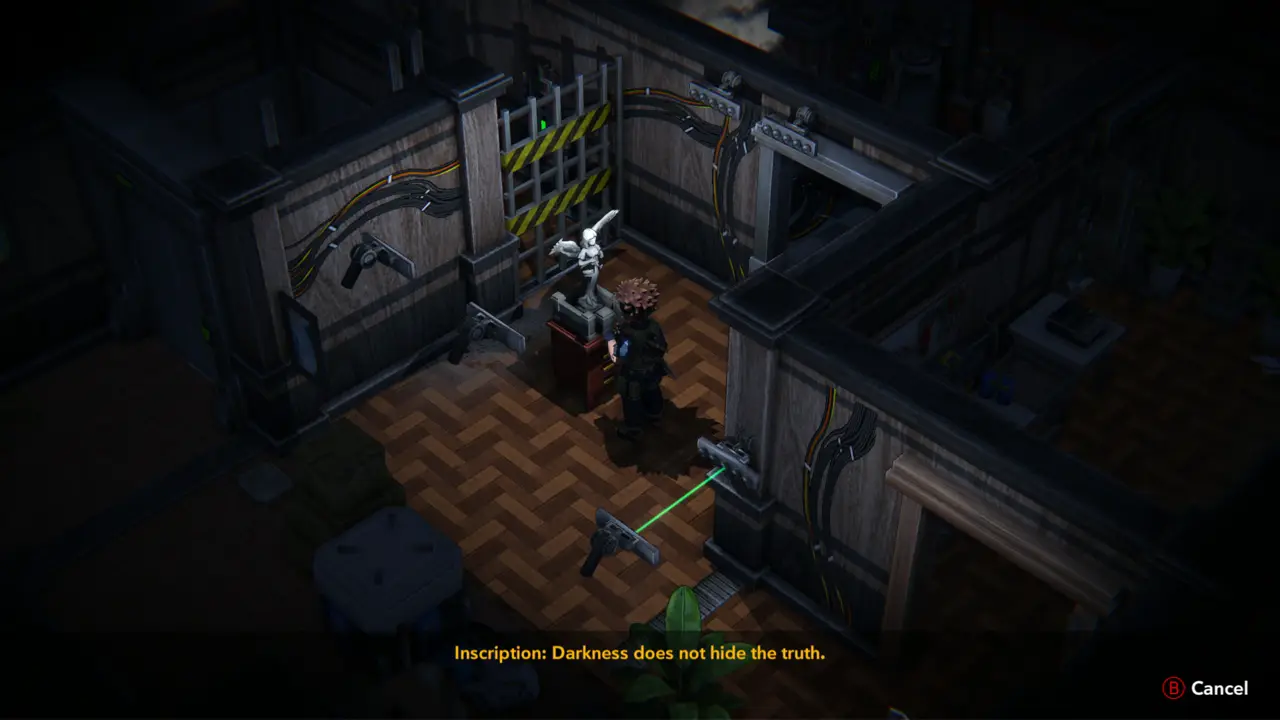
PUZZLE 5NOTE Inspect the small white statue on the red cabinet: “Inscription: Darkness does not hide the truth.”
Statue inscription
Statue inscription
19
Second Floor - corridor by the stairs
DOOR The metal door marked LV 2 beside the red staircase reads “Require LV1 Keycard” and stays shut for now. Go through the red restroom door next to it.
LV2 door, restroom door left
20
Second Floor - Restroom (red door with the figure sign)
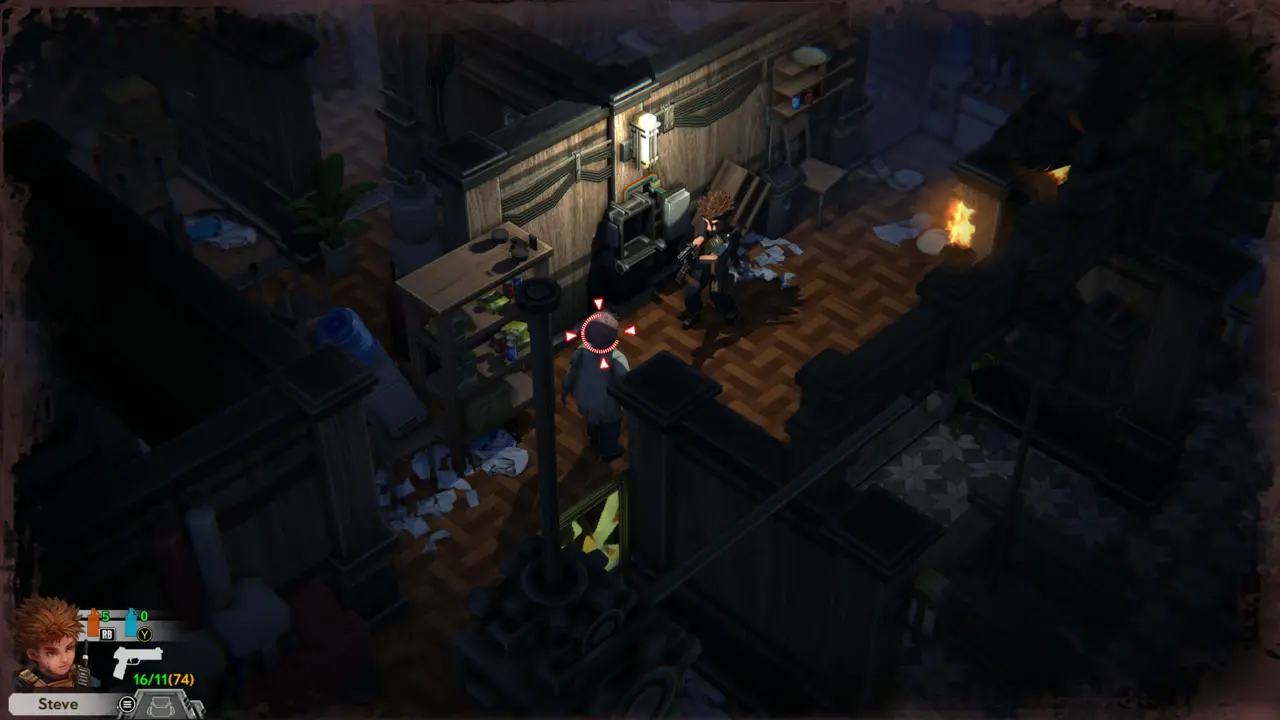
FIGHTITEM 21 Shoot the zombies as they come out of the cubicles in the restroom. Then take the Painkiller from the first-aid box on the wall at the back.
Zombie in restroom
Zombie in restroom
Steve at the first-aid box
21
Second Floor - rooftop area behind the restroom
ITEM 22 Climb out behind the restroom to the pipe-lined roof and take the Pistol Ammo (+23 reserve).
Rooftop with crate stack
Pistol Ammo prompt
Pistol Ammo prompt
22
Second Floor - rooftop area behind the restroom
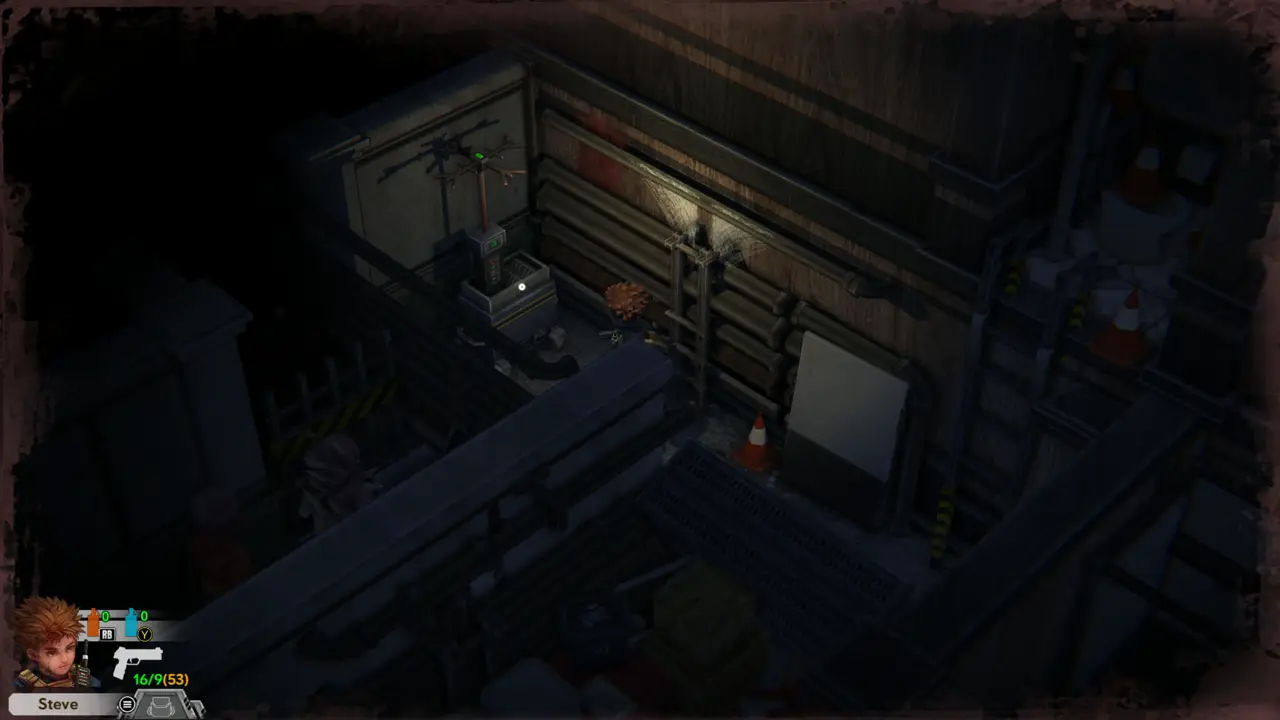
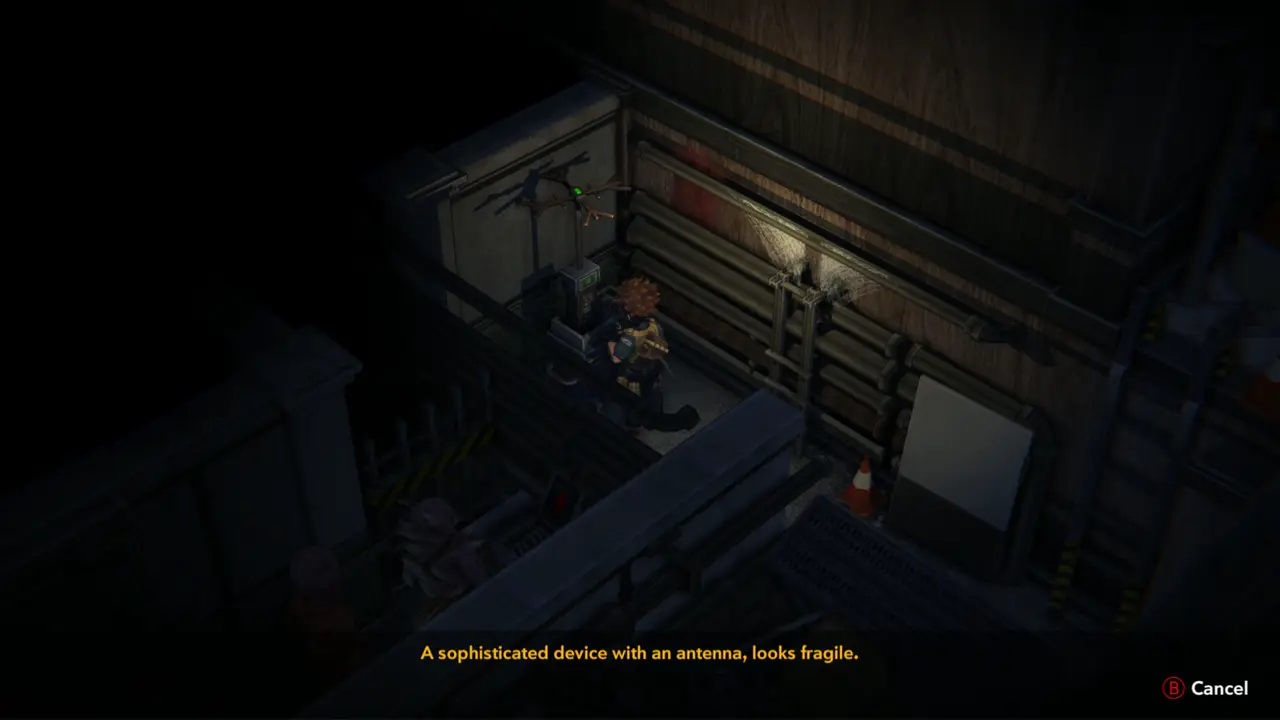
PUZZLE 6NOTE Examine the antenna device on the roof: “A sophisticated device with an antenna, looks fragile.” This is one of the signal jammers.
Antenna on the roof
Antenna on the roof
Antenna device message
23
Second Floor - tiled corridor with sofa and coffee machine
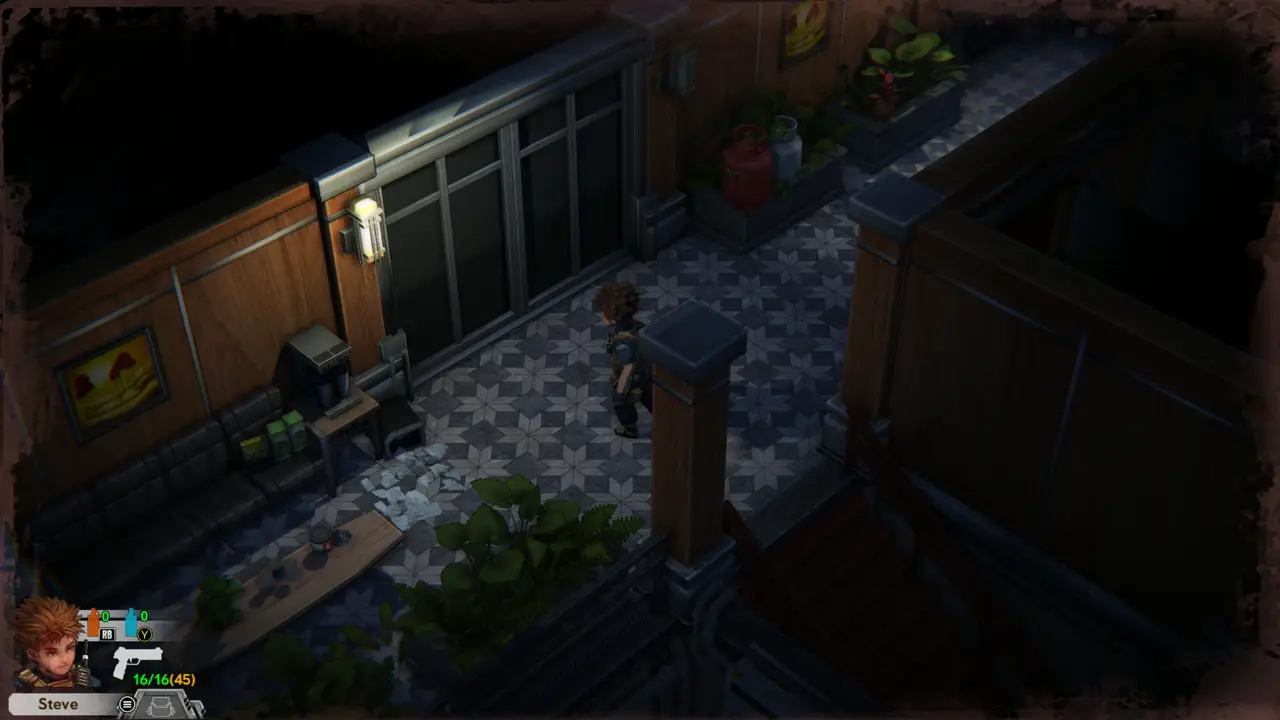
ITEM 23–25 In the tiled corridor with the sofa and coffee machine, take Gunpowder A from the floor, then the Ammo Shells Pile, then a Red Herb from the planter further along.
Corridor with sofa
Corridor with sofa
Gunpowder A in inventory
24
Second Floor - cubicle room (partition booths, red door)
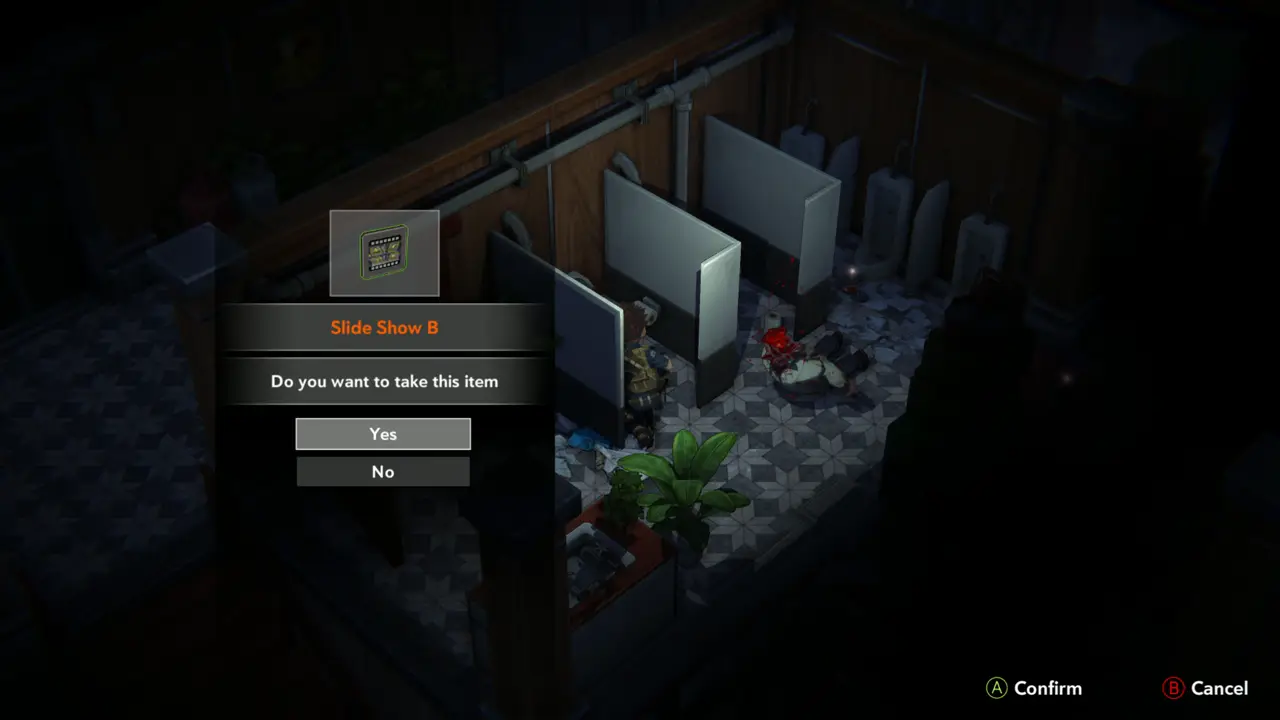
FIGHTKEY ITEM 4 Clear the zombies in the cubicle room, then take Slide Show B from the floor in front of the booths.
Zombies by the booths
Slide Show B prompt
Slide Show B prompt
25
Second Floor - crate stack beside the ladder
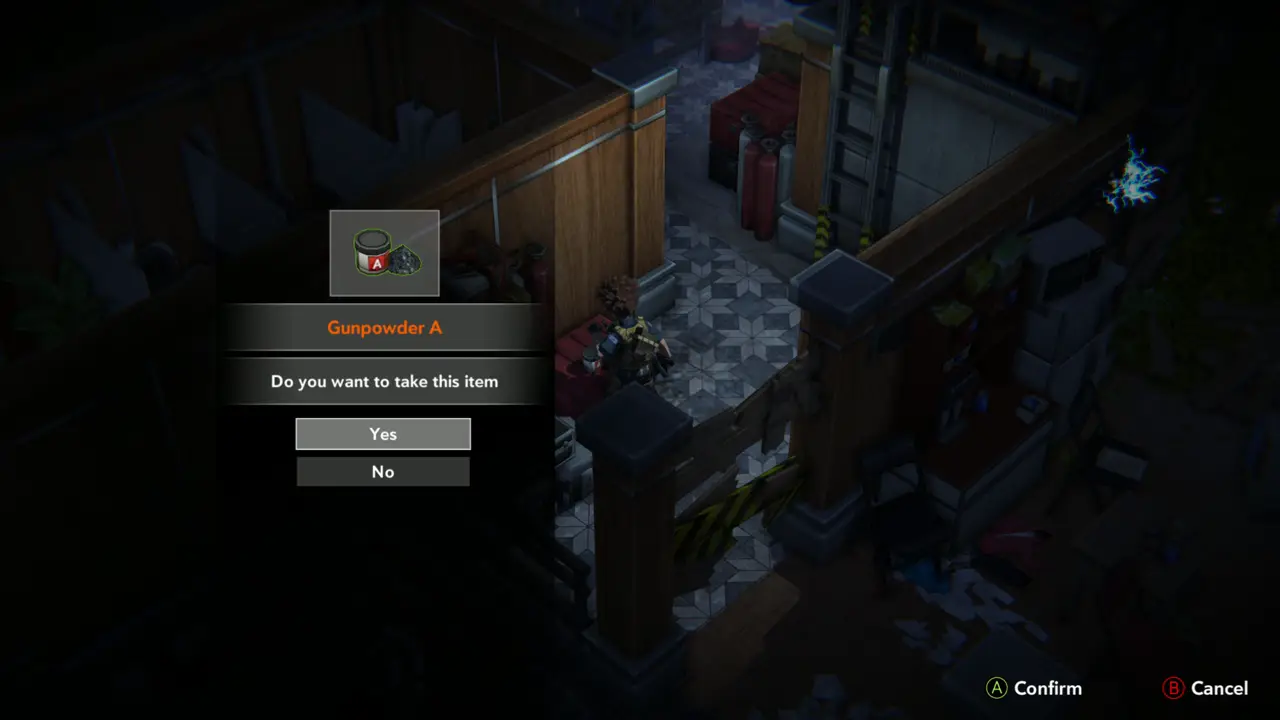
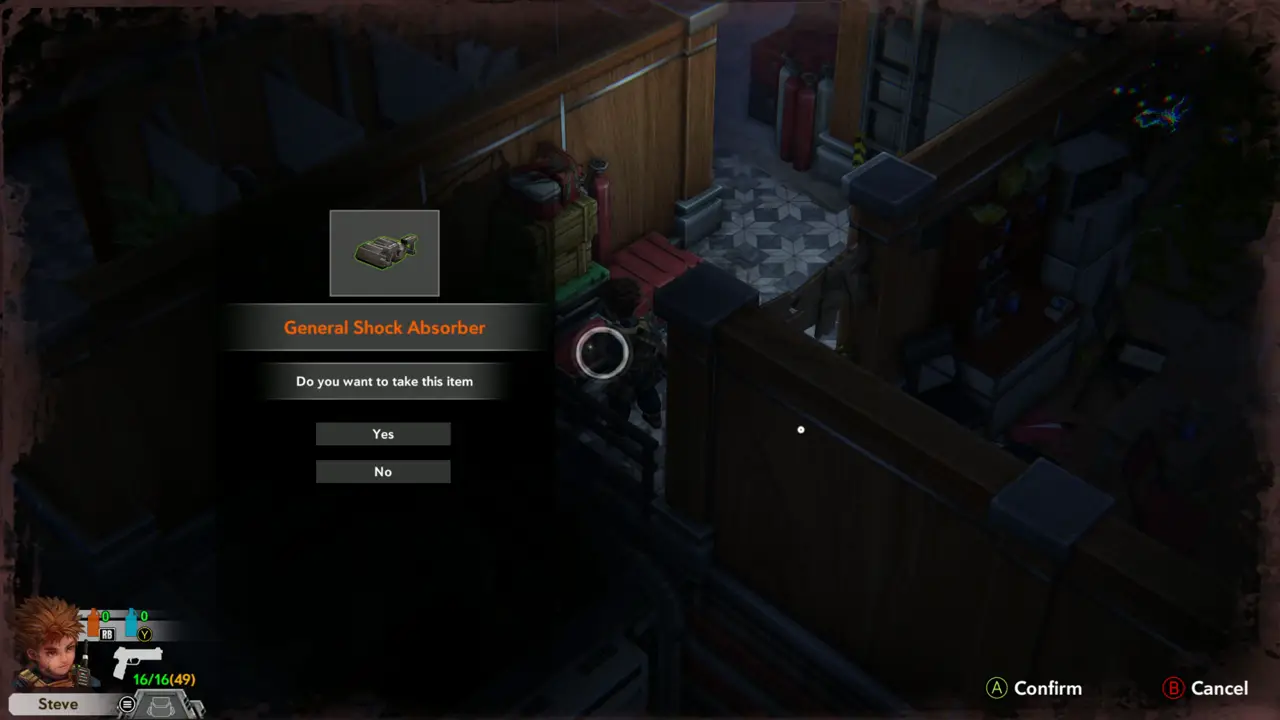
ITEM 26FILEWEAPON 5 At the stack of crates next to the ladder, take Gunpowder A, then the General Shock Absorber. The first gun mod tutorial opens.
Gunpowder A prompt
Gunpowder A prompt
Shock Absorber prompt
26
Second Floor - Save Room (chest, gun and save icons on the map)
WEAPON 2WEAPON 5NOTE At the weapon table the equipped pistol is the Breeze-I Pistol: “You can modify this gun at the modding table”. The General Shock Absorber is the new mod in your bag.
Breeze-I Pistol screen
27
Second Floor - crate stack beside the ladder
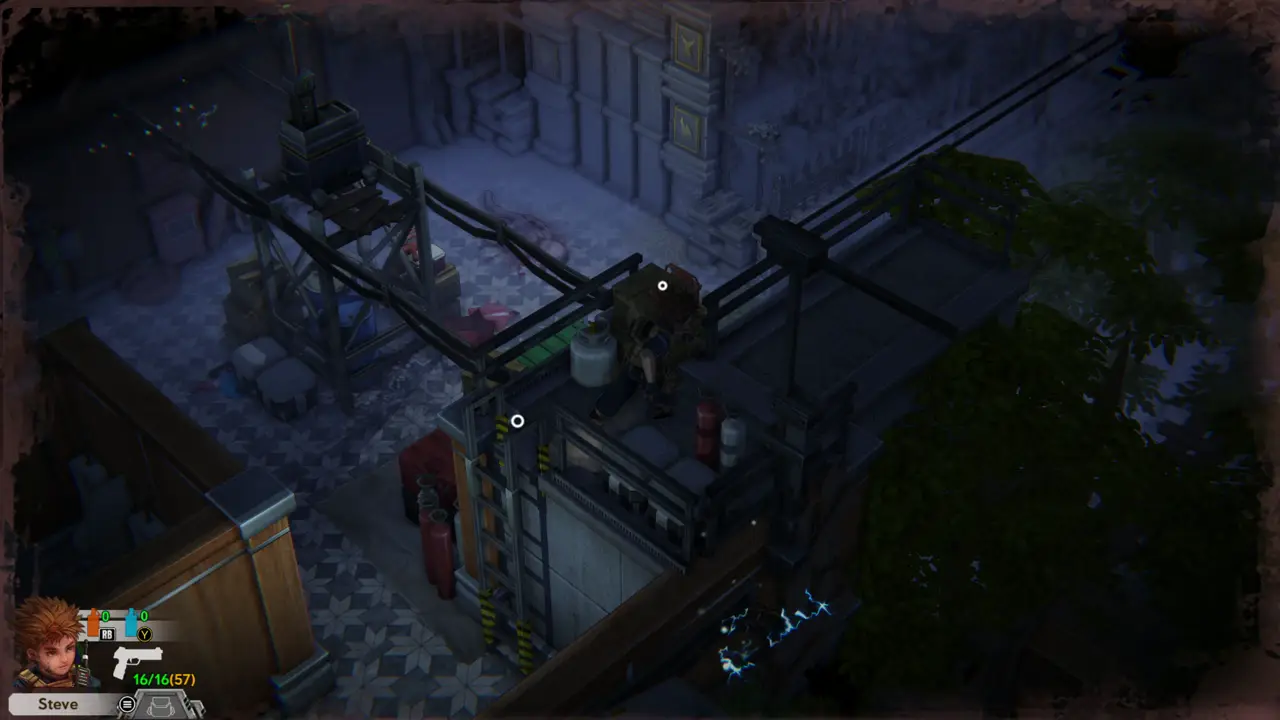
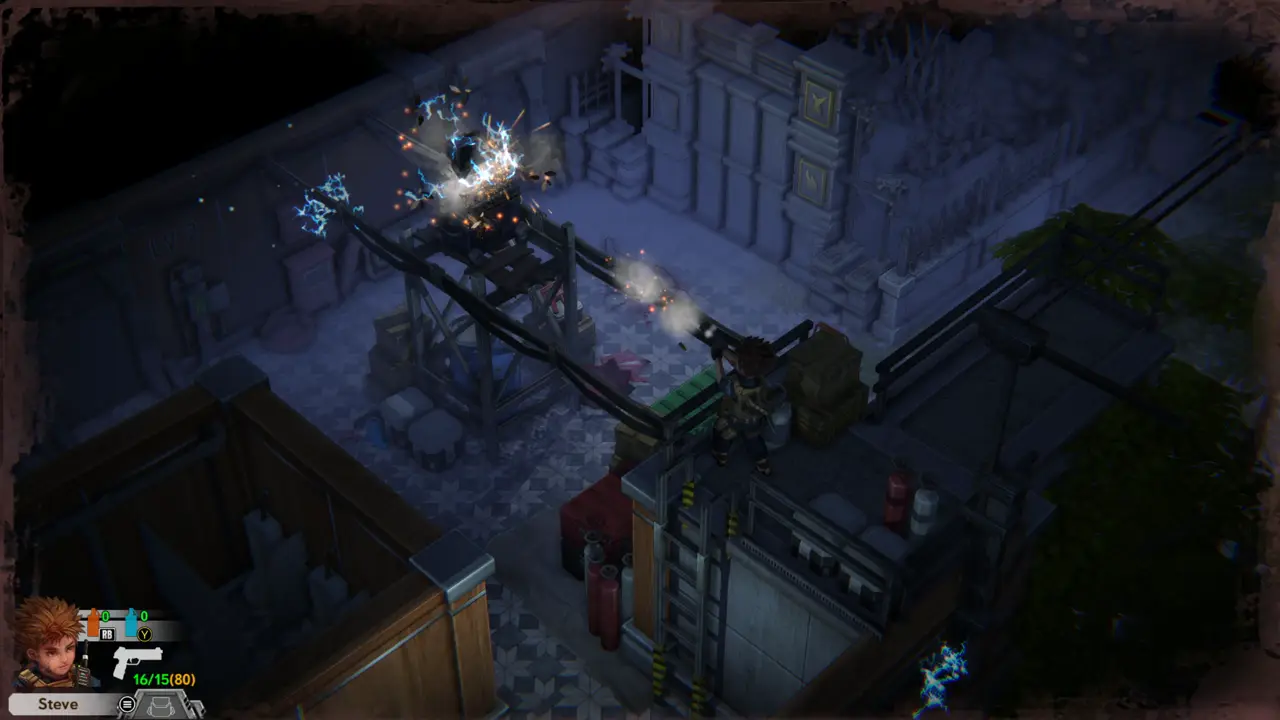
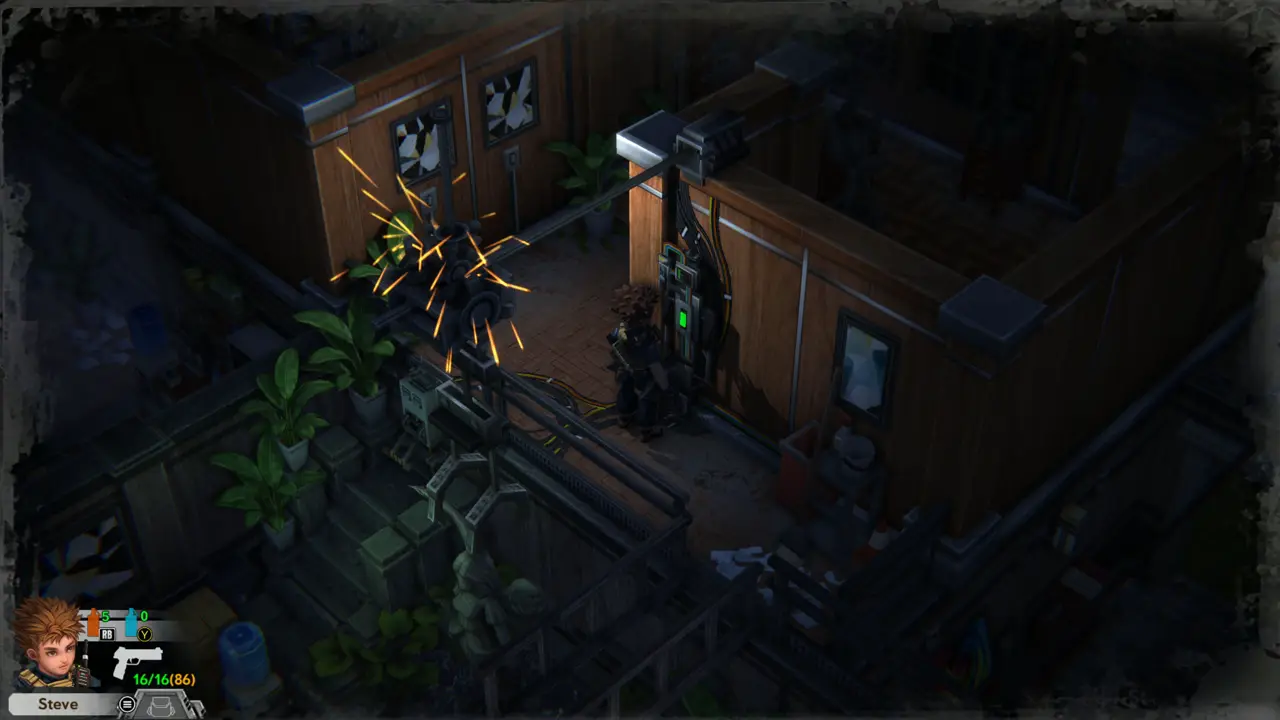
ITEM 27PUZZLE 7 Climb the ladder at the crate stack onto the cable walkway and take the Pistol Ammo on top of the crates (+23 reserve). Aim along the cable at the electrical box on the tower and shoot it until sparks fly. This is the second jammer.
On top of the crates
Sparks on the tower
Sparks on the tower
28
Second Floor - overgrown rooftop at the end of the cable
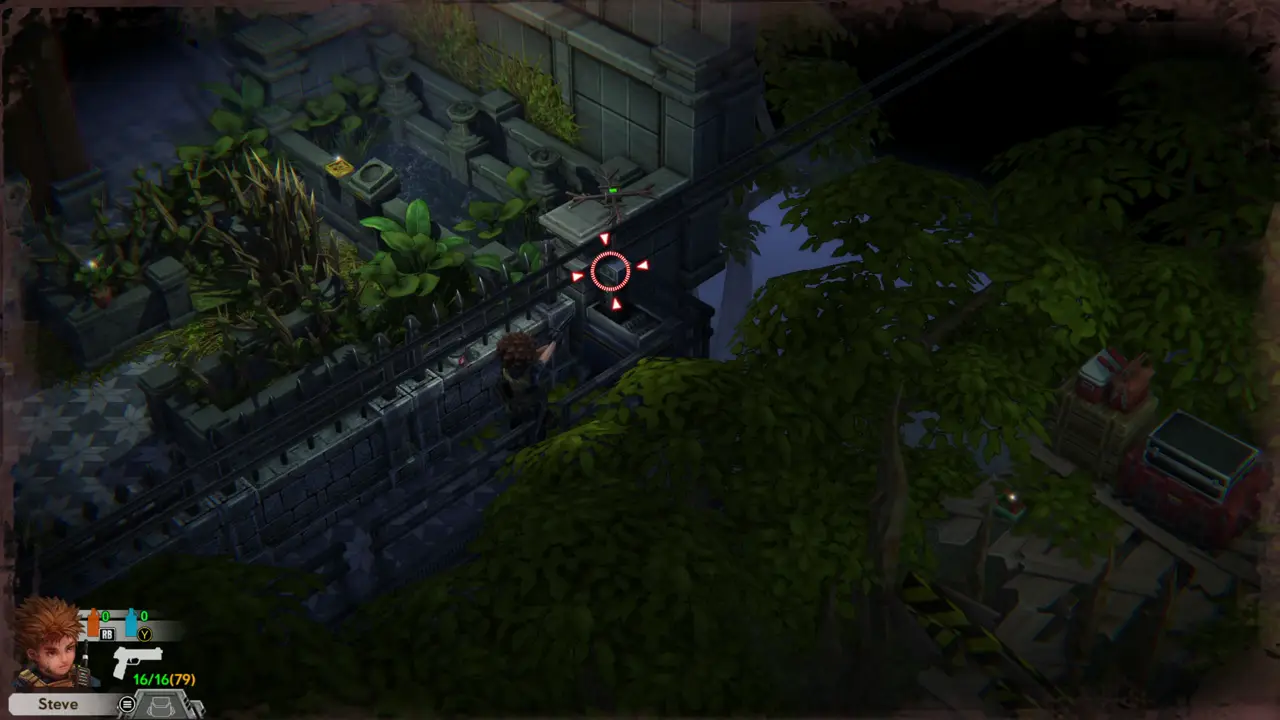
PUZZLE 8ITEM 28 Cross the walkway to the overgrown roof beside the stone building. Aim at the device on the stone wall beside the cable (red target ring) and shoot it. Then take the Gunpowder A lying on the wall.
Targeting the device
Gunpowder A prompt
Gunpowder A prompt
29
Second Floor - near Cable Car Station and Second Floor Restroom
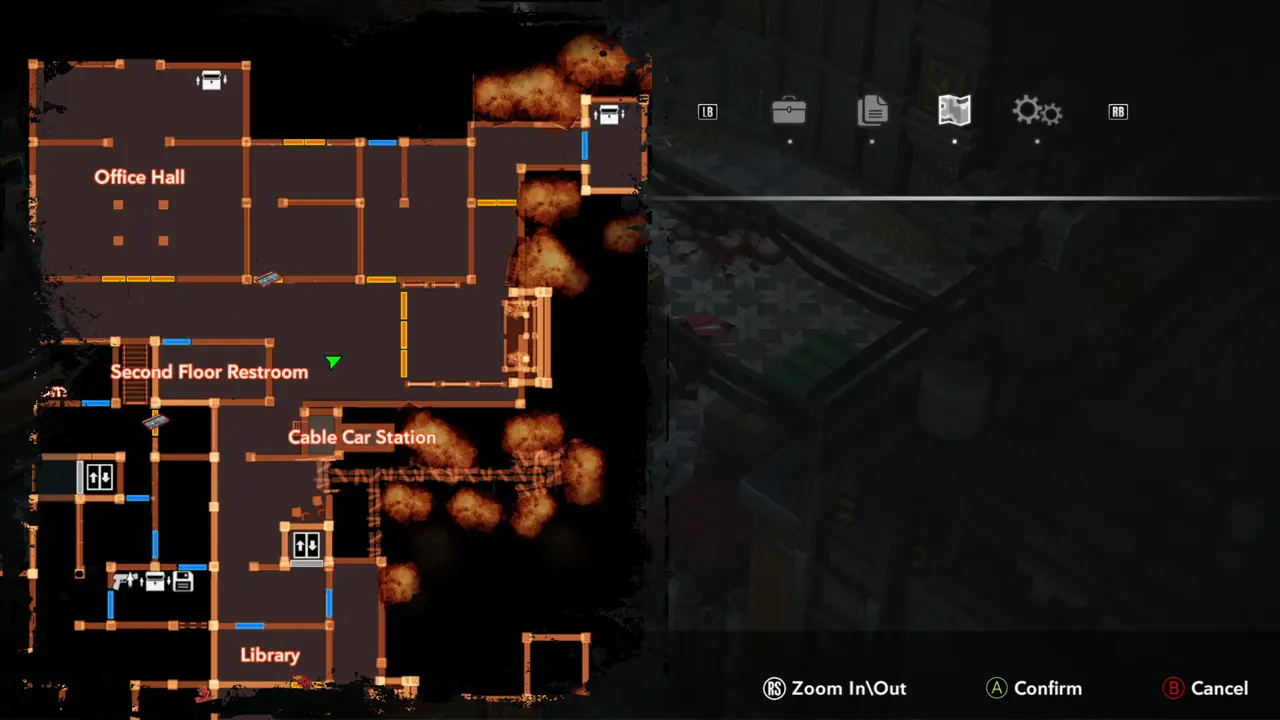
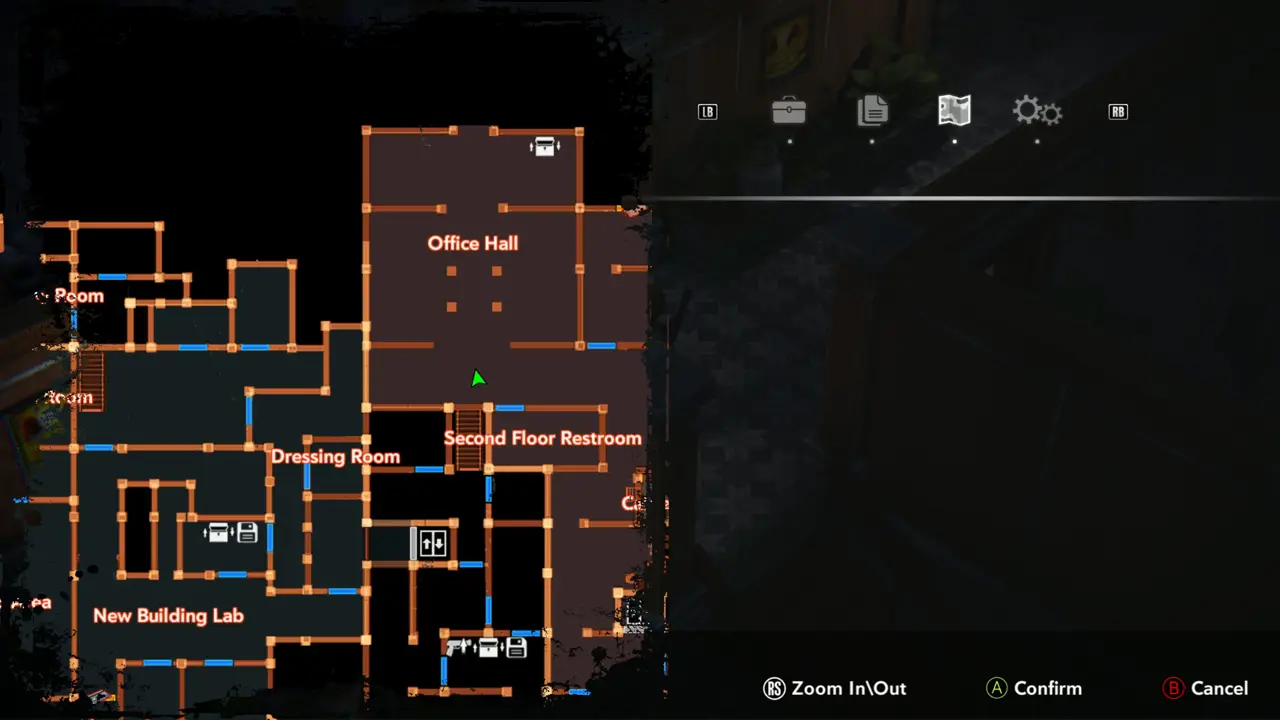
MAP Check the map: the corridor east of the Second Floor Restroom, between the Cable Car Station and the Office Hall, leads to your next objective.
Map, Steve east of restroom
30
Second Floor - outside the Office Hall
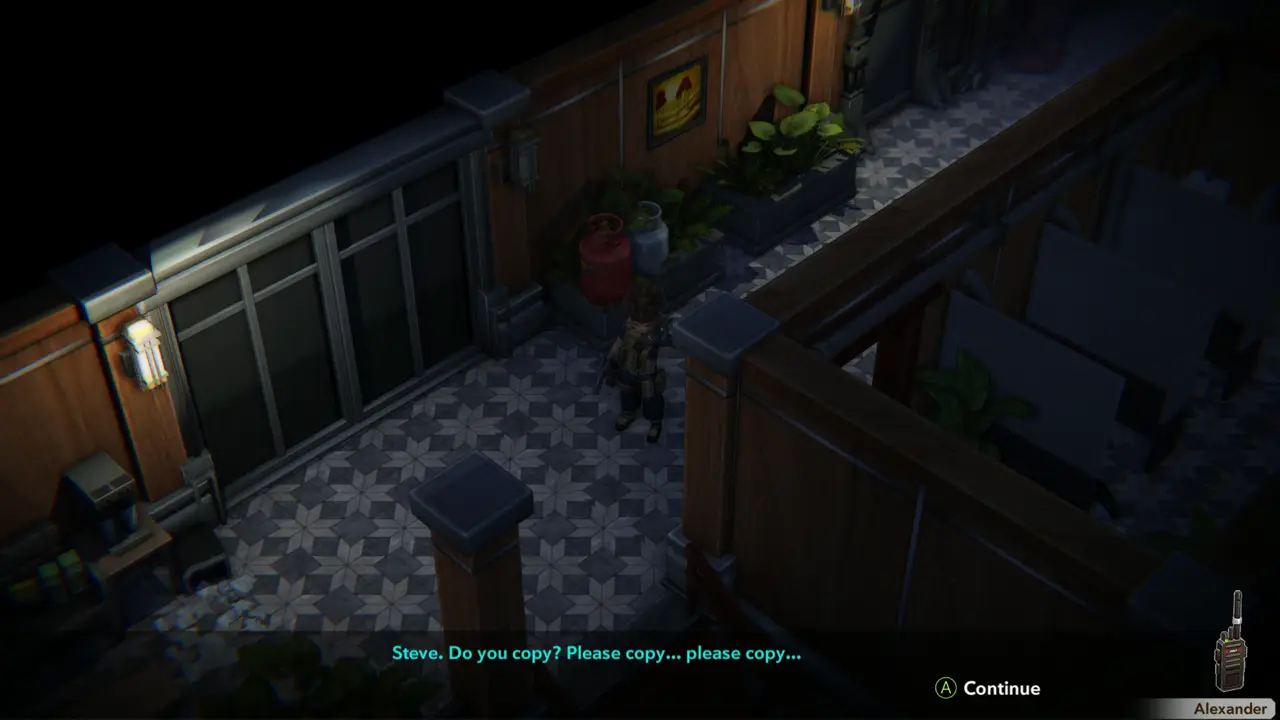
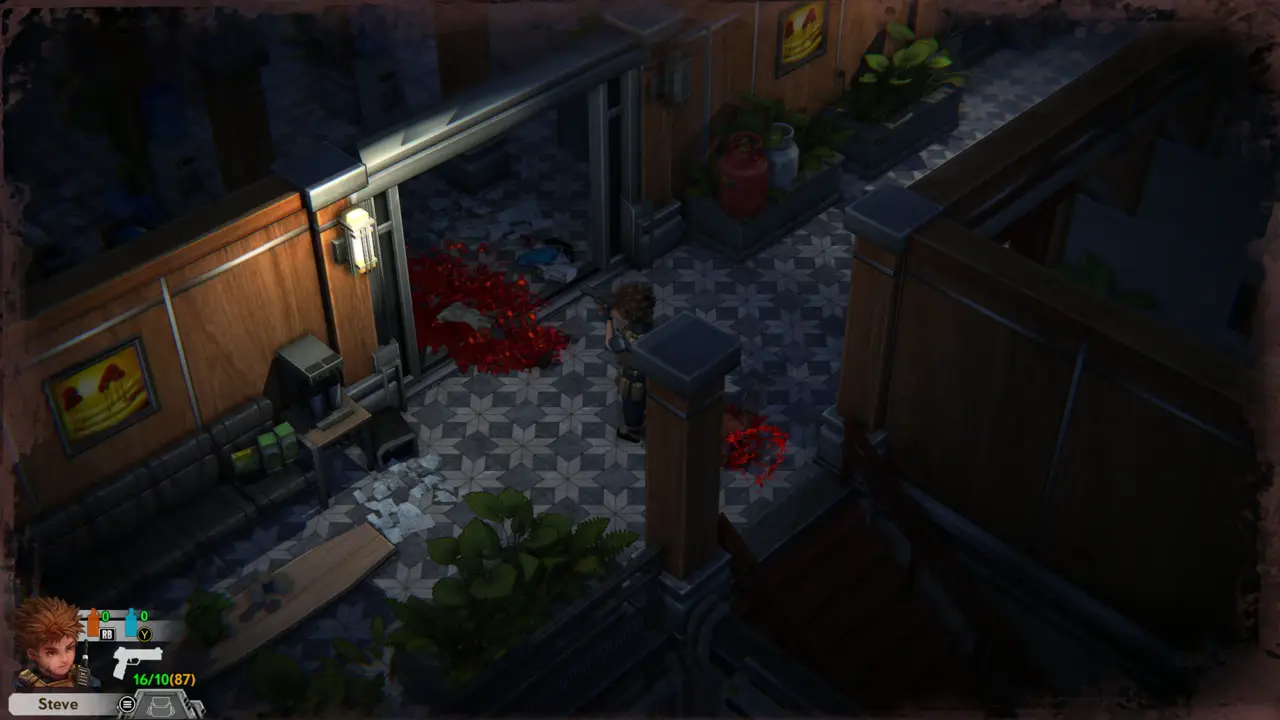
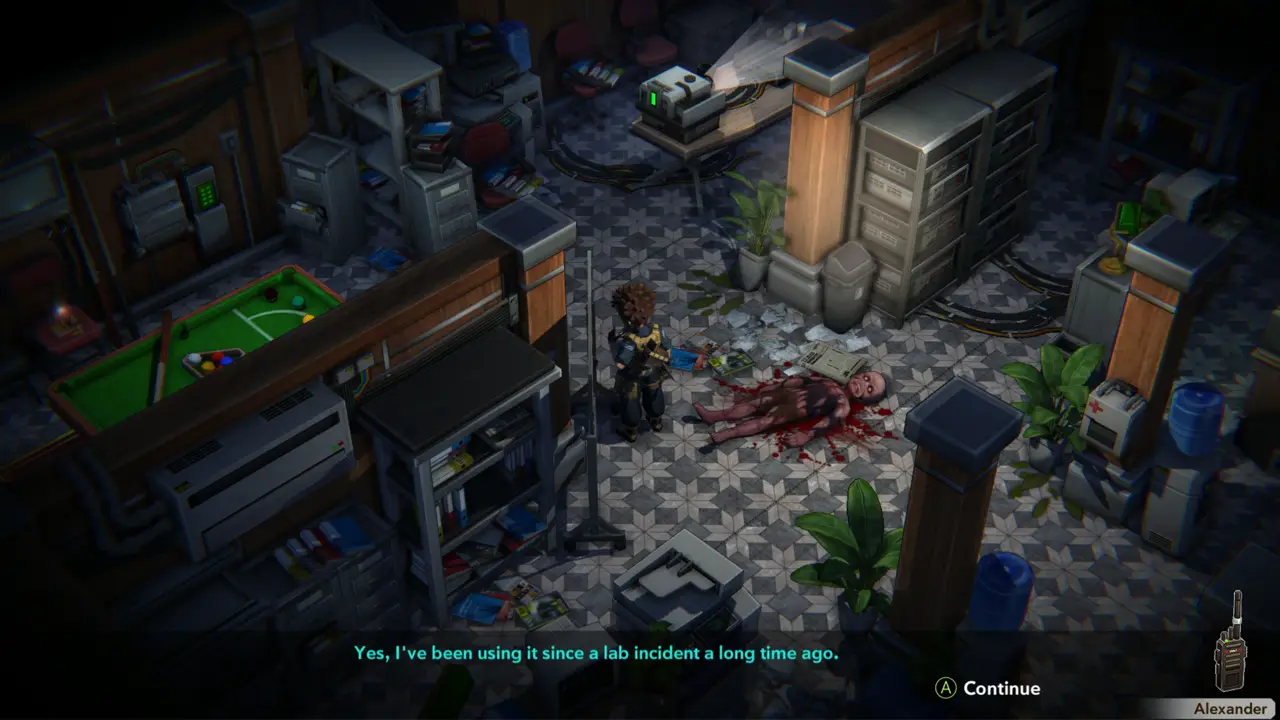
DOORNOTE With the jammers disabled the walkie-talkie works. Alexander calls: “Steve. Do you copy? Please copy... please copy...”. Answer: “Yes, I can hear you, Alexander.” He says: “Ok, I'm opening the remote-control gate now. Come in.” Enter the Office Hall.
Corridor by the Office Hall
Gate opening dialogue
31
Second Floor - Office Hall
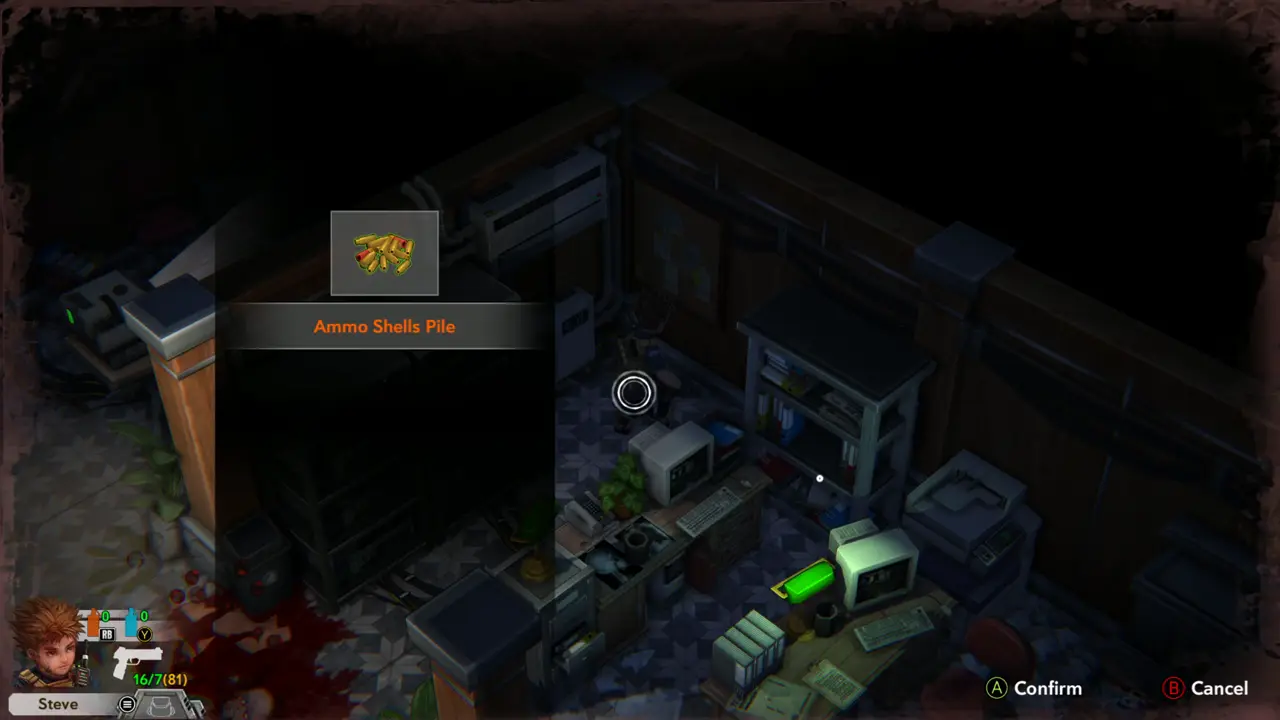
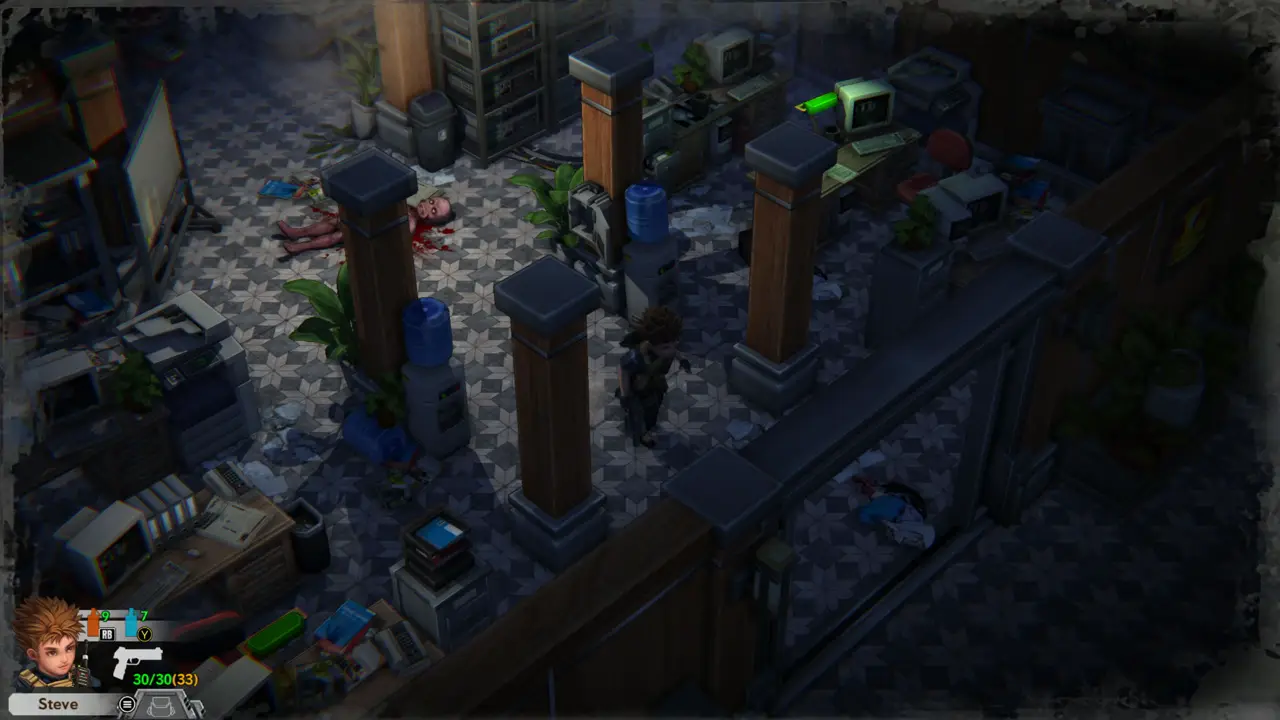
FIGHTITEM 29 Kill the two zombies beside the desks in the Office Hall with the pistol. Take the Ammo Shells Pile at the desk next to the green-lit computer.
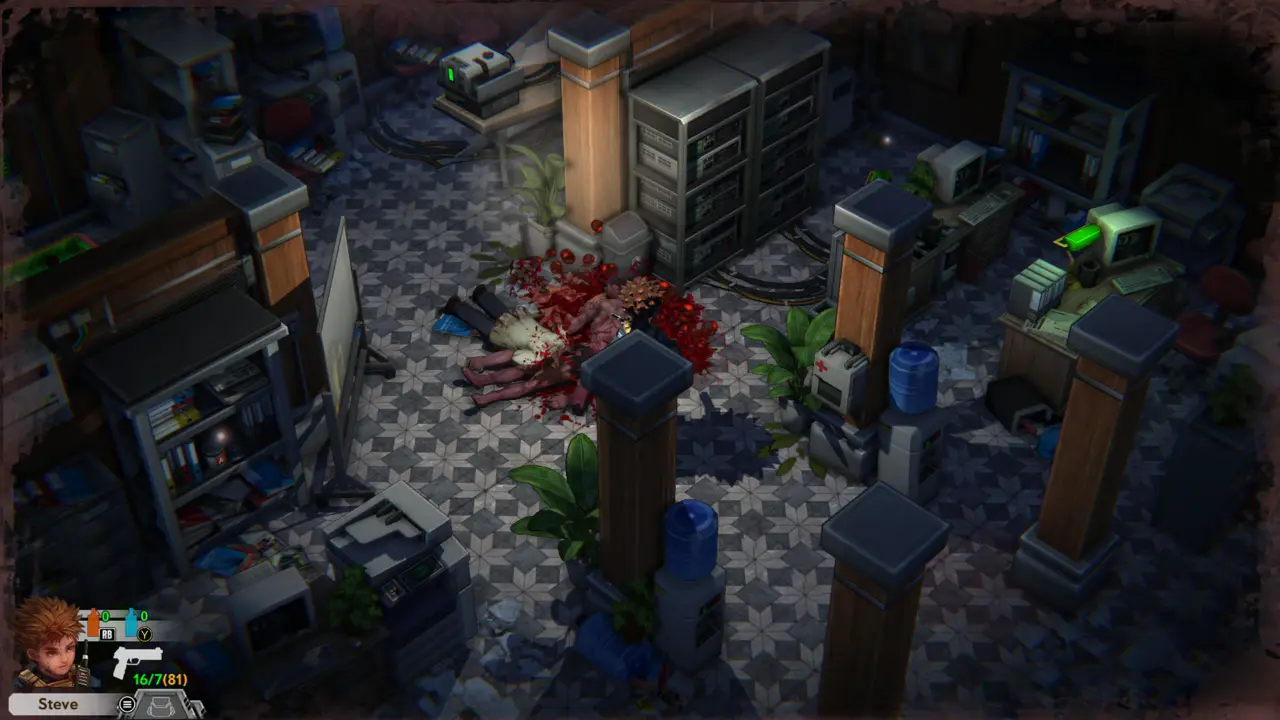
Dead zombie by server racks
Ammo Shells Pile prompt
32
Second Floor - Office Hall
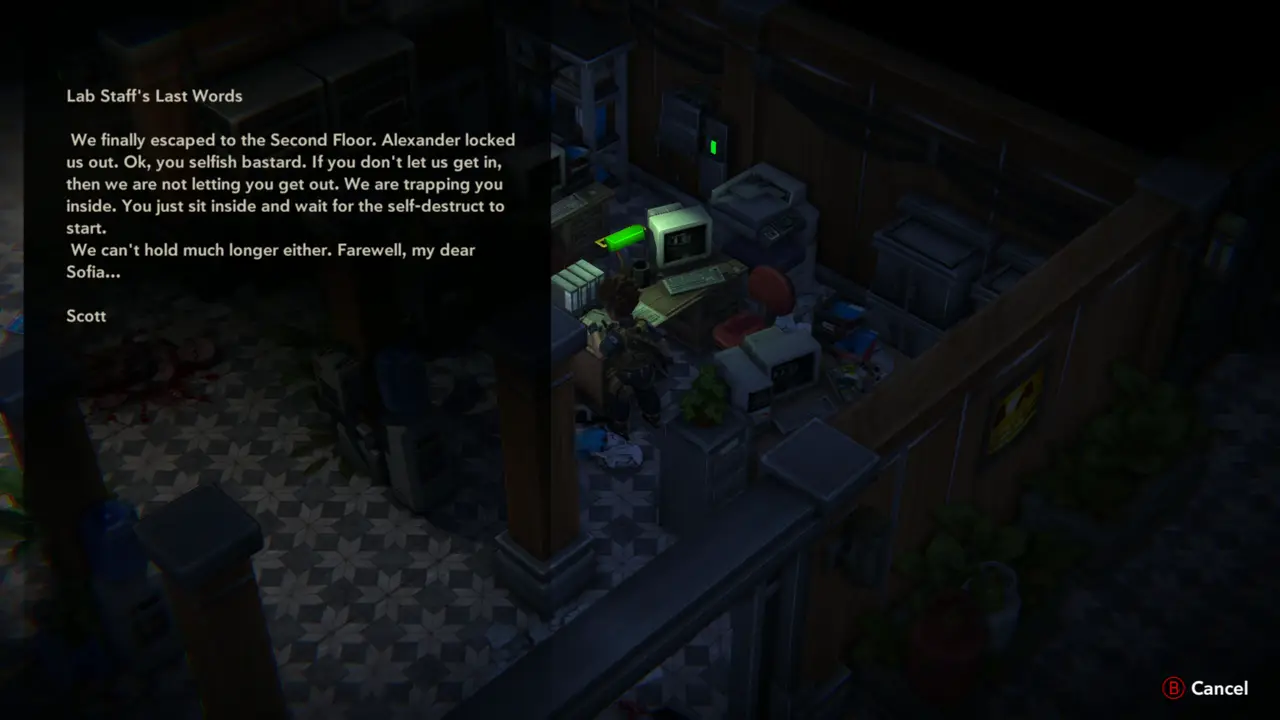
FILE 21 Read Lab Staff's Last Words from the desk. Scott's last message says Alexander locked the staff out and that they trapped him inside until the self-destruct starts.
Lab Staff's Last Words
33
Second Floor - Office Hall
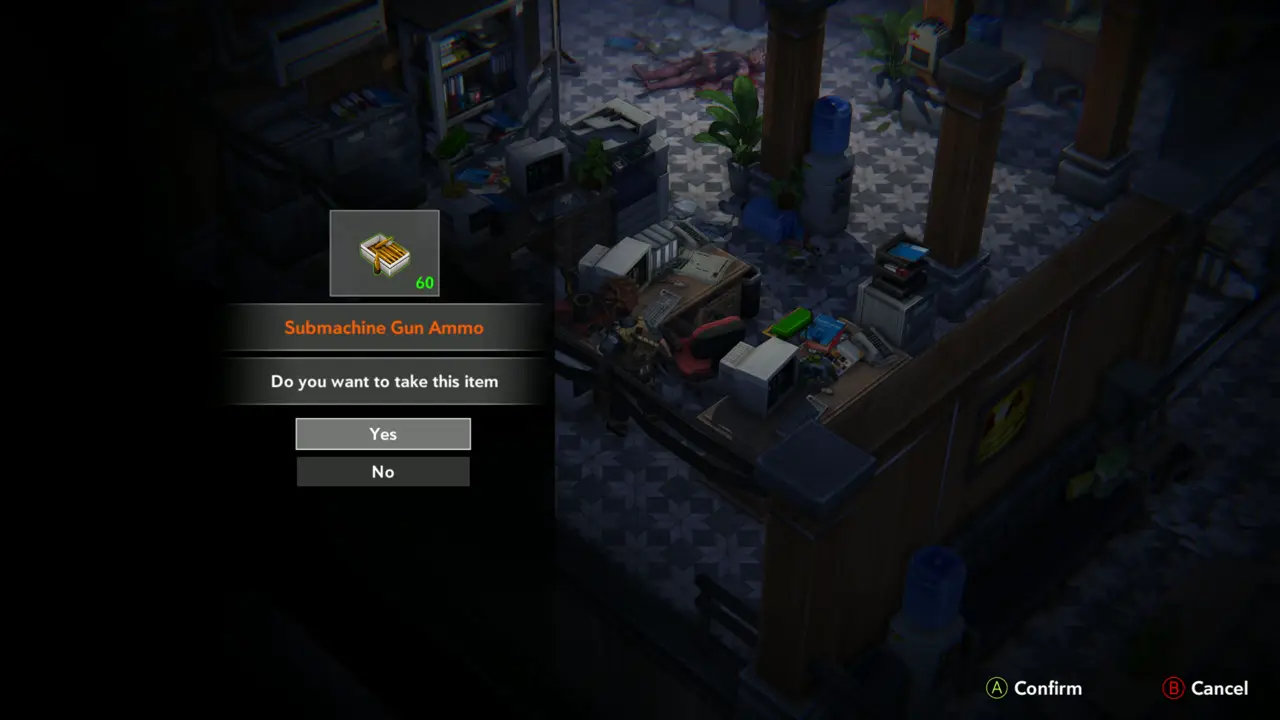
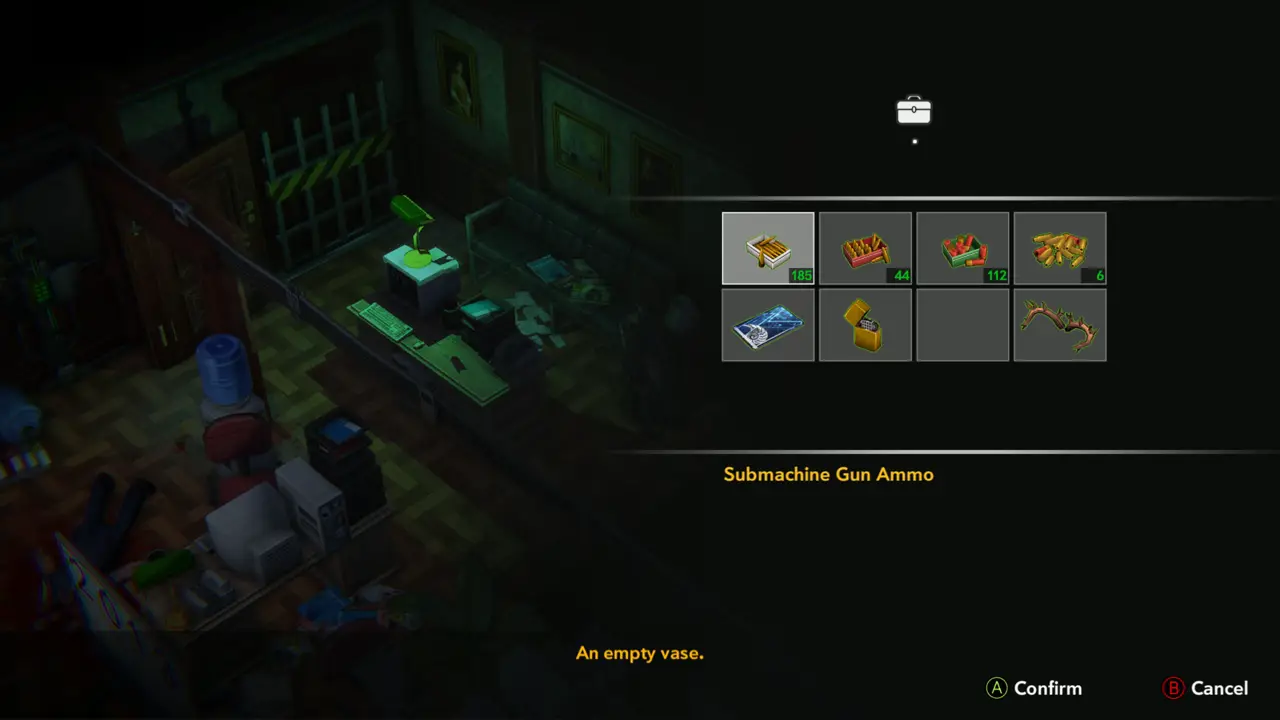
ITEM 30–31WEAPON Take the Submachine Gun Ammo (60) and then Gunpowder A from the desks in the Office Hall.
Submachine Gun Ammo prompt
Gunpowder A prompt
Gunpowder A prompt

Part 3 — Office Hall, pool room and projector room

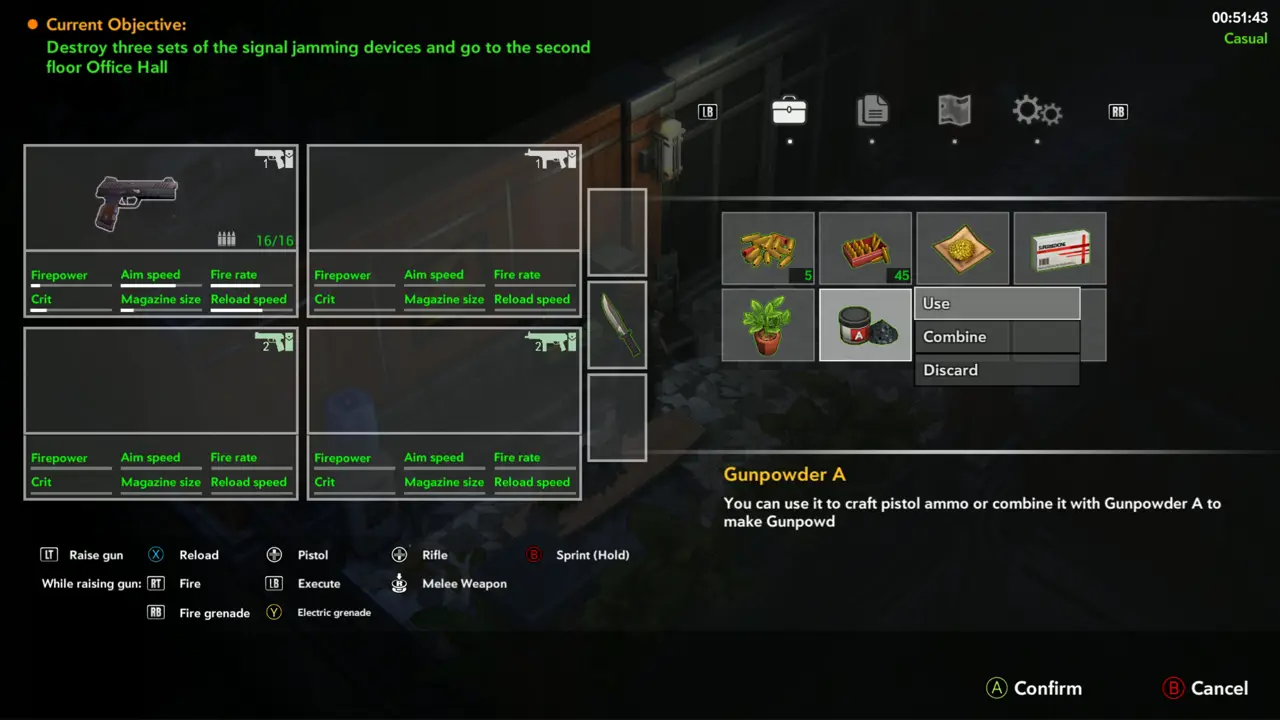
In-game goal. Destroy three sets of the signal jamming devices and go to the second floor Office Hall. Then: find a way out of the new Lab building.
1
Office Hall - Pool Room
NOTE Check the objective: “Destroy three sets of the signal jamming devices and go to the second floor Office Hall”. Alexander says by radio that the Gun Lab next door is locked and his office is reached through it, and that he may have left the item in the Old Building's Botany Lab.
Pause screen with objective
Alexander radio talk
2
Office Hall - Pool Room
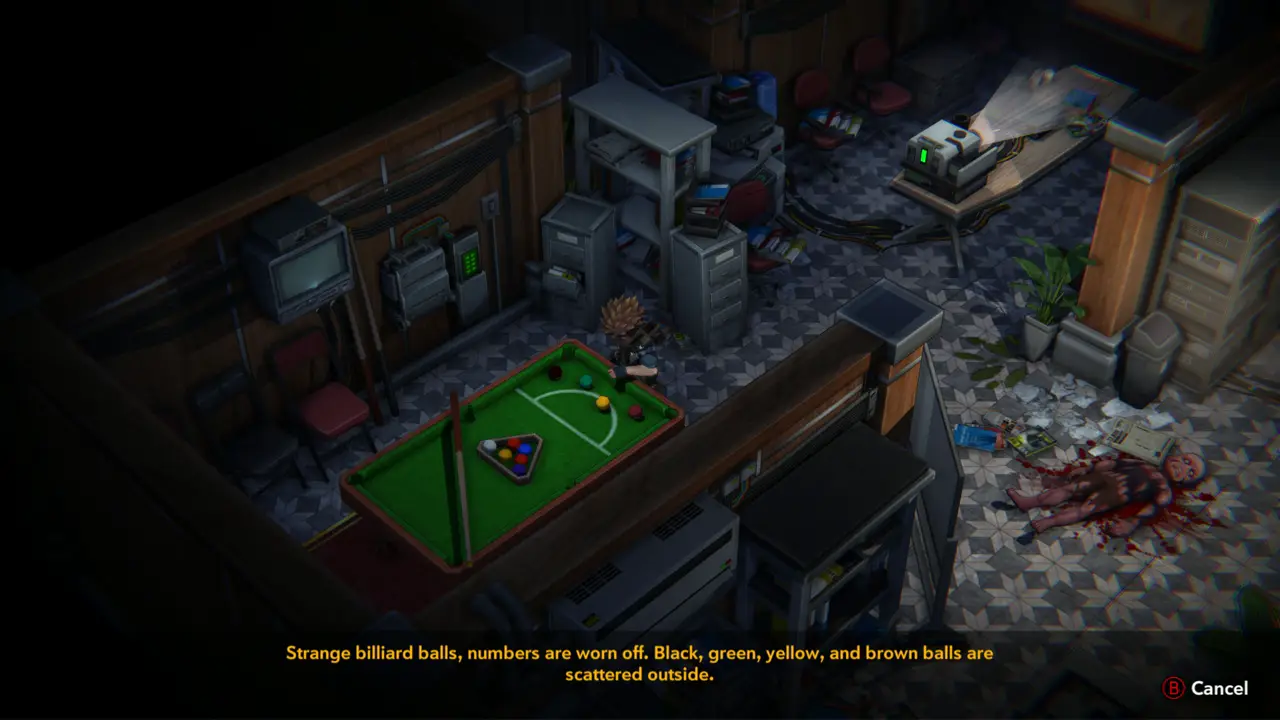
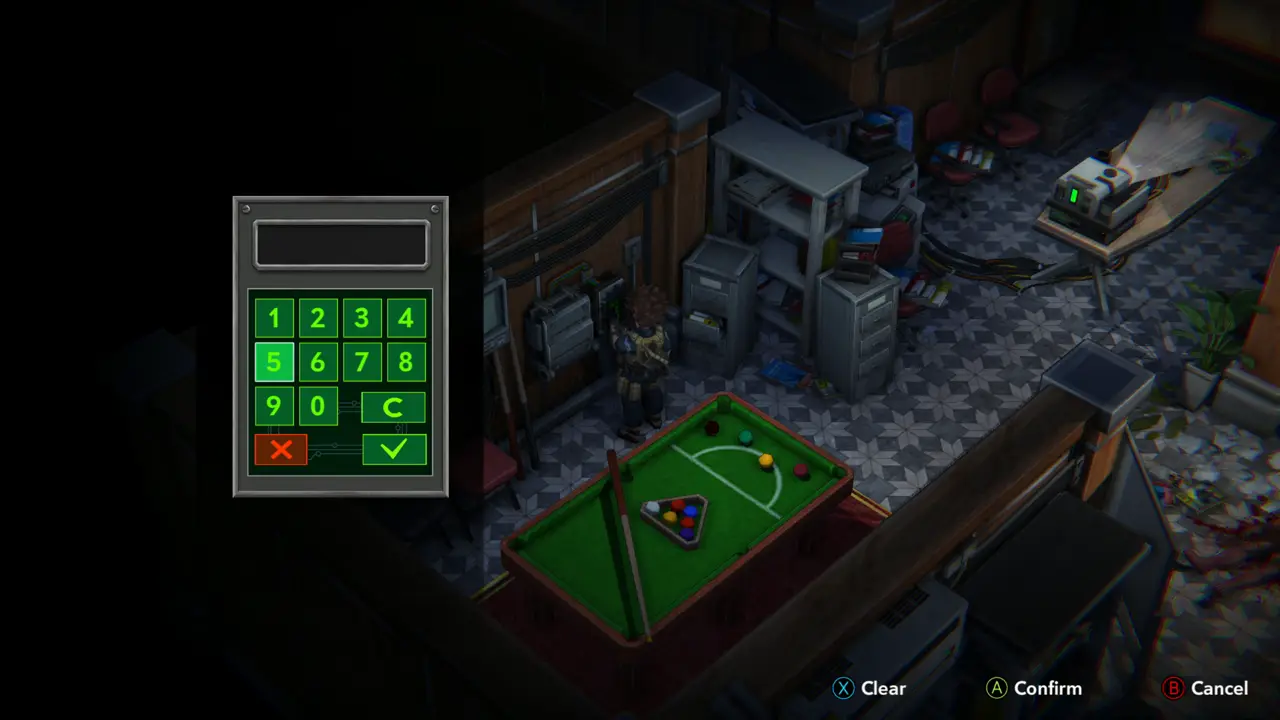
PUZZLE 1CODE Examine the pool table: “Strange billiard balls, numbers are worn off. Black, green, yellow, and brown balls are scattered outside.” Then use the keypad on the wall next to the table and type 8, 6, 1, 7 (black 8, green 6, yellow 1, brown 7) to open the lock. The Slide Show A ball rack (found in this hall) confirms the numbers.
Examining the pool table
Keypad overlay on the wall
3
Office Hall - Pool Room
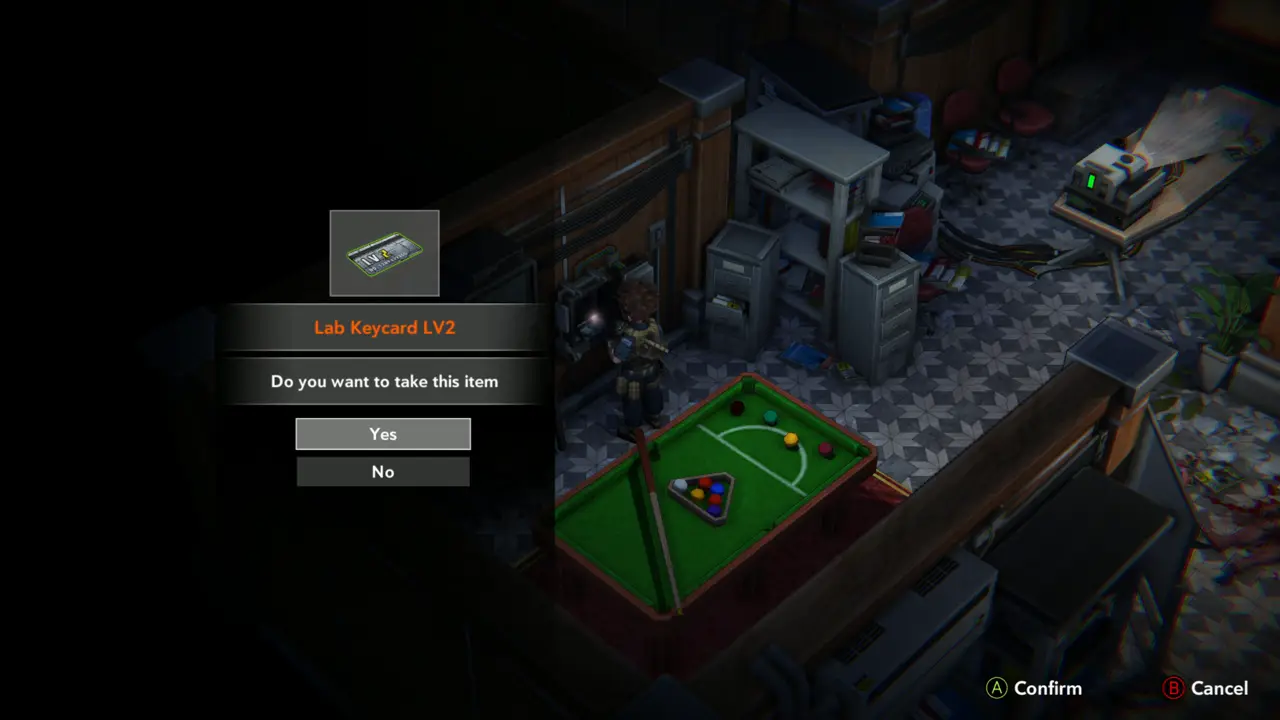
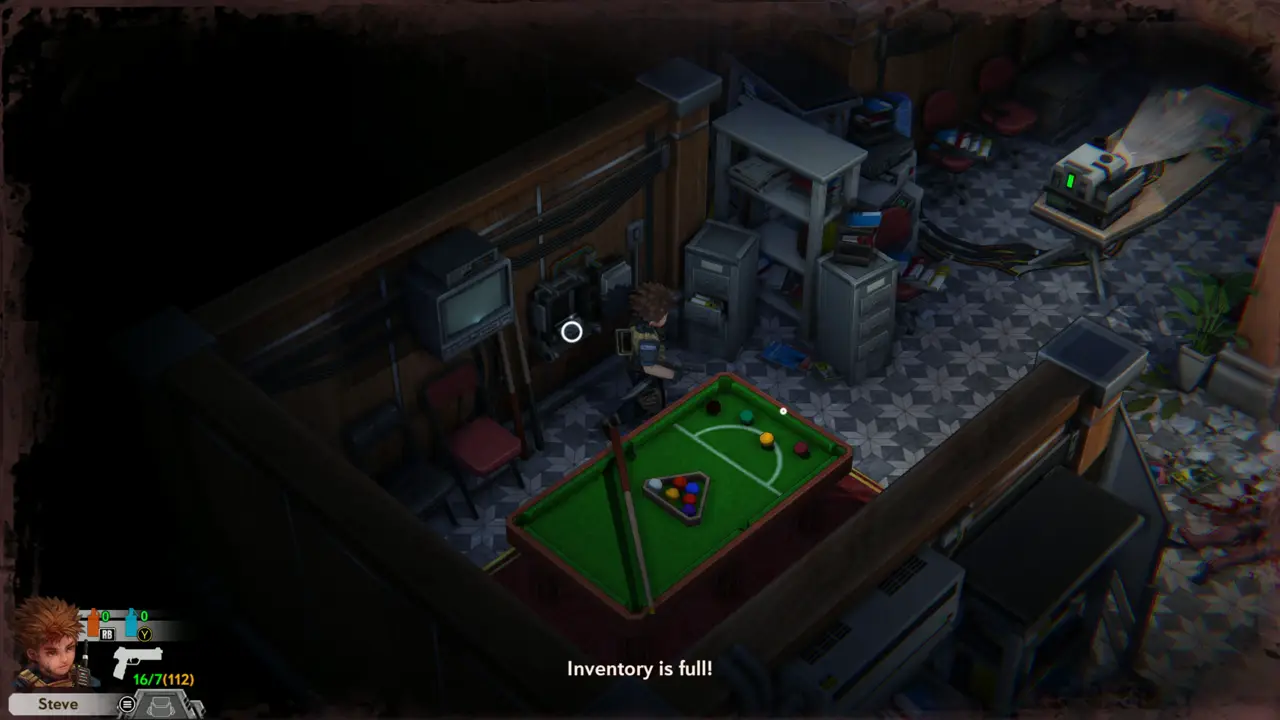
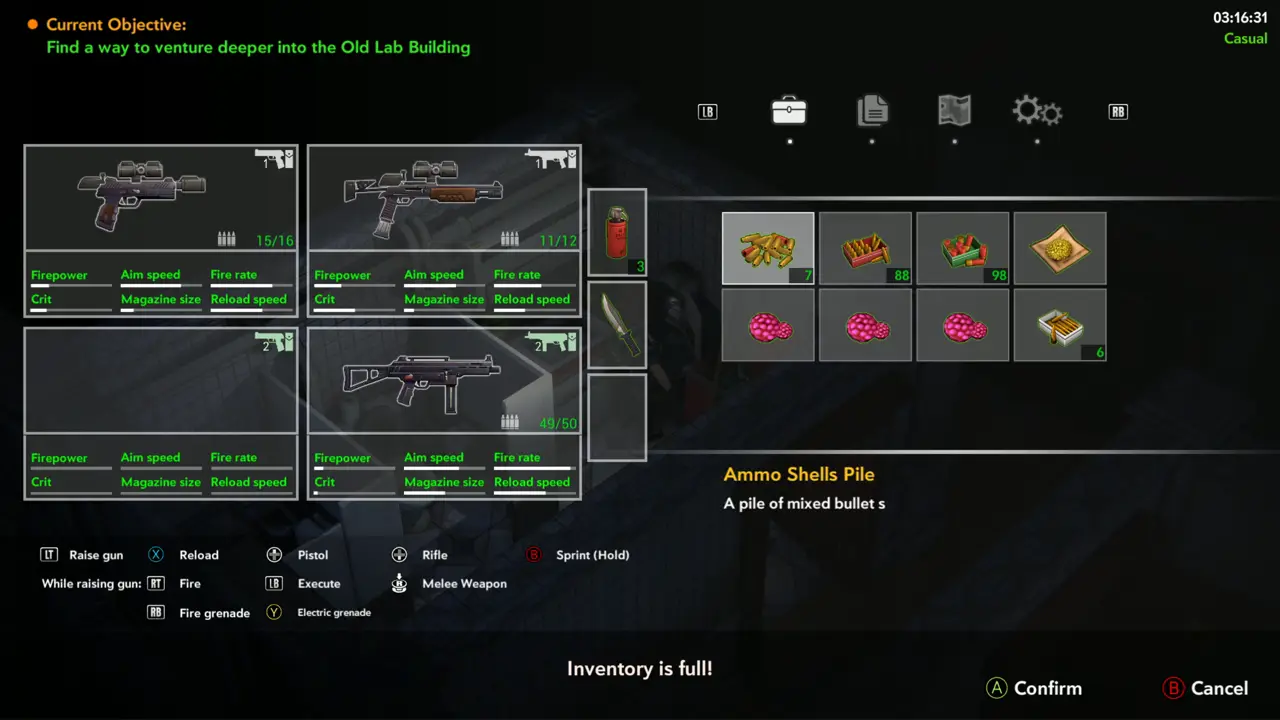
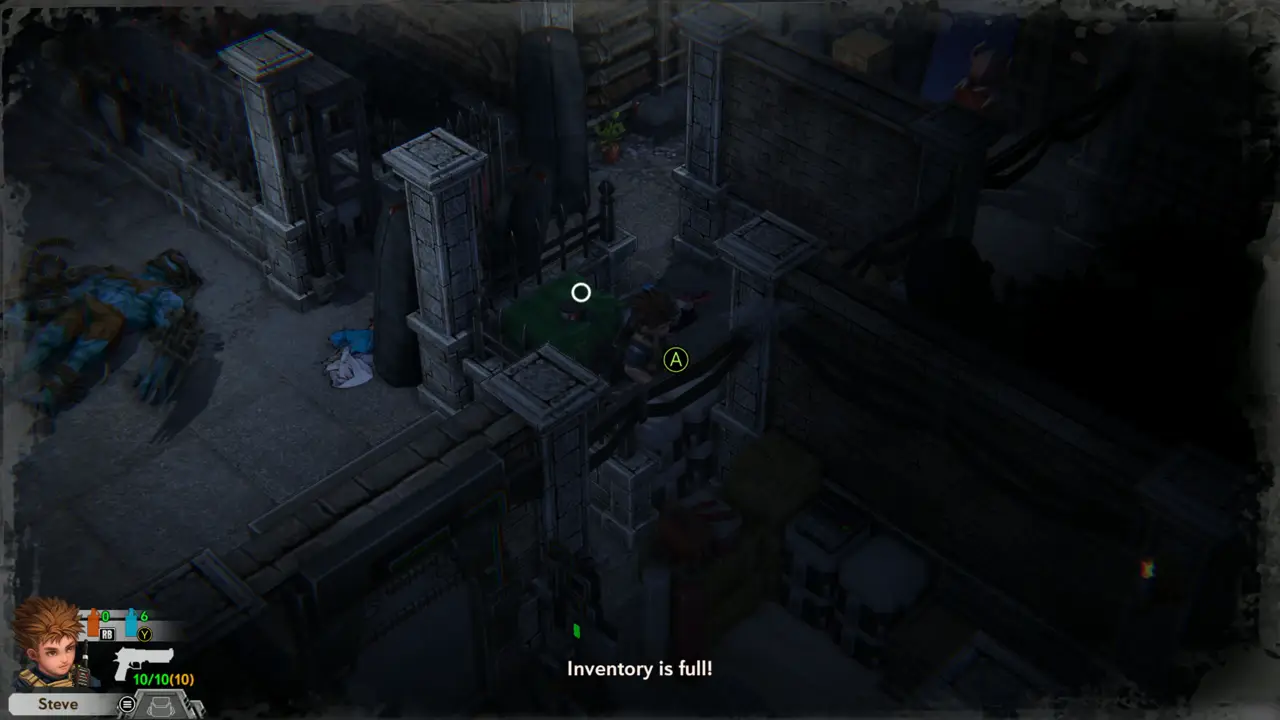
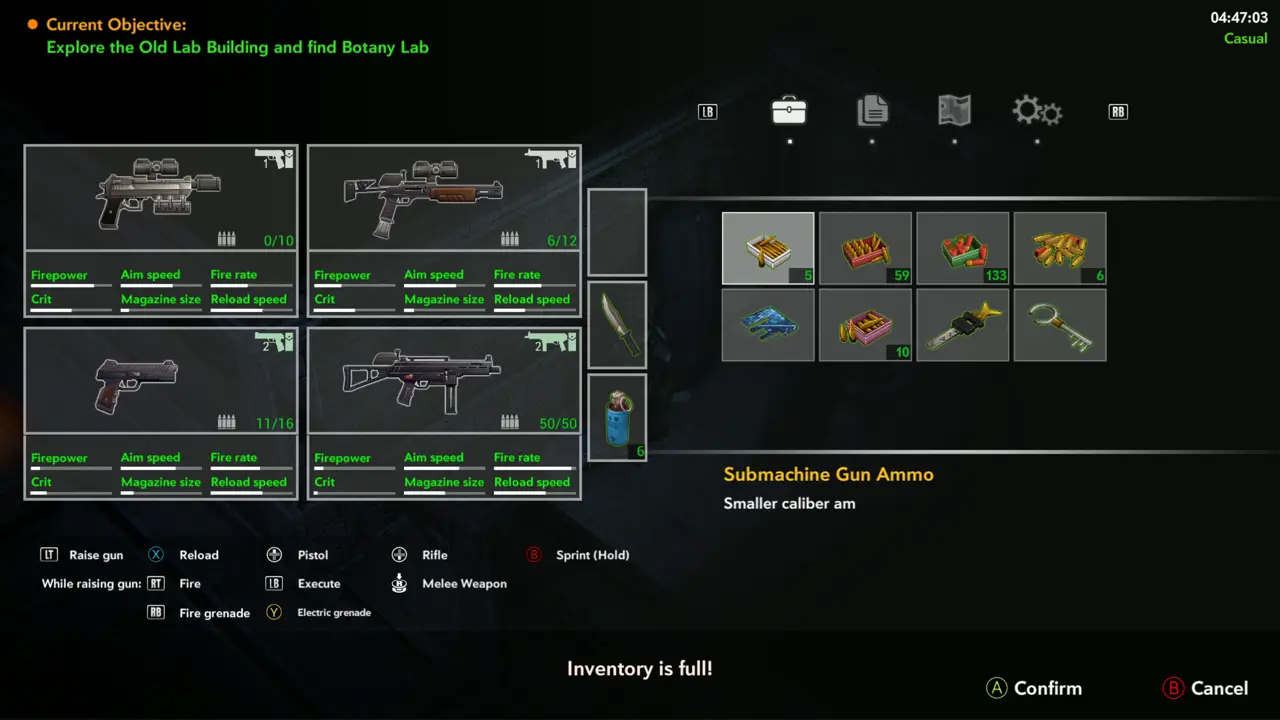
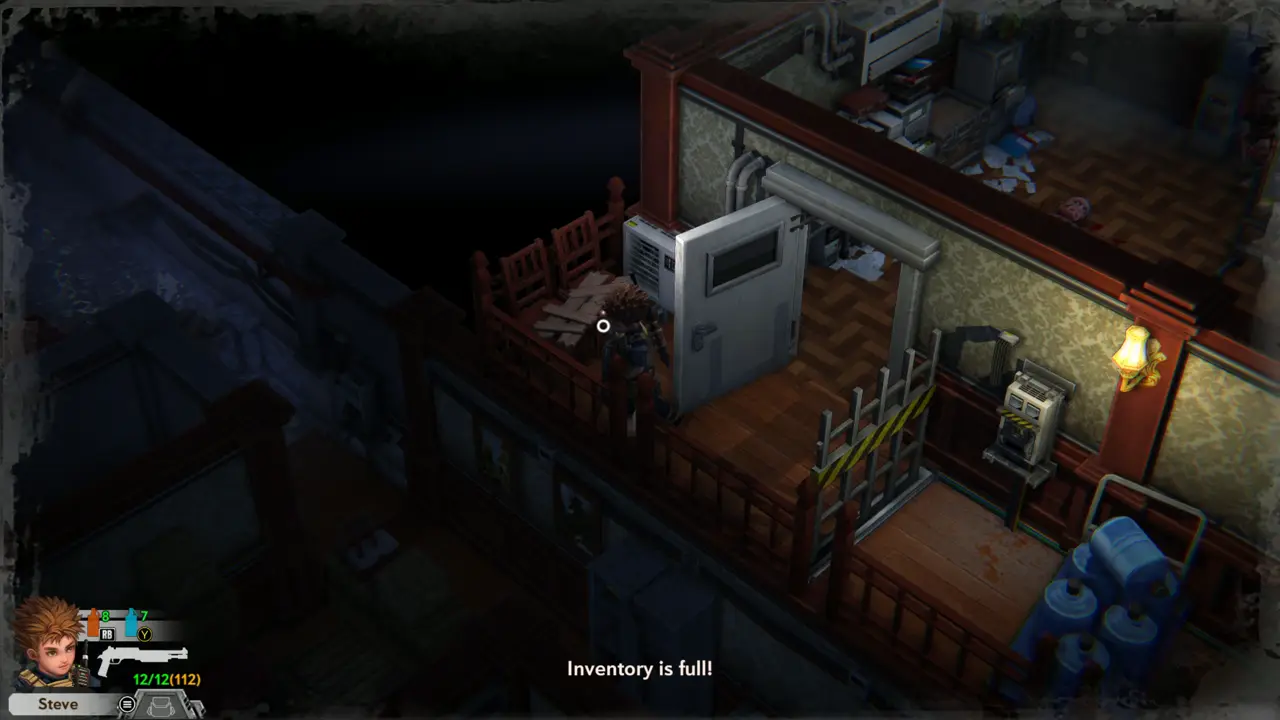
KEY ITEM 5 Take the Lab Keycard LV2 that appears. If “Inventory is full!” shows, open the inventory, free a slot, then take the card.
Lab Keycard LV2 prompt
Inventory is full message
4
Office Hall - Projector Room
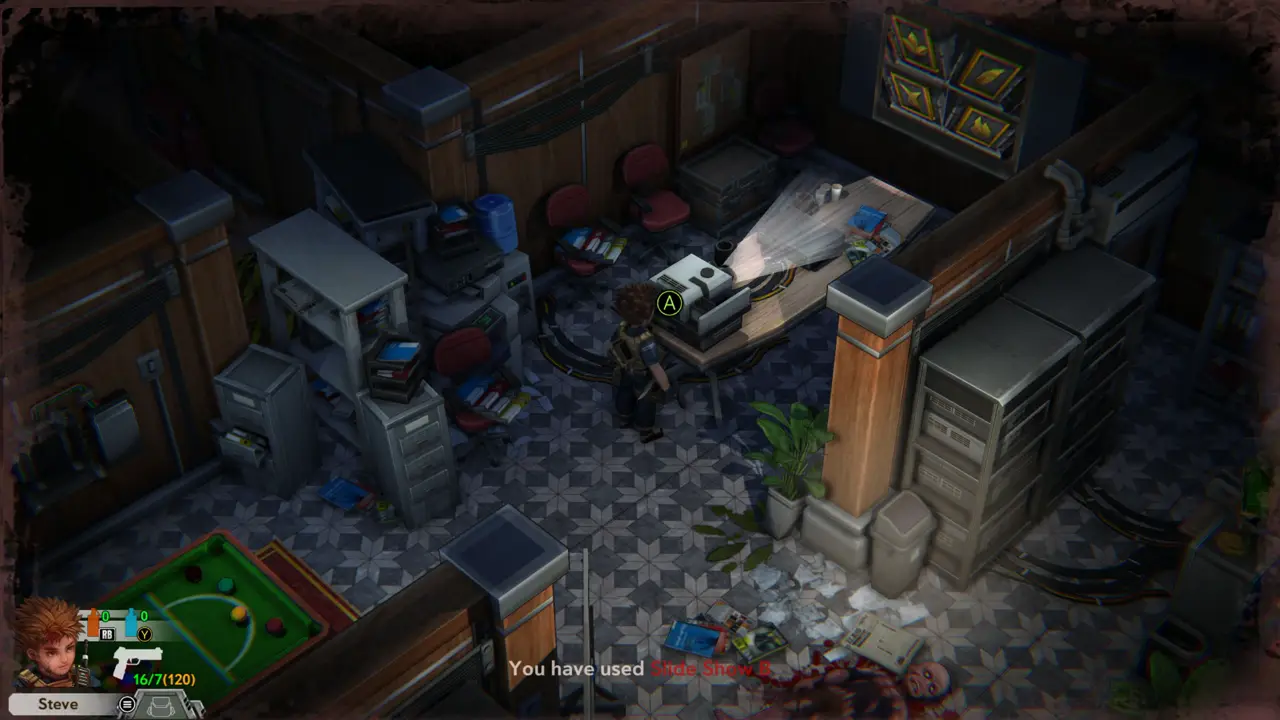
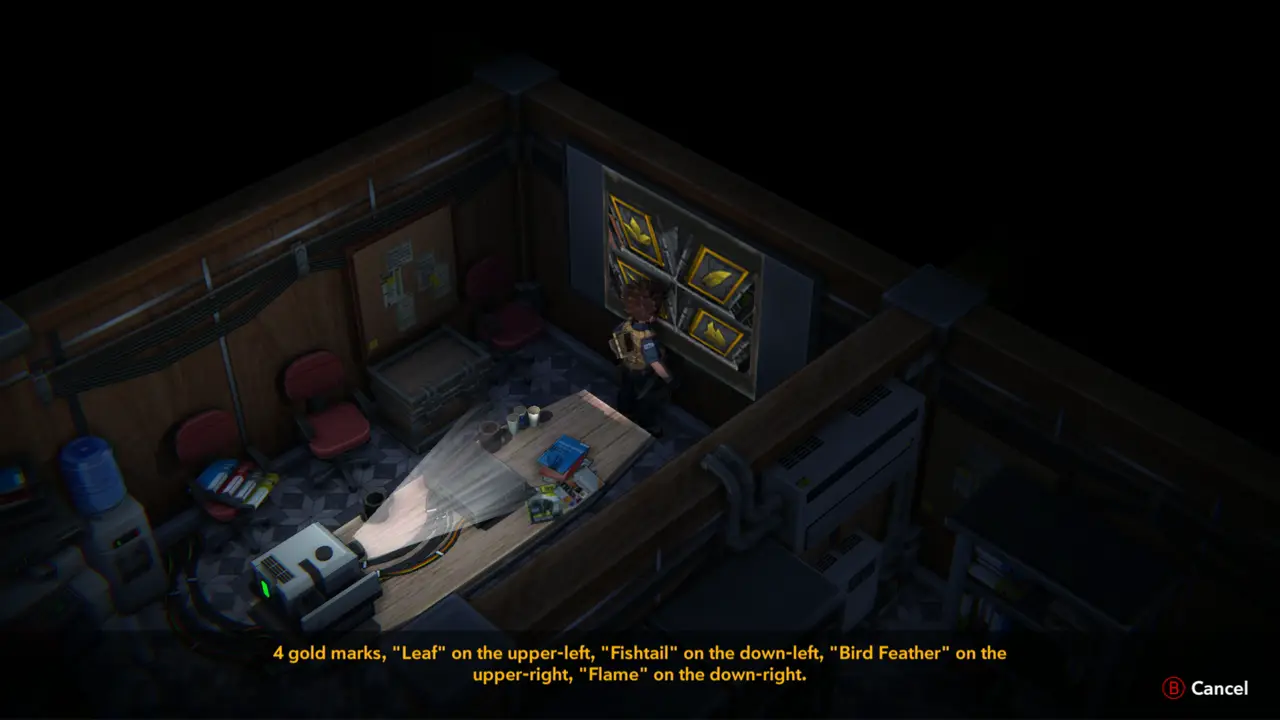
PUZZLE 2 Go into the projector room next door and use Slide Show B on the projector on the long table. The wall shows 4 gold marks: “Leaf” upper-left, “Fishtail” down-left, “Bird Feather” upper-right, “Flame” down-right.
Slide Show B loaded
Slide Show B loaded
Gold marks text on wall
5
Office Hall - Projector Room
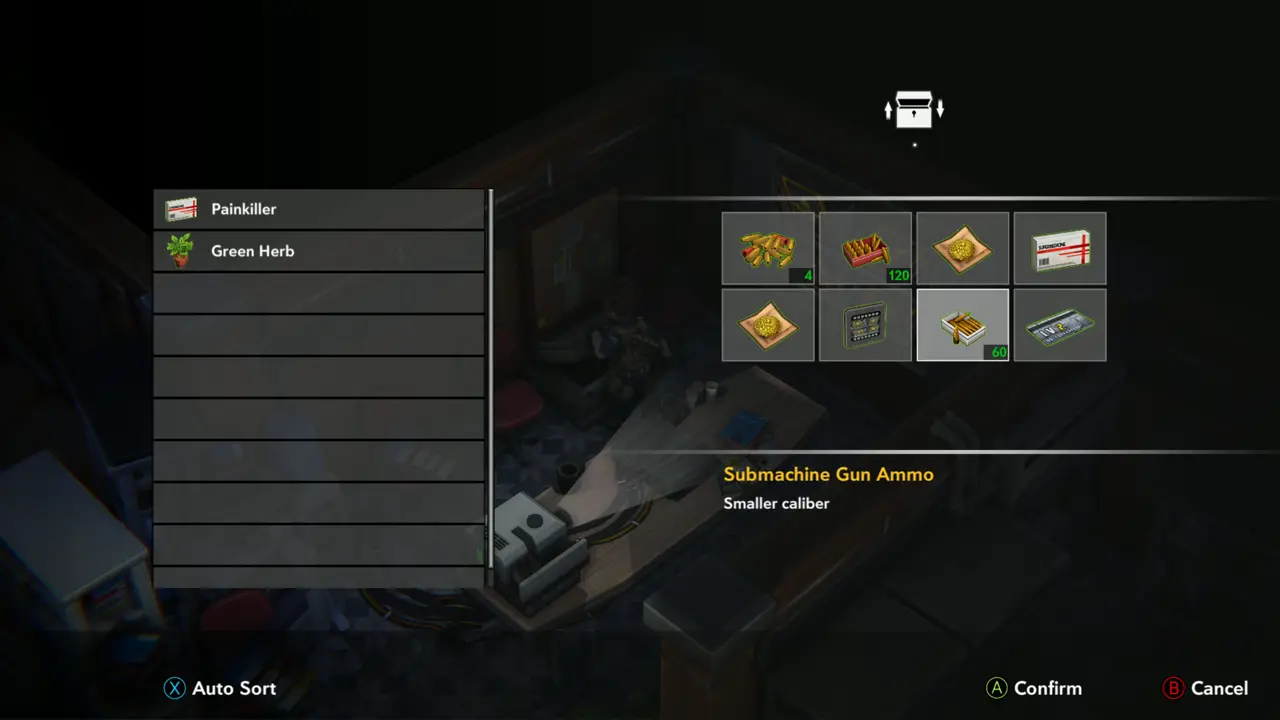
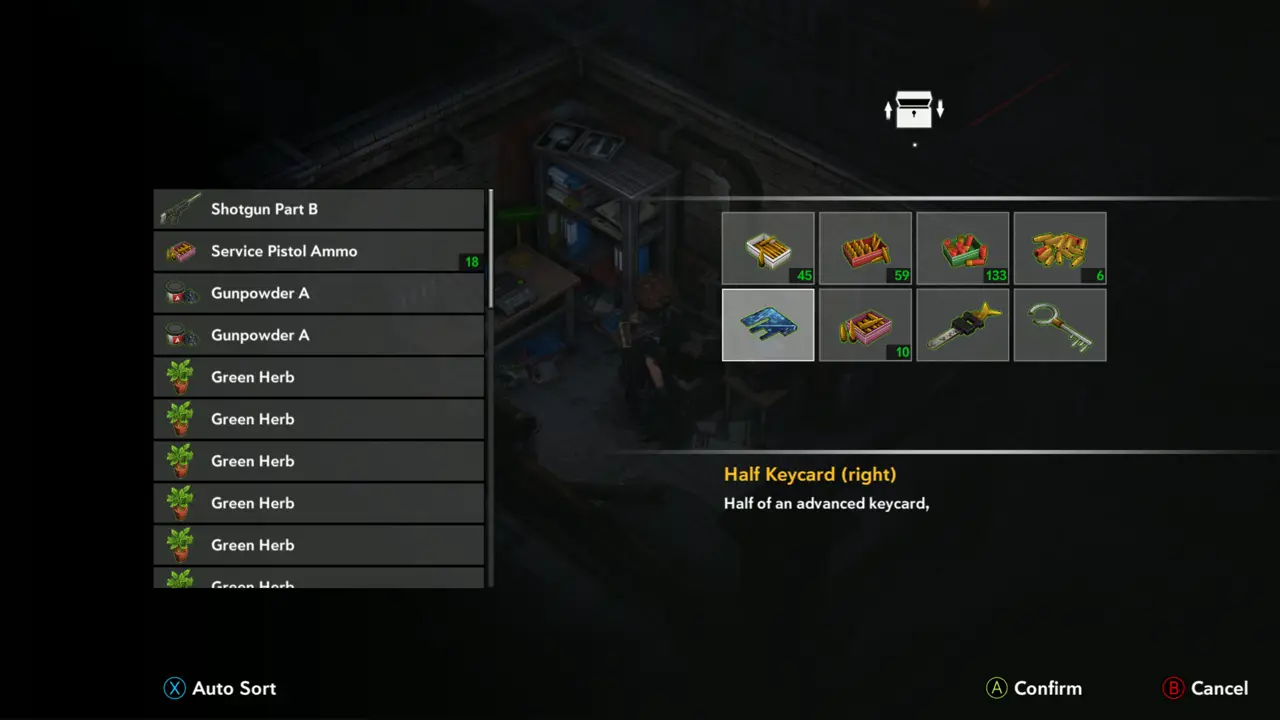
NOTE Use the storage box in the projector room to put away spare items (Submachine Gun Ammo, Slide Show B, Painkiller, Mixed Powder) and free inventory slots.
Storage box list
Storage box list
Storage with Slide Show B
6
Office Hall - Computer Desk
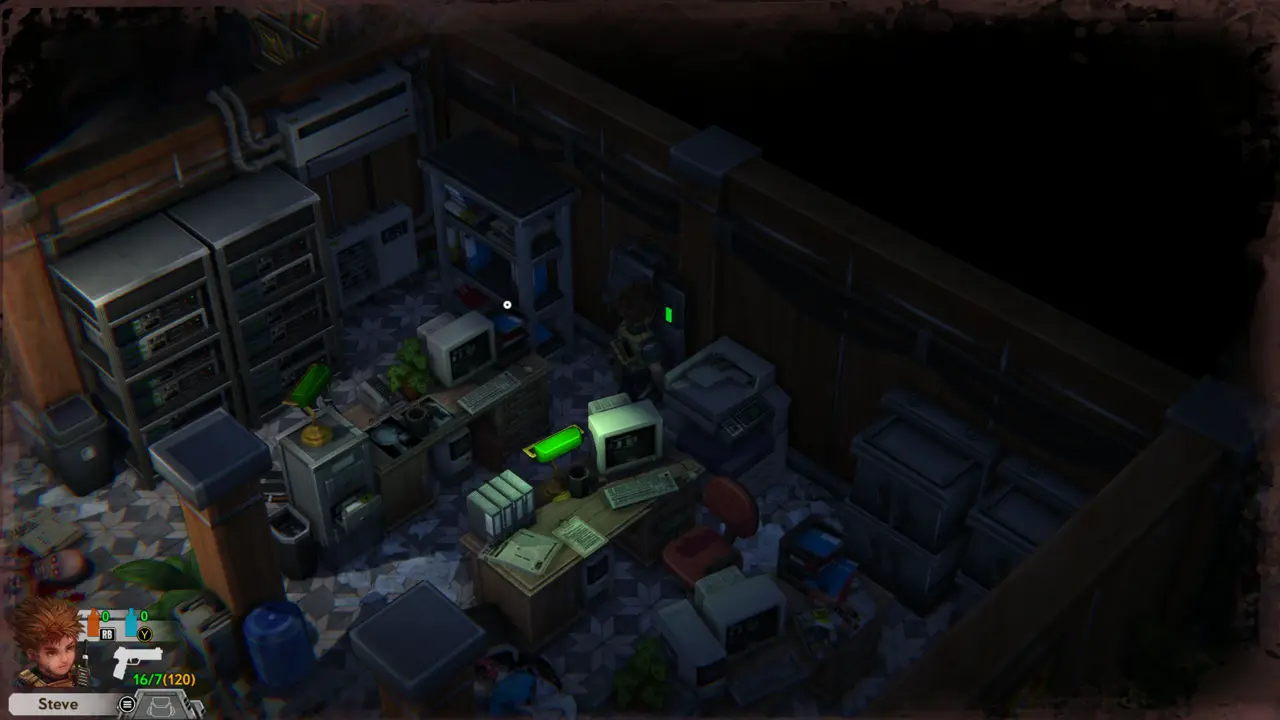
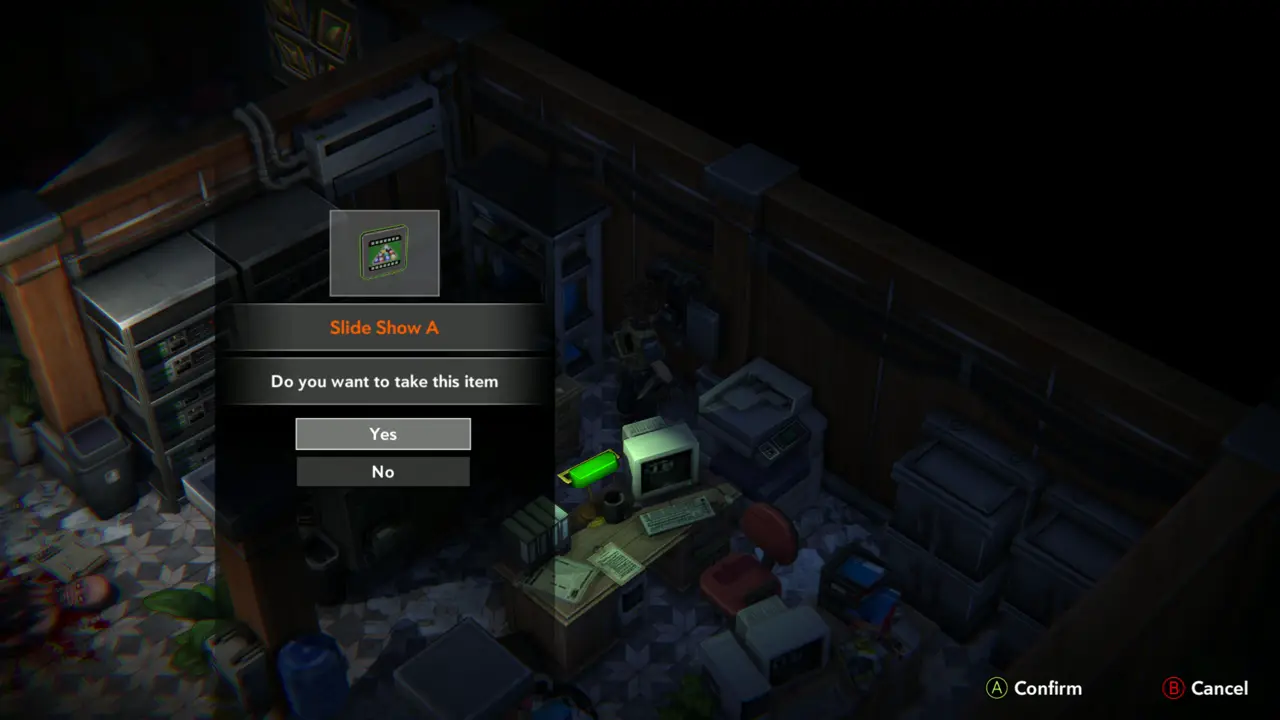
KEY ITEM 6 Take Slide Show A from the desk with the green lamp and computer, in the open area between the pool room and the pillars.
Desk with green lamp
Slide Show A prompt
Slide Show A prompt
7
Office Hall - Projector Room
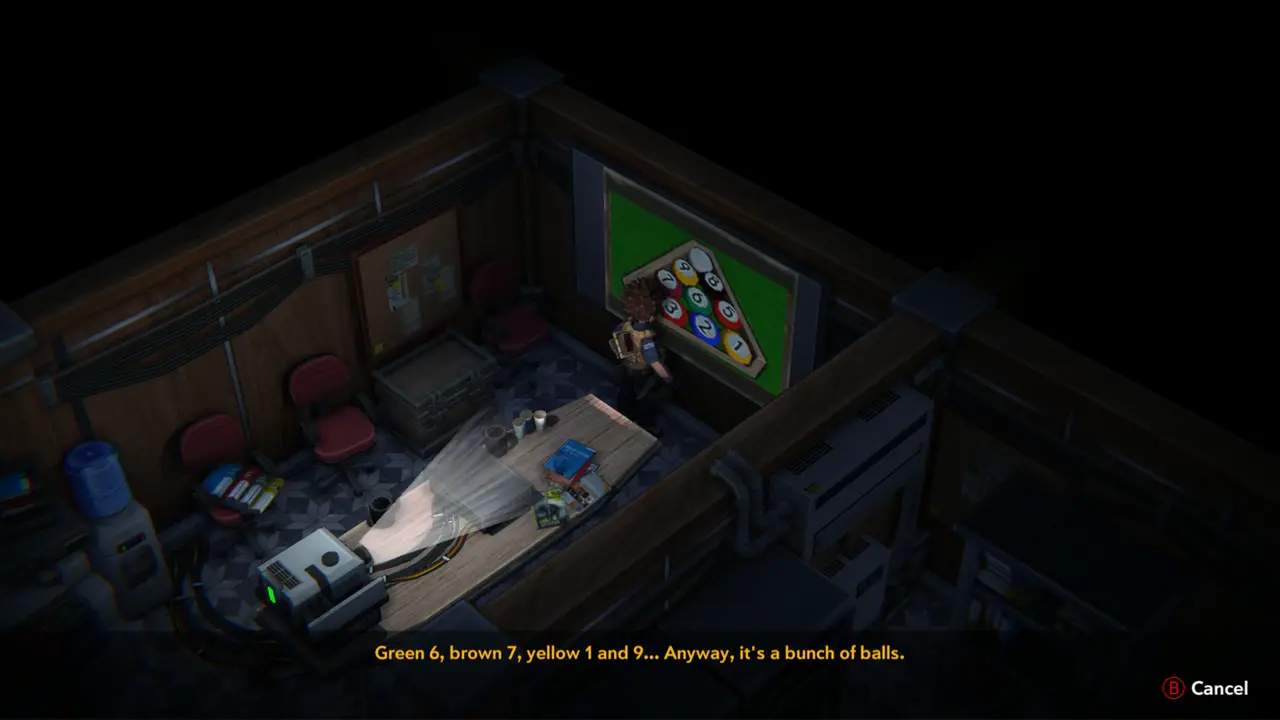
PUZZLE 3 Return to the projector and use Slide Show A. The wall shows a rack of billiard balls, and Steve says: “Green 6, brown 7, yellow 1 and 9... Anyway, it's a bunch of balls.” This matches the pool room code.
Using item on projector
Ball rack on the wall
8
Near Second Floor Restroom - Gate Hall
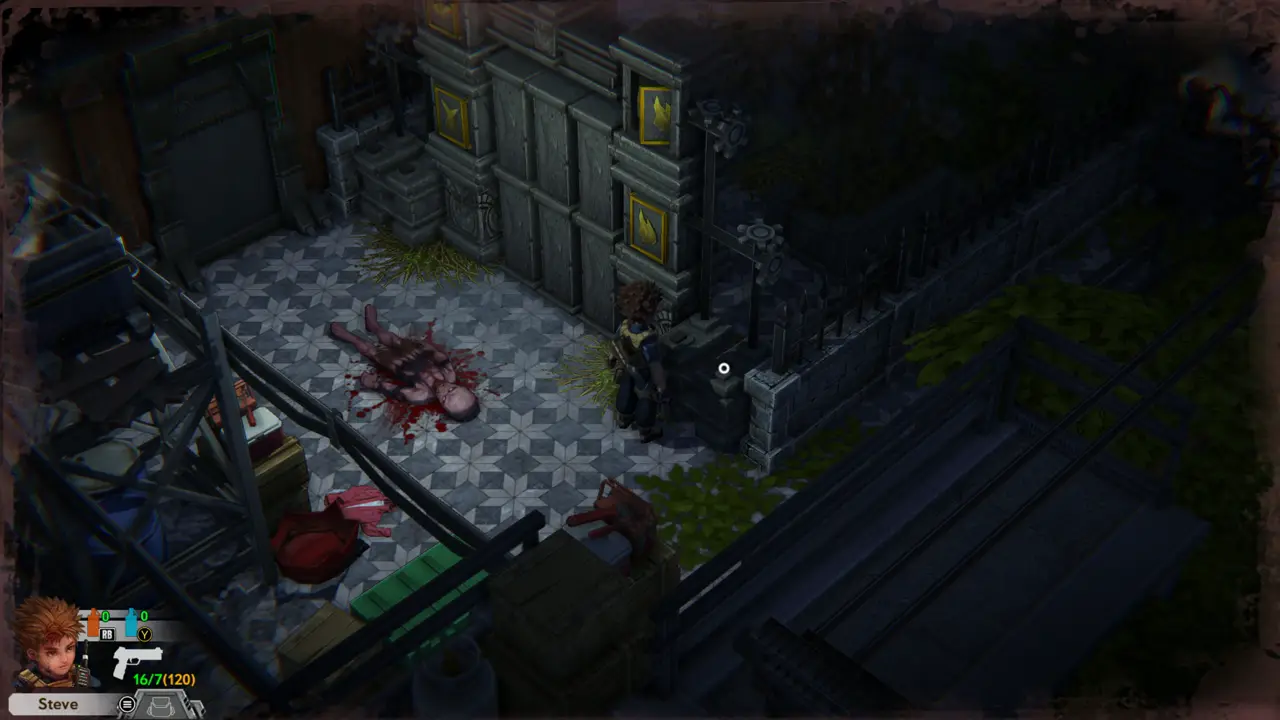
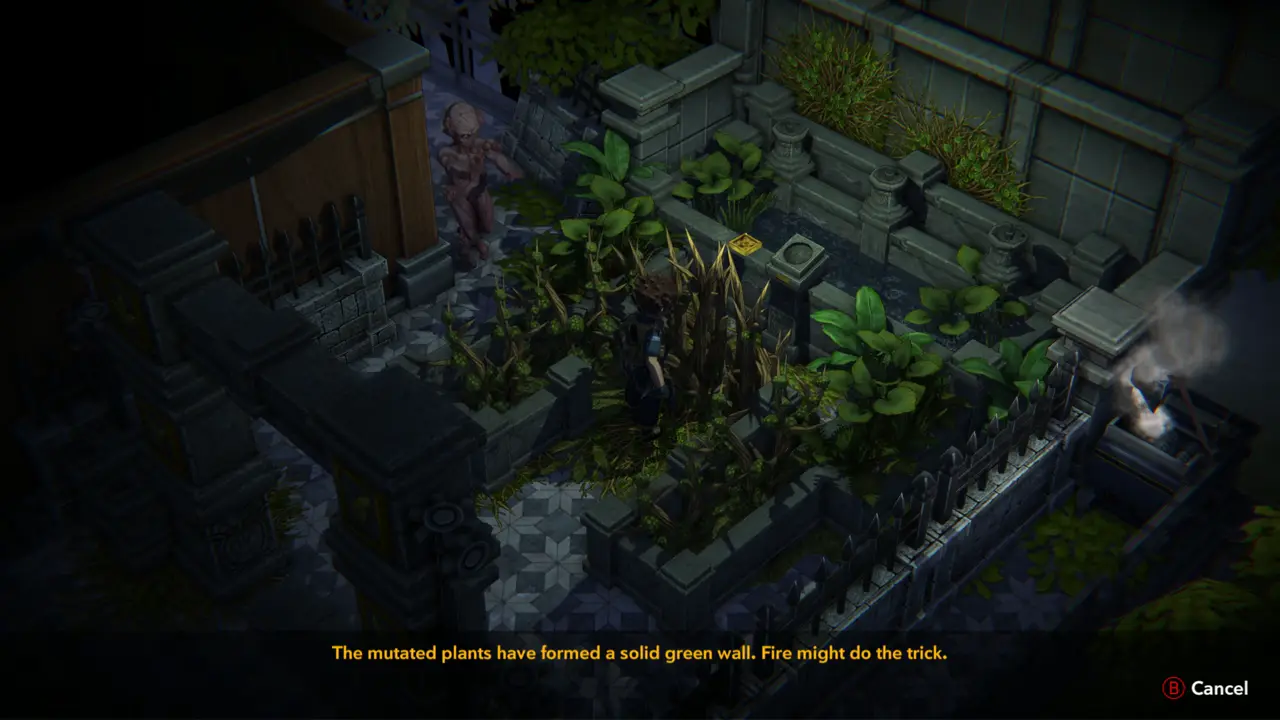
PUZZLE 4 Leave the room and go to the gate with the gold emblem pillars, taking the Green Herb on the way. The overgrown planter behind the gate reads “The mutated plants have formed a solid green wall. Fire might do the trick.” You need a Fire Grenade to burn it.
Gate with gold pillars
Green wall message
Green wall message
9
Near Second Floor Restroom - LV 2 Door
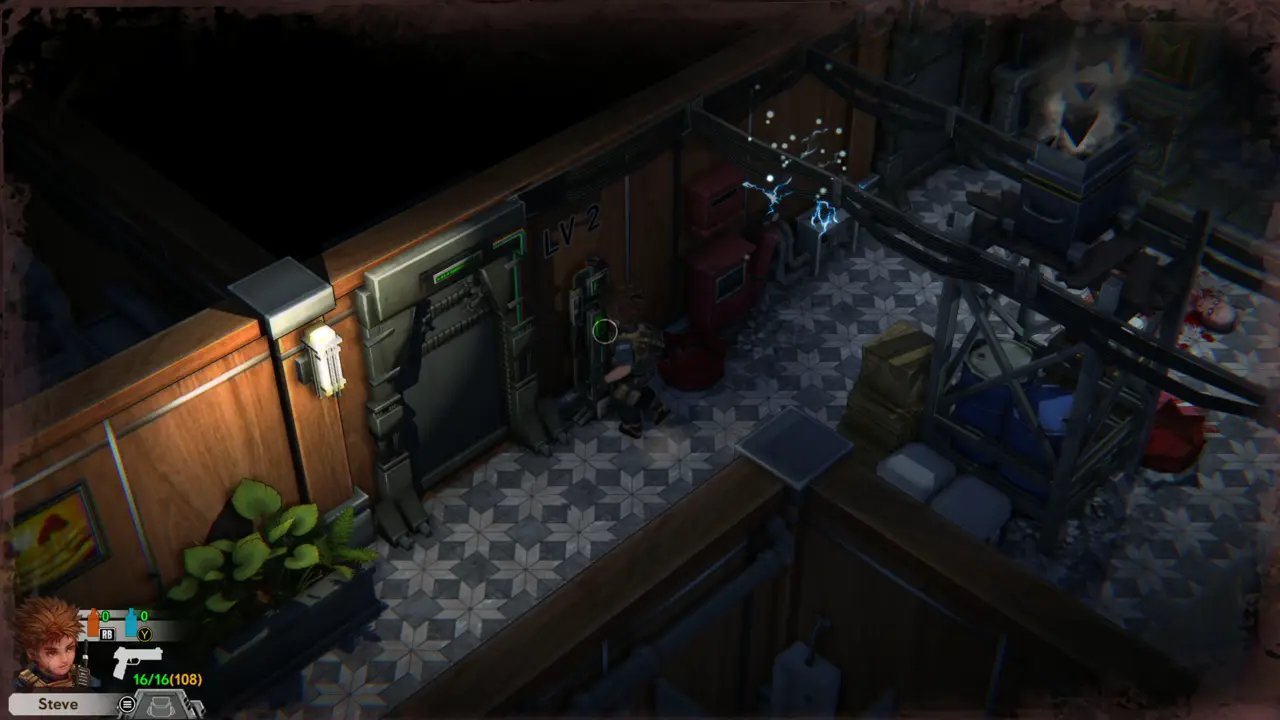
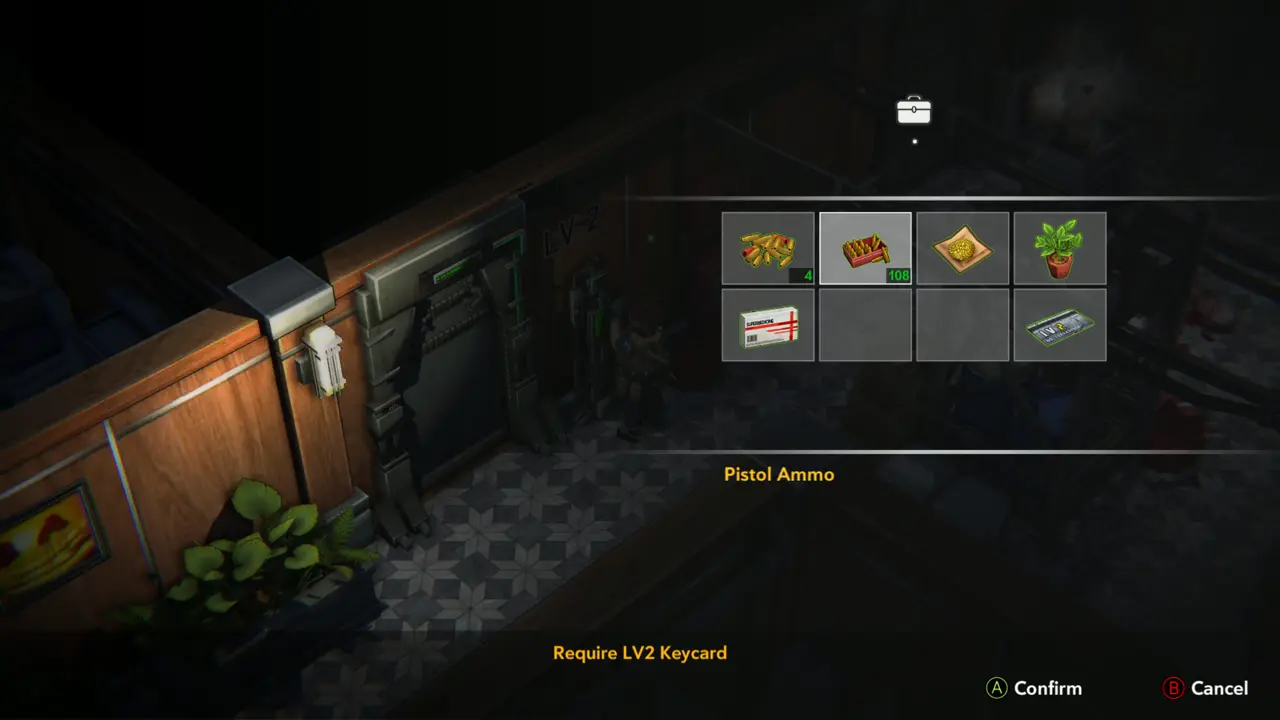
DOOR In the corridor, examine the door marked LV-2: “Require LV2 Keycard”.
LV-2 door in the corridor
Require LV2 Keycard text
10
Near LV 2 Door - Target Room
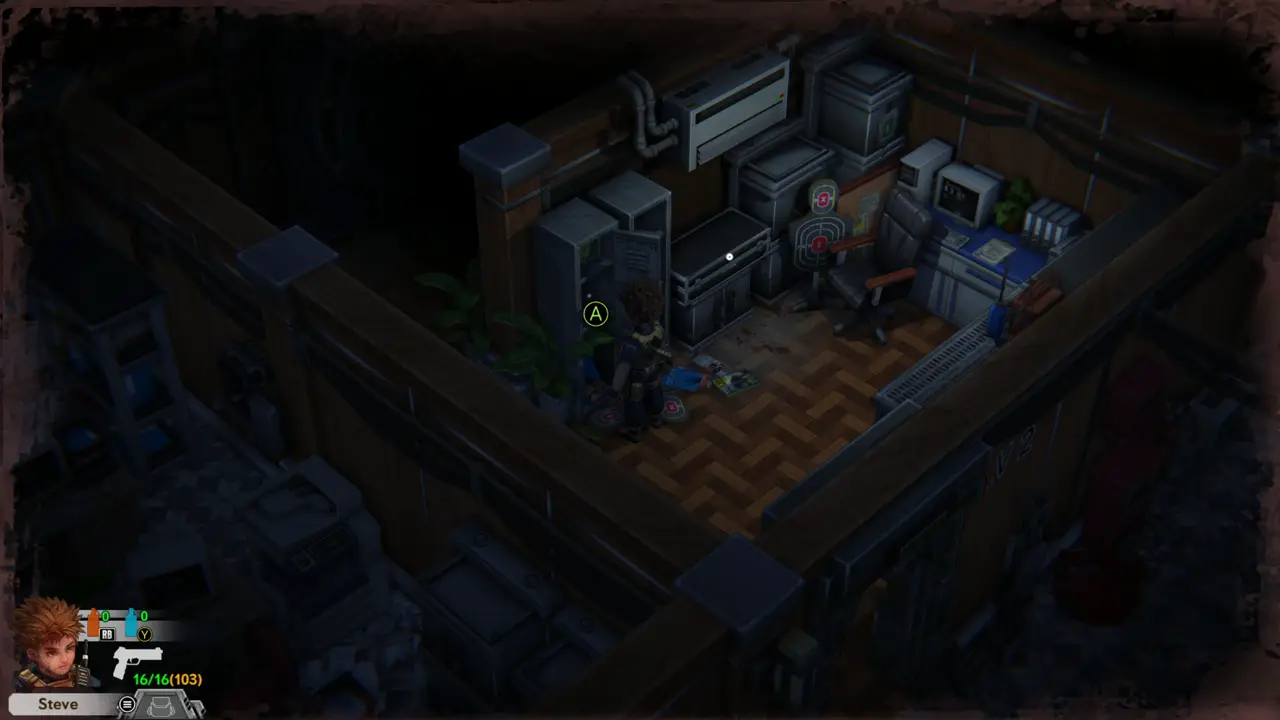
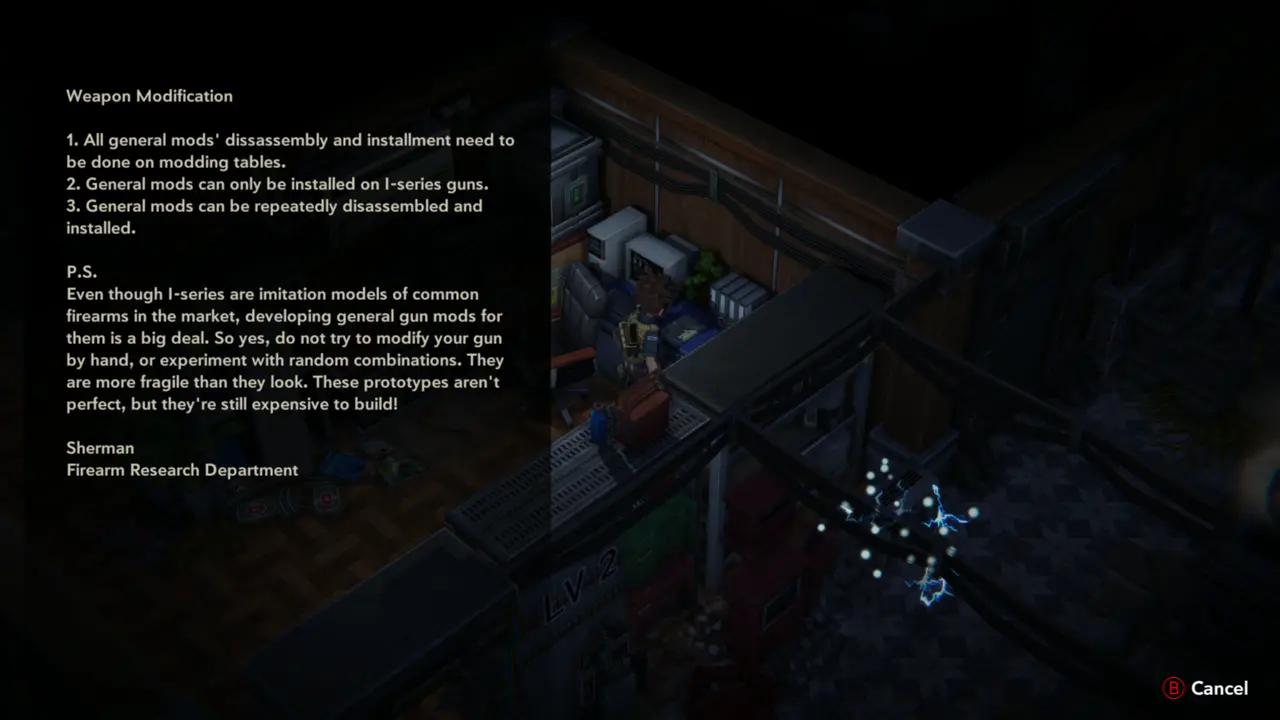
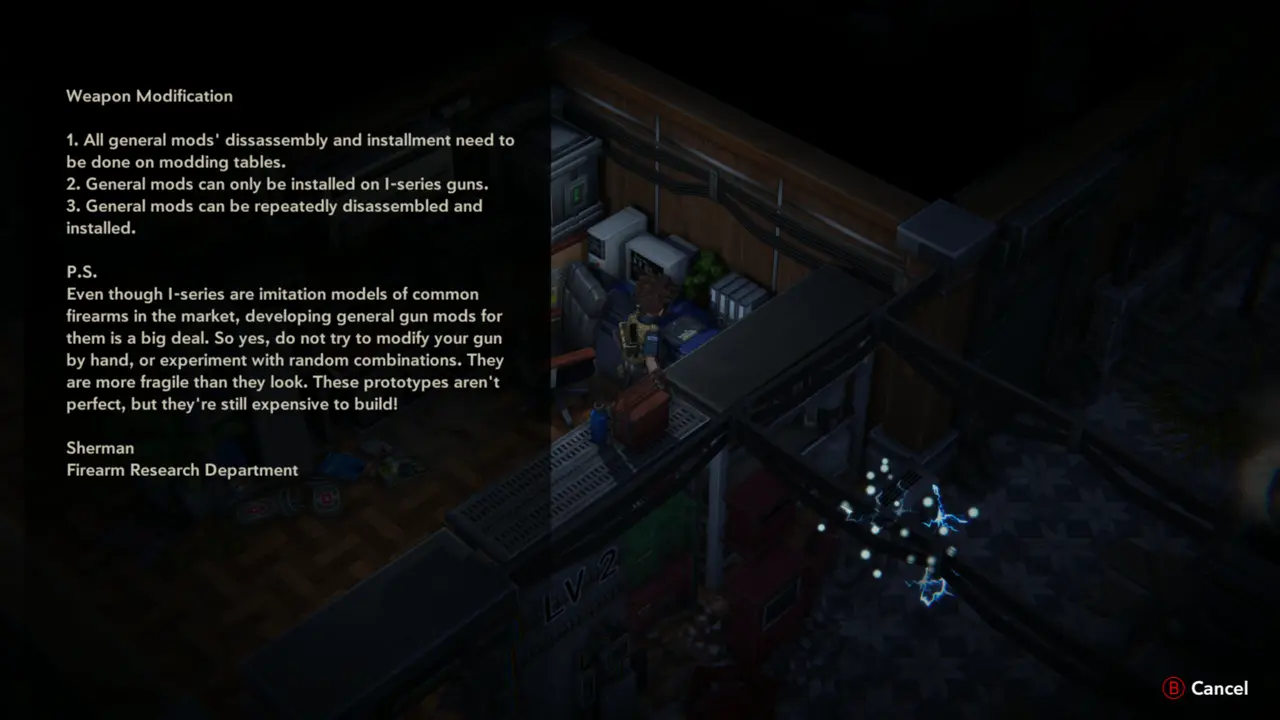
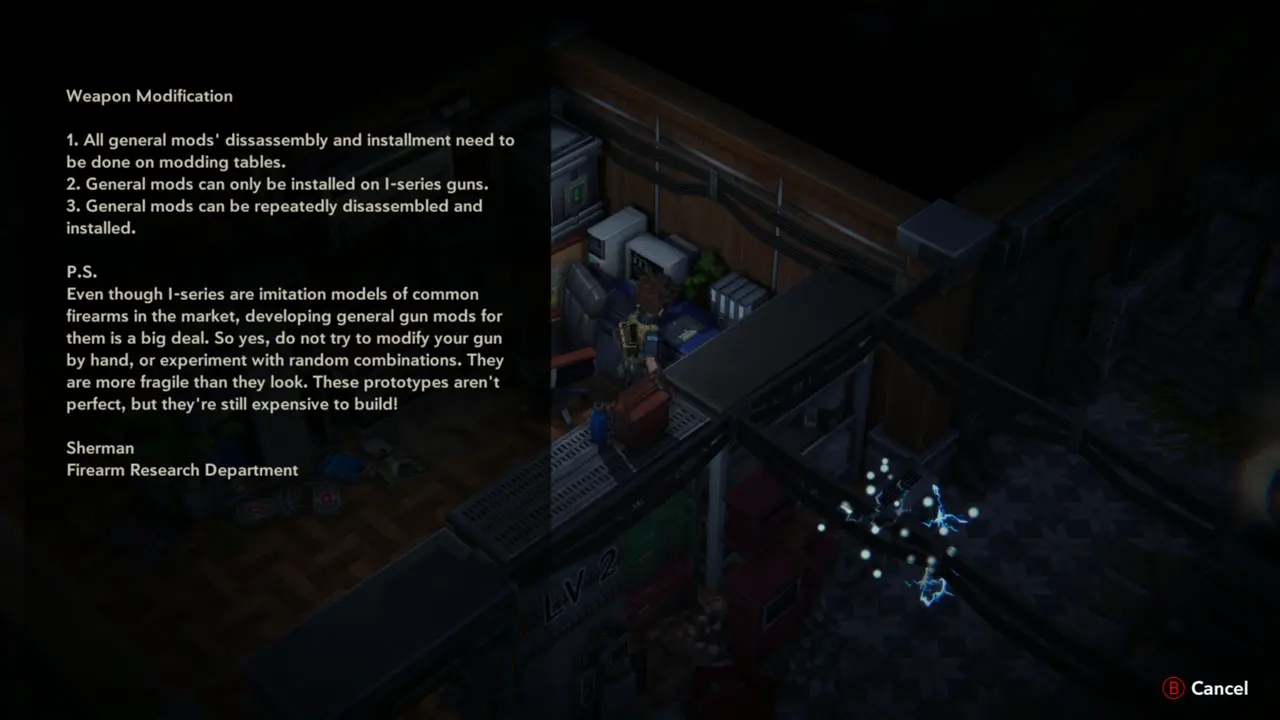
ITEM 33WEAPON 6FILE 22 In the room with the target dummies, open the locker at the left wall and take Gunpowder C and the Storm-I Submachine Gun. Then read the file “Modding your weapons” on the table by the wall: mods are fitted on modding tables, only on I-series guns, and can be removed and fitted again.
Locker in the target room
Weapon Modification text
11
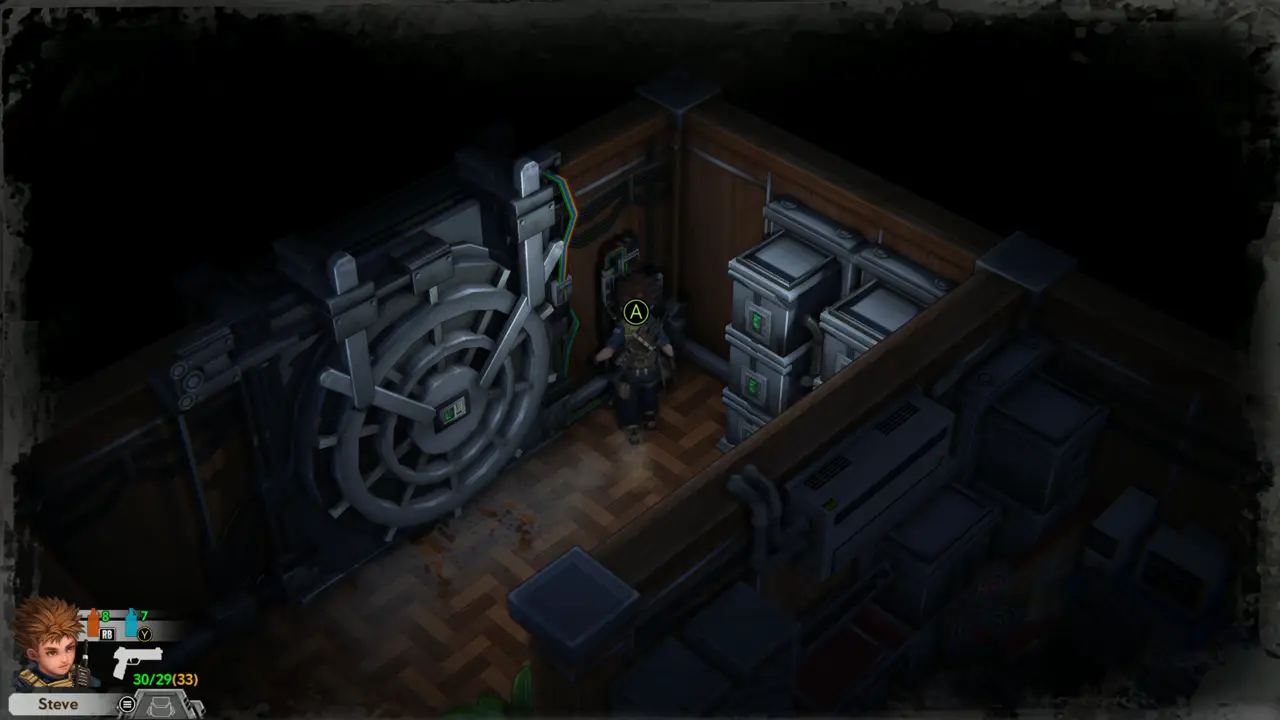
Near LV 2 Door - Vault Door
DOORNOTE Examine the round vault door with the spider-web pattern: “Fingerprint sensor.” It needs the Prosthesis, so leave it for now.
Round vault door
Round vault door
Fingerprint sensor text
12
Near LV 2 Door - Corridor
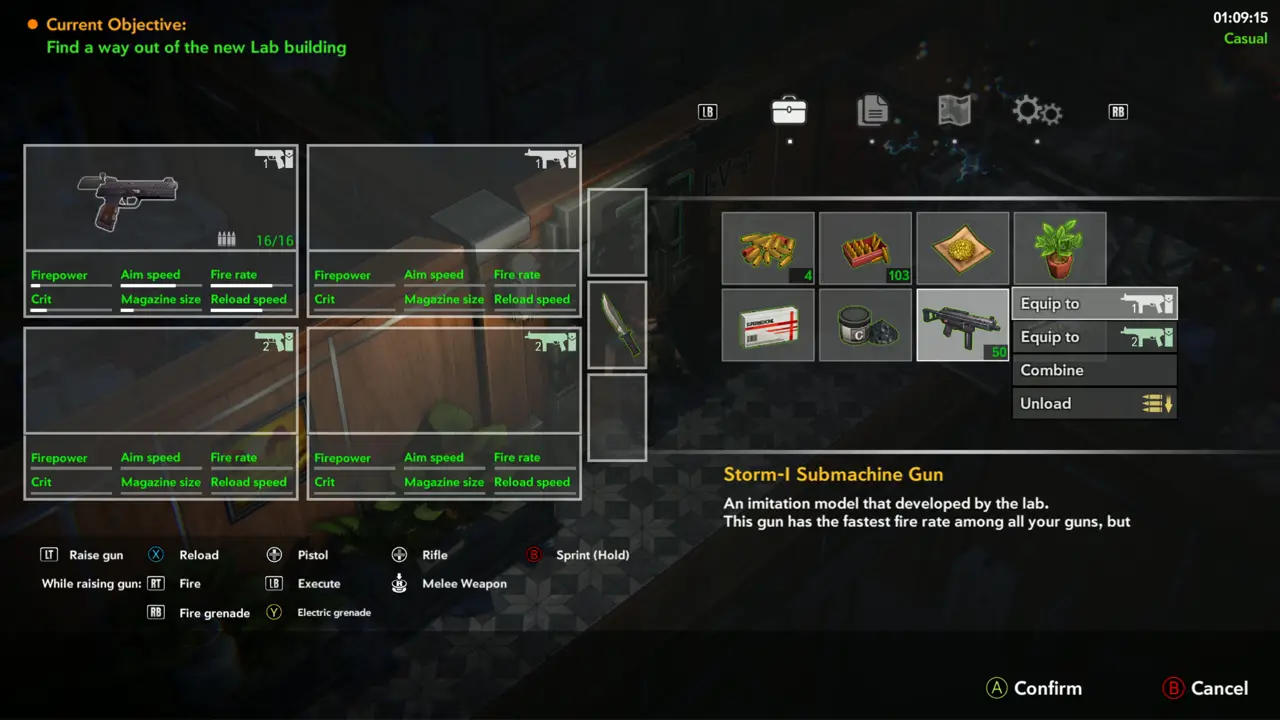
WEAPON 6 Check the objective “Find a way out of the new Lab building”, then equip the Storm-I Submachine Gun in slot 1. It holds 50 rounds.
Storm-I equip menu
Storm-I equip menu
13
Near LV 2 Door - Corridor
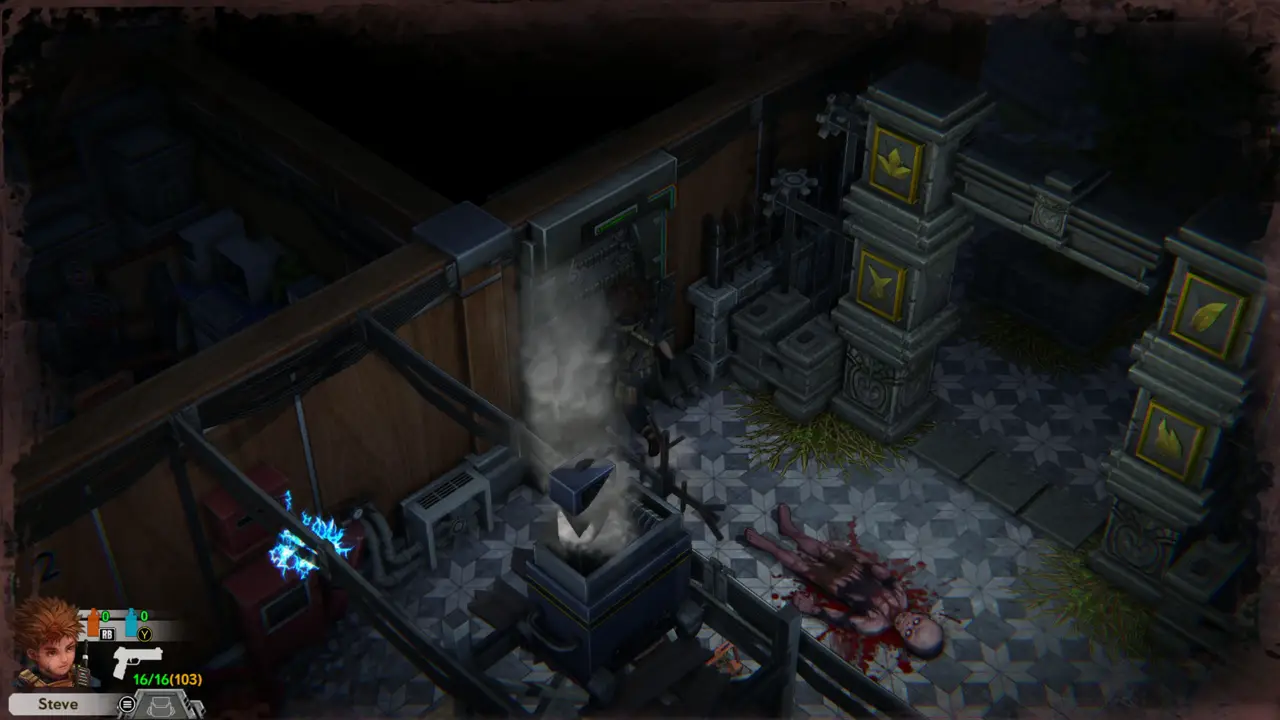
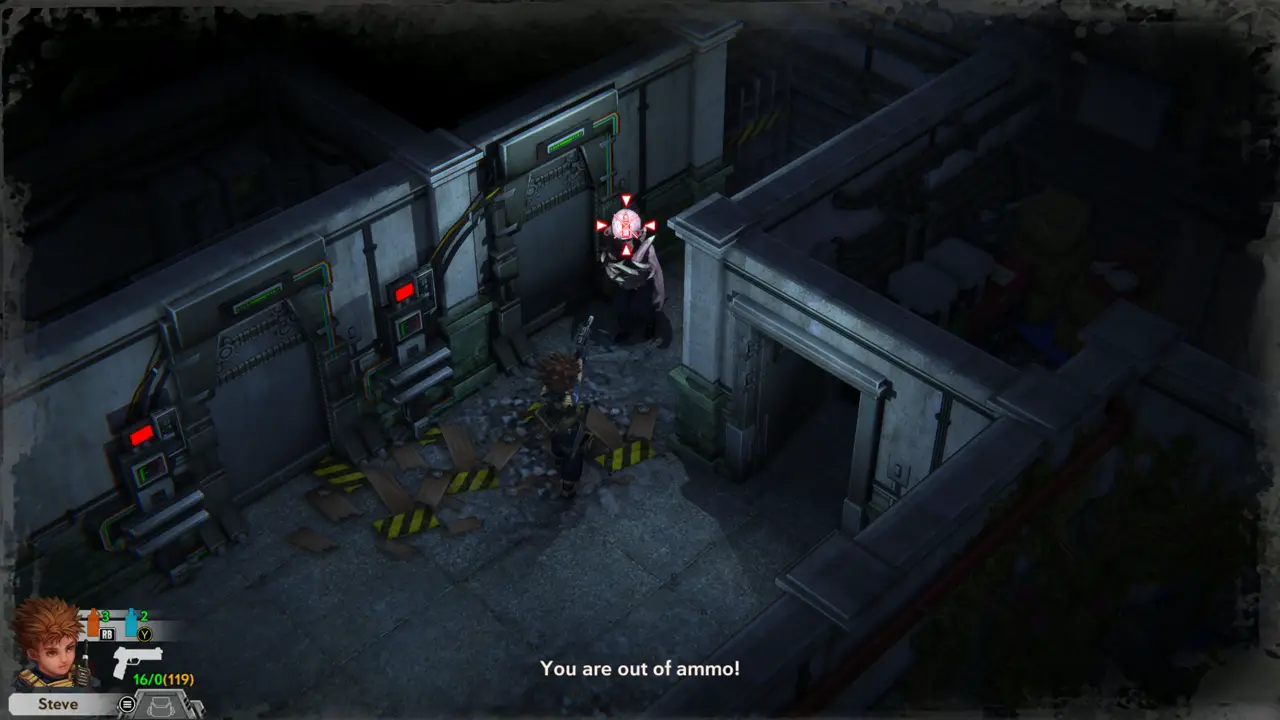
FIGHT Kill the infected in the corridor by the planters and the LV-2 door, including about 4 that come from the red staircase and the bench area. The Storm-I runs dry quickly (“You are out of ammo!”), so switch to the pistol.
Corridor fight
Corridor fight
Infected at the stairs
14
Near Library - Fire Grenade Room
ITEM 34 Go through the door to the small lab with the rabbit statue, left of the Library on the map next to a weapon, storage and save icon. Take the Spore from the pink plants on the left.
Plants with pink spores
Spore prompt
Spore prompt
15
Near Library - Fire Grenade Room
ITEM 34–35 Examine the white machine: “Fire Grenade synthesizer.” Put in the Spore (“You have used Spore”) and take the Fire Grenade it produces. Repeat with a second Spore.
Fire Grenade synthesizer text
Used Spore message
Used Spore message
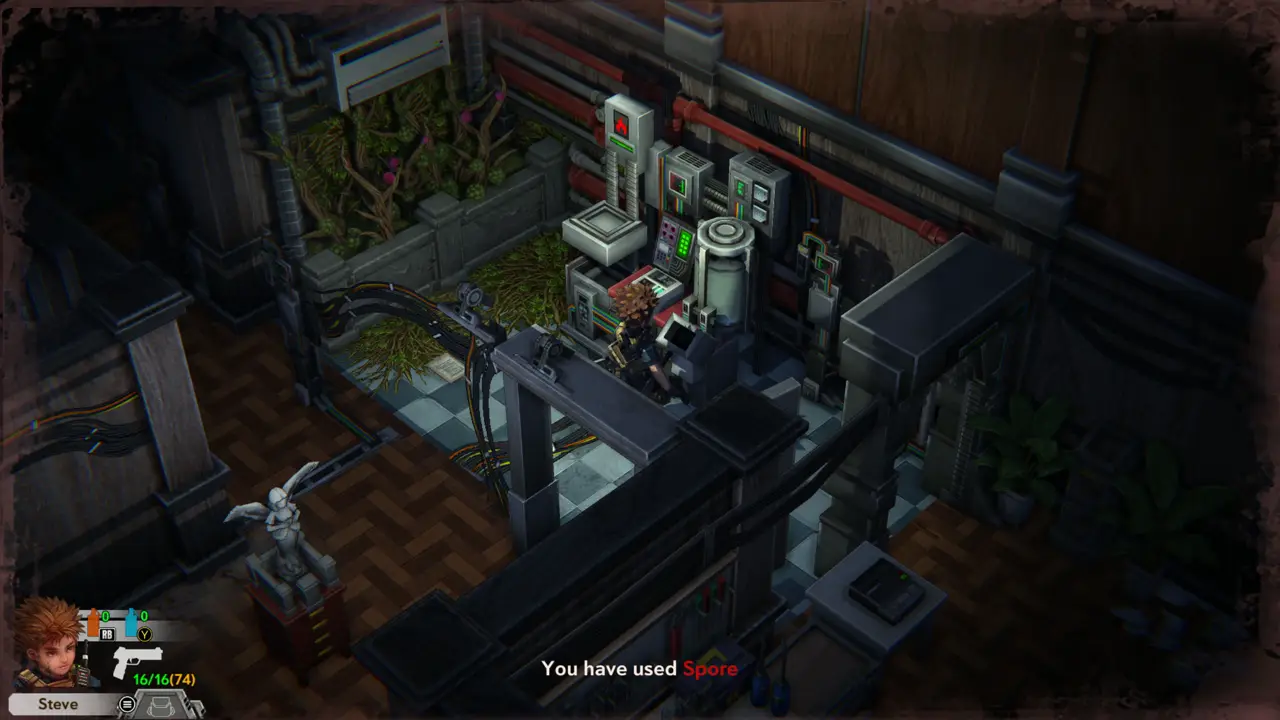
16
Near Library - Fire Grenade Room
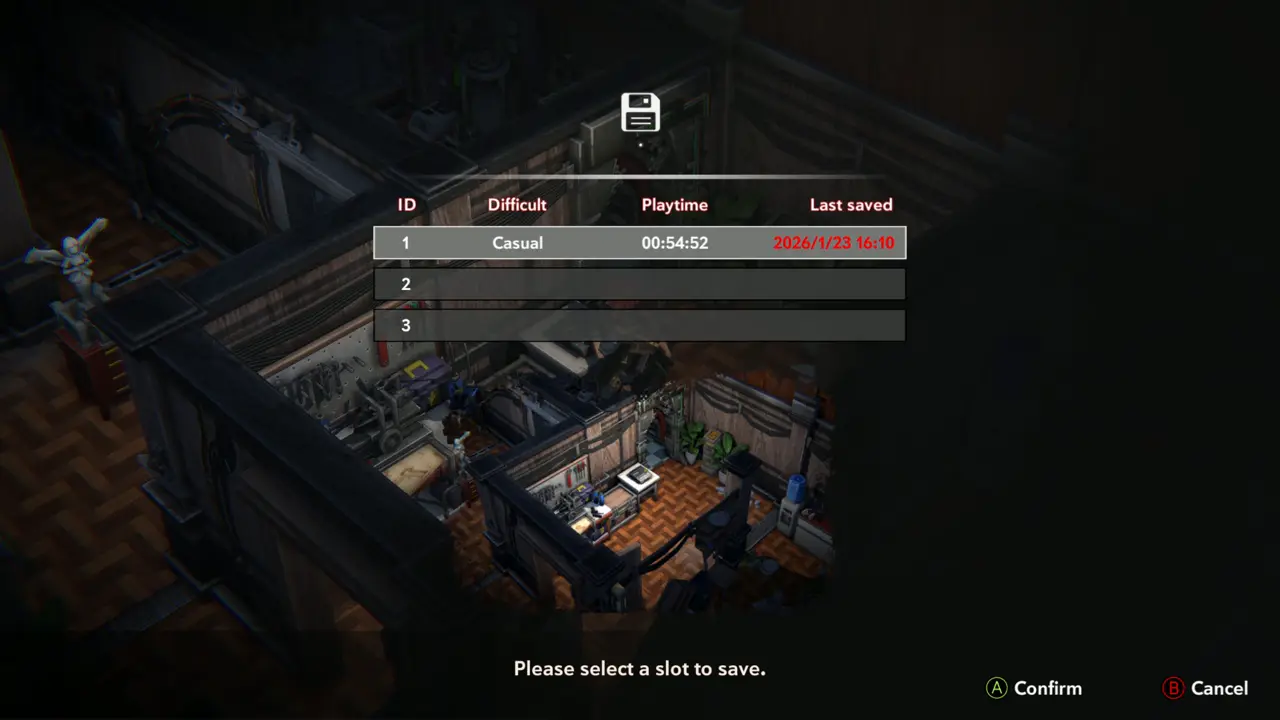
SAVE 1 Save the game at the rabbit statue.
Rabbit statue
Rabbit statue
Save slot screen
Save slot screen
17
Near Library - Workshop
PUZZLE 5NOTE In the workshop next door, examine the white workbench: “A square groove. It seems like something can fit in there.” It needs a square plate.
Workbench
Workbench
Square groove text
Square groove text
18
Near Second Floor Restroom - Gate Hall
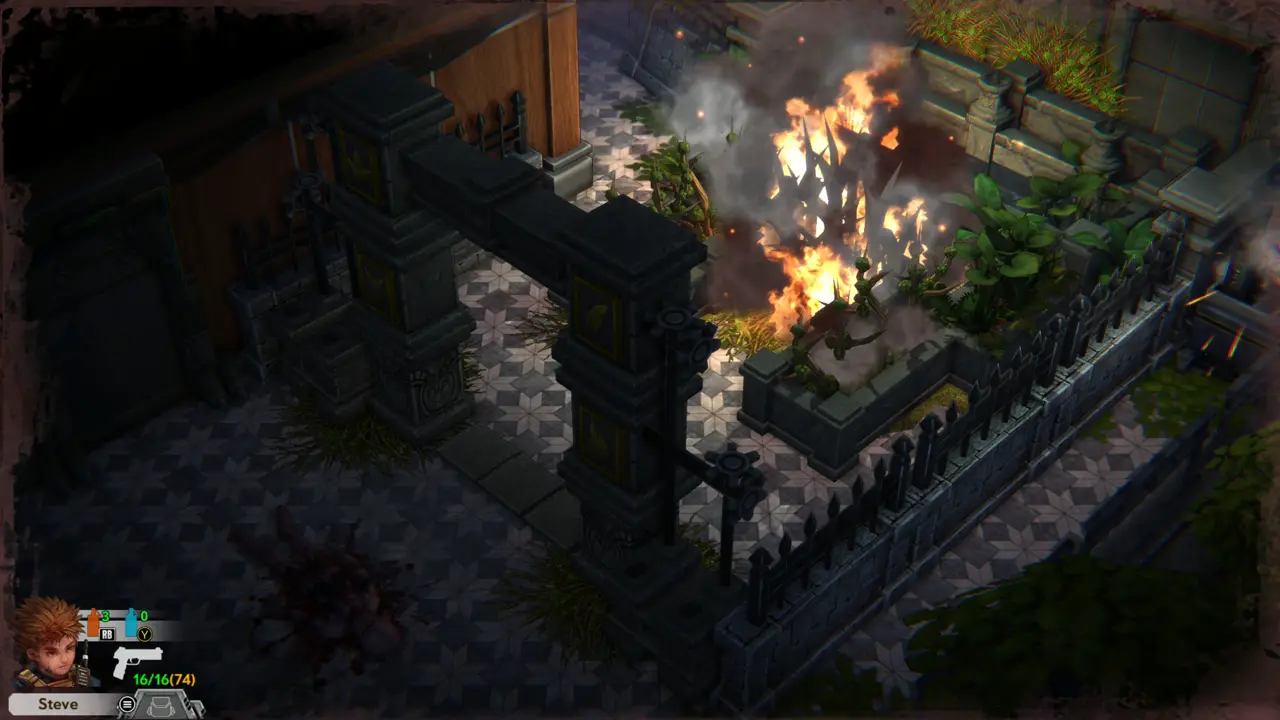
PUZZLE 6 Go back to the gate and throw a Fire Grenade (RB) into the green planter wall to burn it away.
Corridor back to the gate
Planter wall on fire
19
Near Second Floor Restroom - Gate Hall
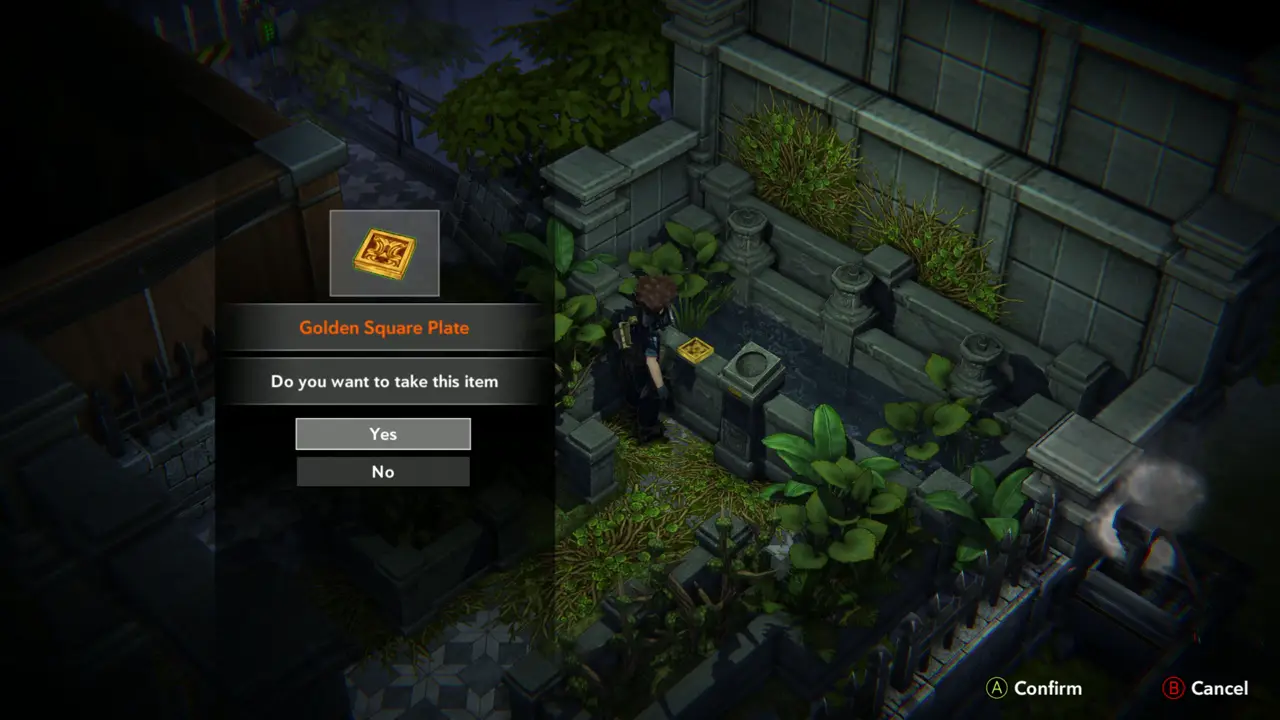
KEY ITEM 7 Walk into the cleared garden and take the Golden Square Plate from the stone slab.
Golden Square Plate prompt
20
Near Second Floor Restroom - Gate Hall
PUZZLE 7NOTE Examine the next object in the garden: “A circular groove. It seems like something can fit in there.” It needs a round piece.
Circular groove text
21
Near Library - Workshop
PUZZLE 8 Return to the workbench and use the Golden Square Plate from the inventory on the square groove.
Plate use menu
Plate use menu
Workbench with square groove

Part 4 — New Building Hall

In-game goal. Find a way out of the new Lab building.
1
New Building Hall - Break Room
FIGHT Fight the infected around the break room. If Steve drops to critical health, heal from the pause menu with Mixed Powder (“You have used Mixed Powder”) or eat the Green Herb.
Infected in the break room
Steve at critical health
2
New Building Hall - Storage Room
NOTE Use the white storage box beside the green crate and the ladder to sort your inventory.
White storage box by green crate
3
New Building Hall - Lounge
ITEM 36 In the tiled lounge, take the Red Herb from the desks near the wooden crate.
Red Herb pickup prompt
4
New Building Hall - Garden
FIGHT Climb the ladder next to the blue bins to reach the garden and kill the infected that attacks by the stone fountain with the gold plate.
Ladder by the blue bins
Infected at the fountain
5
New Building Hall - Statue Room
PUZZLE 1DOORNOTE Enter the small wooden room with three statues: a winged goddess with a glowing head on the dark pedestal, a second winged statue at the front left and a standing goddess on the red drawers at the right. Examine a statue: “Inscription: When goddesses in the pools meet eyes, befall the third goddess, brings the seed of flame.” The red door with a golden flame emblem is locked (“Locked, the door is marked with a symbol of golden flame.”); the Fire Key opens it. In the corridor outside, a green control panel stands next to a sparking gear machine.
Inscription on the statue
Sparking machine and green panel
6
New Building Hall - Lounge
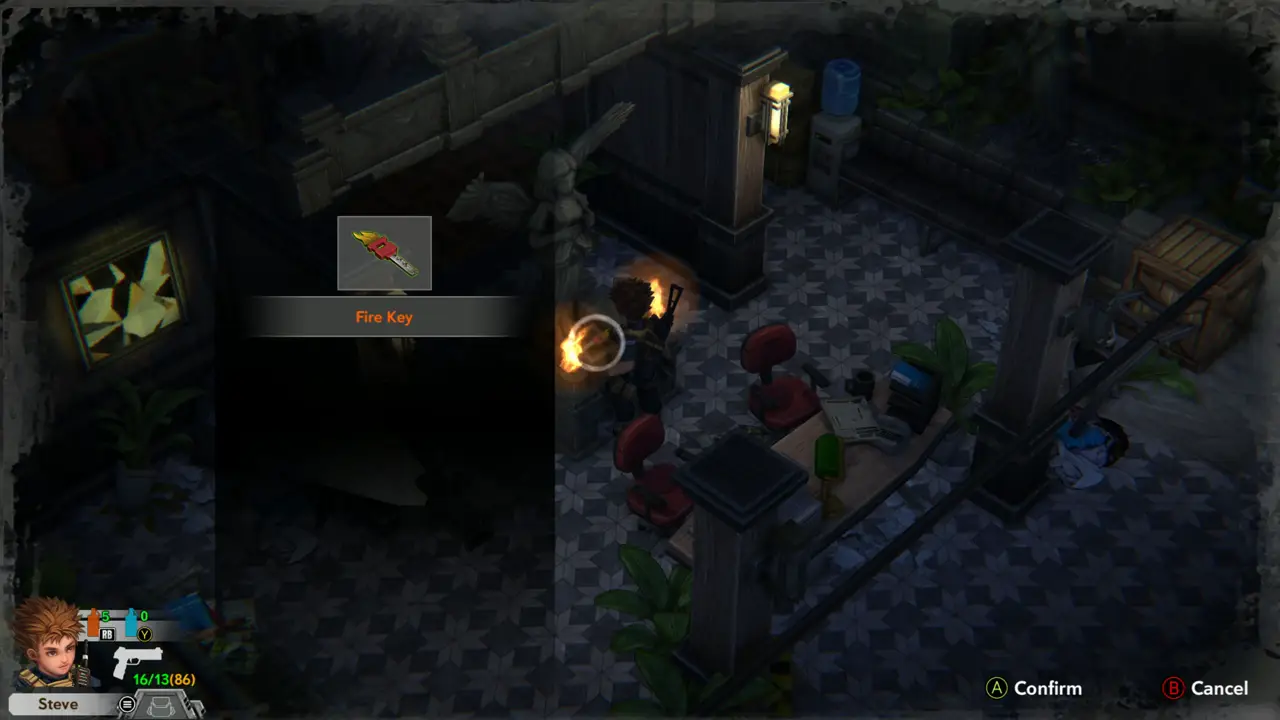
KEY ITEM 8MAP Go back through the lounge to the winged goddess statue between the two lit braziers and take the Fire Key from its base.
Winged goddess statue
Fire Key prompt at the statue
7
New Building Hall - Workshop
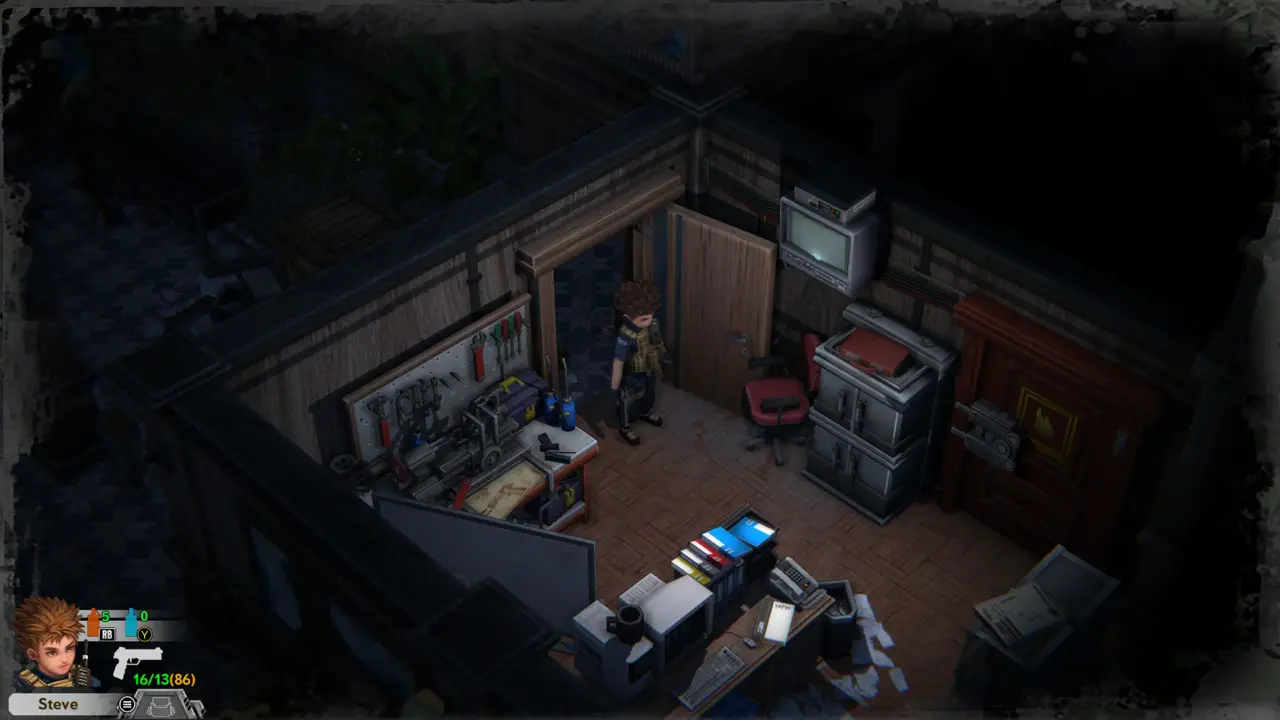
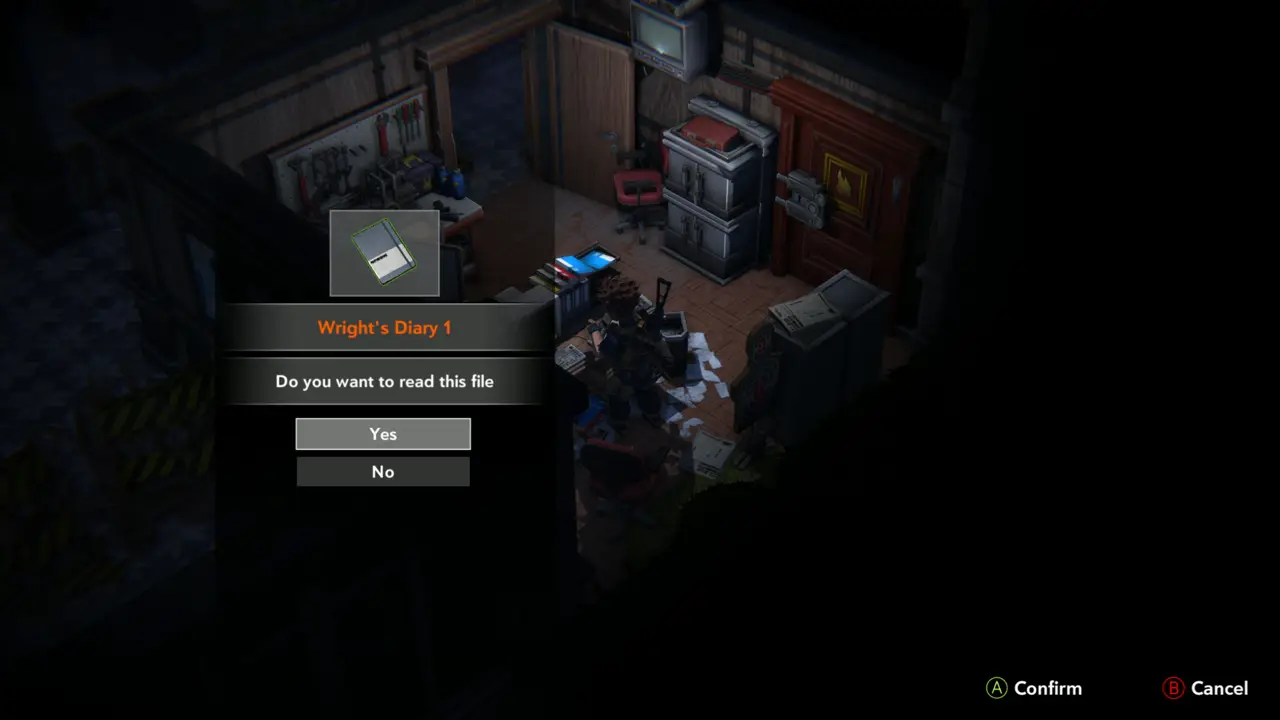
FILE 23 Go to the workshop with the gun modding table and read Wright's Diary 1, Wright's first entries about joining the security staff of the 1st Laboratory.
Workshop with modding table
Wright's Diary 1 prompt
8
New Building Hall - Workshop
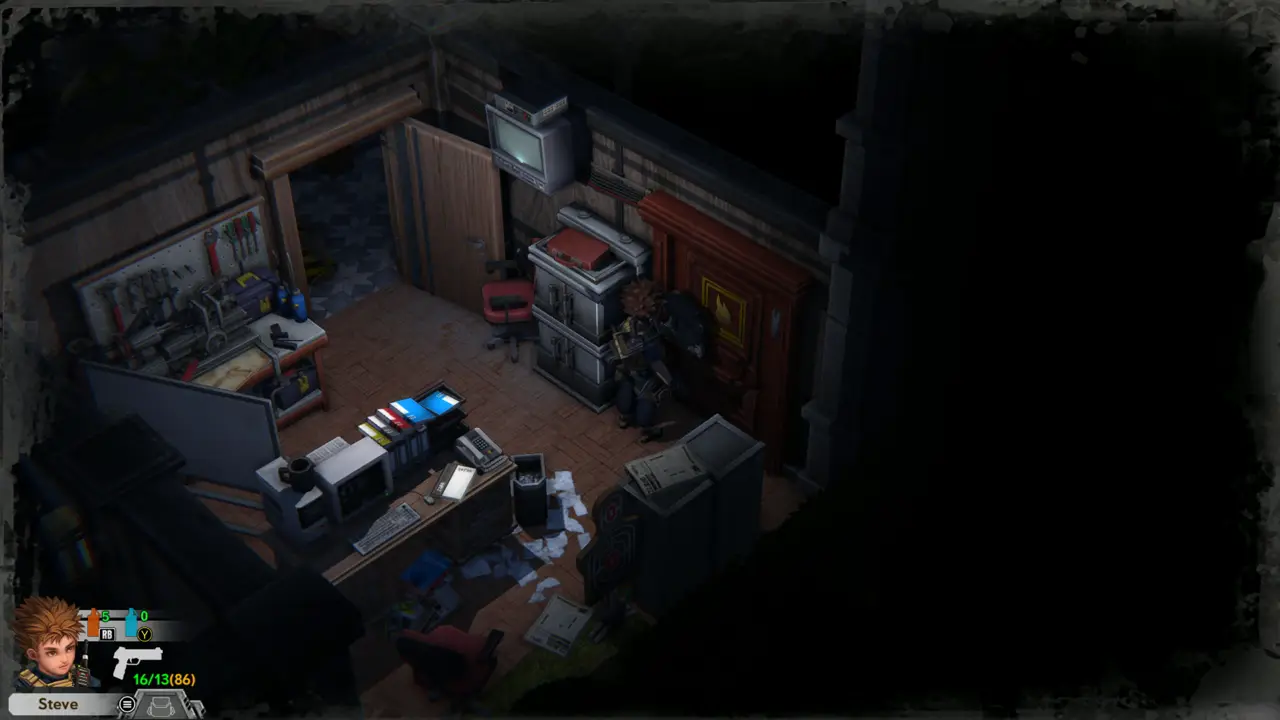
DOORKEY ITEM 8 Go to the red door marked with a golden flame and use the Fire Key on it (“You have used Fire Key”). It opens onto a room of grey lockers.
Flame door before opening
You have used Fire Key
9
New Building Hall - Locker Room
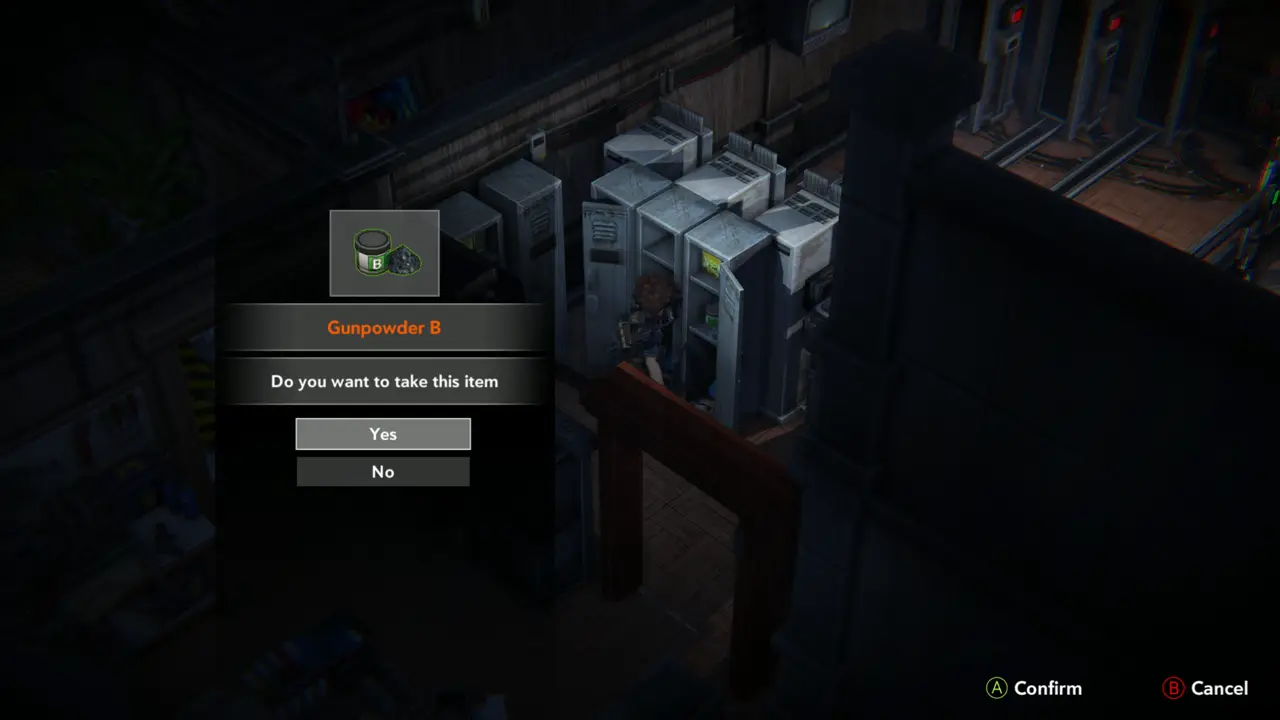
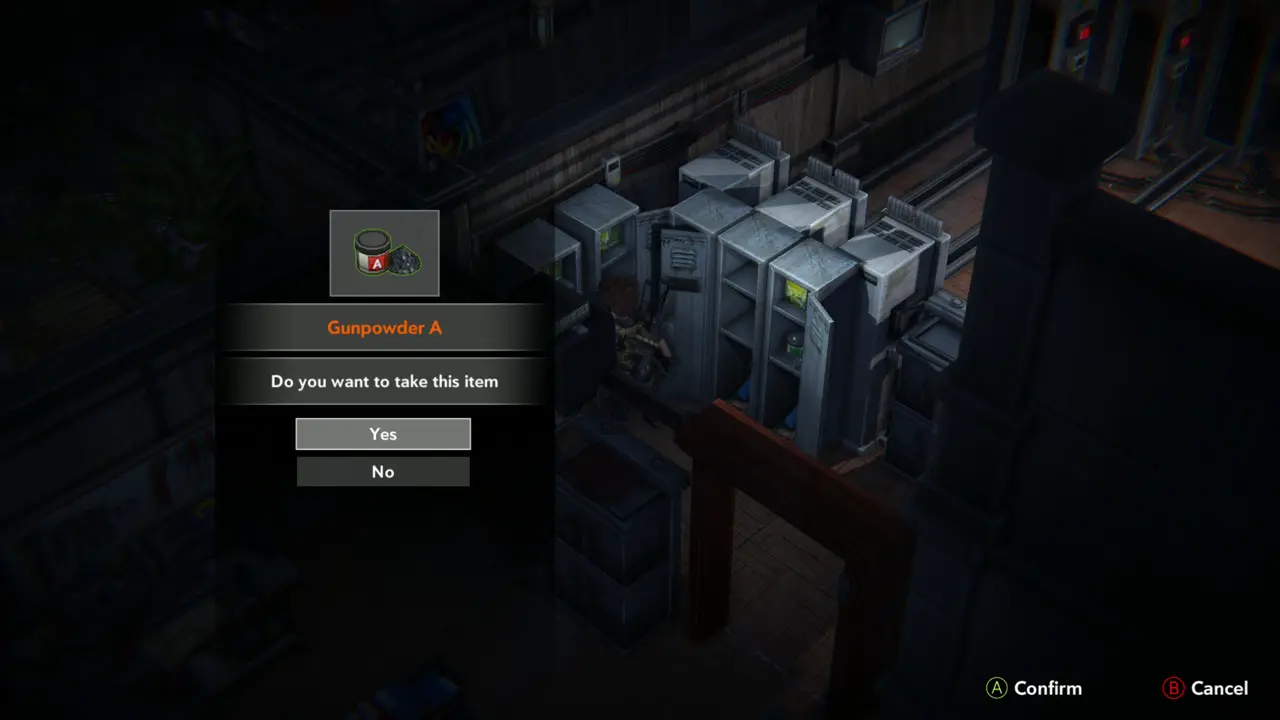
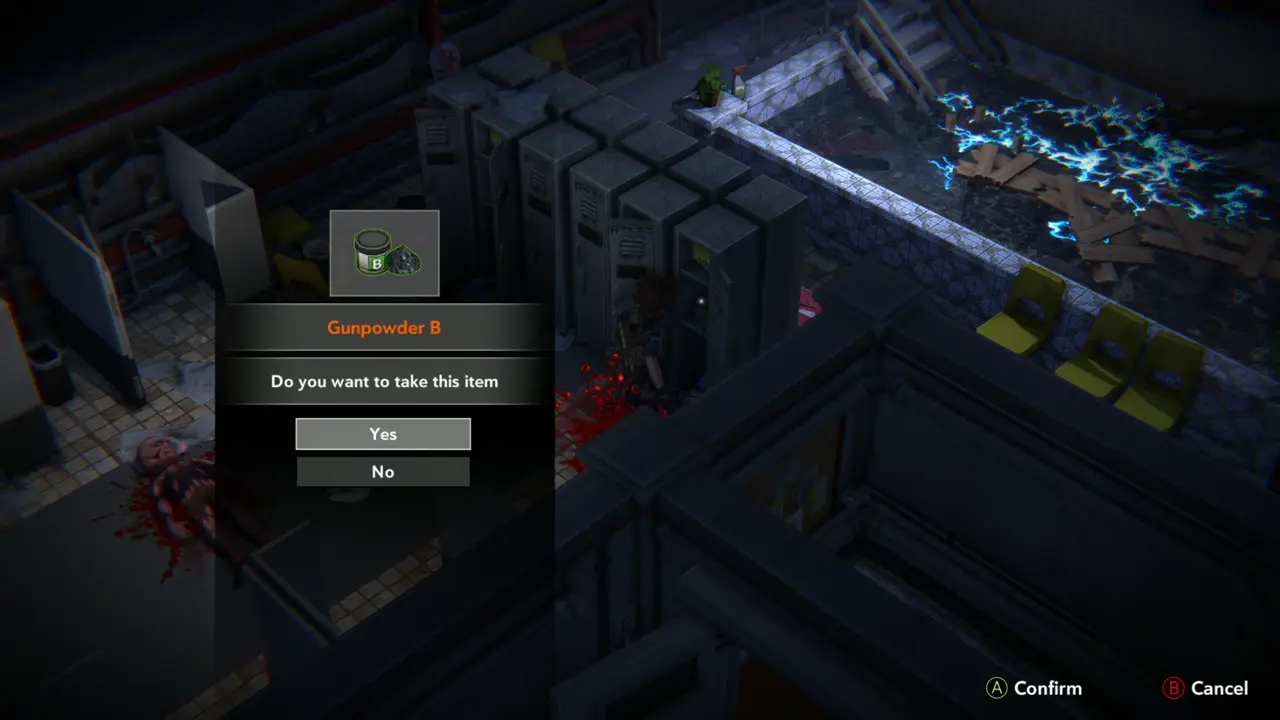
ITEM 37–38NOTE Open the lockers and take Gunpowder B, then Gunpowder A. The objective reads “Find a way out of the new Lab building”.
Gunpowder B prompt
Gunpowder B prompt
Gunpowder A prompt
Gunpowder A prompt
10
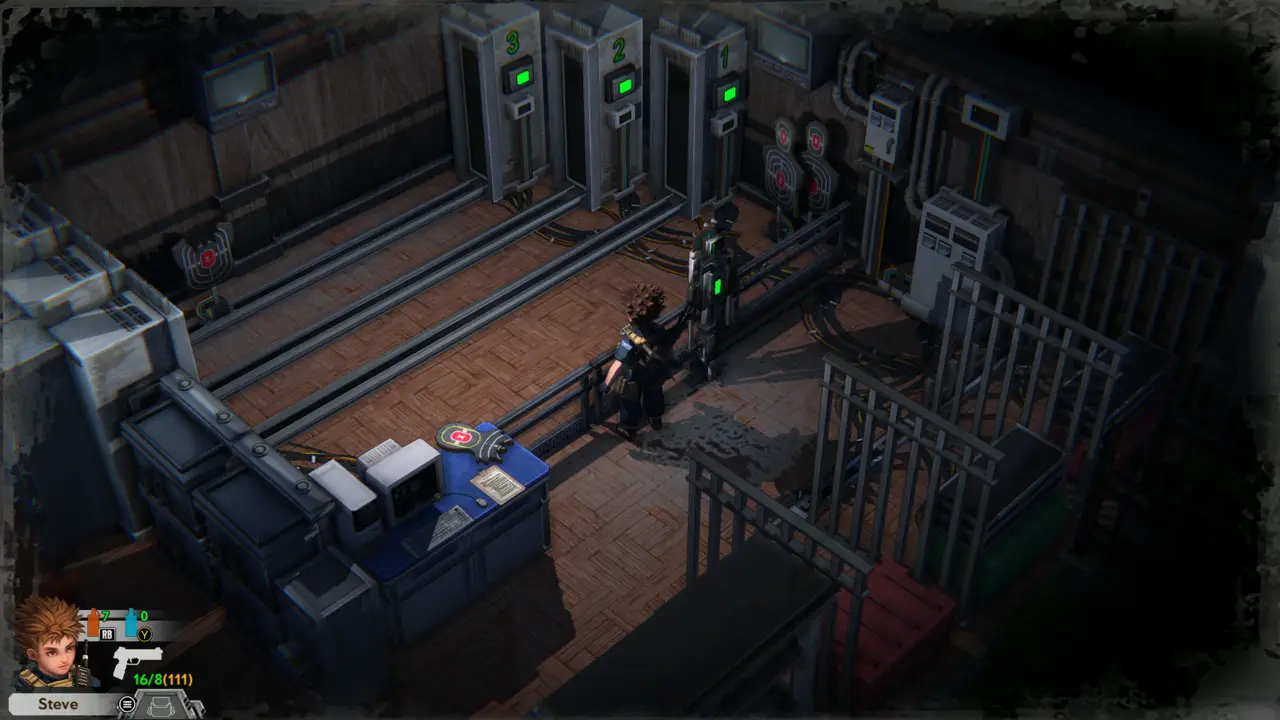
New Building Hall - Shooting Range
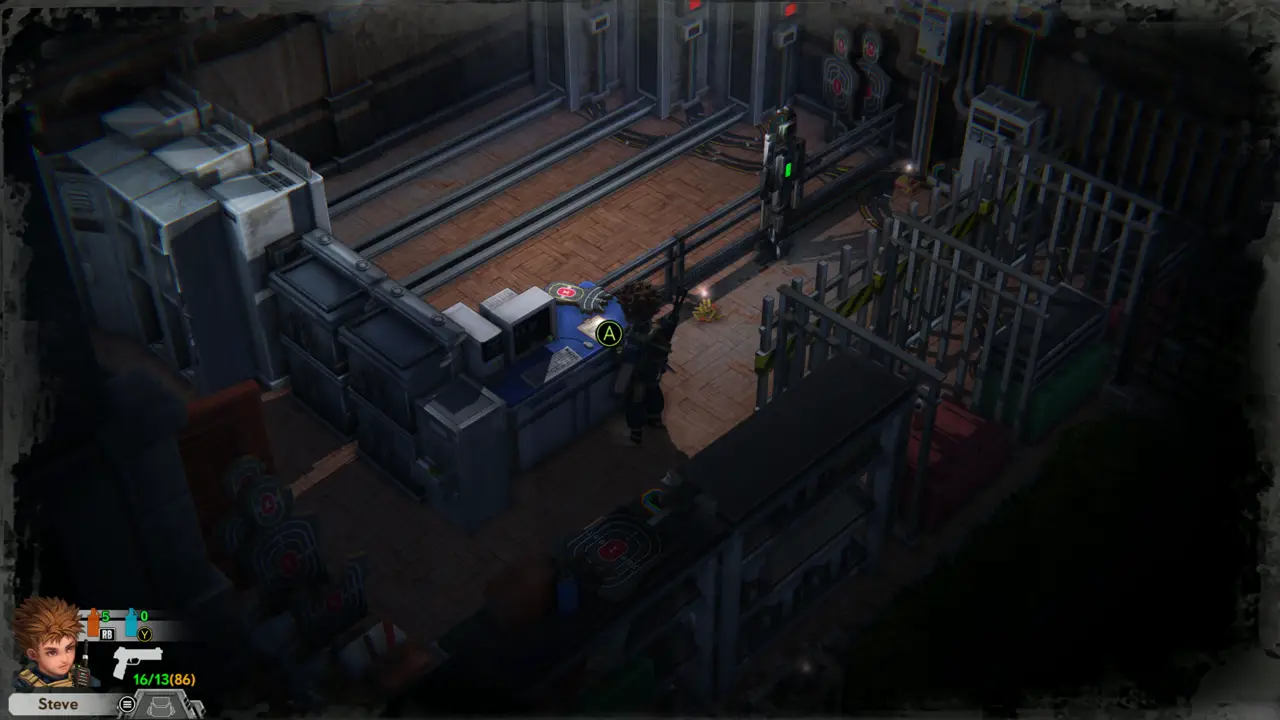
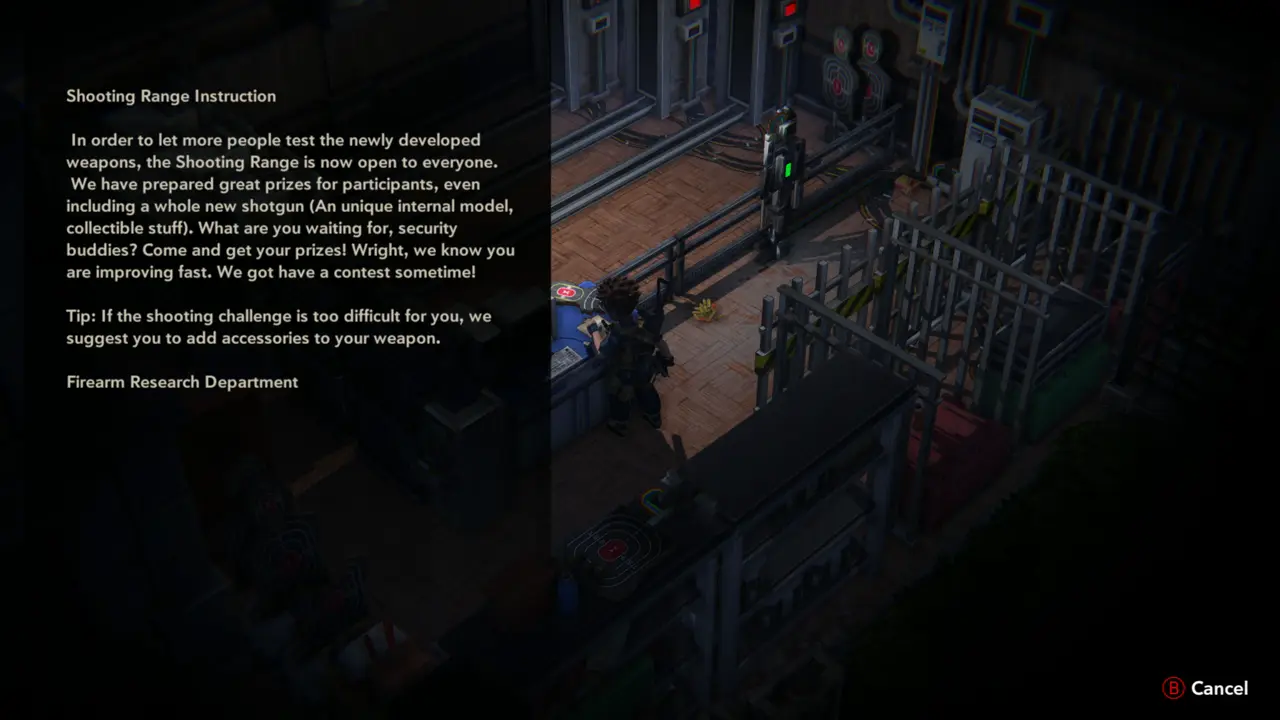
FILE 24 Read the “Shooting Range Instruction” file on the blue counter at the left end of the lanes: the range is open to everyone, the prize is a whole new shotgun, and the tip says to add accessories to your weapon if the challenge is too hard.
Counter with file prompt
Shooting Range Instruction page
11
New Building Hall - Shooting Range
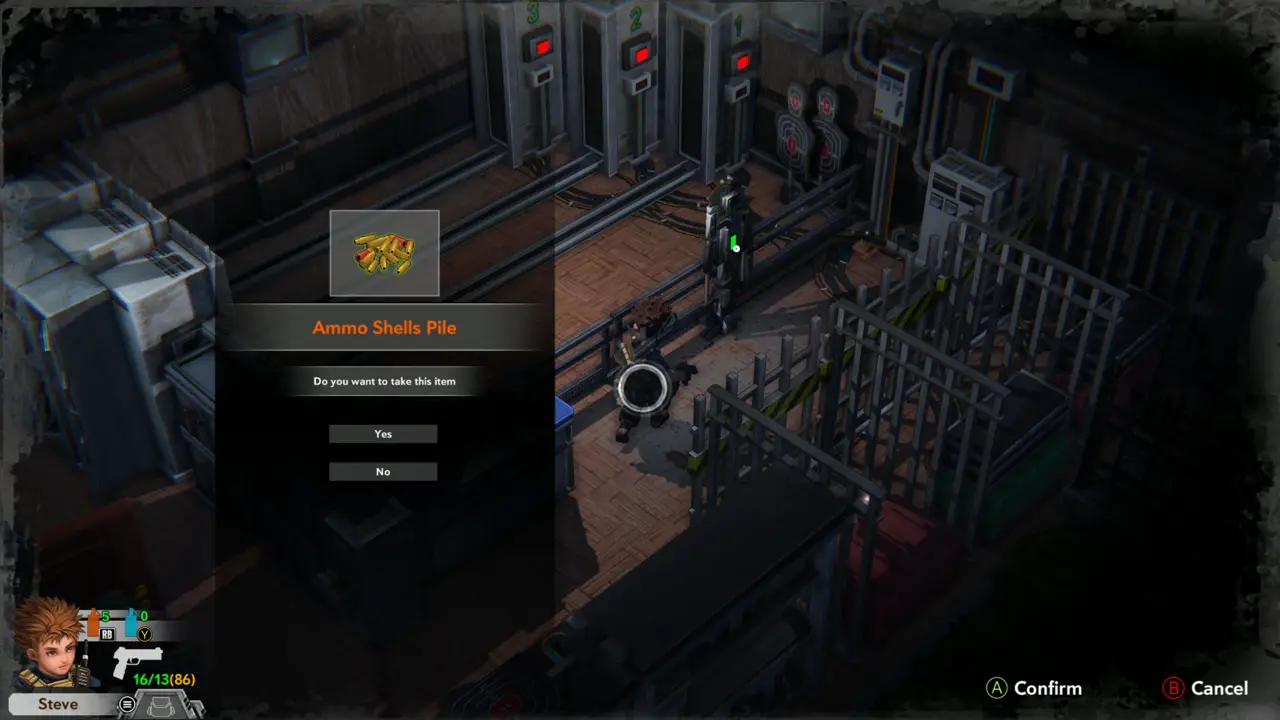
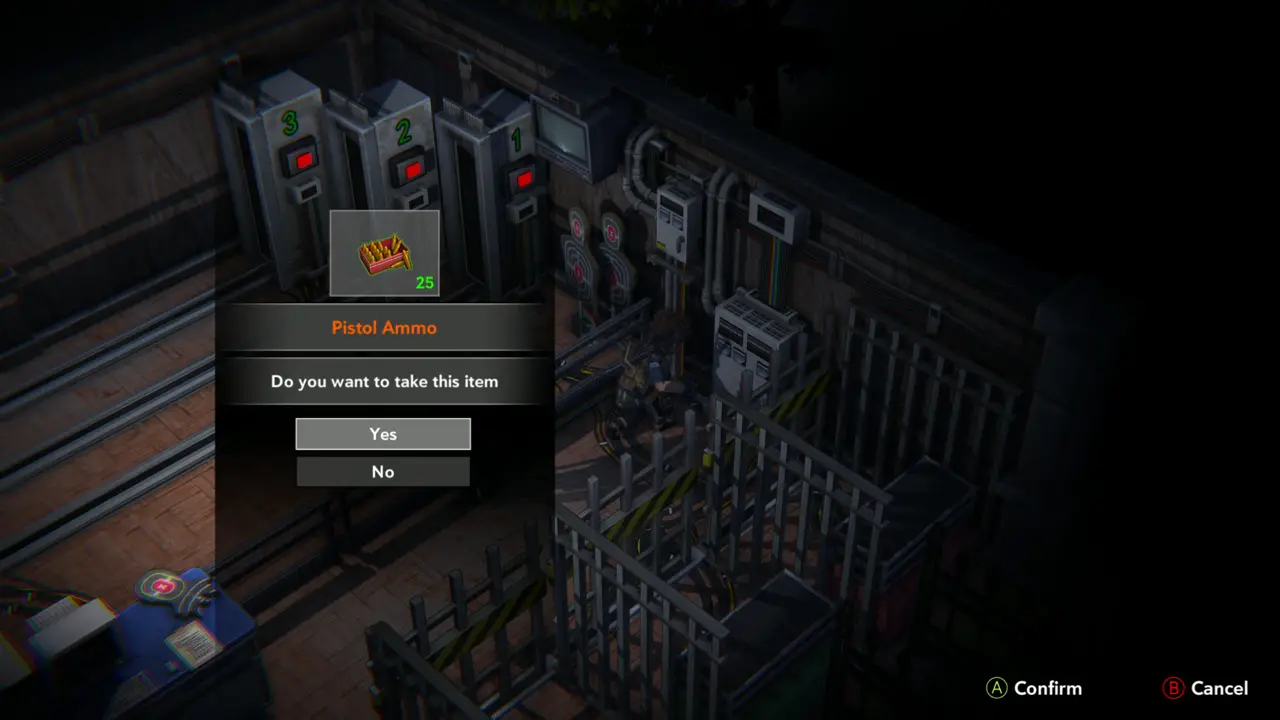
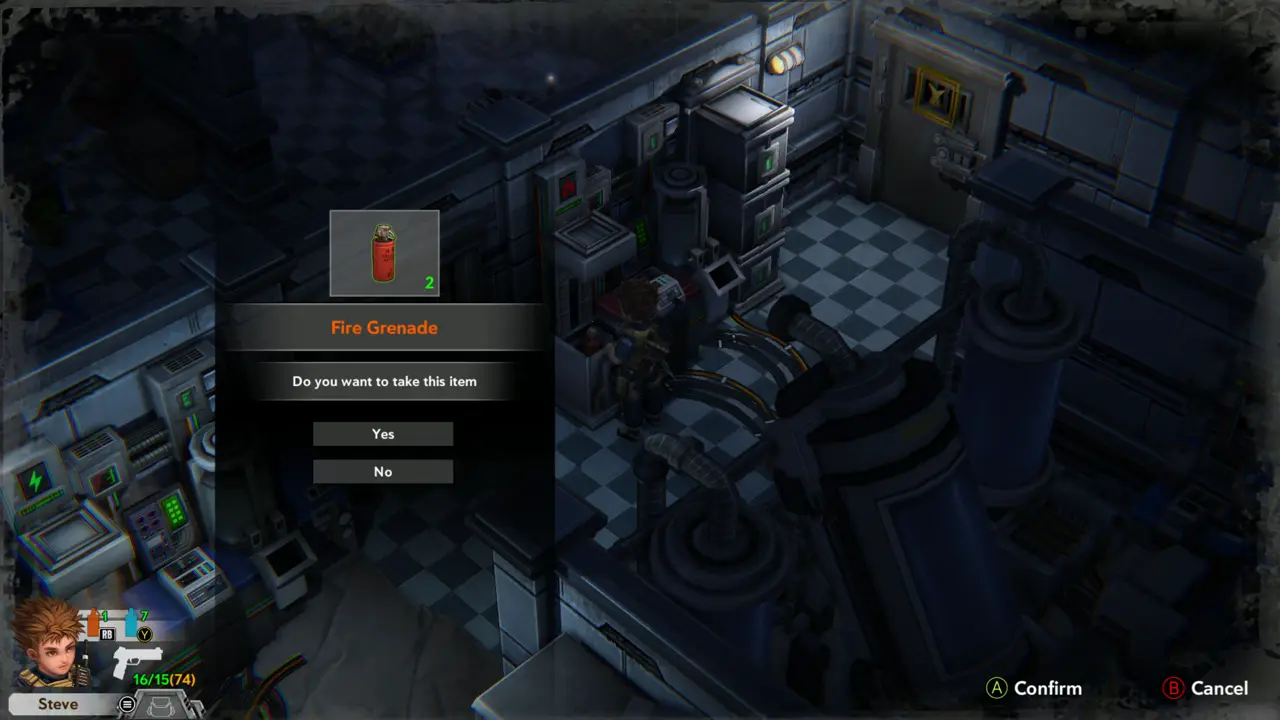
ITEM 39–41 Take the items from the crates by the cage to the right of the lanes: Ammo Shells Pile, Pistol Ammo (25) and Fire Grenade (2).
Ammo Shells Pile prompt
Pistol Ammo 25 prompt
12
New Building Hall - Shooting Range
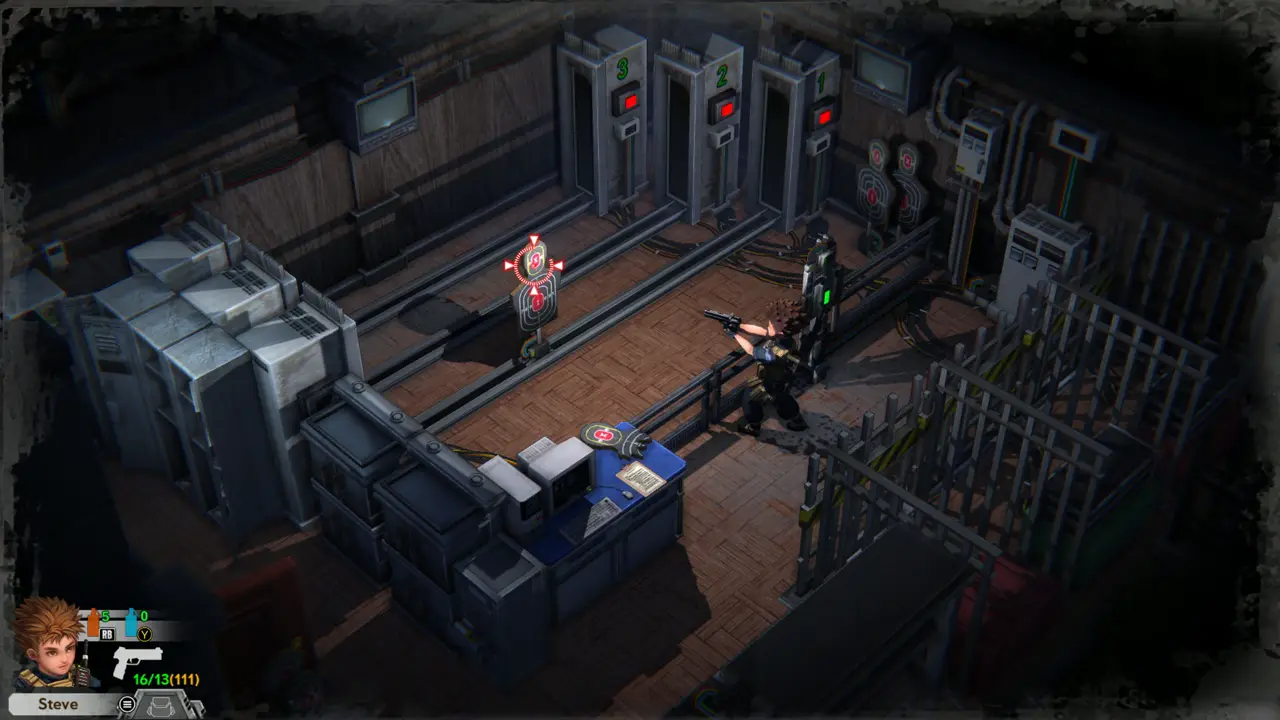
PUZZLE 2FIGHT Shoot the target in each of the three lanes with the pistol. The status light above a lane turns from red to green when its target is down; shoot until all three lights are green.
Shooting at the targets
Two lights green
Two lights green
13
New Building Hall - Shooting Range
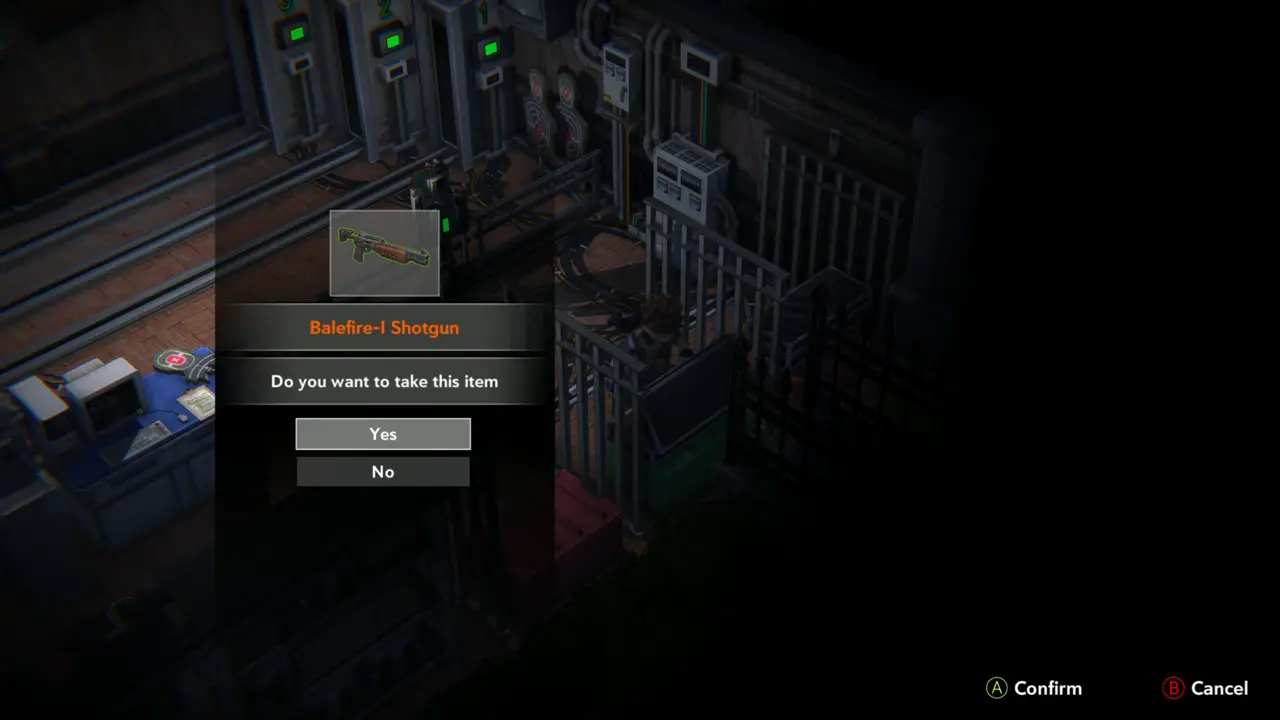
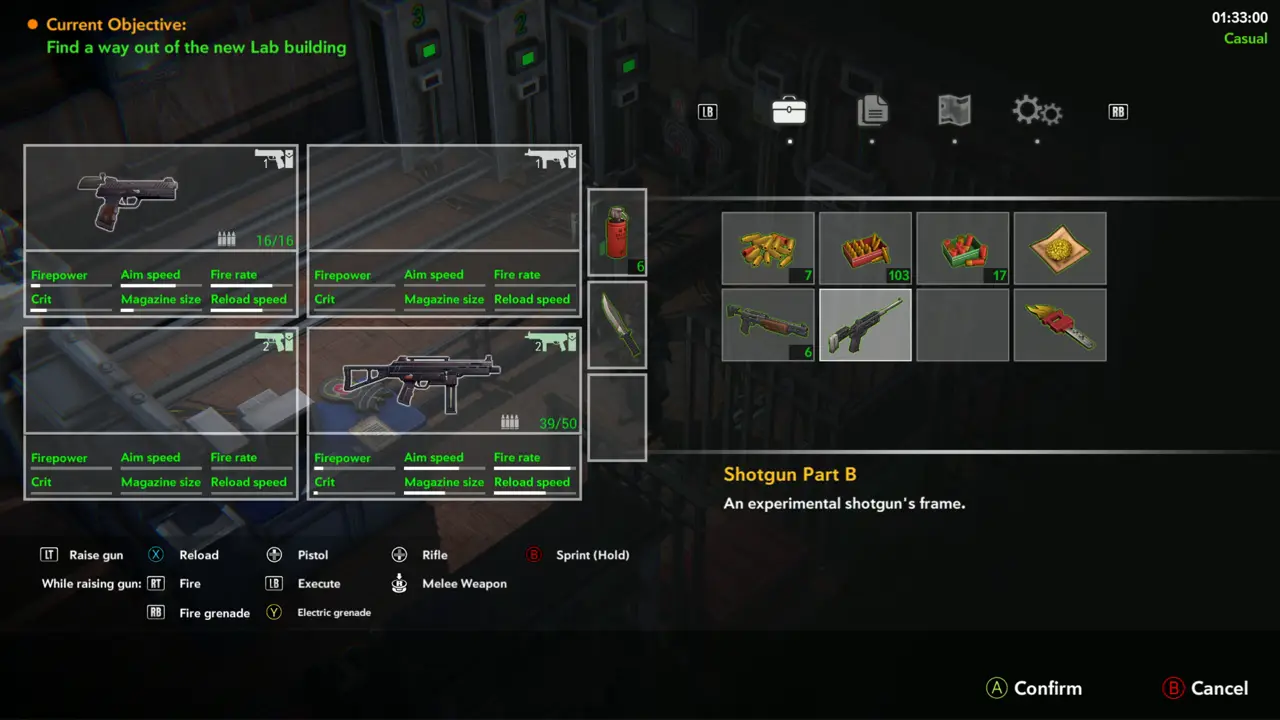
WEAPON 7MISSABLE Free two inventory slots before taking the prize, or “Inventory is full!” blocks both pickups. Store spare items such as the Red Herb in the storage box near the workshop, then return to the green prize crate to the right of the lanes. Take “Shotgun Part B” and the Balefire-I Shotgun, then choose the shotgun in the inventory and Equip it (“You have equipped Balefire-I Shotgun”). “You can not use Shotgun Part B” appears if you try it.
Balefire-I Shotgun prompt
Both items in the inventory
14
New Building Hall
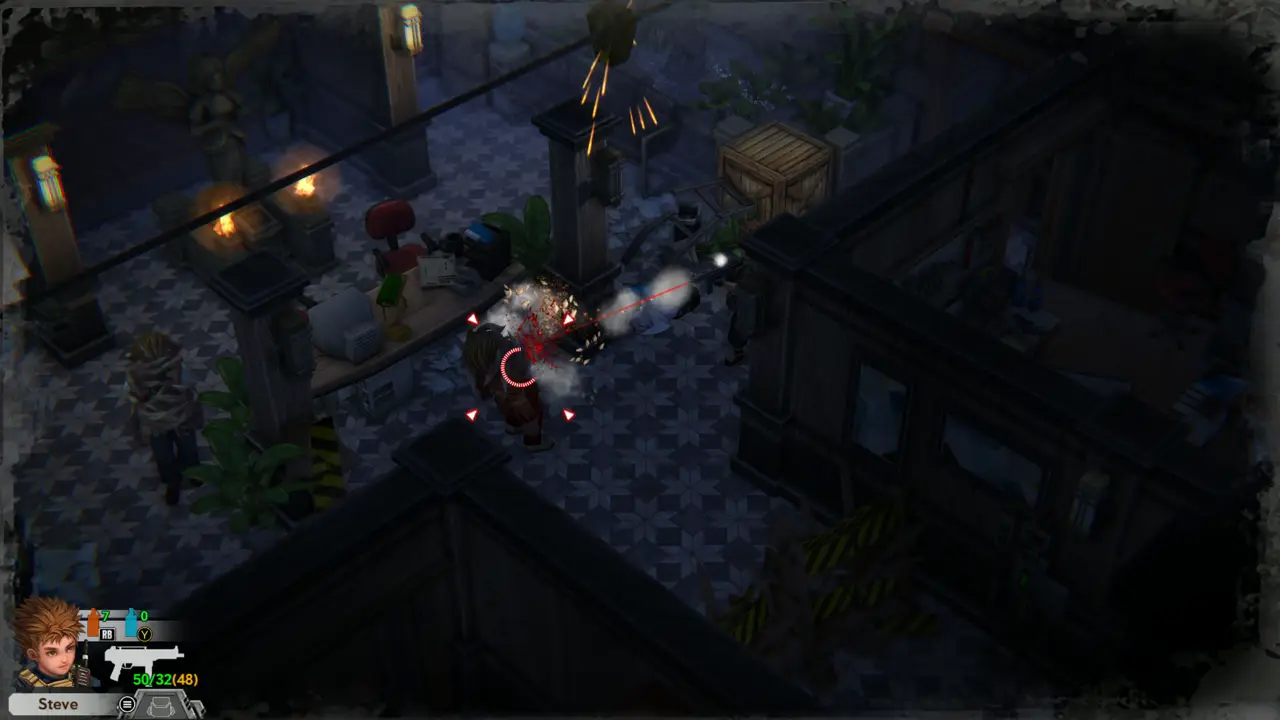
FIGHT Leave the range and clear the zombies in the hall with the Storm-I Submachine Gun as they come across the room.
Zombies in the hall
Zombies in the hall
Firing the submachine gun
15
New Building Hall
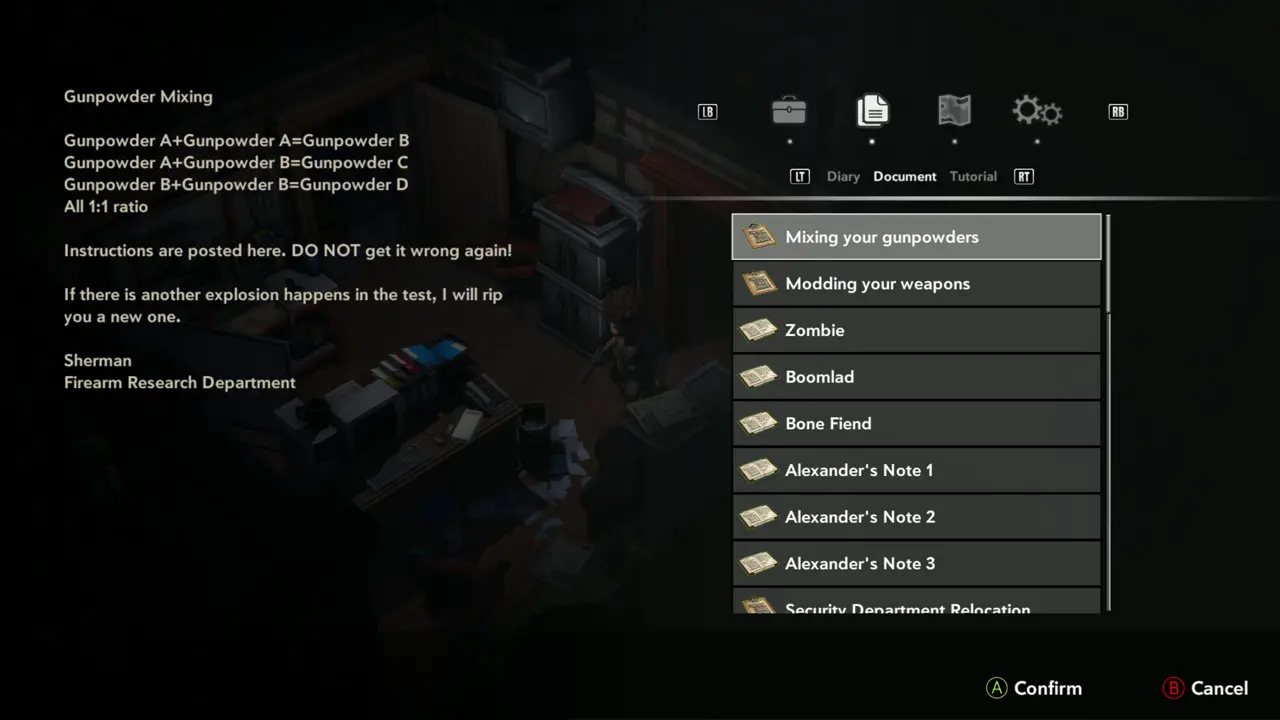
FILENOTE Open the pause menu, Files tab, and review “Gunpowder Mixing”: A + A = B, A + B = C, B + B = D, always 1:1. To mix, choose Combine on a gunpowder in the inventory (“Choose an item to combine”).
Gunpowder Mixing page
Choose an item to combine
16
New Building Hall - Workshop
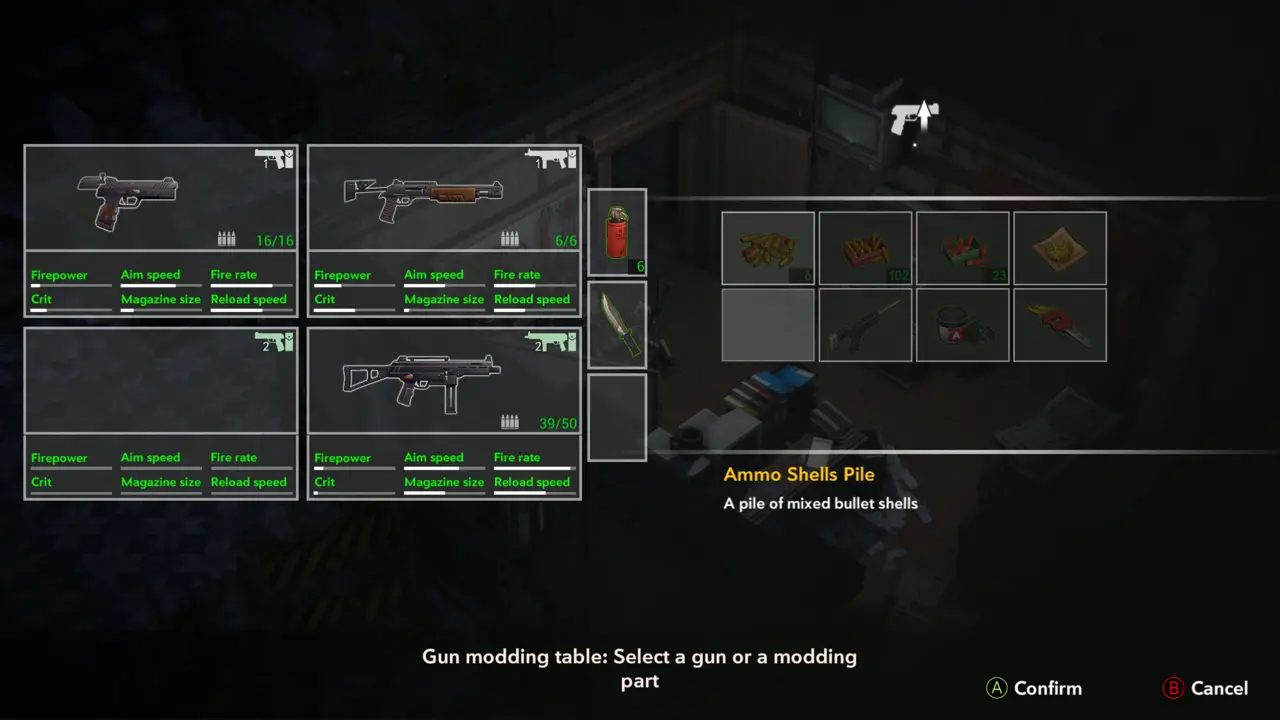
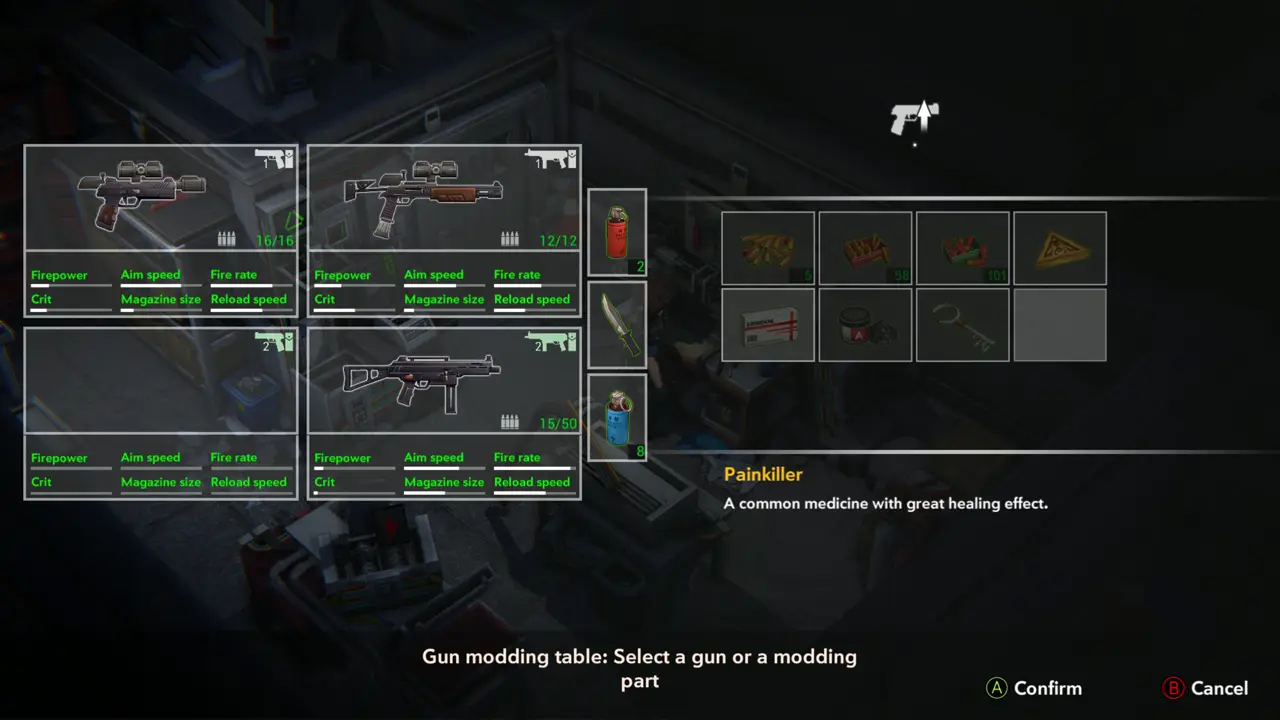
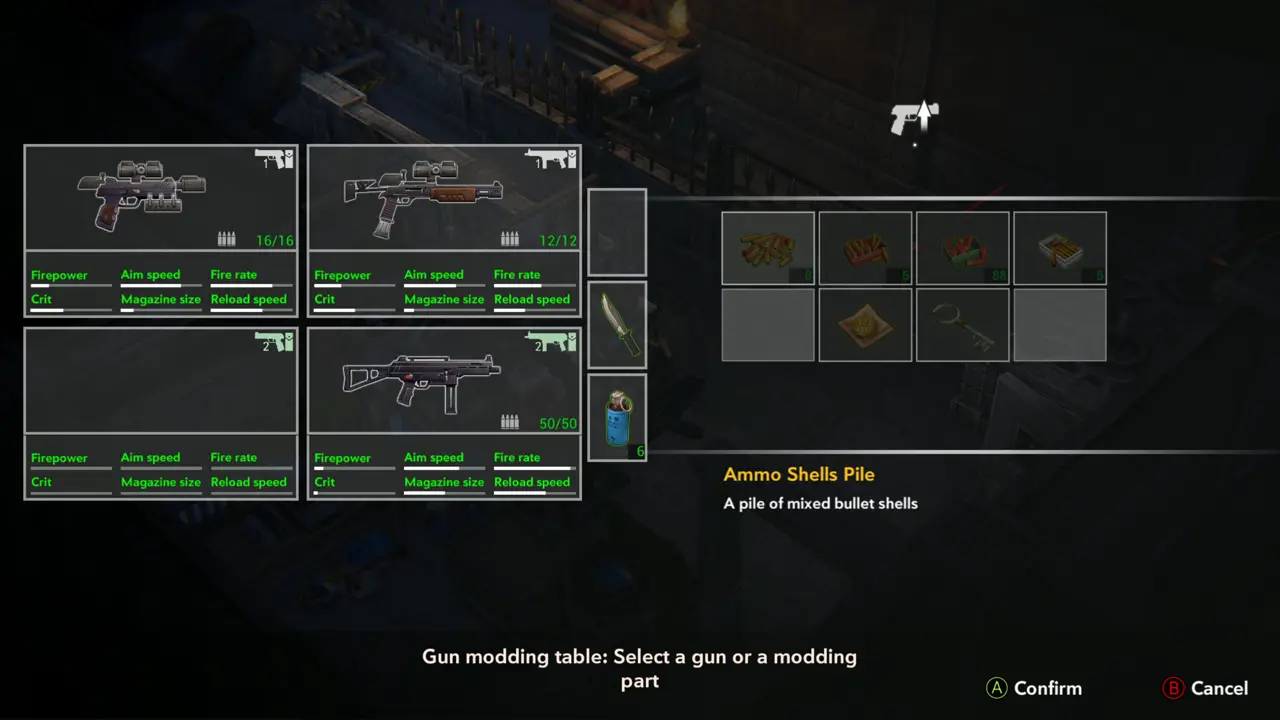
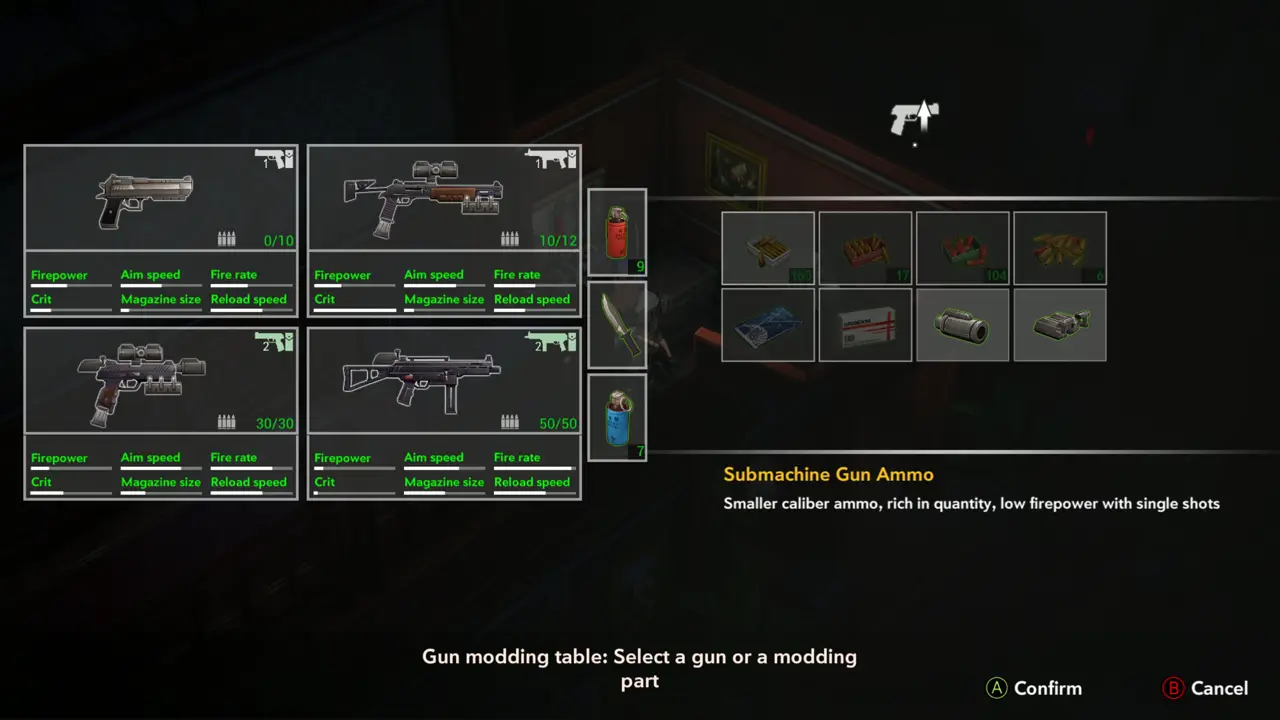
WEAPONNOTE Use the gun modding table in the workshop to mod weapons (“Gun modding table: Select a gun or a modding part”).
Gun modding table prompt
17
New Building Hall
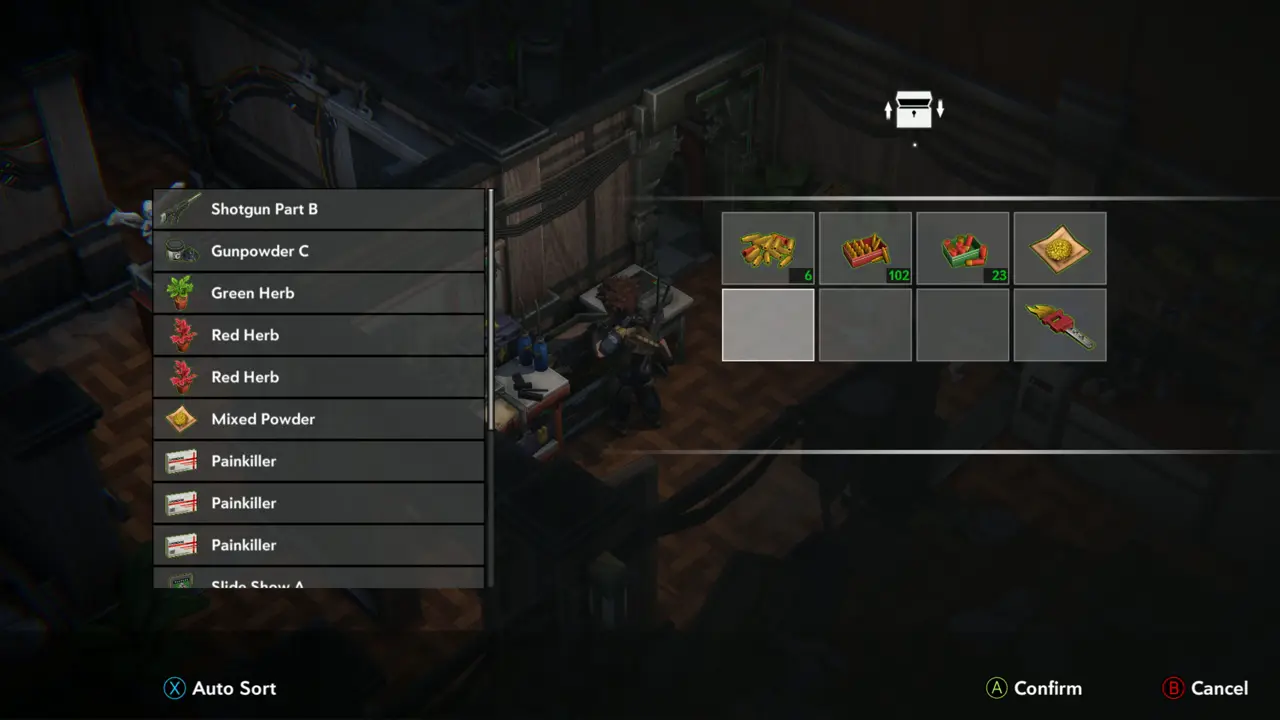
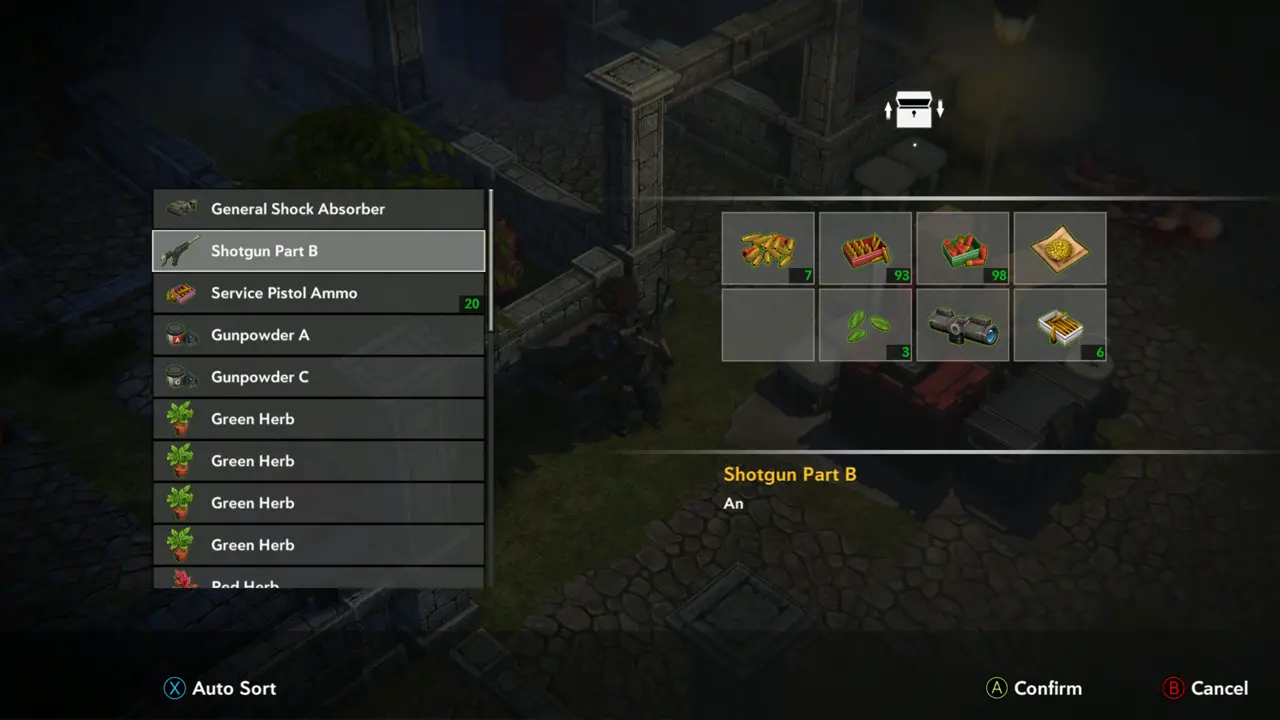
Open the storage box and put Shotgun Part B into it.
Shotgun Part B listed in storage
18
New Building Hall
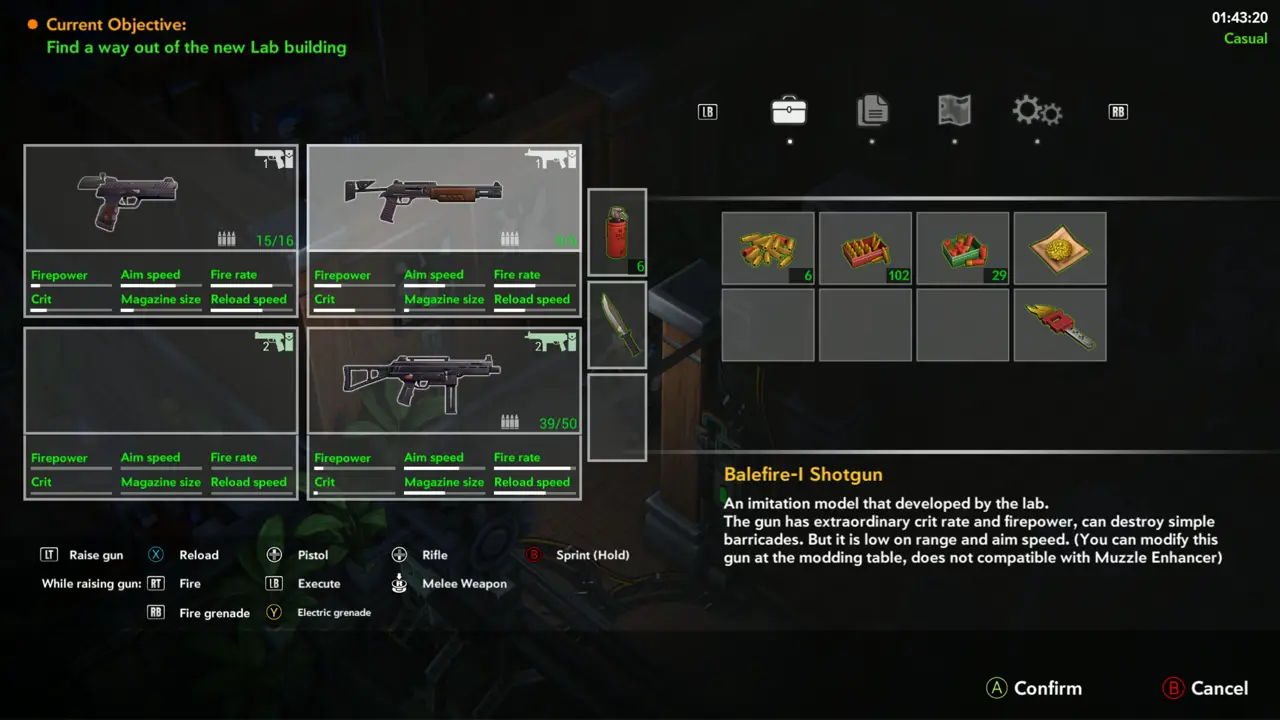
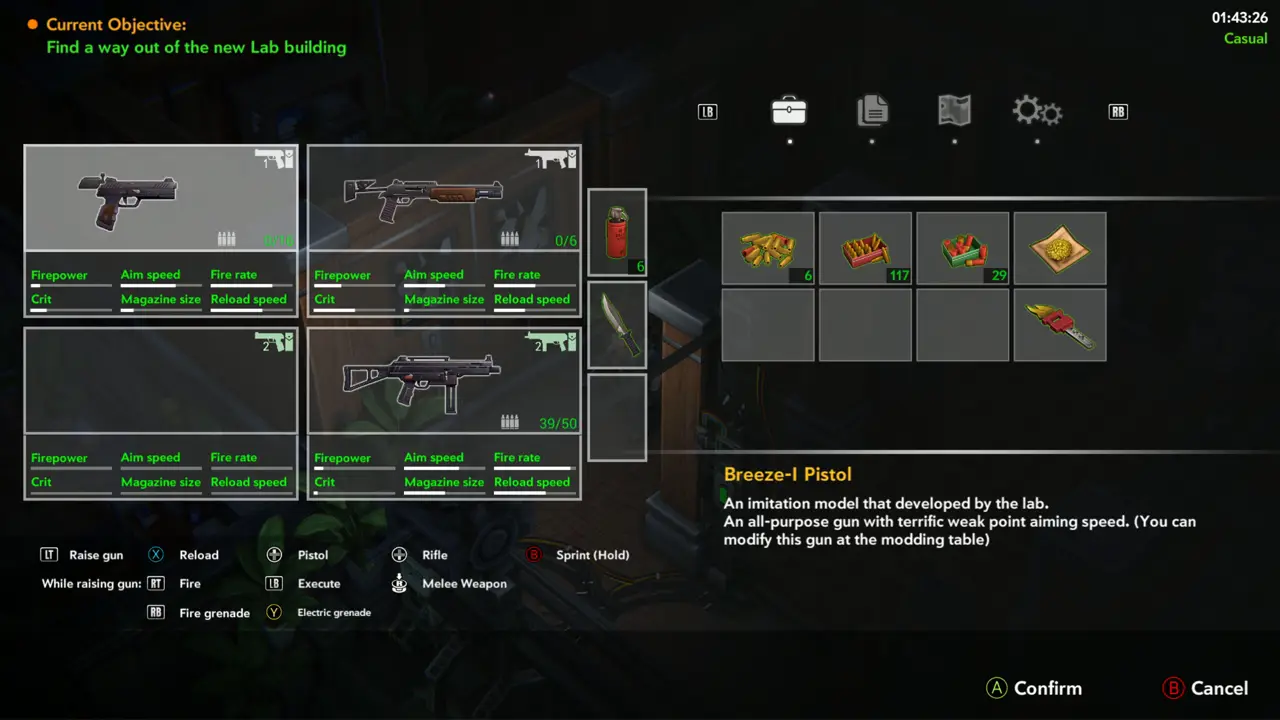
WEAPON 2WEAPON 7NOTE Check your weapons in the inventory. The Balefire-I Shotgun has extraordinary crit rate and firepower and destroys simple barricades, but is low on range and aim speed. The Breeze-I Pistol is the all-purpose lab pistol.
Balefire-I Shotgun description
Breeze-I Pistol description
19
New Building Hall
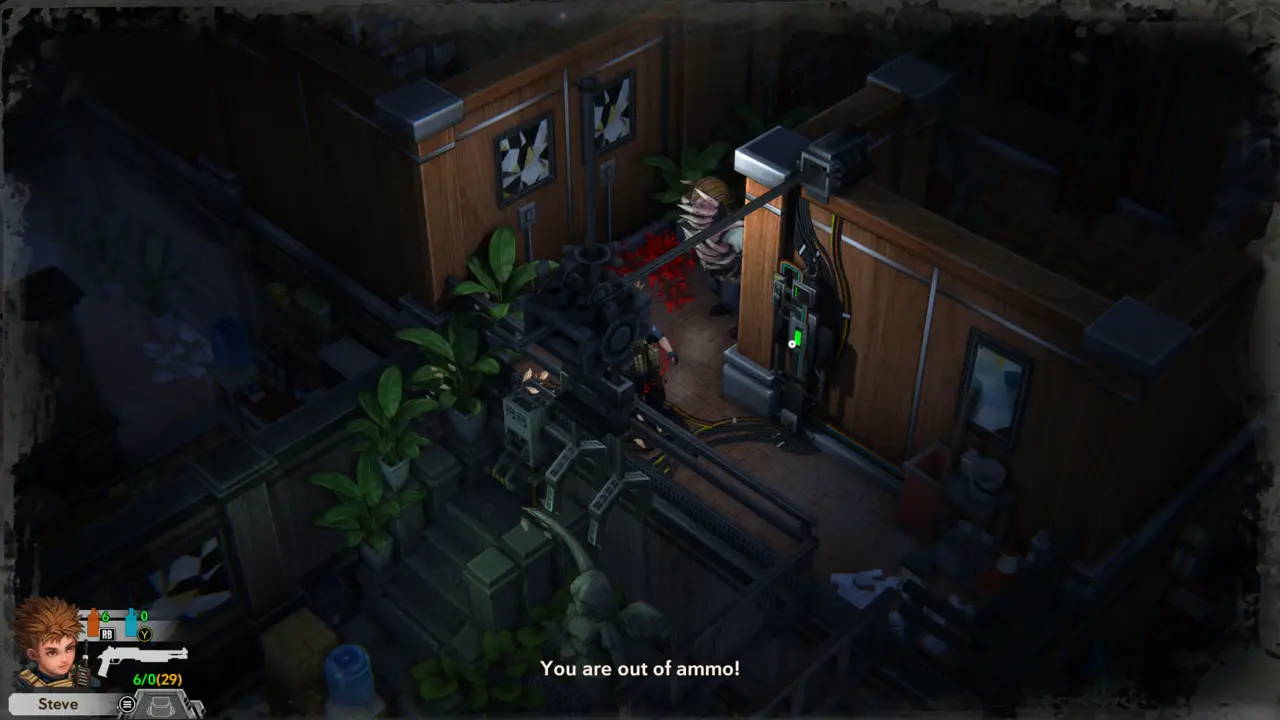
FIGHT Fight the zombies in the corridor. When the pistol empties (“You are out of ammo!”), switch weapon.
Out of ammo message
Out of ammo message
Zombie closing in
Zombie closing in
20
New Building Hall - Library
KEY ITEM 8DOORFIGHT Go to the Library door (“Locked, the door is marked with a symbol of golden flame.”) and use the Fire Key (“You have used Fire Key”). Kill the zombies that attack just inside the entrance, then go on to the offices.
Library door
Library door
Fight inside the entrance
21
New Building Hall - Library
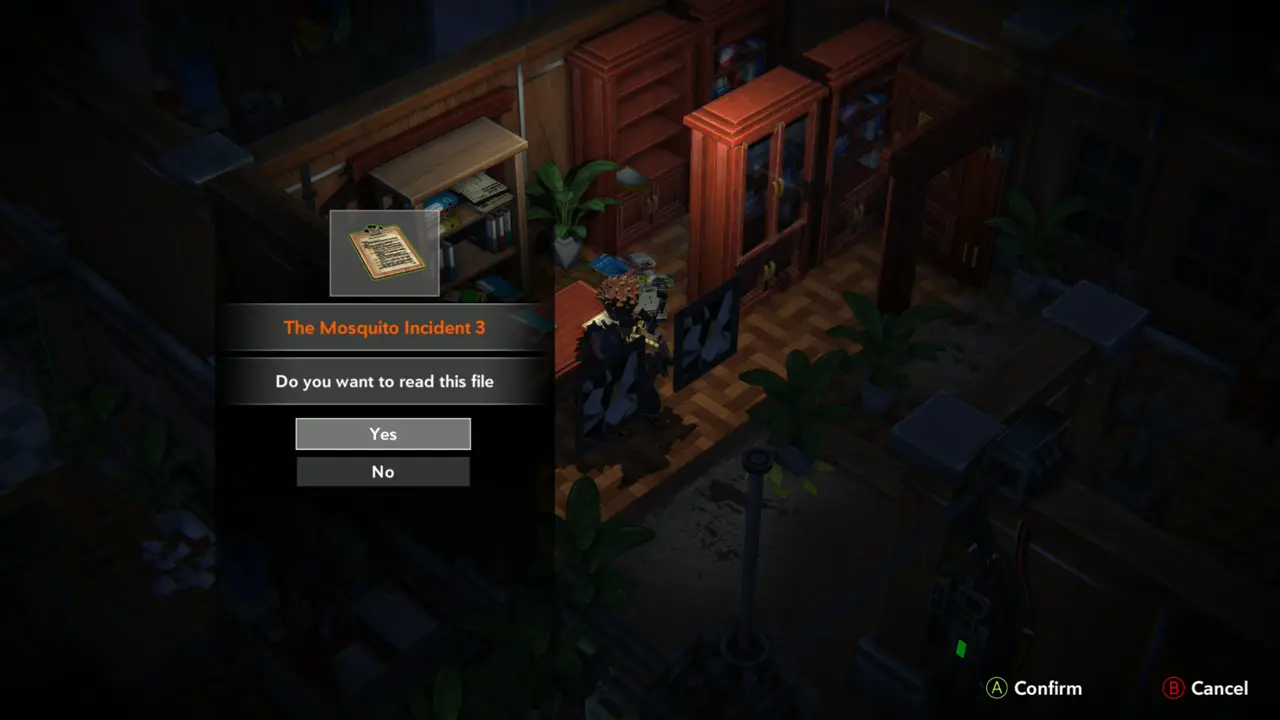
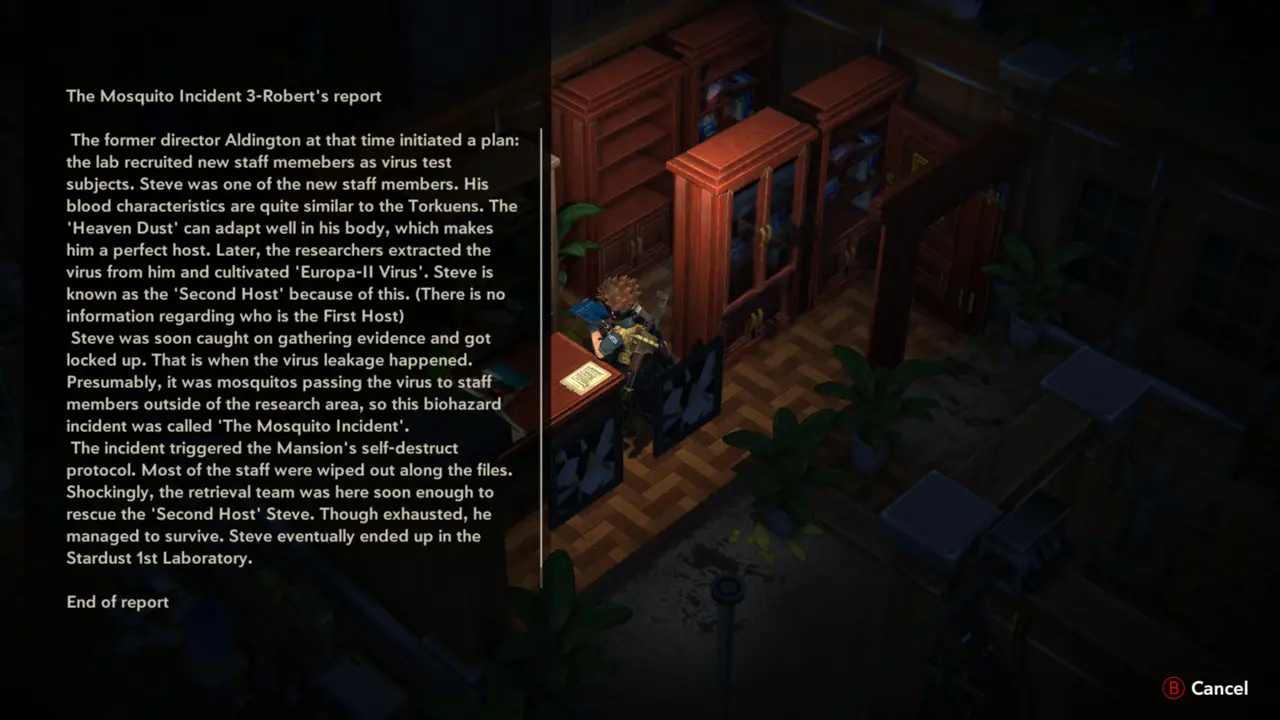
FILE 25 In the Library office, take and read “The Mosquito Incident 3” from the desk: Steve is the “Second Host” whose blood was used to cultivate the Europa-II Virus.
Desk in the office
Desk in the office
Mosquito Incident 3 prompt

Part 5 — Outside: the picnic garden and the park

In-game goal. Find Metal Shield and open the gate to the Old Lab Building.
1
New Building - Library
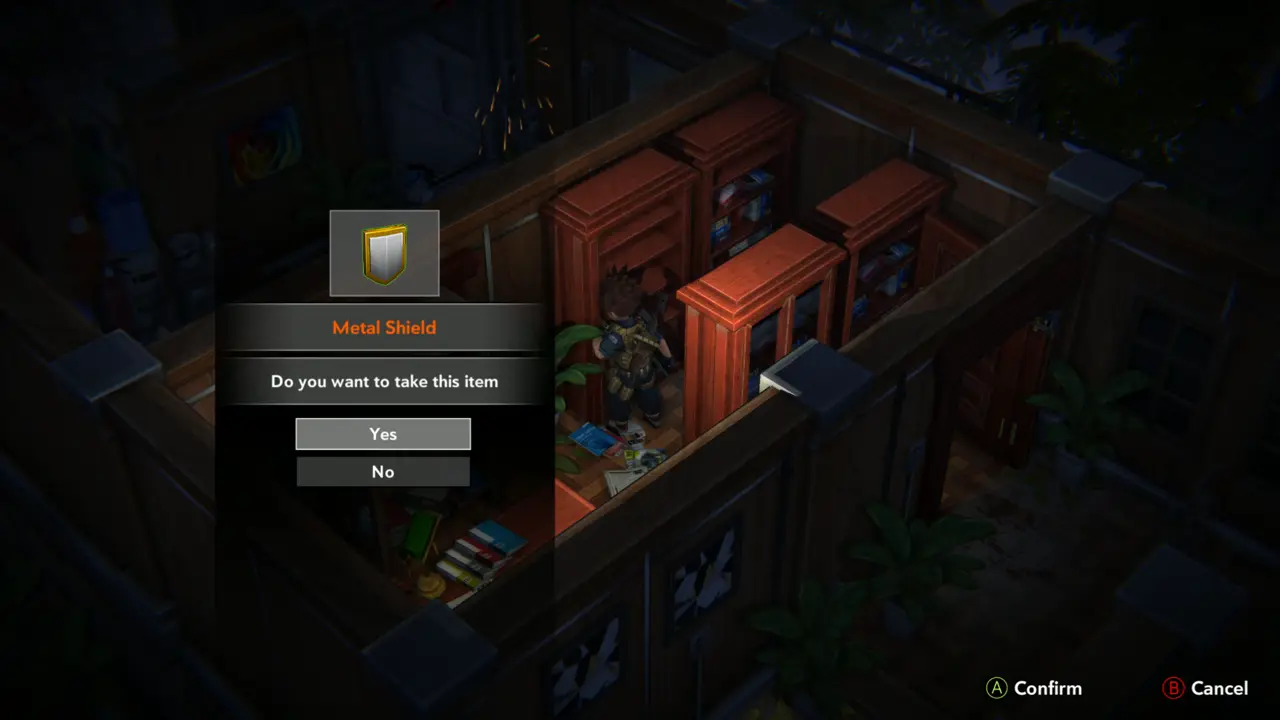
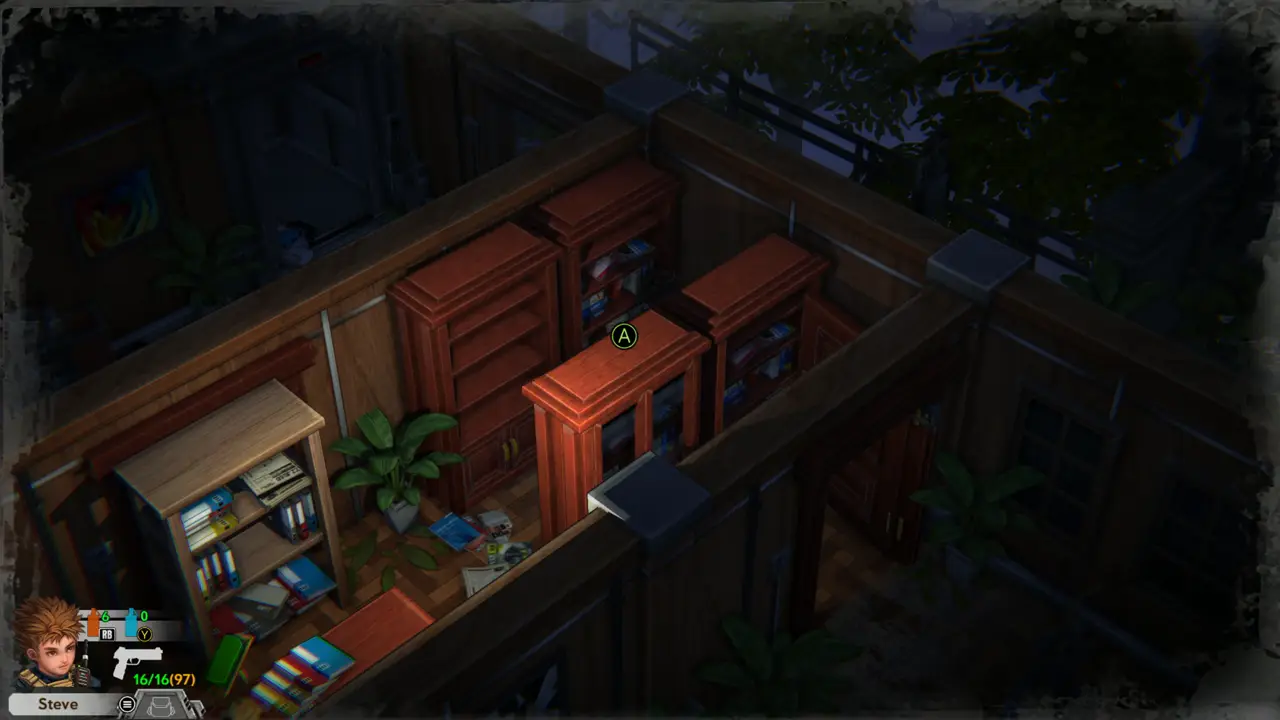
KEY ITEM 9MISSABLE In the Library office, take the “Metal Shield” from the shelf beside the red bookcases. Keep it: you need it later on the statues outside.
Metal Shield take prompt
Shelf with the pickup marker
2
New Building - Library
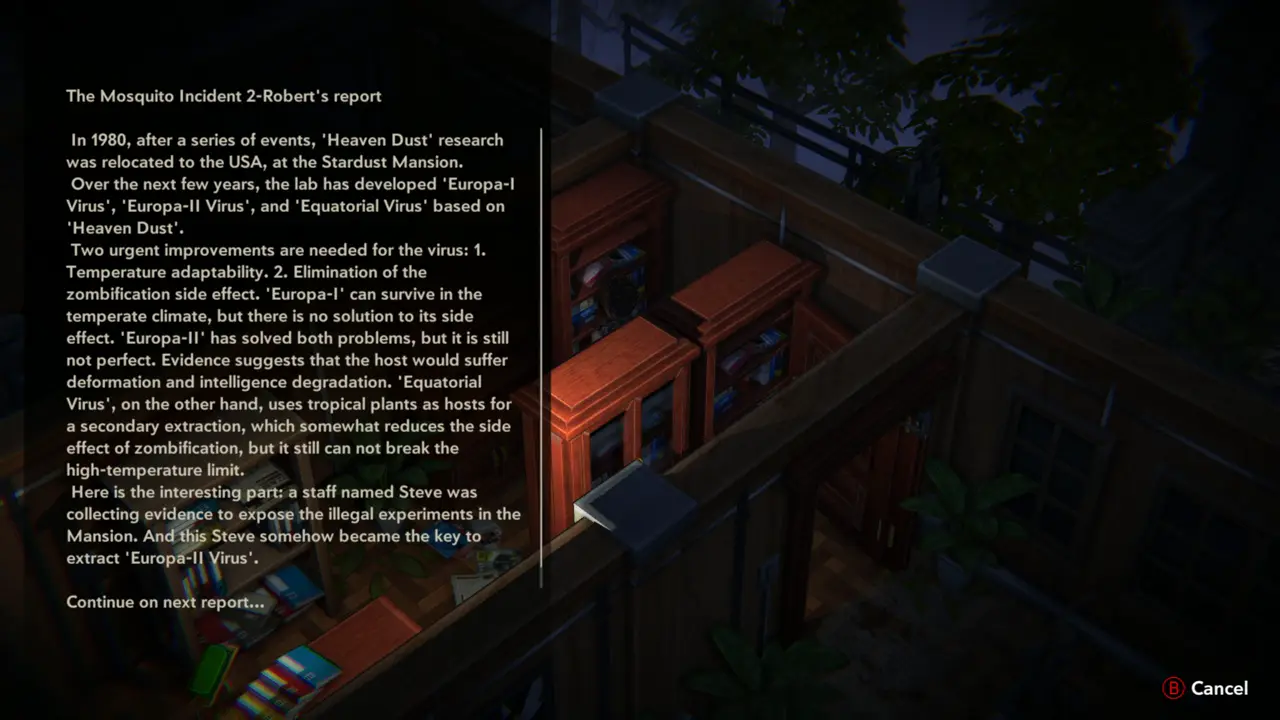
FILE 26 Read the file “The Mosquito Incident 2” lying next to the shield. It says the Heaven Dust research moved to the Stardust Mansion and that Steve became the key to extract the Europa-II Virus.
The Mosquito Incident 2 text
3
New Building - Office Hall
MAP Leave the Library through the offices to the Office Hall, then go past the crate stacks to the ladder at the far end.
Map: Steve in the Library
Map: Steve in Office Hall
4
New Building - tree-covered rooftop above the Office Hall
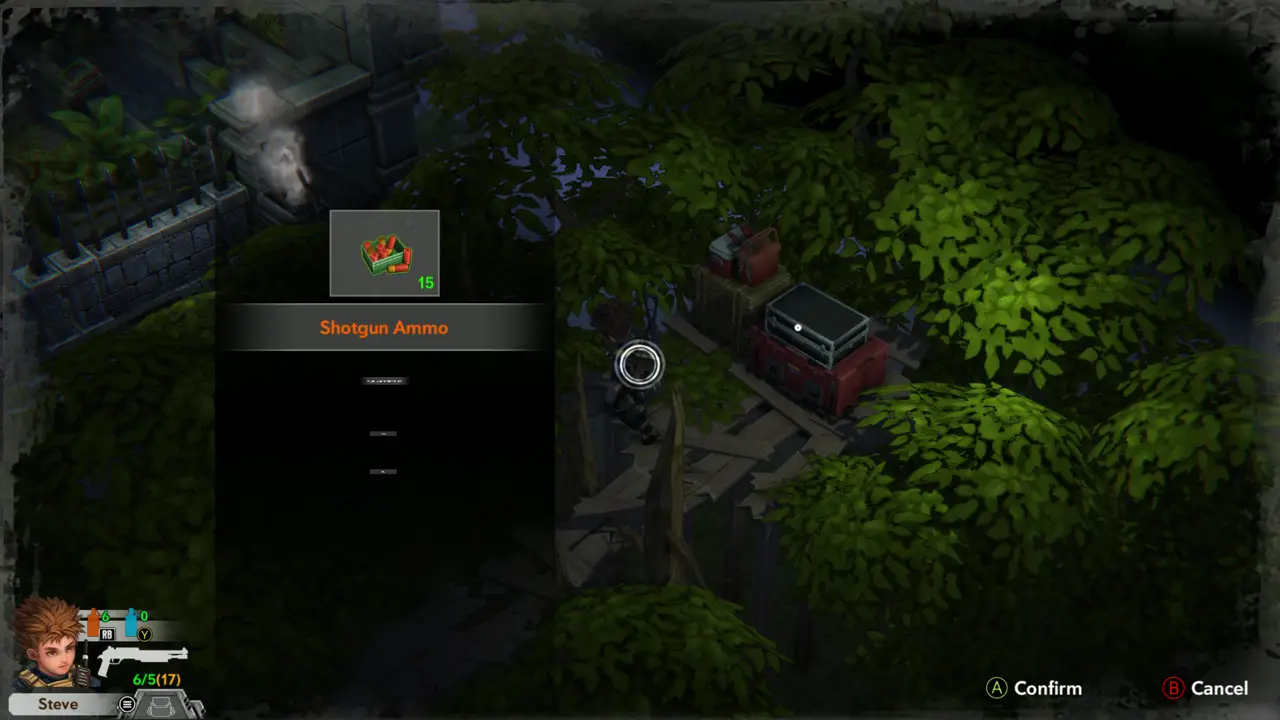
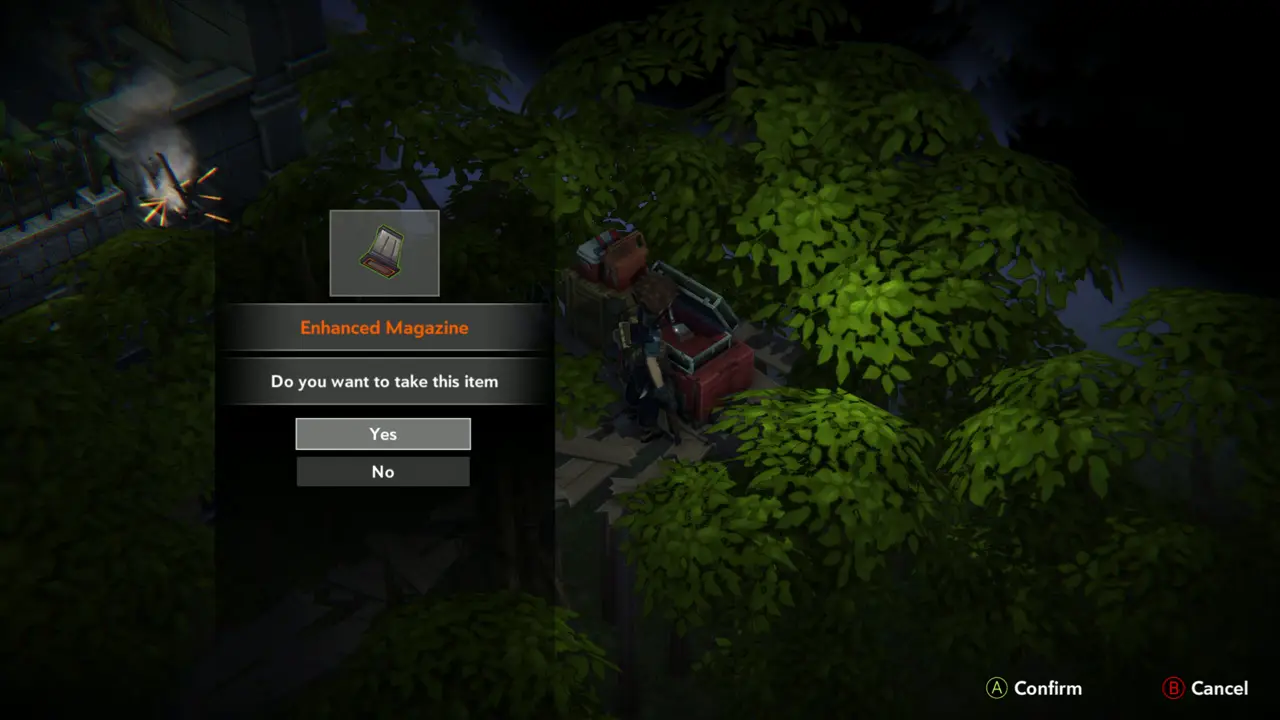
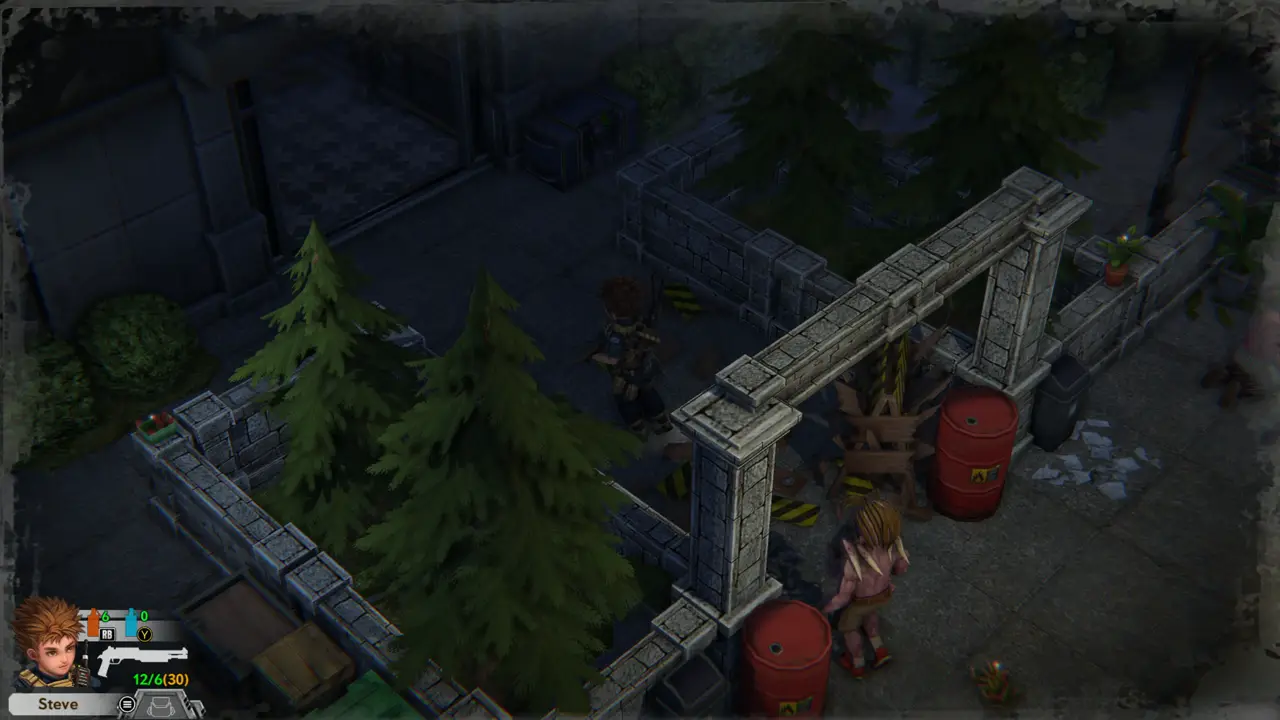
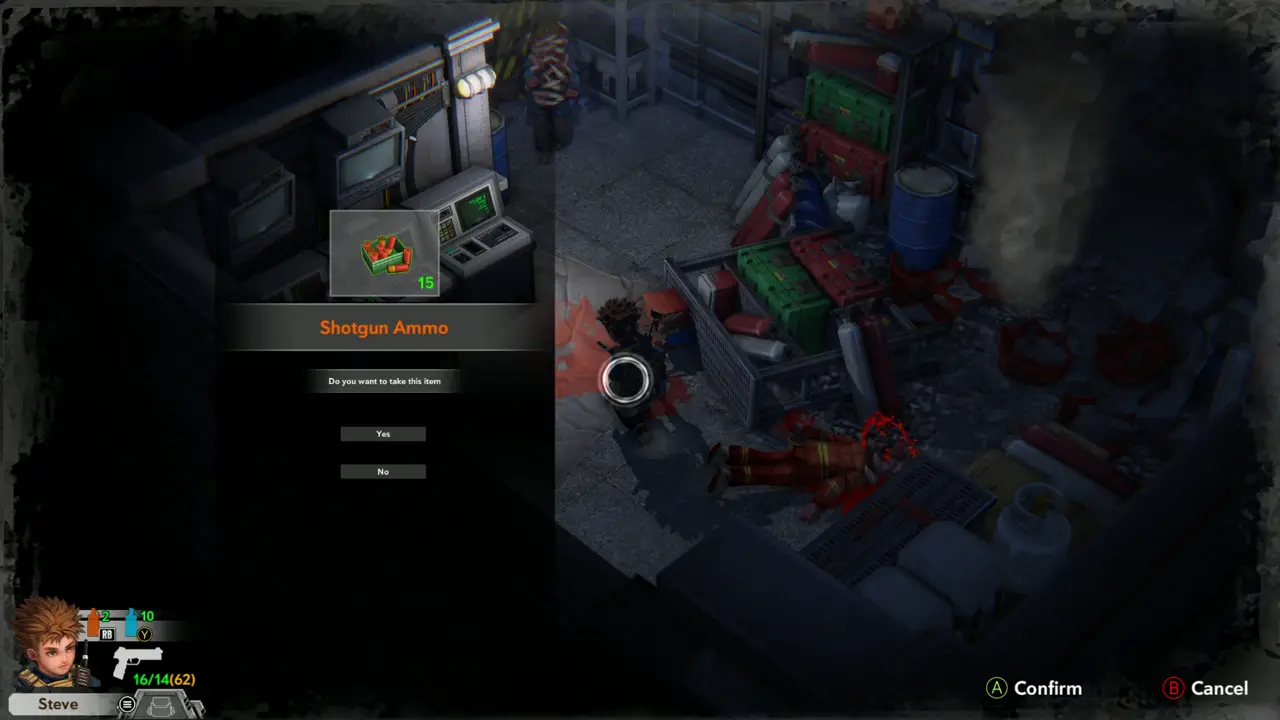
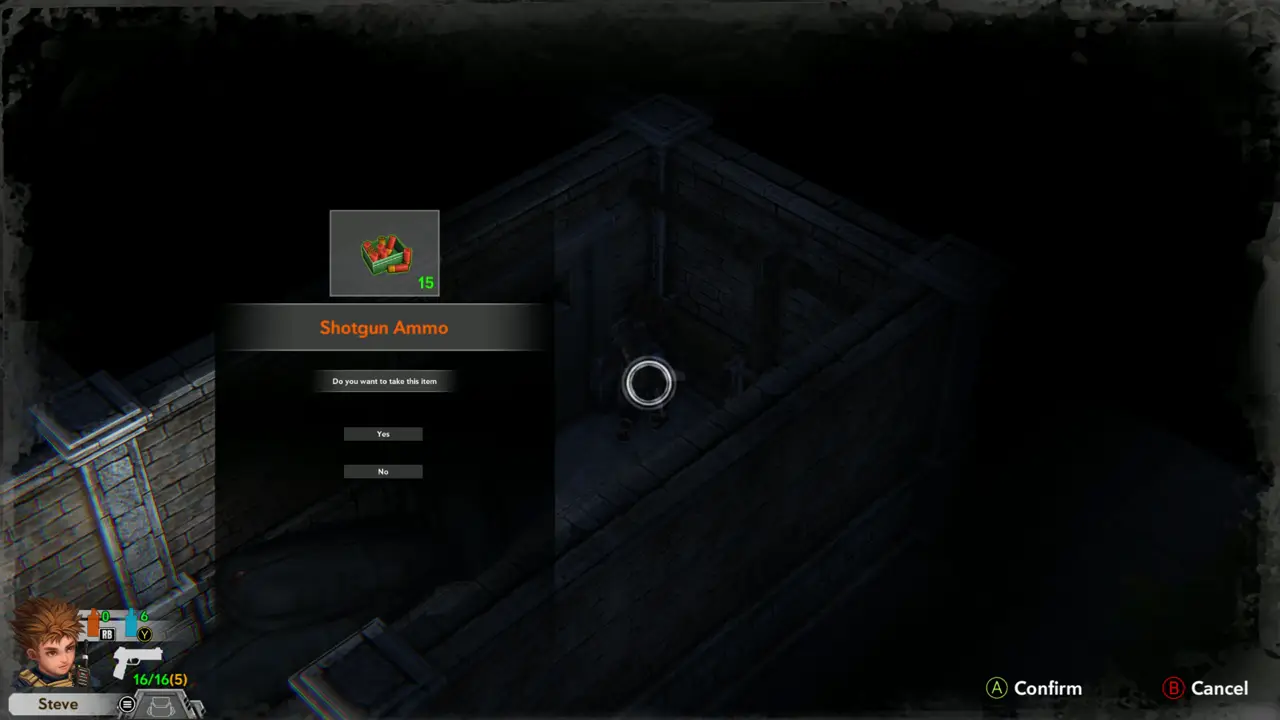
ITEM 45KEY ITEMMISSABLE Climb the ladder onto the roof among the trees. Take the “Shotgun Ammo” (15) beside the crate stack, then the “Enhanced Magazine” from the opened red crate.
Shotgun Ammo x15 prompt
Enhanced Magazine prompt
5
New Building Hall - Pierce's office
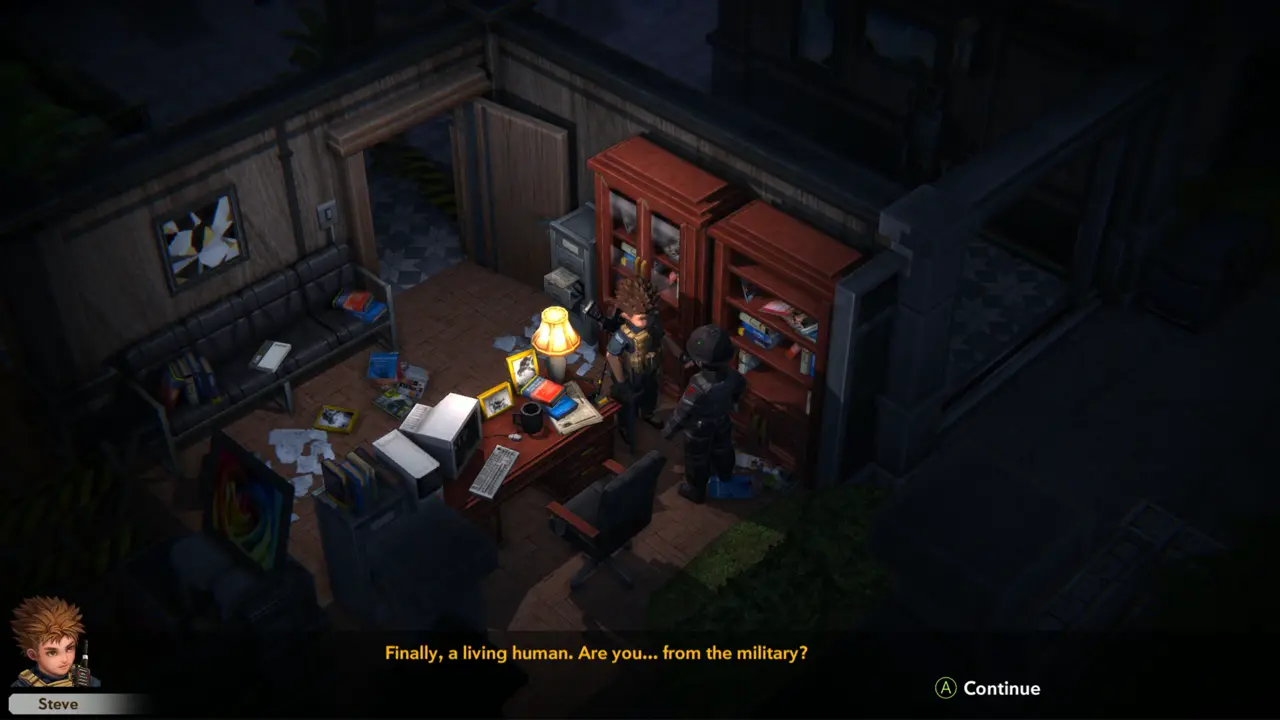
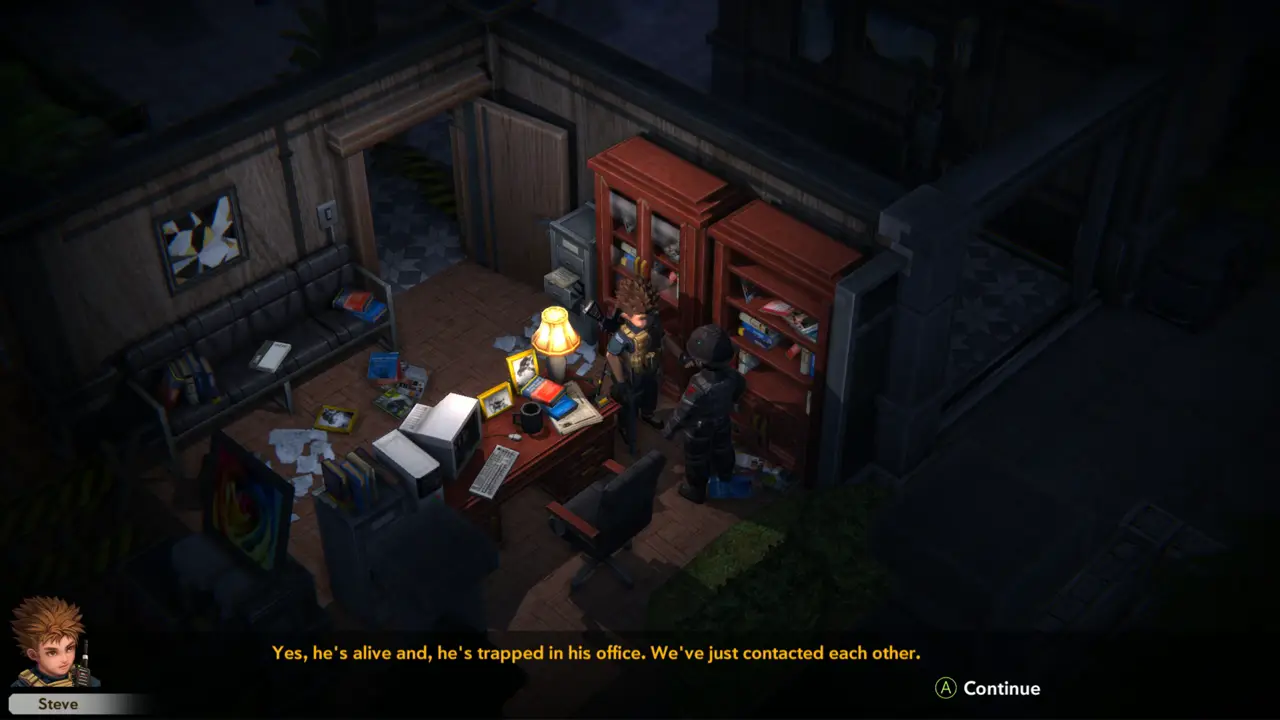
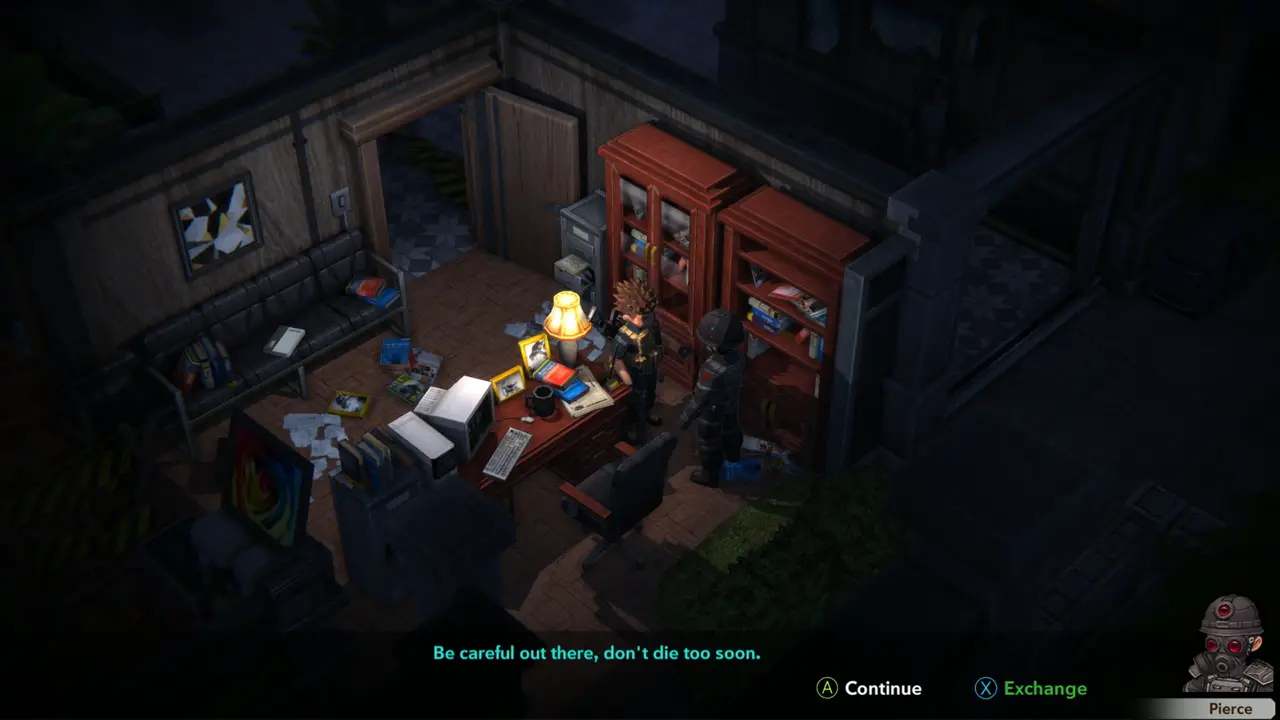
NOTE Go down to the small office and talk to the survivor Pierce. He knows a way out through Alexander, the director, who is trapped in his office, and warns: “You stay out of my way, and I'll stay out of your way.”
Pierce meets Steve
Pierce meets Steve
Alexander is trapped
6
New Building Hall - Pierce's office
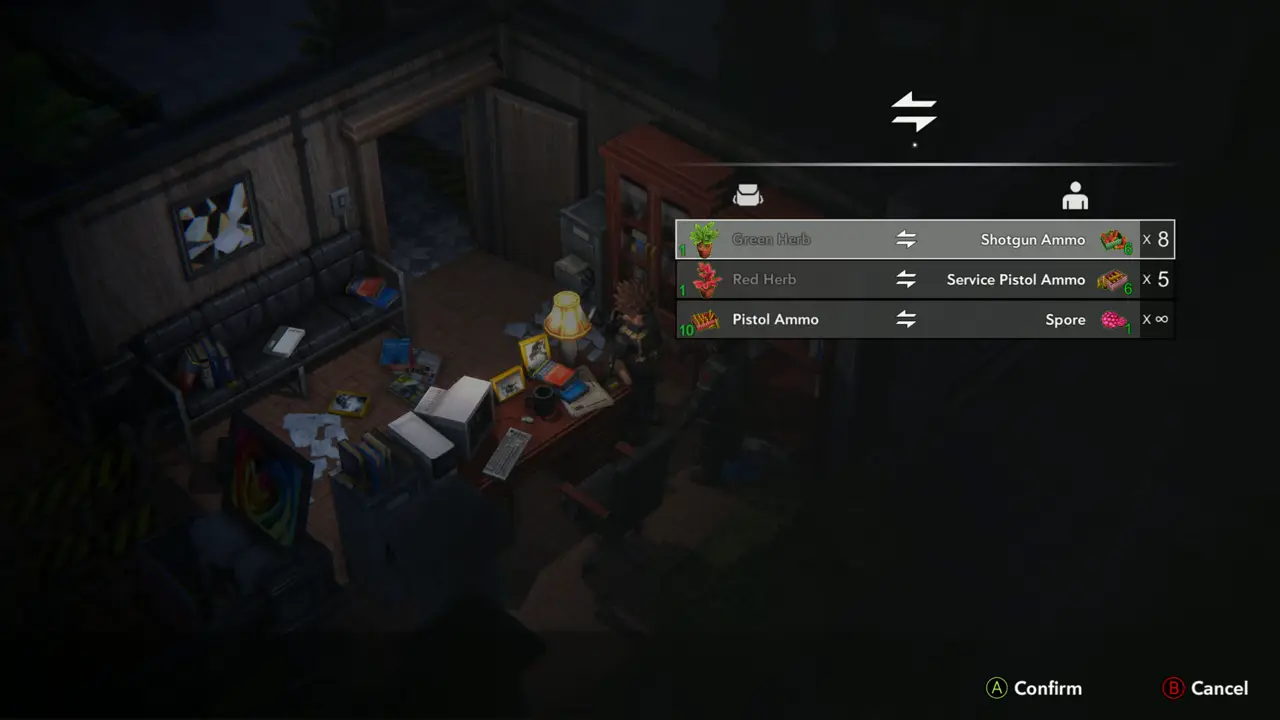
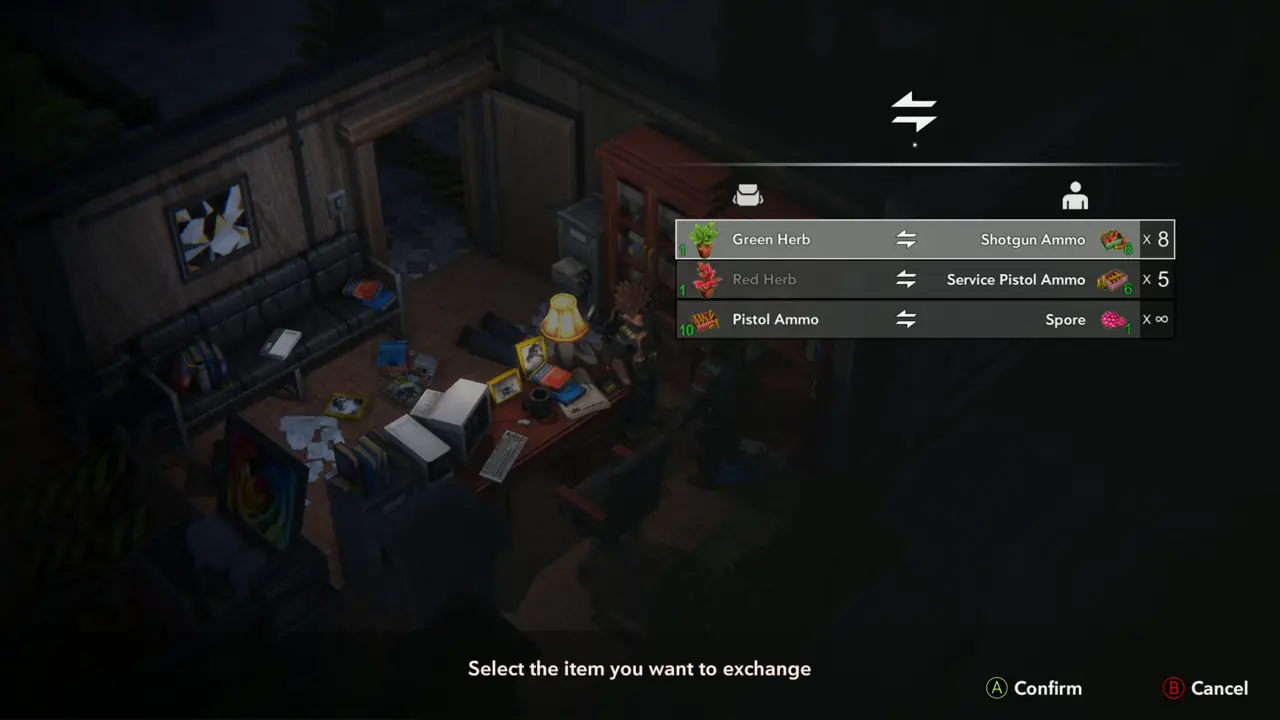
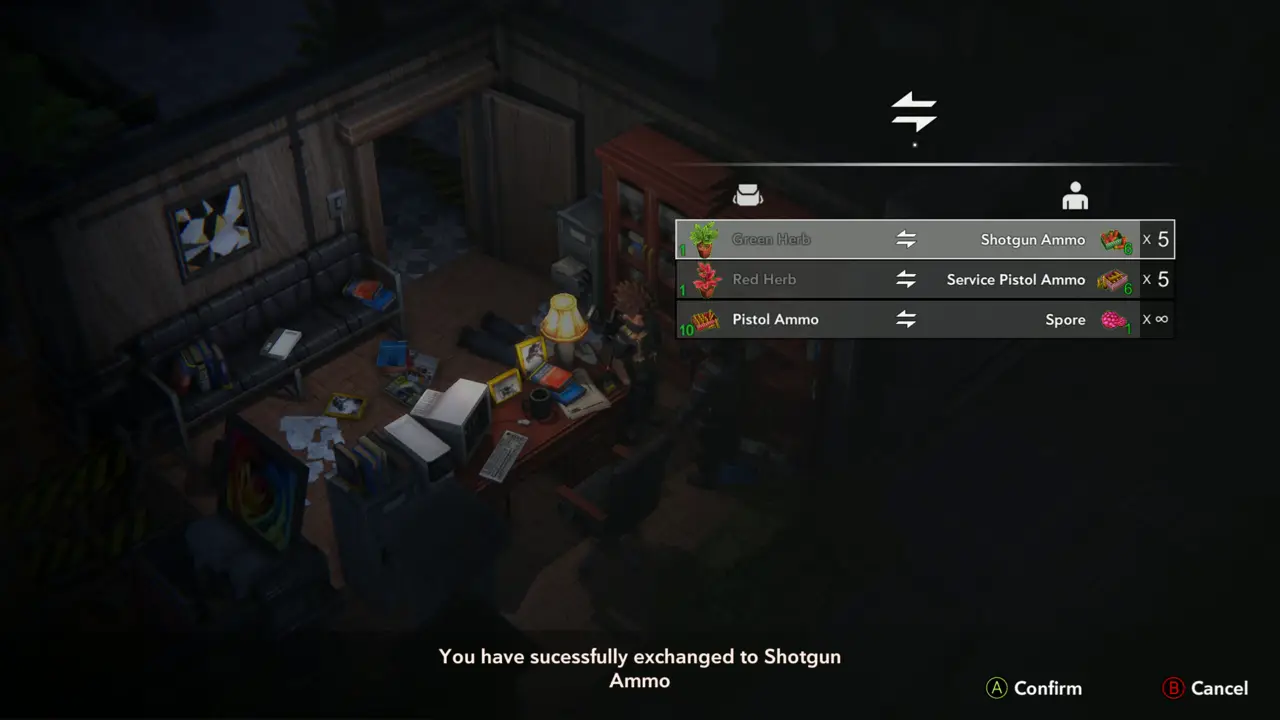
Press Exchange (X) on Pierce to trade: 1 Green Herb for 8 Shotgun Ammo (8 trades), 1 Red Herb for 6 Service Pistol Ammo (5 trades), 10 Pistol Ammo for 1 Spore (unlimited).
Pierce: Exchange option
Exchange list
Exchange list
7
New Building Hall
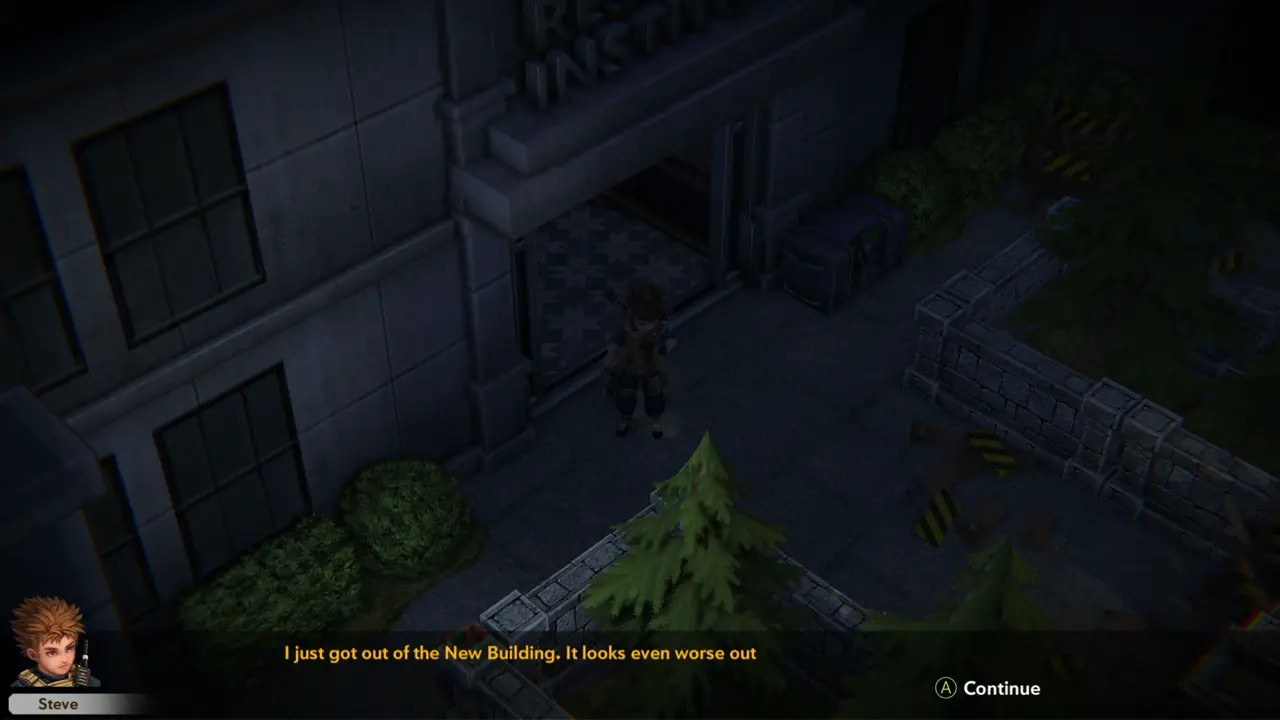
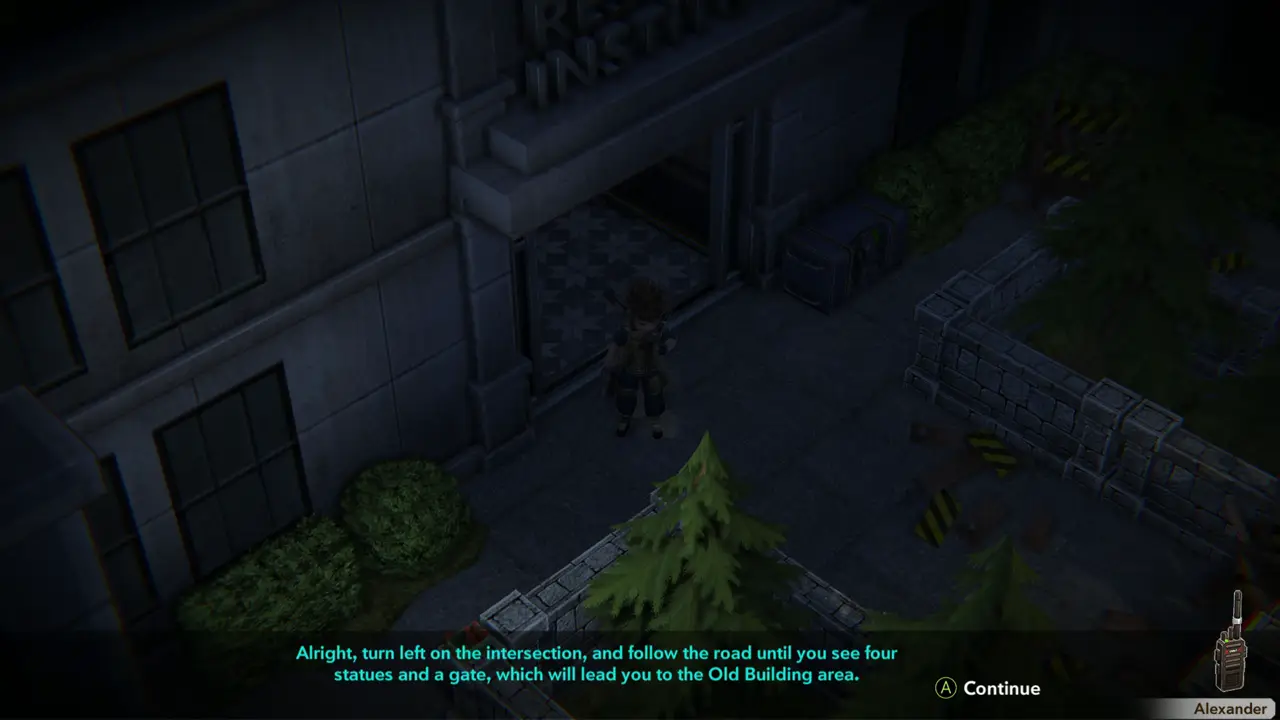
NOTE After leaving Pierce, call Alexander by radio. He tells you to turn left at the intersection and follow the road until you see four statues and a gate that leads to the Old Building area. The ray trap on the statues activates the gate.
Alexander on the radio
Four statues and a gate
8
New Building Hall
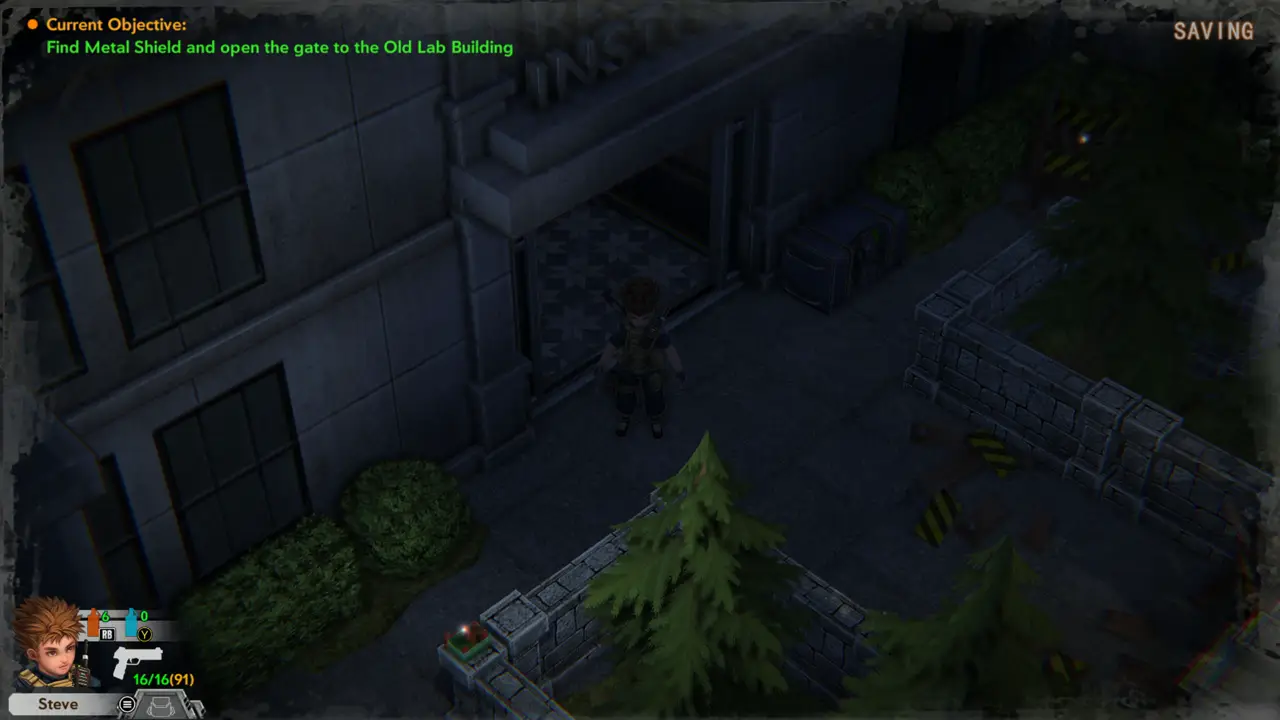
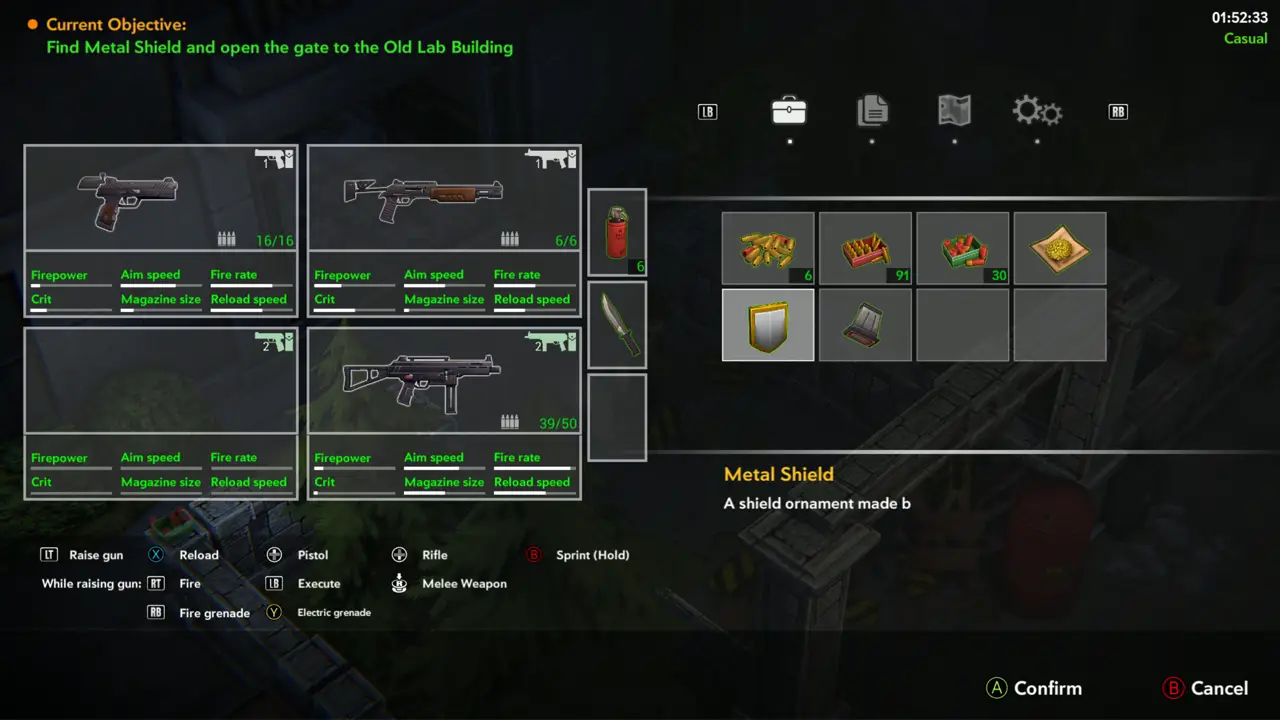
SAVE 1NOTE The game autosaves. Your objective is “Find Metal Shield and open the gate to the Old Lab Building”; you already carry the Metal Shield.
SAVING autosave
SAVING autosave
Objective, Metal Shield in inventory
9
New Building Hall - Gun modding table
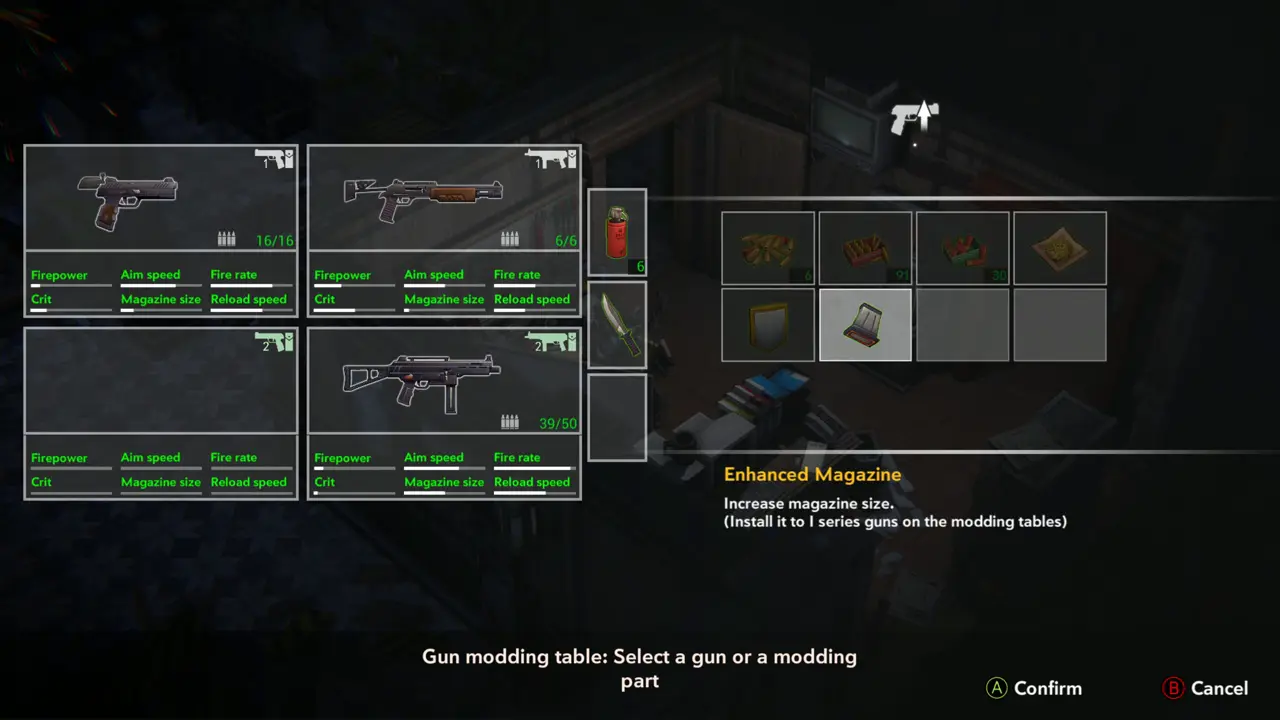
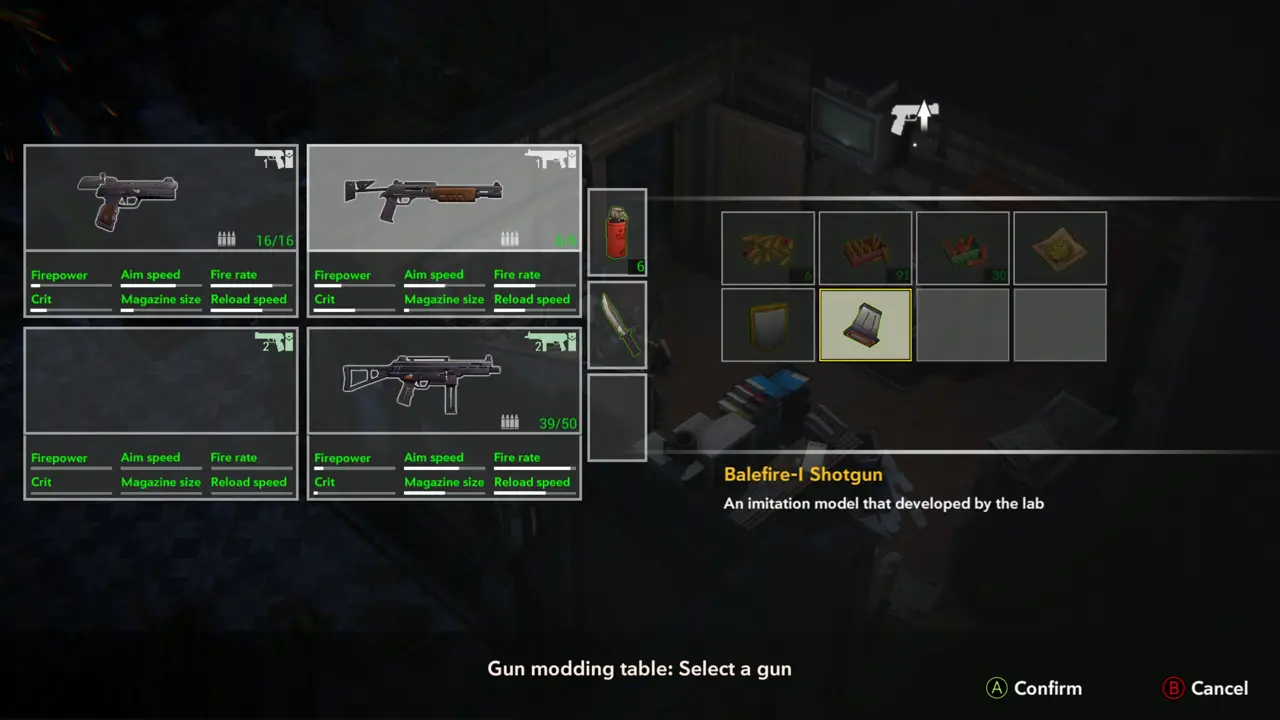
WEAPON 7–8 Use the gun modding table (“Gun modding table: Select a gun or a modding part”). Select the Enhanced Magazine, then the Balefire-I Shotgun: its magazine grows from 6 to 12 shells.
Modding table opened
Magazine and shotgun selected
10
Outside - next to the Research Institute
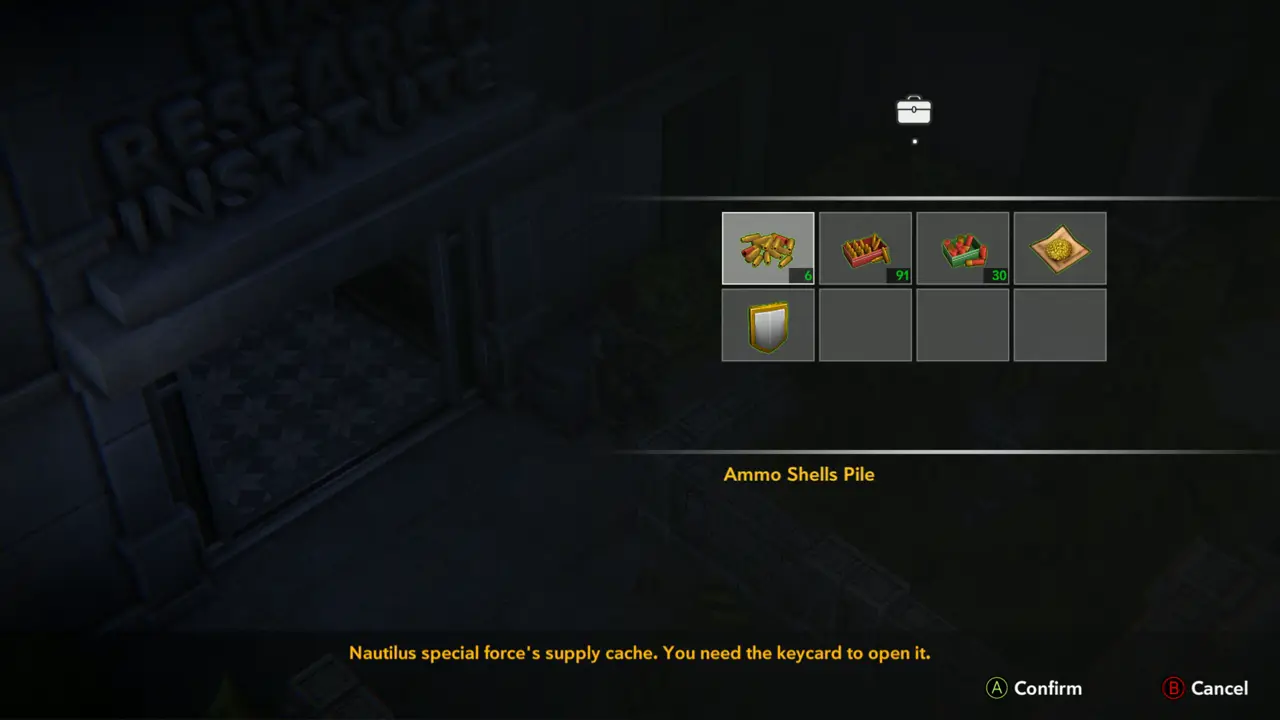
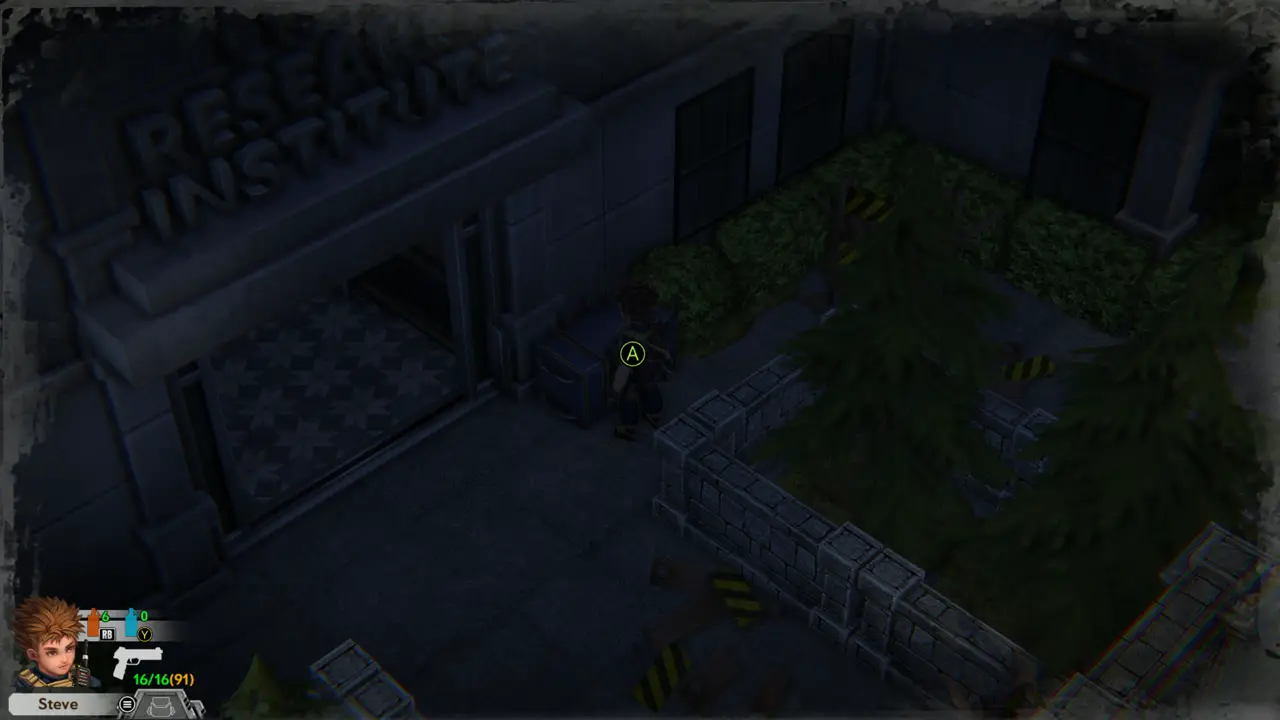
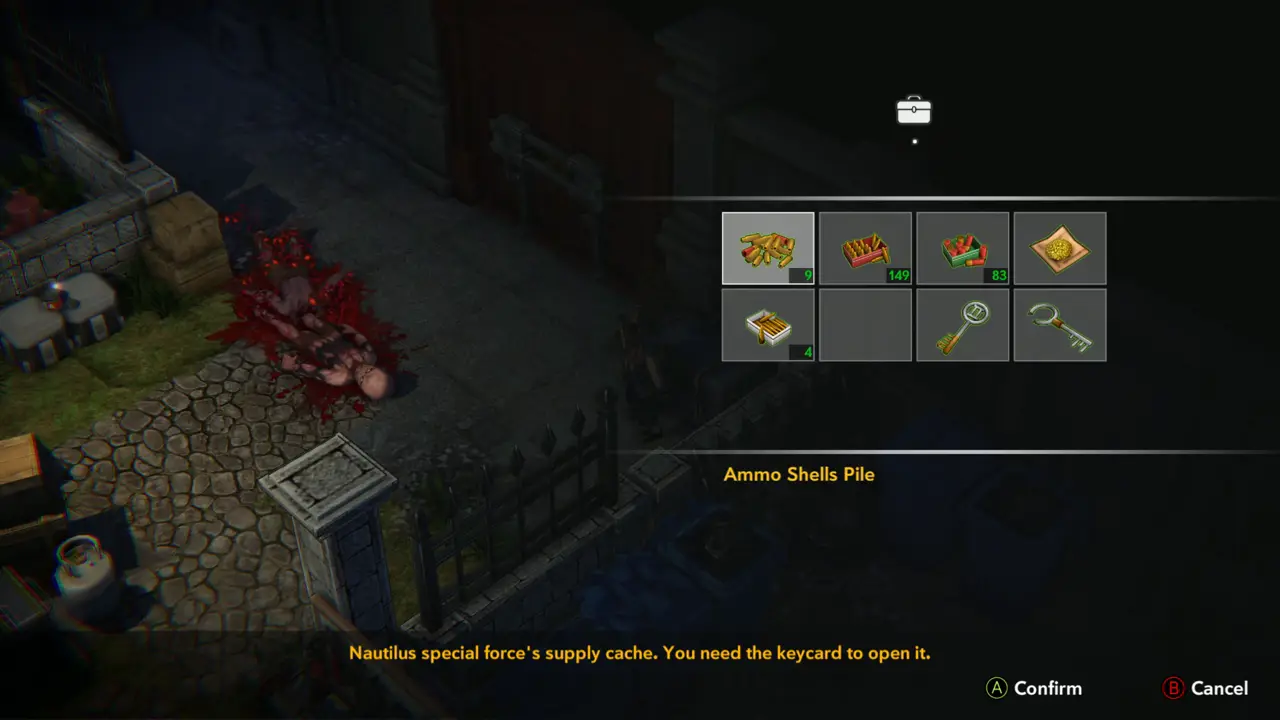
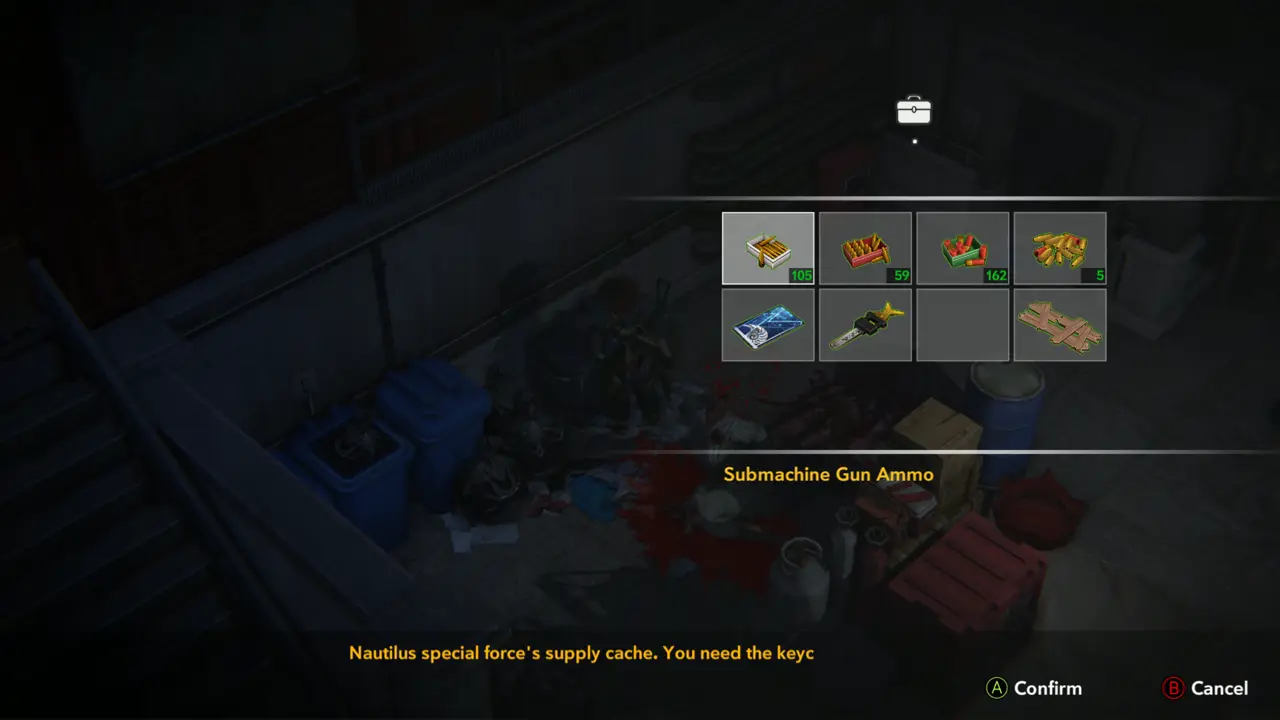
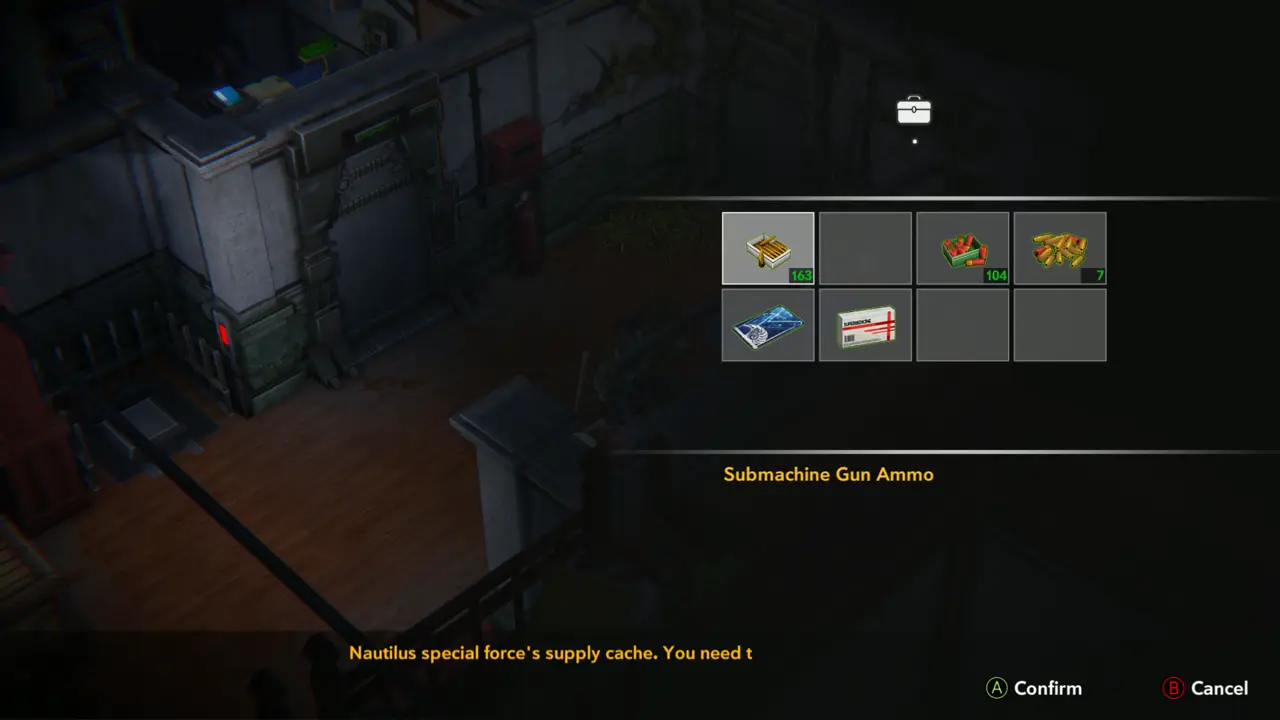
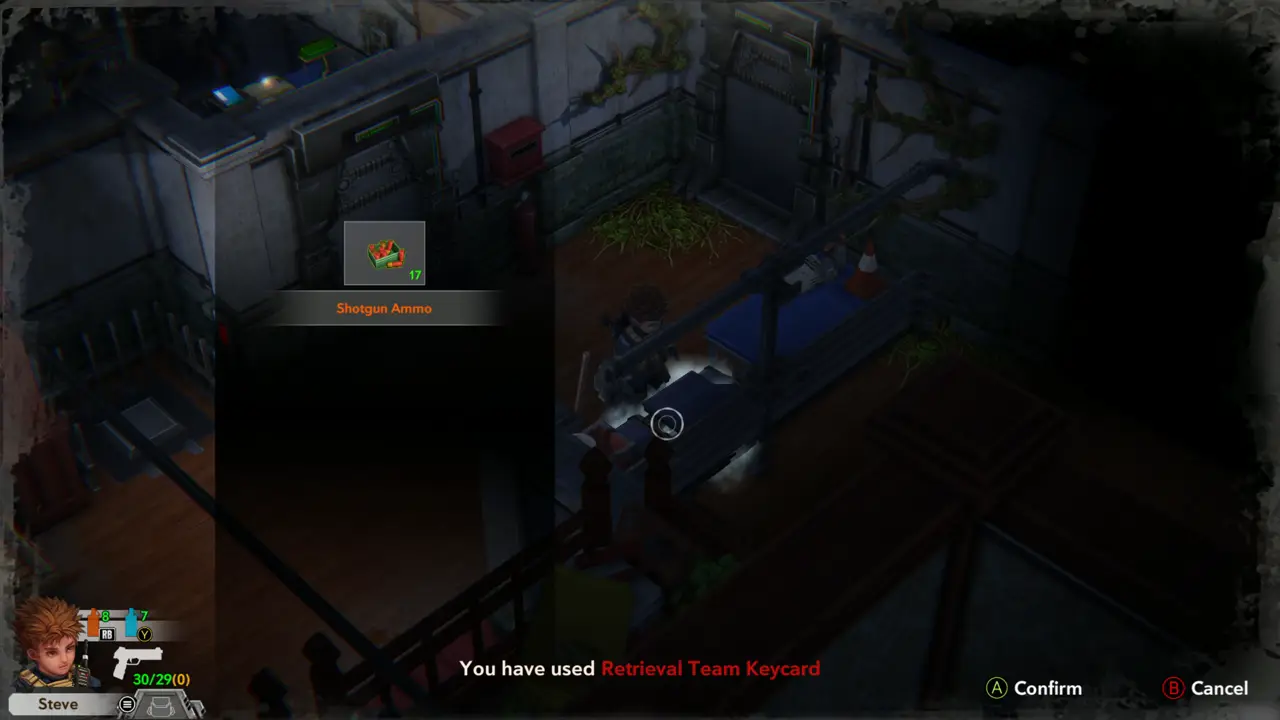
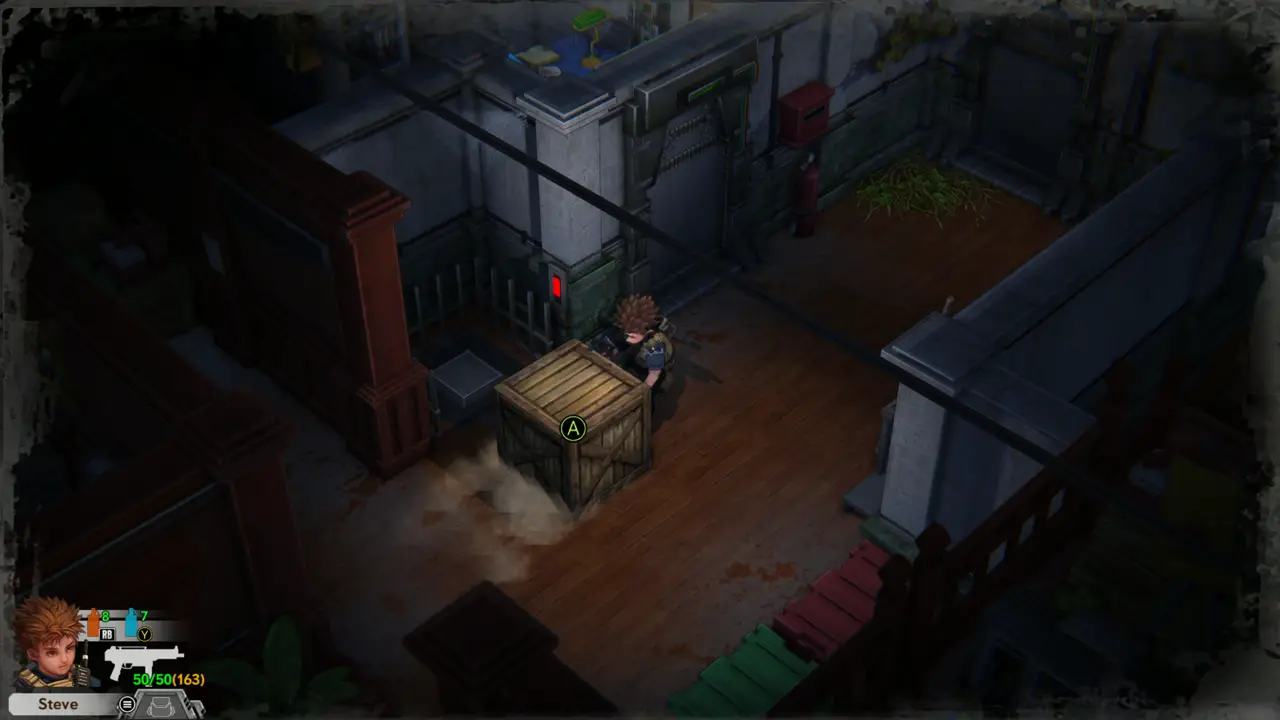
DOOR Outside by the Research Institute wall, the dark container is locked: “Nautilus special force's supply cache. You need the keycard to open it.” Leave it for now.
Supply cache needs keycard
Container at the institute door
11
Outside - next to the Research Institute
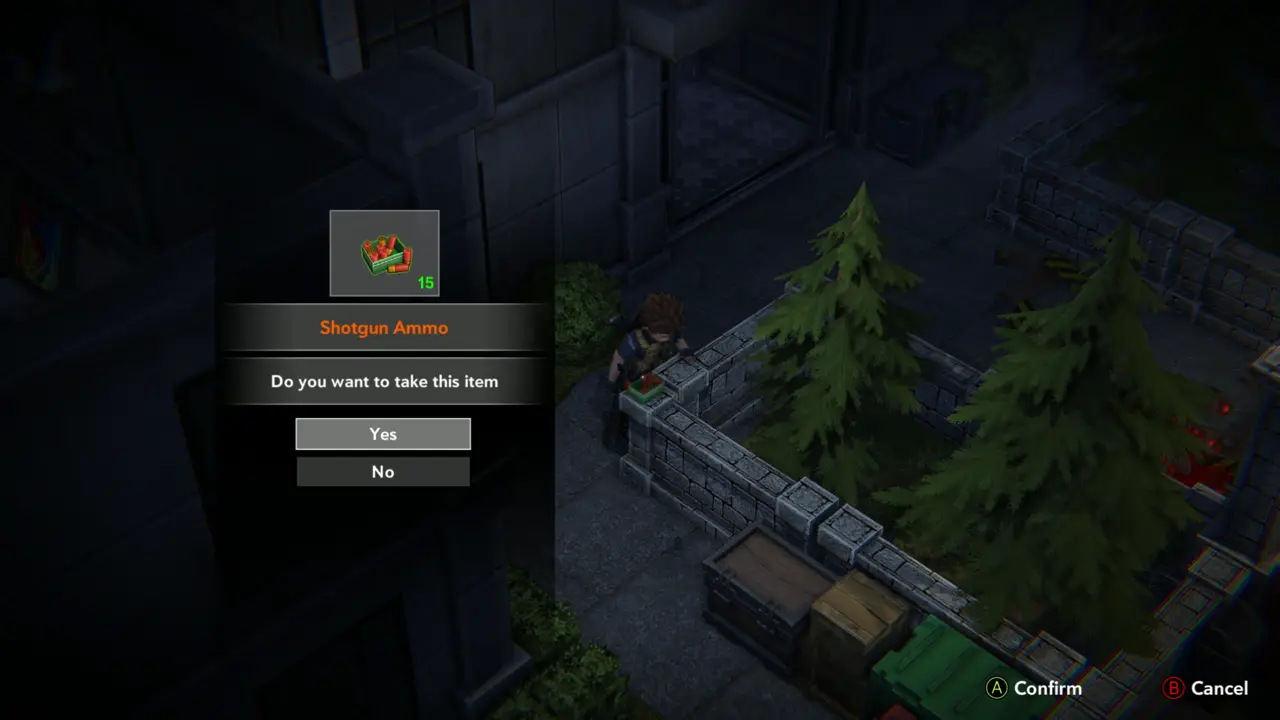
ITEM 46FIGHT Shoot the infected that come along the low wall (shotgun), then take the “Shotgun Ammo” (15) from the wall corner by the green crate.
Infected near the wall
Shotgun Ammo x15 prompt
12
Outside - next to the Research Institute
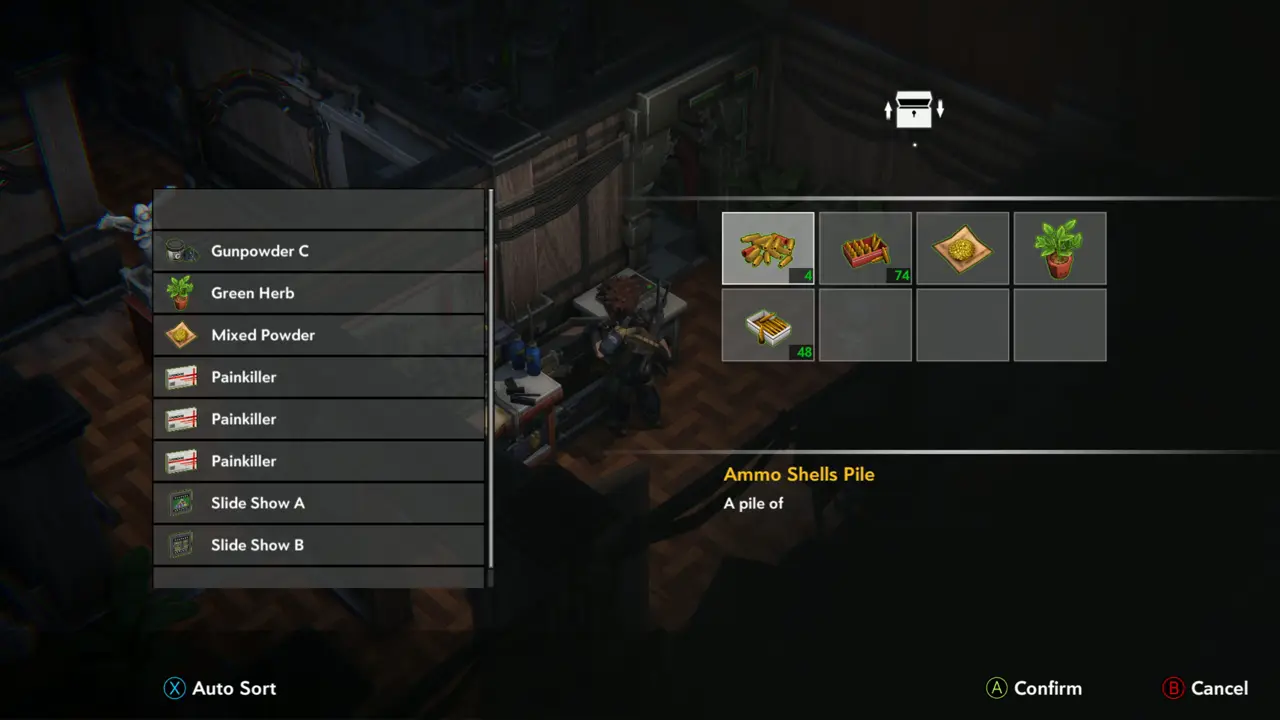
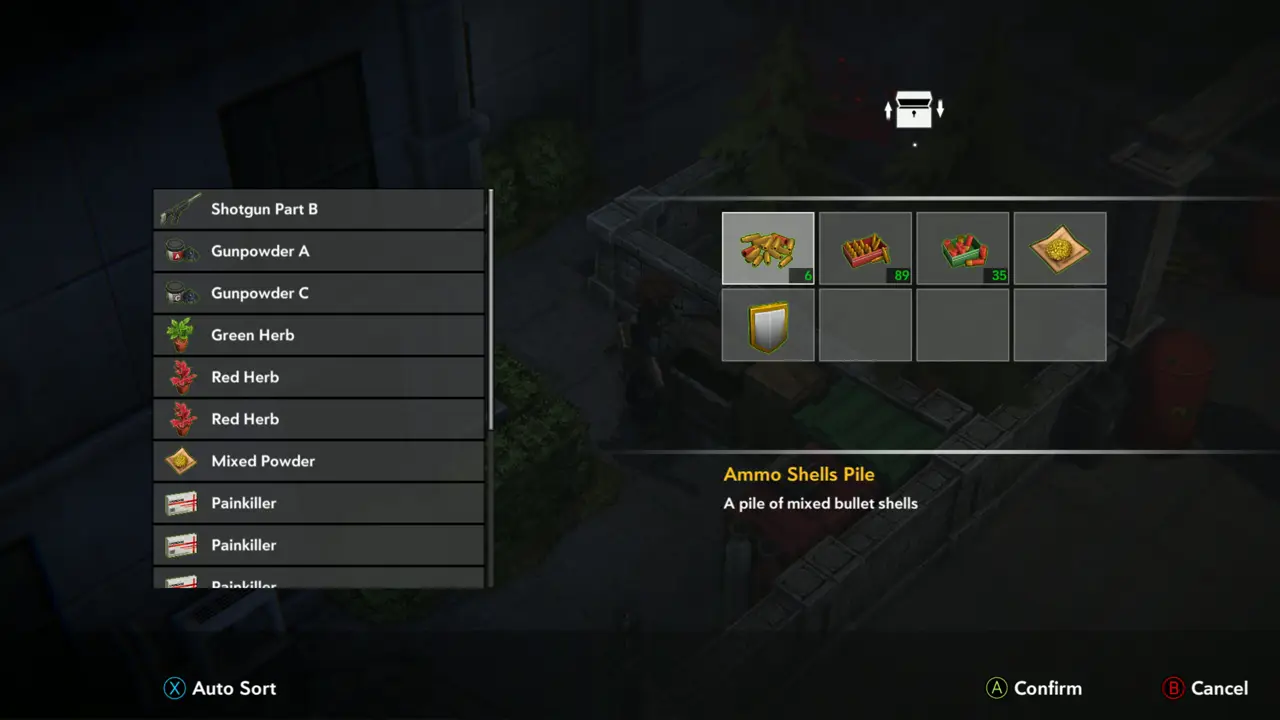
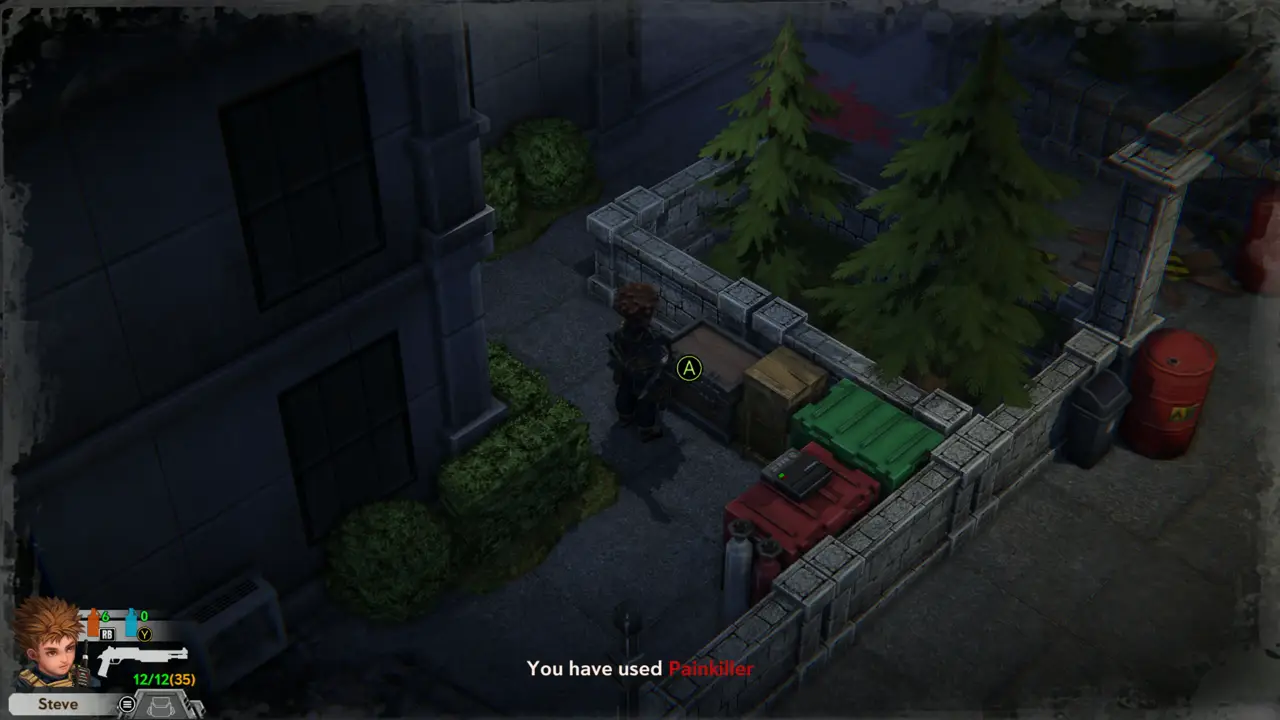
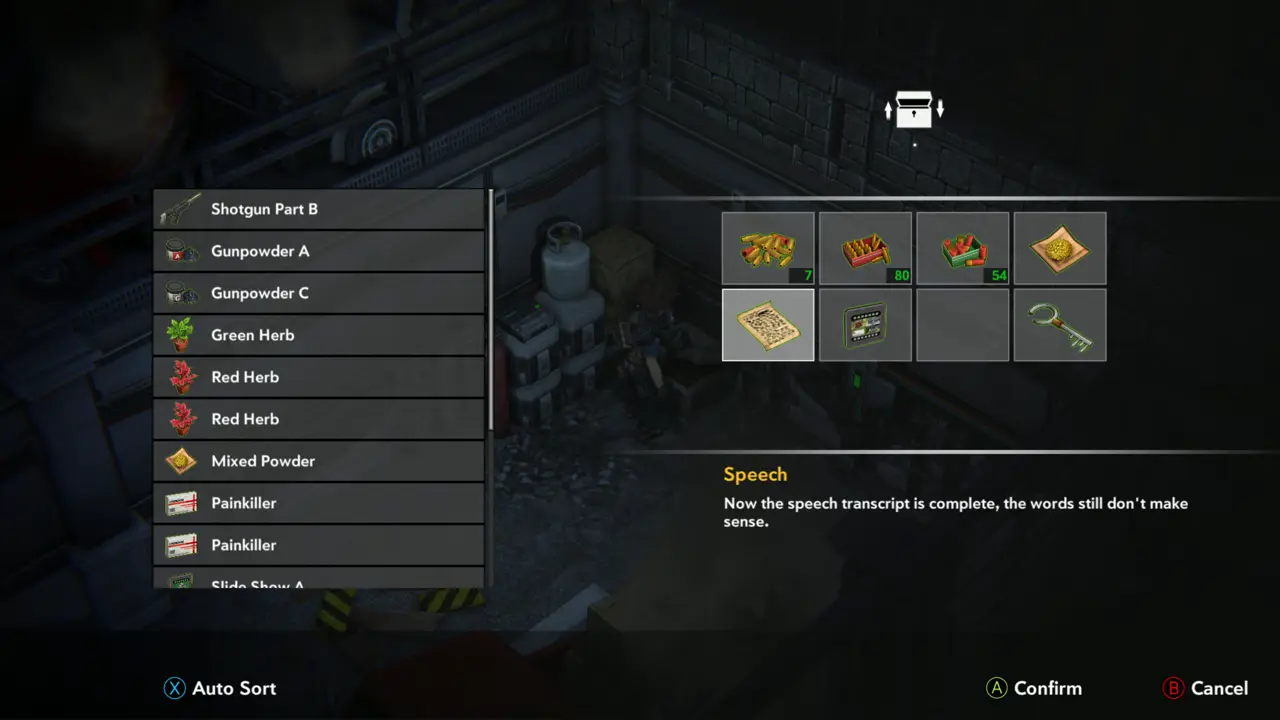
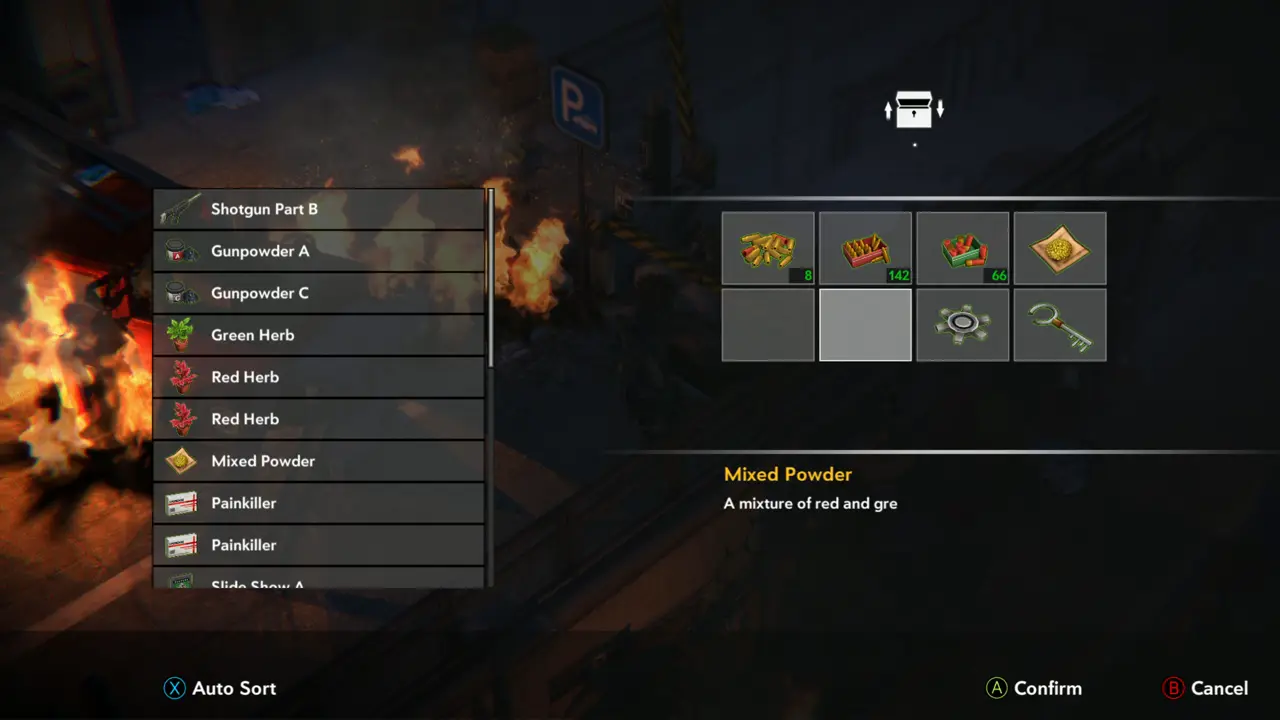
SAVE 2KEY ITEM 6 At the red box by the crate stack, open the storage (it holds Shotgun Part B, Gunpowder A, Gunpowder C, Green Herb, Red Herb, Mixed Powder, Painkillers, Slide Show A and B). Heal with a Painkiller from the inventory, then save in a slot (“Please select a slot to save.”).
Storage box list
Storage box list
You have used Painkiller
13
Outside - road by the burning truck
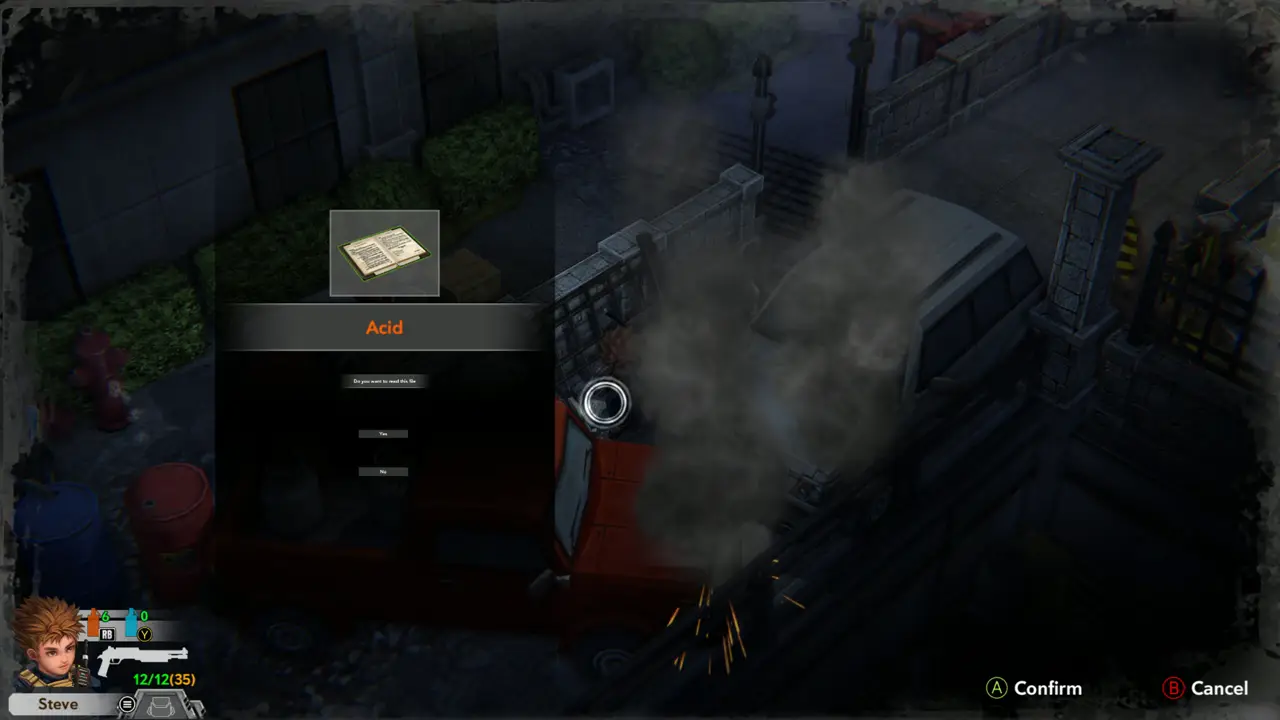
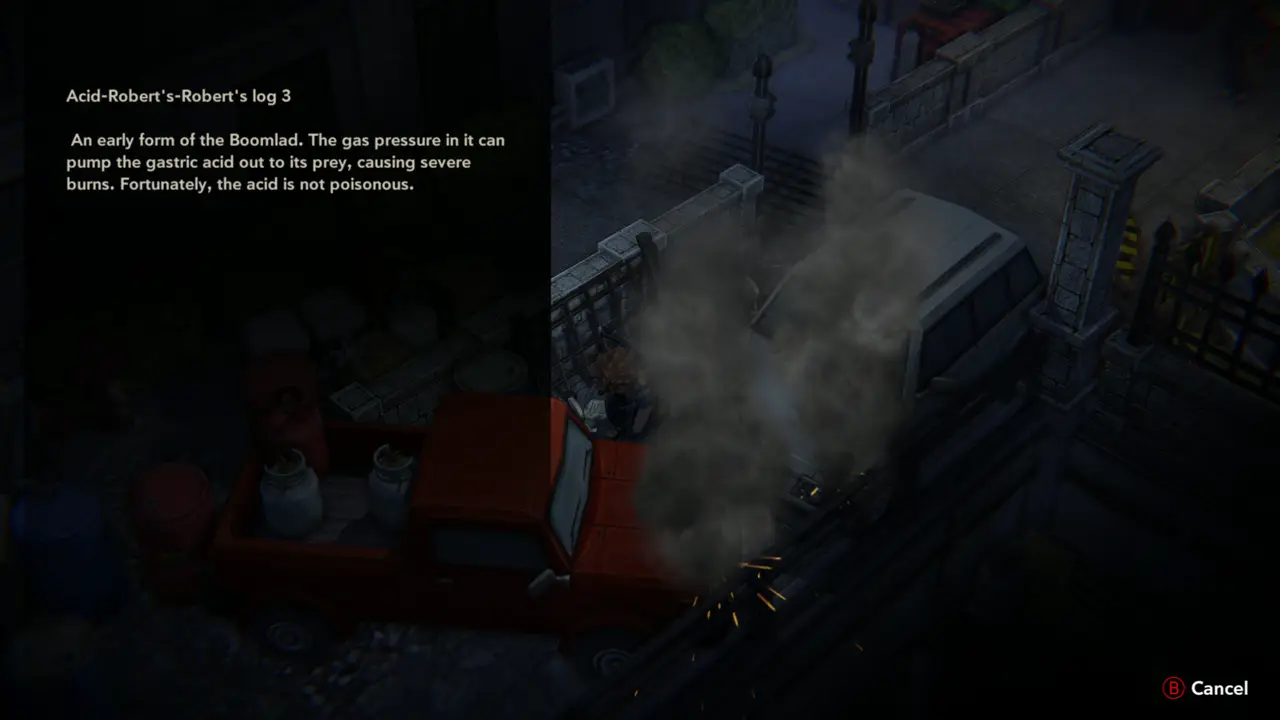
FILE Take and read the file “Acid” from the truck bed: an early form of the Boomlad whose gas pressure pumps gastric acid onto prey.
Acid read-file prompt
Acid text
Acid text
14
Outside - road to the park gate
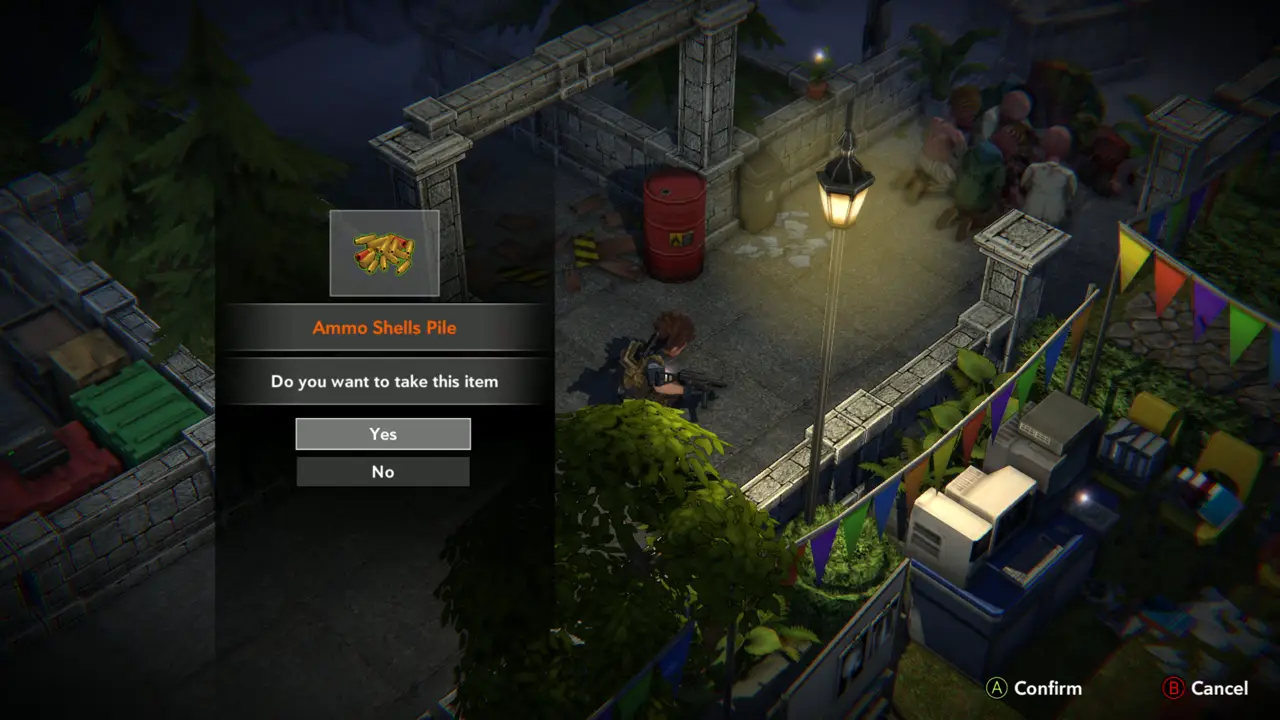
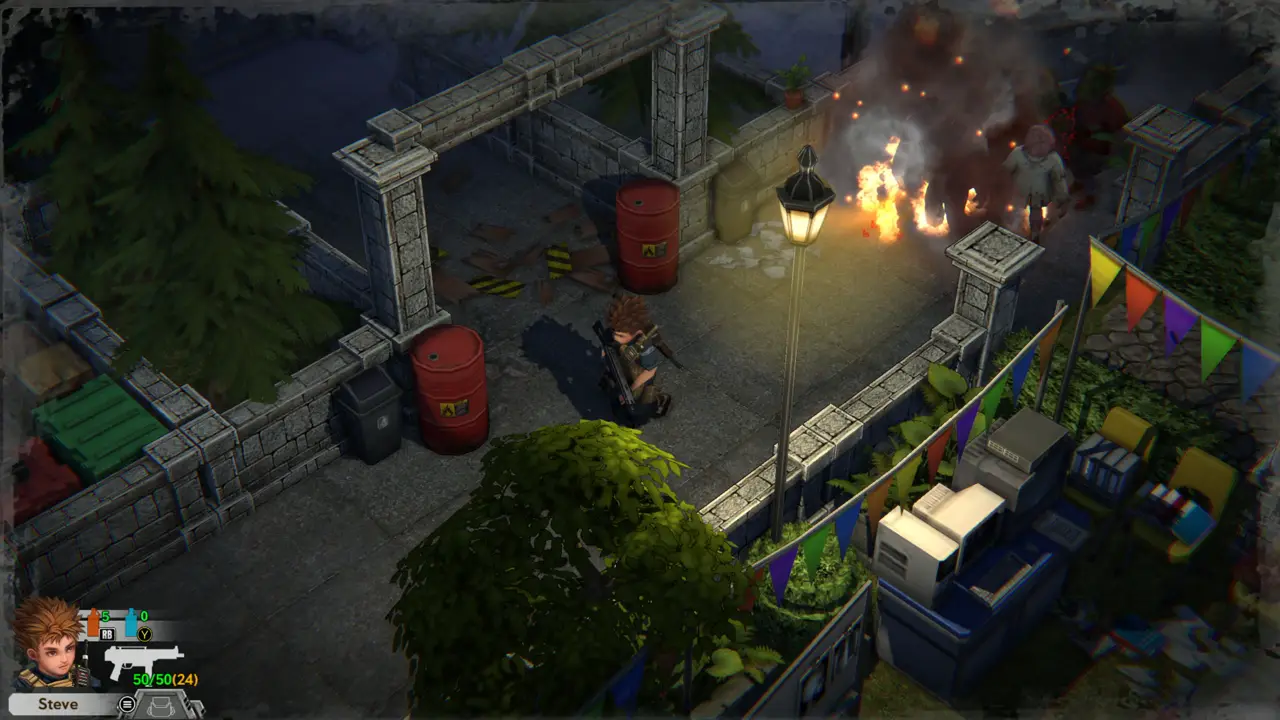
ITEM 47FIGHT Take the “Ammo Shells Pile” on the ground by the red barrel and the lamp. A crowd of infected stands beyond the lamp at the stone arch: set them on fire and shoot the rest with the Storm-I Submachine Gun.
Ammo Shells Pile prompt
Fire on the crowd at the lamp
15
Outside - statue yard
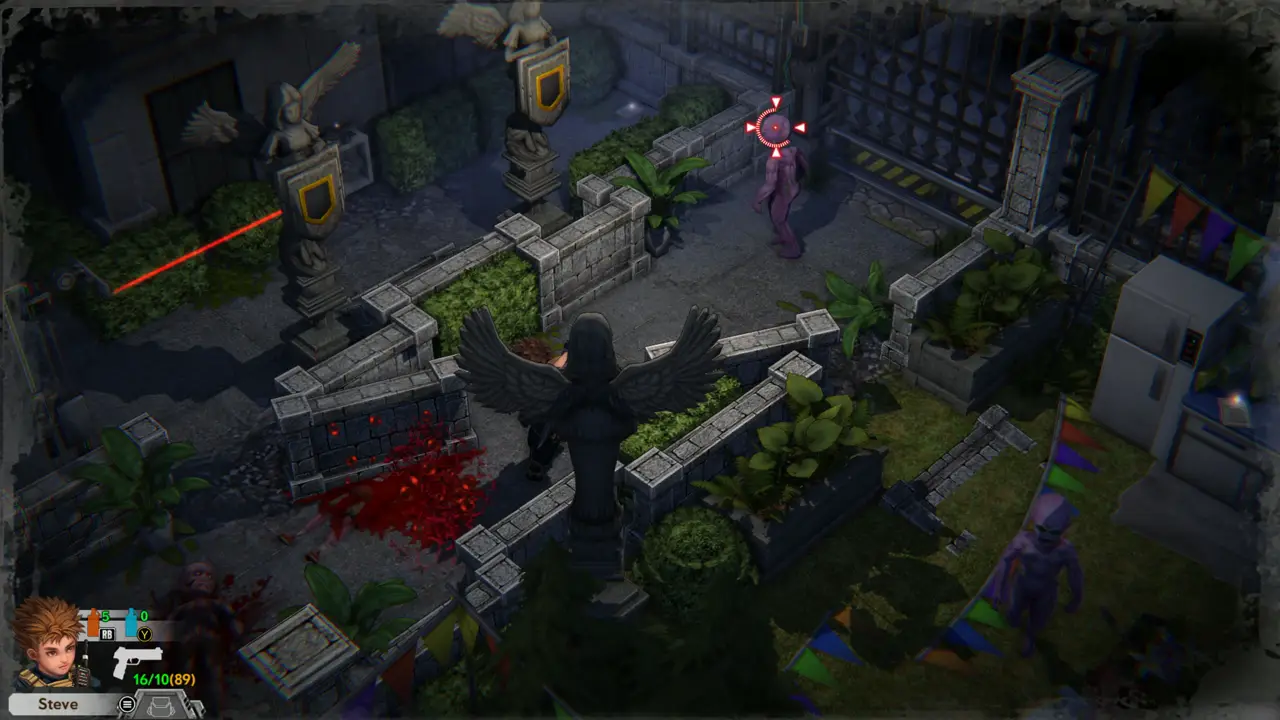
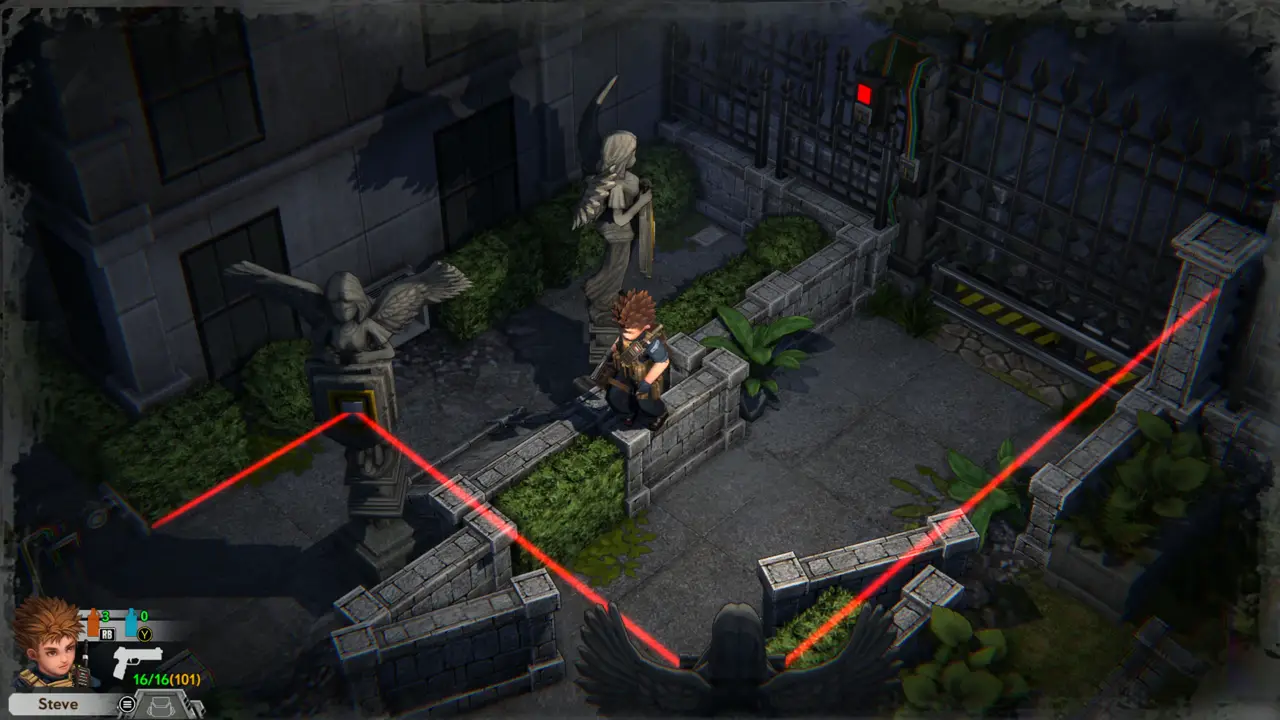
PUZZLE 1FIGHT Beyond the arch, winged statues hold yellow shields and a red ray beam crosses the yard from the left. Clear the infected here before moving on.
Statues and the red ray
Winged shield statue
16
Outside - picnic garden
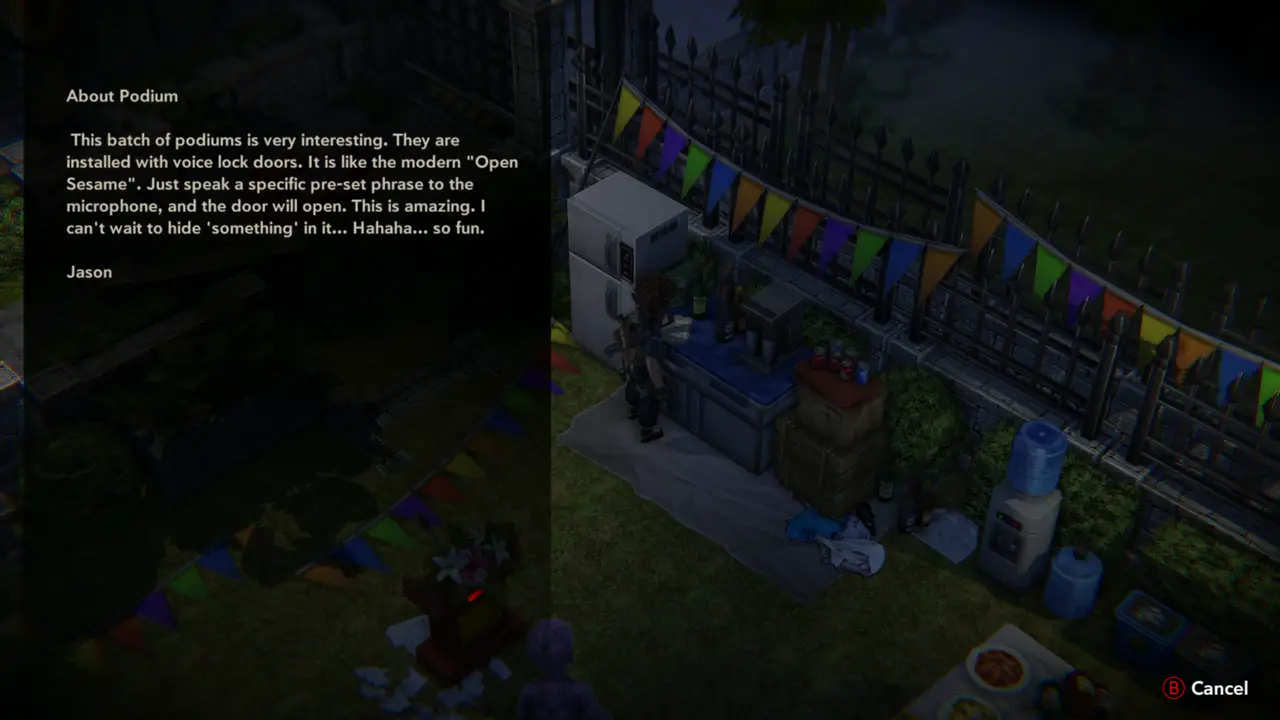
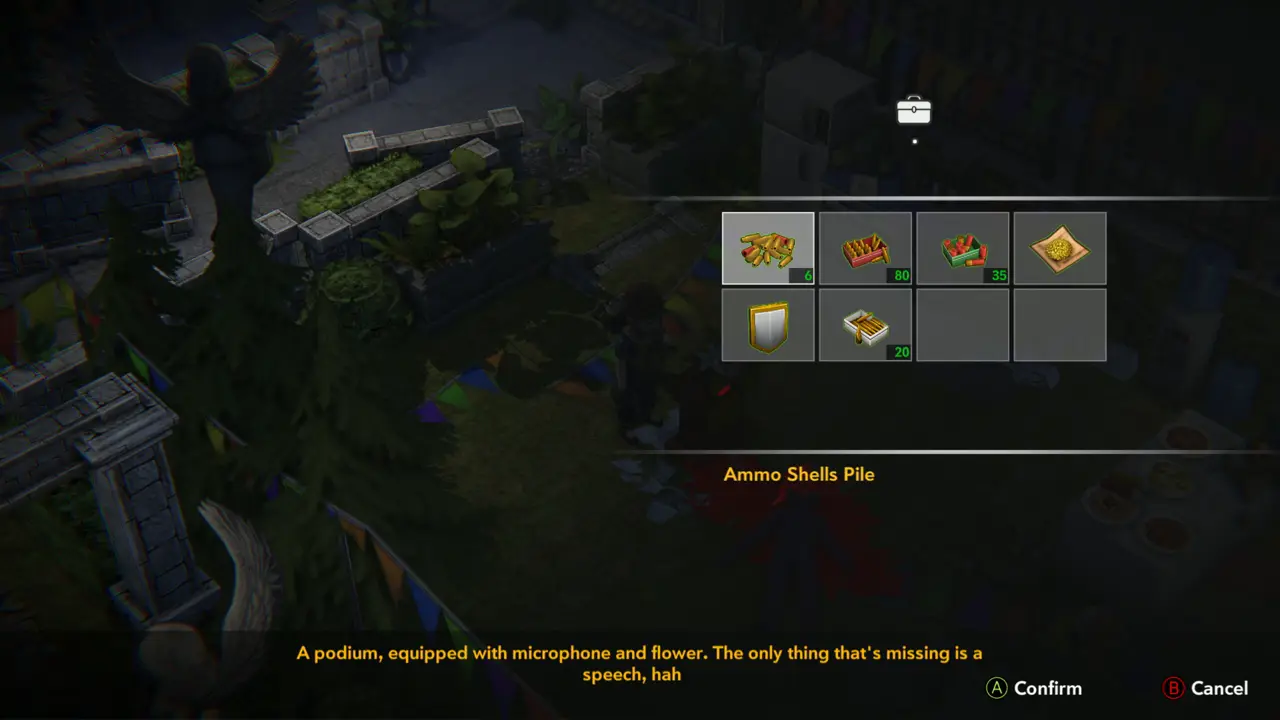
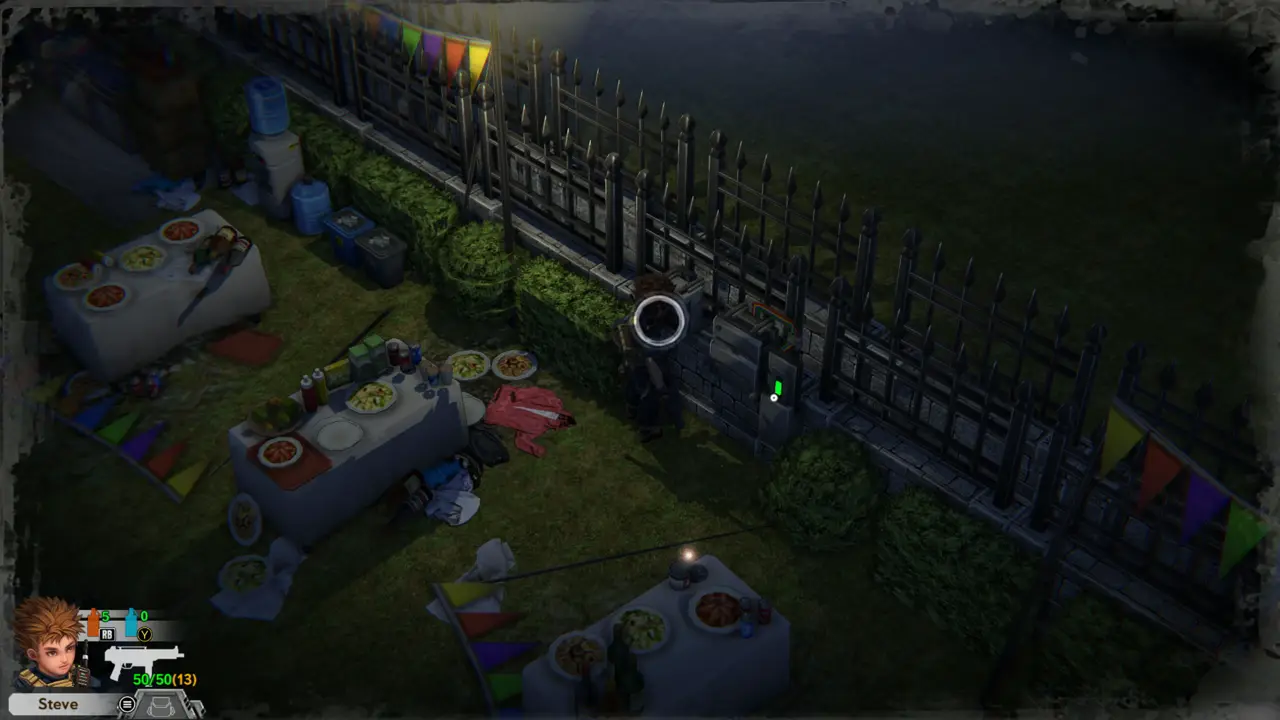
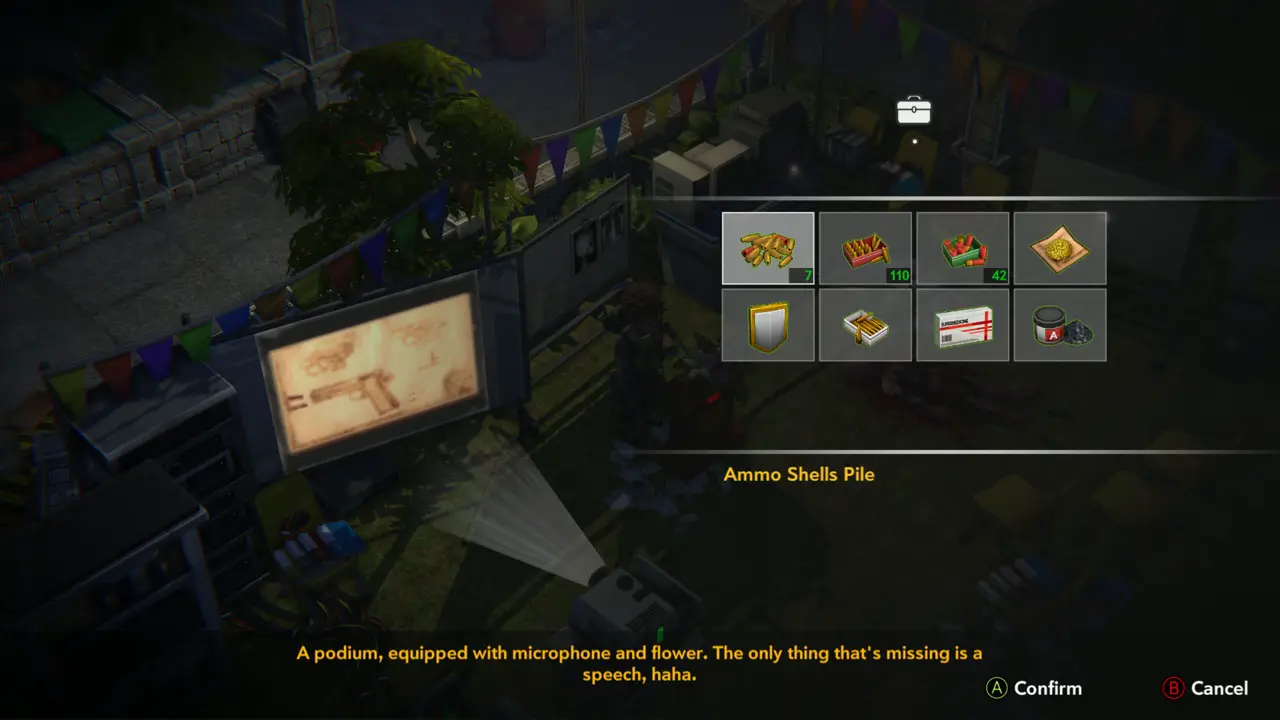
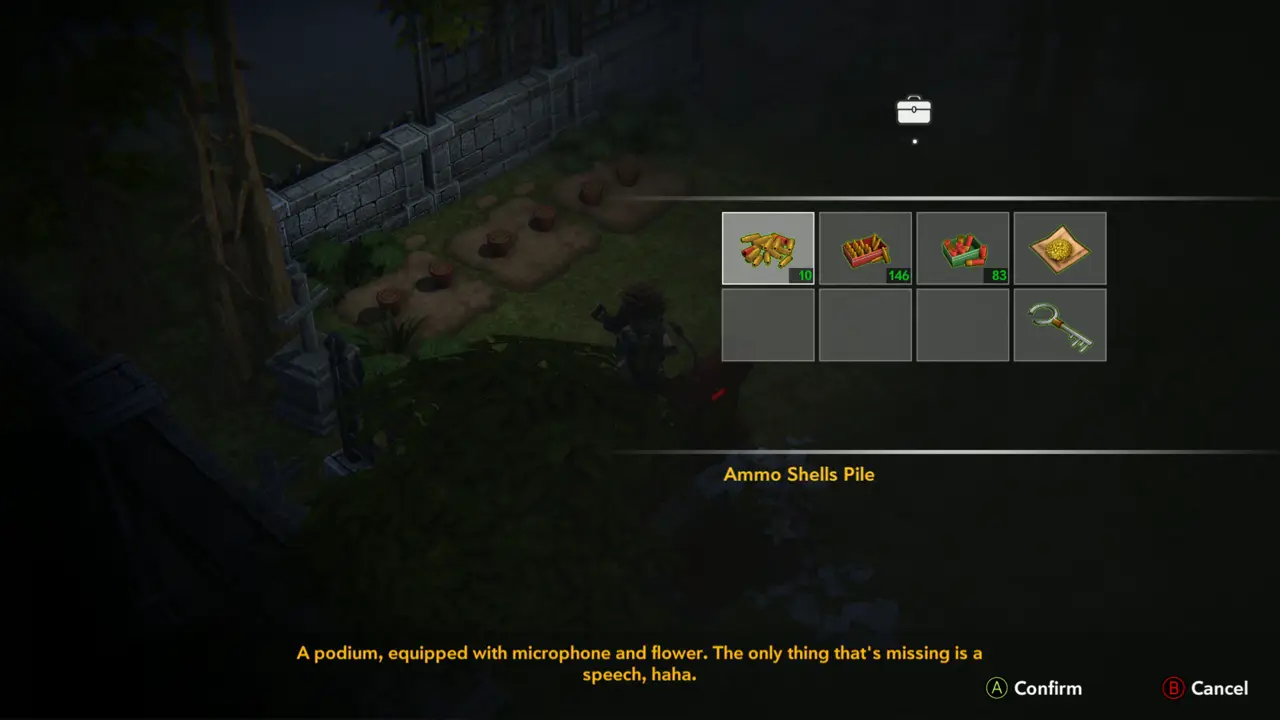
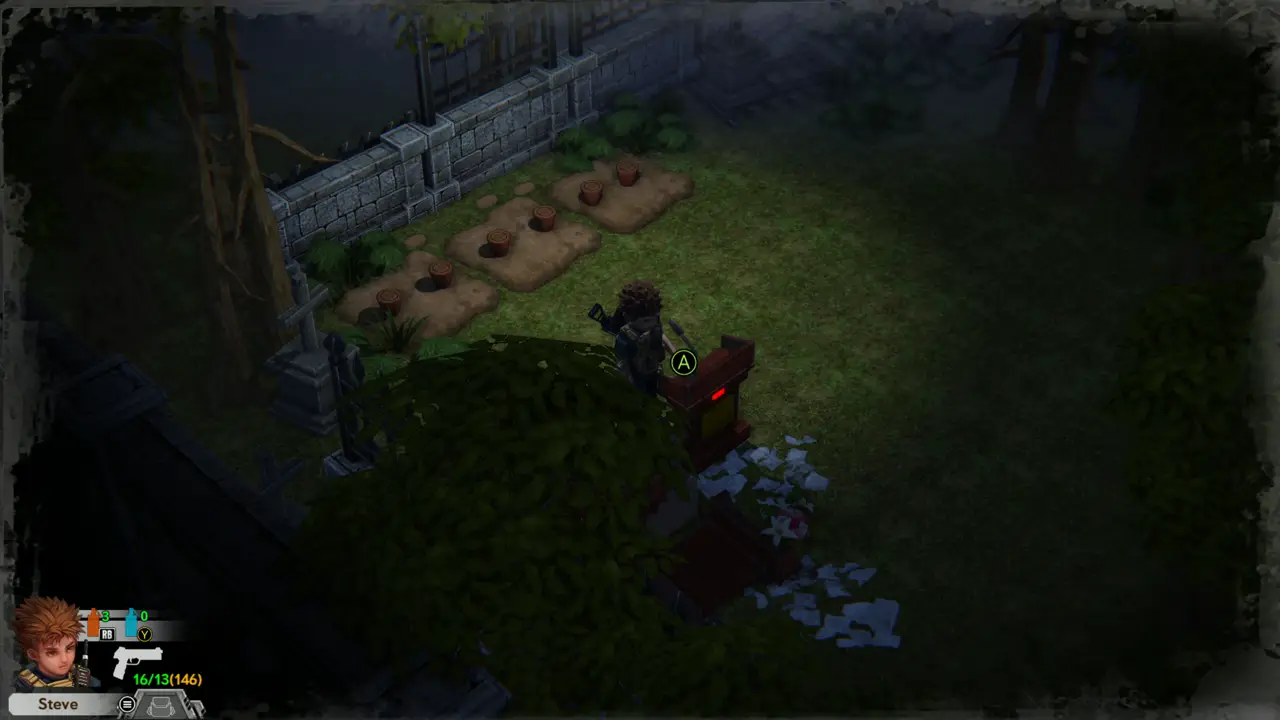
FILE 28PUZZLE 2 At the counter by the white fridge, read the file “About Podium”: voice-lock podiums open a door when a pre-set phrase is spoken into the microphone. Examine the picnic garden podium (“A podium, equipped with microphone and flower. The only thing that's missing is a speech, haha.”): you need a finished speech before it reacts.
About Podium text
About Podium text
Podium message
Podium message
17
Outside - picnic garden fence
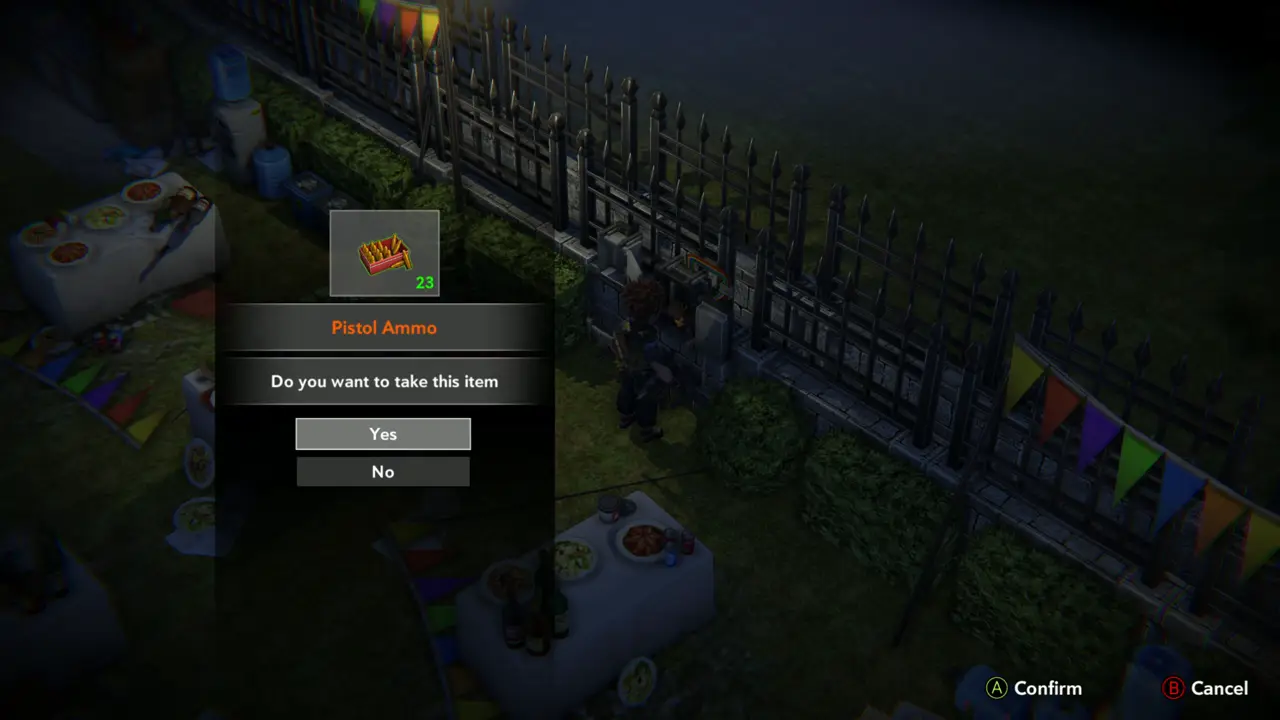
ITEM 48–49 At the small box on the fence post, take the “Painkiller” and then the “Pistol Ammo” (23).
Box on the fence post
Pistol Ammo x23 prompt
18
Outside - picnic garden
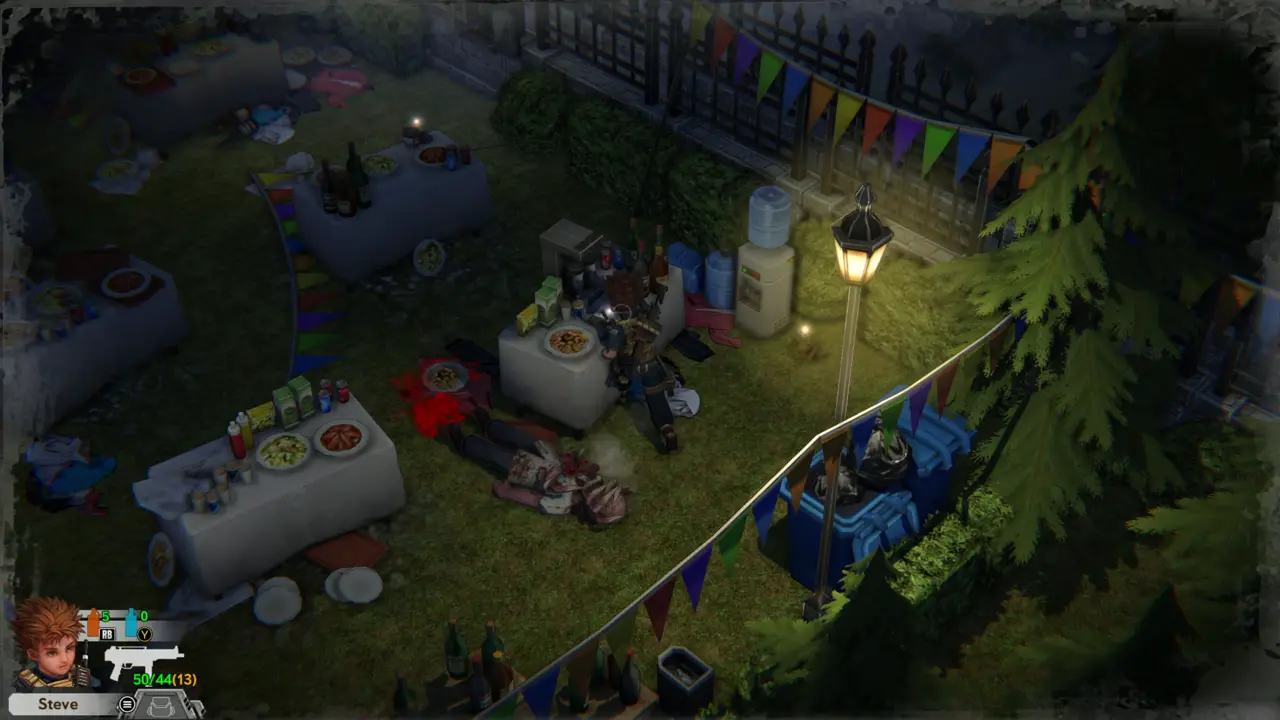
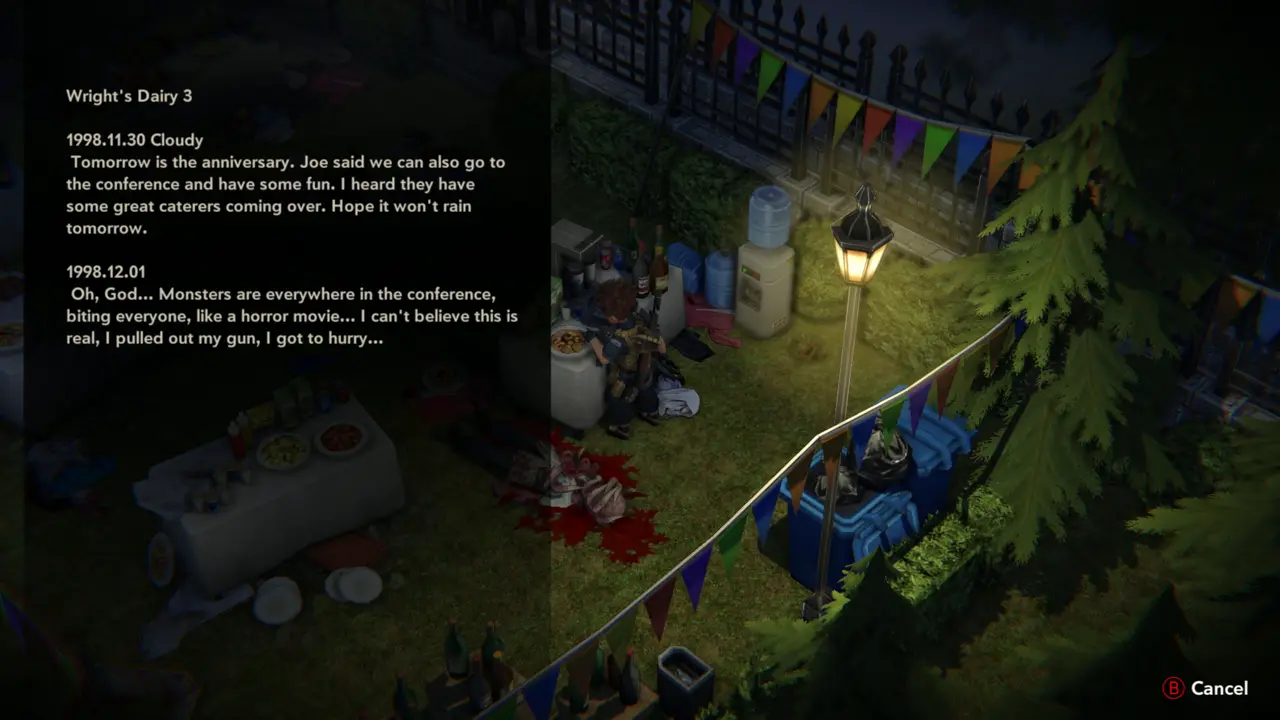
FILE At the picnic table by the water cooler, read “Wright's Diary 3”: on 1 December monsters attacked the conference and Wright pulled out his gun.
Table with pickup marker
Wright's Diary 3 text
19
Outside - picnic garden
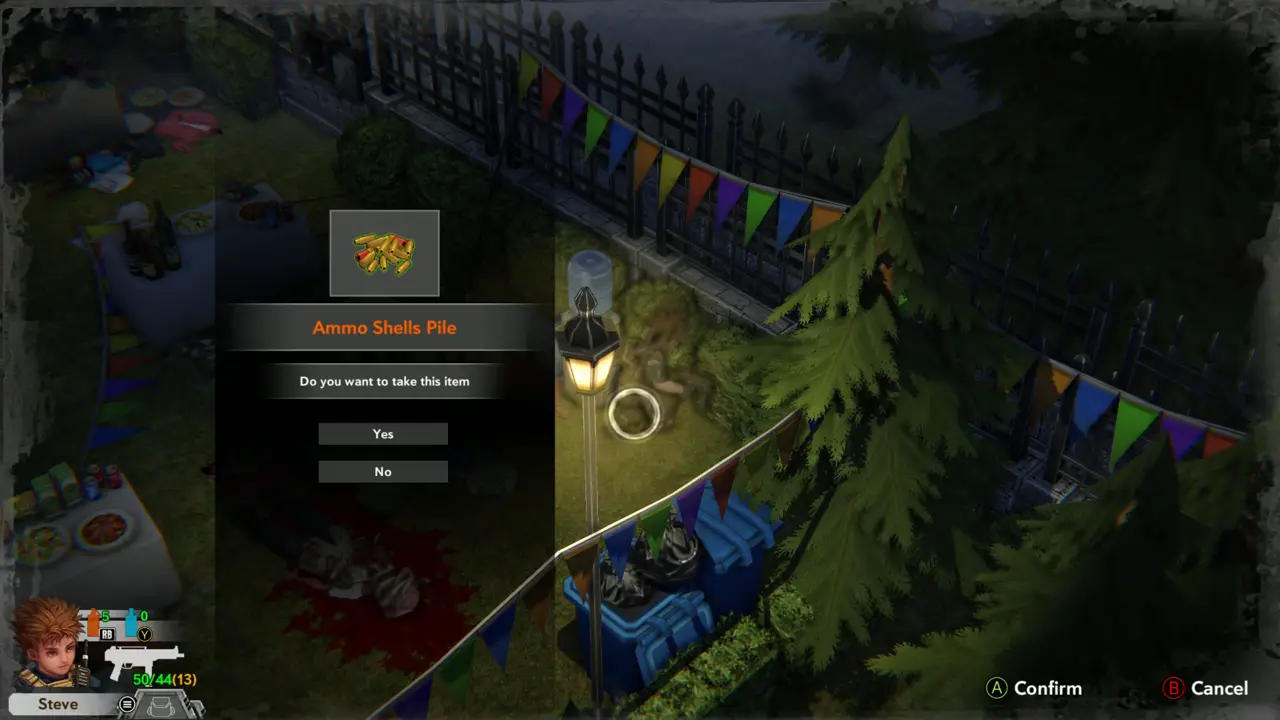
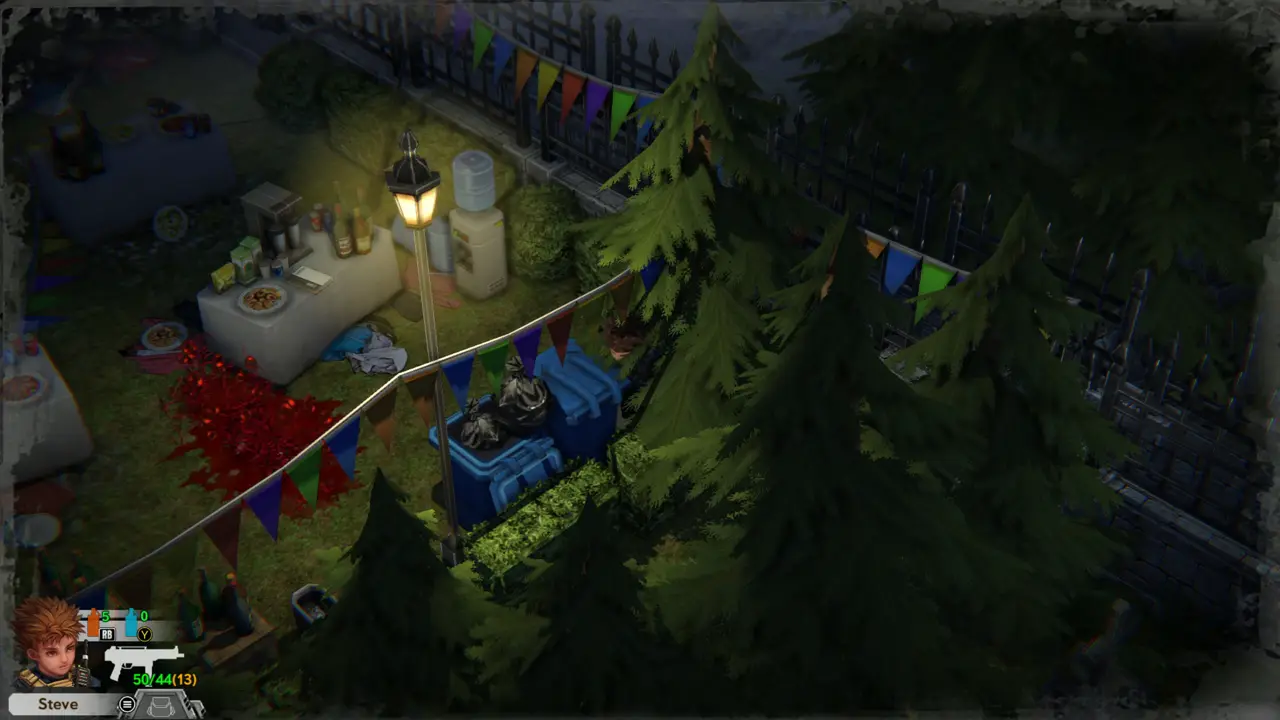
ITEM 50 Take the “Ammo Shells Pile” on the grass beside the lamp and the blue crate.
Ammo Shells Pile prompt
Lamp and blue crate
Lamp and blue crate
20
Park - West Lawn
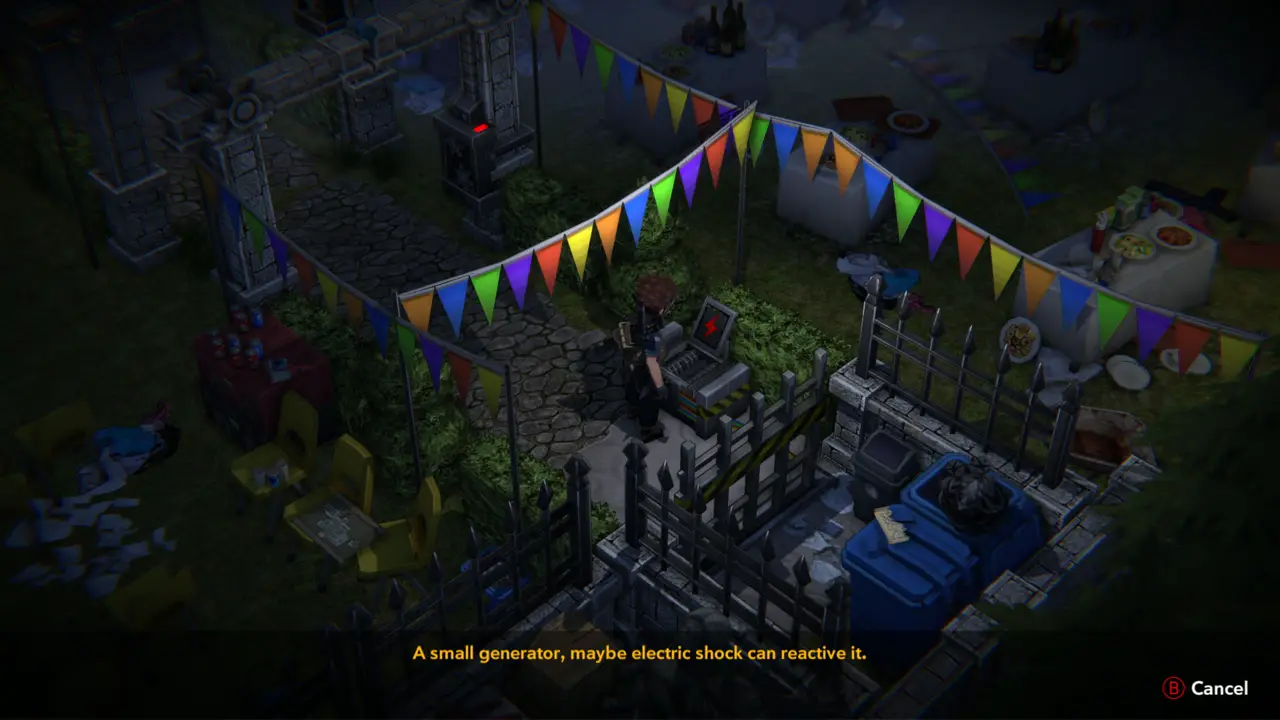
PUZZLE 3 Examine the small generator with the red lightning symbol on the paved path beside the blue crates and the fence: “A small generator, maybe electric shock can reactive it.” It stays dead until you give it an electric shock.
Dead generator examined
21
Park - West Lawn
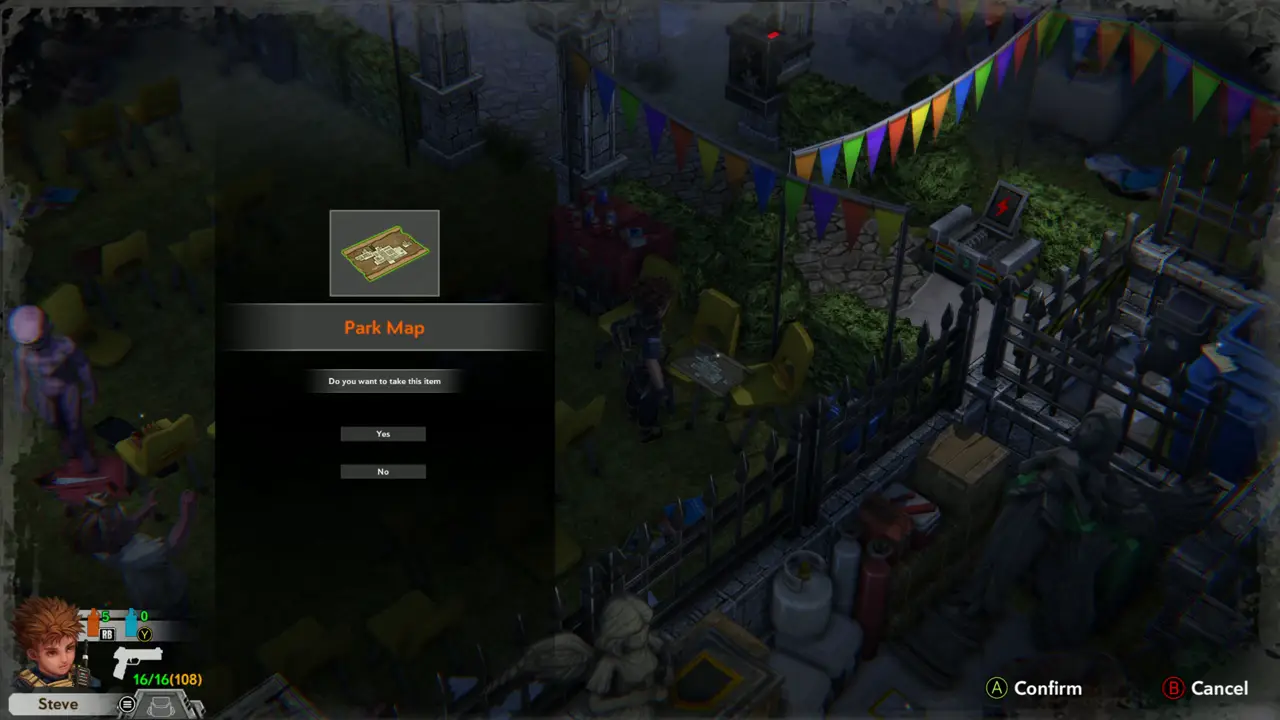
ITEM 51MAP Take the Park Map from the ground on the west lawn near the iron fence and answer Yes at the prompt.
Park Map pickup prompt
22
Park - West Lawn
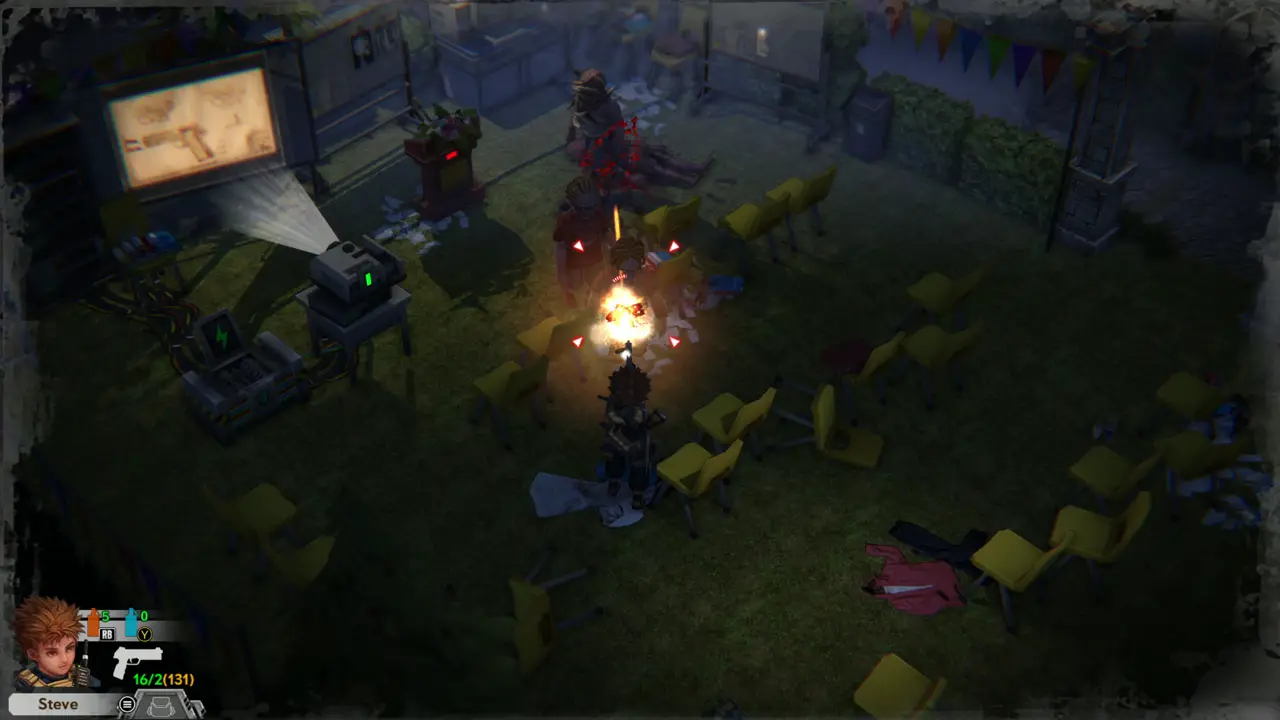
FIGHT Shoot the zombies, including a purple-skinned one, that walk between the yellow chairs on the west lawn. Keep moving along the chairs and fire until the lawn is clear.
Shooting a purple zombie
Firing at zombies near projector
23
Park - West Lawn
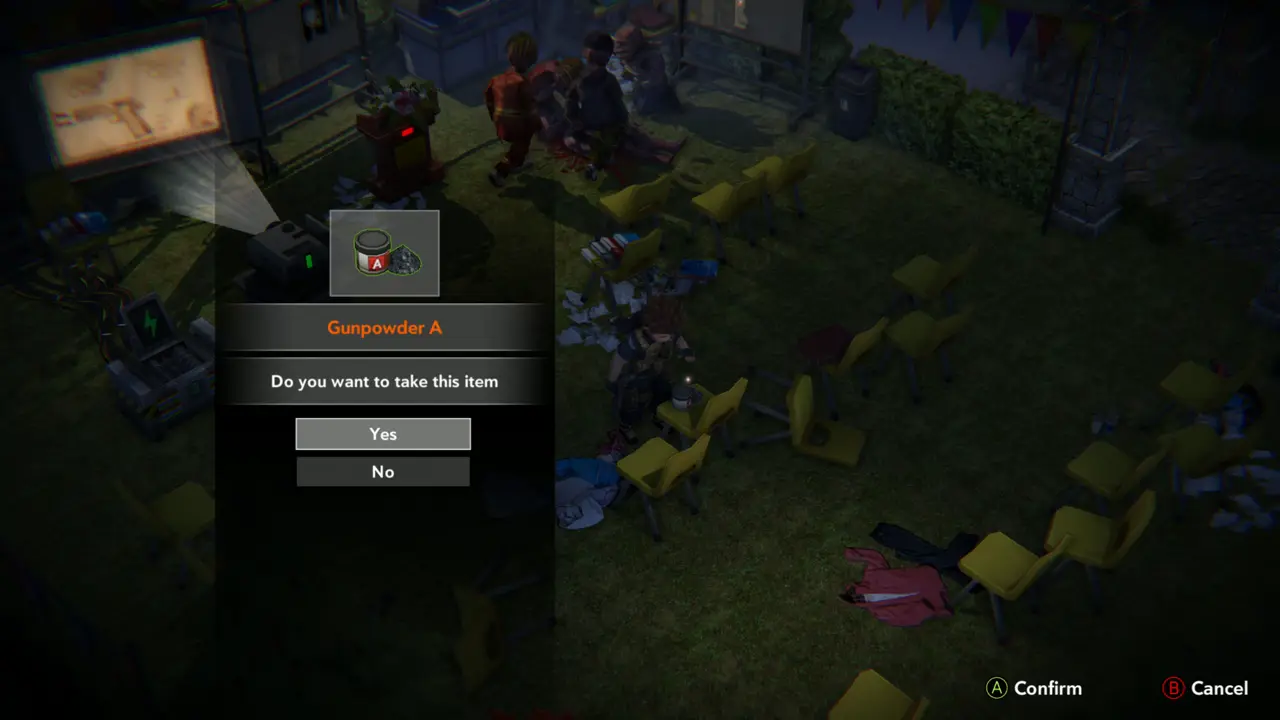
ITEM 52 Take Gunpowder A from the ground between the yellow chairs near the projector table on the west lawn.
Gunpowder A prompt
Gunpowder A prompt
24
Park - West Fence
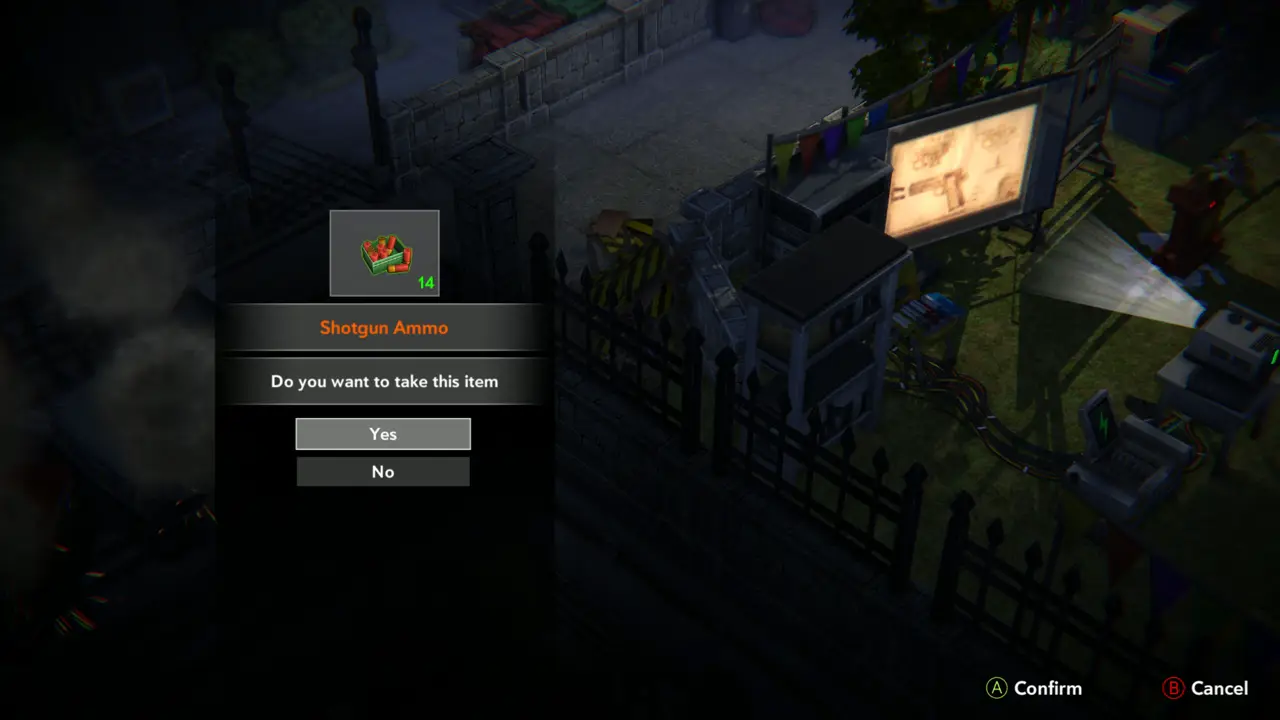
ITEM 53 Take Shotgun Ammo (14) beside the iron fence on the west side, next to the projector screen.
Shotgun Ammo 14 prompt
25
Park - West Lawn
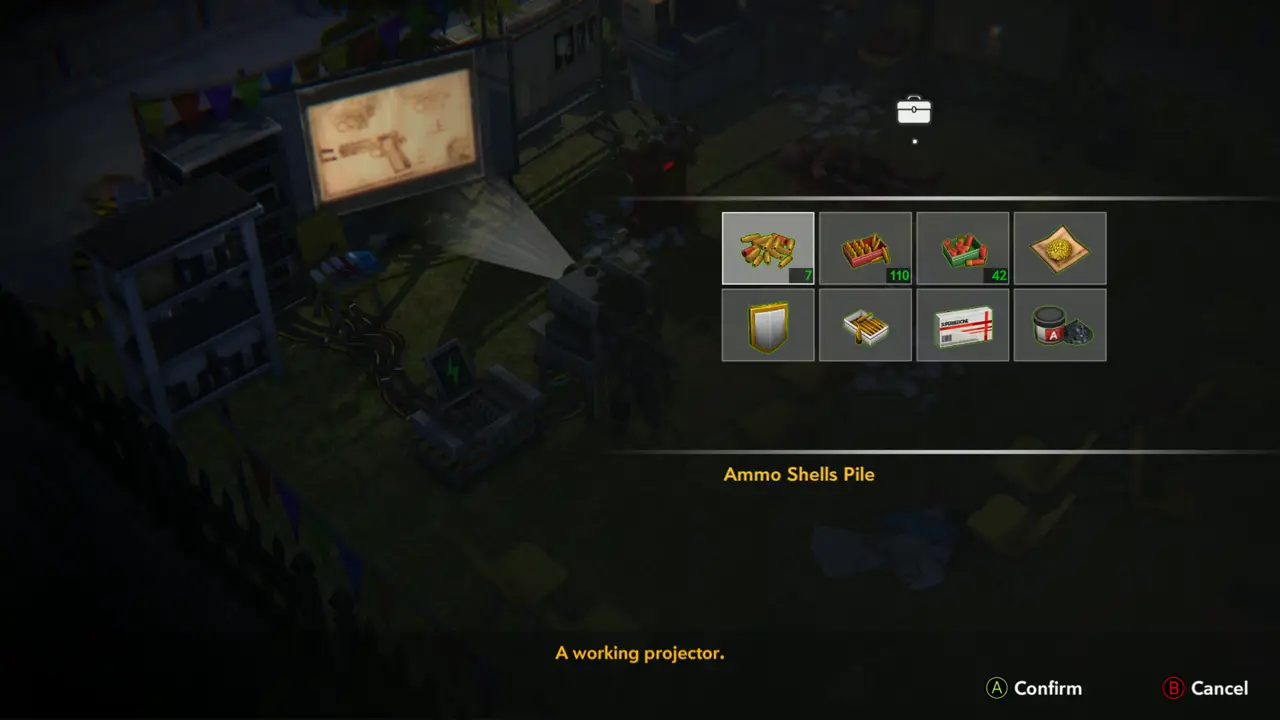
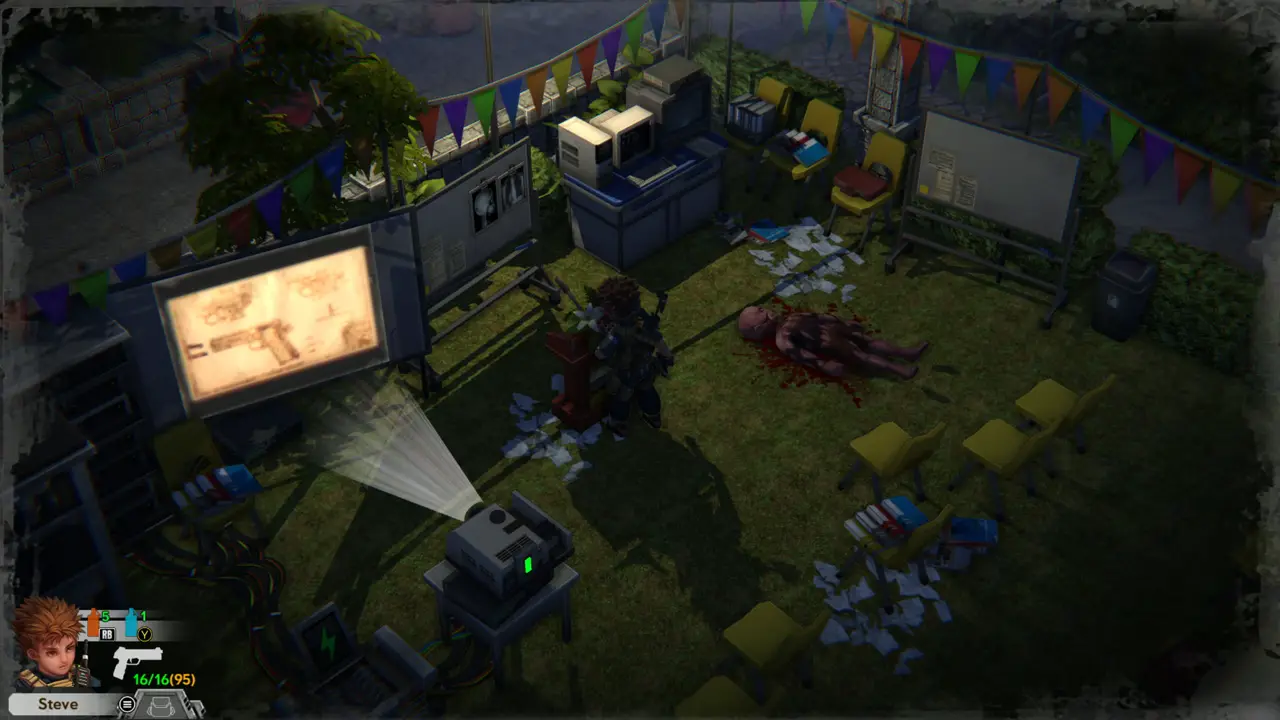
PUZZLE 4 Examine the projector in front of the screen: “A working projector.” The screen shows a pistol blueprint. Next to it stands the projector podium (“A podium, equipped with microphone and flower. The only thing that's missing is a speech, haha.”), which also needs the finished speech.
Projector text
Projector text
Projector podium text
26
Park - West Lawn
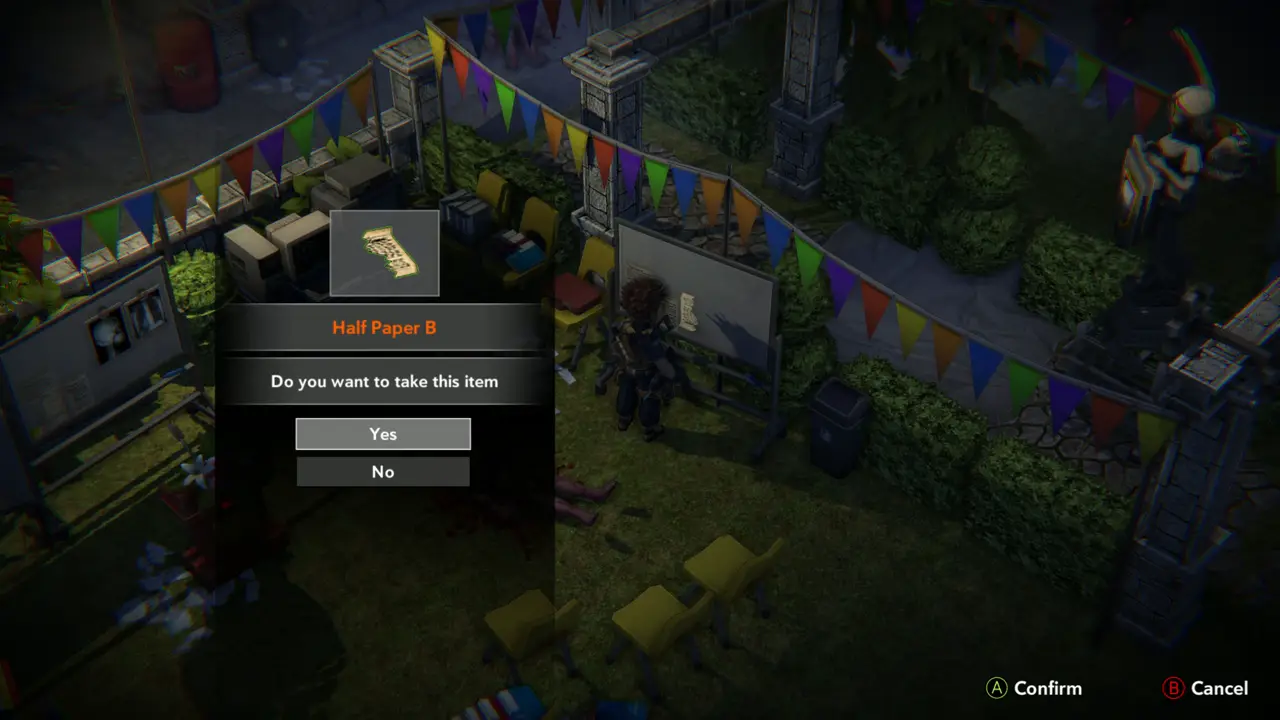
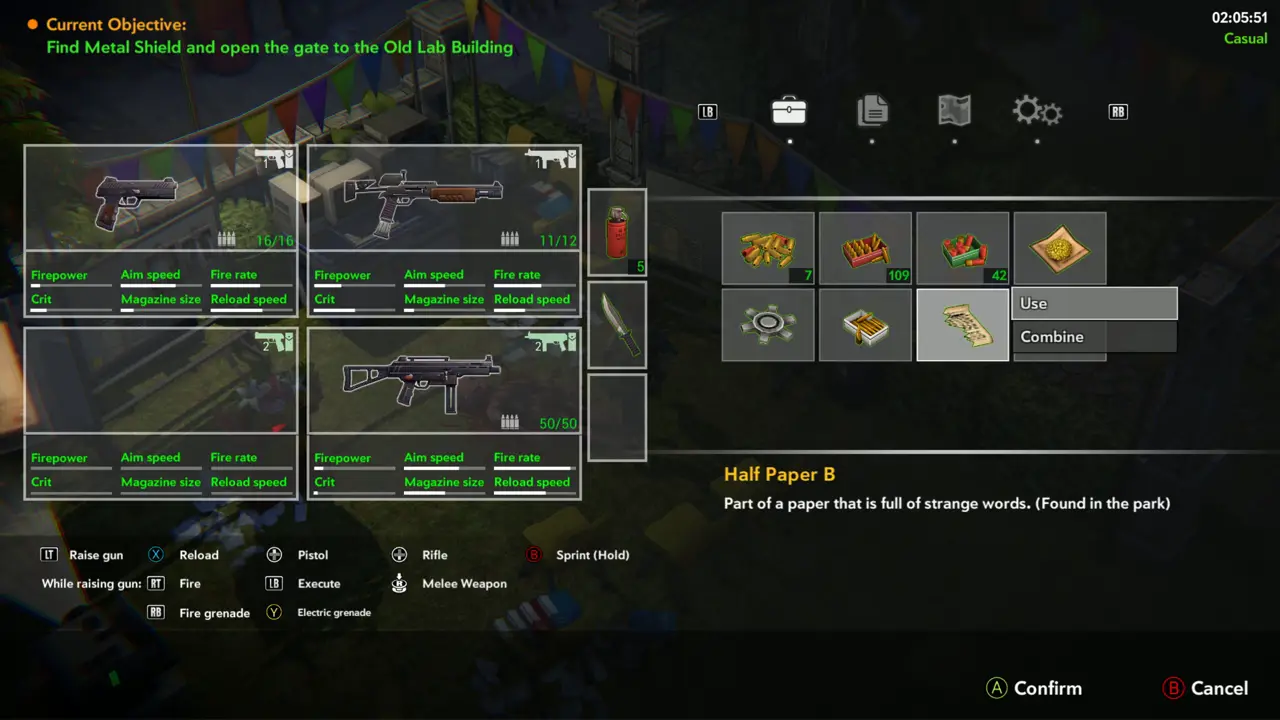
ITEM 54MISSABLE Take Half Paper B from the whiteboard next to the computers (“Part of a paper that is full of strange words. (Found in the park)”). If “Inventory is full!” appears, free a slot and take it again.
Half Paper B prompt
Half Paper B prompt
Half Paper B in inventory
27
Park - Angel Statue Courtyard
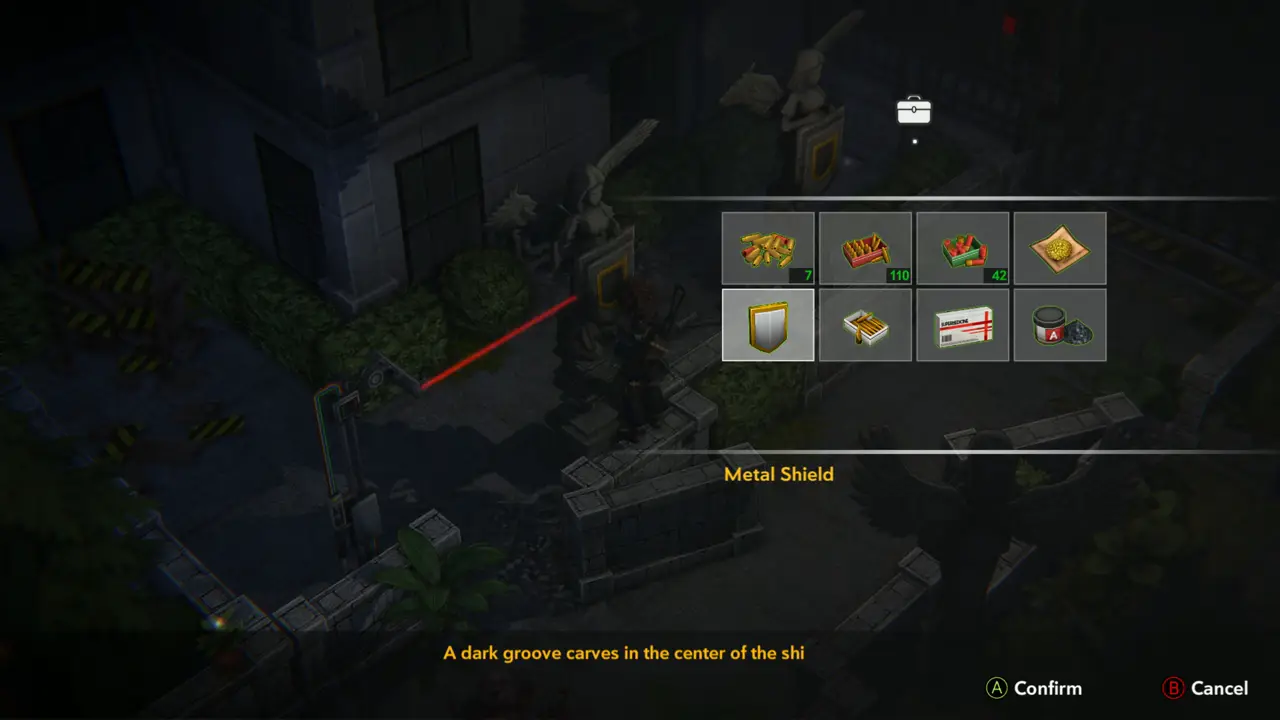
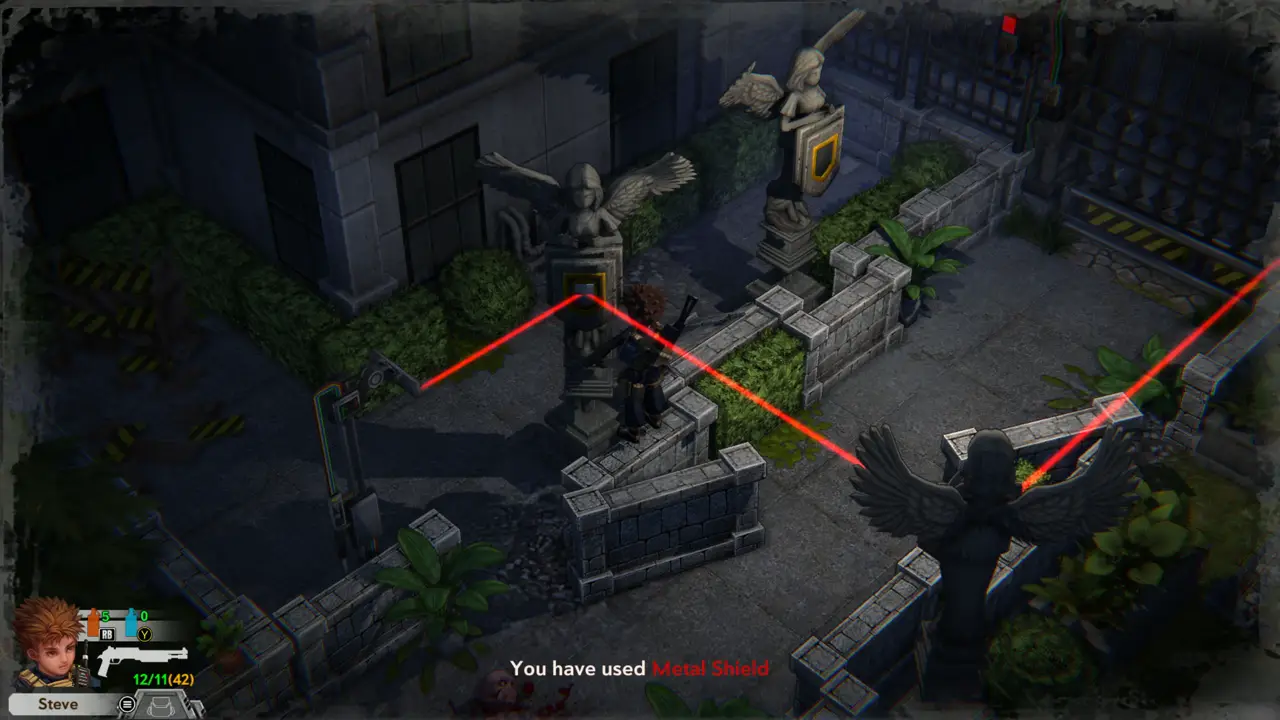
PUZZLE 5DOORKEY ITEM 9 In the paved courtyard with angel statues in front of the dark building with the barred gate and red light, use the Metal Shield on the statue with the empty shield groove (“A dark groove carves in the center of the shield”). “You have used Metal Shield” appears and a red laser beam runs from the statue across the courtyard; the gate light stays red.
Metal Shield in inventory
You have used Metal Shield
28
Park - Burning Truck Yard
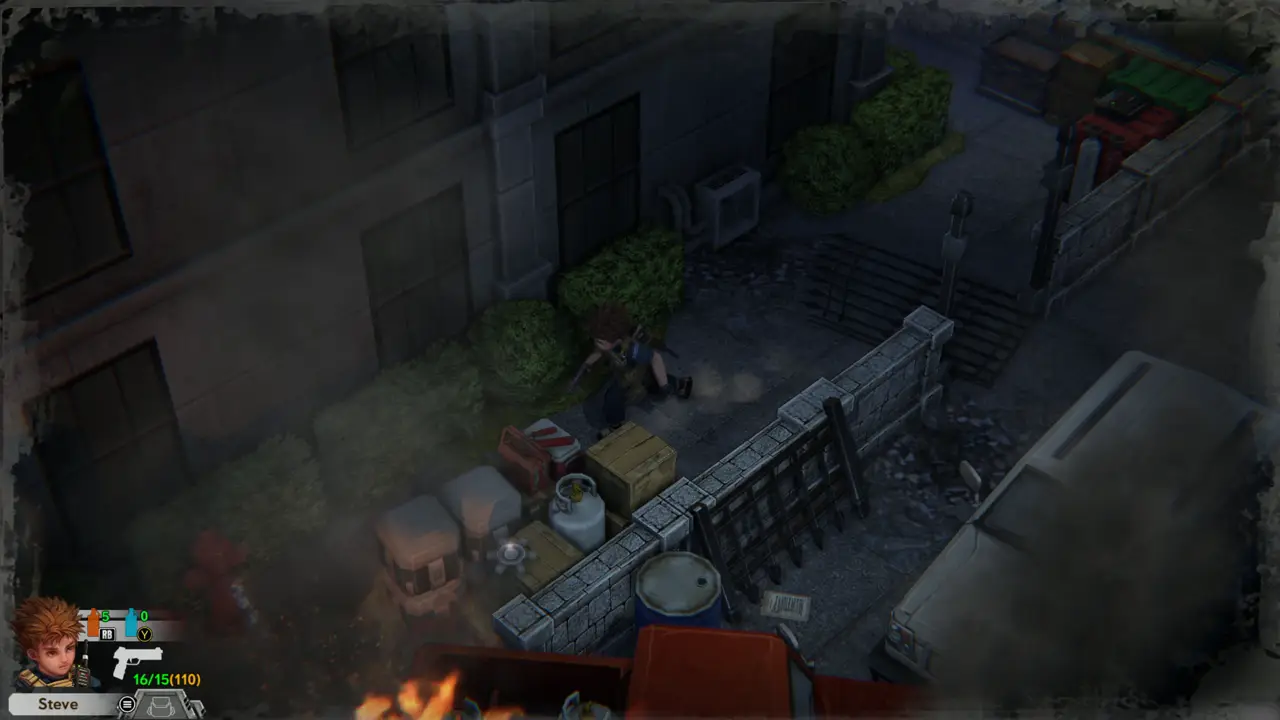
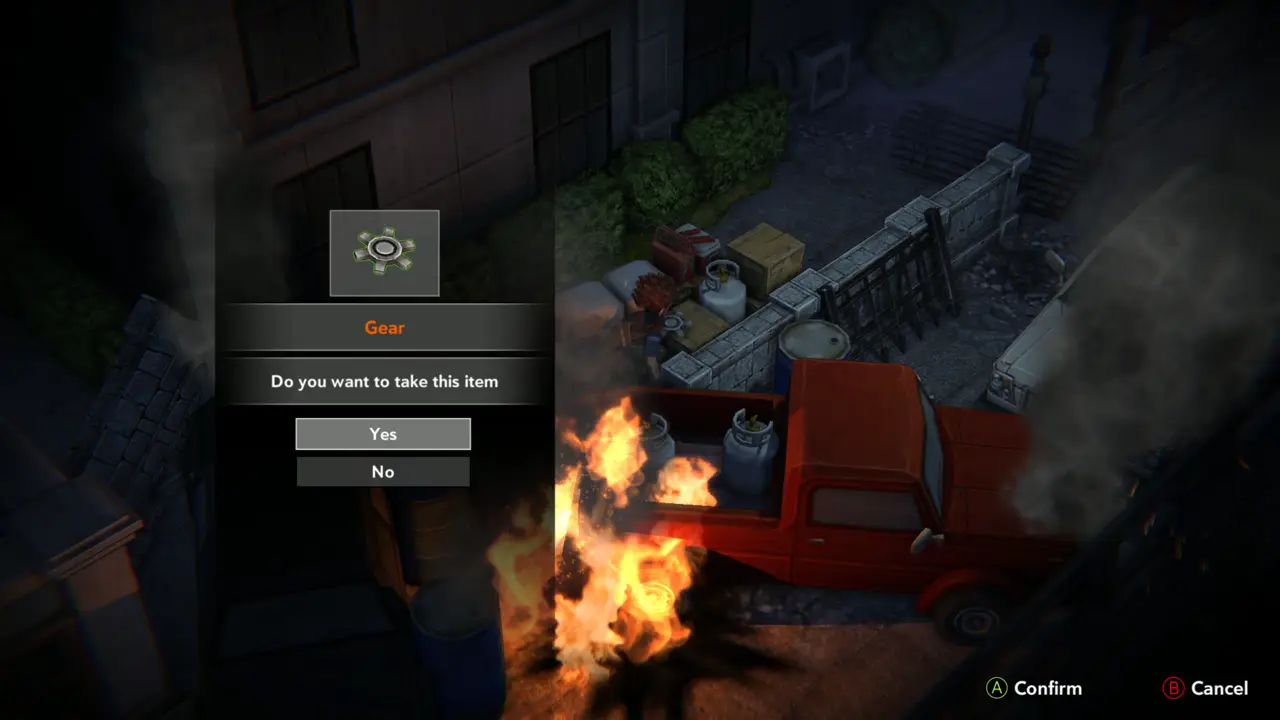
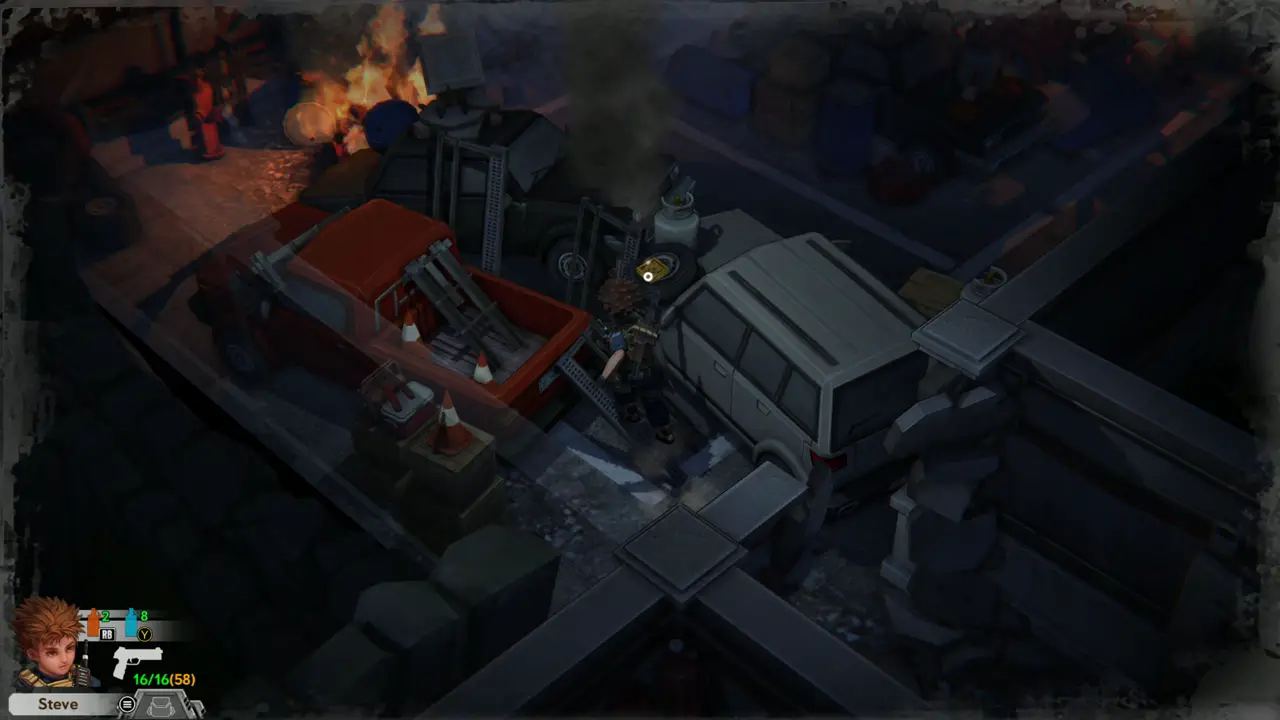
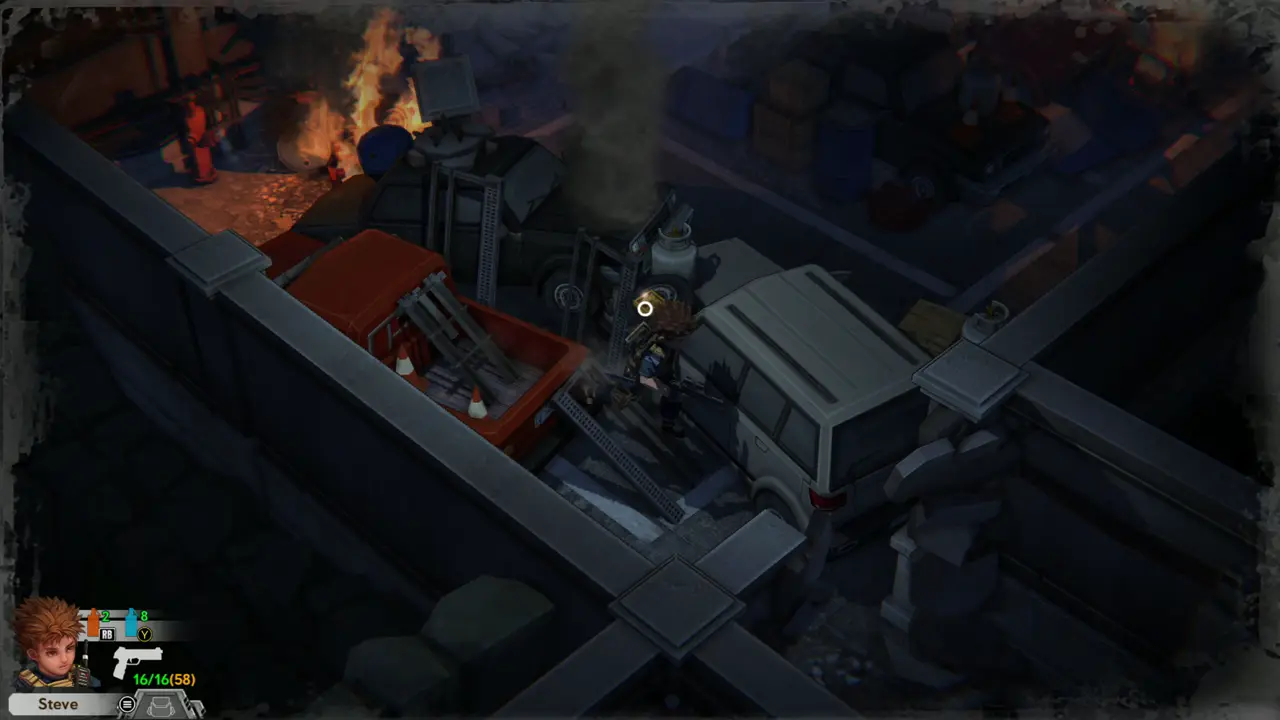
KEY ITEM 10 Go to the burning red truck next to the red fire hydrant in front of the building and take the Gear from the ground.
Burning truck by hydrant
Gear pickup prompt
Gear pickup prompt
29
Park - Central Stone Path
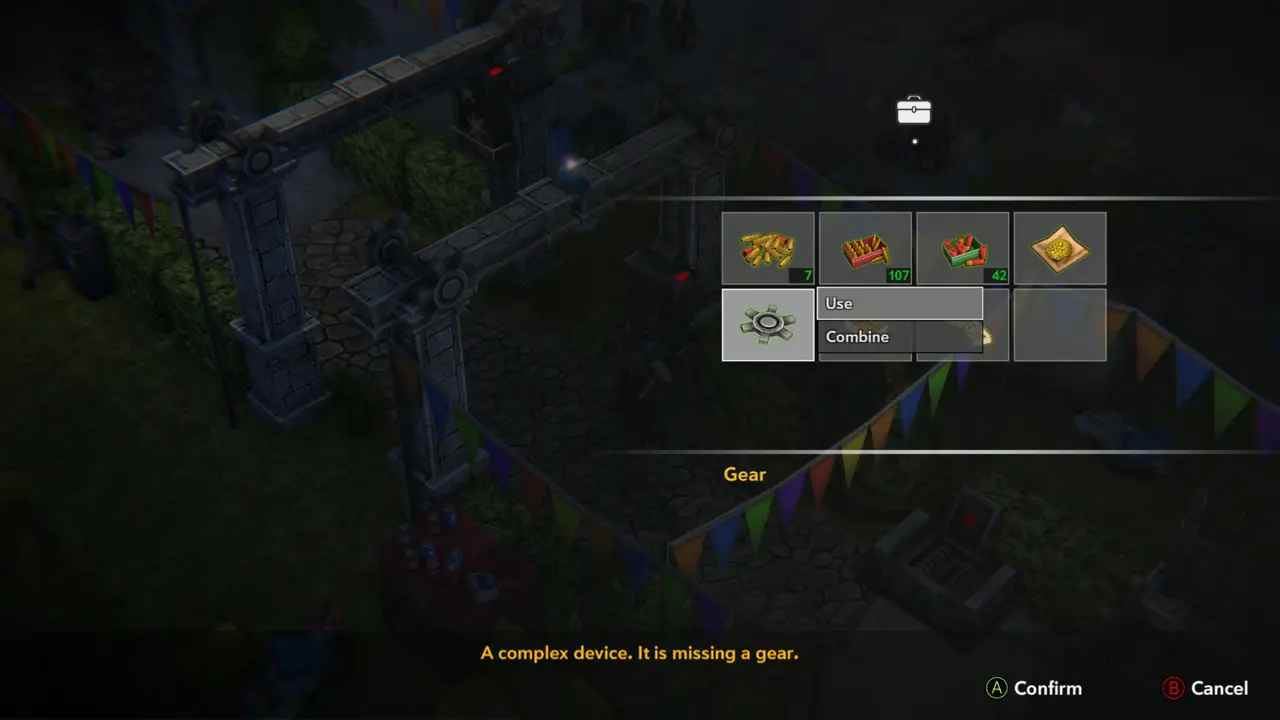
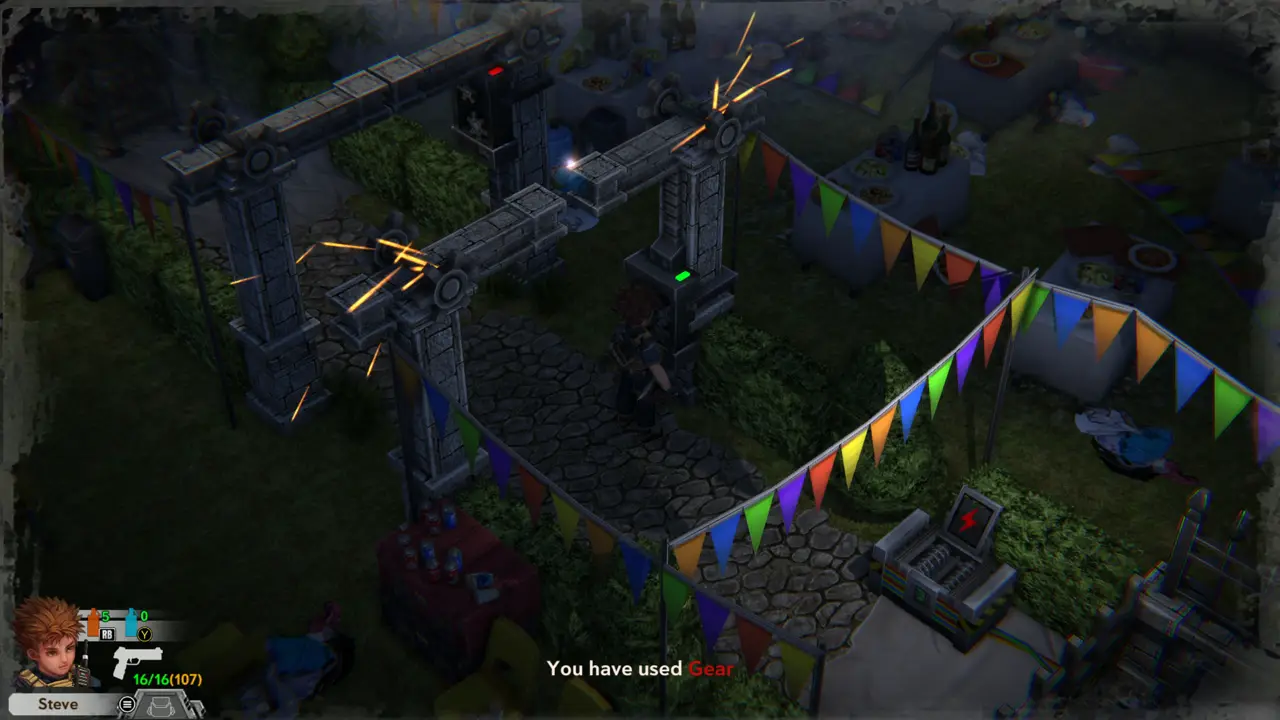
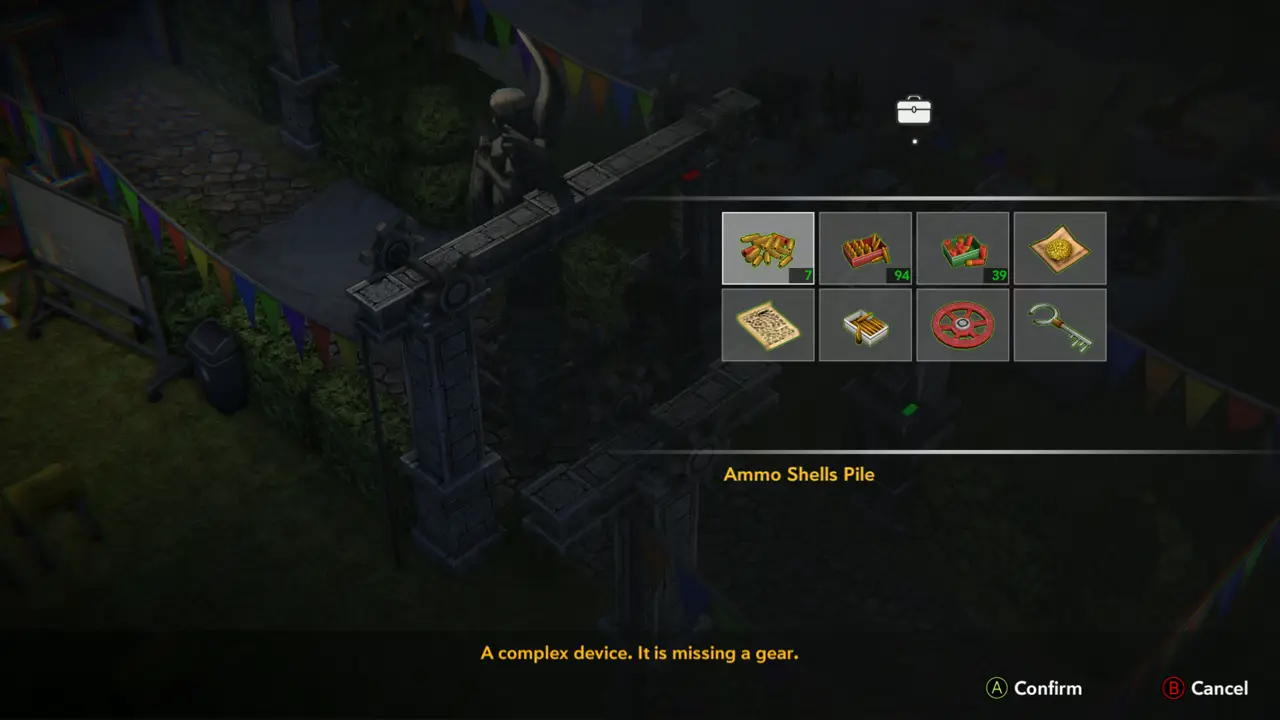
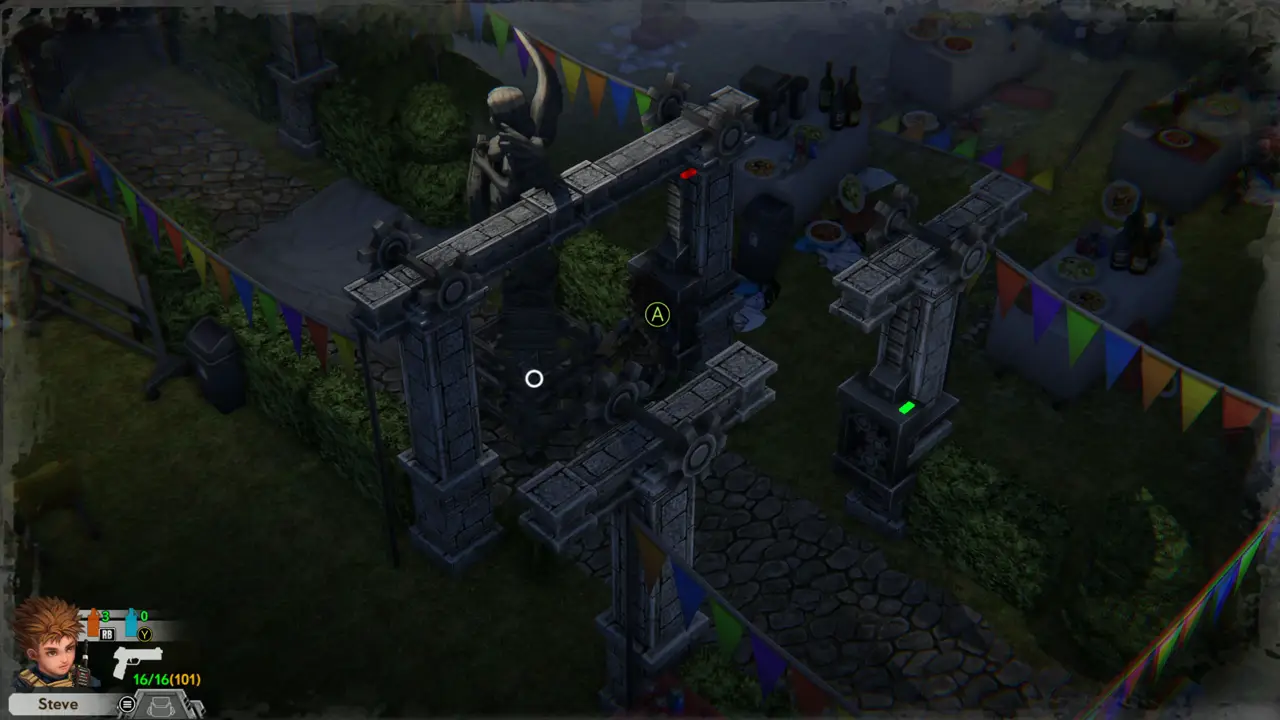
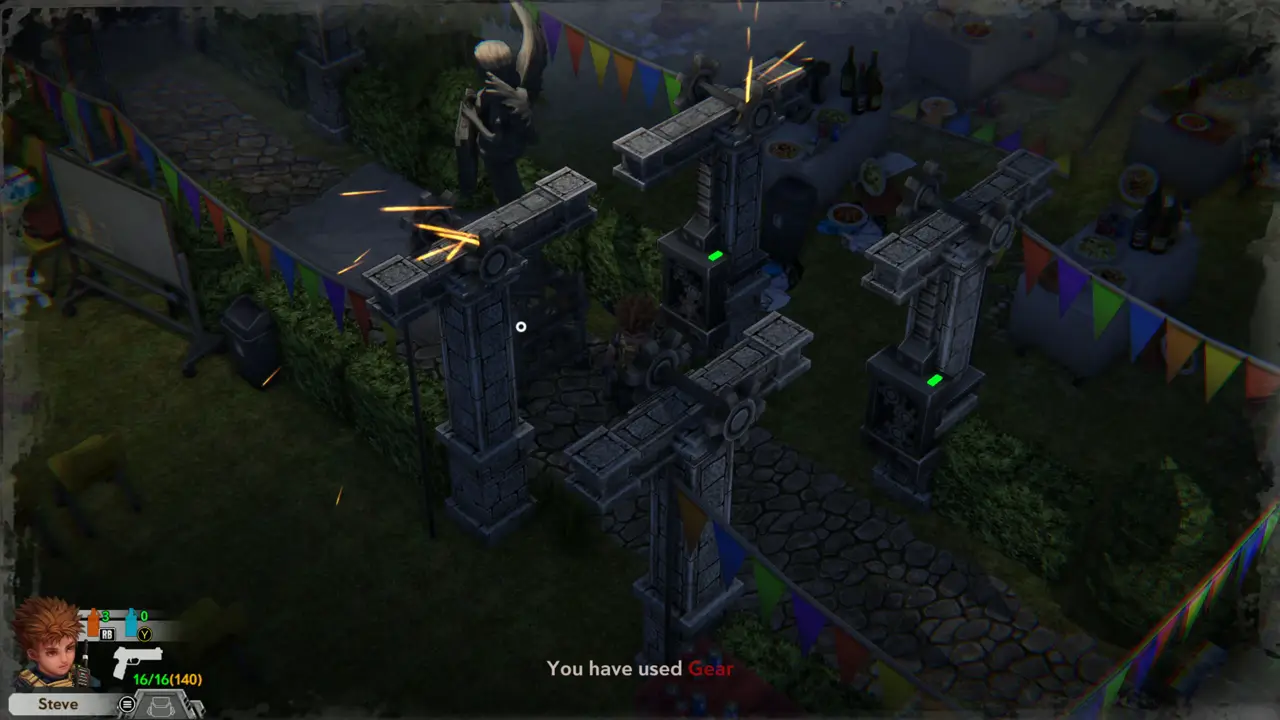
PUZZLE 6KEY ITEM 10 Examine the stone gate mechanism with the red light between the pillars: “A complex device. It is missing a gear.” Use the Gear on it: “You have used Gear” appears, sparks fly and its light turns green.
Complex device text
Complex device text
You have used Gear
You have used Gear
30
Park - Central Stone Path
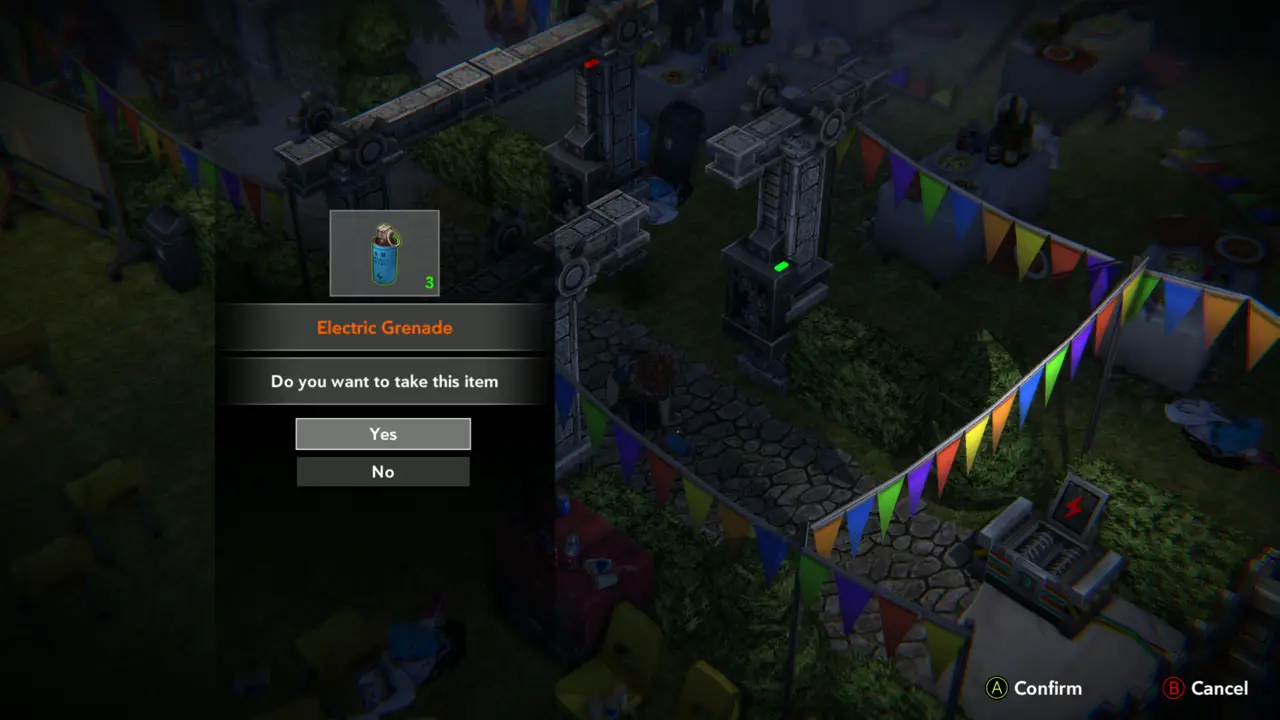
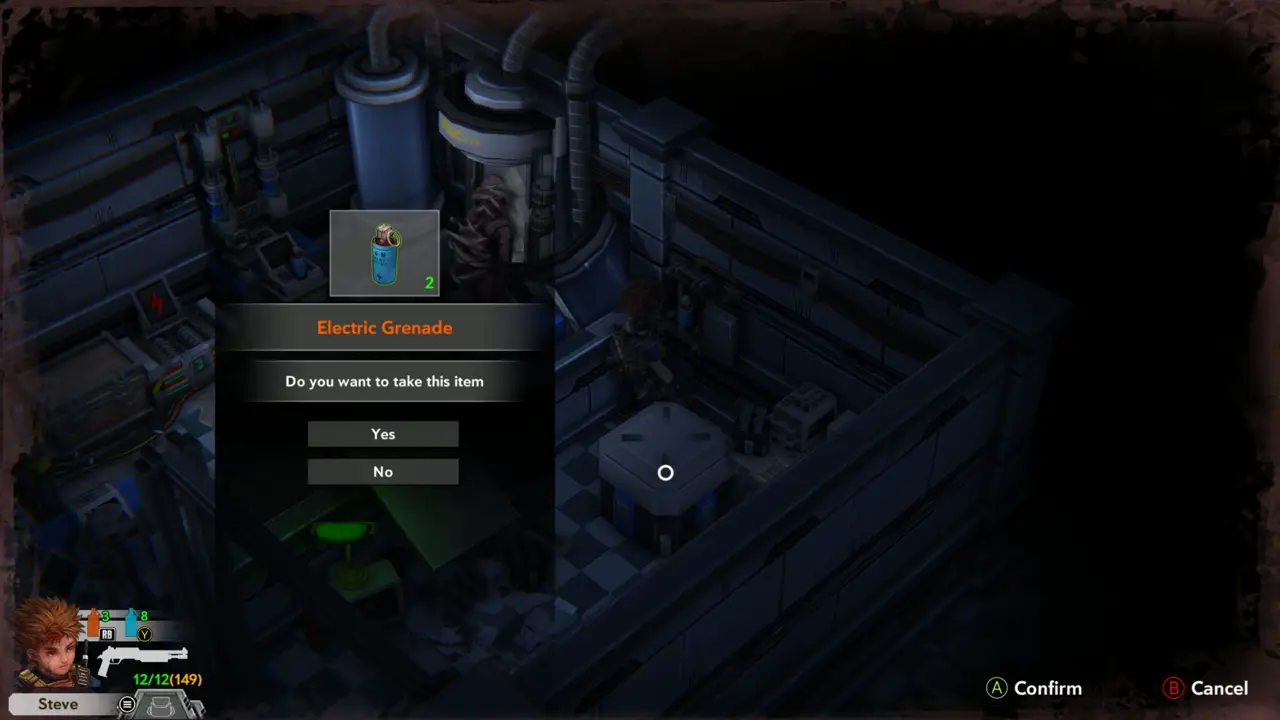
ITEM 55 Take the Electric Grenade (3) beside the stone path, in front of the dead generator.
Electric Grenade 3 prompt
31
Park - near the east fence
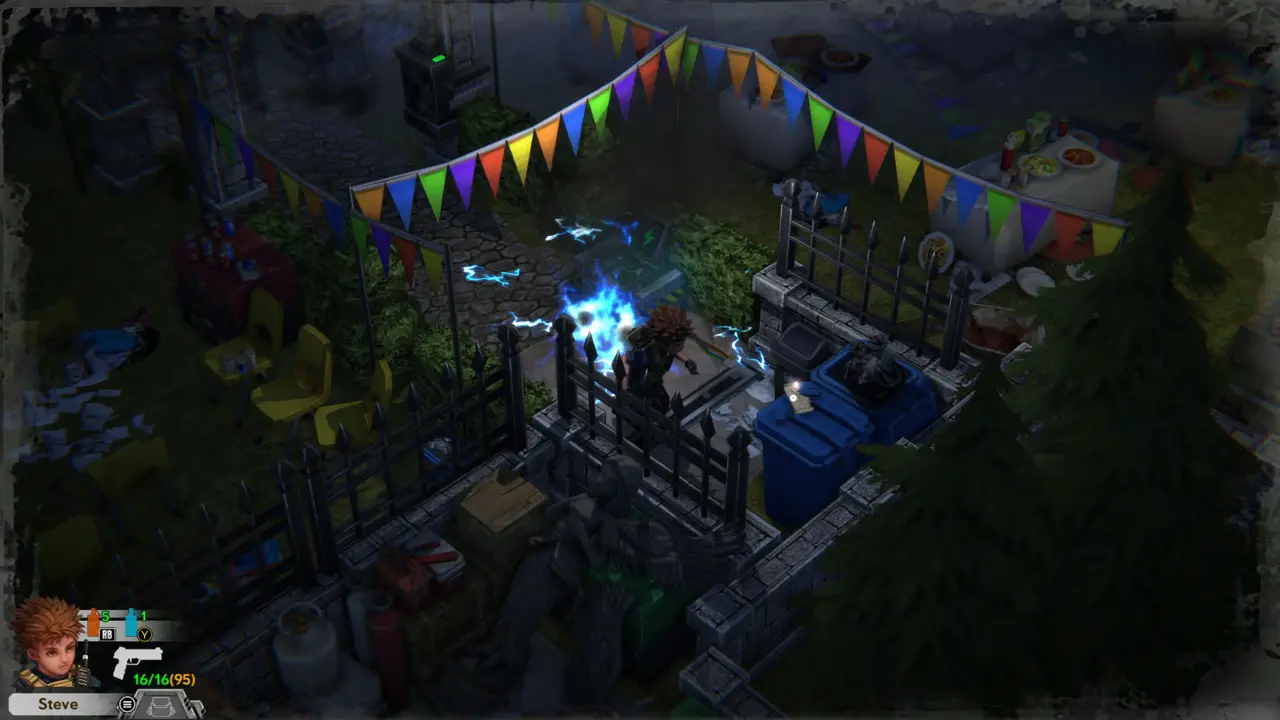
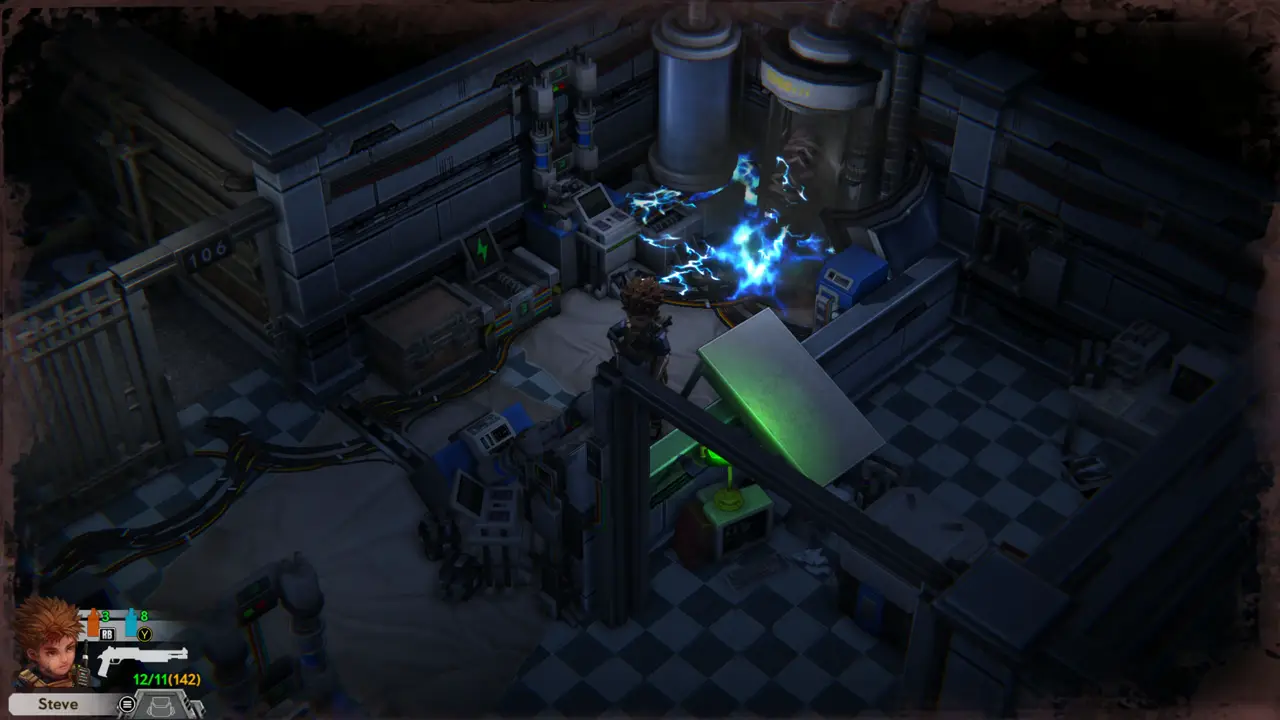
PUZZLE 7 Throw an Electric Grenade (Y) at the dead generator beside the blue bins by the fence. Lightning sparks around it and the projector in the park lights up.
Aiming at generator by fence
Generator sparking, power restored
32
Park - near the east fence
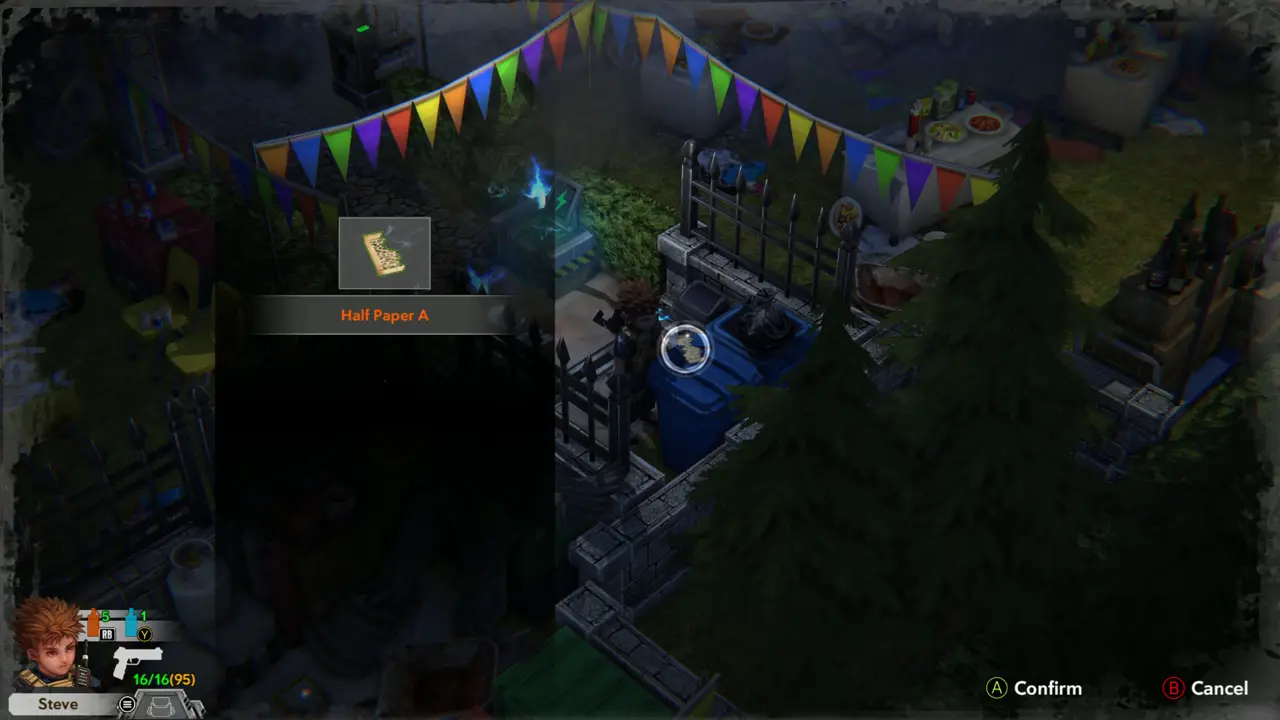
ITEM 56MISSABLE Take Half Paper A from the blue bin beside the fence (“Part of a paper that is full of strange words. (Found in a garbage heap)”).
Half Paper A prompt at blue bin
33
Park
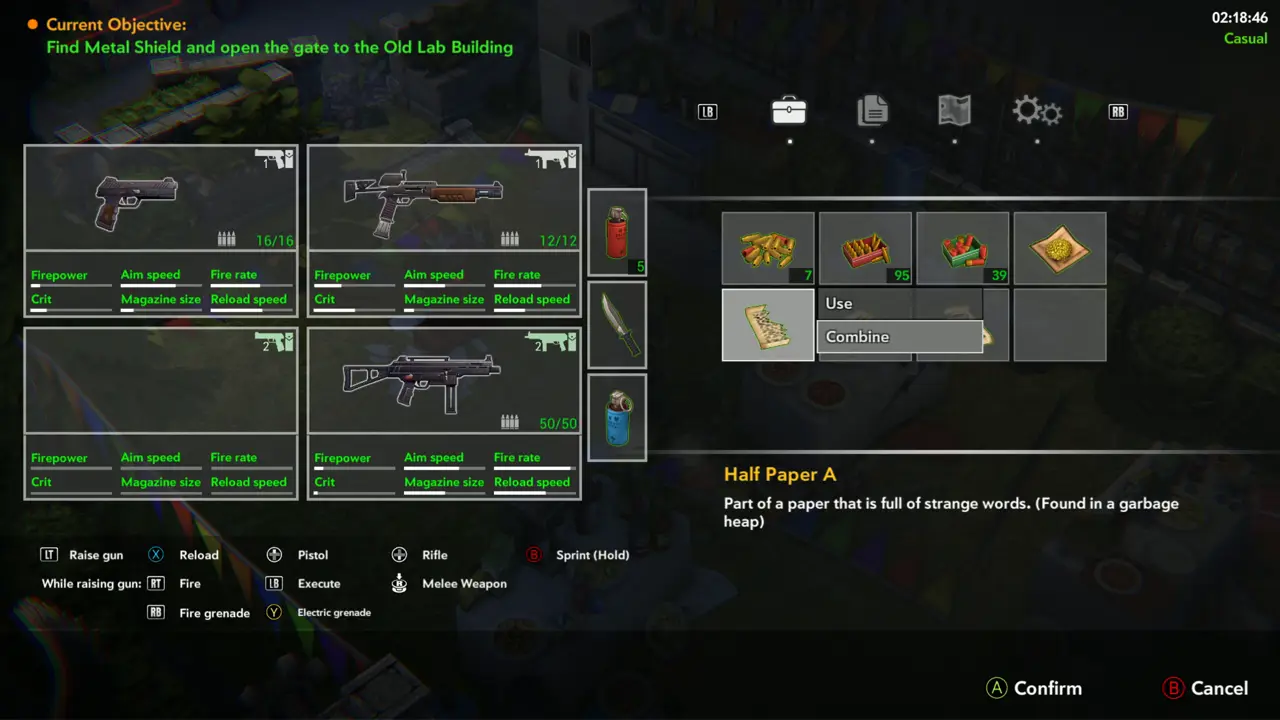
ITEM 56PUZZLE 8 Open the inventory, select Half Paper A and choose “Combine” with Half Paper B to get the Speech (“Now the speech transcript is complete, the words still don't make sense”).
Combine menu on Half Paper A
34
Park - near the water cooler and lunch tables
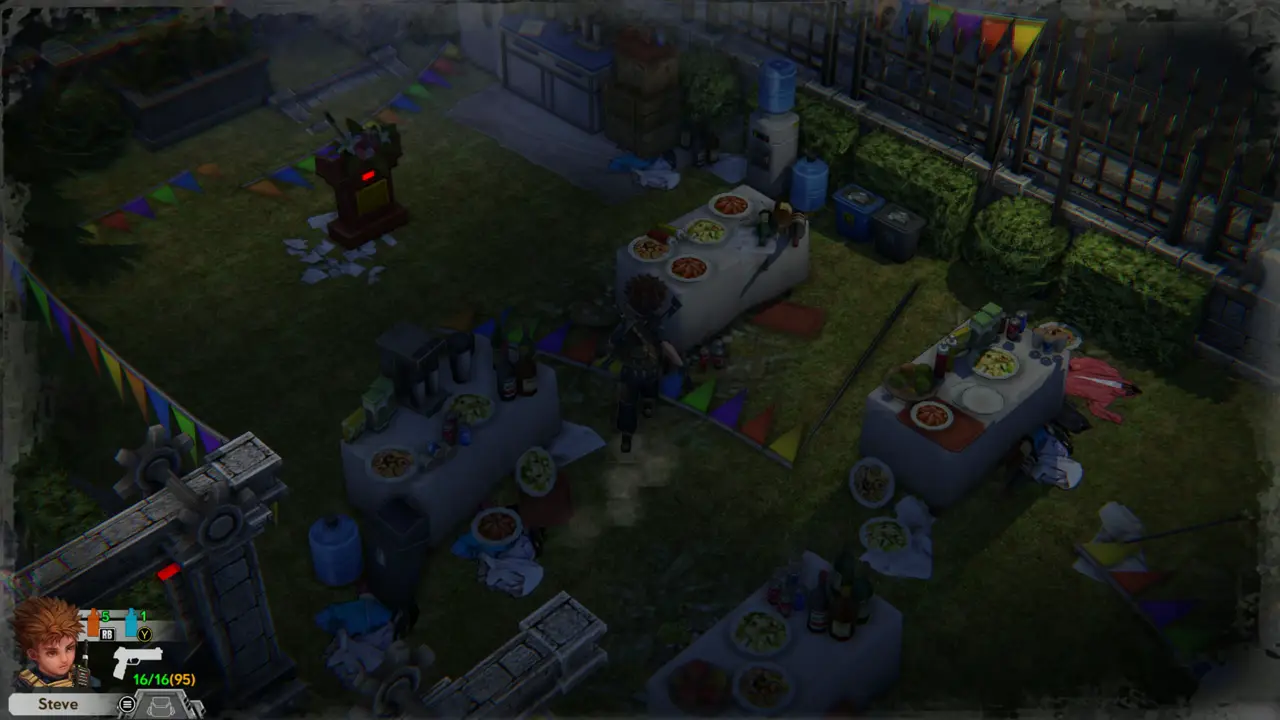
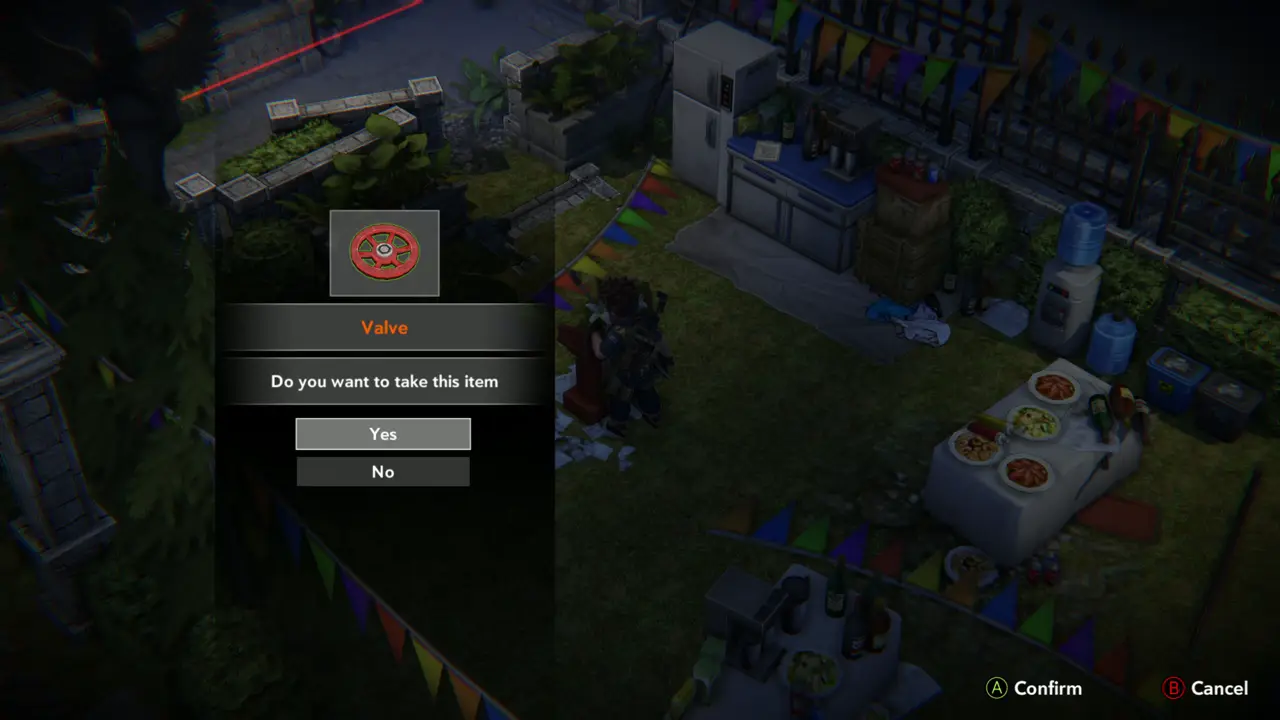
KEY ITEM 11PUZZLE 9 Go to the picnic garden podium with the flowers near the water cooler and lunch tables, use the Speech on it and take the Valve it gives.
Podium by the lunch tables
Valve prompt at the podium
35
Park - near the projector
KEY ITEM 12PUZZLE 10 Go to the projector podium and use the Speech again to receive the Small Key (“A worn small key, ready to serve its purpose for one last time”).
Podium beside the projector
36
Park - stone gate mechanism
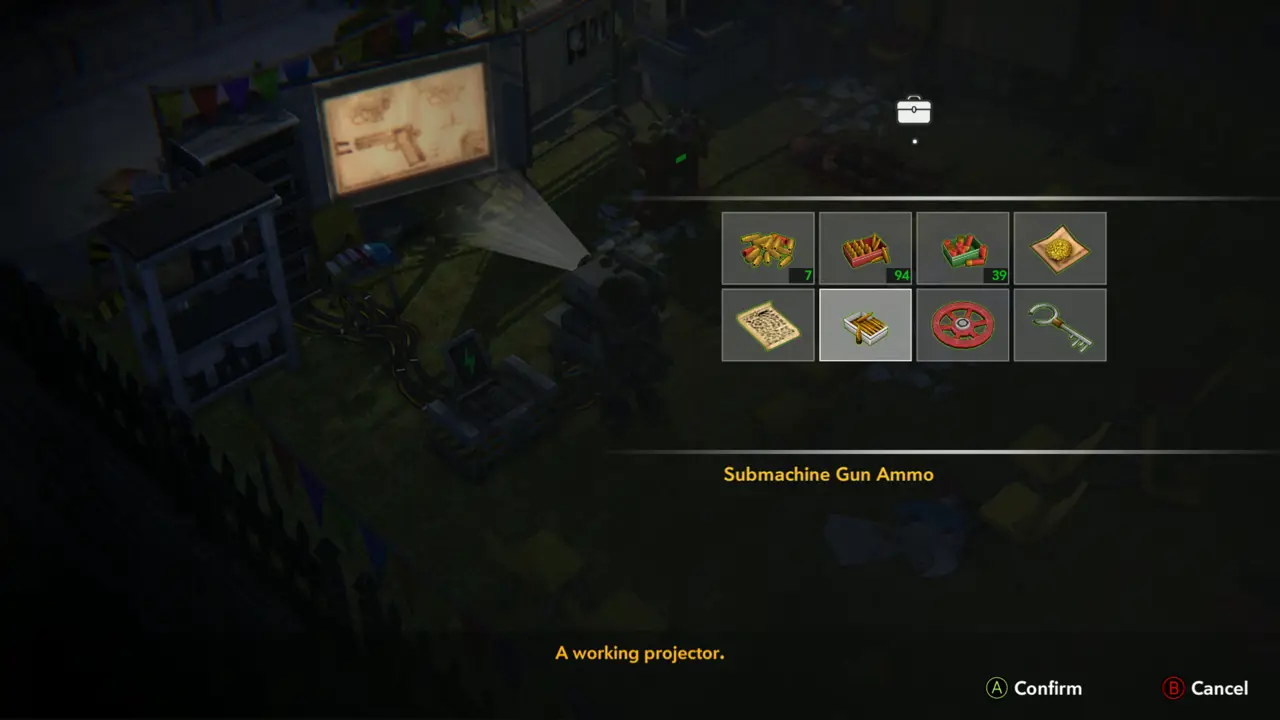
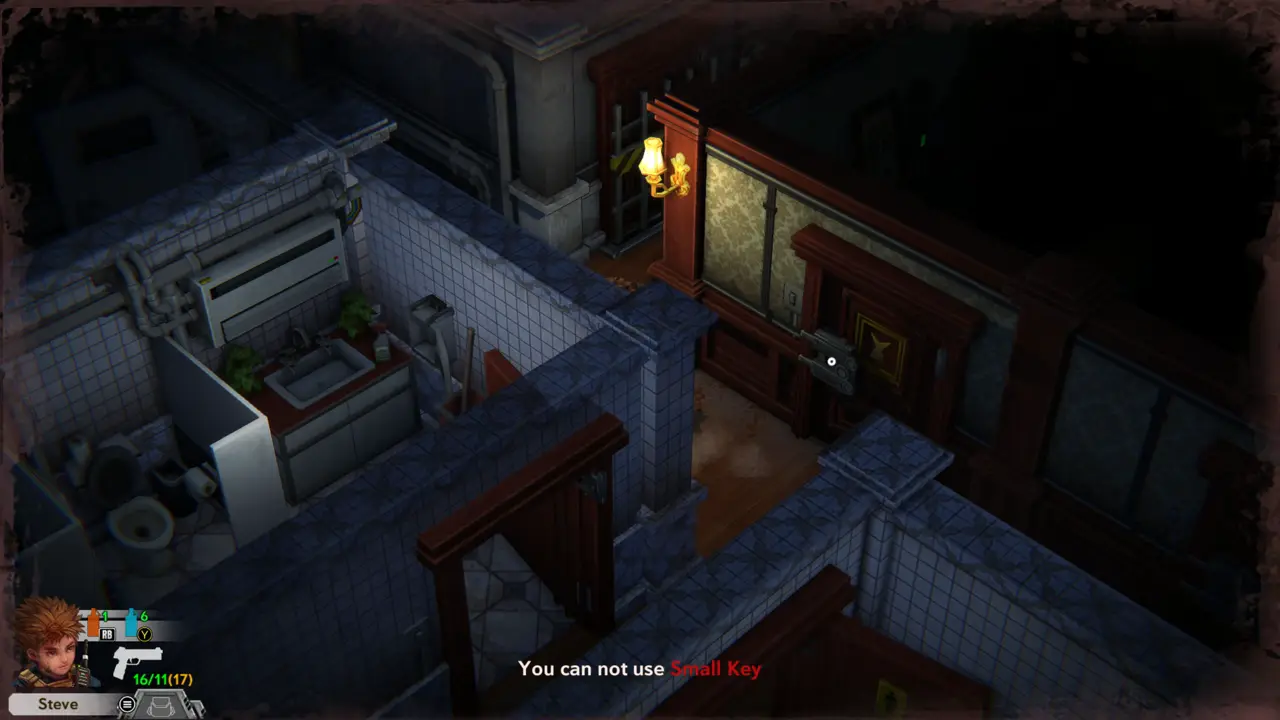
NOTE The Valve and the Small Key do not work on the stone gate mechanism or the projector (“You can not use Valve”, “You can not use Small Key”). Keep both for later.
Device and projector tried
A working projector
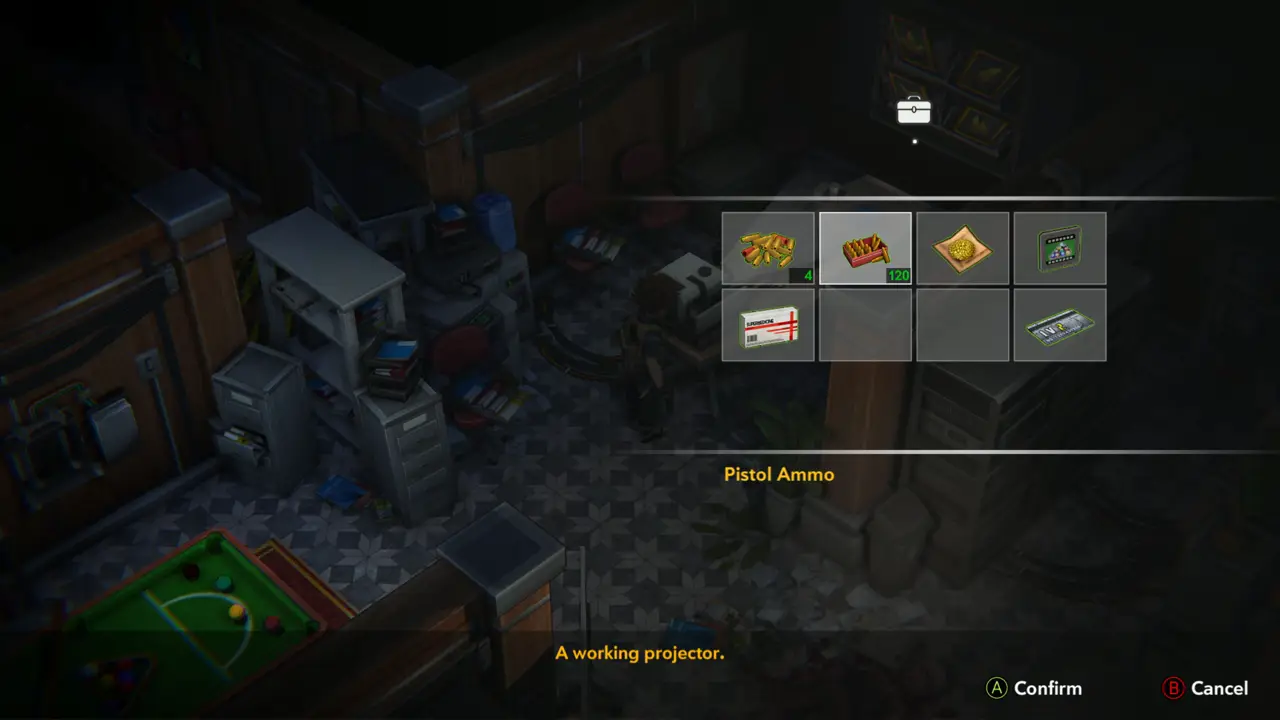
A working projector
37
Underground Parking Lot - Entrance road
FIGHT Leave the park to the road with the burning red truck, gas cylinders and a fire hydrant, and shoot the zombies. The hydrant sprays water on the fire.
Hydrant spraying by burning truck
Zombie shot at the cylinders
38
Guard Room
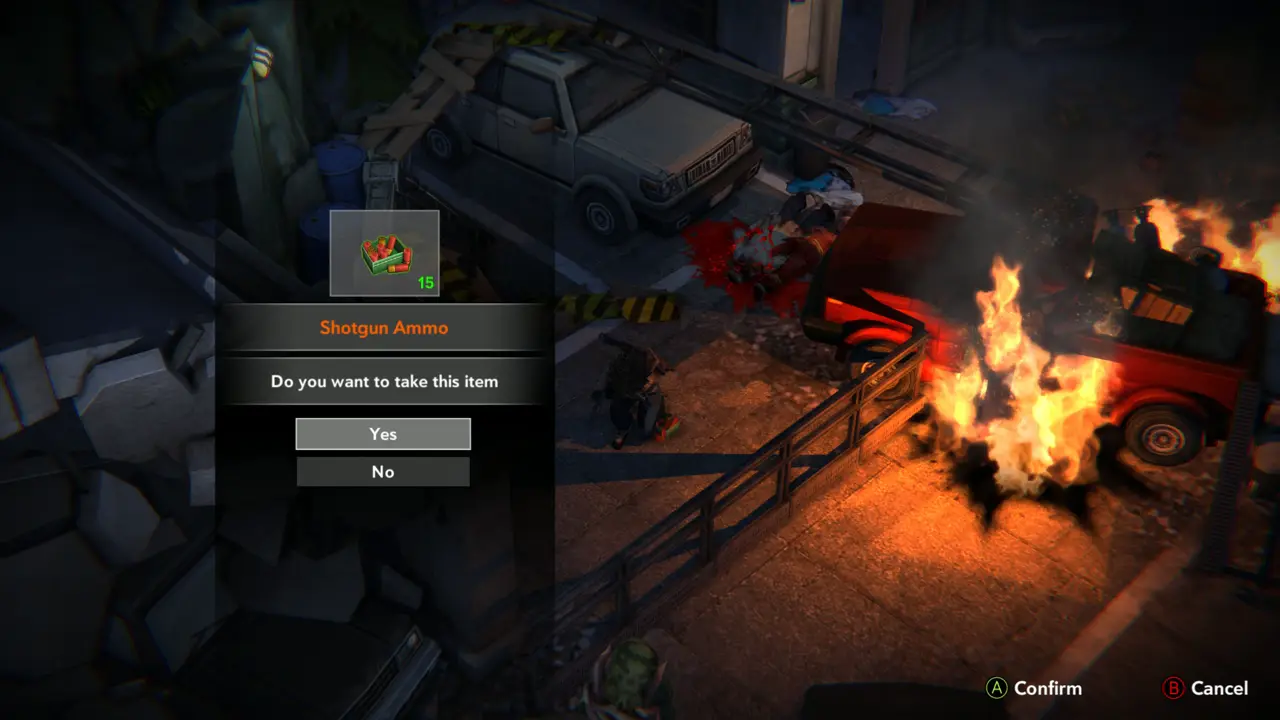
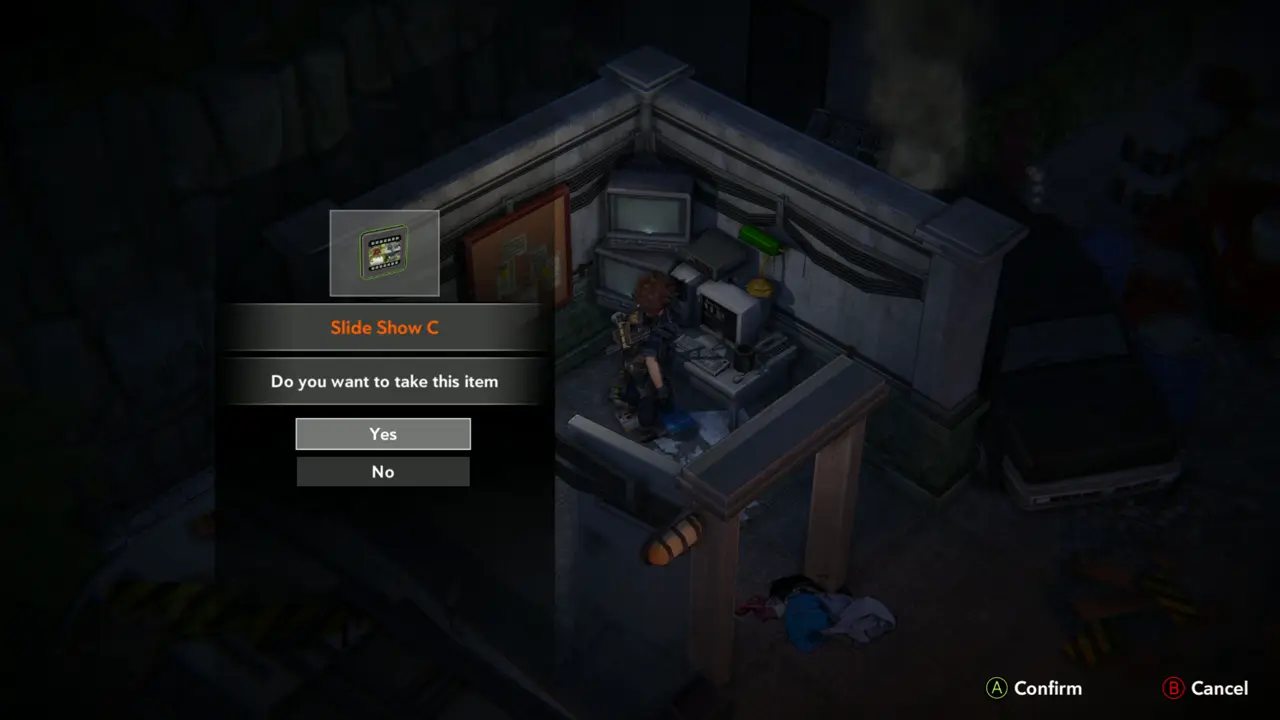
ITEM 57–58KEY ITEM 13FILE 30 Take Shotgun Ammo (15) in front of the guard booth beside the burning truck. Step inside the booth, take Slide Show C from the desk with the computers and read the Guard Room Note on the same desk.
Shotgun Ammo x15 prompt
Slide Show C prompt
Slide Show C prompt
39
Underground Parking Lot
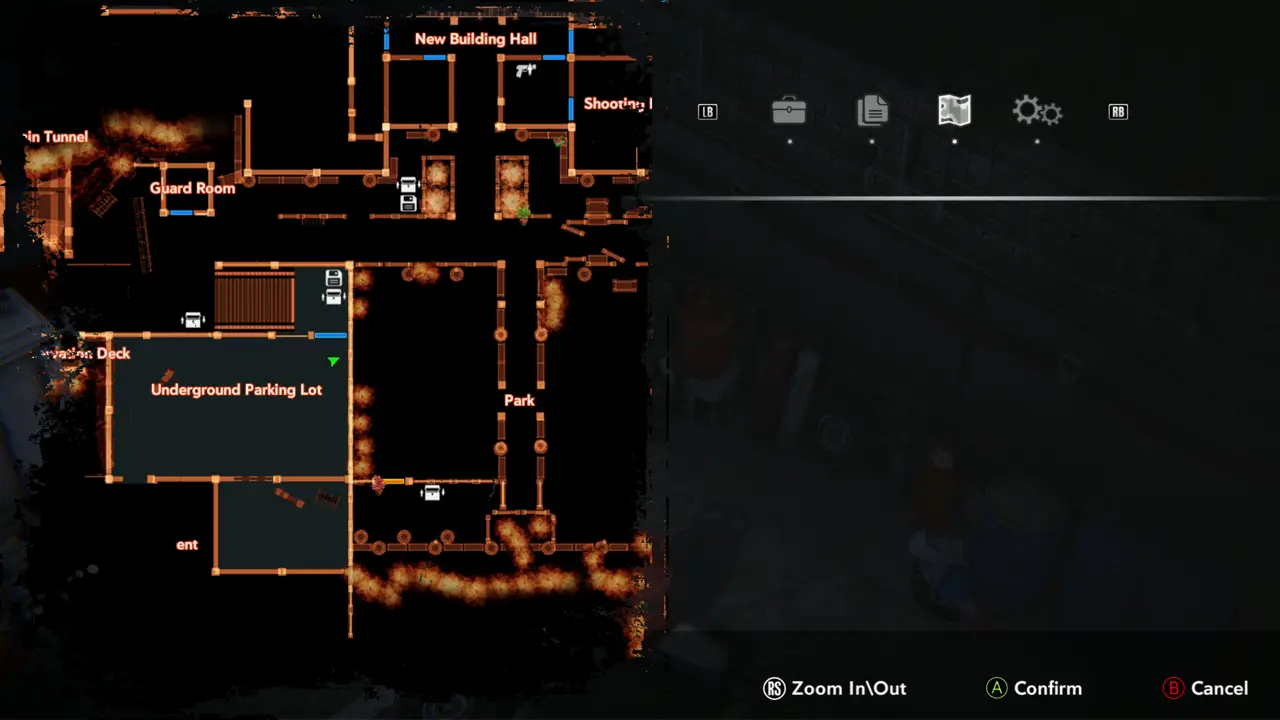
KEY ITEM 6MAP Open the storage box just inside the parking-lot gate. It holds Shotgun Part B, Gunpowder A, Gunpowder C, Green Herb, Red Herb, Mixed Powder, Painkiller and Slide Show A. On the map, the Observation Deck lies behind the west wall and the Guard Room to the north.
Storage box list
Storage box list
Map in the Underground Parking Lot
40
Underground Parking Lot
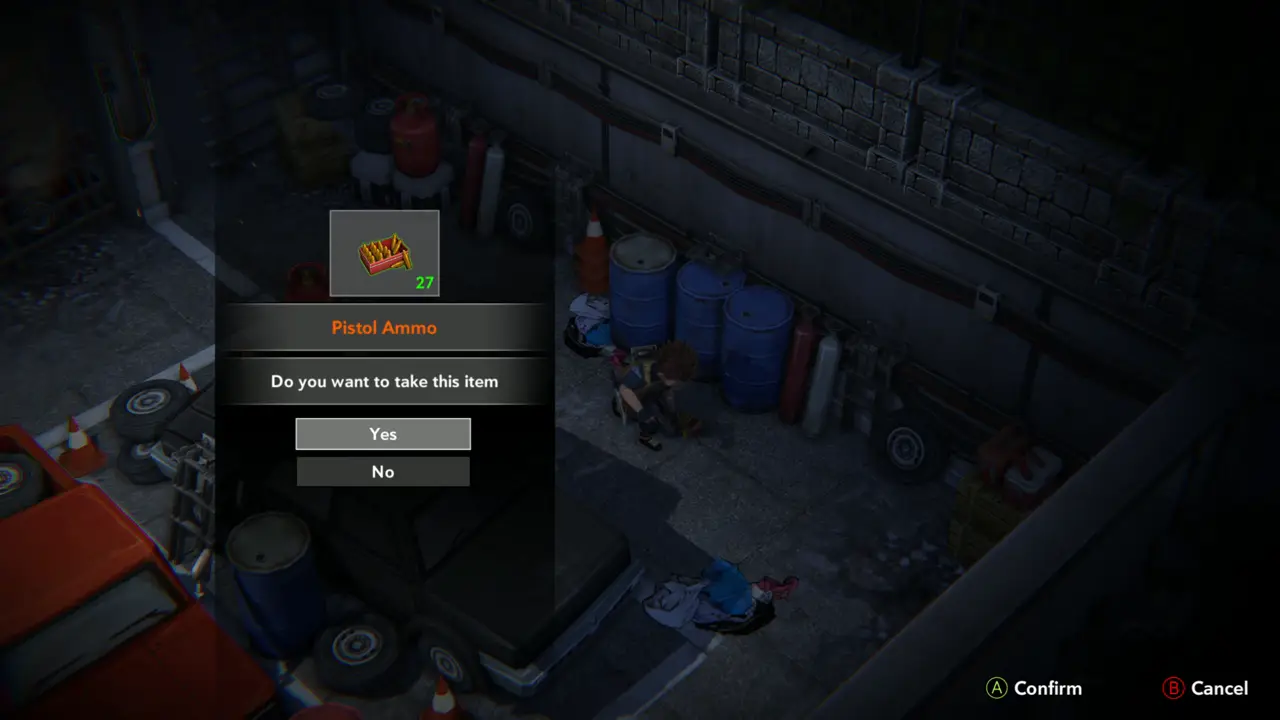
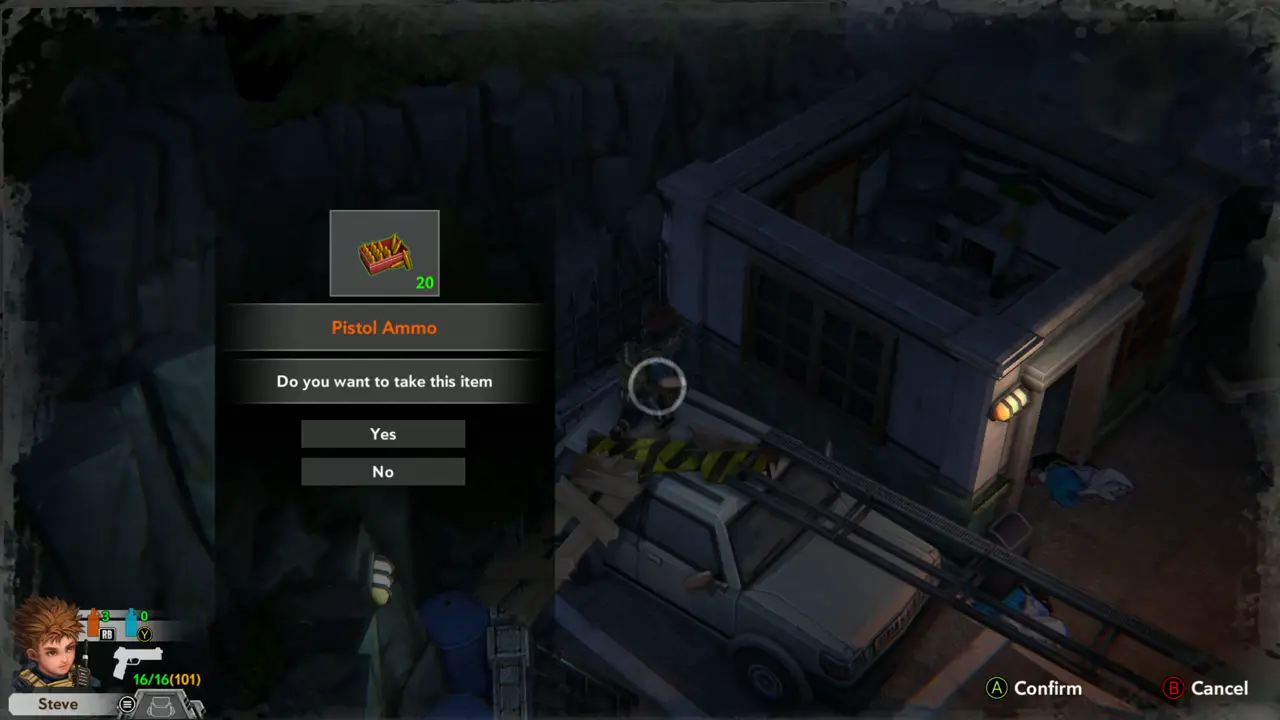
ITEM 59 Take Pistol Ammo (27) from beside the barrels at the north wall.
Pistol Ammo x27 prompt
41
Underground Parking Lot
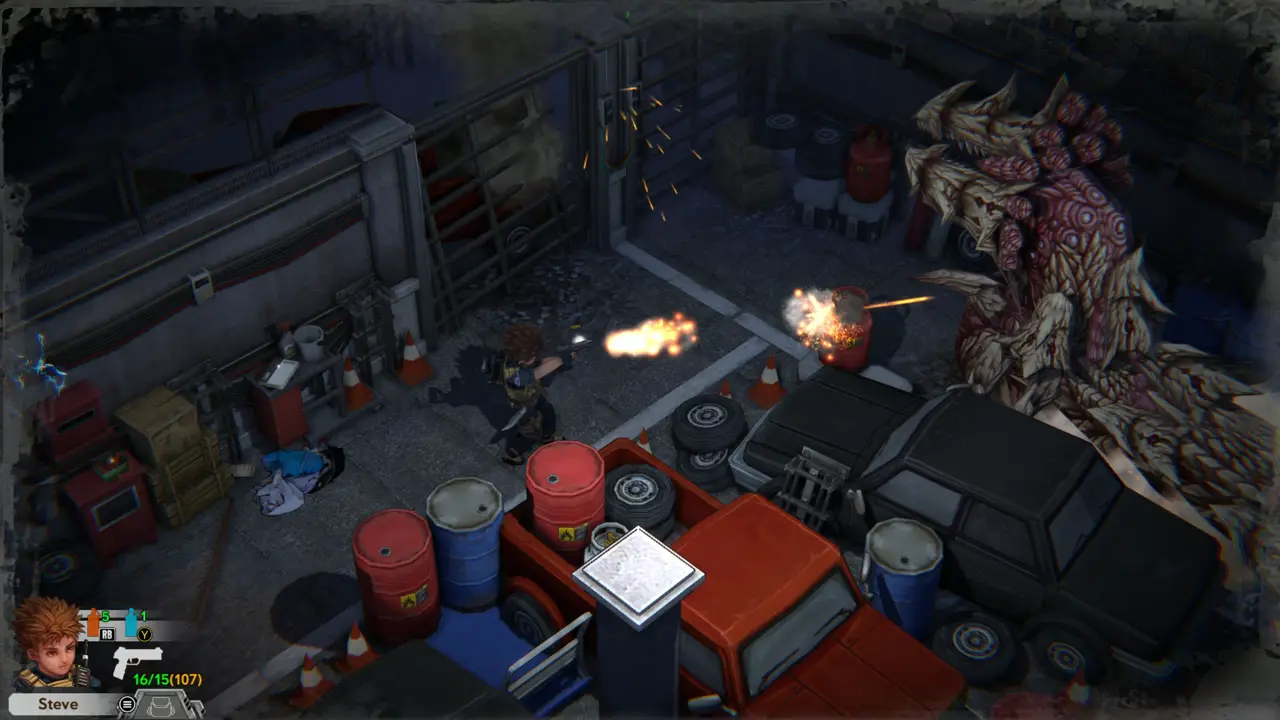
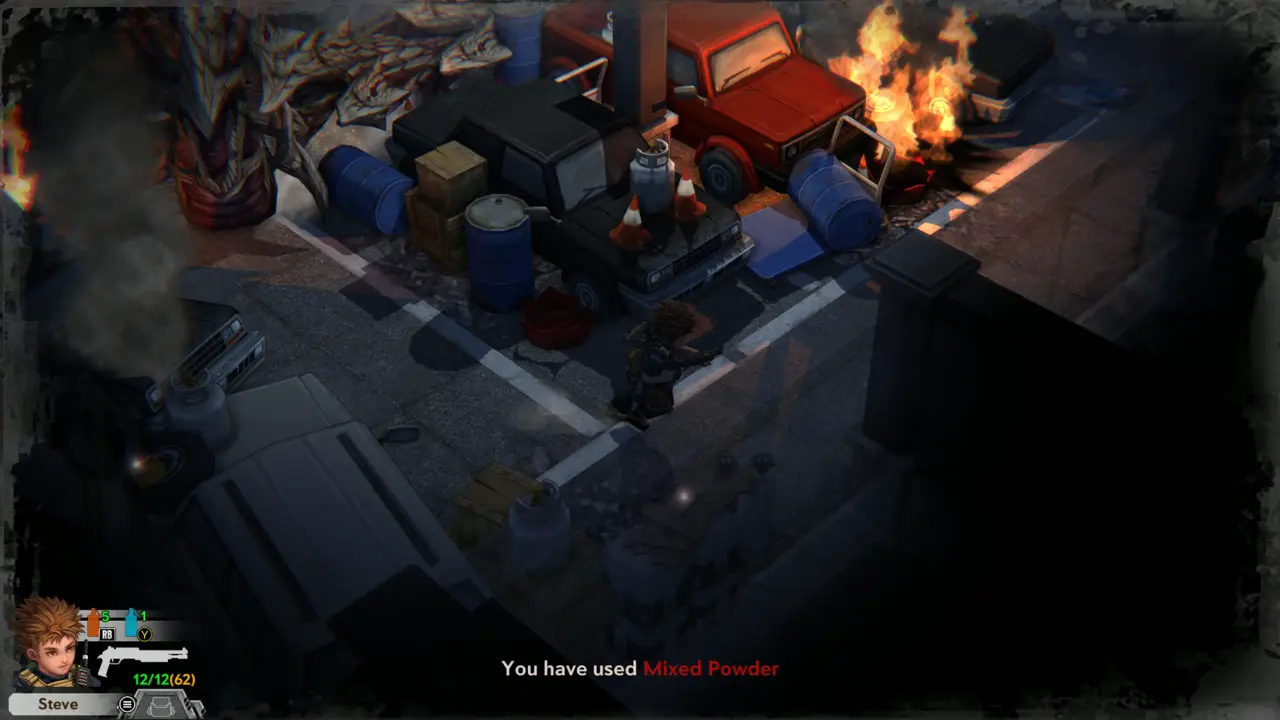
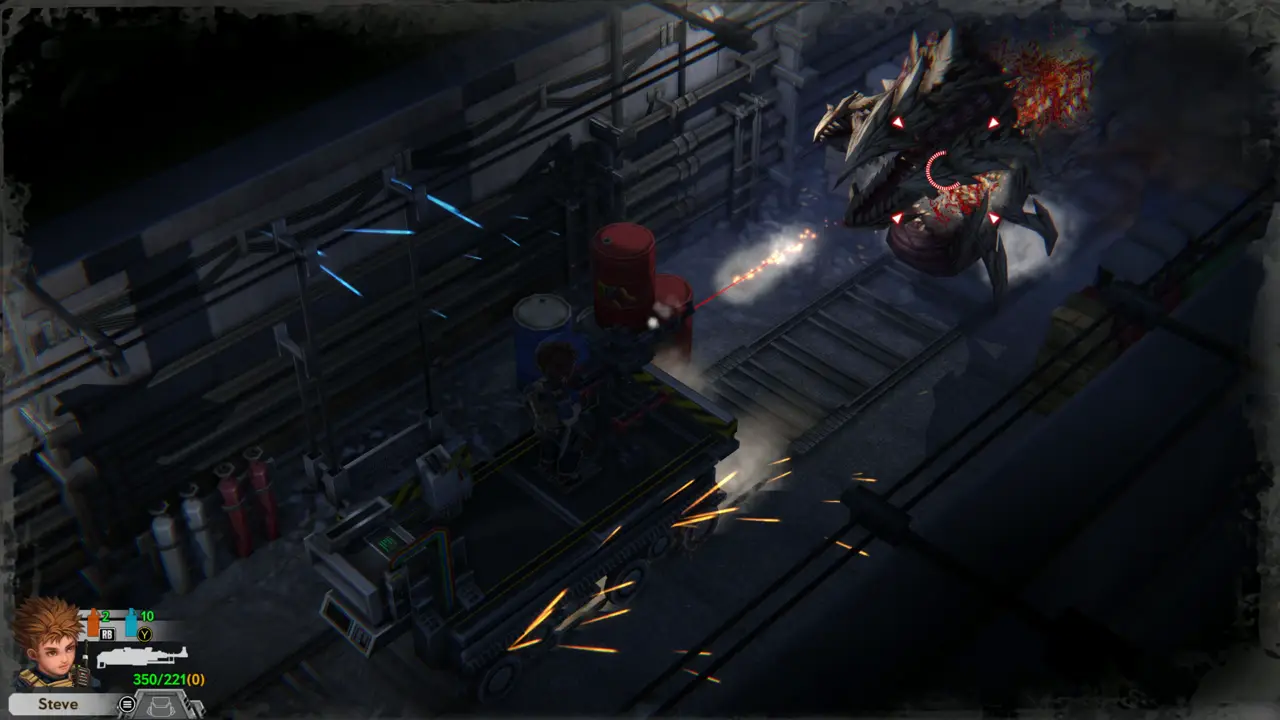
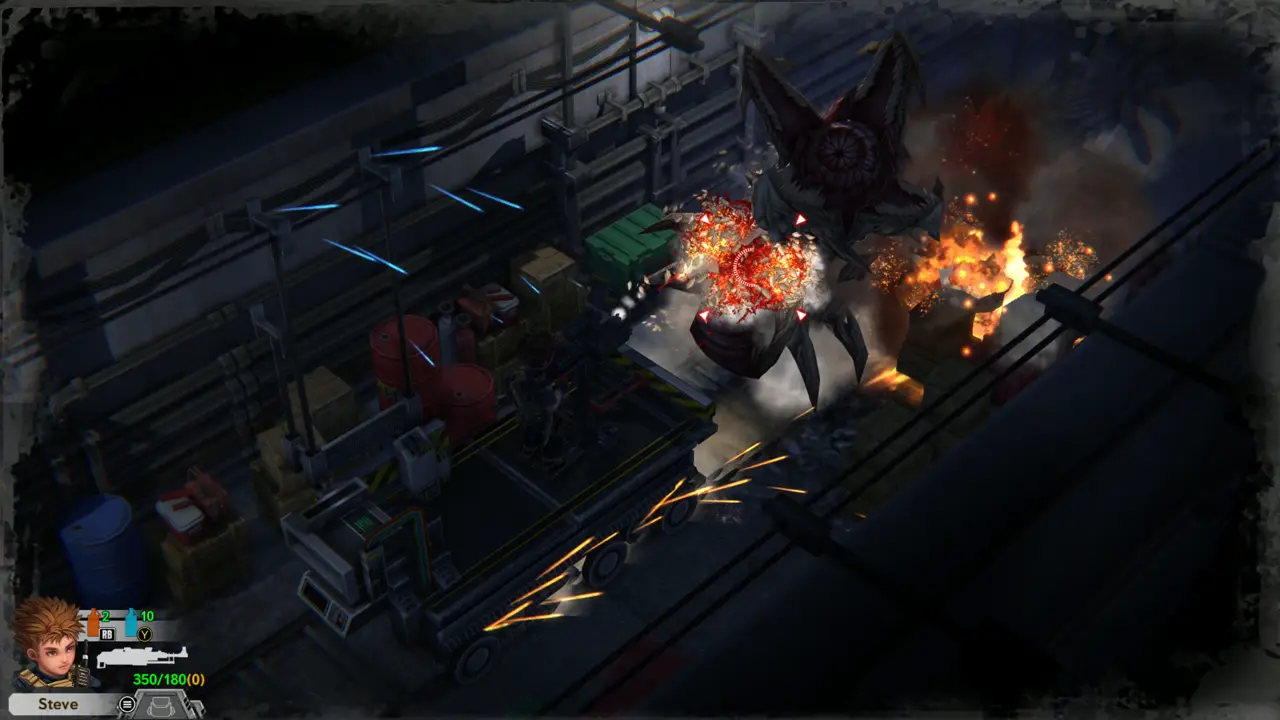
BOSSFIGHTSAVE 3 Walk in between the parked cars: a giant armored worm bursts through the floor and wall. It can kill you at the red gate, so fight it here. It keeps ramming through the lot: shoot at its head when it rises, using the pistol and then the Storm-I Submachine Gun, and use Mixed Powder (“You have used Mixed Powder”) to restock ammo. It breaks through the wall and retreats, and the game saves (“SAVING”).
Worm bursts out among the cars
You have used Mixed Powder
42
Underground Parking Lot - broken wall by the white van
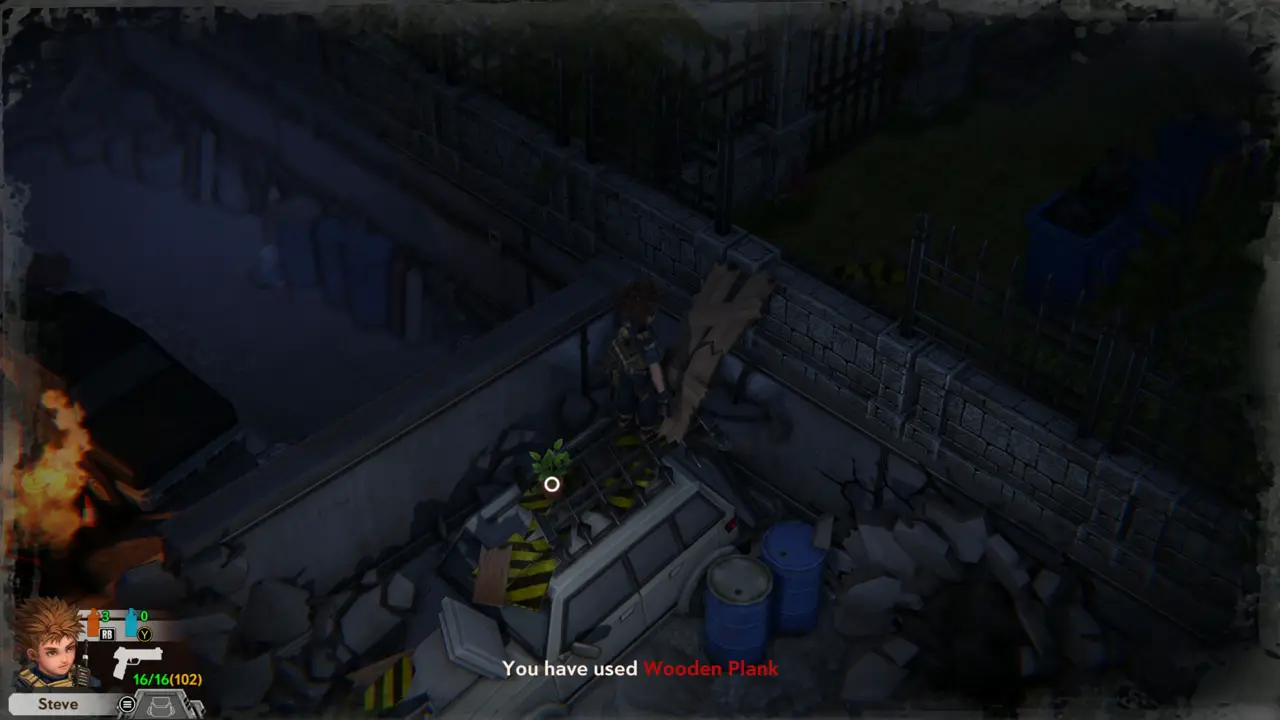
ITEM 60–61 Follow the broken wall to the white van and the rubble. Take the Wooden Plank from the hazard-striped boards and the Ammo Shells Pile from the case beside the van.
Plank on the barrier boards
Van with case and rubble
43
Underground Parking Lot - broken wall by the white van
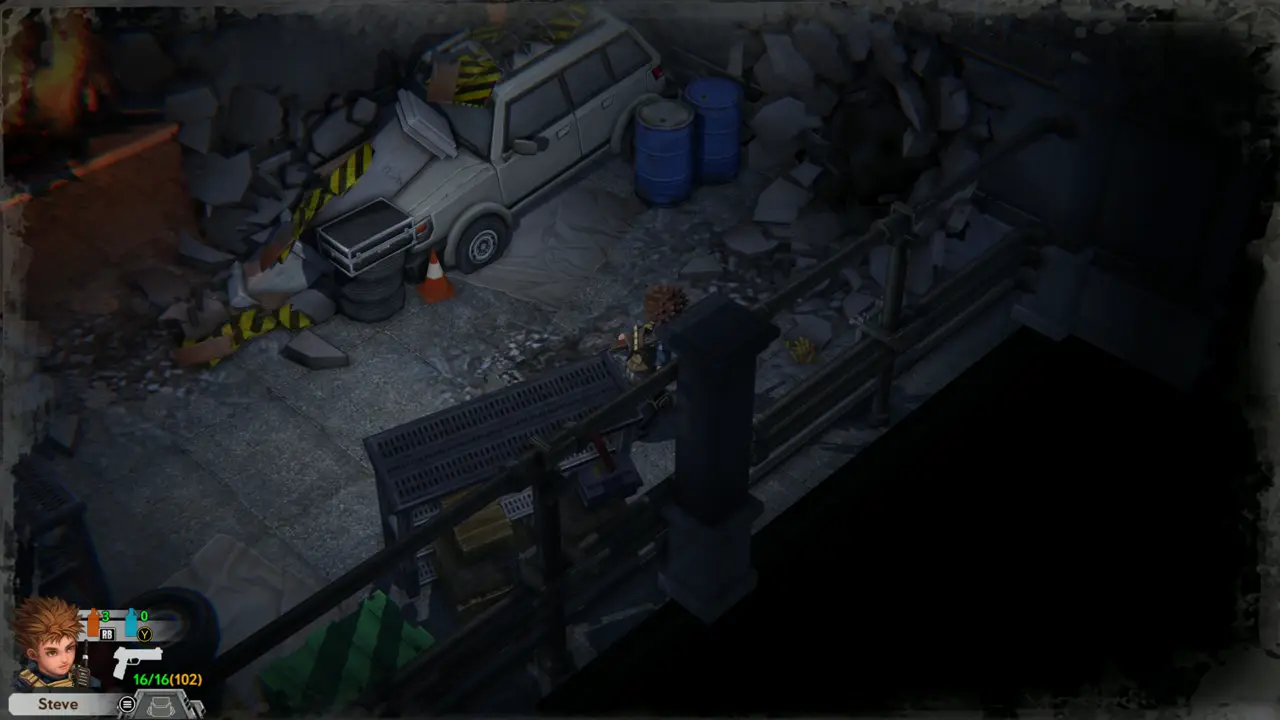
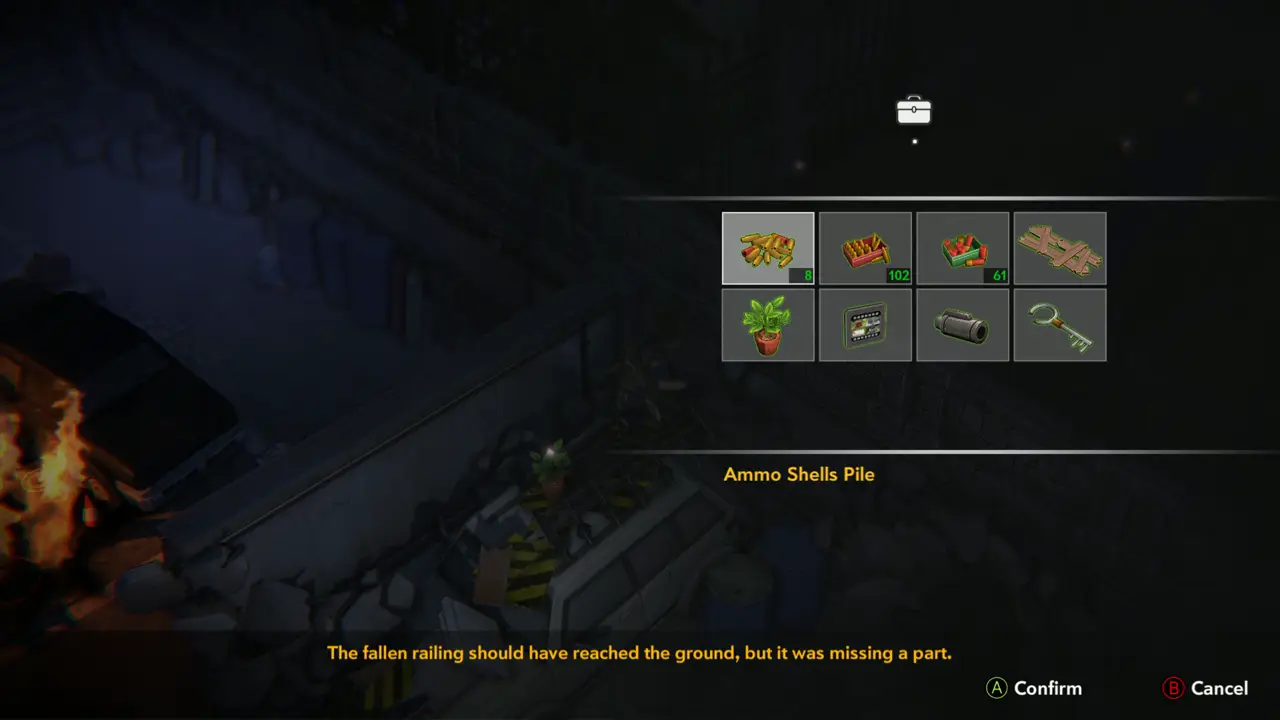
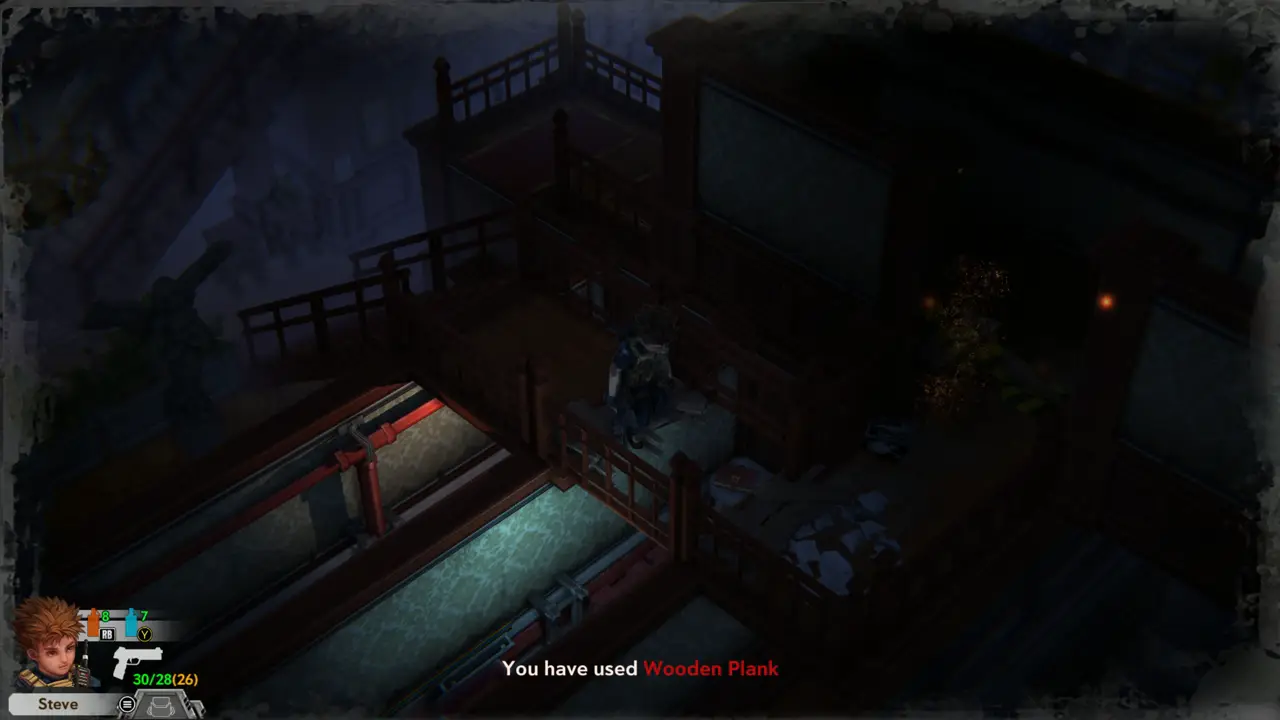
PUZZLE 11 Examine the fallen railing: “The fallen railing should have reached the ground, but it was missing a part.” Use the Wooden Plank on it (“You have used Wooden Plank”) to make a path up to the park wall.
Railing missing a part
You have used Wooden Plank
44
Park - east fence
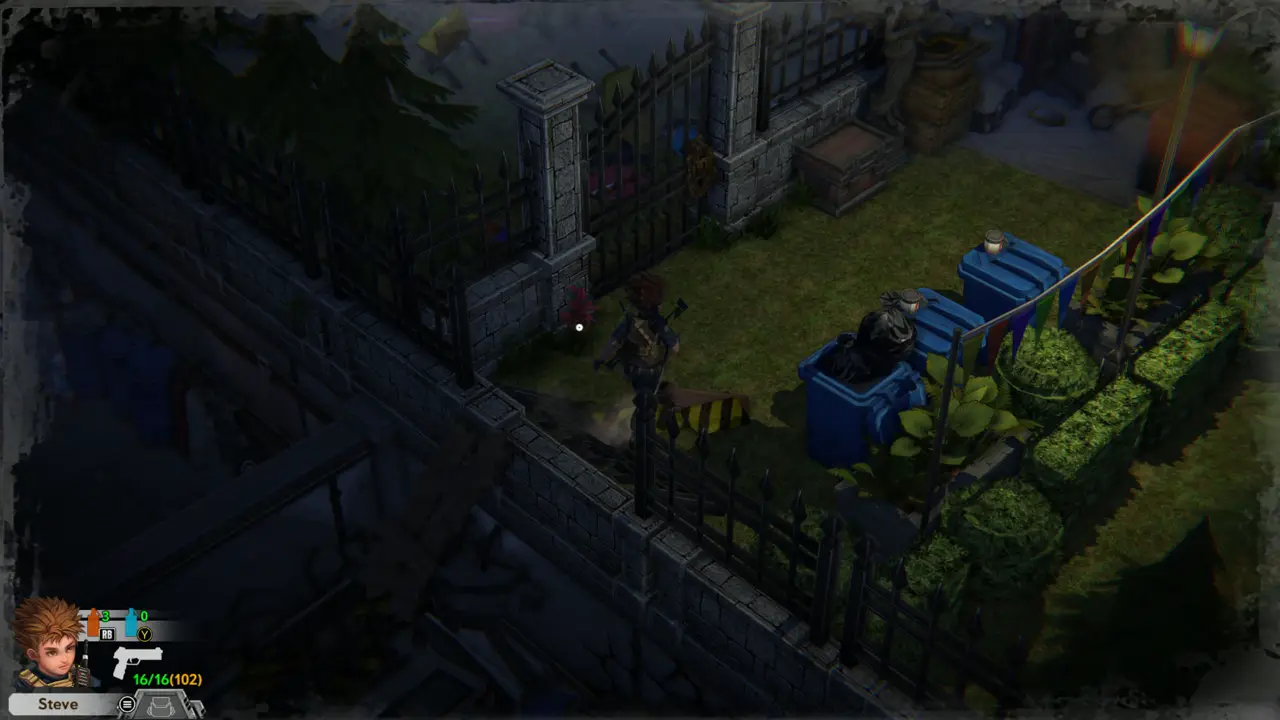
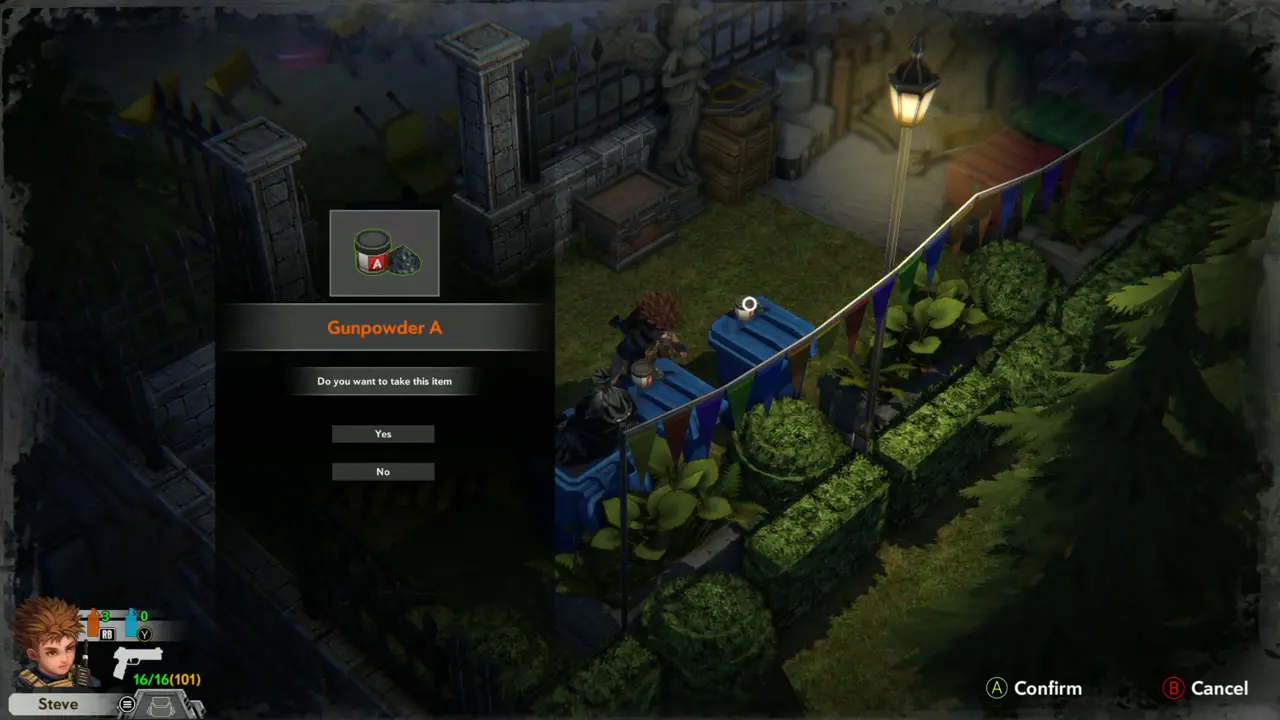
ITEM 61–63 Take the Green Herb from the van roof and the Red Herb beside the fence in the park. If “Inventory is full!” appears, open the park storage box and store spare items such as the Ammo Shells Pile, then take the Gunpowder A from the blue crates.
Red Herb by the fence
Gunpowder A prompt
Gunpowder A prompt

Part 6 — The park laser puzzle and the Underground Parking Lot

In-game goal. Find a way to venture deeper into the Old Lab Building.
1
Park - near the angel statues
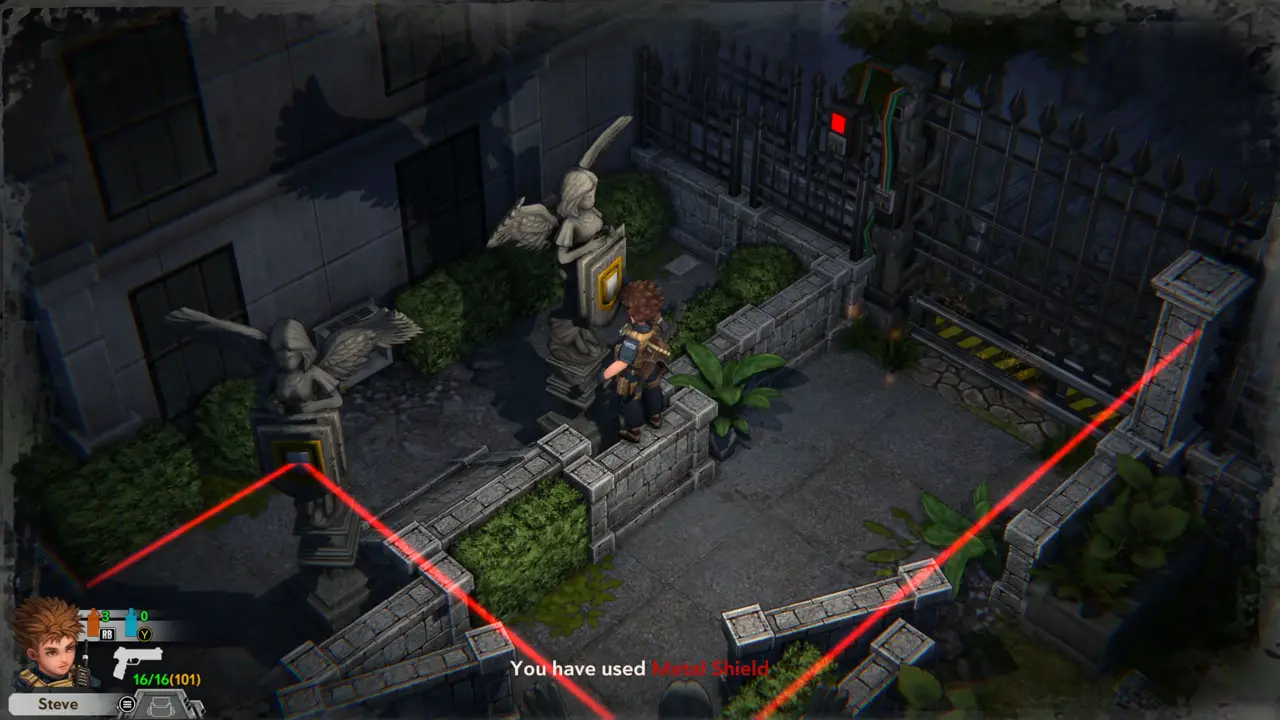
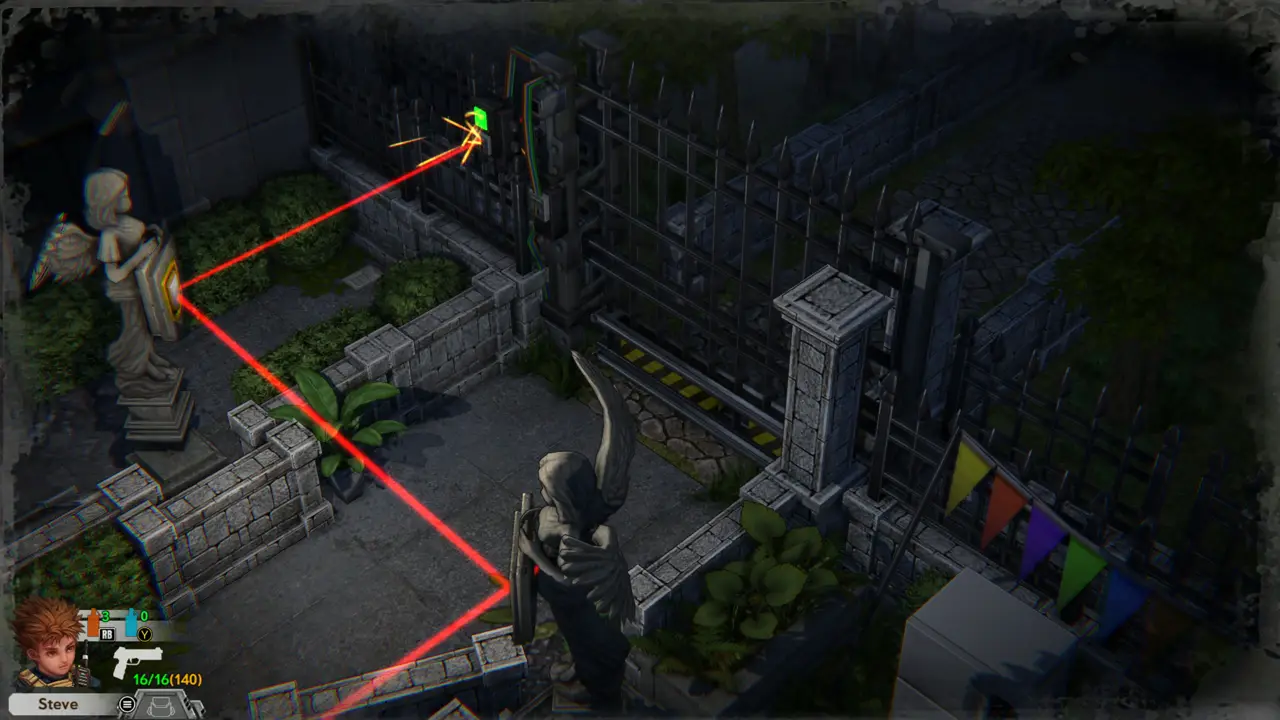
PUZZLE 1KEY ITEM 9 Use the Metal Shield on the shield-shaped slot of the second angel statue (“You have used Metal Shield”). A red laser beam now runs between the statues.
Metal Shield used on statue
Red laser between the statues
2
Park - near the stone pillar arch with green lights
PUZZLE 2NOTE Examine the stone pillar machine in the middle of the arch. It reads “A complex device. It is missing a gear.”
Pillar device interaction prompt
Missing-gear message
3
Park - picnic area with the projector
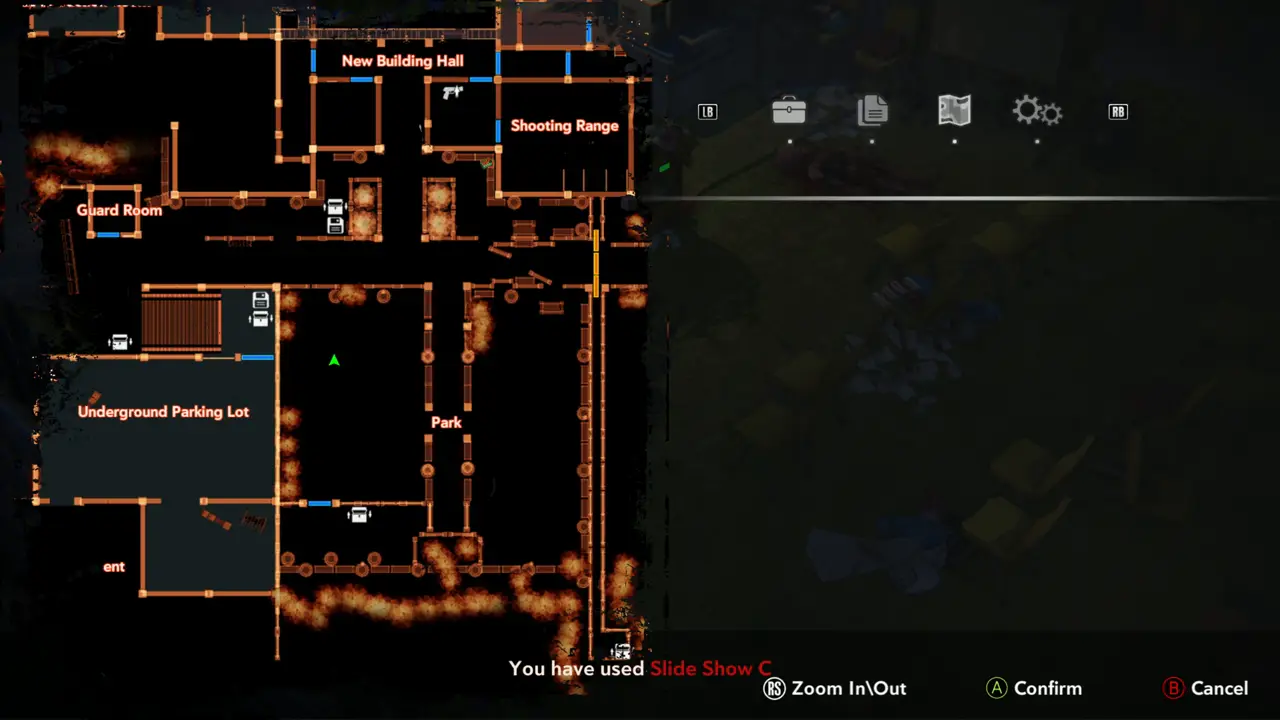
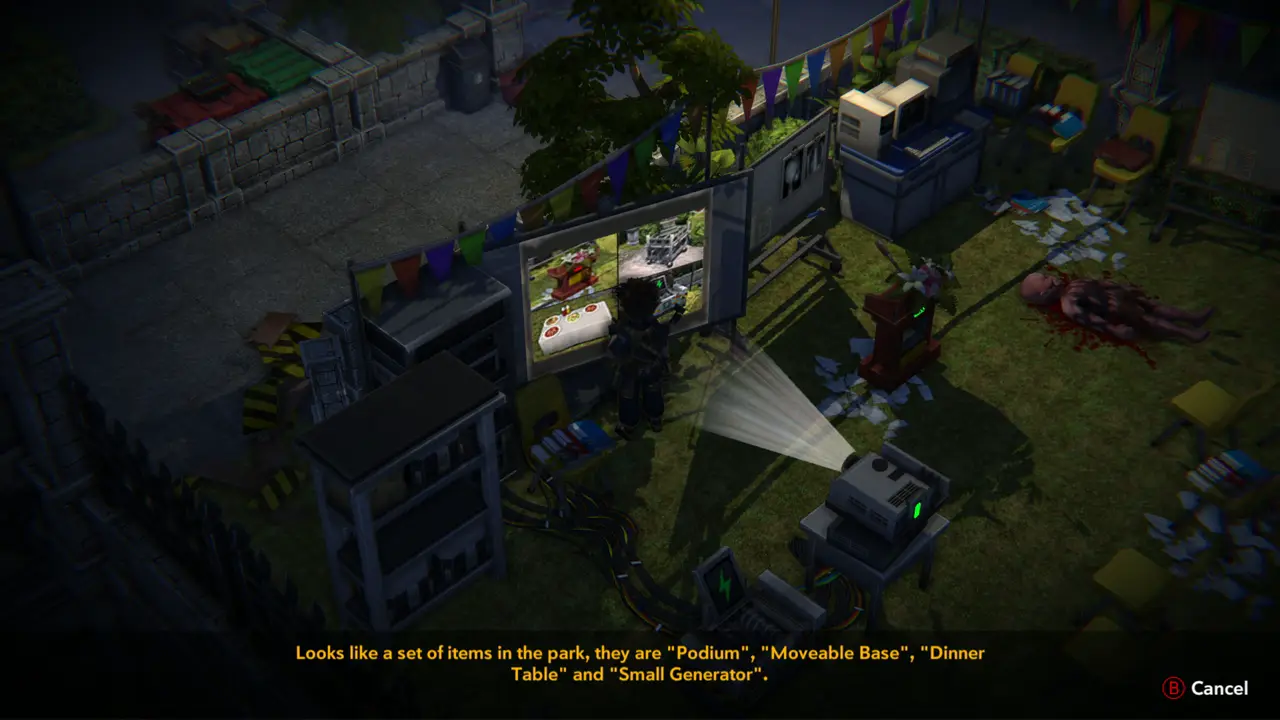
PUZZLE 3KEY ITEM 13NOTE Use Slide Show C on the working projector (“You have used Slide Show C”), then examine the projection screen. It shows four photos of park items: “Podium”, “Moveable Base”, “Dinner Table” and “Small Generator”.
Slide Show C used on projector
Four-photo clue text on screen
4
Underground Parking Lot - at the white car near the garage
ITEM 64 Take the Pistol Ammo behind the white car with the hazard planks.
Pistol Ammo pickup prompt
5
Underground Parking Lot - platform near the Mountain Tunnel
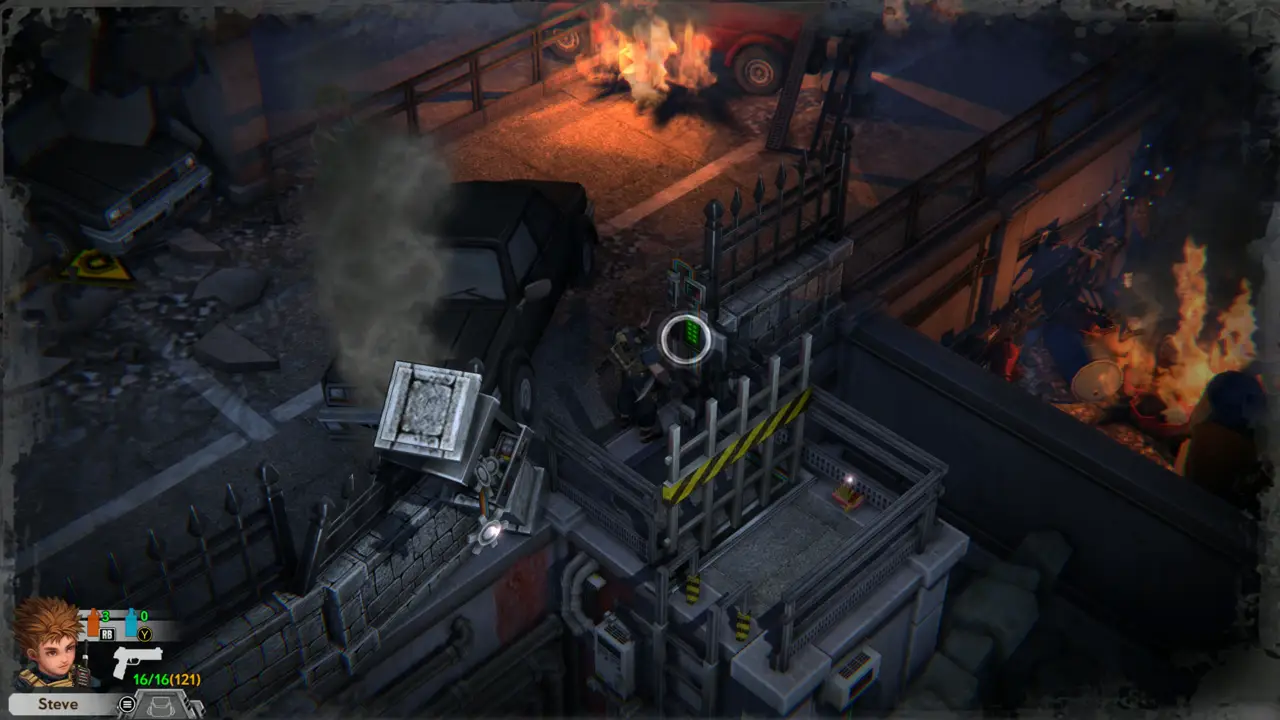
DOOR Climb to the raised metal platform with the hazard railing and examine the keypad. It needs a 4-digit code.
Platform seen from the road
Empty keypad on the platform
6
Underground Parking Lot - rubble by the burning red truck
FIGHT Zombies attack on the road next to the rubble. Shoot them as they approach and back away along the barrier.
Zombie attack near the keypad
Zombie shot down
Zombie shot down
7
Underground Parking Lot - rubble pile with the hazard sign
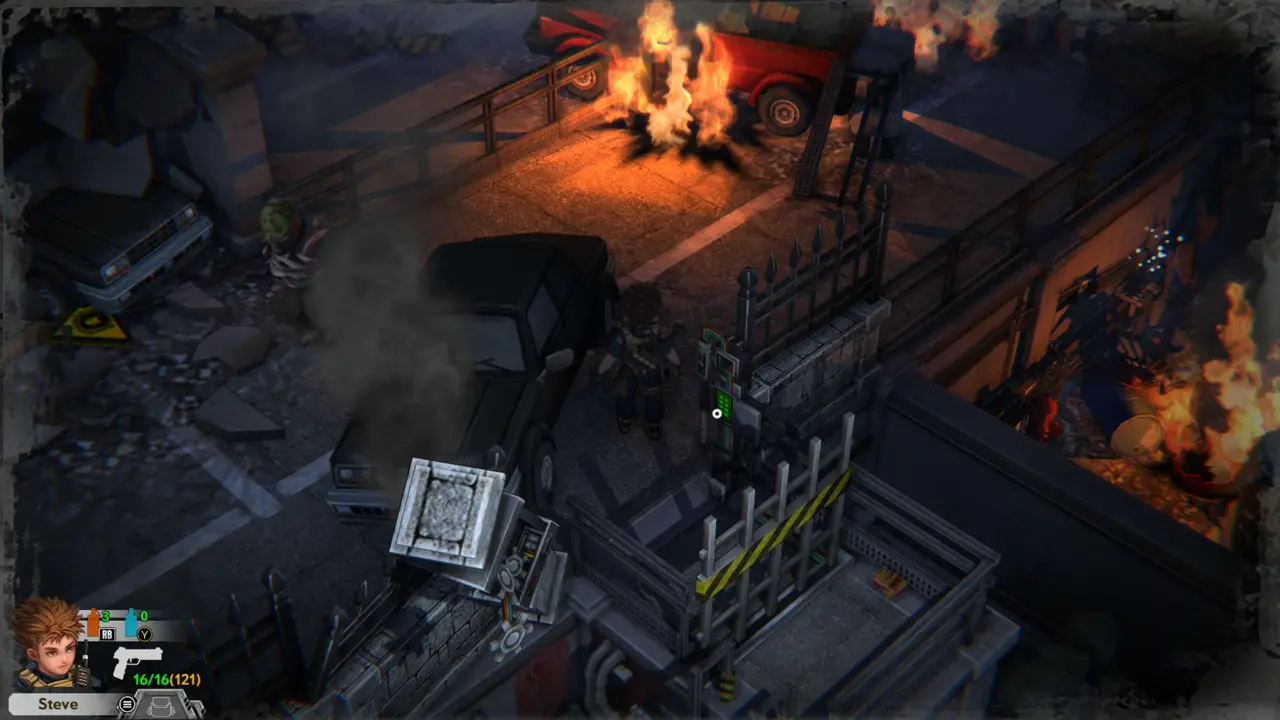
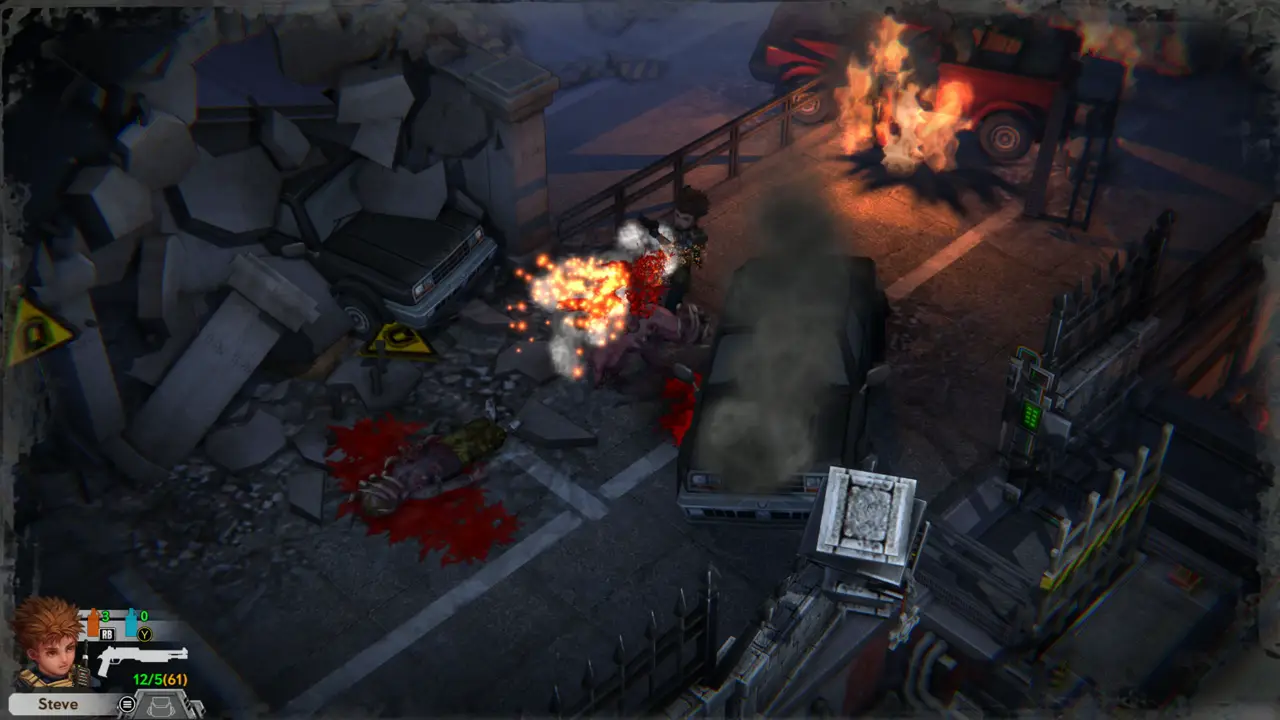
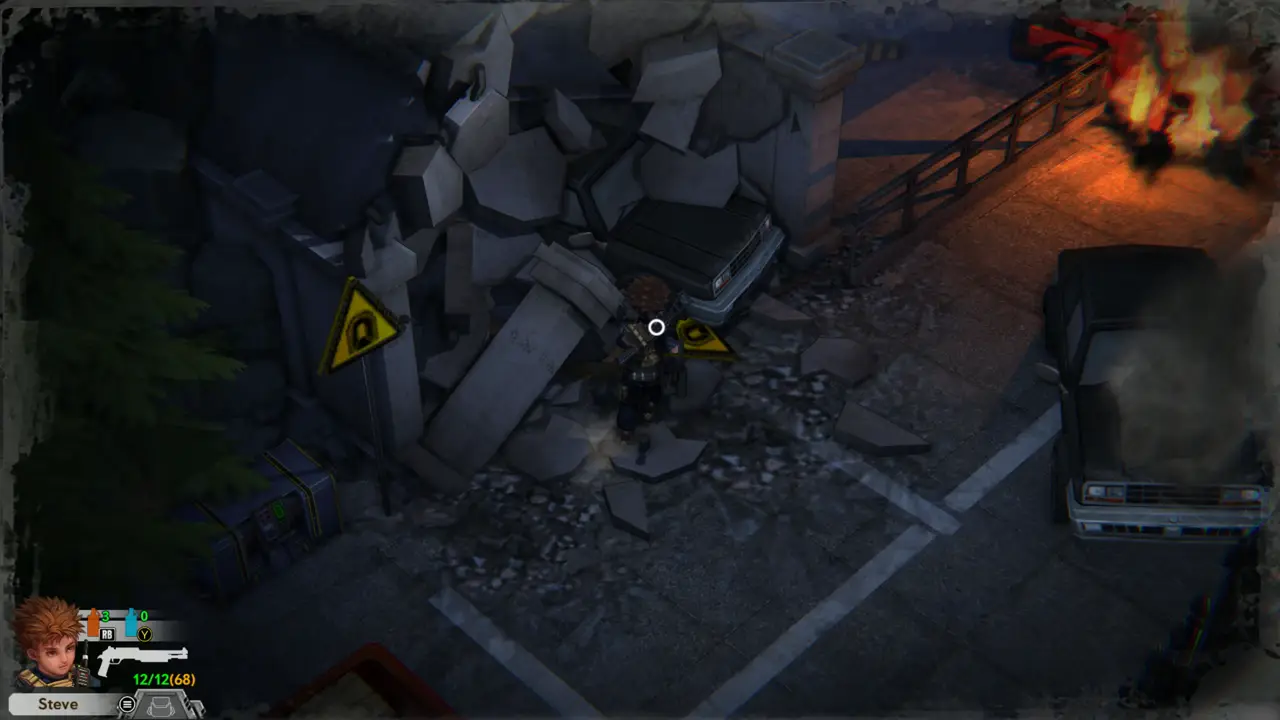
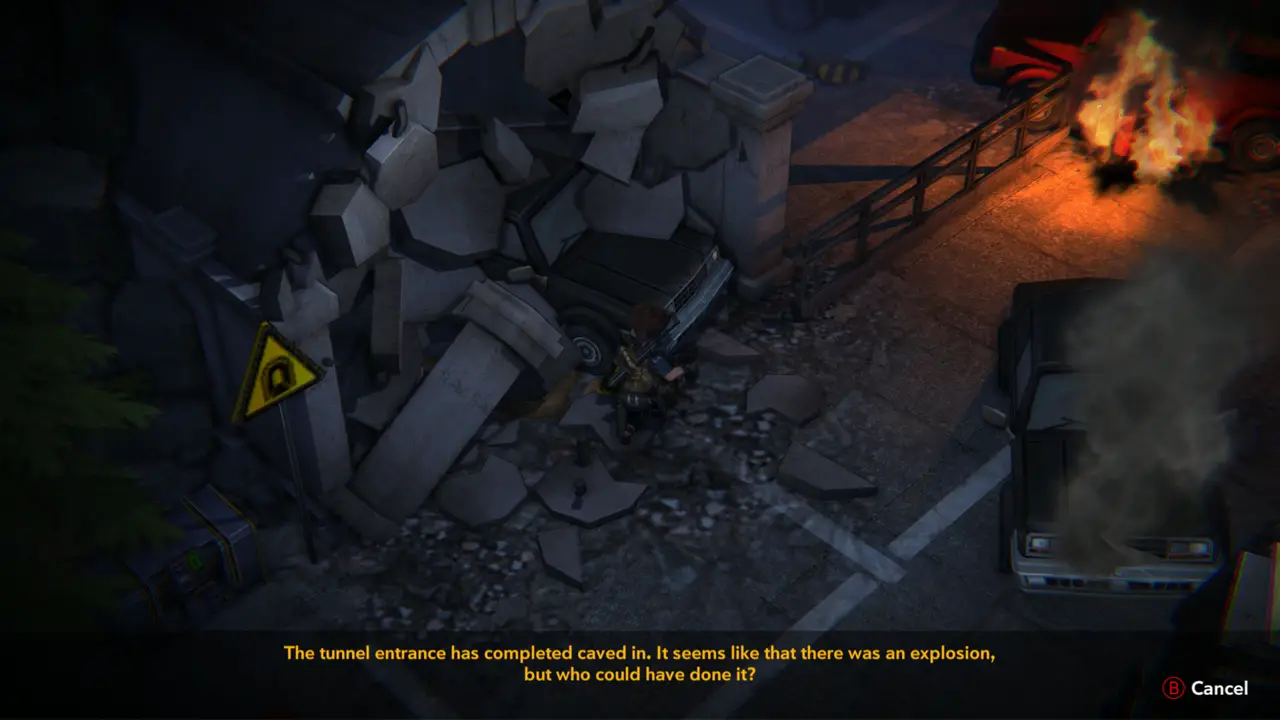
NOTE Examine the rubble pile with the yellow hazard sign. The tunnel entrance has completely caved in after an explosion, so the Mountain Tunnel is blocked.
Rubble with hazard sign
Tunnel cave-in message
8
Underground Parking Lot - platform near the Mountain Tunnel
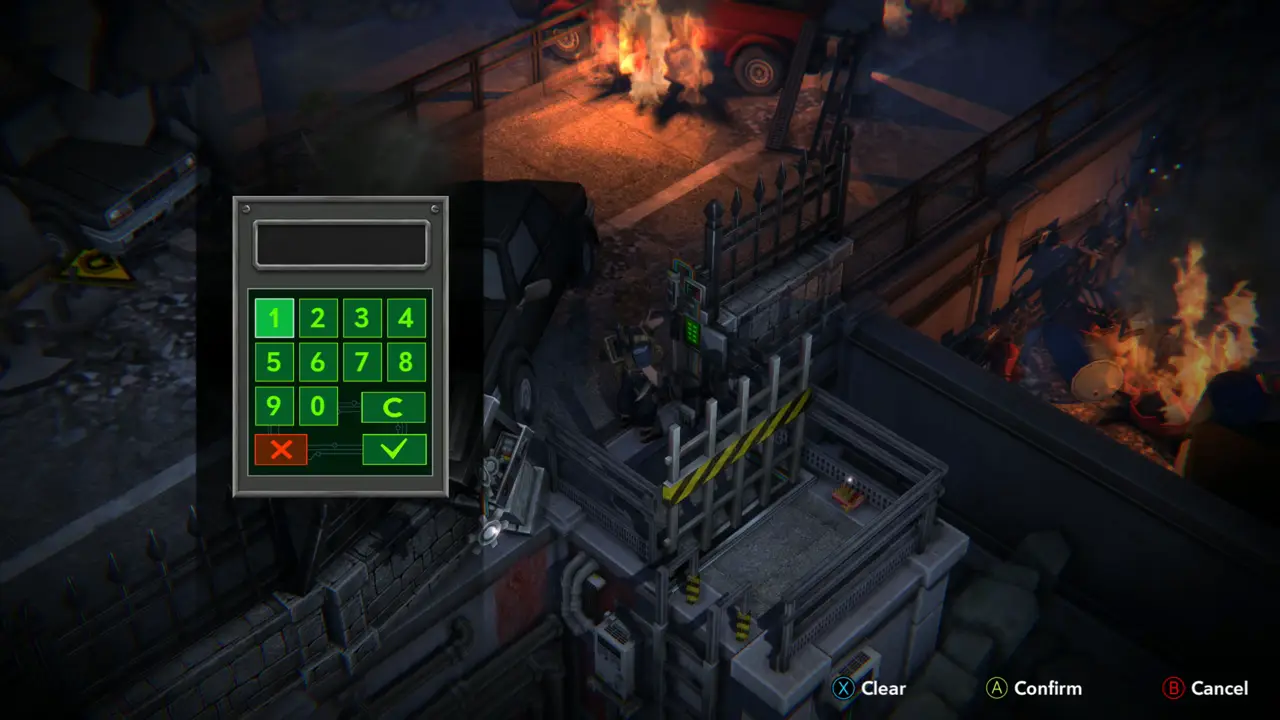
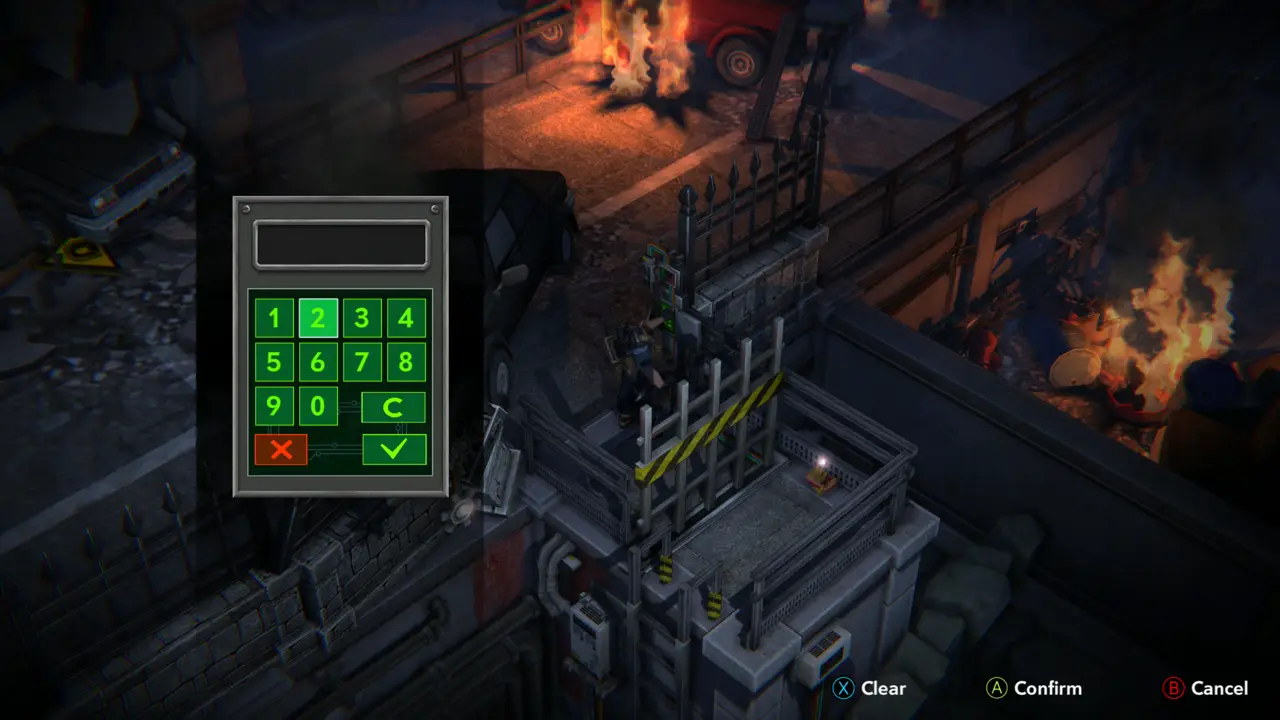
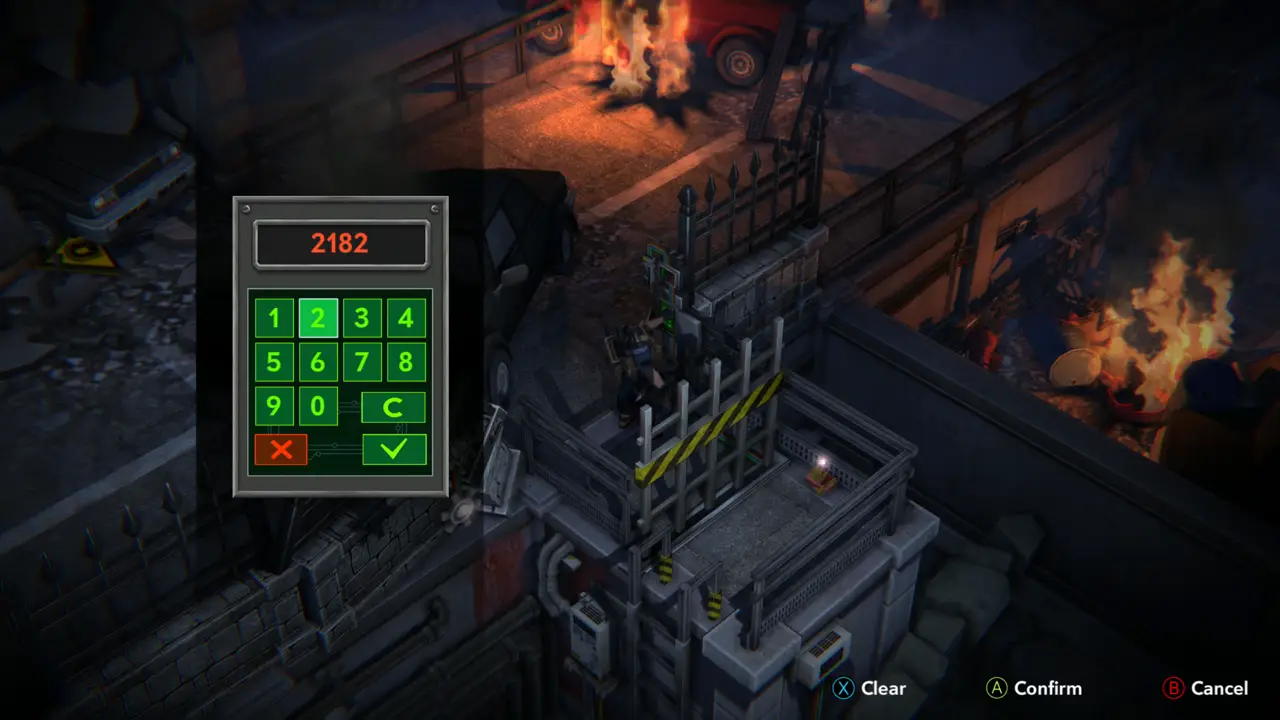
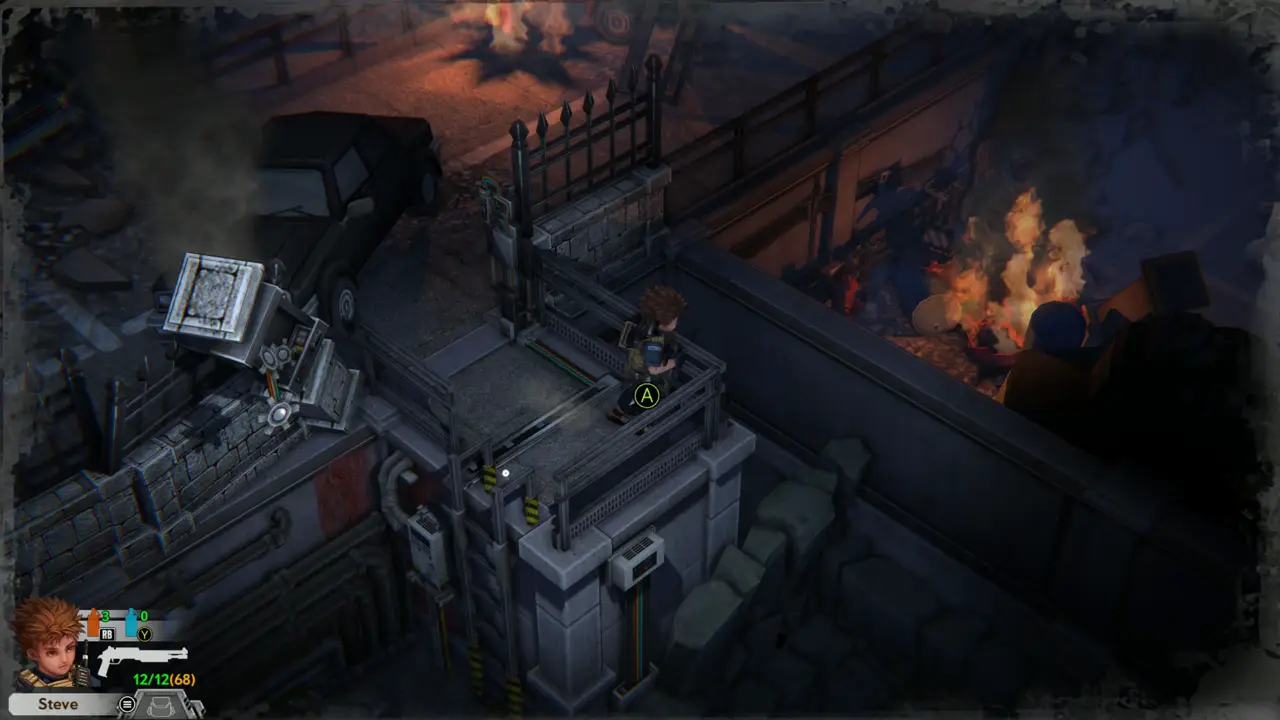
CODE 4DOORPUZZLE 4 Return to the keypad on the platform and type 2182, then confirm. The metal hatch beside the platform flips open.
Keypad on the platform
2182 typed on keypad
9
Underground Parking Lot - pit below the platform
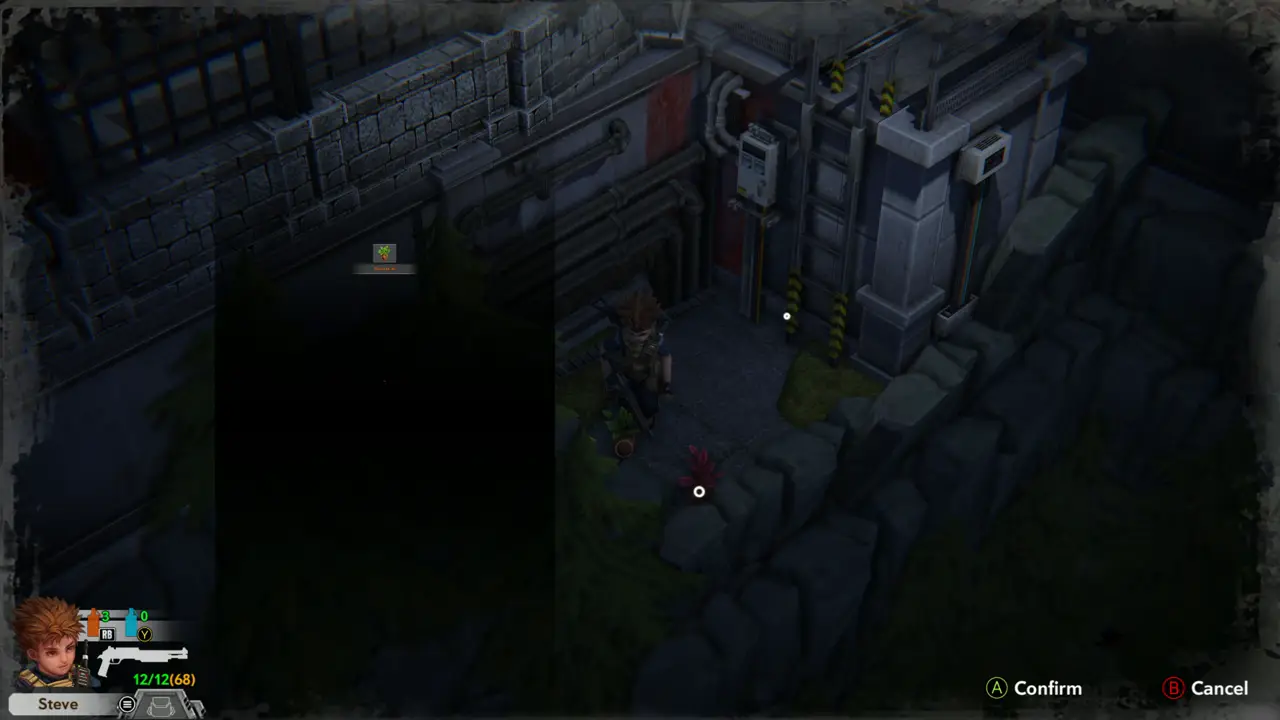
ITEM 66–68 Climb down the ladder into the pit behind the platform and take the Pistol Ammo, the Green Herb and the Red Herb lying on the ground.
Pistol Ammo pickup prompt
Herbs in the pit
Herbs in the pit
10
Underground Parking Lot - storage box near the burning red truck
NOTE If the game says “Inventory is full!”, open the storage box by the P sign and store spare items there. The box lists Mixed Powder, herbs and spare items.
Storage box list
Storage box list
11
Park - angel statue and pillar arch
PUZZLE 5KEY ITEM 10DOOR Go back to the pillar machine with green lights and use the Gear on it. Sparks fly from the machine, and the red laser now bounces off the statues and hits the green sensor on the iron gate, which opens. Walk through the gate towards the cemetery.
Gear used on pillar device
Laser hits gate sensor
12
Graveyard approach - stone path
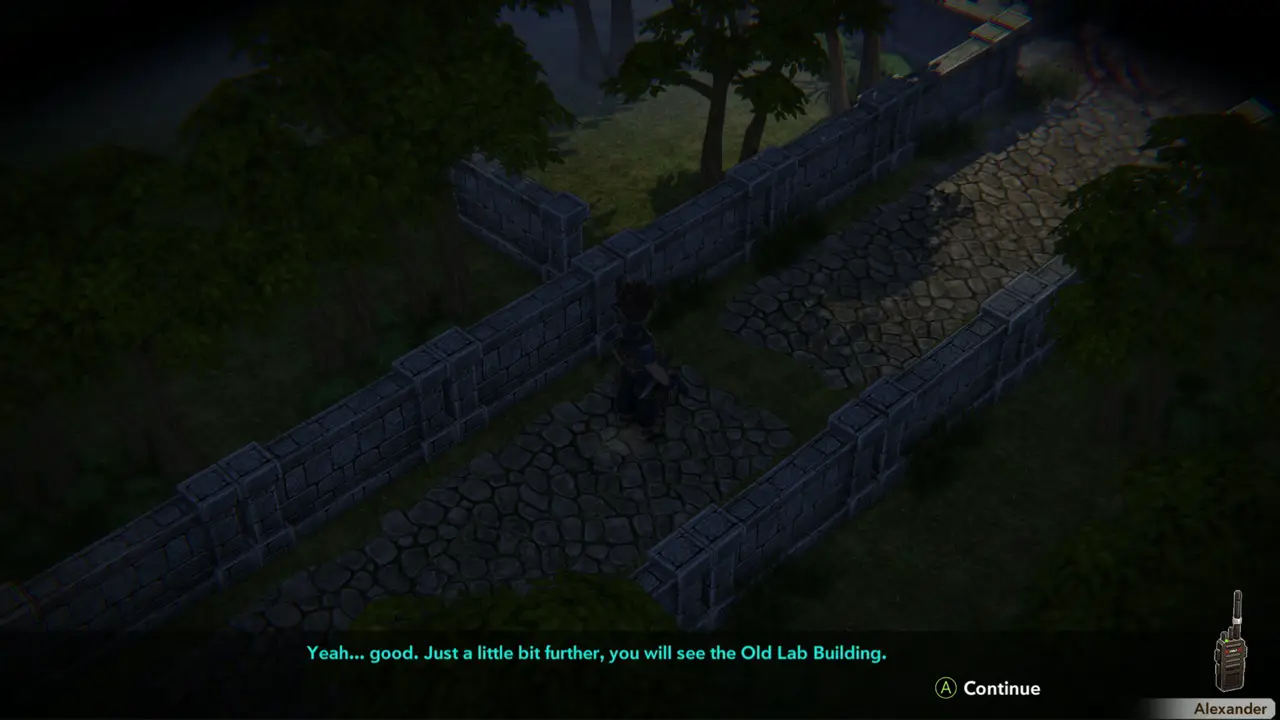
NOTE On the path to the cemetery Alexander calls on the radio: the Old Lab Building is just ahead. He explains that the facility has a time bomb system: virus trackers transmit data, and once the evaluated number reaches its limit, the bombs go off. The pause screen objective becomes “Find a way to venture deeper into the Old Lab Building”.
Alexander radio call
Alexander radio call, second line
13
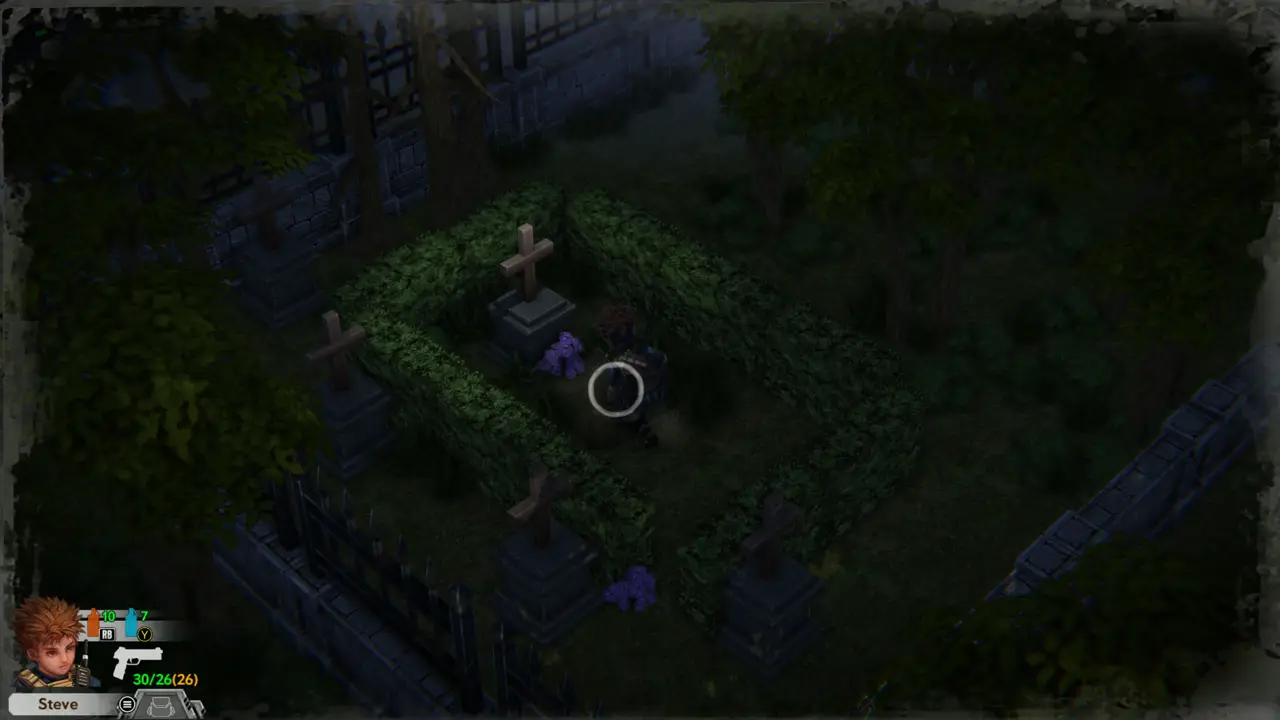
Graveyard - walled yard by the iron gate
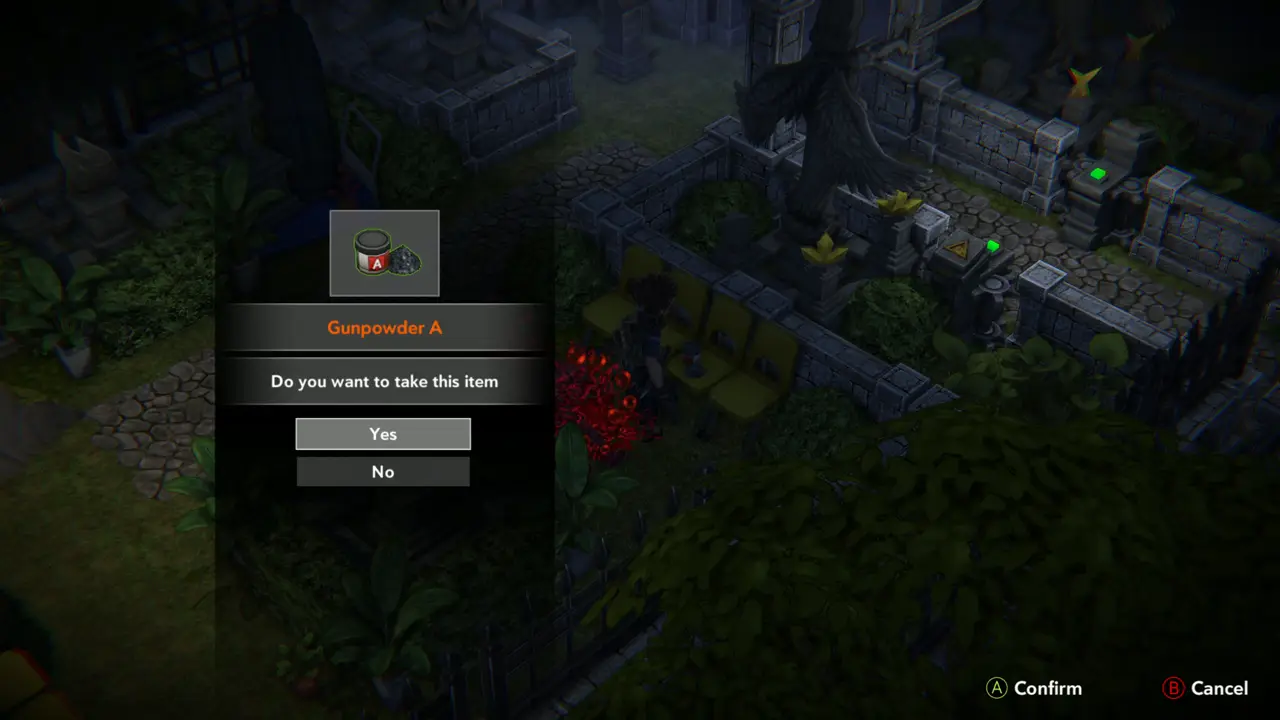
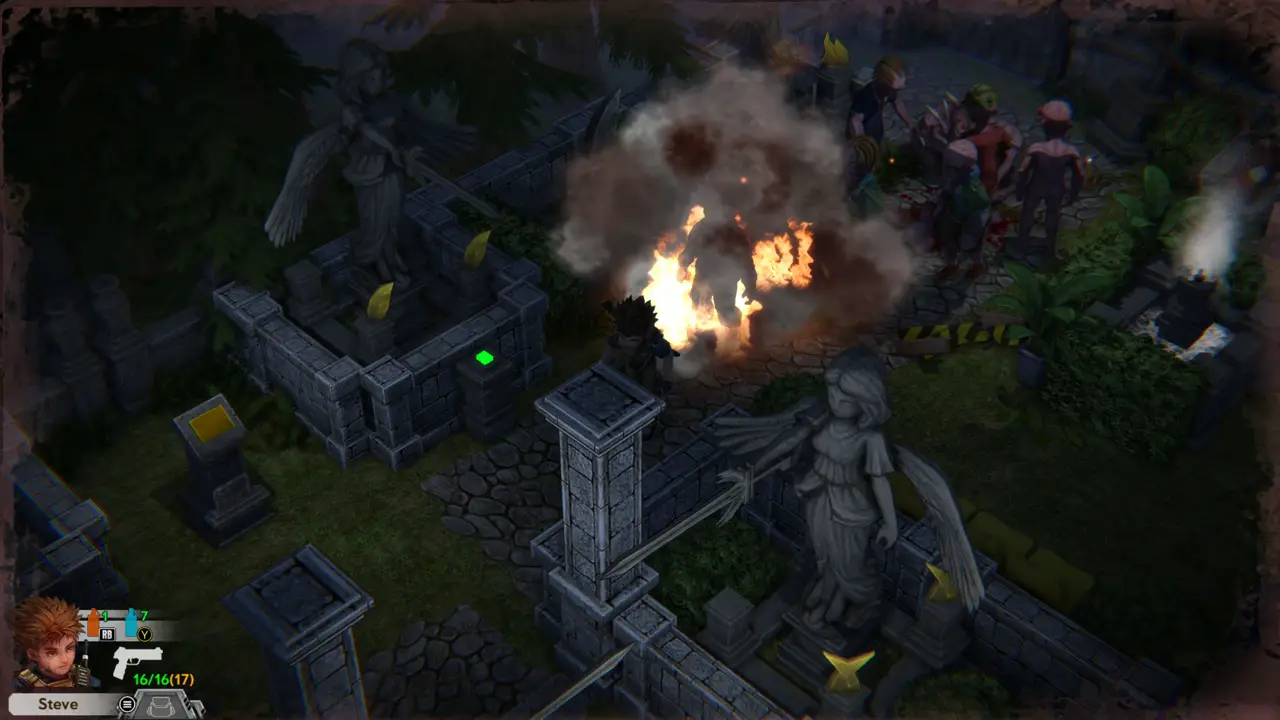
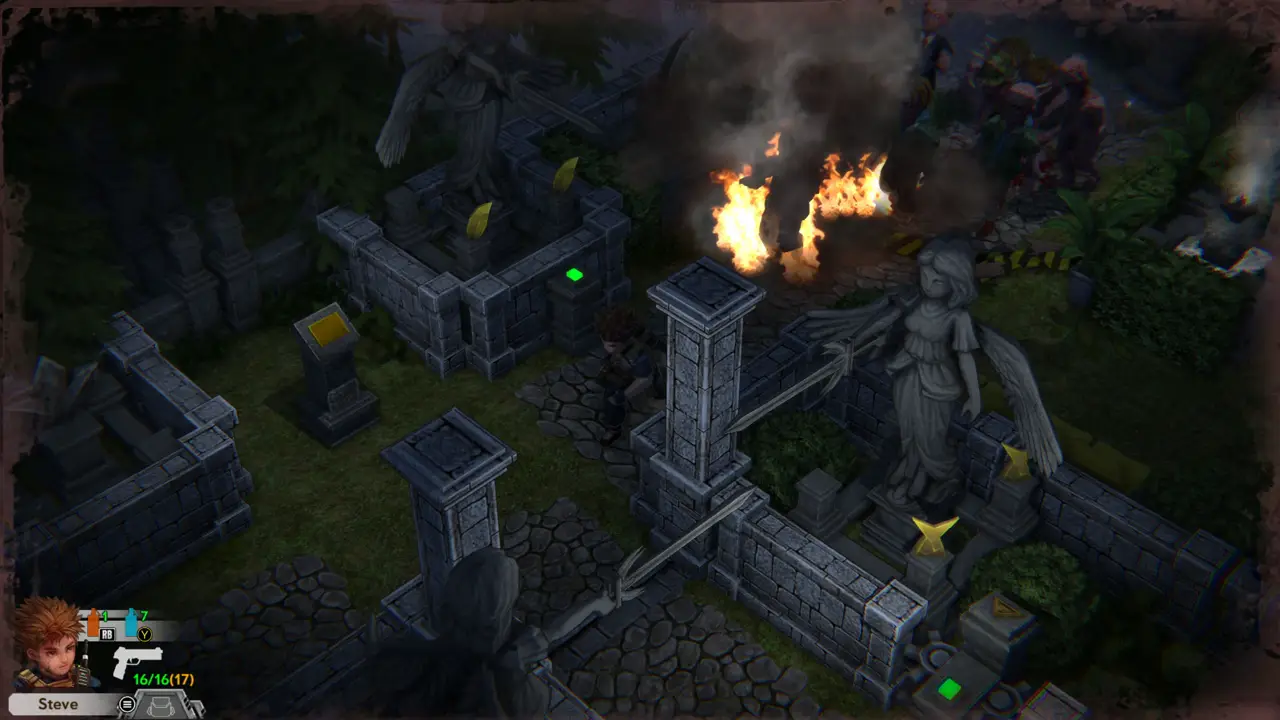
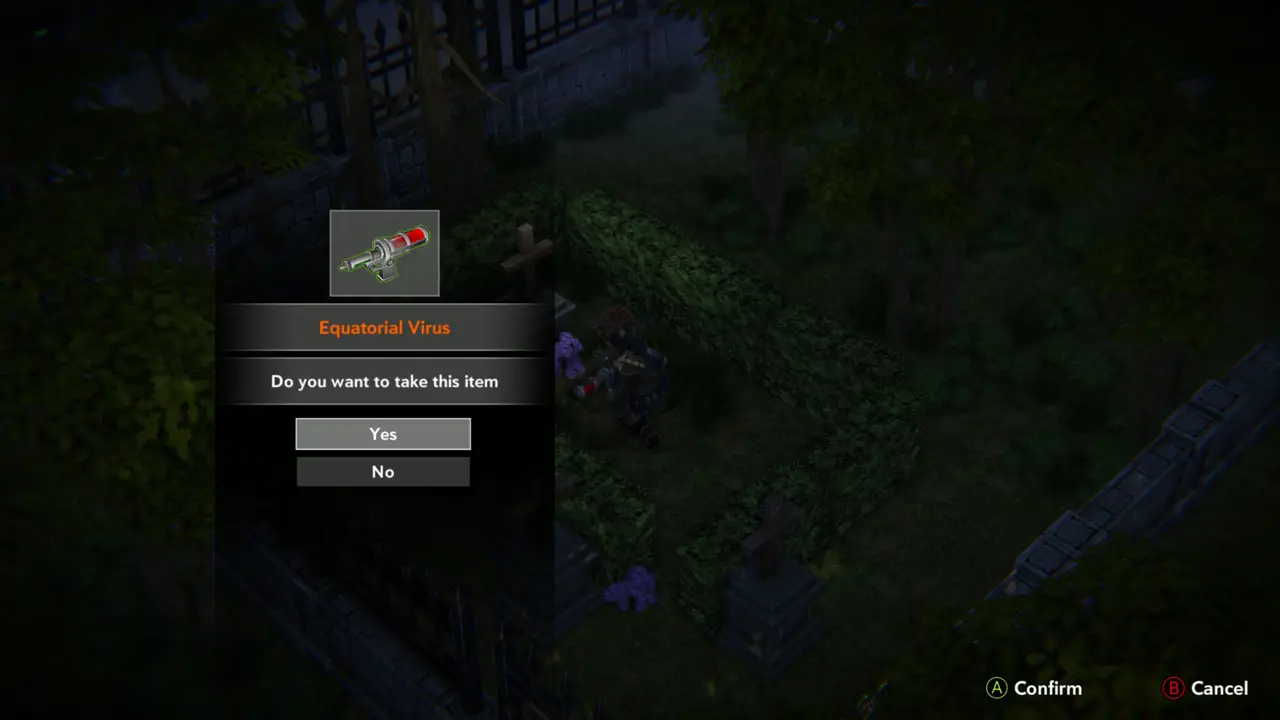
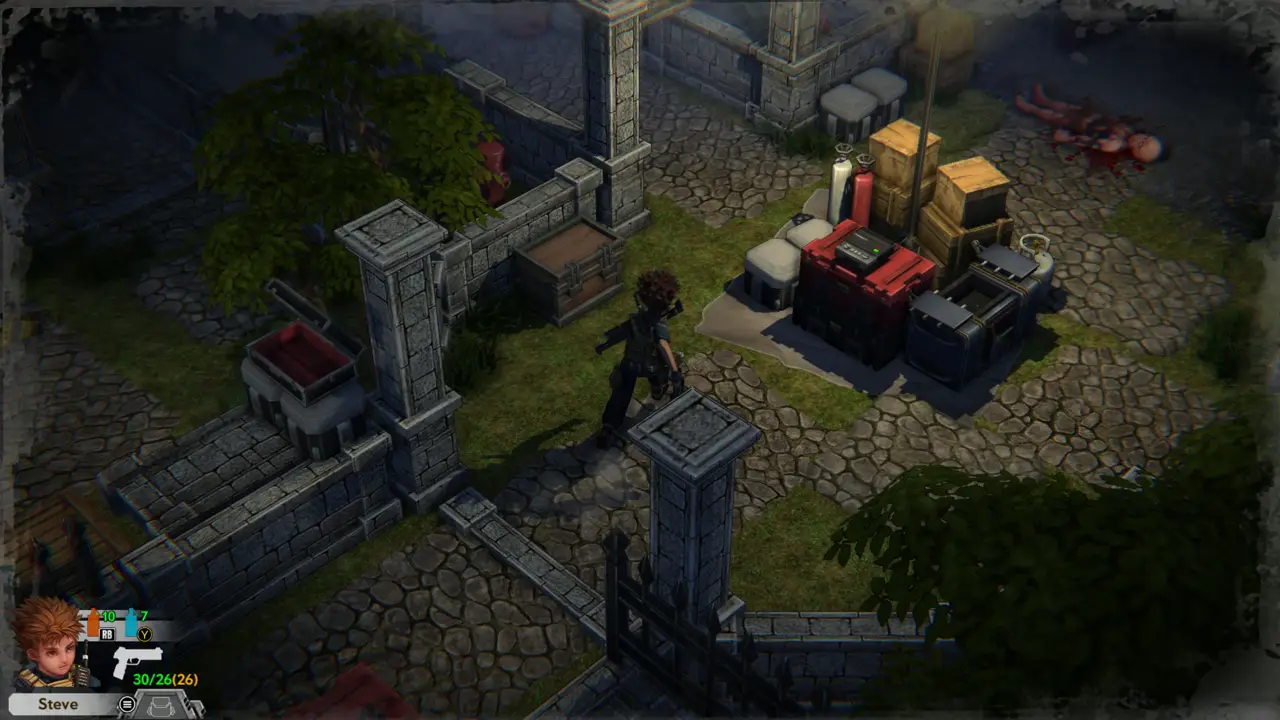
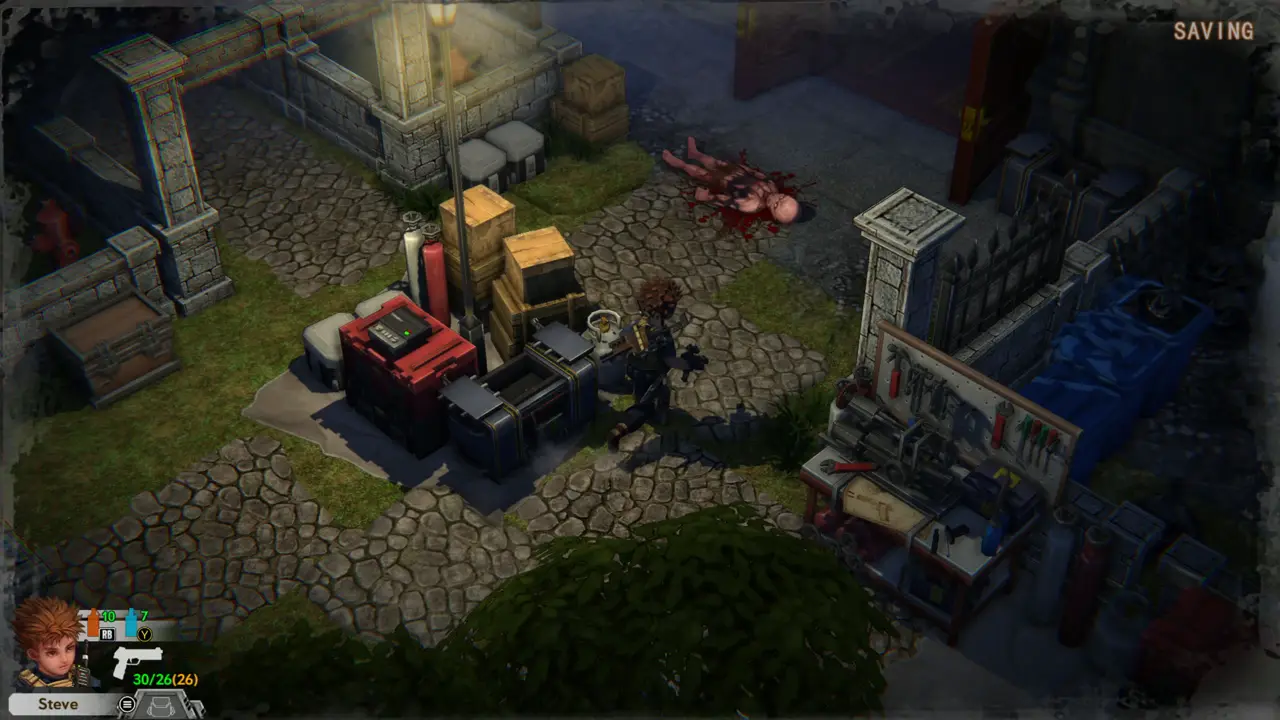
FIGHTITEM 69–70 Shoot the purple zombie at the iron gate and the other zombies between the graves, then loot the yard. Take the Pistol Ammo near the crates, the Gunpowder B beside the gas bottles and sink, and the Ammo Shells Pile by the red crate.
Pistol Ammo pickup prompt
Gunpowder B pickup prompt
14
Graveyard - near the red crate
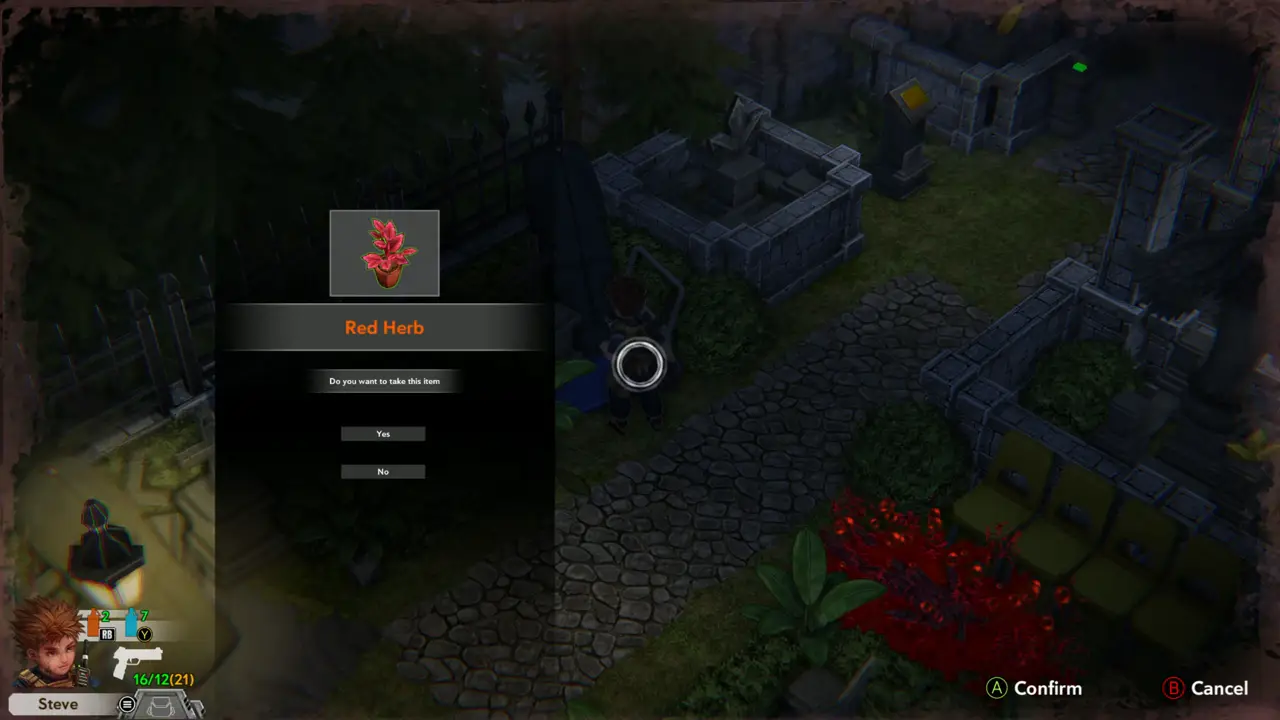
ITEM 72–73 Take the Gunpowder A next to the red crate, then the Green Herb in the hedge corner at the far fence.
Gunpowder A pickup prompt
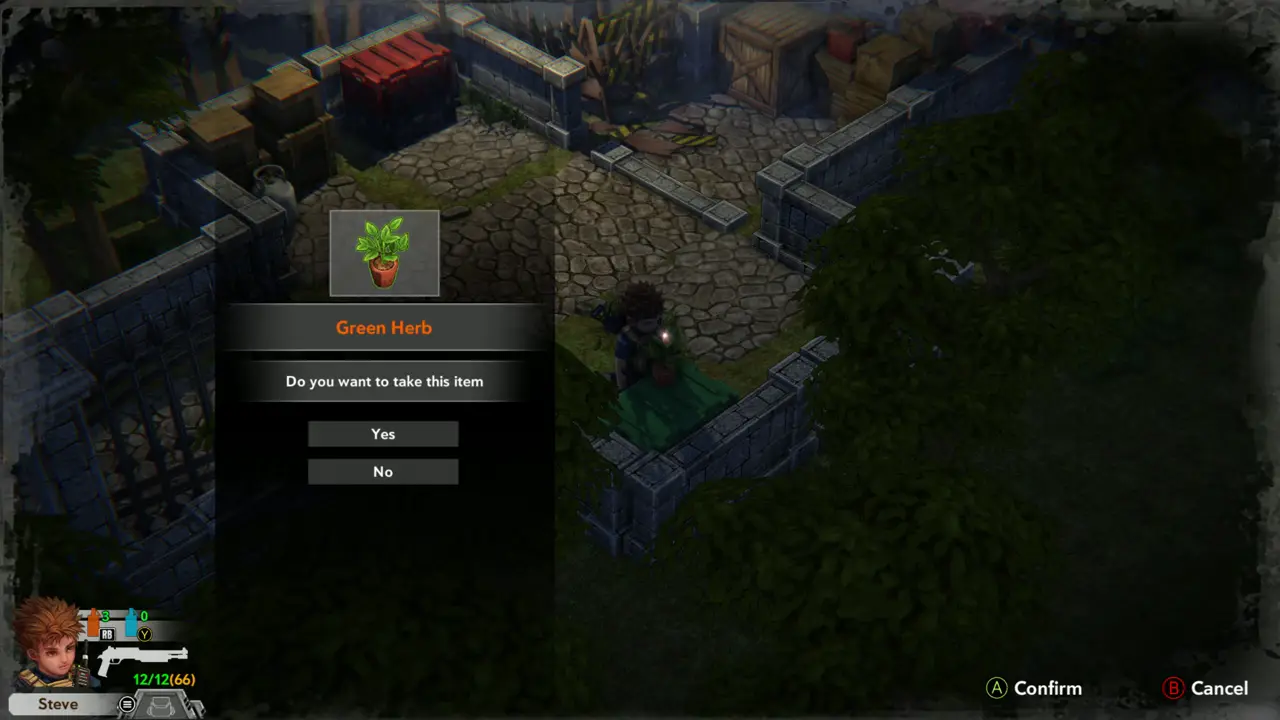
Green Herb pickup prompt
15
Graveyard - wall of the Wood Cabin
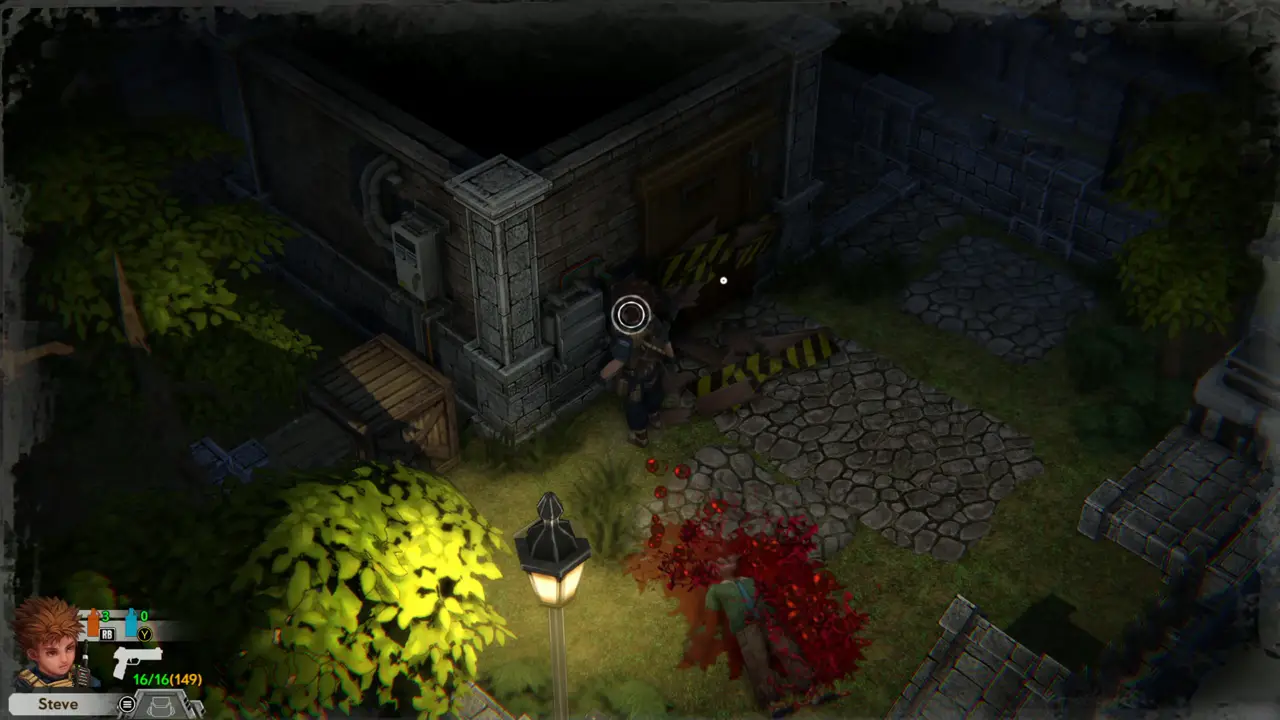
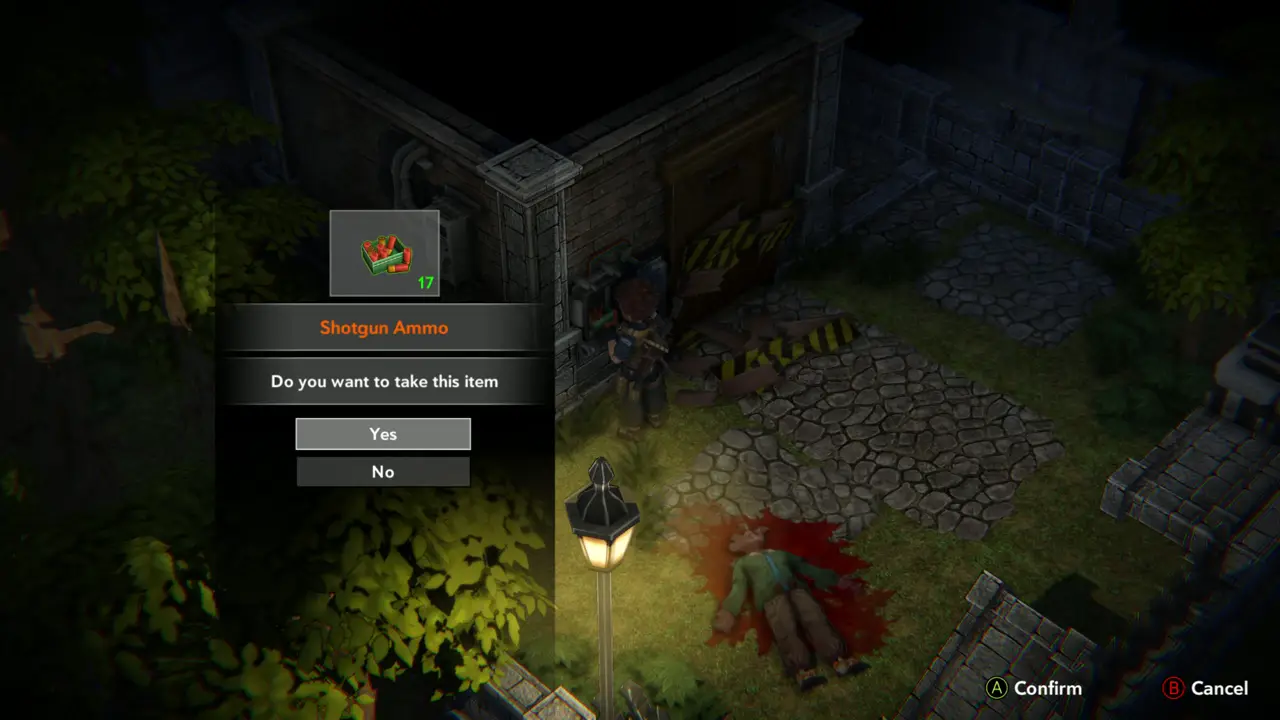
ITEM 74 Walk to the wall of the cabin under the street lamp and take the Shotgun Ammo.
Cabin wall and street lamp
Shotgun Ammo pickup prompt
16
Graveyard - Wood Cabin
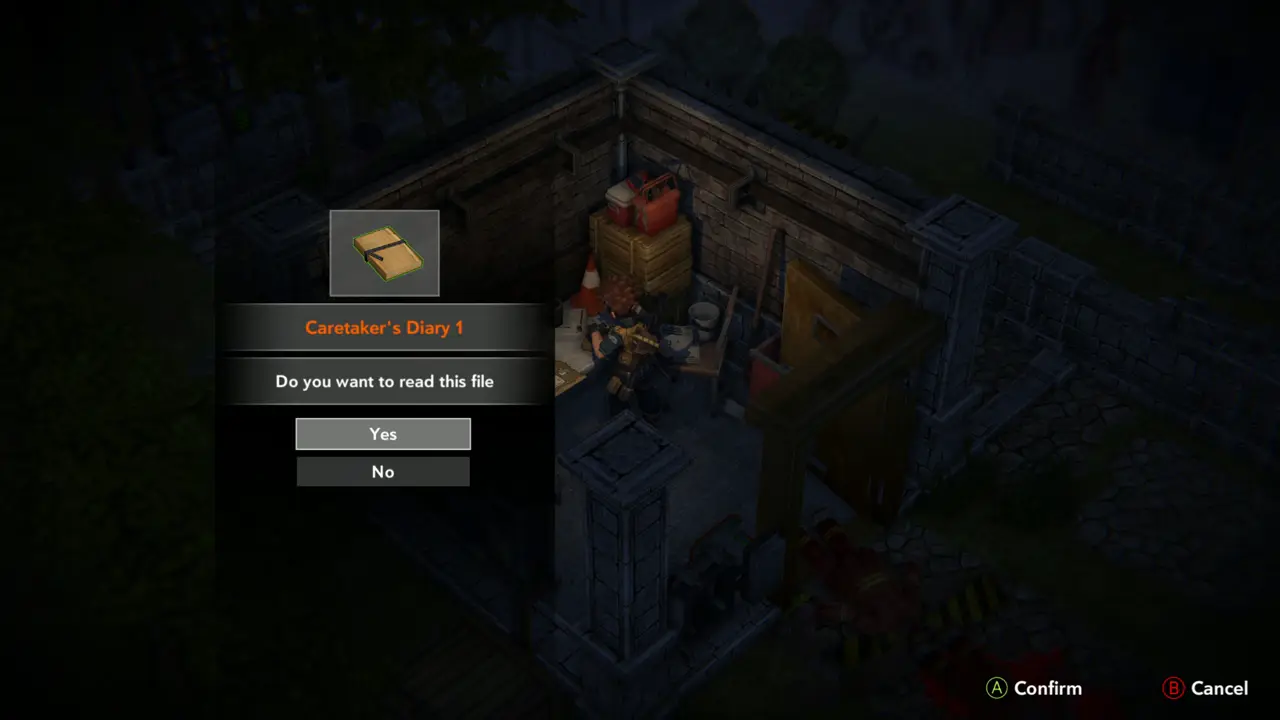
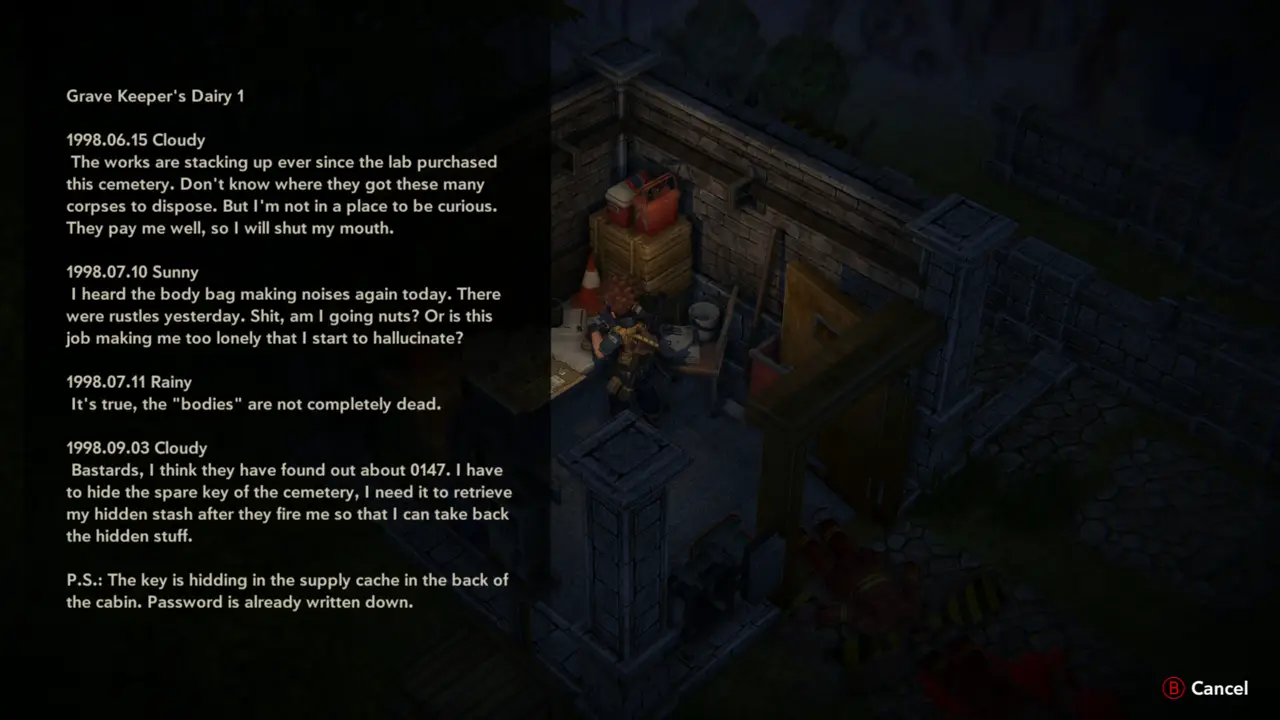
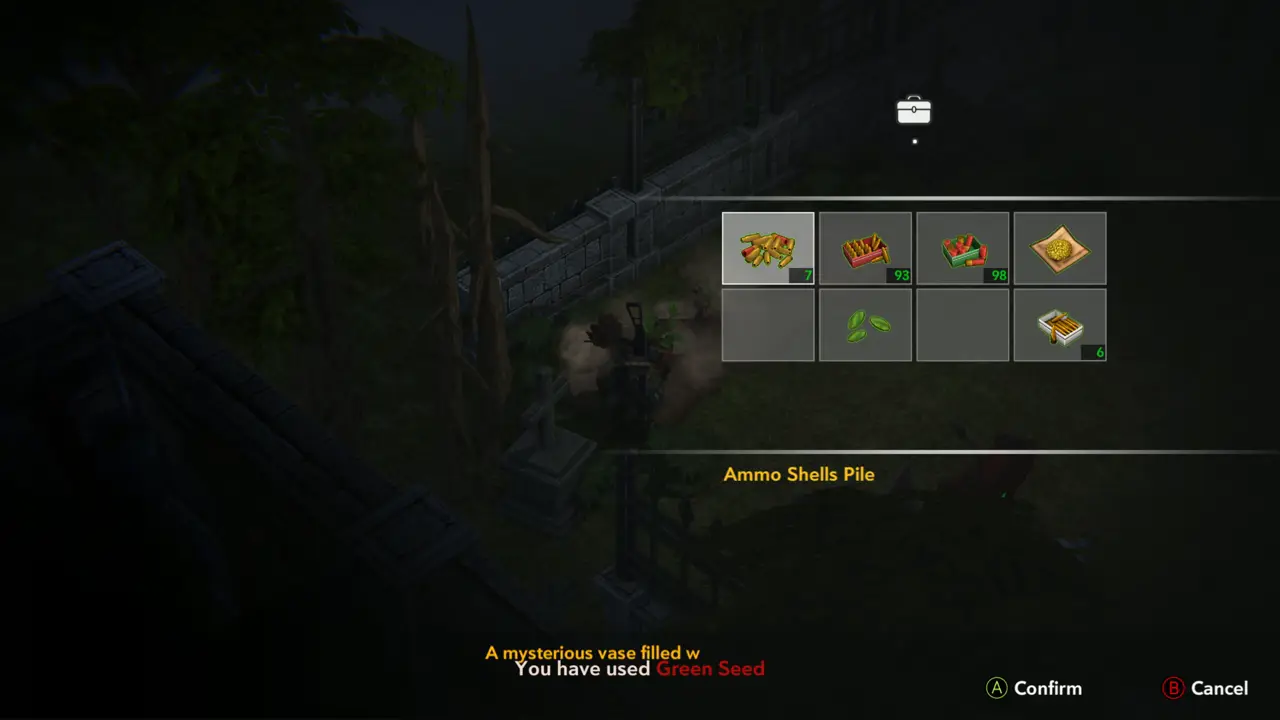
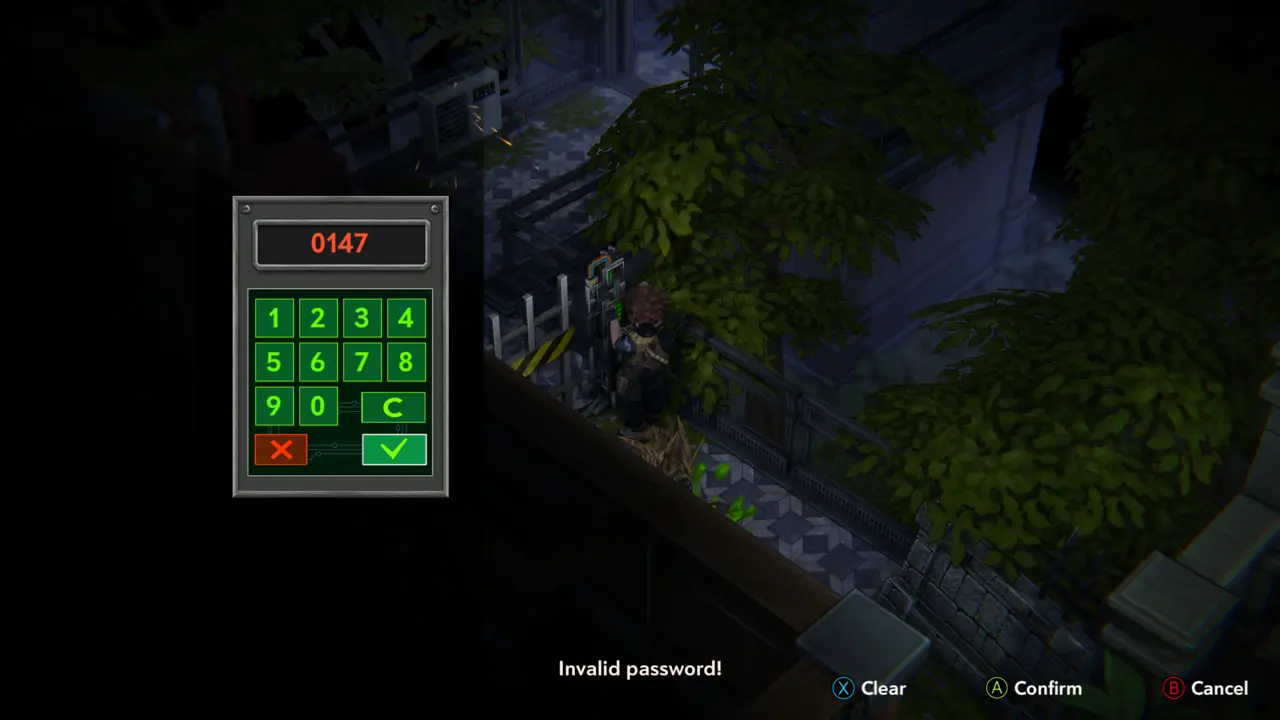
FILE 31NOTE Enter the Wood Cabin and read Caretaker's Diary 1 on the desk. It ends: “The key is hidding in the supply cache in the back of the cabin. Password is already written down.” The number it names is 0147.
Caretaker's Diary 1 prompt
Diary text on screen
17
Graveyard - Wood Cabin
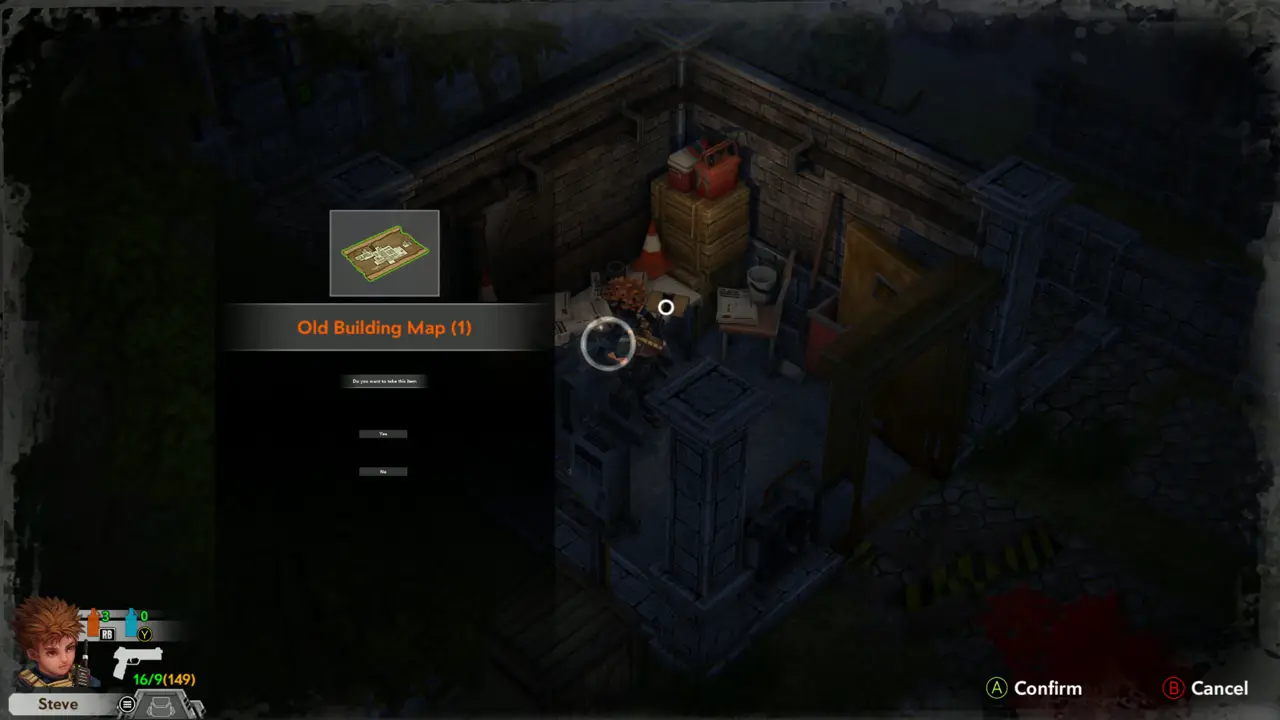
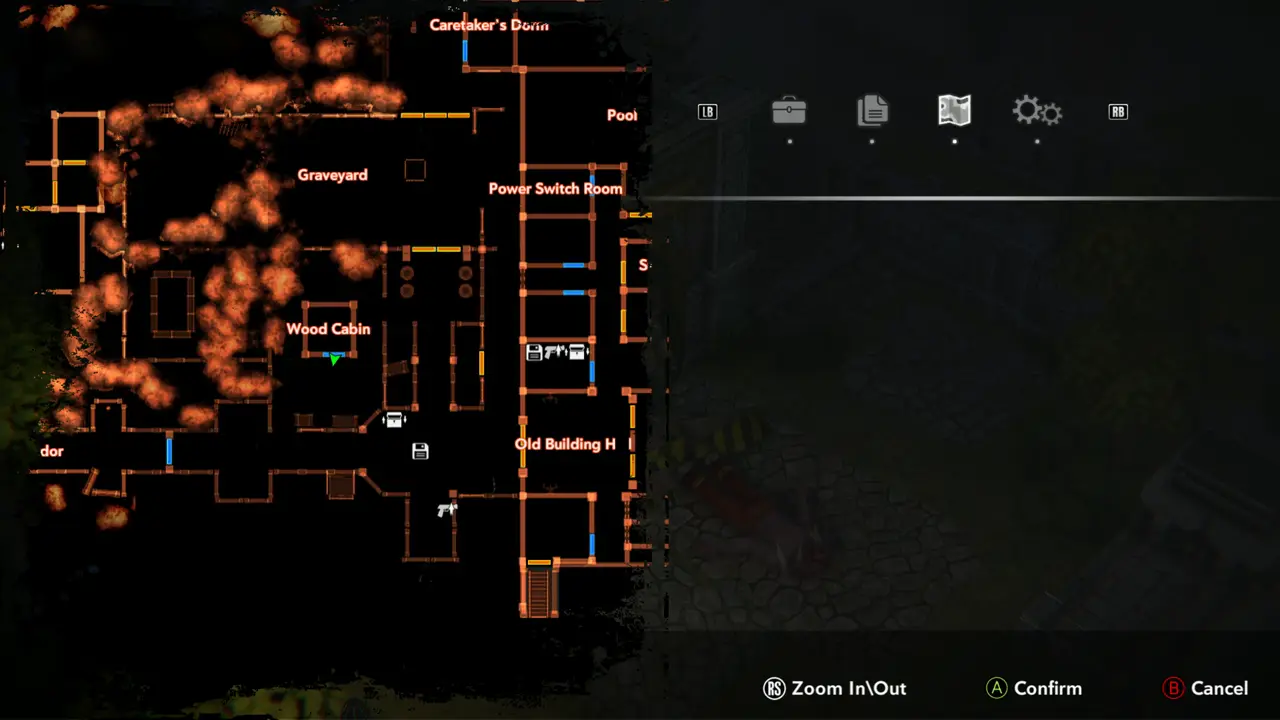
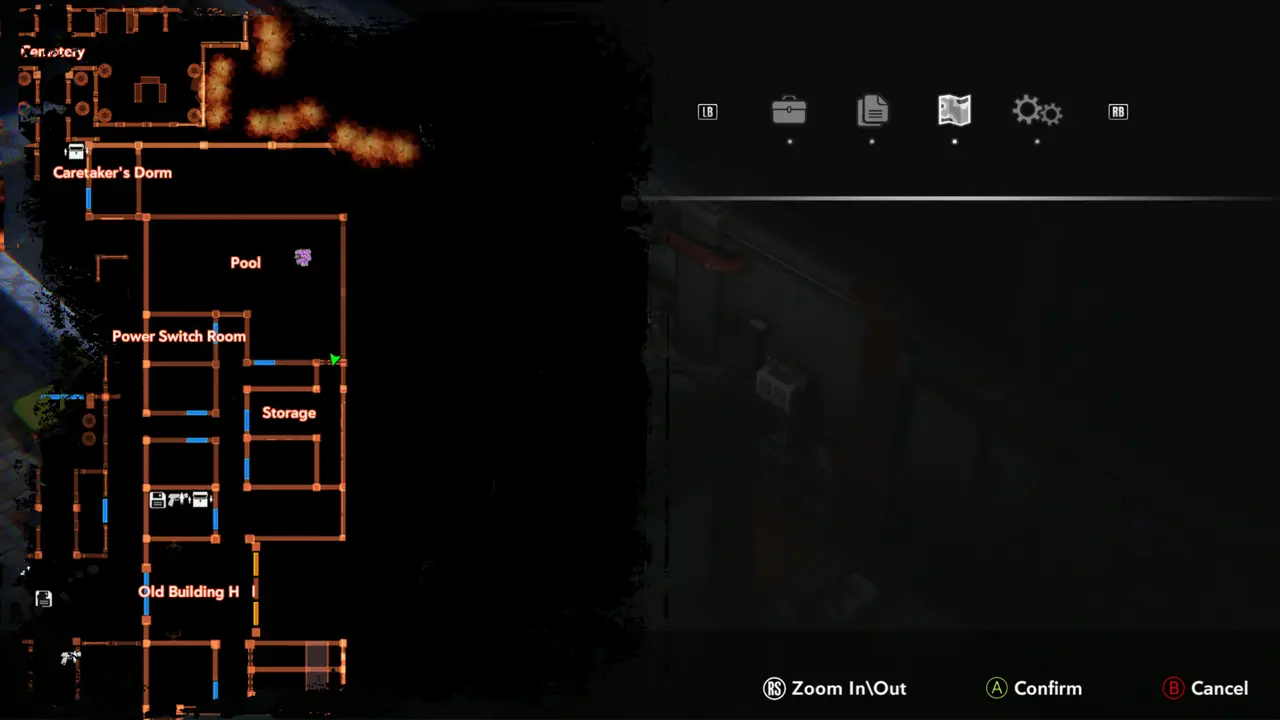
ITEM 75MAP Take the Old Building Map (1) from the desk and open the map. It shows the Graveyard, Wood Cabin, Power Switch Room and Old Building Hall.
Old Building Map pickup prompt
Map showing the Wood Cabin
18
Graveyard - fence above the Wood Cabin yard
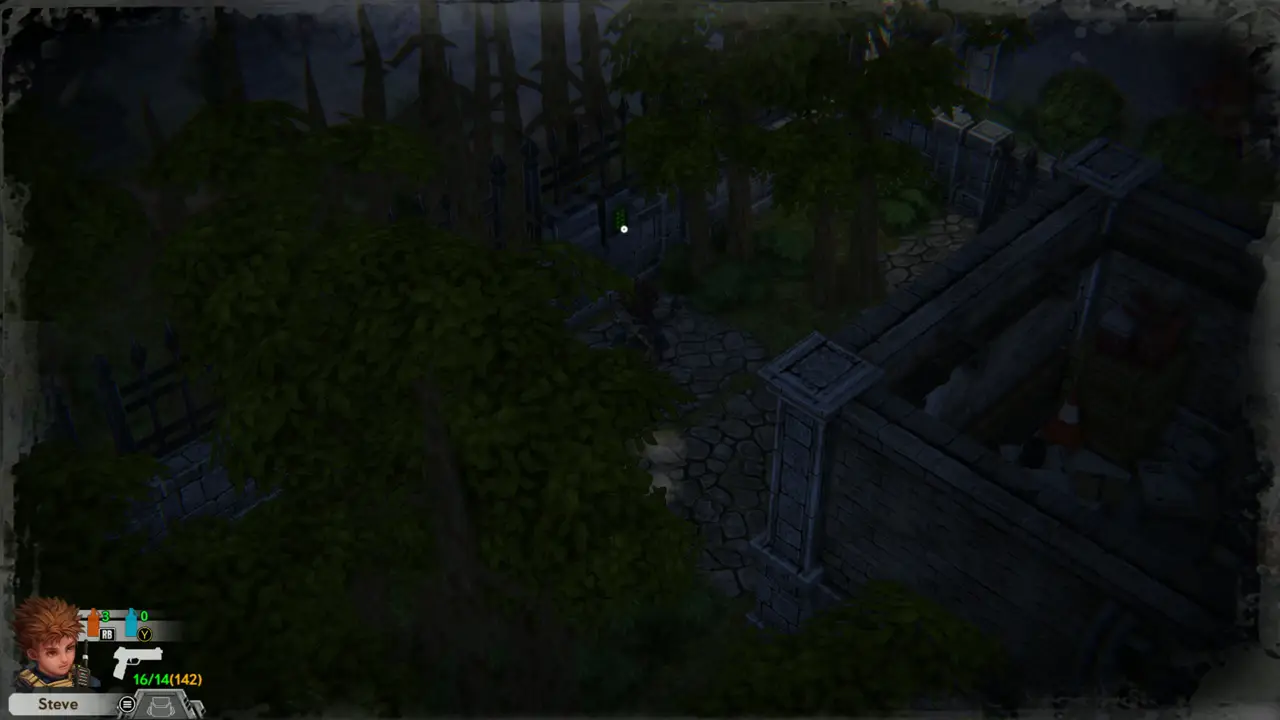
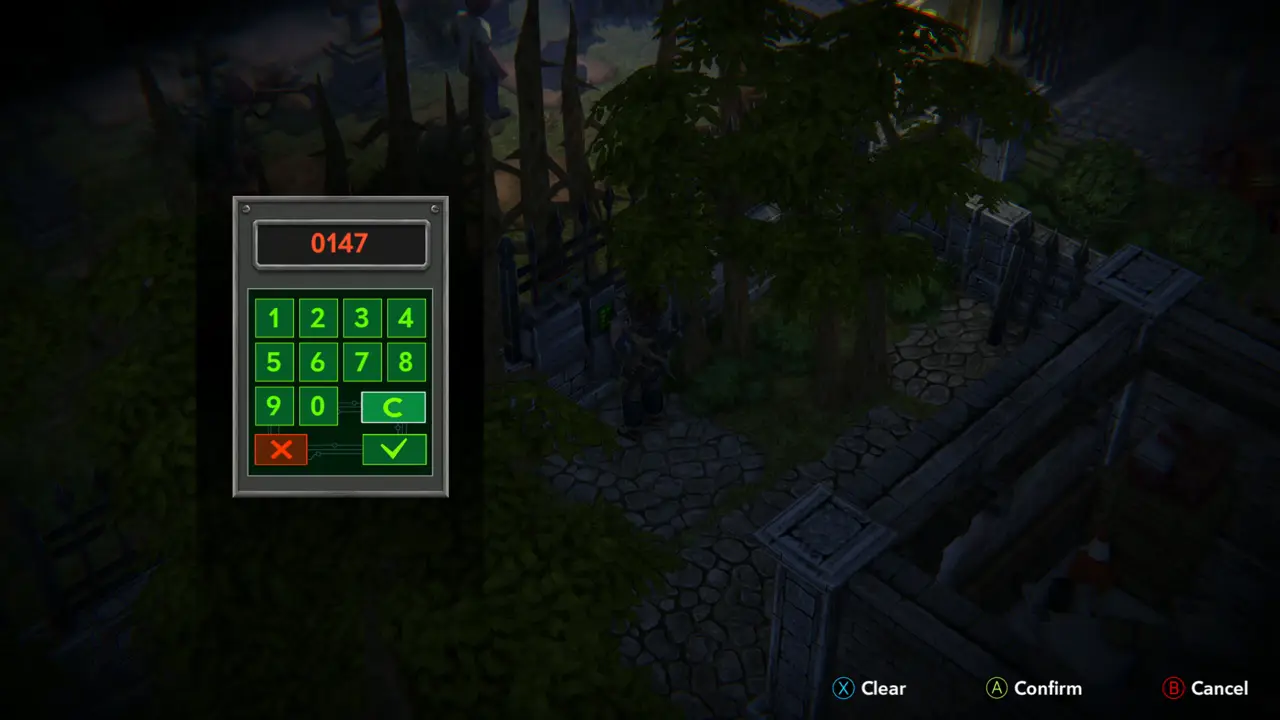
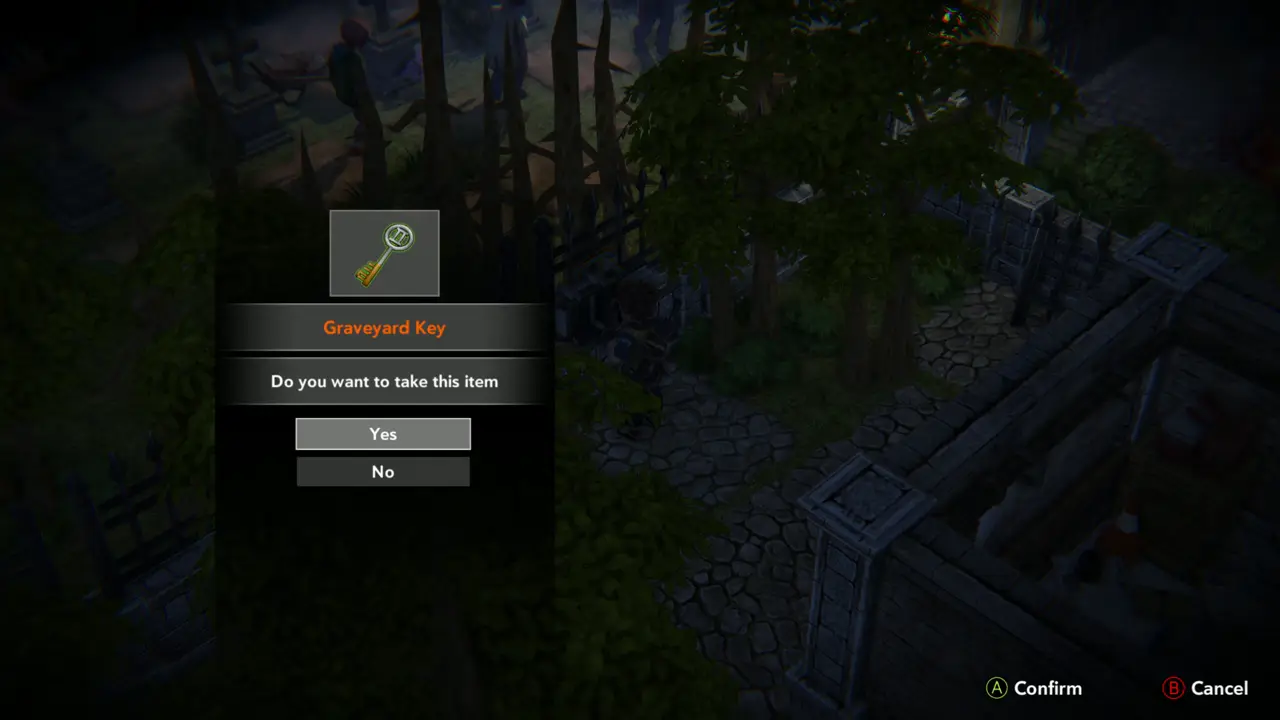
CODE 5KEY ITEM 14 Leave the cabin and walk to the dark stone wall at the graveyard fence, up and to the left of the cabin yard. A small box with a green light is set in the wall: this is the supply cache keypad. Type 0147. The cache opens with the prompt “Graveyard Key. Do you want to take this item”. Choose Yes to take the Graveyard Key.
Green-lit keypad box on the wall
0147 typed
0147 typed
Graveyard Key prompt

Part 7 — The graveyard and the Wood Cabin

In-game goal. Find a way to venture deeper into the Old Lab Building.
1
Graveyard - supply crates near the Wood Cabin
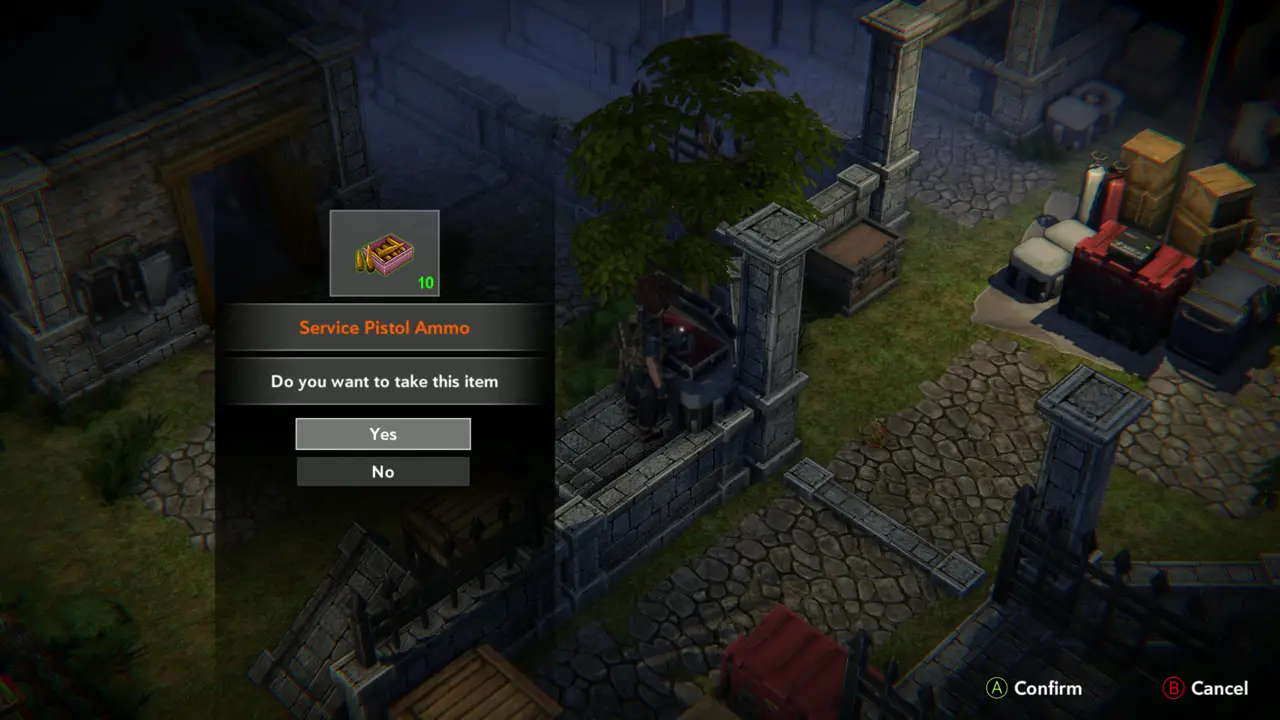
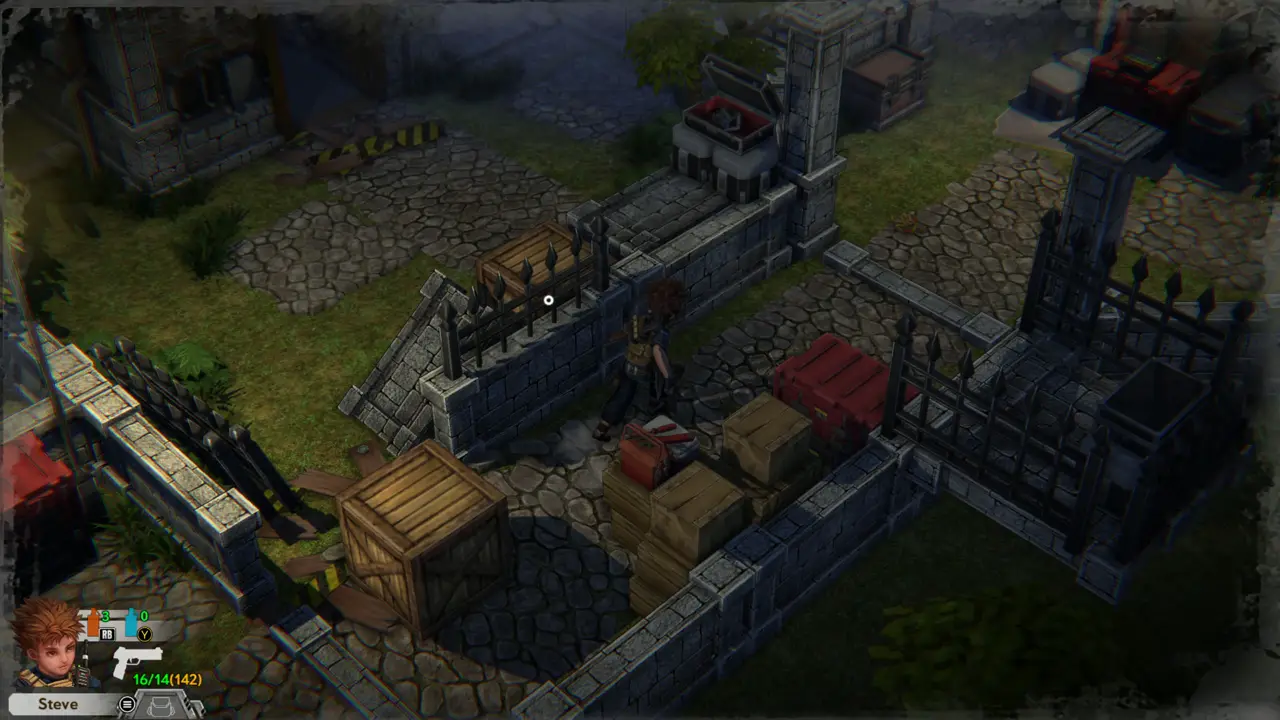
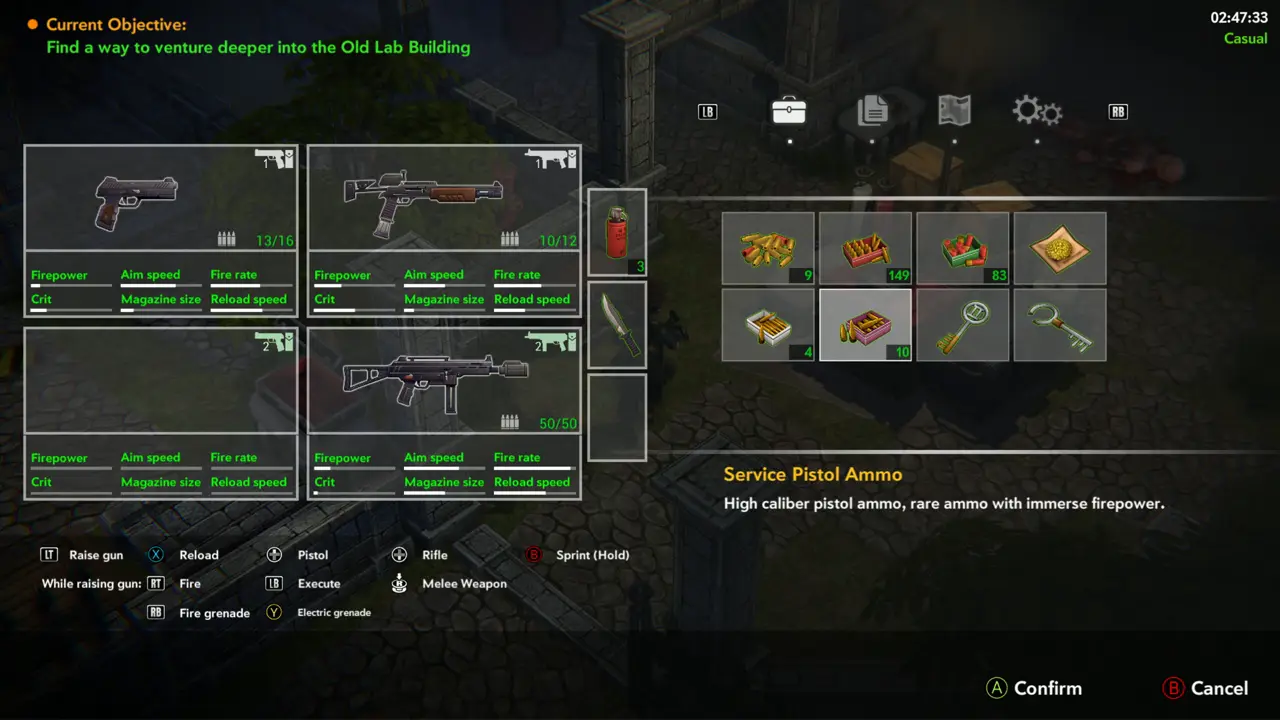
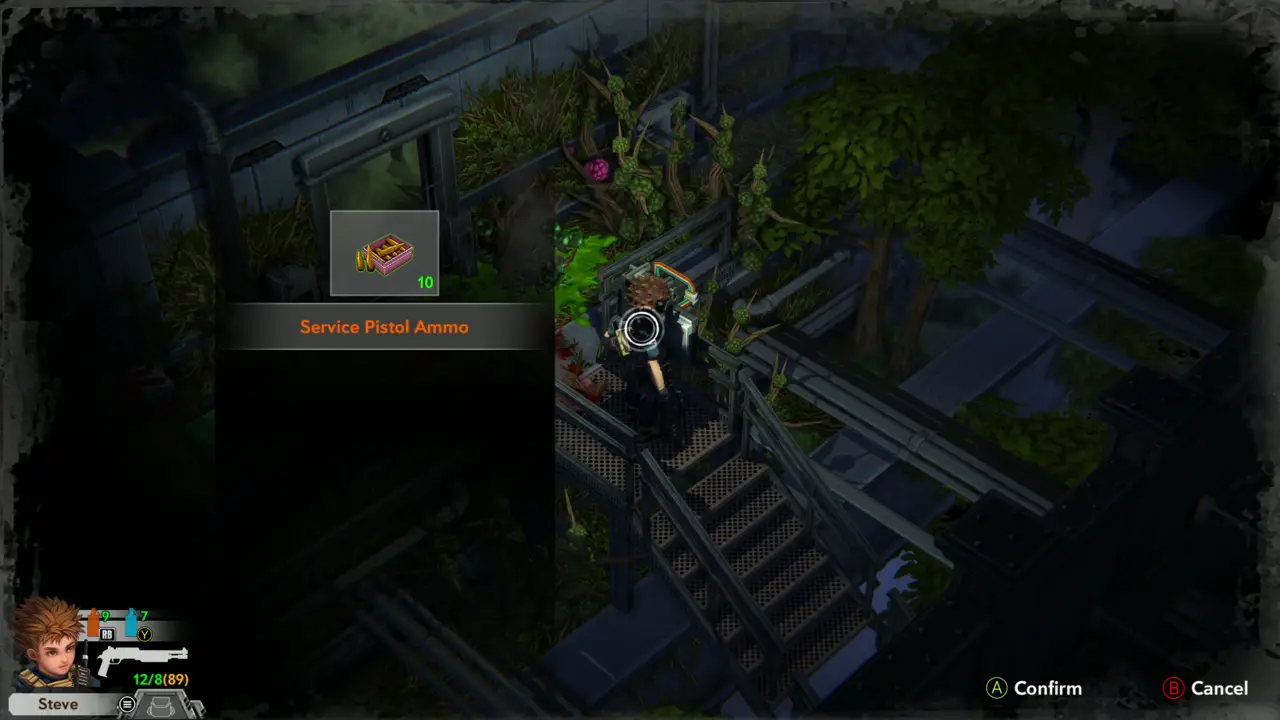
ITEM 76 On the stone ledge beside the tree next to the supply crates, take the Service Pistol Ammo.
Service Pistol Ammo pickup prompt
2
Graveyard - supply crates near the Wood Cabin
ITEM 77 Follow the fence below the crates and take the Ammo Shells Pile from the low open box by the fence.
Open box beside the fence
3
Graveyard - supply crates near the Wood Cabin
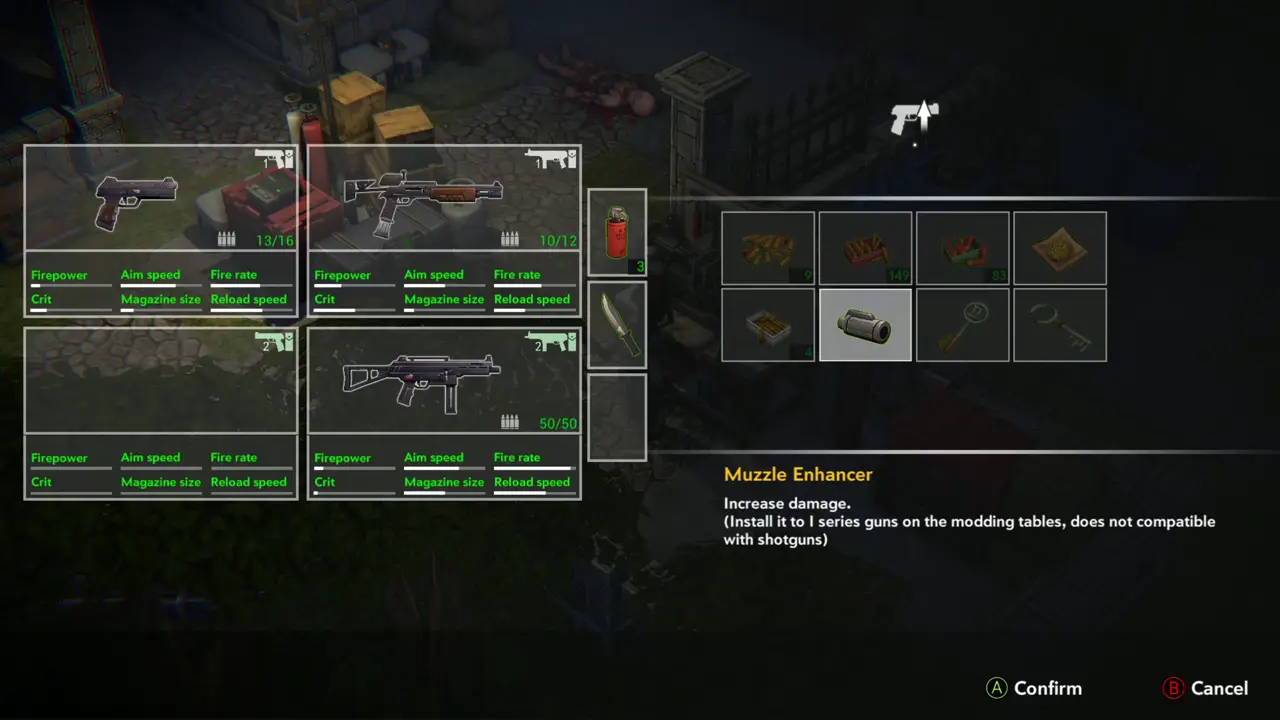
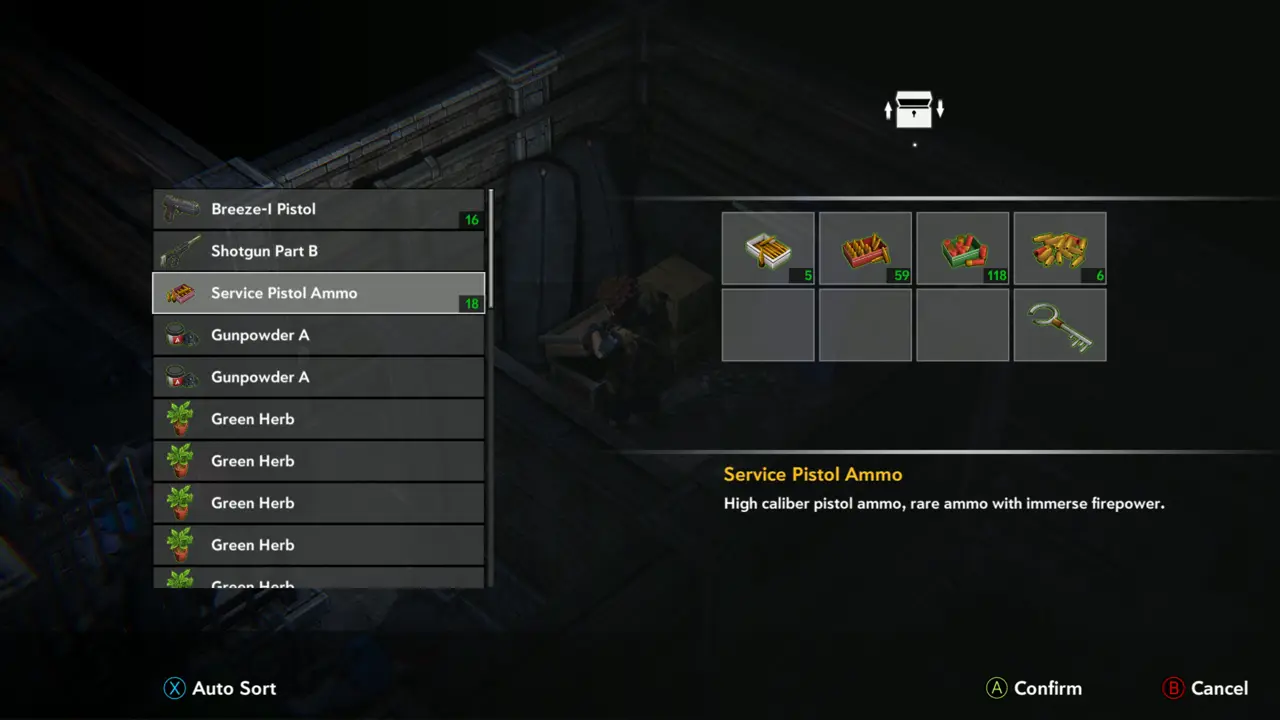
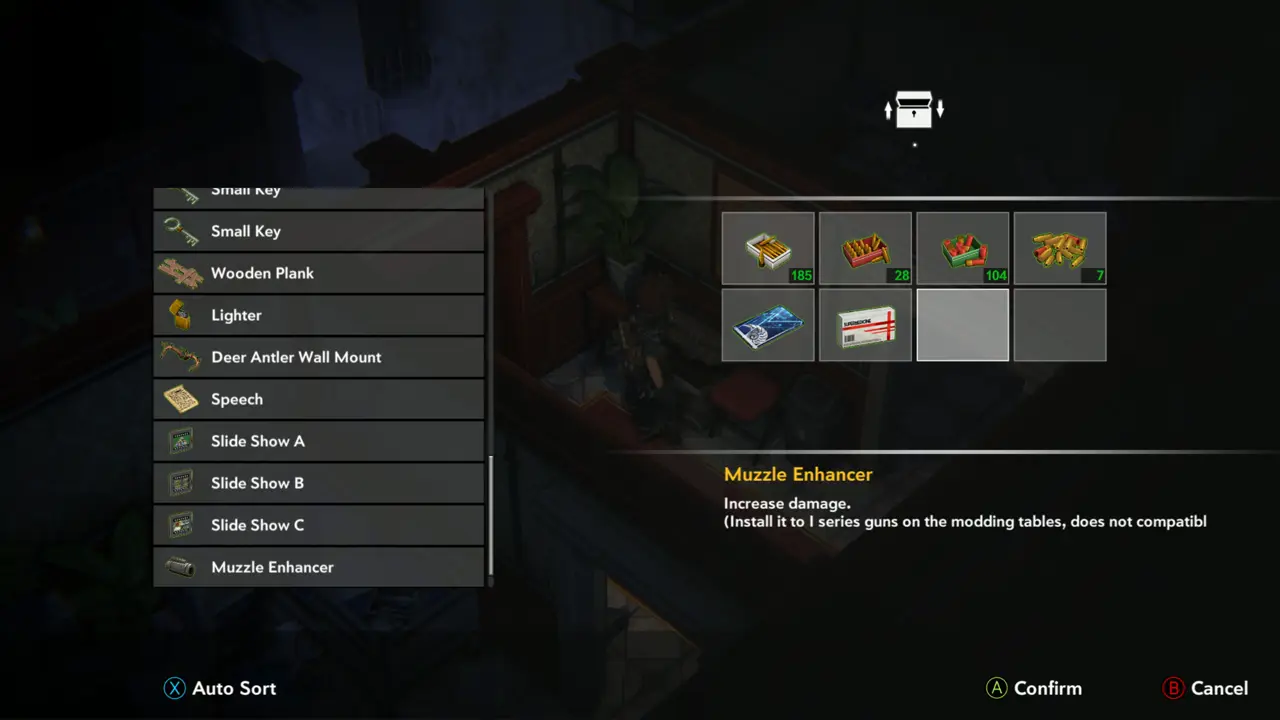
NOTE Open the storage chest next to the red crates. It is your shared storage: Pistol ammo, shells, a Muzzle Enhancer, a Small Key and other items are kept in it.
Storage chest contents
4
Graveyard - supply crates near the Wood Cabin
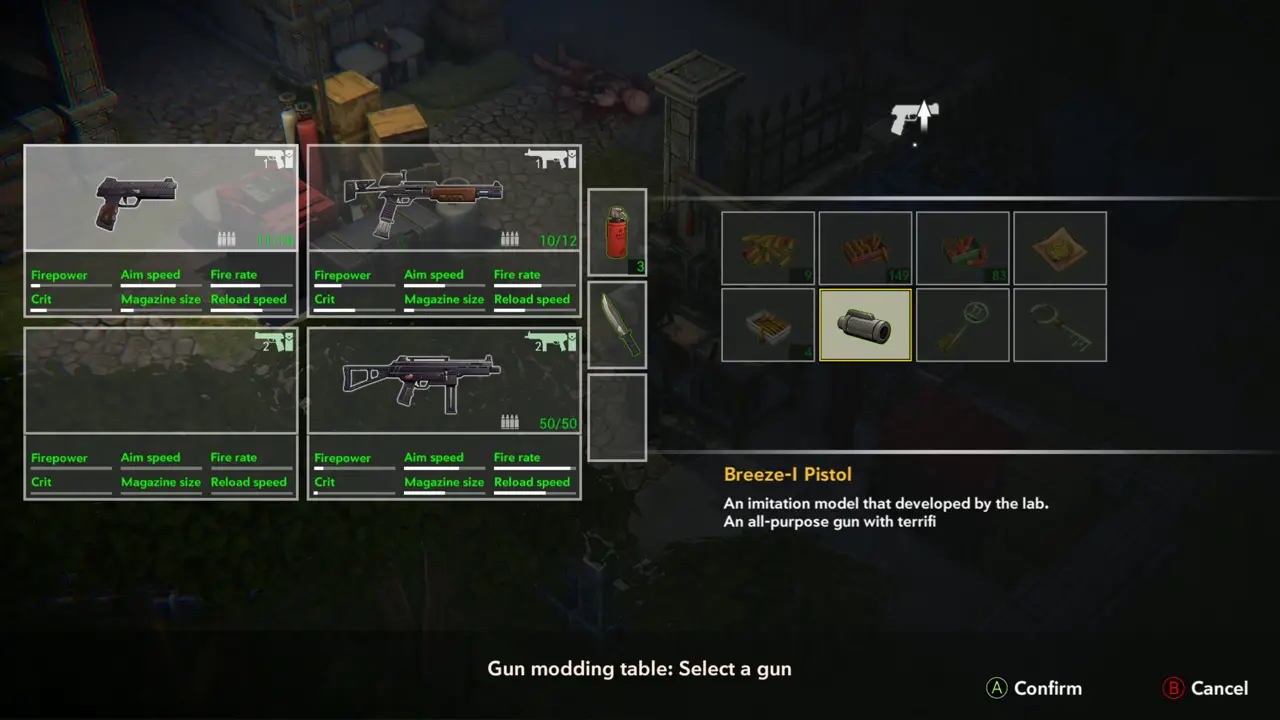
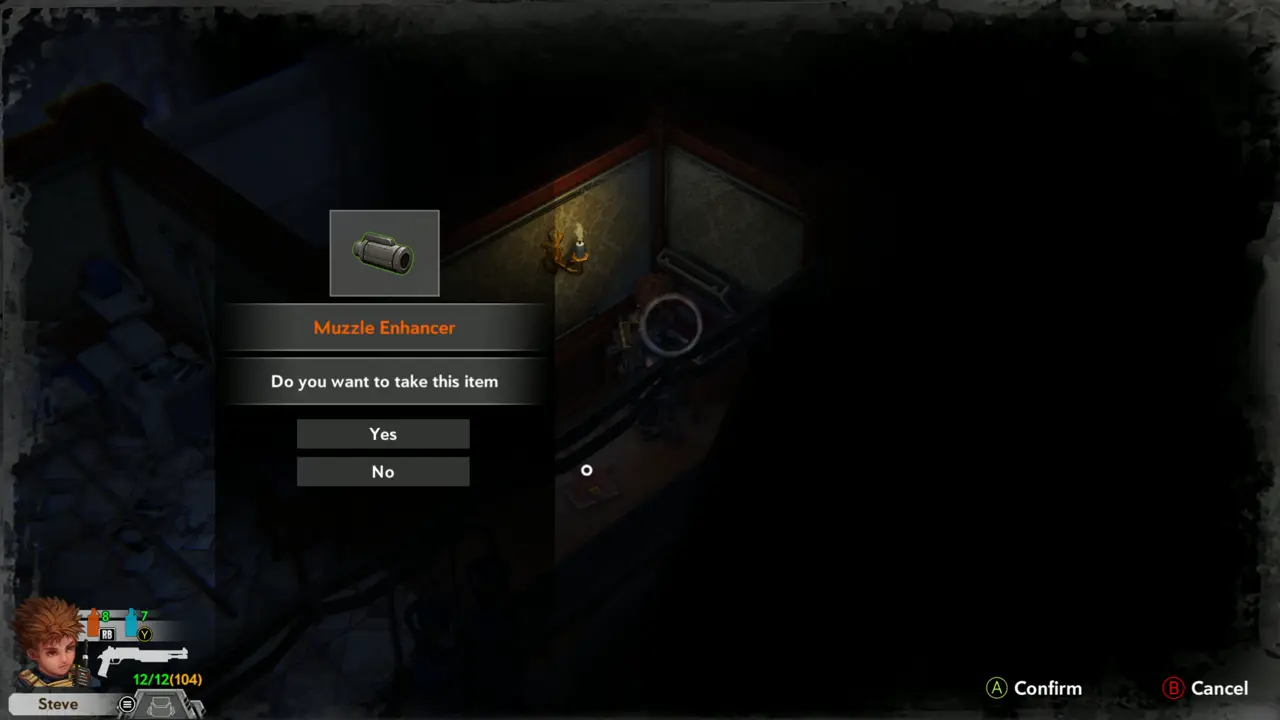
WEAPON 2WEAPON 12 Use the gun modding table beside the crates. It takes a gun and a part from your inventory. Select the Breeze-I Pistol and install the Muzzle Enhancer from the chest; the game describes it as “Increase damage. (Install it to I series guns on the modding tables, does not compatible with shotguns)”.
Muzzle Enhancer description
Gun modding table: select a gun
5
Graveyard - supply crates near the Wood Cabin
SAVE 1 Save the game at the save terminal on the red crate. The objective on the pause screen reads “Find a way to venture deeper into the Old Lab Building”.
Saving at the crates
Current Objective on pause screen
6
Graveyard - supply crates near the Wood Cabin
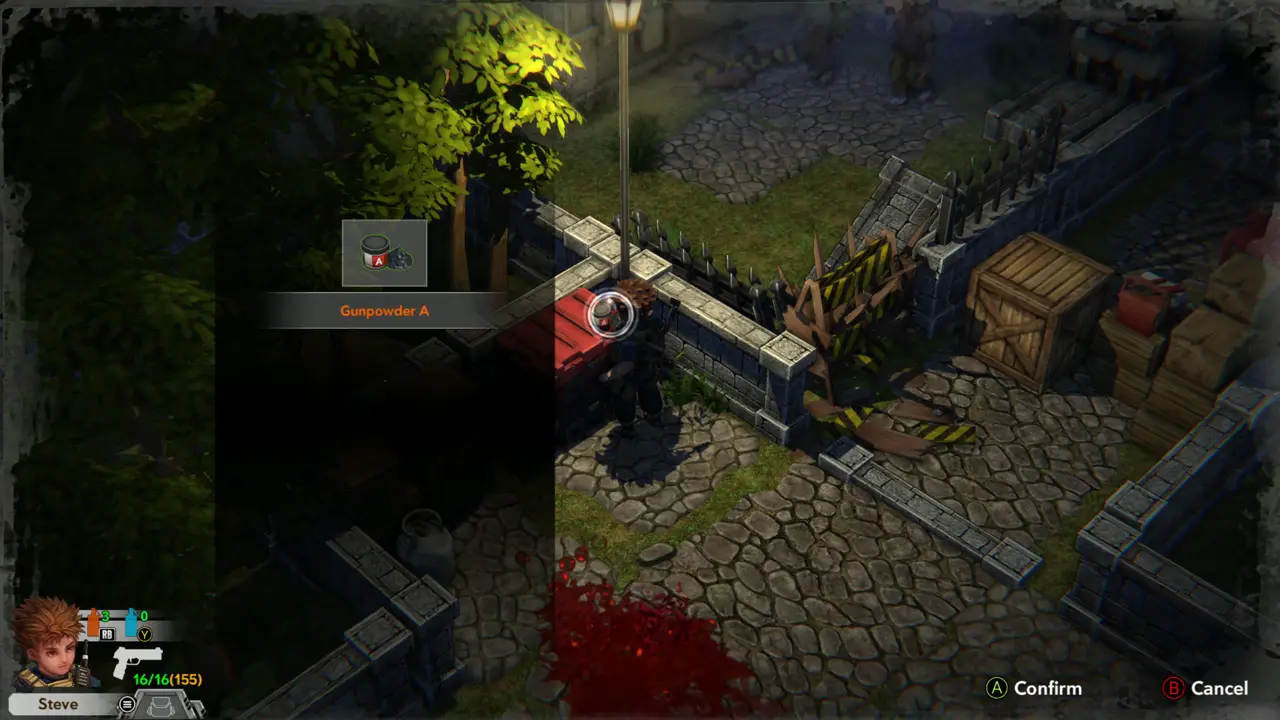
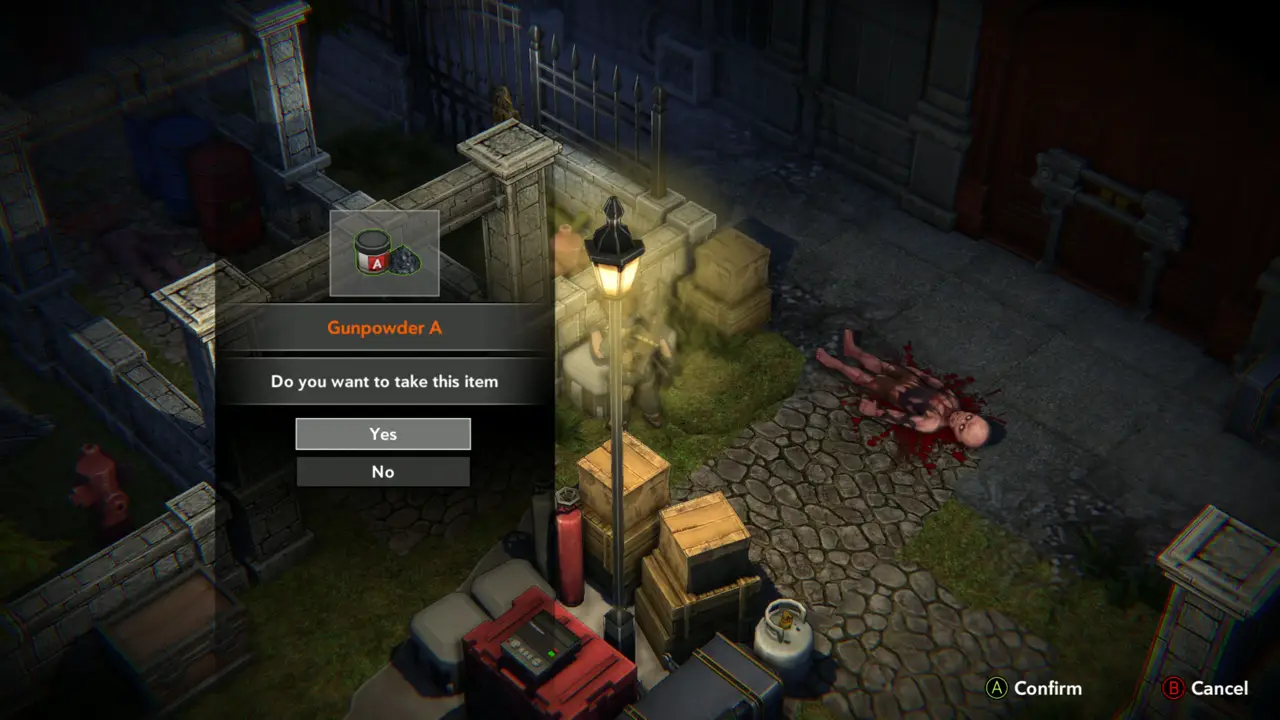
ITEM 79 Under the lamp post, take the Gunpowder A from the stone ledge.
Gunpowder A pickup prompt
7
Graveyard - iron gate
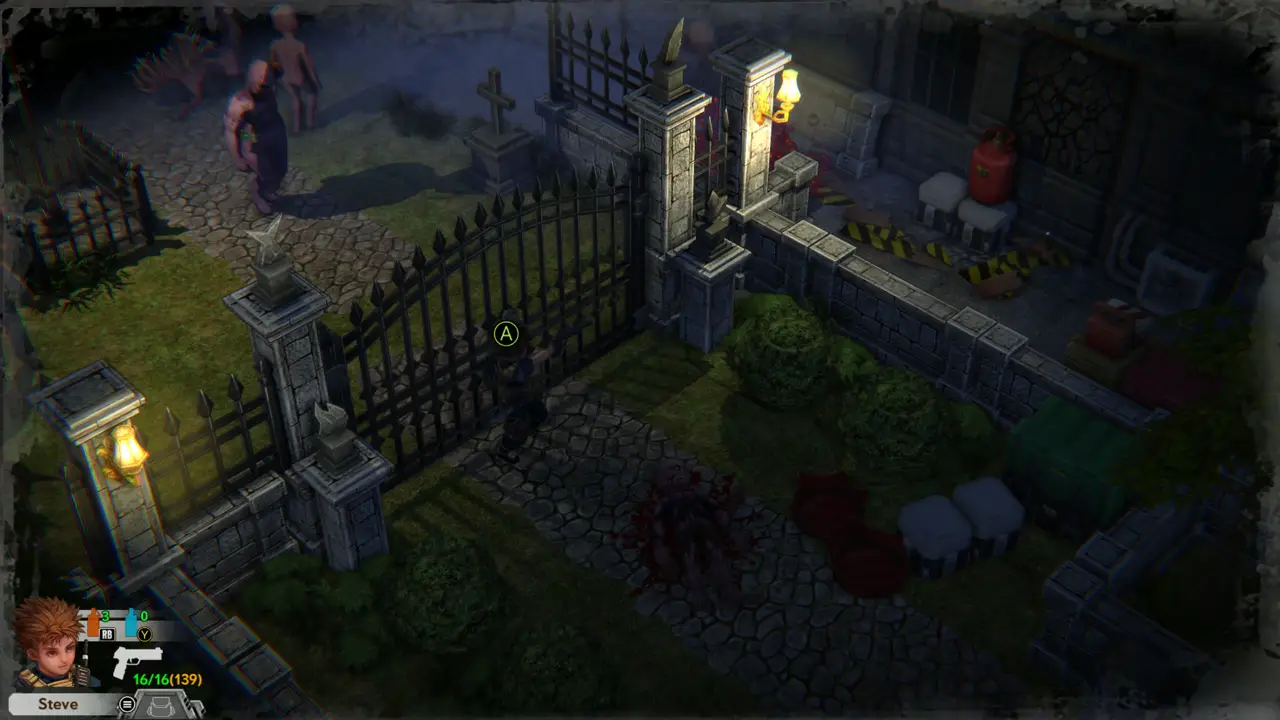
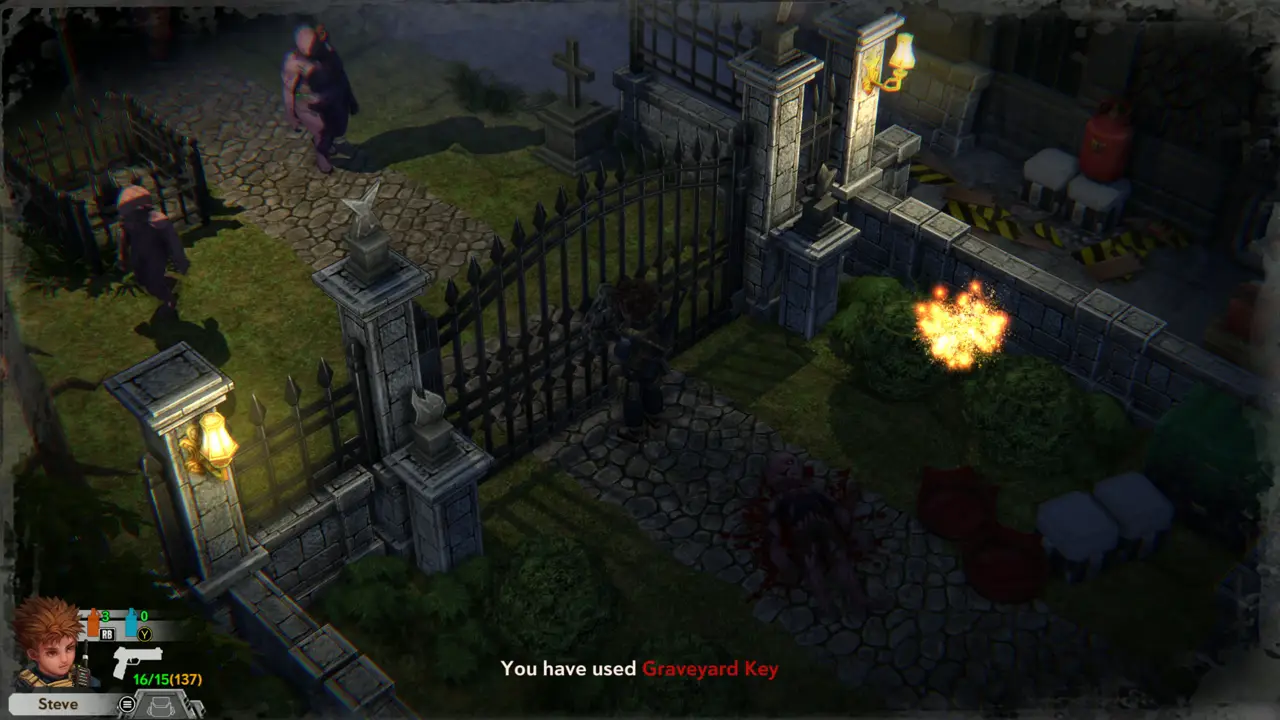
KEY ITEM 14DOOR Go to the big iron gate in the wall. Without the key it reads “A giant lock has sealed the gate of the graveyard.” Use the Graveyard Key on it: “You have used Graveyard Key.” The gate opens and zombies come through from the other side.
Interact at the sealed gate
Graveyard Key used
Graveyard Key used
8
Graveyard - along the wall by the red gate
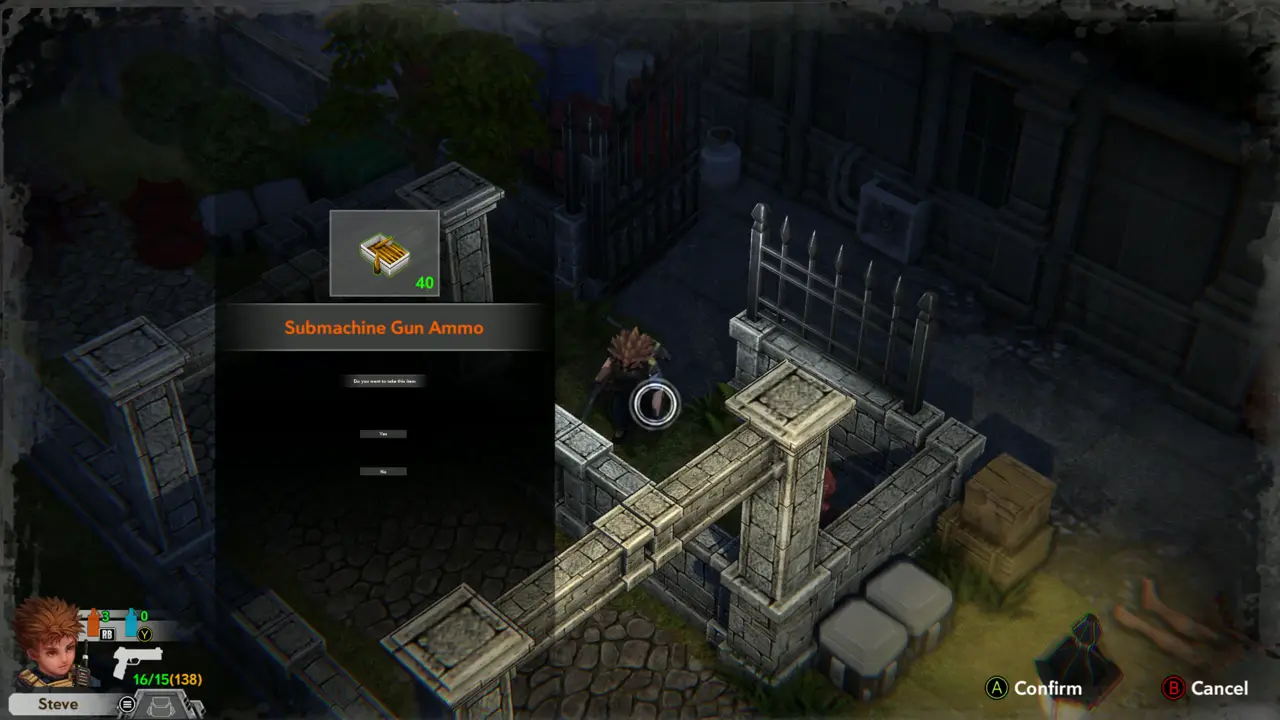
ITEM 80 Walk along the wall to the right of the gate and take the Submachine Gun Ammo (40) from the ground by the fence post.
Submachine Gun Ammo prompt
9
Graveyard
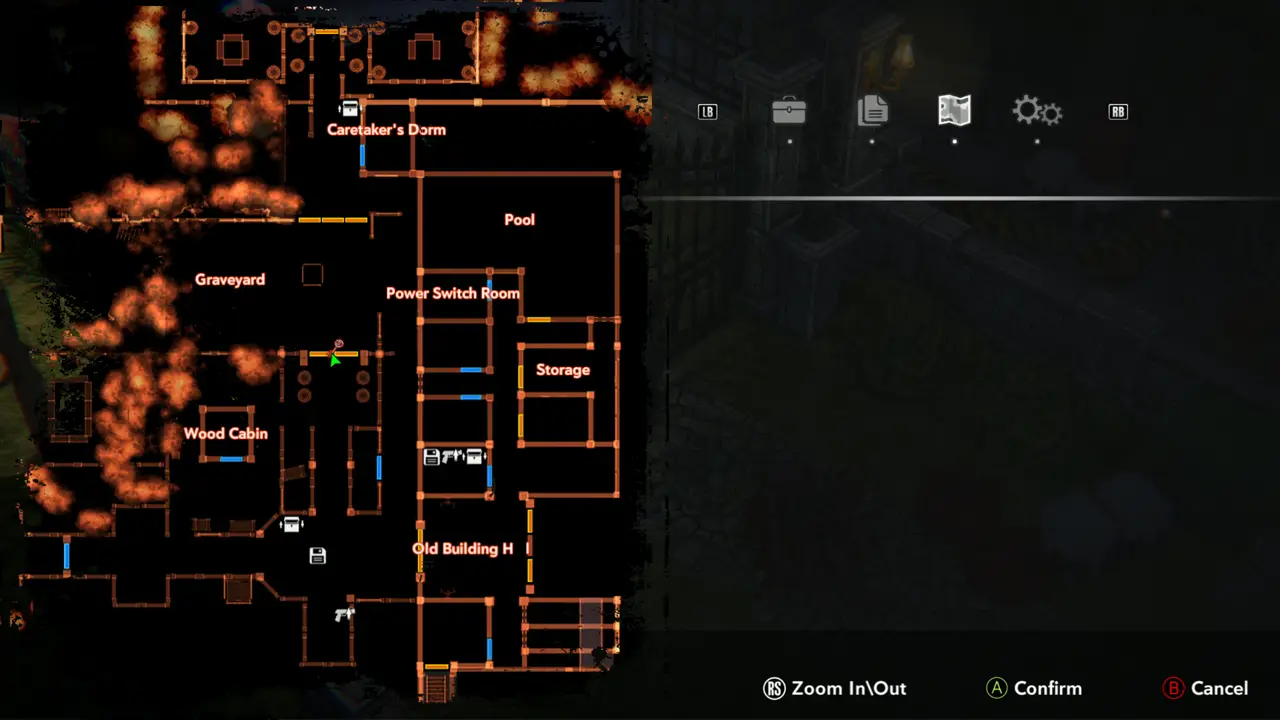
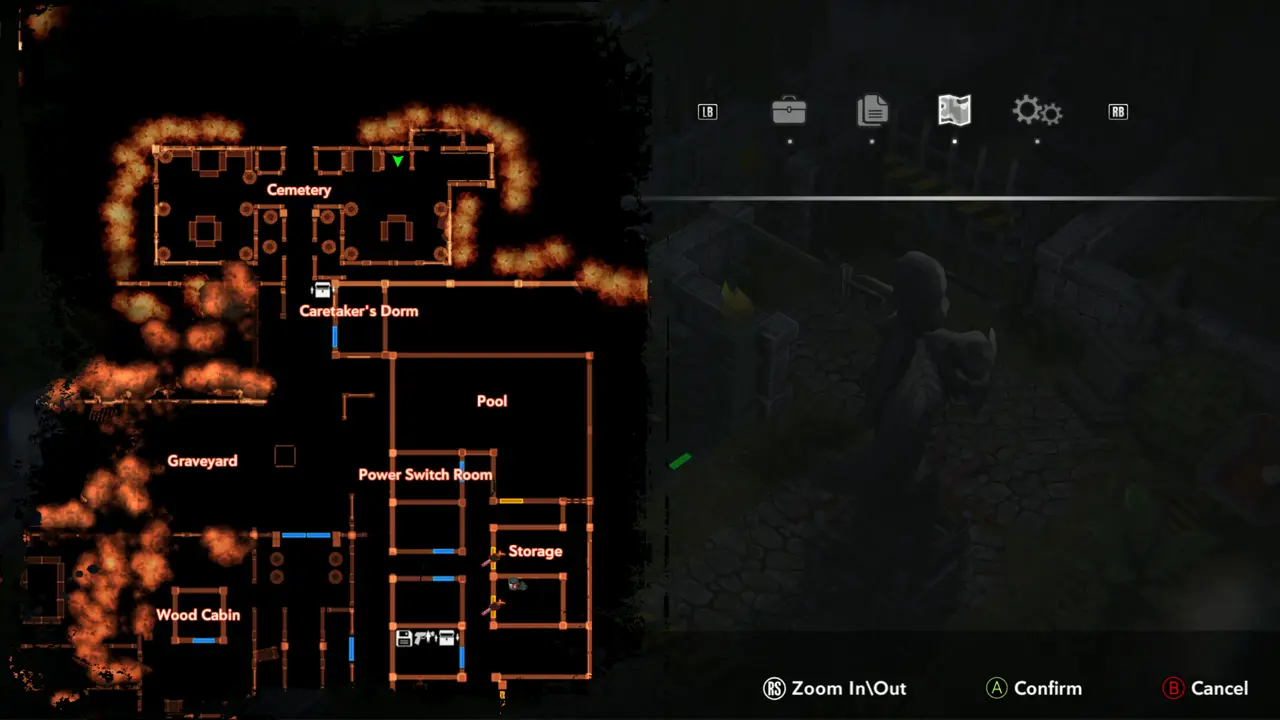
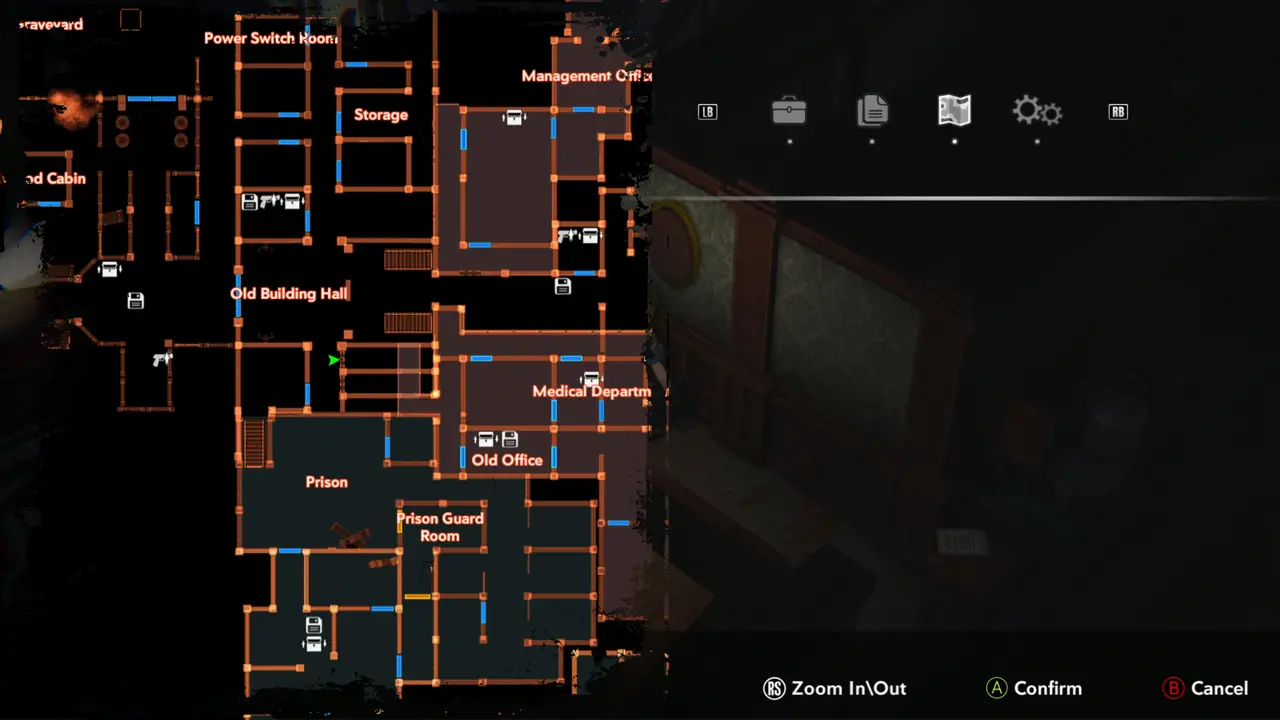
MAP Check the map: you are in the Graveyard just above the Wood Cabin and left of the Power Switch Room. The Old Building Hall lies below.
Map with Steve in Graveyard
10
Graveyard - wall by the red gas can
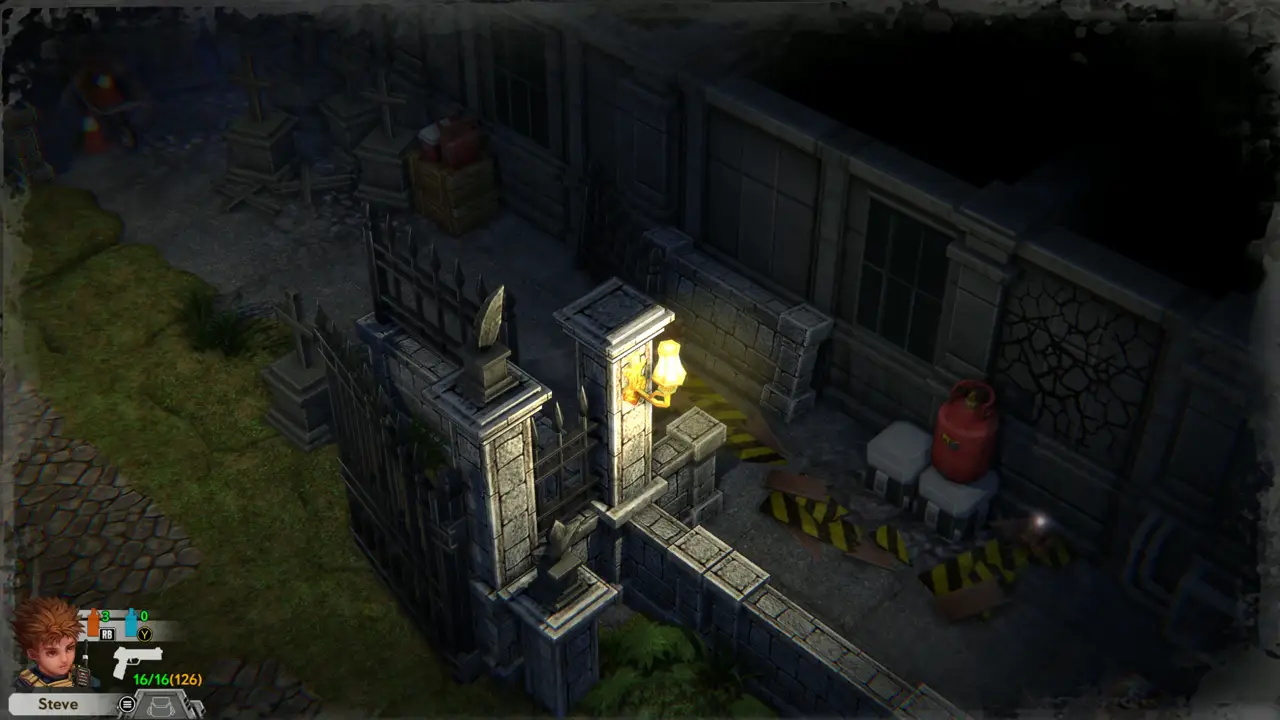
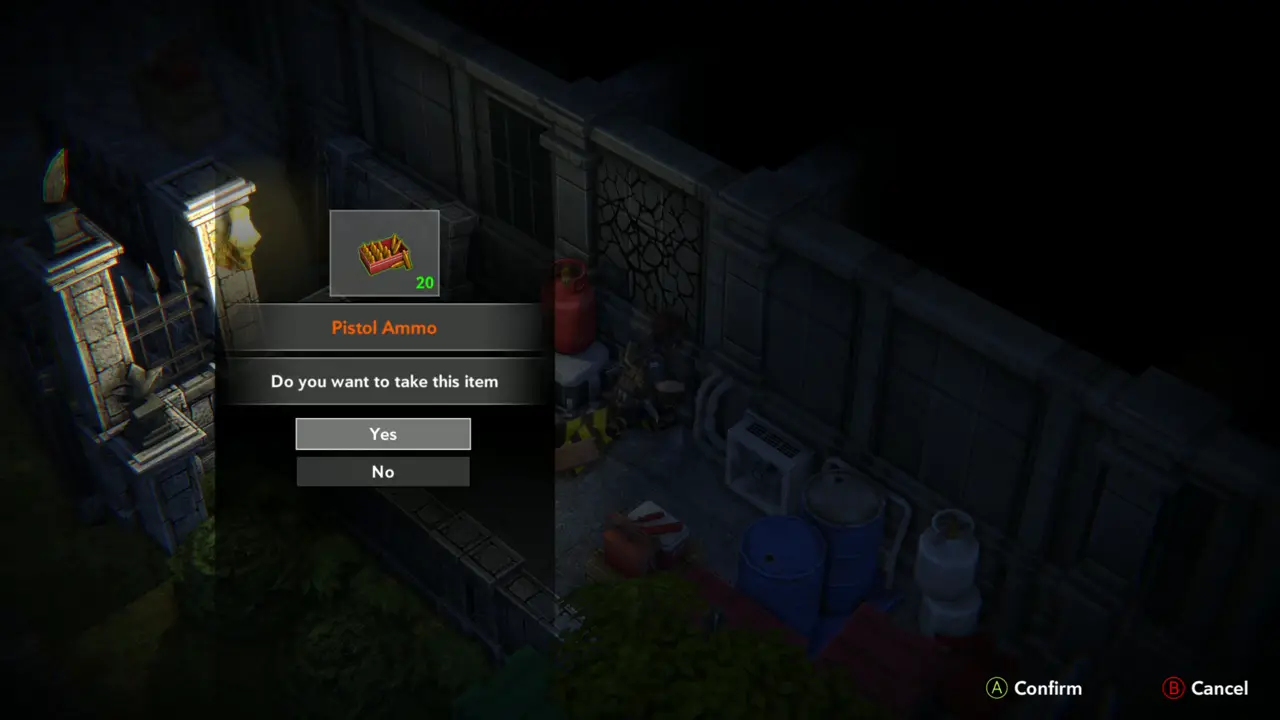
ITEM 81 Beside the red gas can and hazard-striped boards under the lit gate post, take the Pistol Ammo (20).
Gas can and hazard boards
Pistol Ammo pickup prompt
11
Graveyard - grave plots
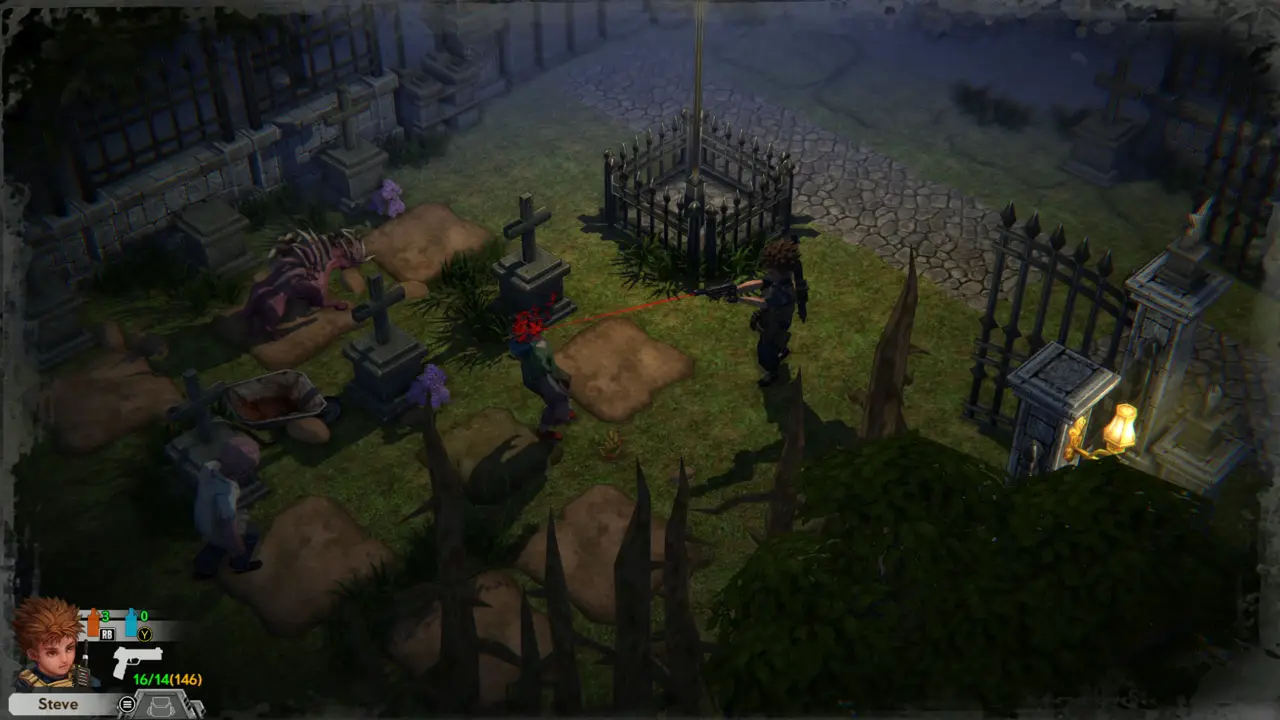
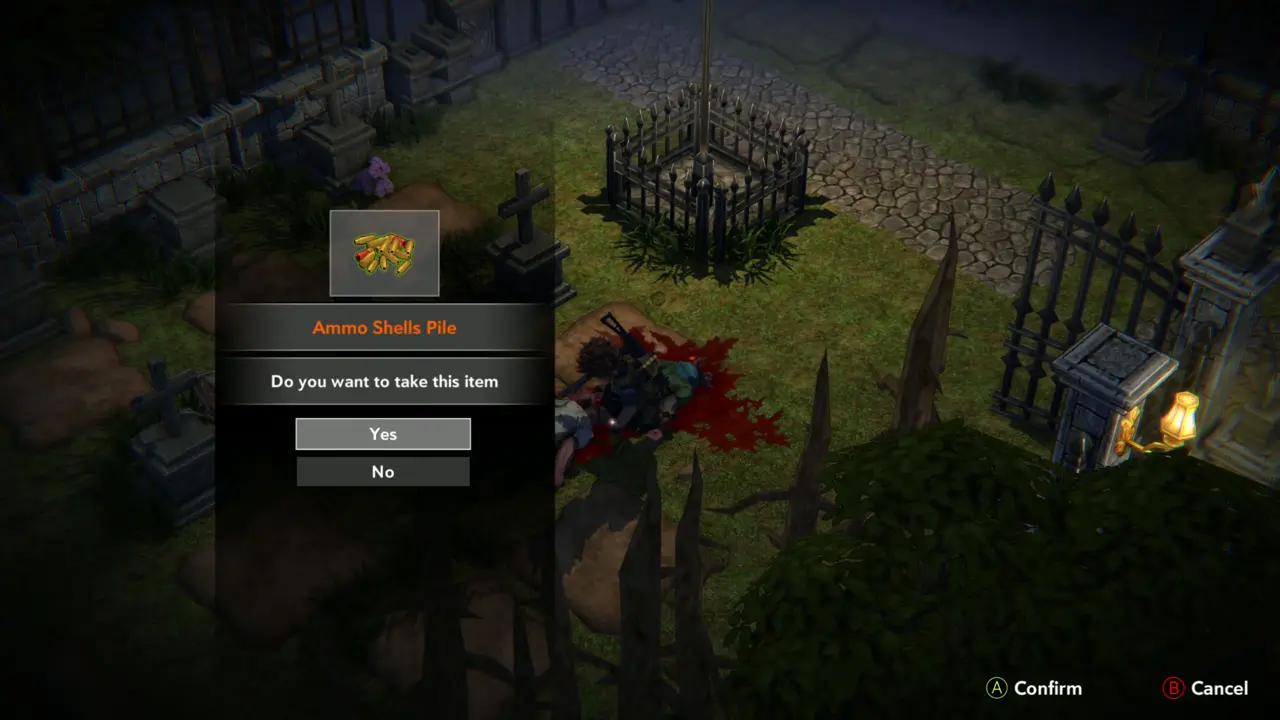
FIGHTITEM 82 Shoot the zombies and the crawling creature among the grave plots on the cemetery lawn, then take the Ammo Shells Pile from the body.
Fighting on the grave lawn
Ammo Shells Pile prompt
12
Graveyard - fenced flower beds
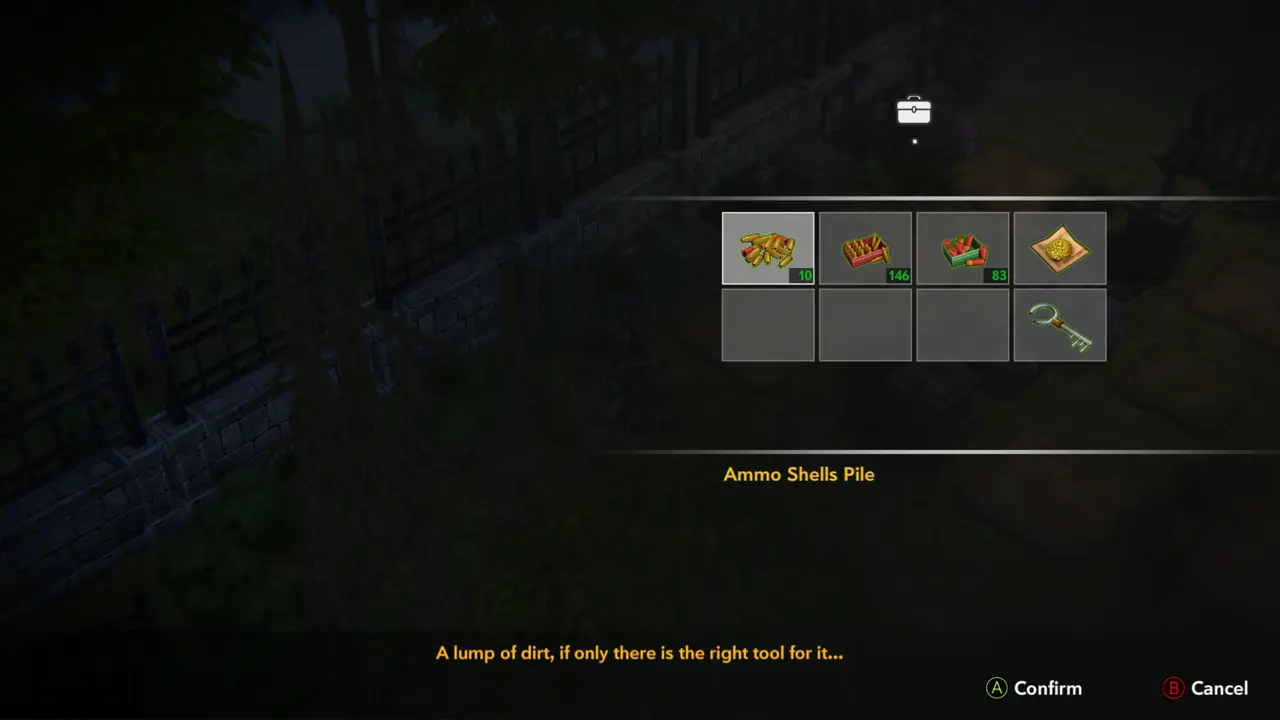
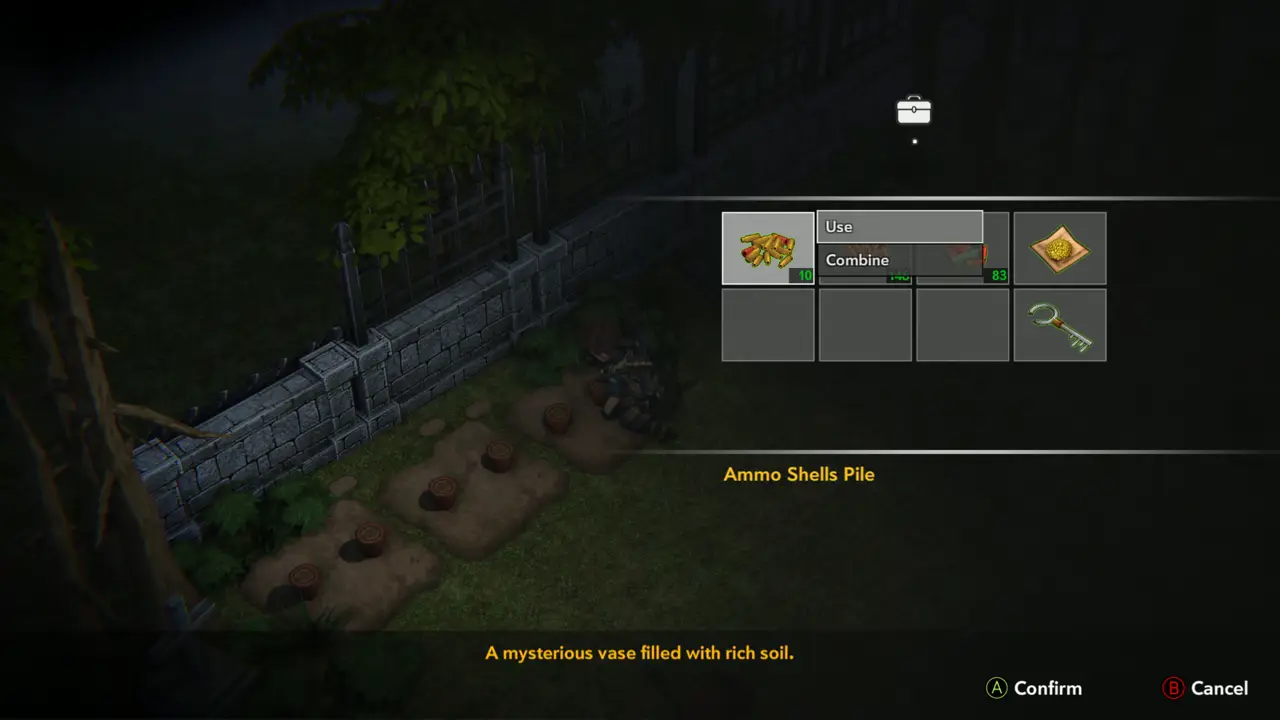
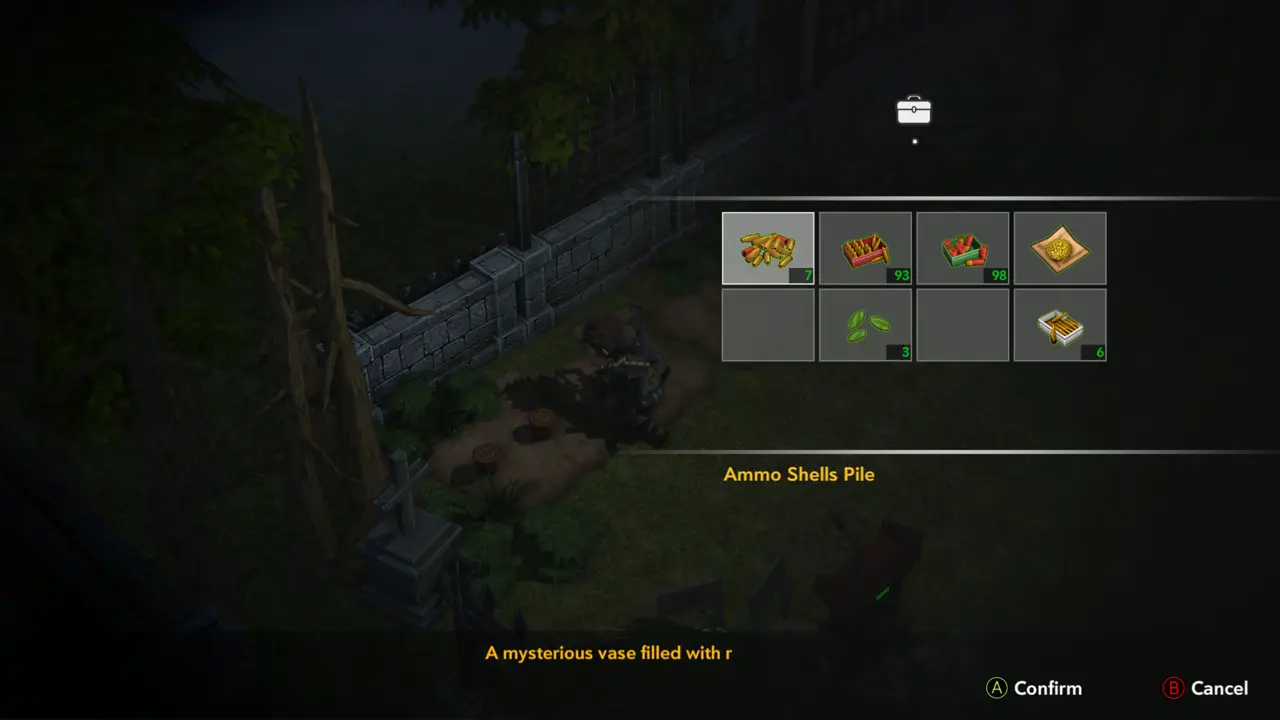
PUZZLE 1 At the stone fence at the far end of the lawn, examine the rows of dirt patches and small vases. The dirt reads “A lump of dirt, if only there is the right tool for it...” and the vases read “A mysterious vase filled with rich soil.” The Small Key does not work on them.
Lump of dirt text
Lump of dirt text
Vase text, Small Key unusable
13
Graveyard - fenced flower beds
PUZZLE 2 Examine the red podium with the green light beside the flower beds: “A podium, equipped with microphone and flower. The only thing that's missing is a speech, haha.” You need the Speech.
Podium text
Podium text
Red podium by the beds
14
Graveyard - supply crates near the Wood Cabin
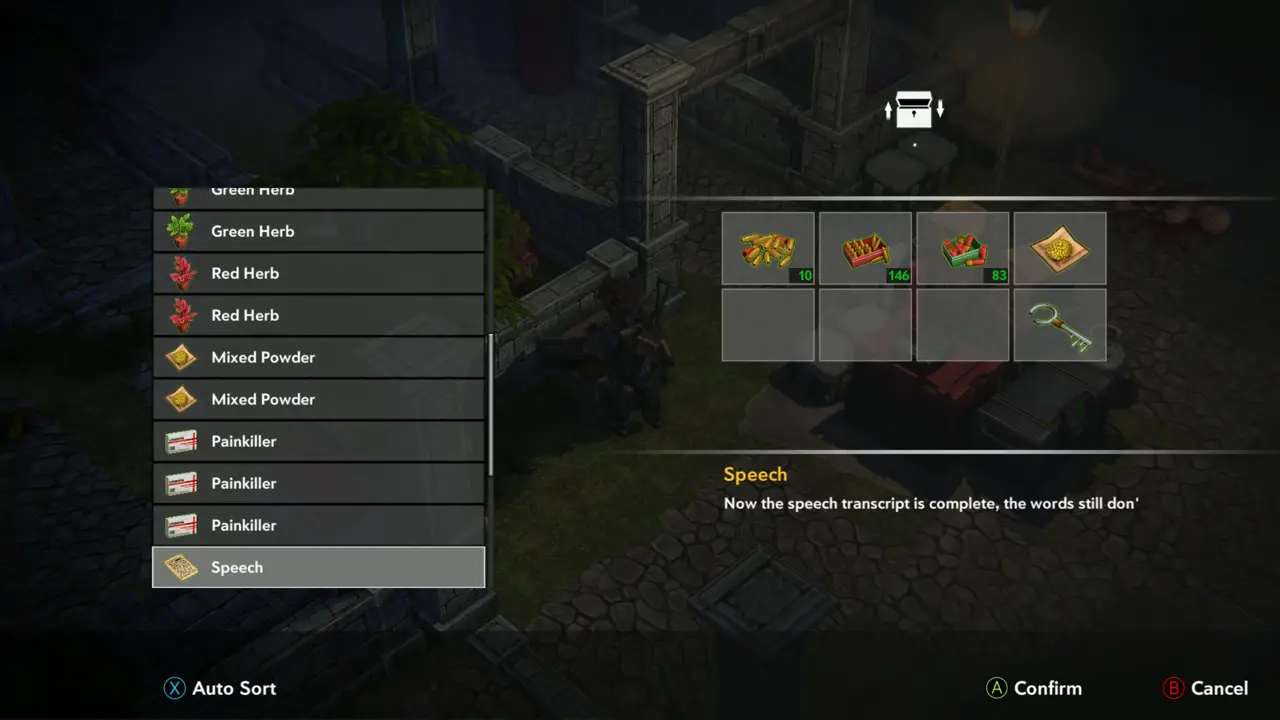
KEY ITEM 6 Return to the chest by the crates and move the Speech into your inventory. Its text begins “Now the speech transcript is complete”. The chest also holds Slide Show A, B and C.
Speech in the chest list
15
Graveyard - supply crates near the Wood Cabin
NOTE Mix gunpowder in the inventory: Gunpowder A + A makes B, A + B makes C, B + B makes D, always 1:1.
Combine menu, gunpowder
16
Graveyard - fenced flower beds
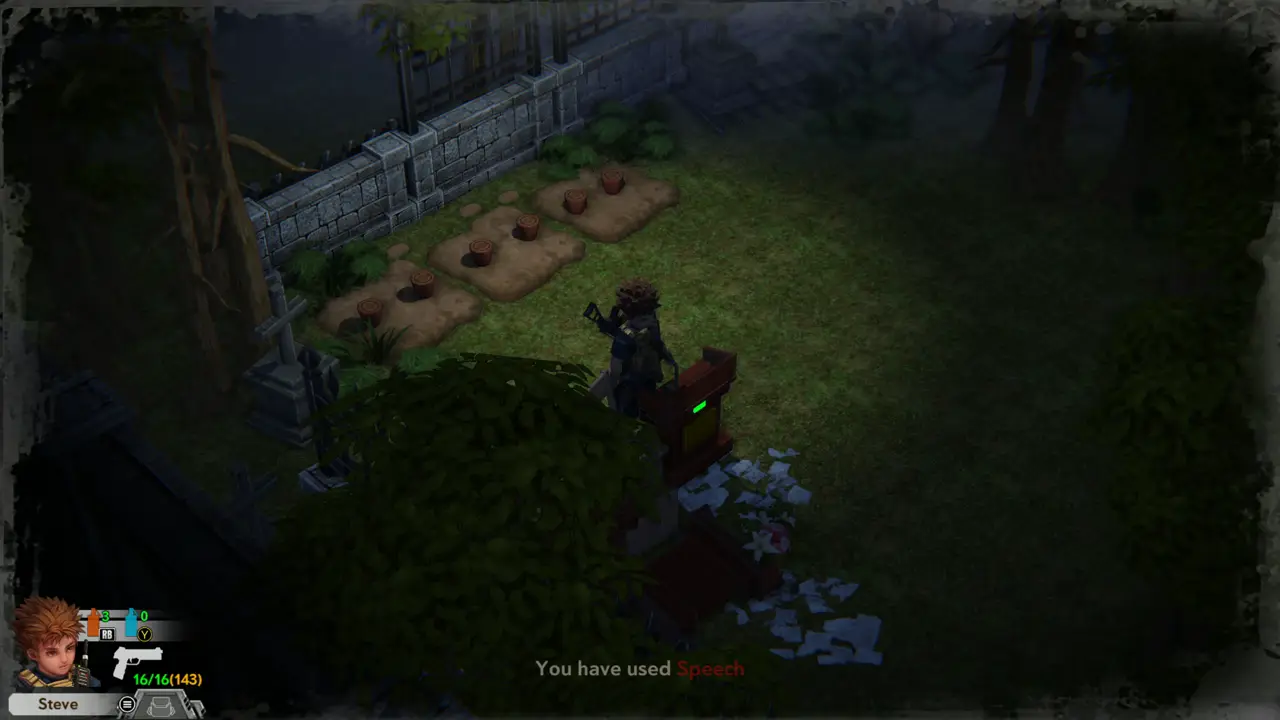
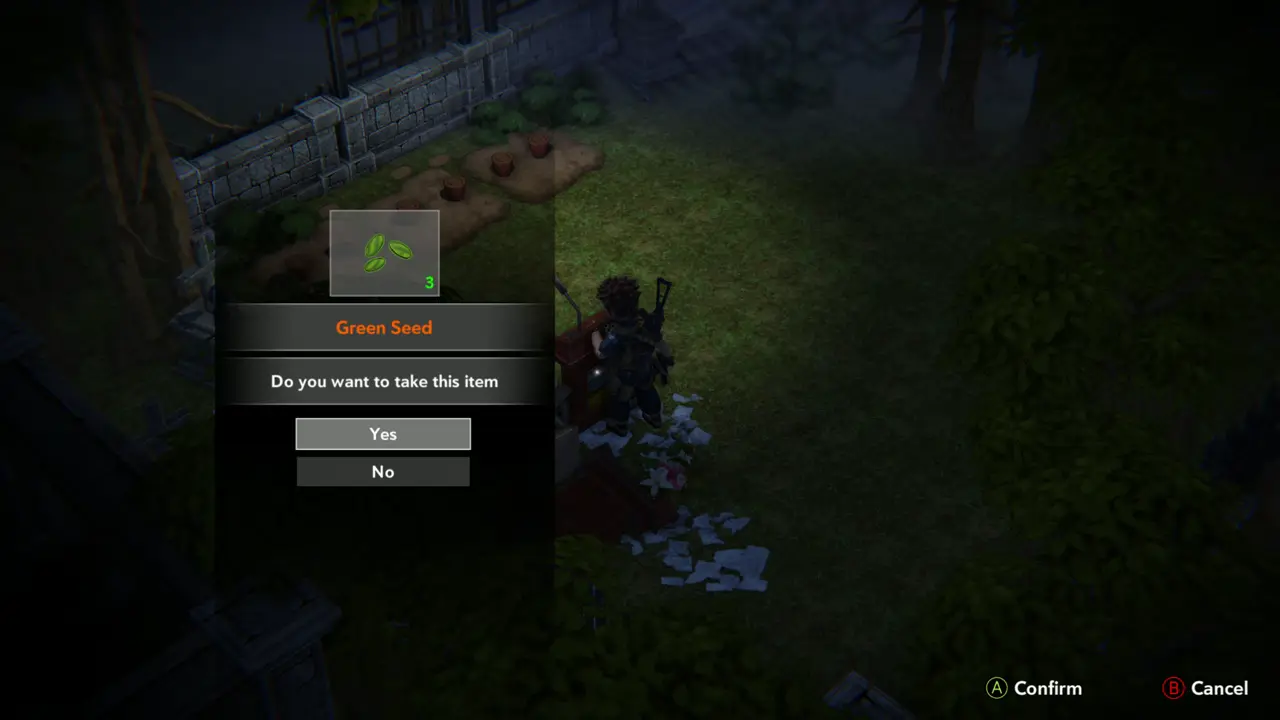
PUZZLE 3ITEM 84 Go back to the red podium and use the Speech on it: “You have used Speech”. Take the Green Seed (3) it gives.
You have used Speech
Green Seed pickup prompt
17
Graveyard - fenced flower beds
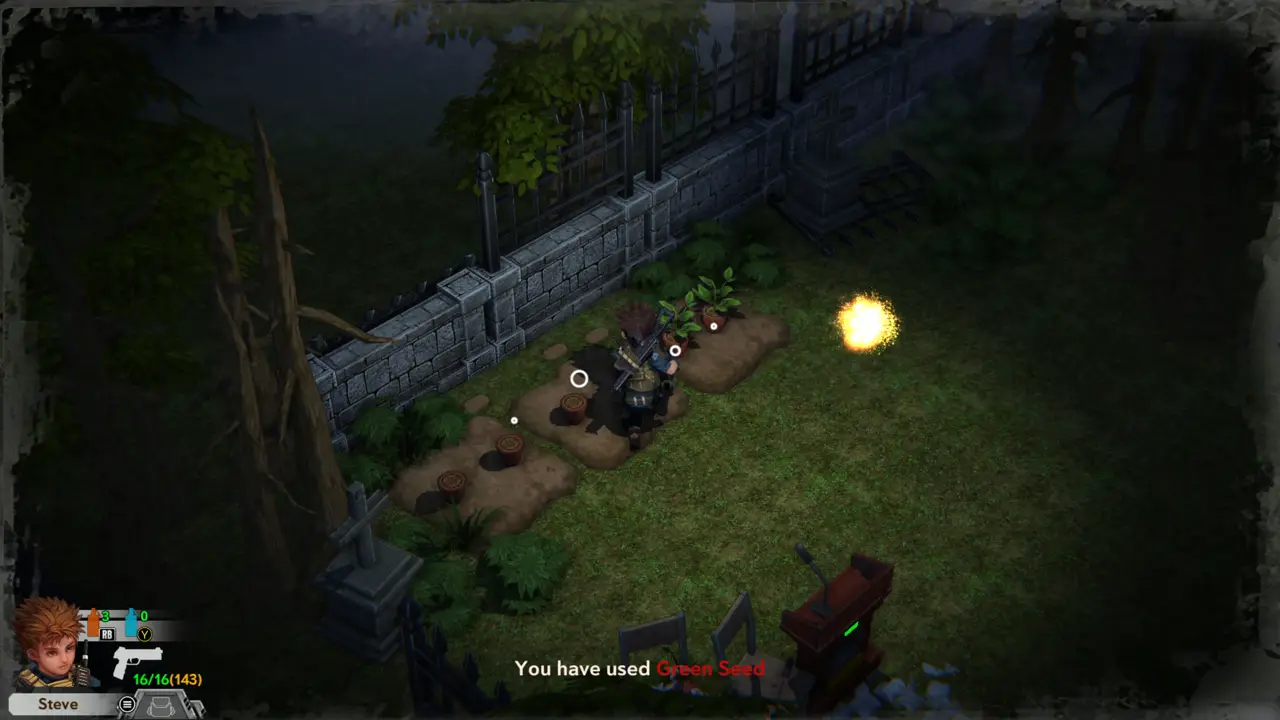
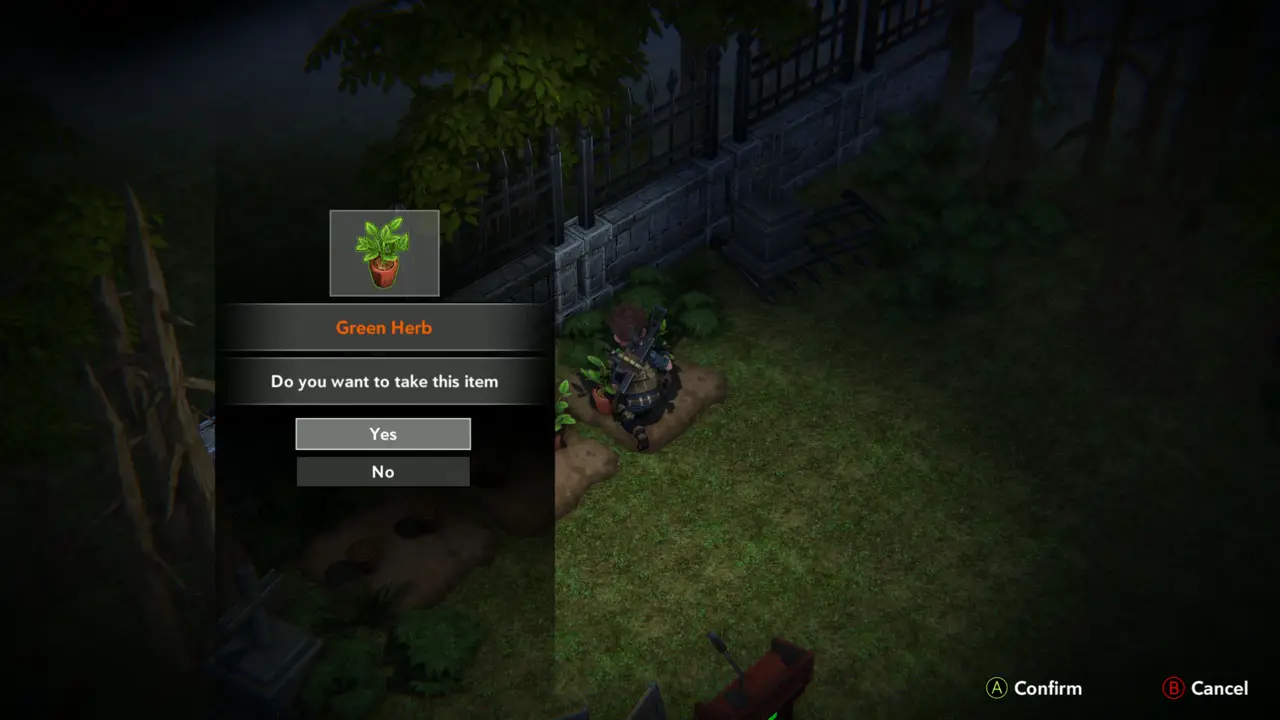
PUZZLE 4ITEM 84–85 Use the Green Seed on a vase: “You have used Green Seed”. A plant grows in the vase. Pick it to take a Green Herb.
Plants growing in vases
Green Herb pickup prompt
18
Graveyard
MAP Open the map again: you are on the path left of the Wood Cabin and the Graveyard is to the right. The Library and Shooting Range lie to the west and the Area Corridor to the south.
Map, Steve left of Wood Cabin

Part 8 — Old Lab Building: offices and the billiard room

In-game goal. Venture deeper into the Old Lab Building.
1
Outdoor yard east of Shooting Range
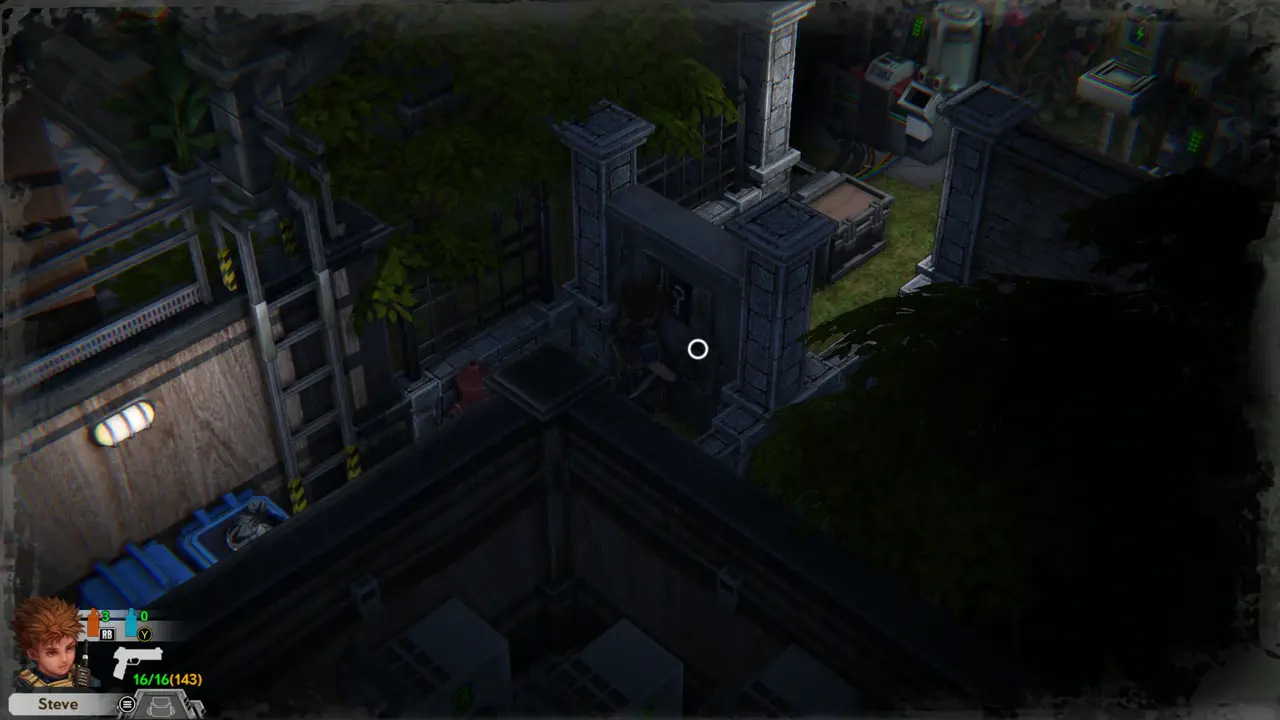
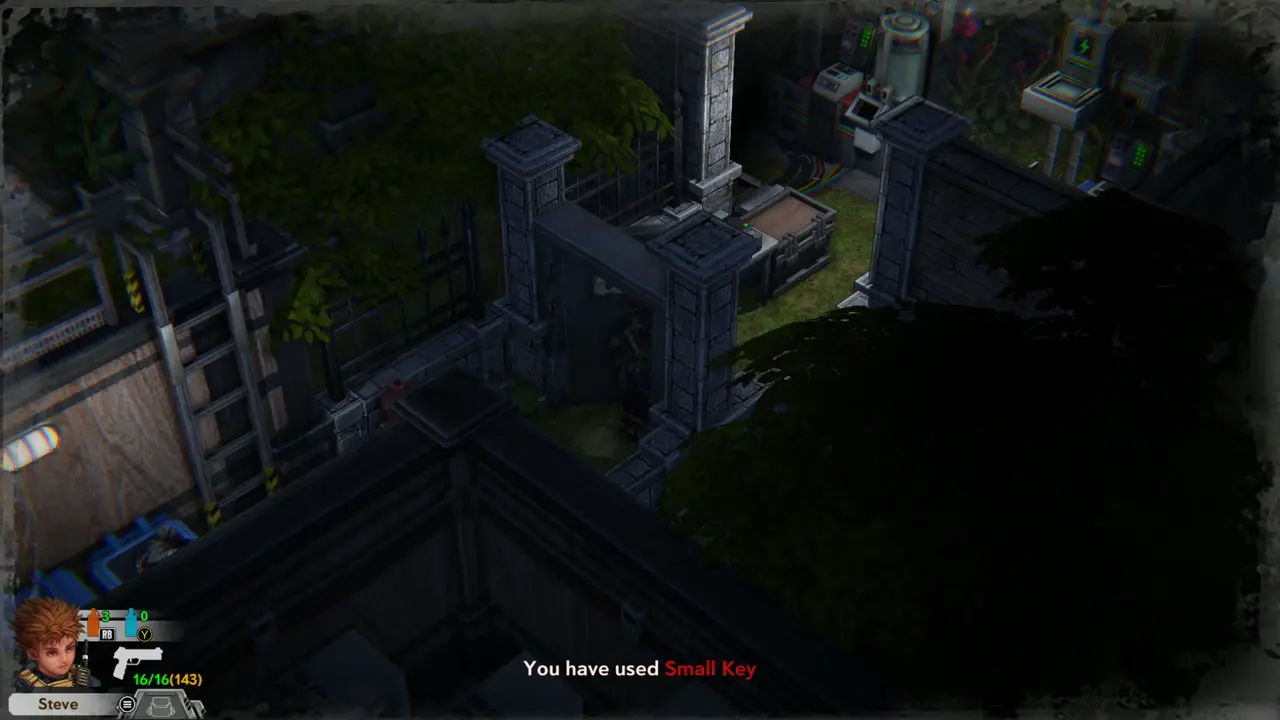
DOORKEY ITEM 12 Examine the stone gate in the wall: “Locked, the door is marked with a symbol of a key.” Use the Small Key on it to open it.
Gate marked with a key symbol
You have used Small Key
2
Outdoor yard - Synthesizer Yard
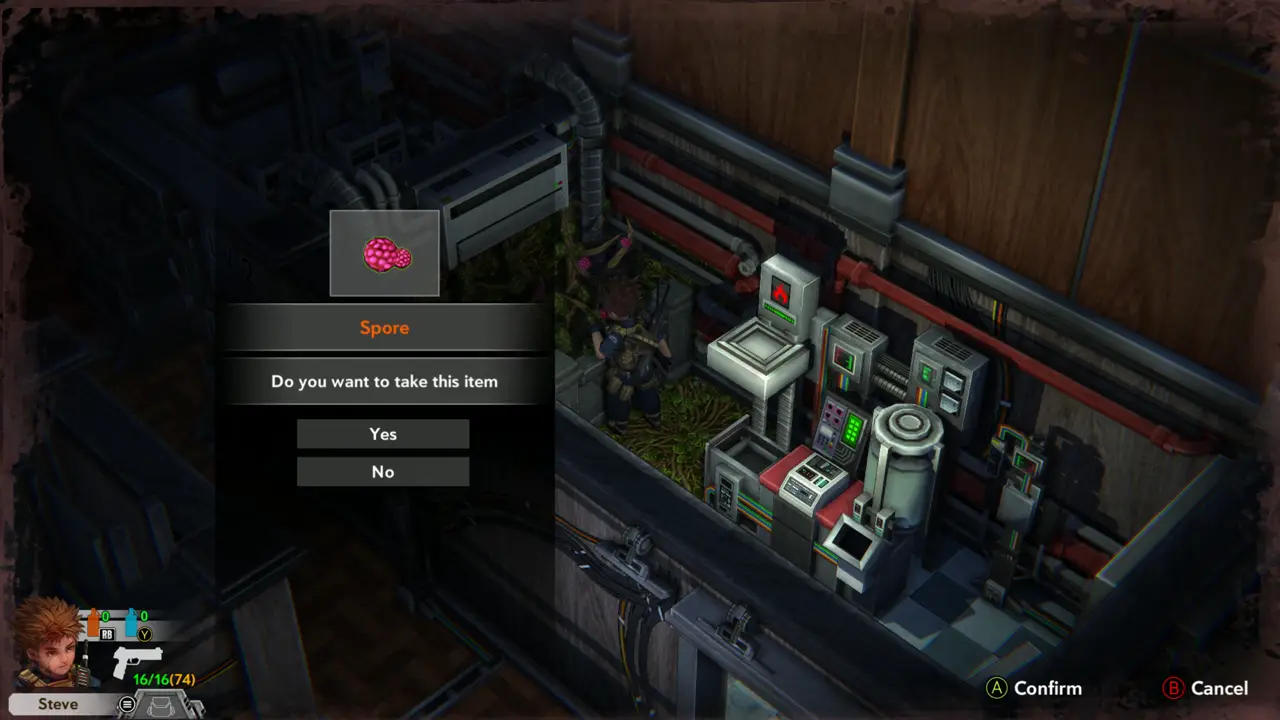
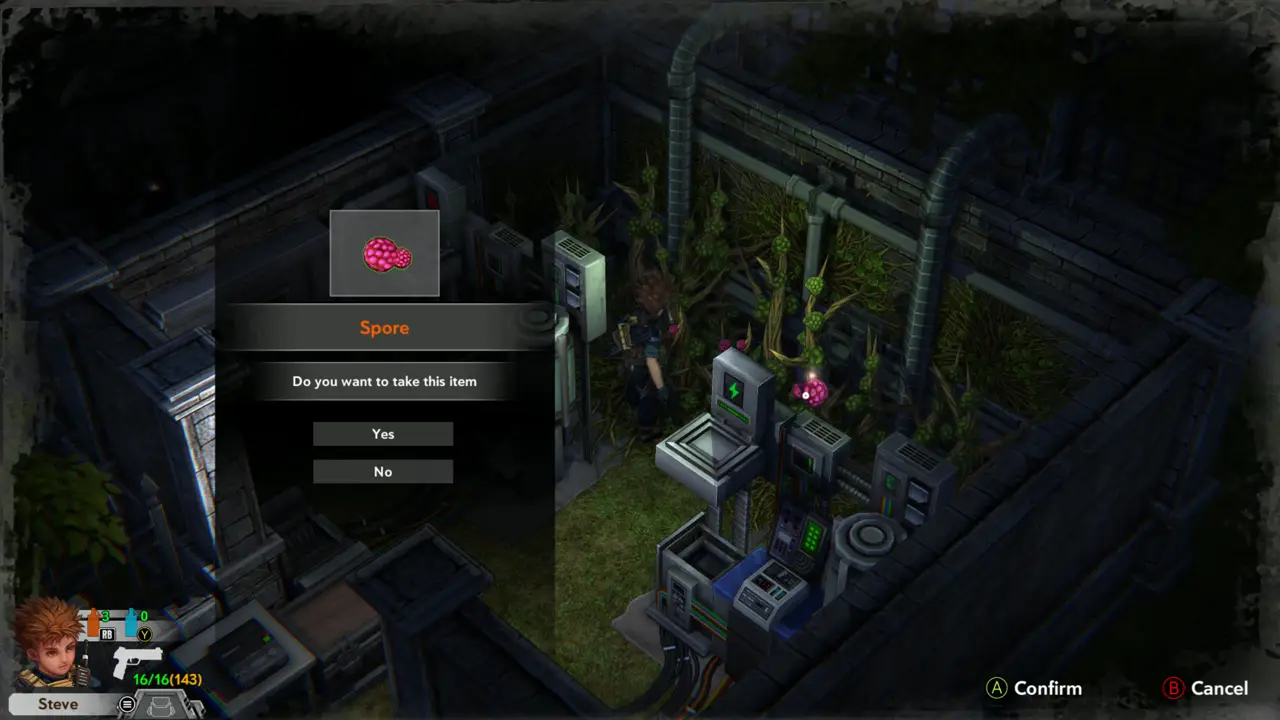
ITEM 86–87WEAPON Take the pink Spore from the plant beside the machines on the right of the walled yard. Use the Spore on the blue machine on the right: “You have used Spore”. Take the 2 Electric Grenades it produces.
Spore pickup prompt
Spore pickup prompt
Electric Grenade x2 prompt
3
Outdoor yard - Synthesizer Yard
NOTE Open the storage box here and stash herbs and ammo before moving on.
Storage box open
Storage box open
4
Office with red cabinets
NOTE Use the exchange machine on the desk. Its menu: Green Herb for 5 Shotgun Ammo, Red Herb for 5 Service Pistol Ammo, 10 Pistol Ammo for 1 Spore (unlimited).
Exchange machine on the desk
Shotgun Ammo exchanged
5
Office rooms with wooden floors
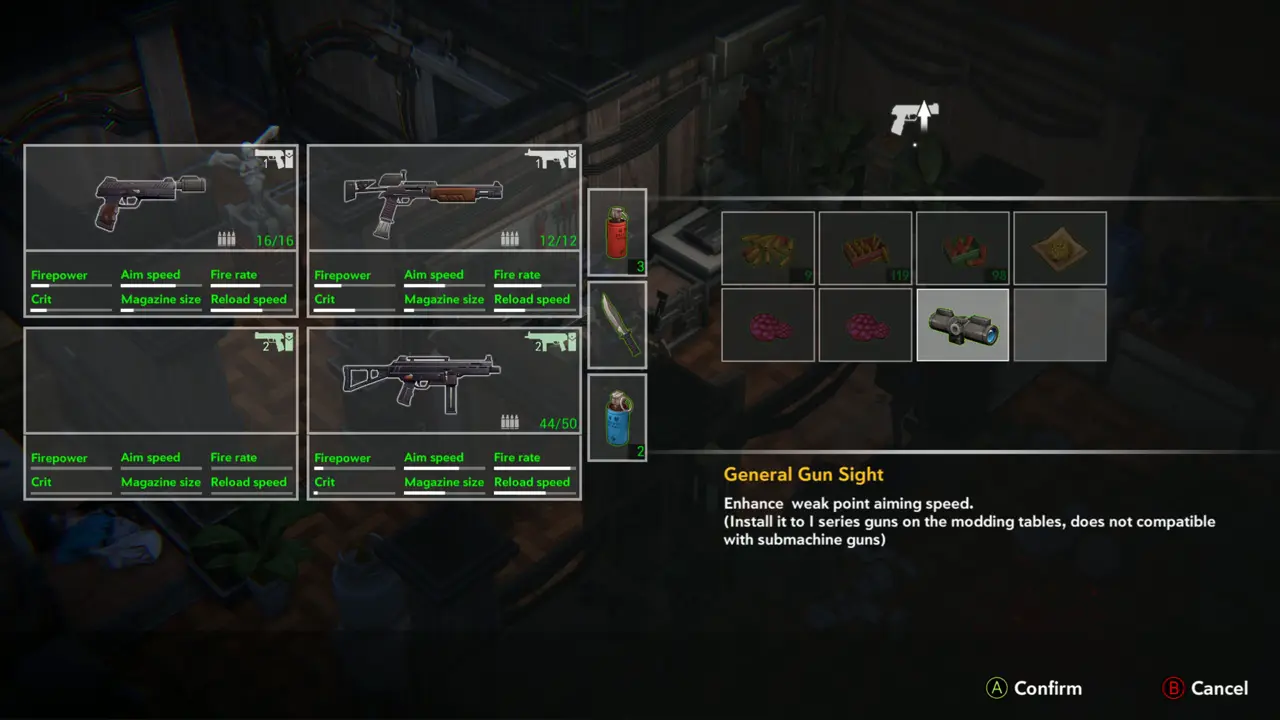
WEAPON 2WEAPON 7NOTE Reach the room with the gun modding table and open it. General mods fit only the I-series guns; the screen lists the Balefire-I Shotgun and Breeze-I Pistol with their descriptions.
Gun modding table
Gun modding table
Mods and I-series guns
6
Office rooms with wooden floors
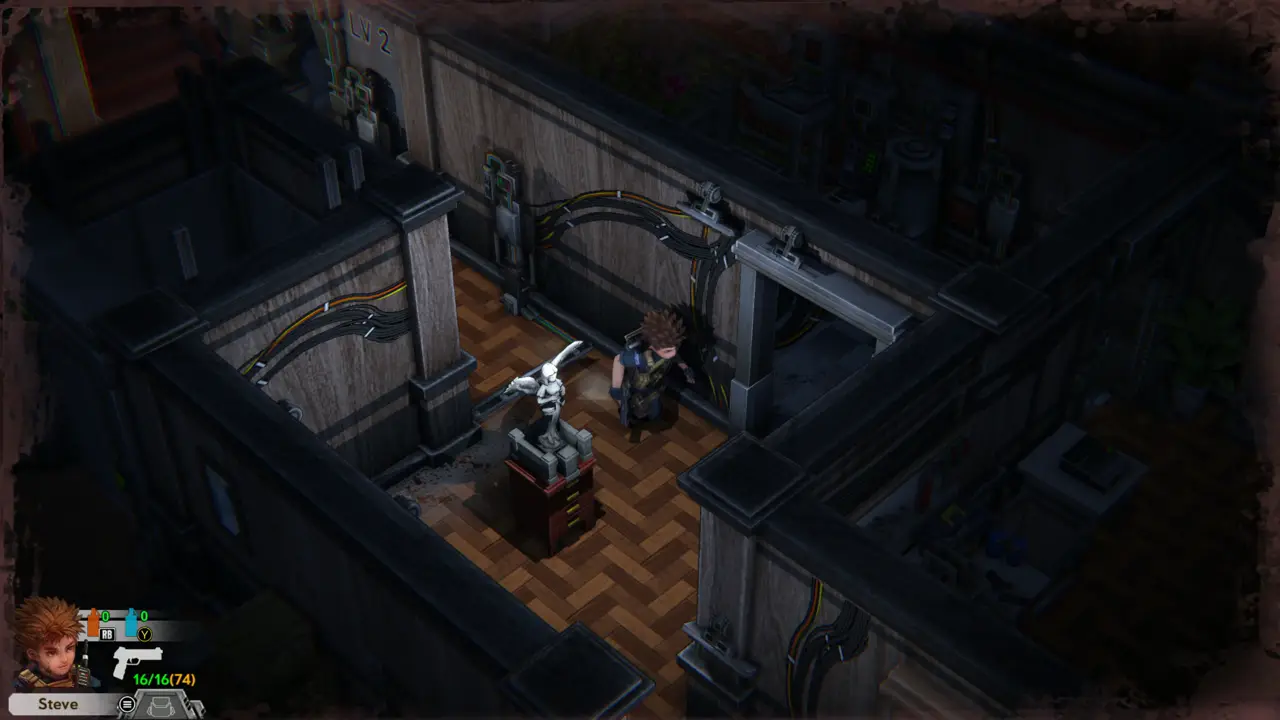
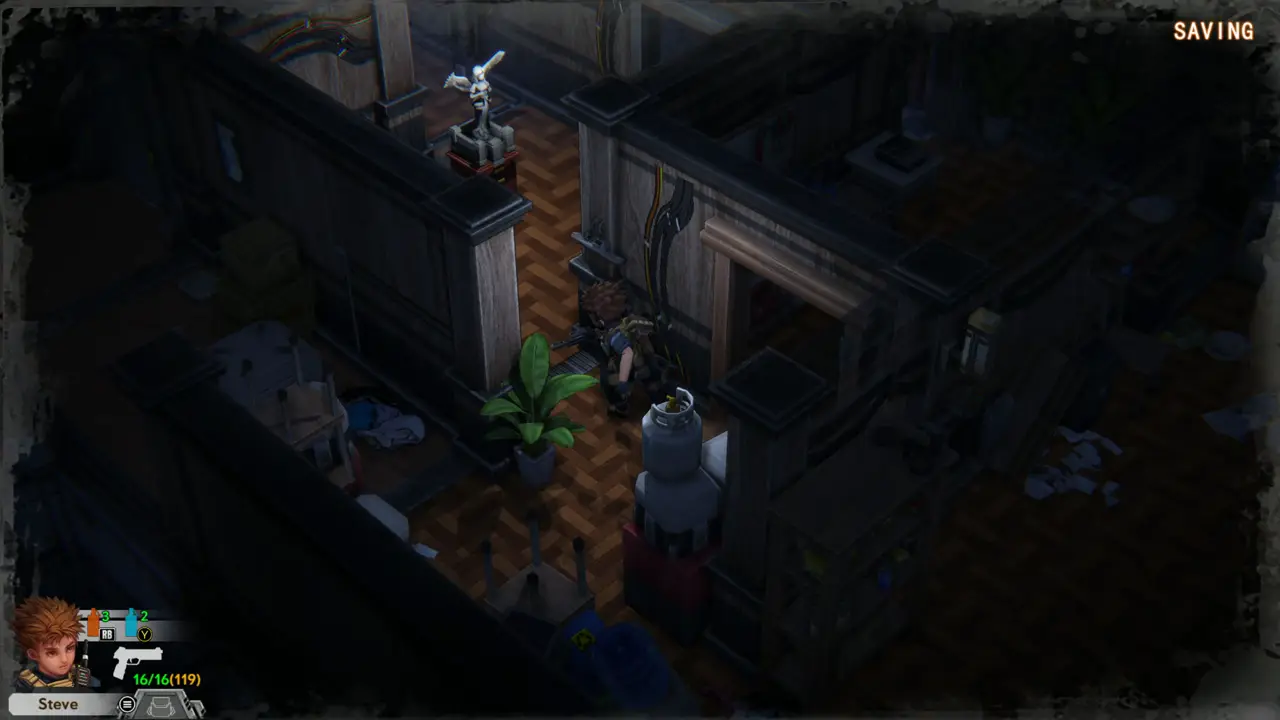
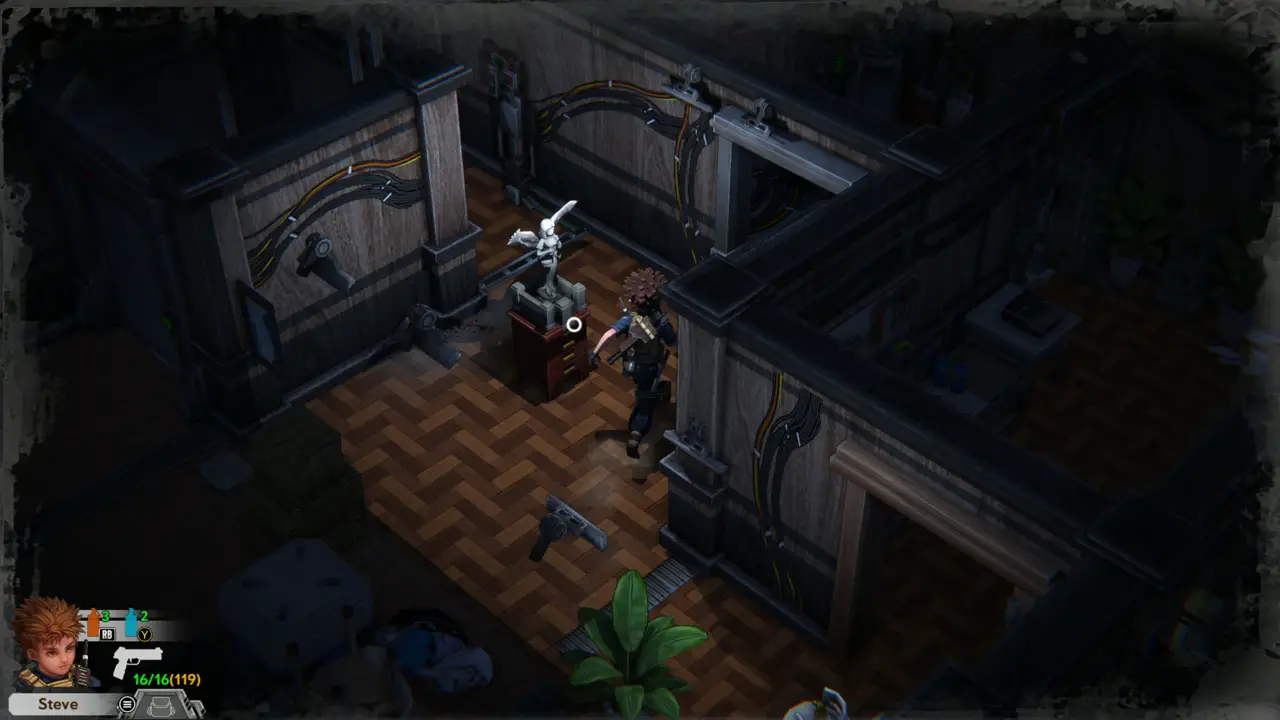
SAVE 1 Interact with the white bird statue by the modding table to save the game.
SAVING message
SAVING message
Statue by the table
Statue by the table
7
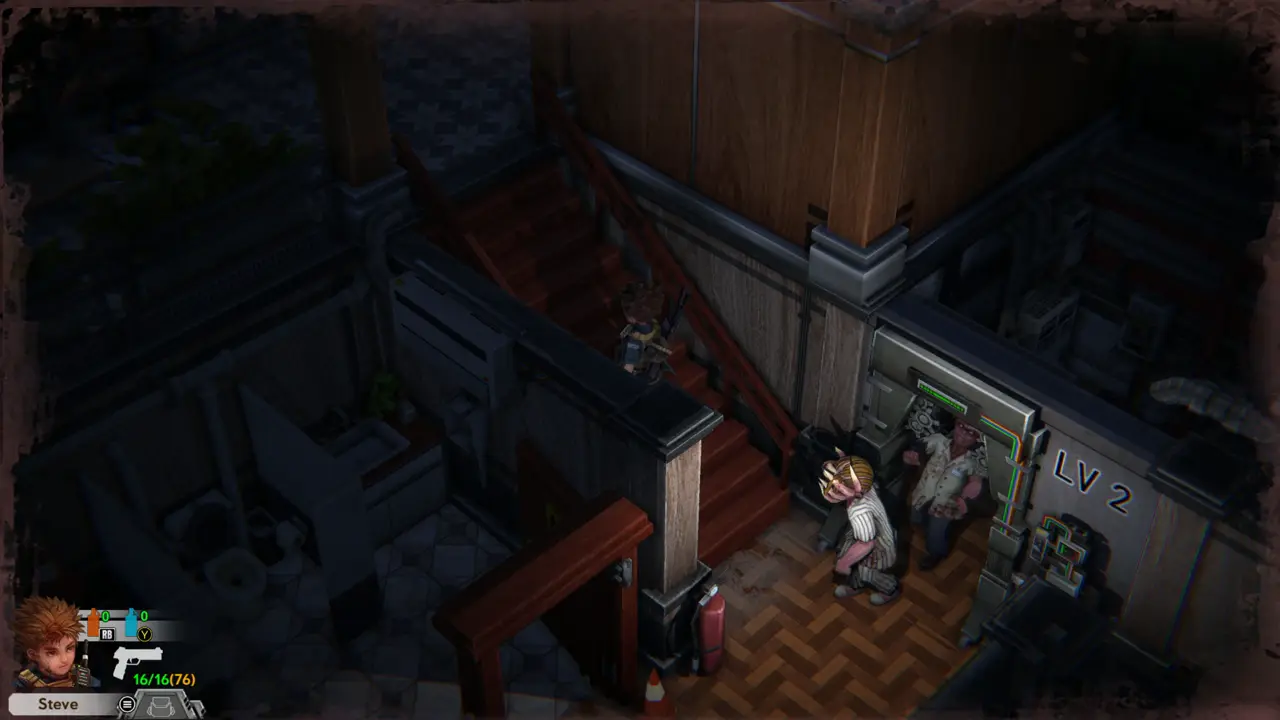
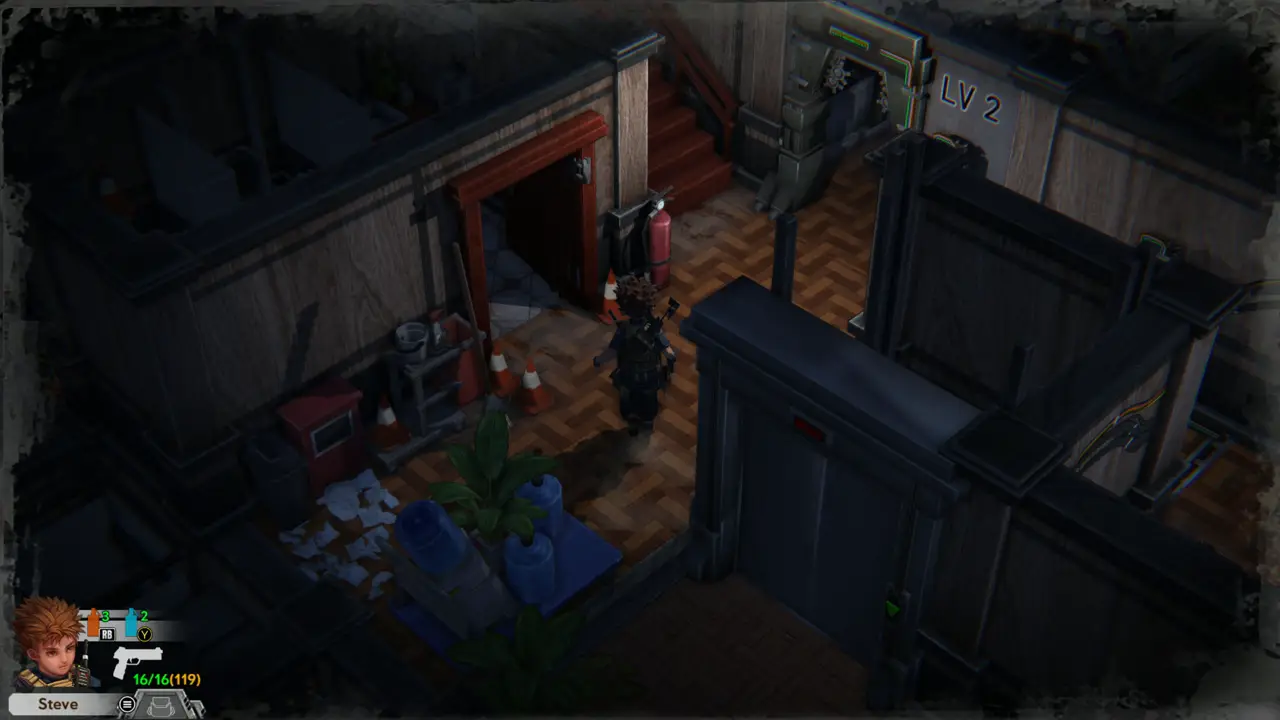
Office rooms with wooden floors
DOOR The door on the stairs is marked “LV 2”.
Door marked LV 2
Door marked LV 2
8
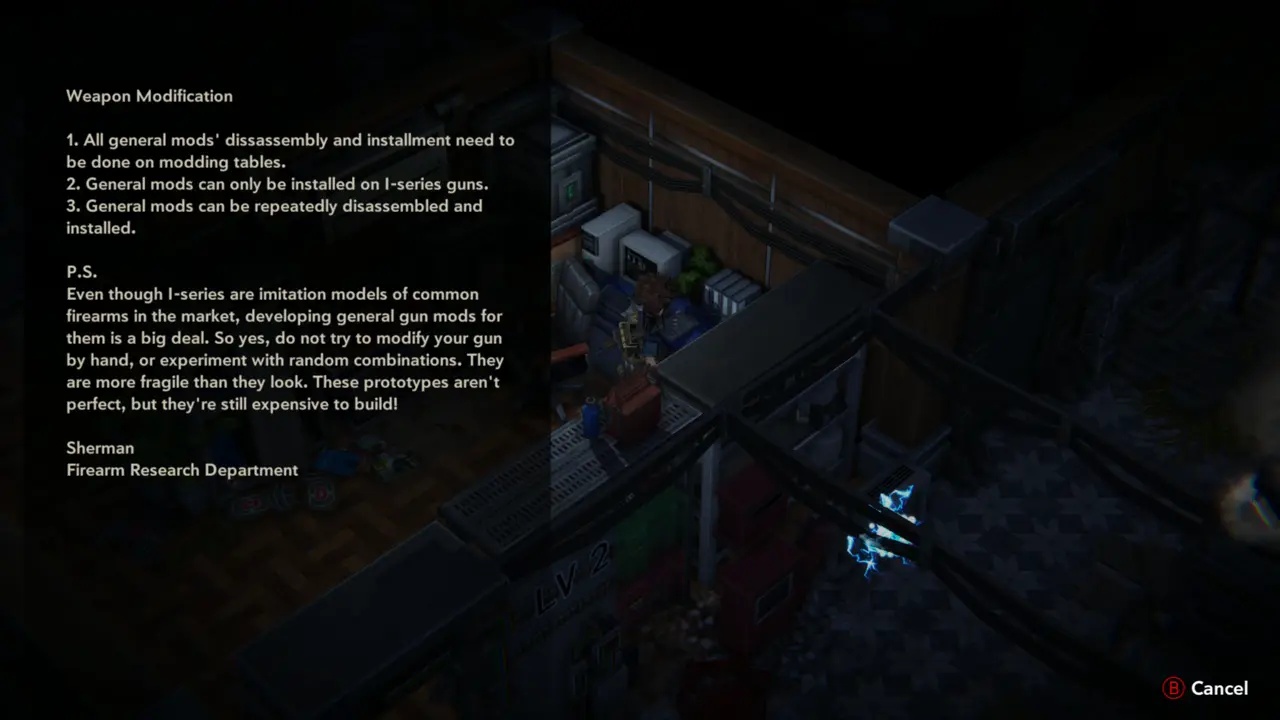
Office rooms with wooden floors
FILE Read the document “Weapon Modification”: modding needs a modding table, General mods fit only I-series guns, and mods can be removed and refitted.
Weapon Modification file
9
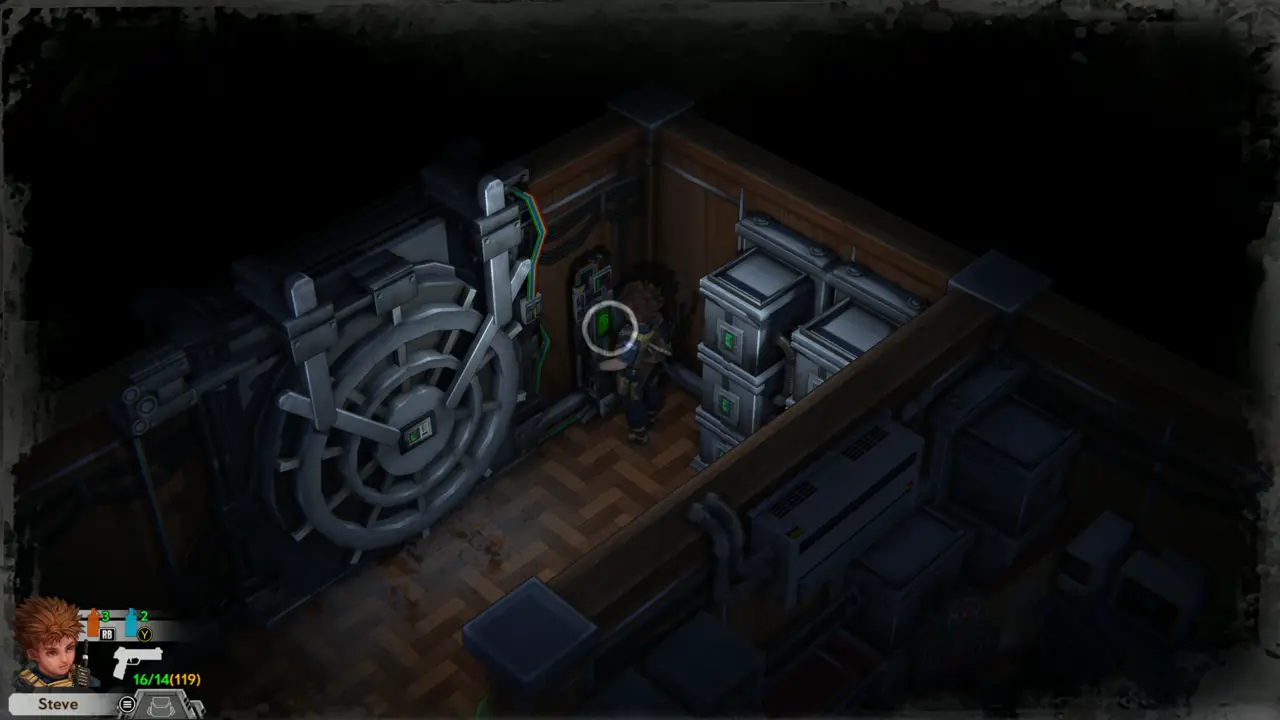
Office rooms with wooden floors
DOOR Examine the round vault door in the machine room: “Fingerprint sensor.” It needs the Prosthesis, so leave it for now.
Vault door with sensor
10
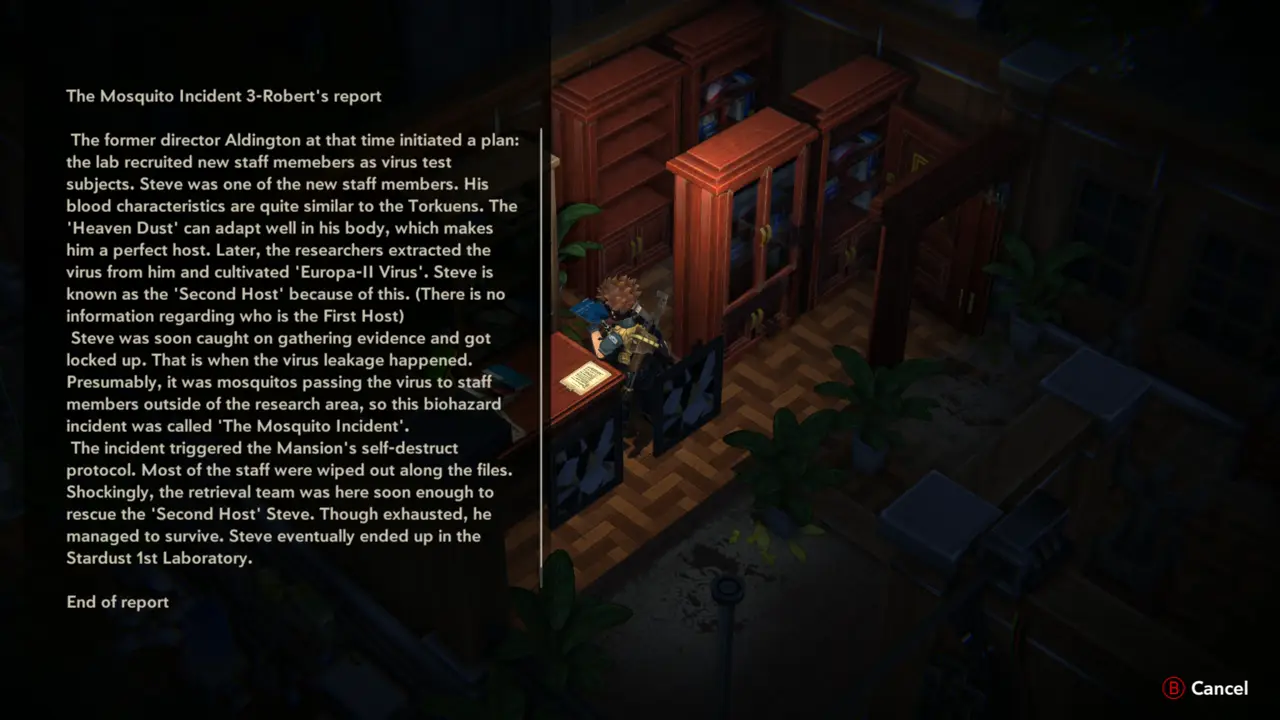
Office with red cabinets
FILE 25 Read the document “The Mosquito Incident 3-Robert's report” on the desk. It says Steve is the Second Host of the Europa-II Virus.
Report on the desk
Report on the desk
Report page text
Report page text
11
Old Lab Building
NOTE Go down into the lab section (blue tiled corridors, door marked V1) and on to the hall with the generator machines.
Blue tiled lab section
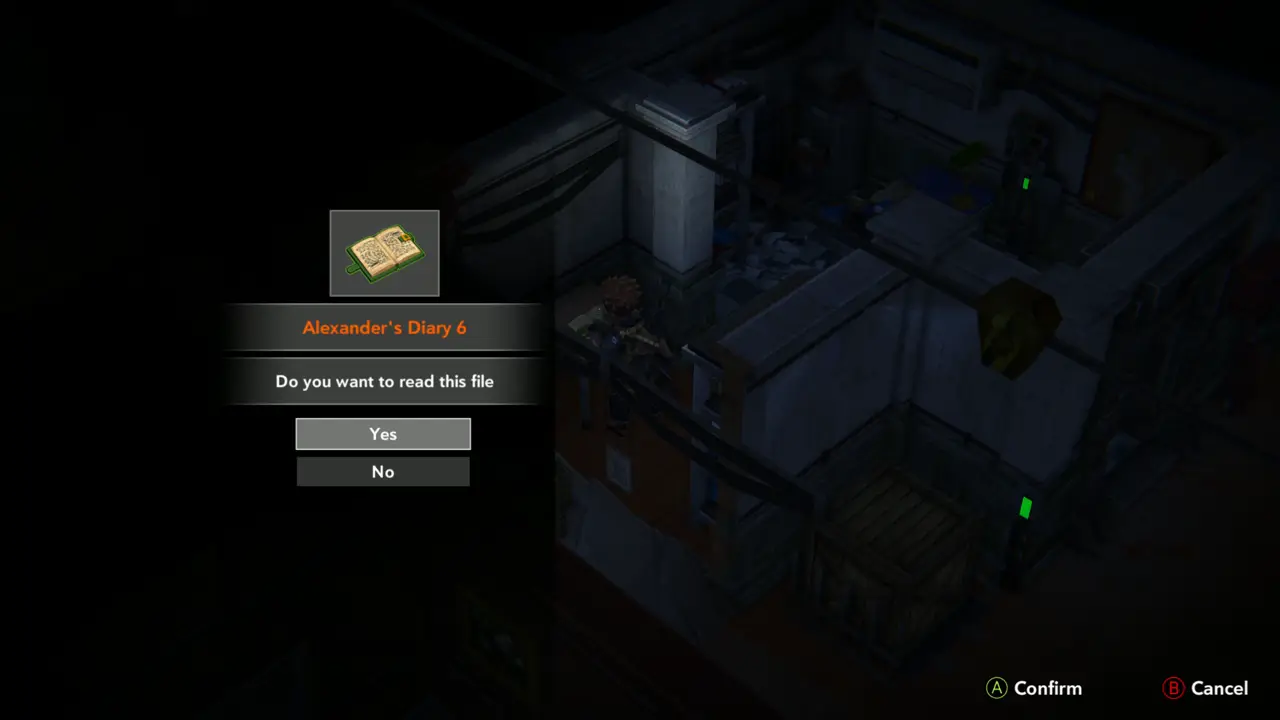
Door marked V1
Door marked V1
12
Old Lab Building - hall with generator machines
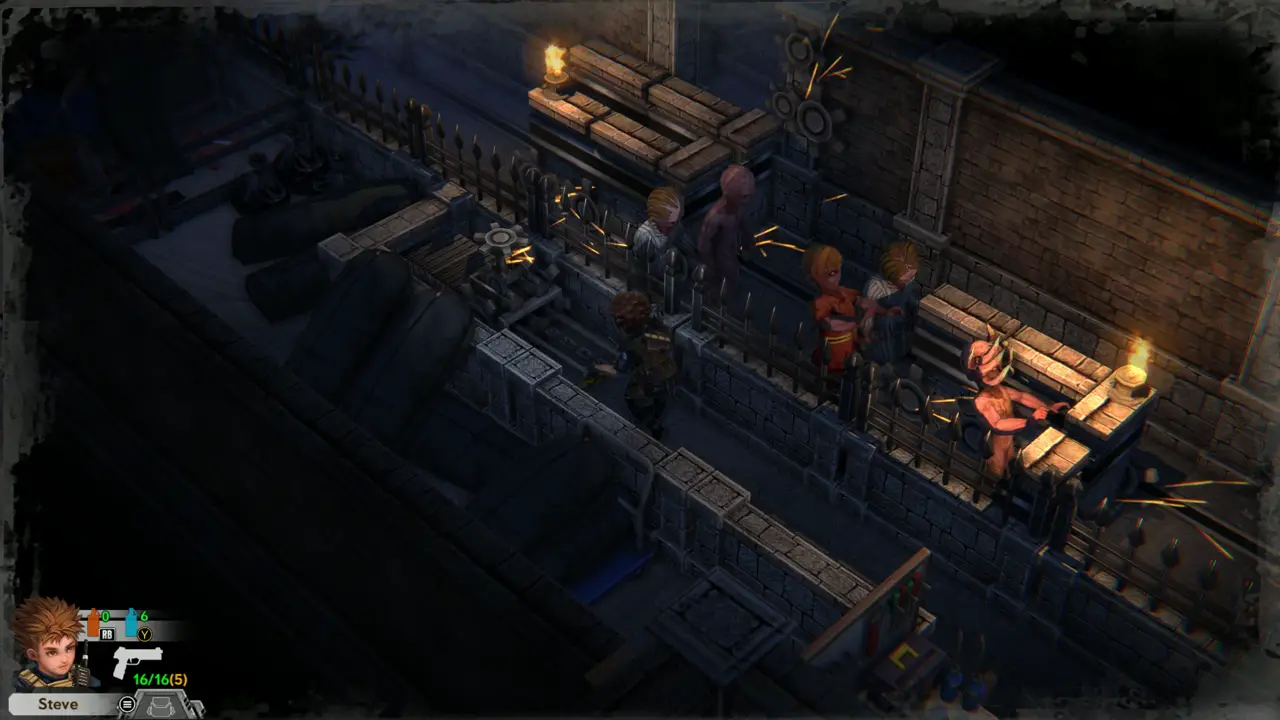
FIGHT Kill the infected that come out of the dark doorway on the right of the hall. Save your pistol ammo: it runs dry here (“You are out of ammo!”).
Fight in the hall
Fight in the hall
Enemy at the doorway
13
Old Lab Building
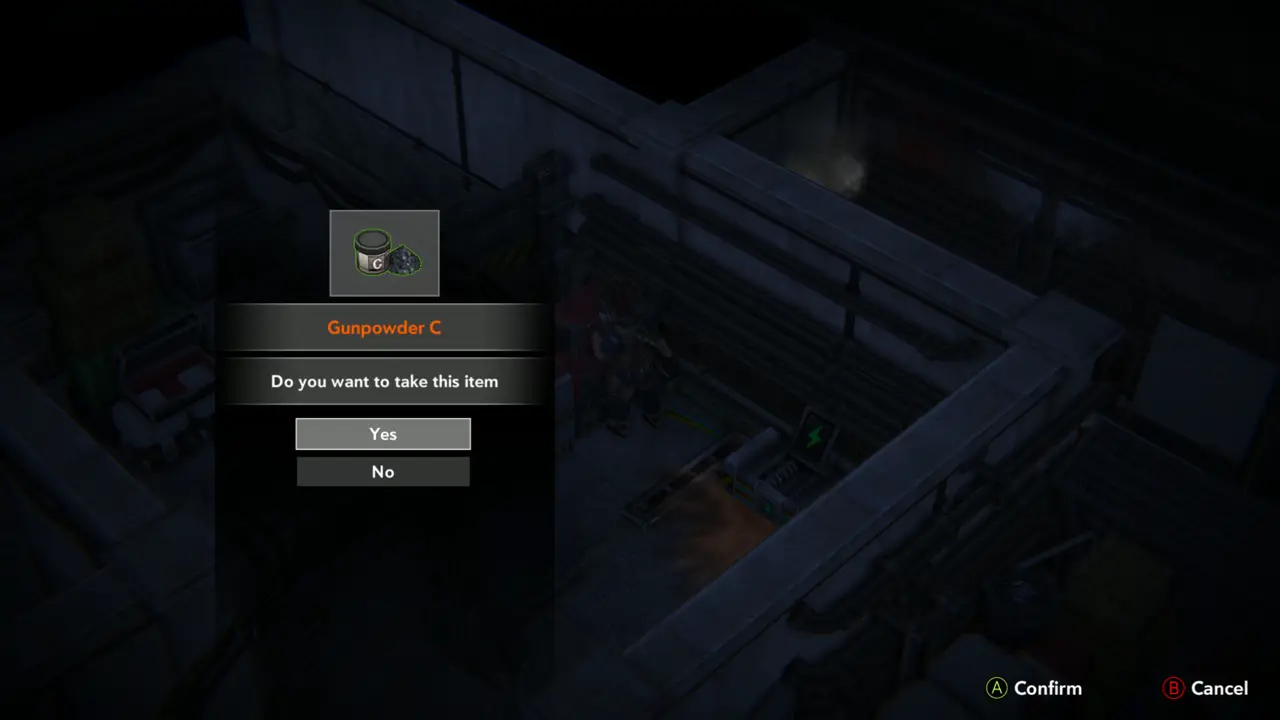
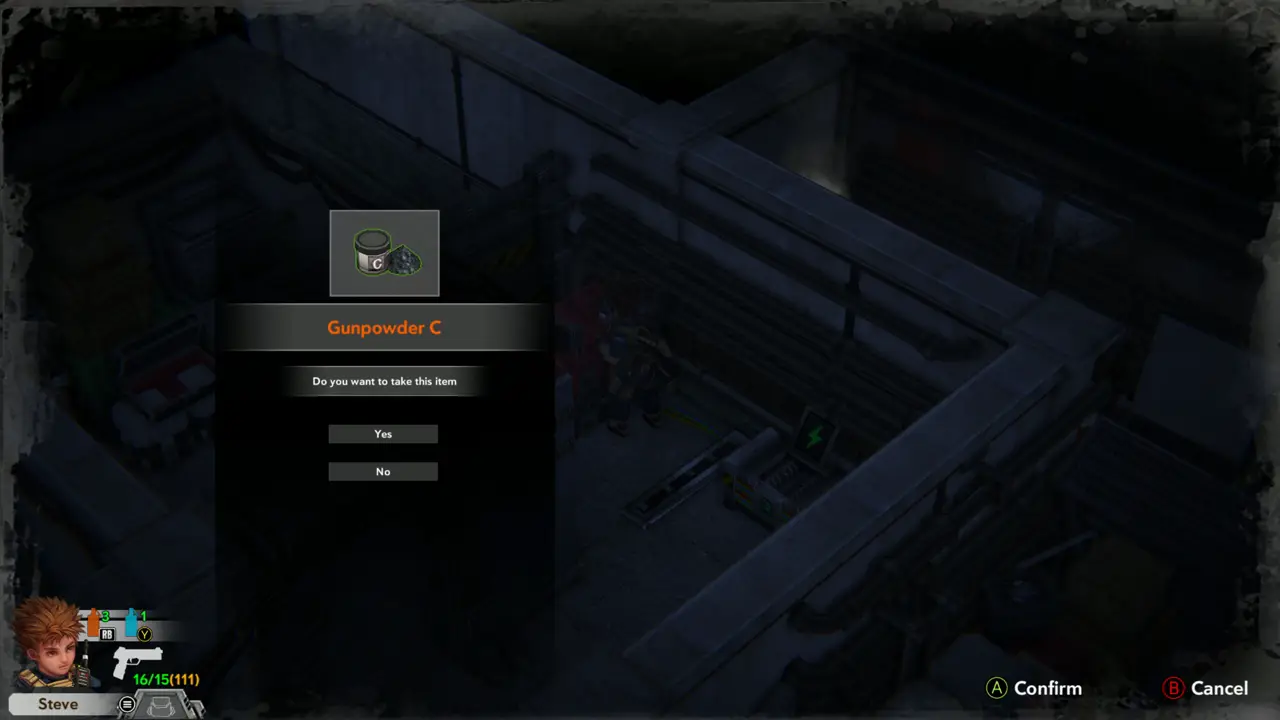
ITEM 88 Take Gunpowder C at the machine. If your inventory is full, combine powders to free a slot, then take the second Gunpowder C.
Gunpowder C prompt
Gunpowder C prompt
Second Gunpowder C prompt
14
Old Lab Building - Dressing Room
NOTE Examine the Dressing Room: “A small dressing room, you can change your cloth...”
Dressing room text
Dressing room text
15
Old Lab Building - New Building Lab
DOOR The lab door marked “LV 3” answers: “Require LV3 Keycard.” Leave it for now.
Door marked LV 3
Door marked LV 3
Require LV3 Keycard
Require LV3 Keycard
16
Outdoor path east of Shooting Range
SAVE 2 Use the save point on the outdoor path and pick slot 1.
Save slot screen
Save slot screen
Outdoor path
Outdoor path
17
Outdoor path with lamp post
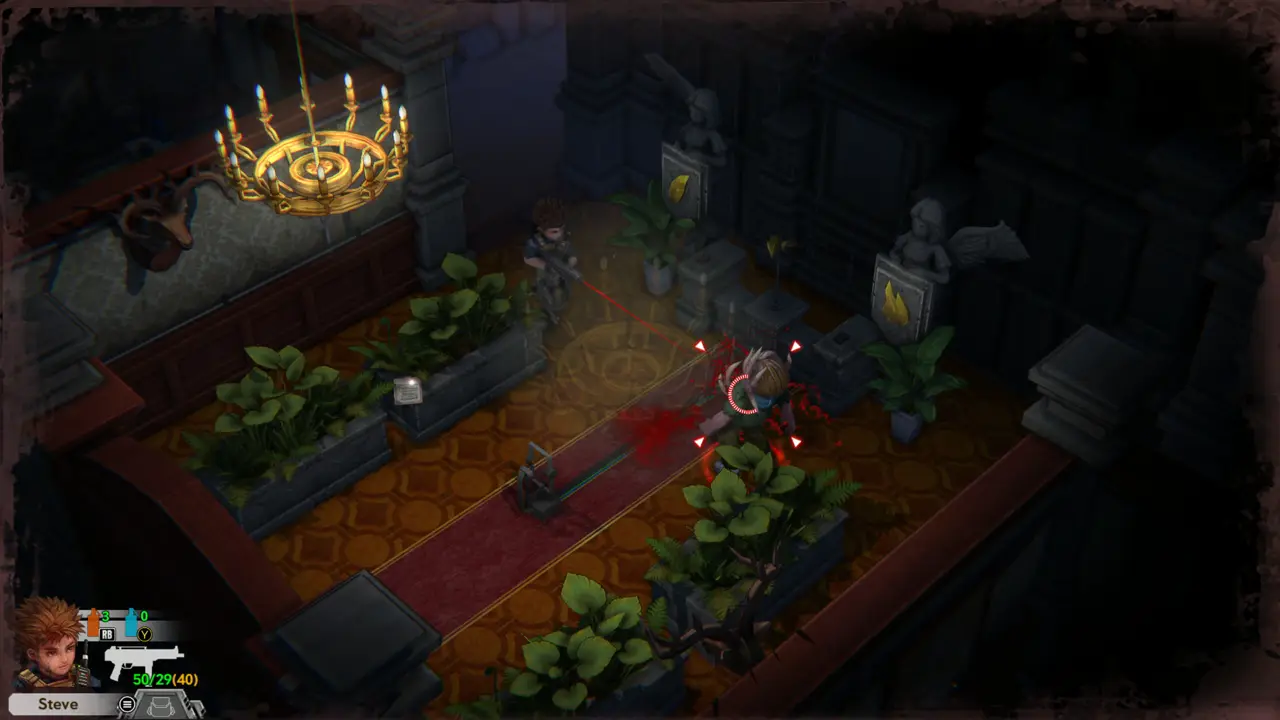
FIGHT Clear the infected around the lamp post. Shoot the red target on their body.
Infected at the lamp
Lamp post fight
Lamp post fight
18
Caretaker's Dorm
ITEM 89–91 Enter the hut beside the path. Take the Green Herb, the Green Seed and the Red Herb from the plant table on the right.
Hut by the path
Hut by the path
Herb table
Herb table
19
Outdoor path near Caretaker's Dorm
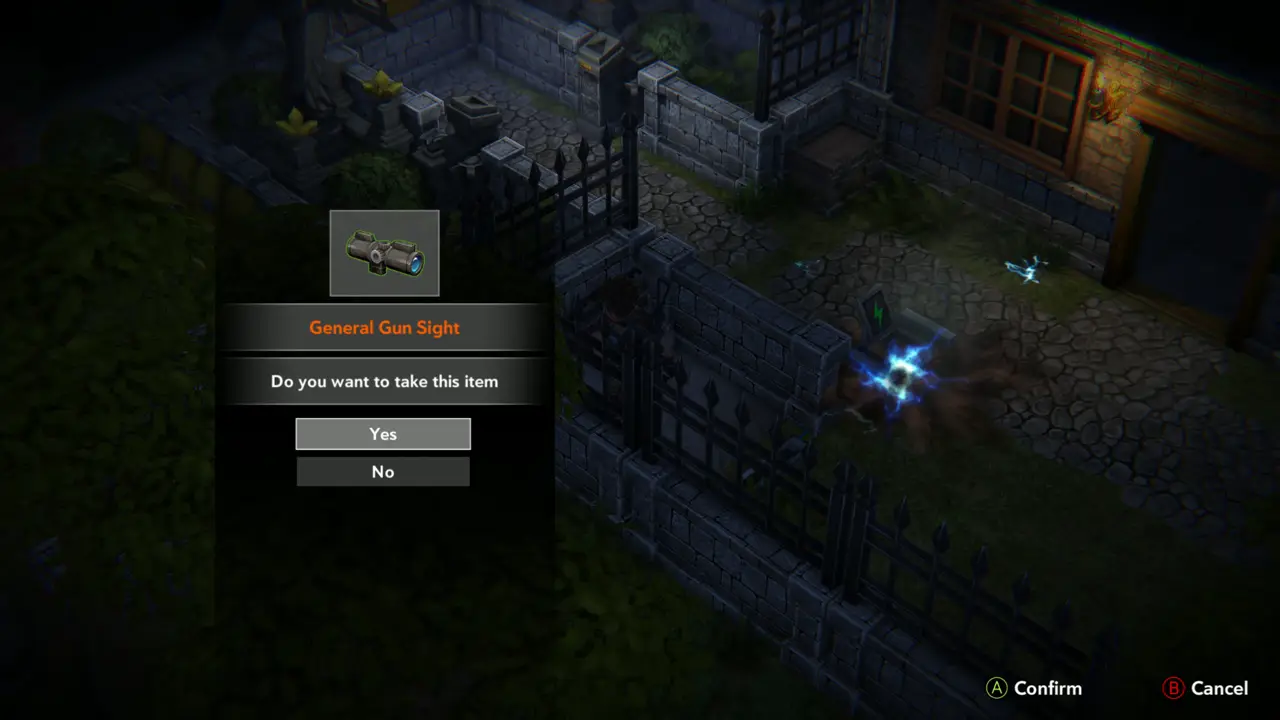
KEY ITEMWEAPON 9 Take the General Gun Sight lying beside the blue electric sparks.
General Gun Sight prompt
20
Outdoor supply spot
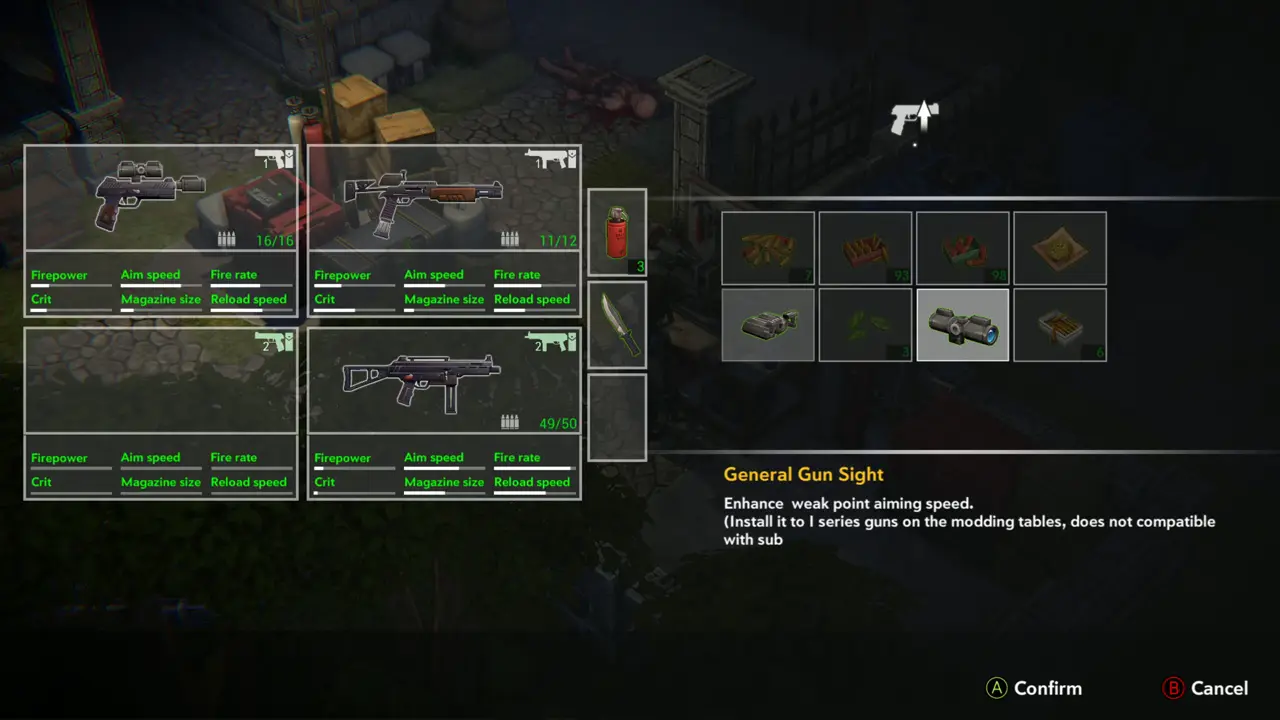
WEAPONNOTE Open the storage box beside the supply crates, then use the modding table there to view the General mods and the I-series guns.
Storage box
Storage box
Modding table screen
21
Graveyard
PUZZLE 1 Use the Green Seed on the dirt patch by the tree: “You have used Green Seed”.
Dirt patch
Dirt patch
You have used Green Seed
22
Graveyard
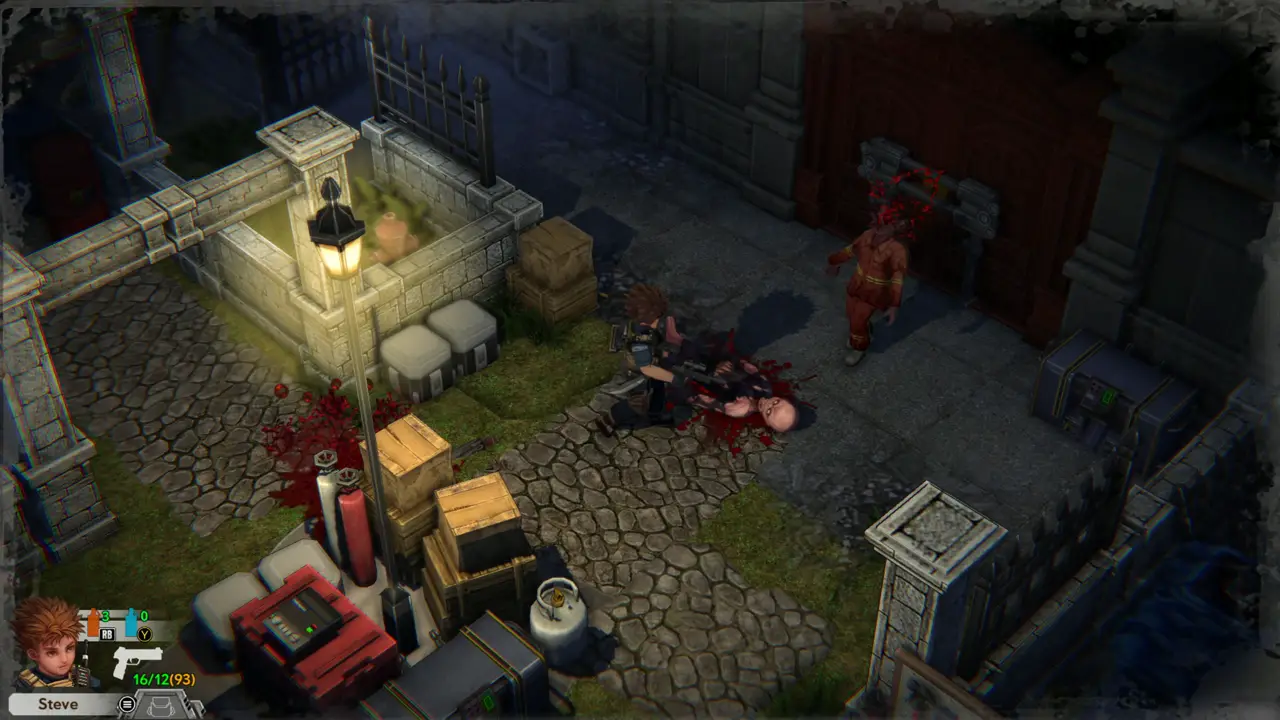
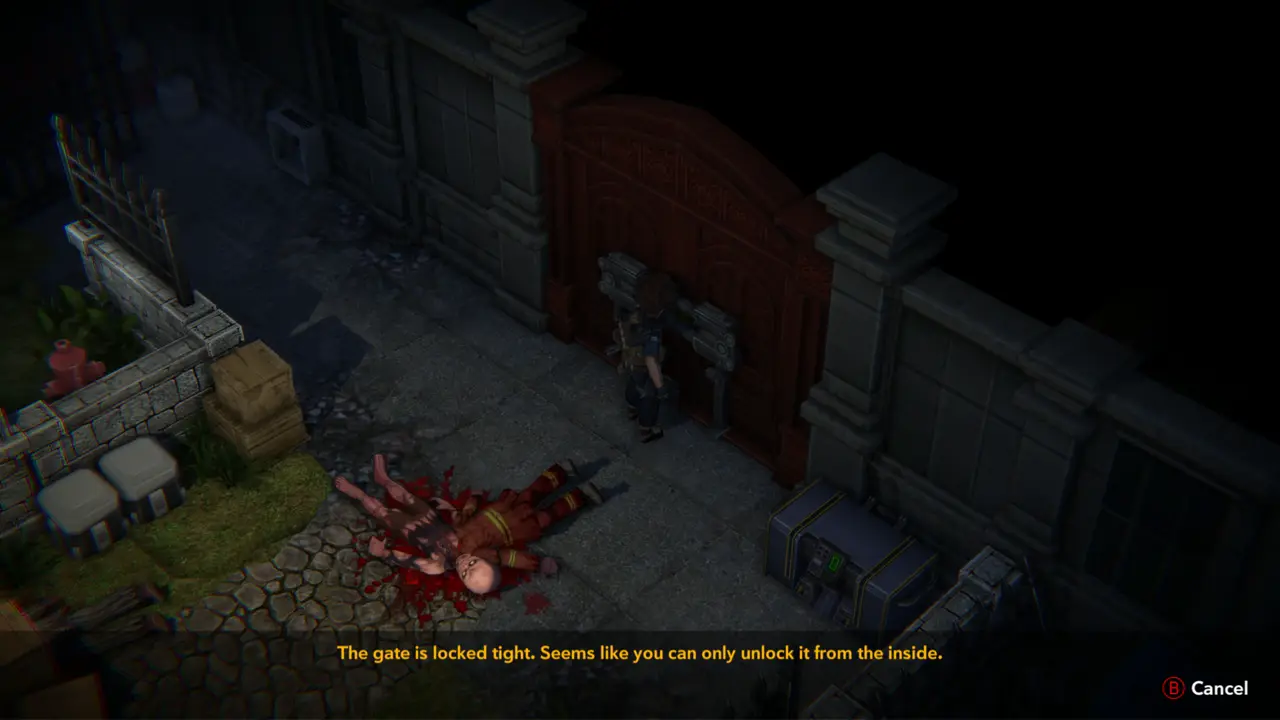
DOOR Try the red gate at the end of the path past the crates and the dead survivor: “The gate is locked tight. Seems like you can only unlock it from the inside.” Go back into the graveyard.
Red gate beside supply crates
Gate locked from inside message
23
Graveyard - angel statue plot
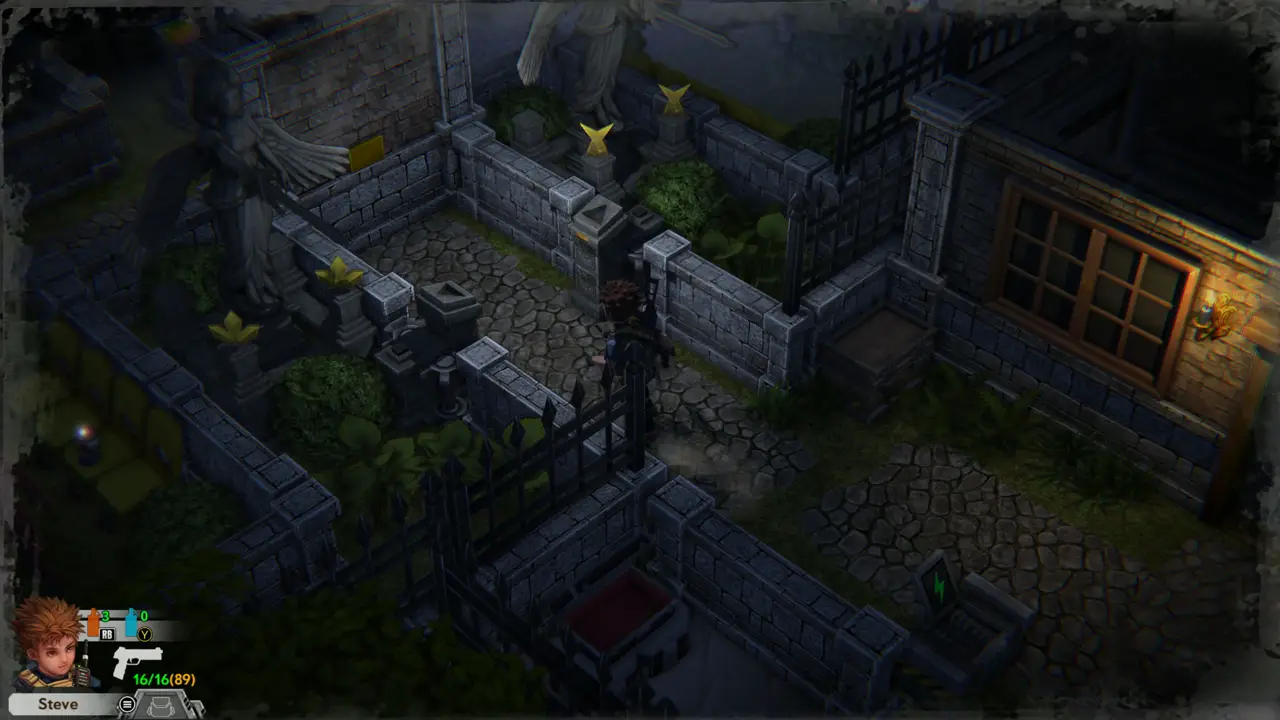
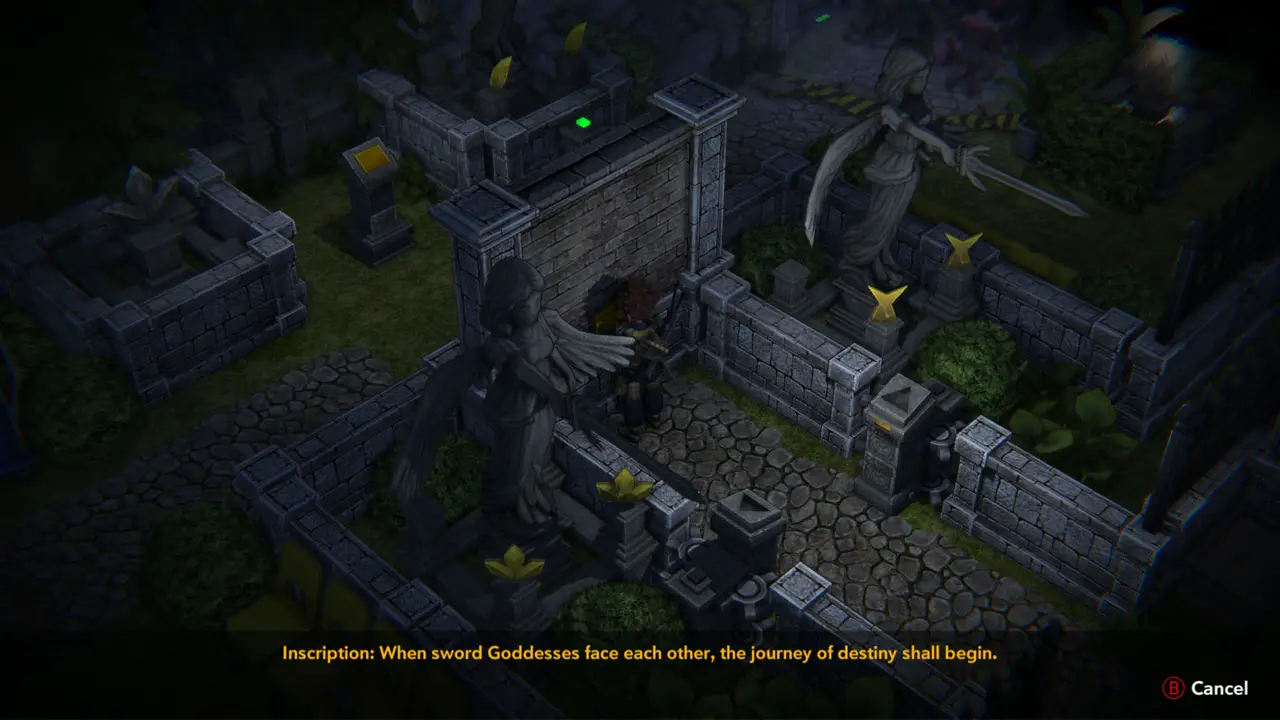
PUZZLE 2NOTE Examine the wall plaque between the two winged statues: “Inscription: When sword Goddesses face each other, the journey of destiny shall begin.” Then examine the stone pedestal in front of them: “A triangle groove. It seems like something can fit in there.”
Two angel statues, plaque wall
Inscription about sword Goddesses
24
Old Lab Building - restroom west of the Power Switch Room
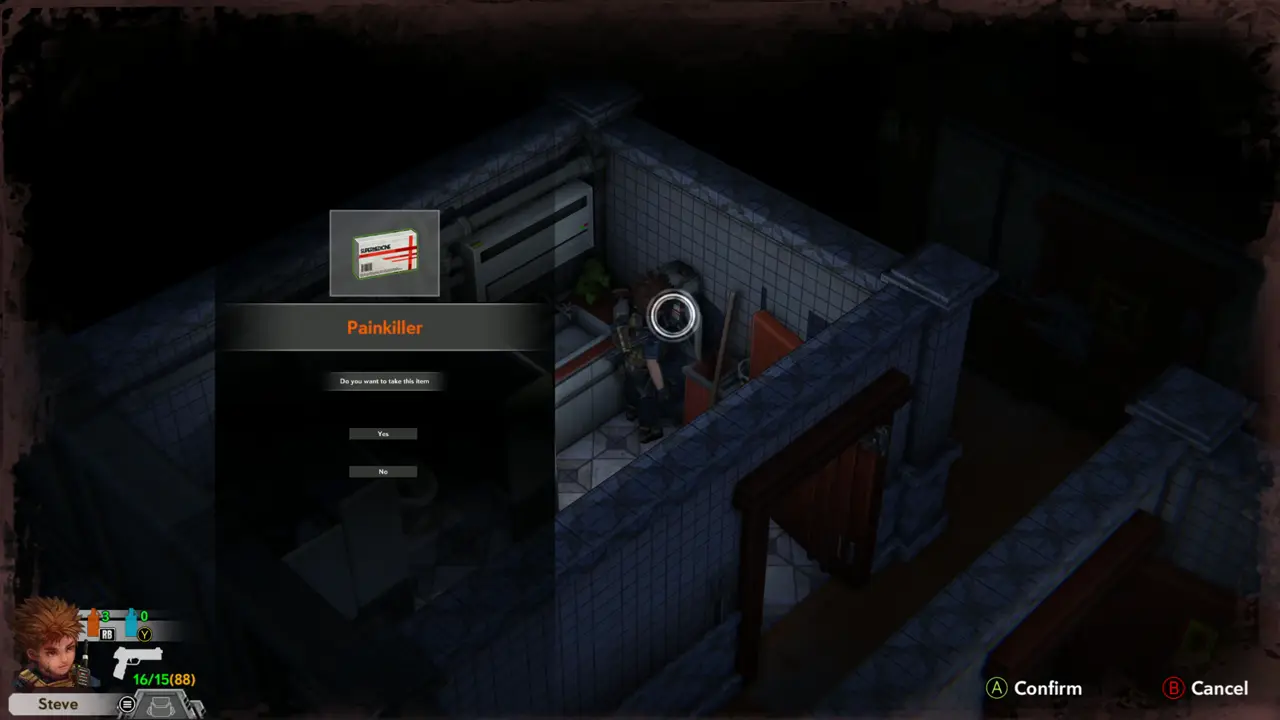
ITEM 92 Go through the restroom door and take the Painkiller beside the bathtub stall. If the game says “Inventory is full!”, free a slot first.
Painkiller pickup prompt
Inventory is full message
25
Old Lab Building - lounge with water cooler
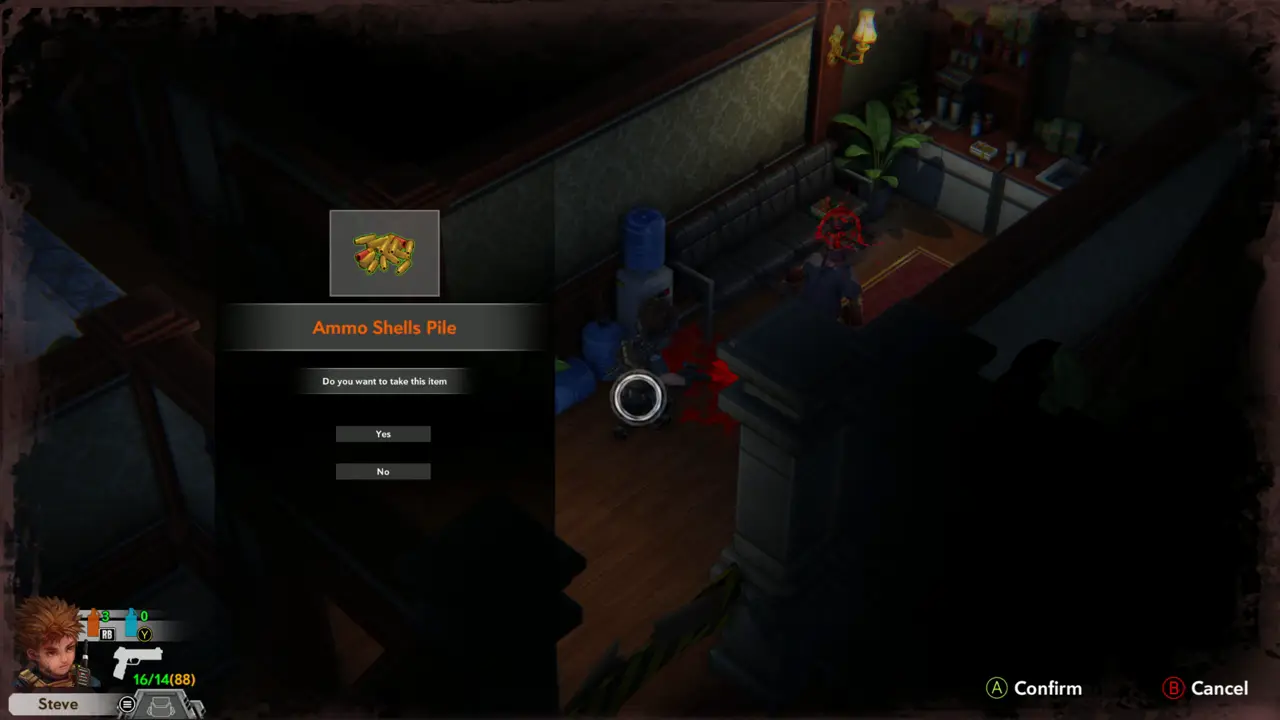
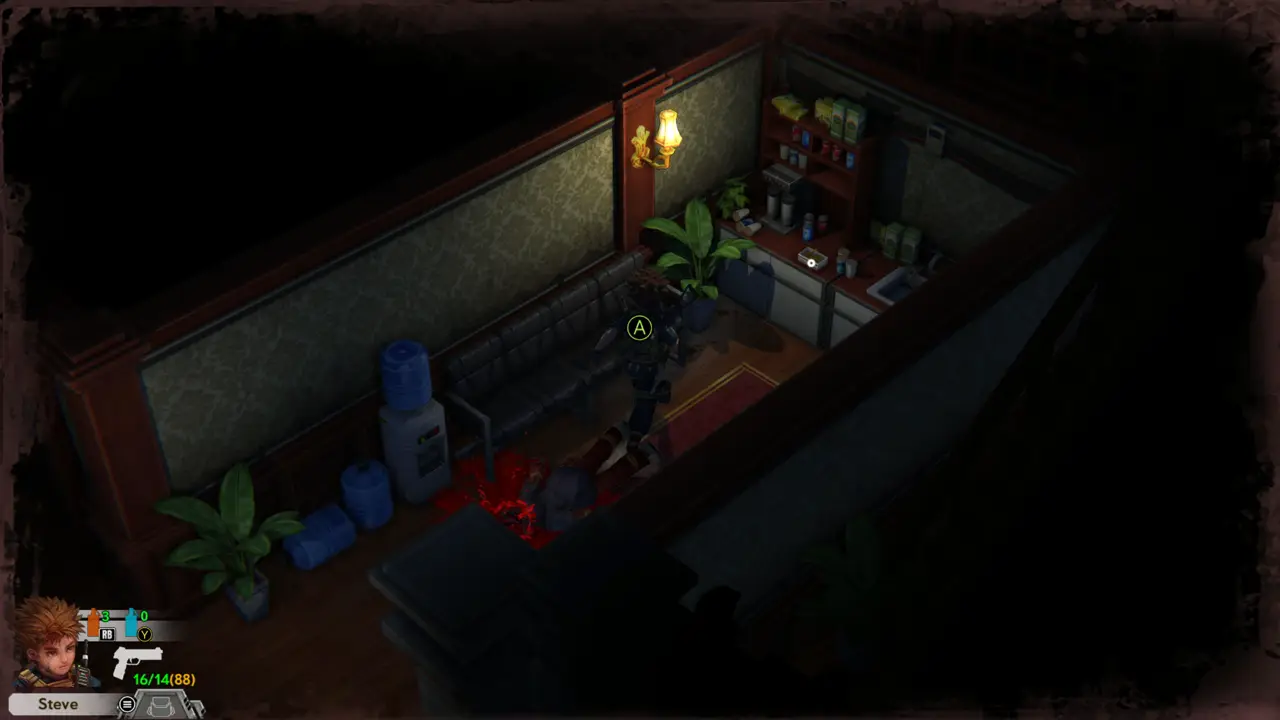
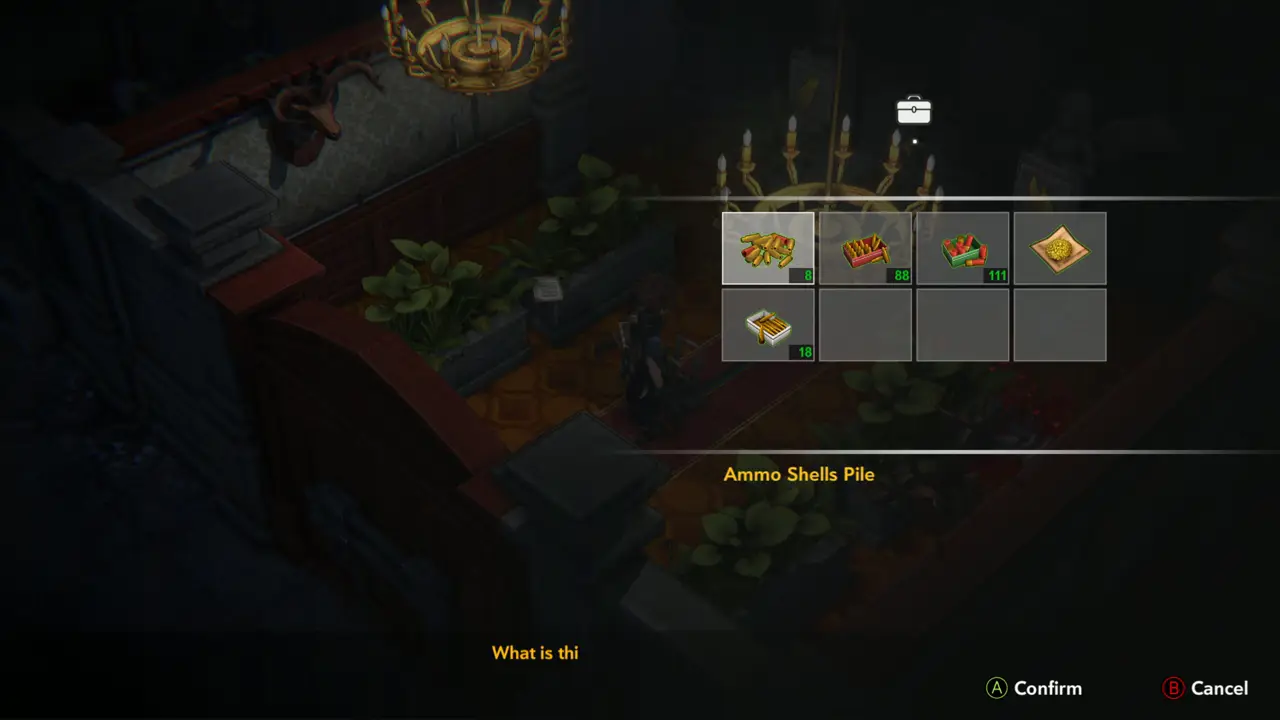
ITEM 93–95 In the lounge with the sofa and water cooler, take the three ammo pickups from the body: Ammo Shells Pile, Shotgun Ammo and Submachine Gun Ammo.
Ammo Shells Pile prompt
Shotgun Ammo prompt
Shotgun Ammo prompt
26
Old Lab Building - hall with chandeliers
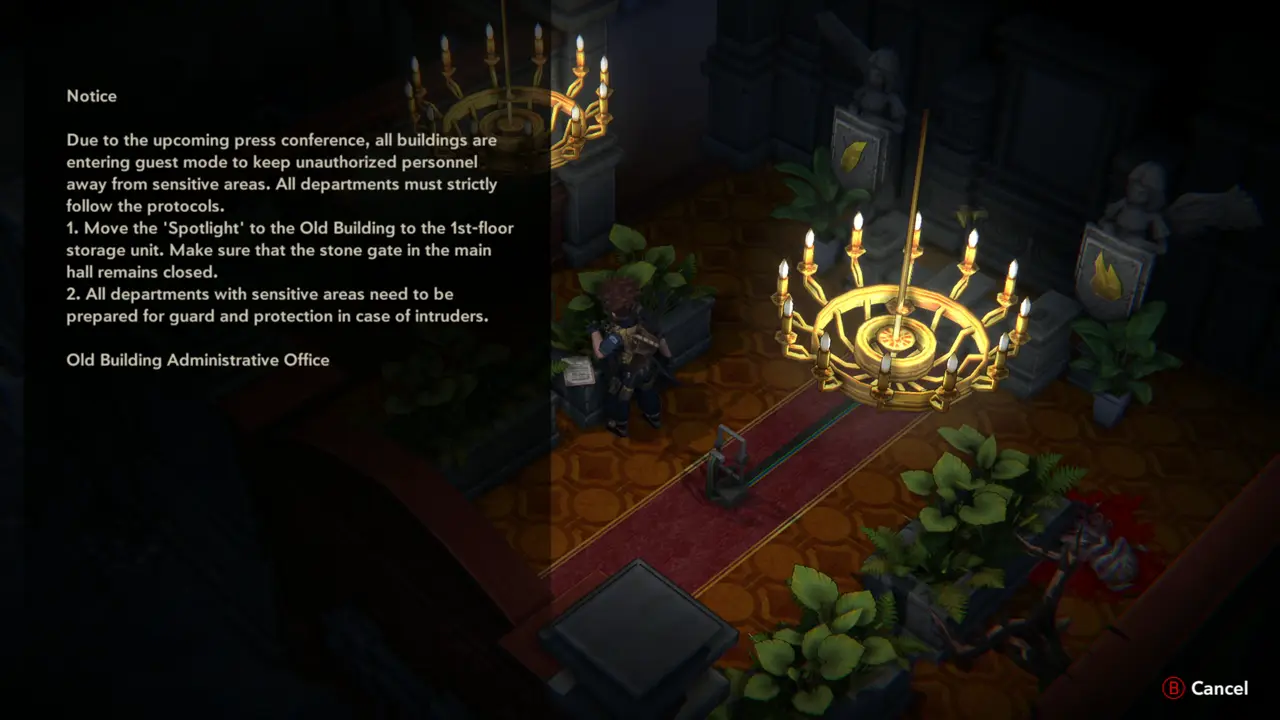
FILE 32 In the carpeted hall with the two chandeliers, read the “Notice” on the floor: all buildings are in guest mode and the “Spotlight” is to be moved to the 1st-floor storage unit of the Old Building.
Chandelier hall
Chandelier hall
Notice document open
27
Old Lab Building - hall with chandeliers
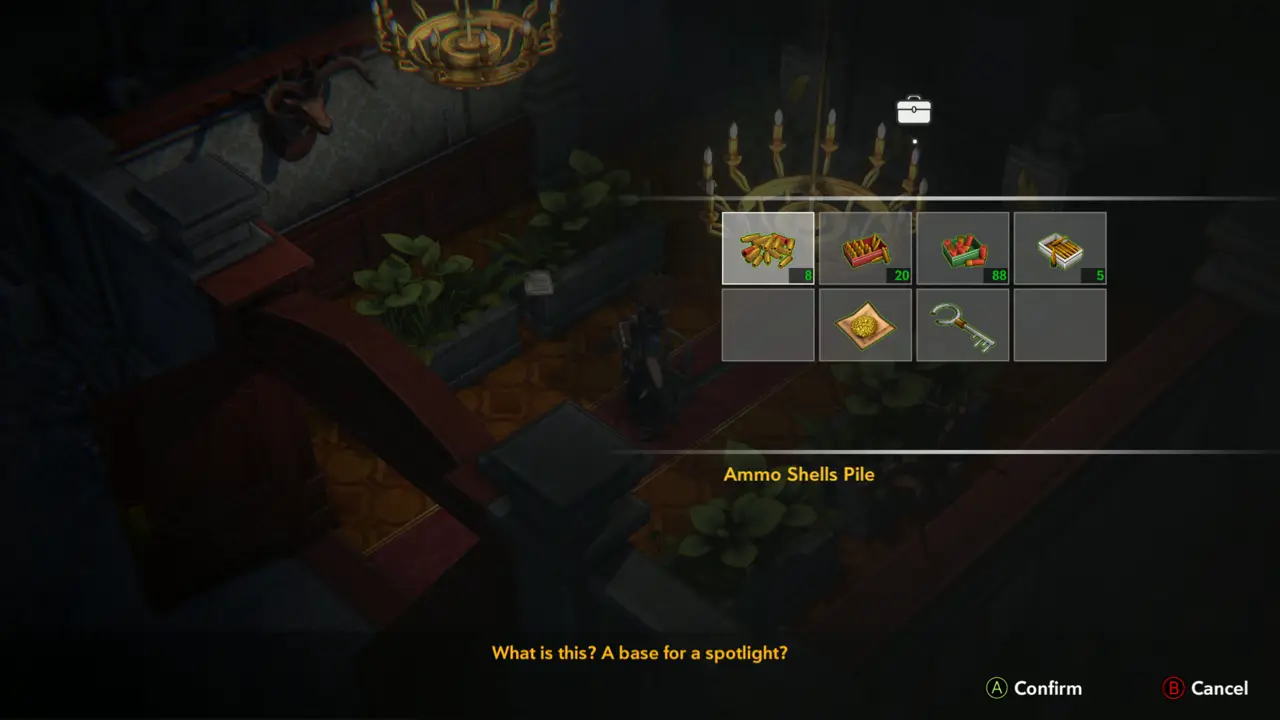
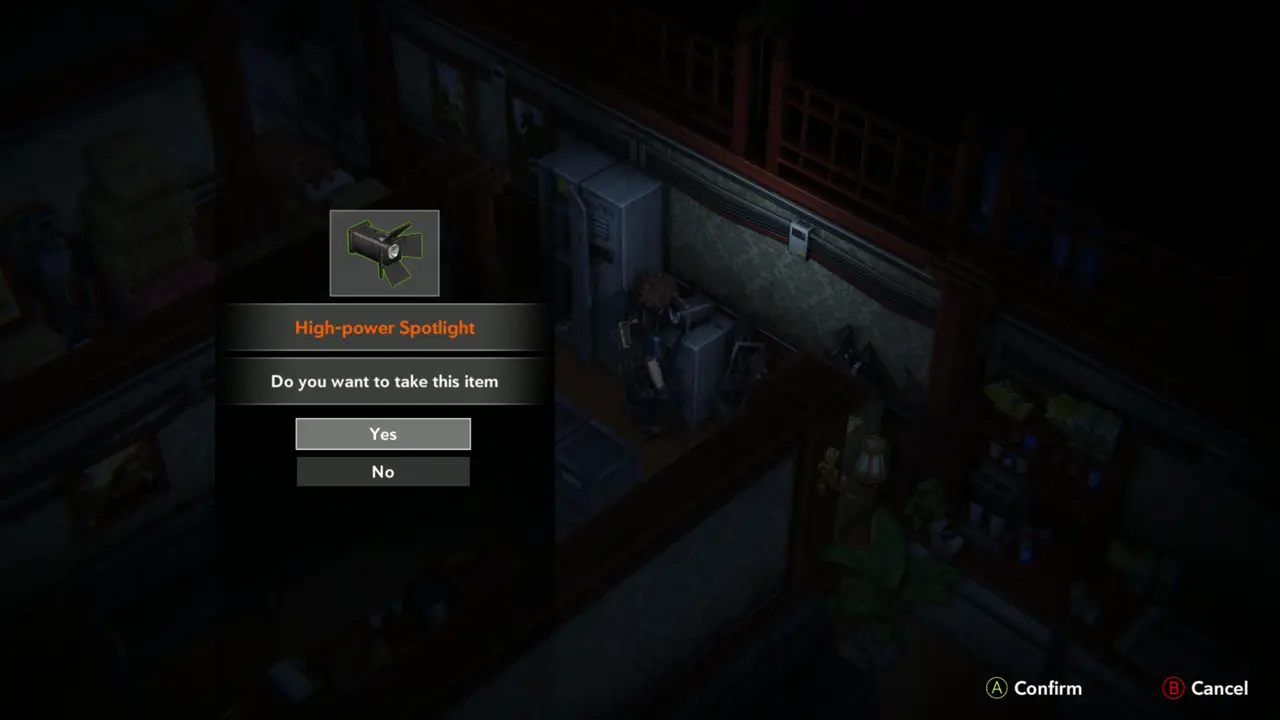
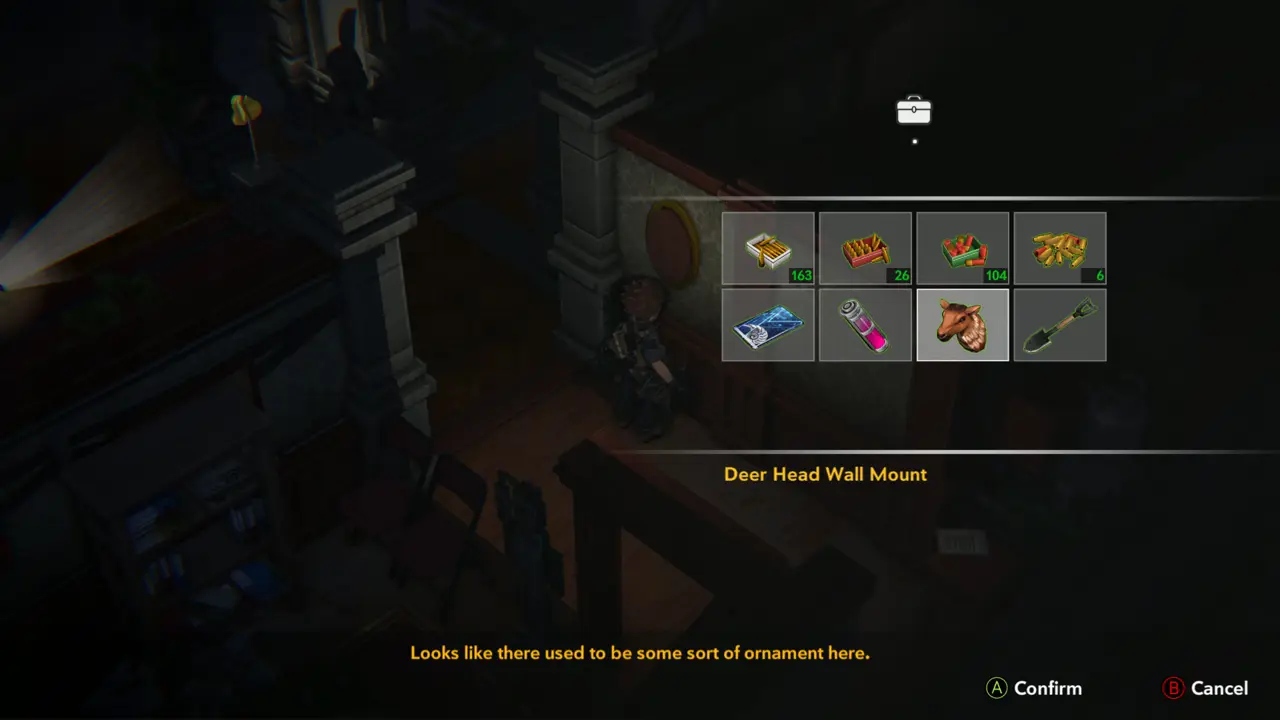
PUZZLE 3NOTE Examine the small stone base on the carpet in front of the winged statue: “What is this? A base for a spotlight?” The base at the far end of the hall reads: “Looks like there used to be some sort of ornament here.” You cannot fill them yet.
Spotlight base message
Ornament missing message
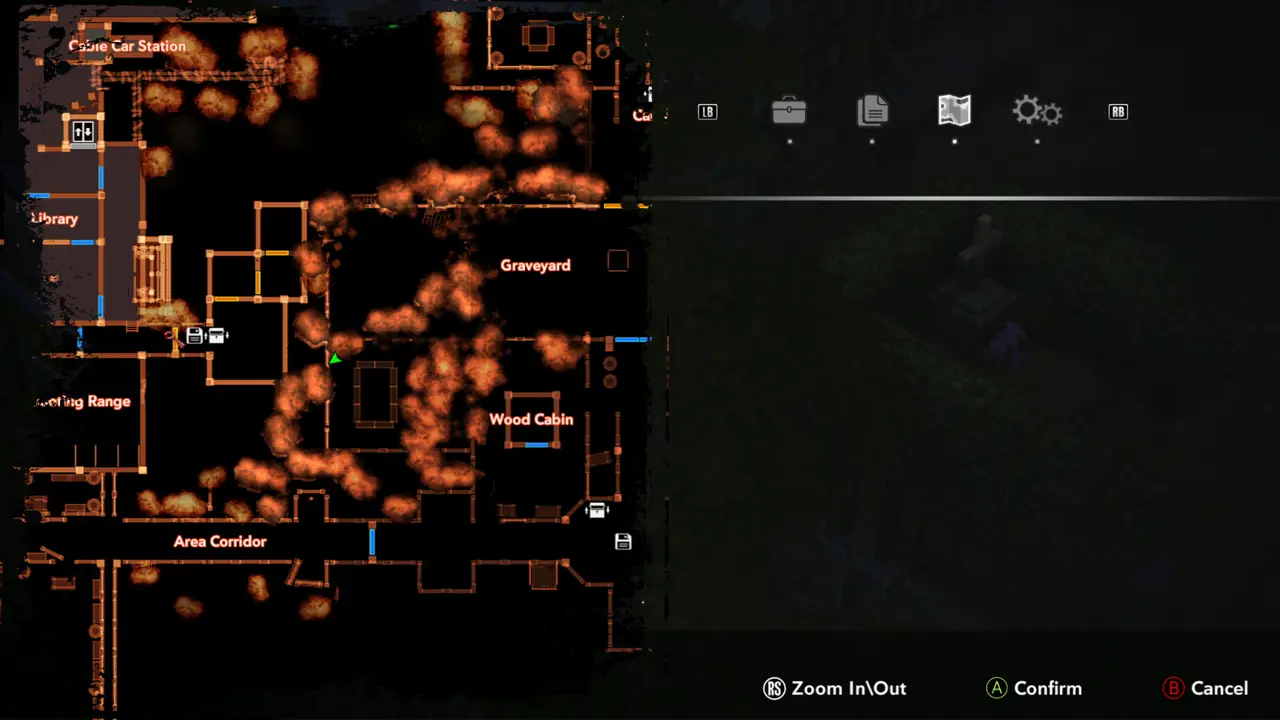
28
Old Lab Building - billiard room
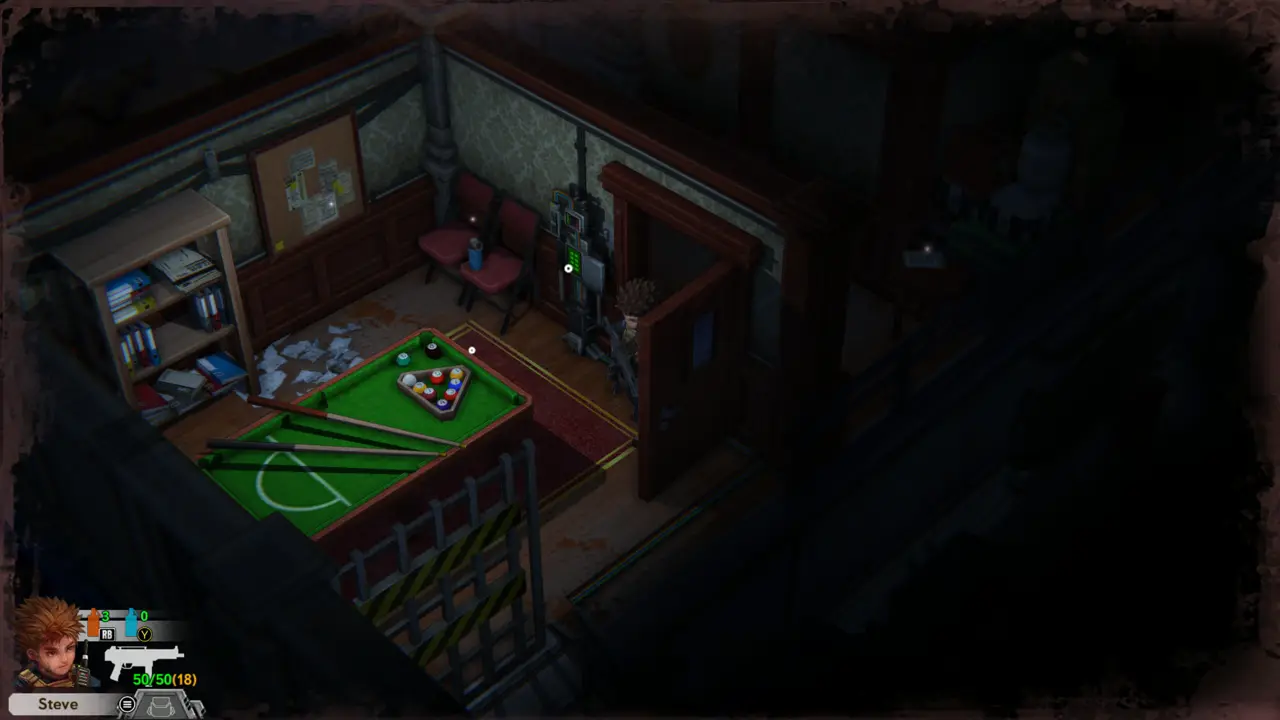
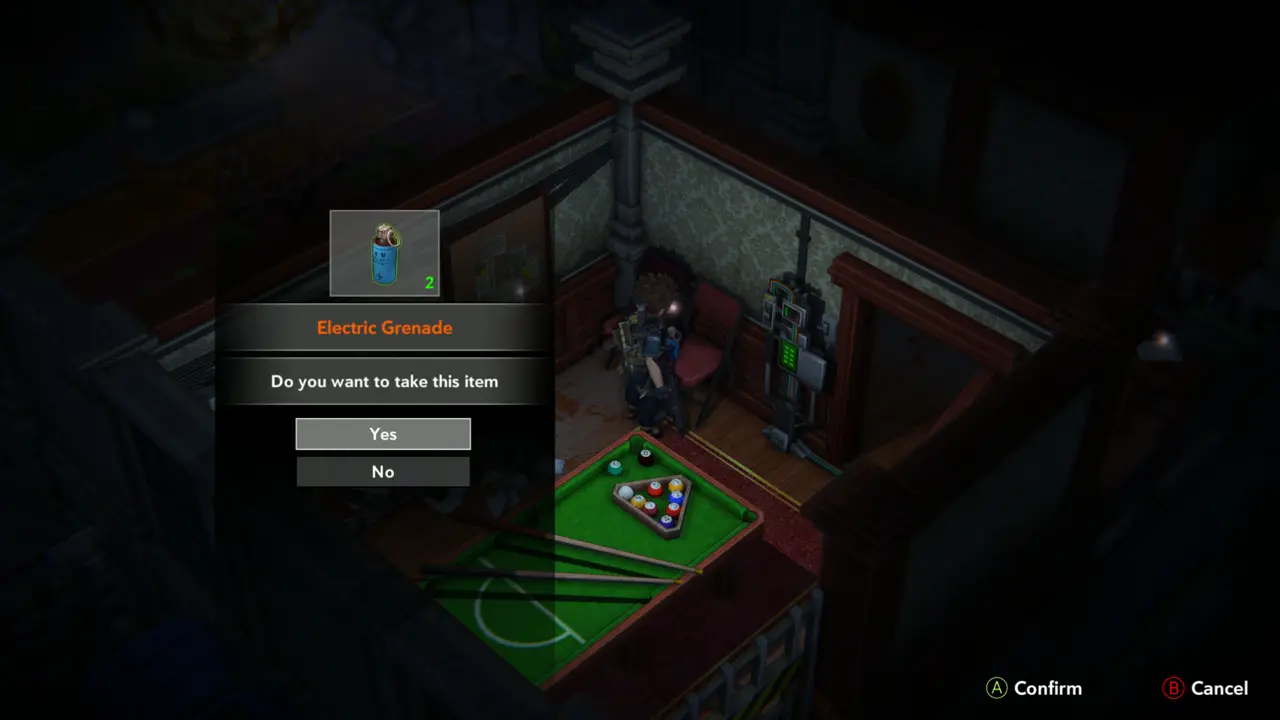
ITEM 96WEAPON Enter the billiard room (green table, bookshelf, keypad box). Take the Electric Grenade (x2) lying beside the keypad box.
Billiard room and keypad box
Electric Grenade prompt
29
Old Lab Building - billiard room
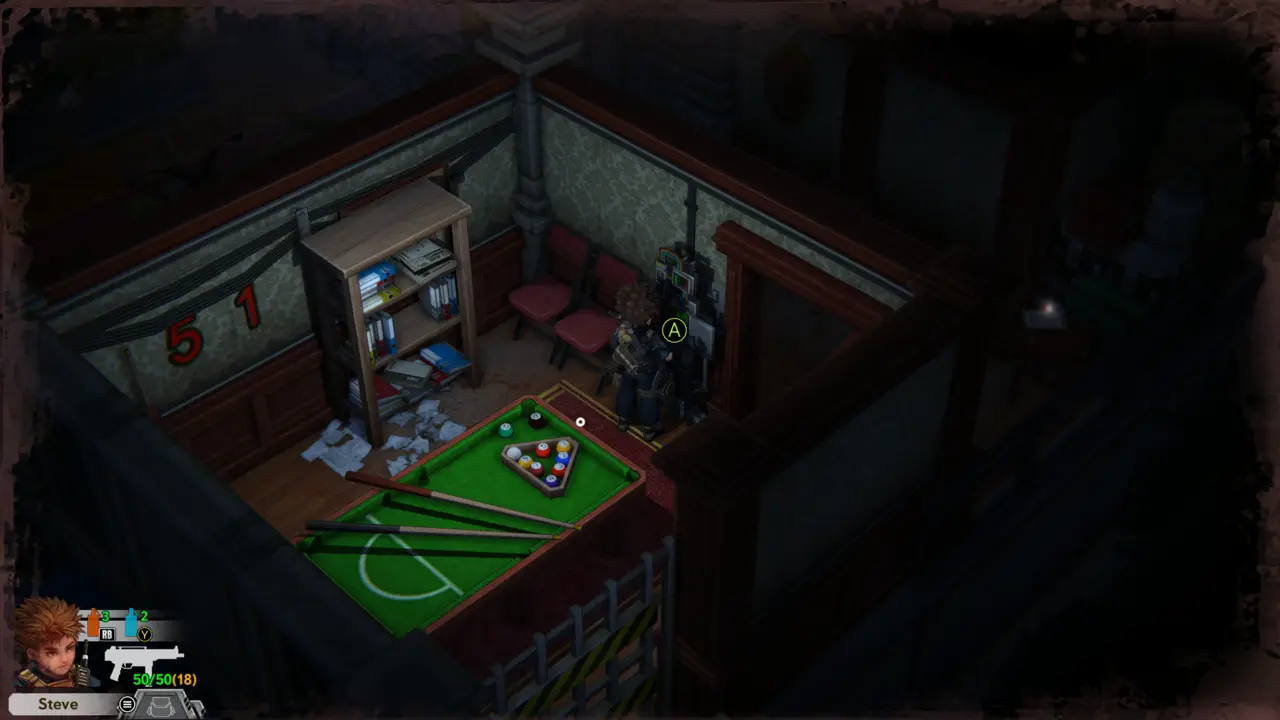
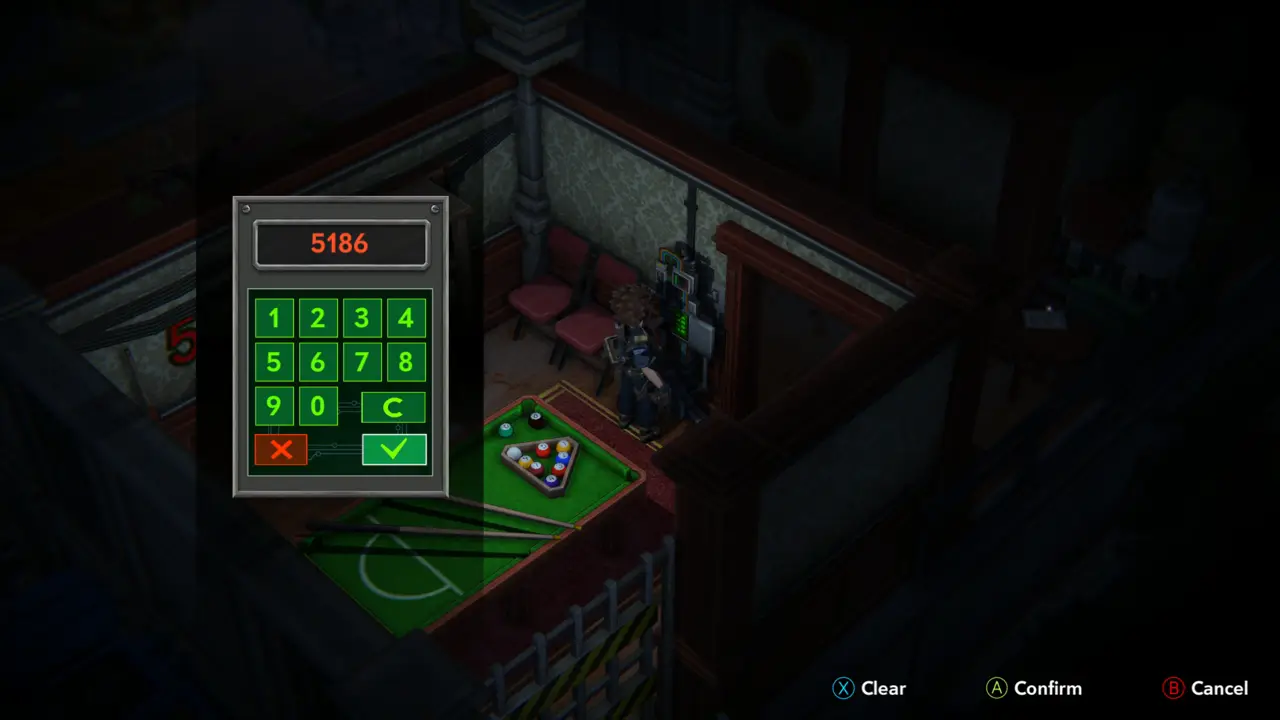
FILE 32–33CODE 1CODE 6DOORSAVE 3 Read the “Shift Notice”: the new cellblock passcode lines up as “behind the shelf, black, green”. The red numbers “5 1” are painted on the wall next to the bookshelf. Open the keypad box and enter 5186, then confirm: the game autosaves and the way down the stairs opens.
Red 51 on wall by shelf
5186 entered
5186 entered
30
Old Lab Building - room with water cooler south of the billiard room
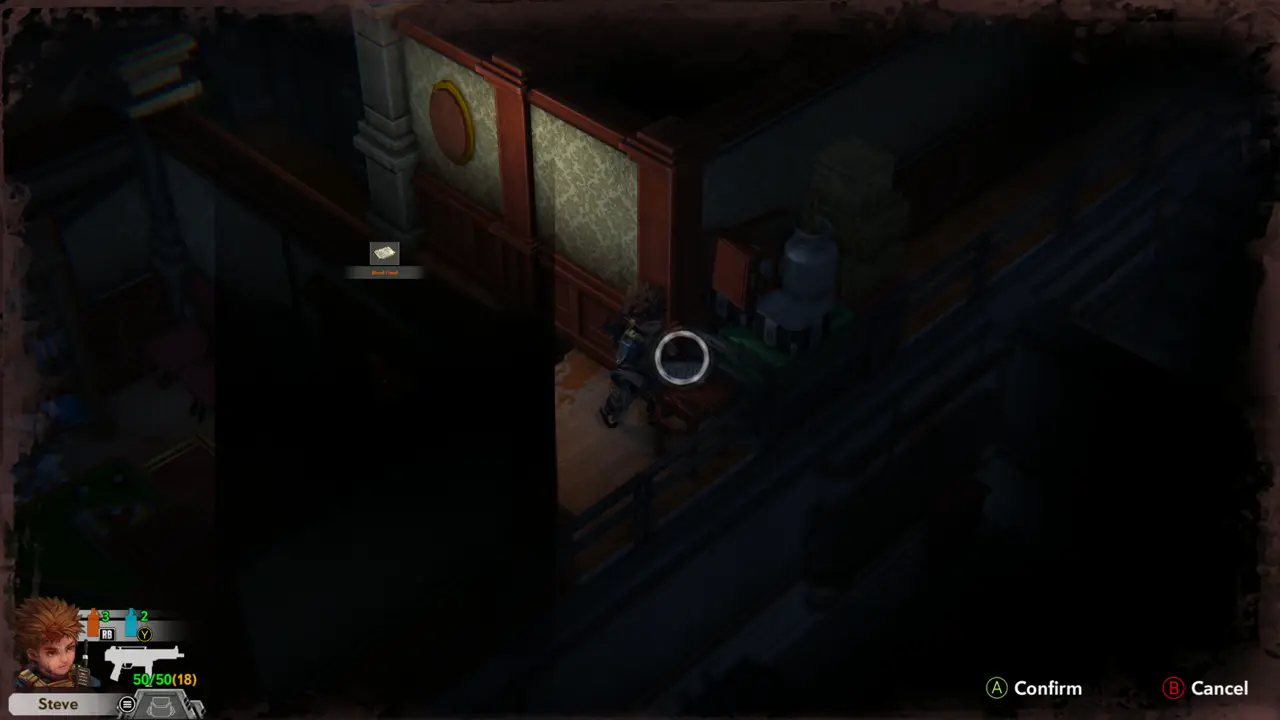
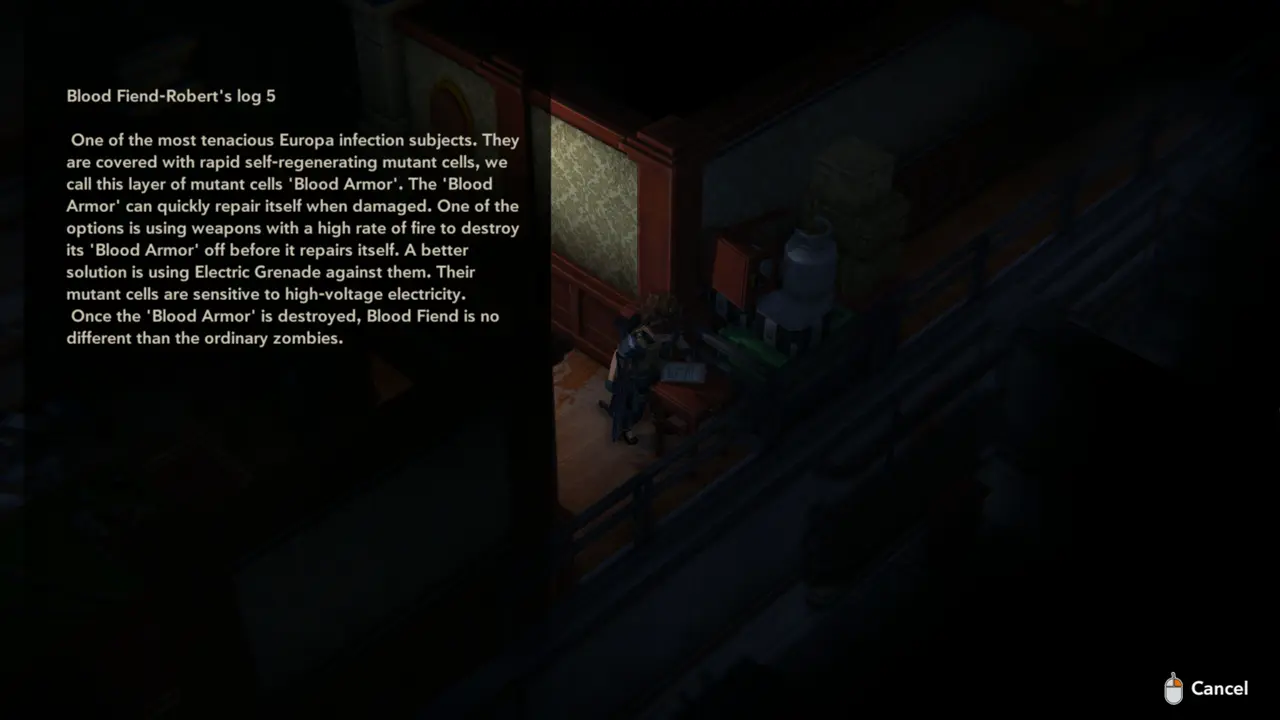
FILE 34NOTE Take the file “Blood Fiend” from the desk and read it (Robert's log 5): the Blood Fiend's “Blood Armor” is best destroyed with an Electric Grenade, after which it is like an ordinary zombie.
Read this file prompt
Robert's log 5 text
Robert's log 5 text
31
Old Lab Building - restroom corridor
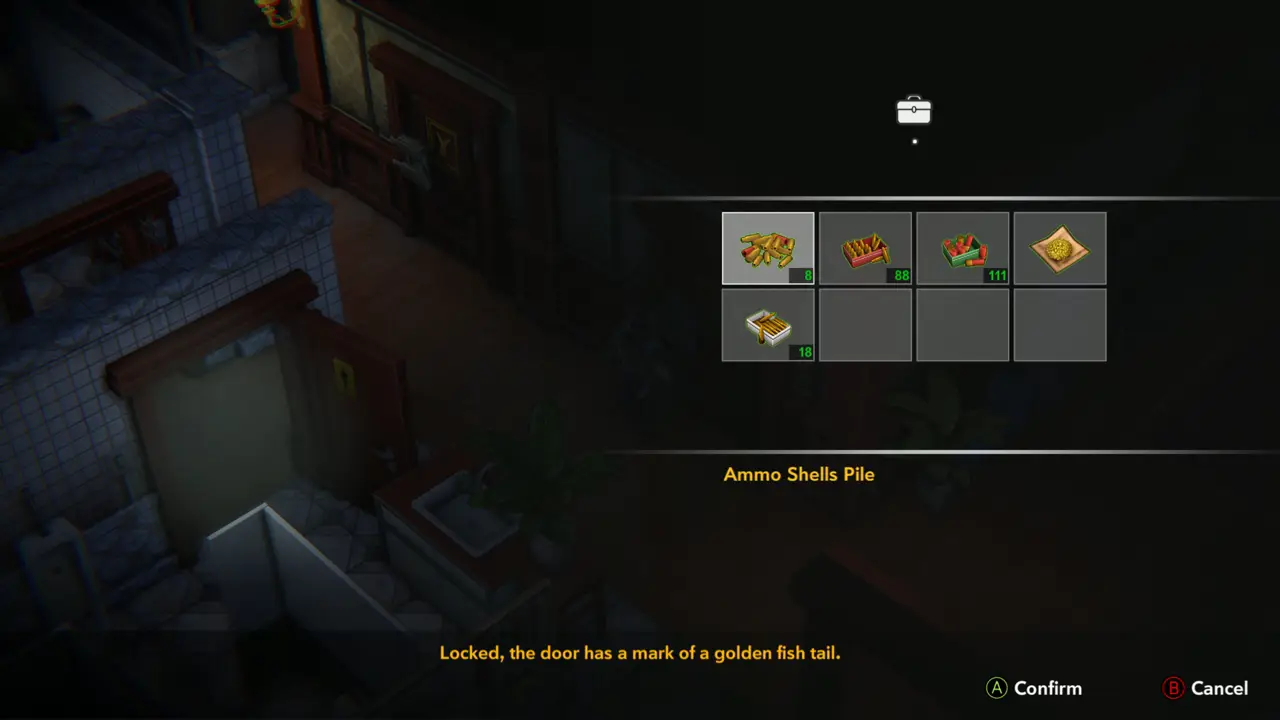
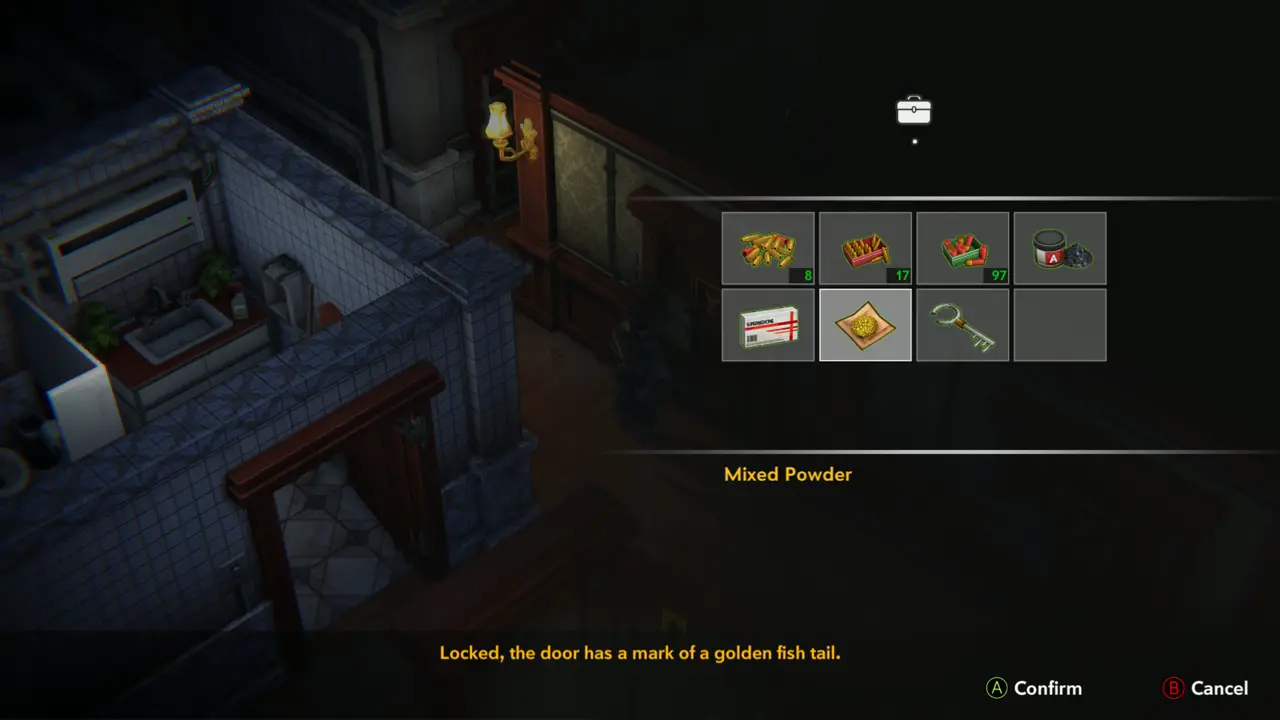
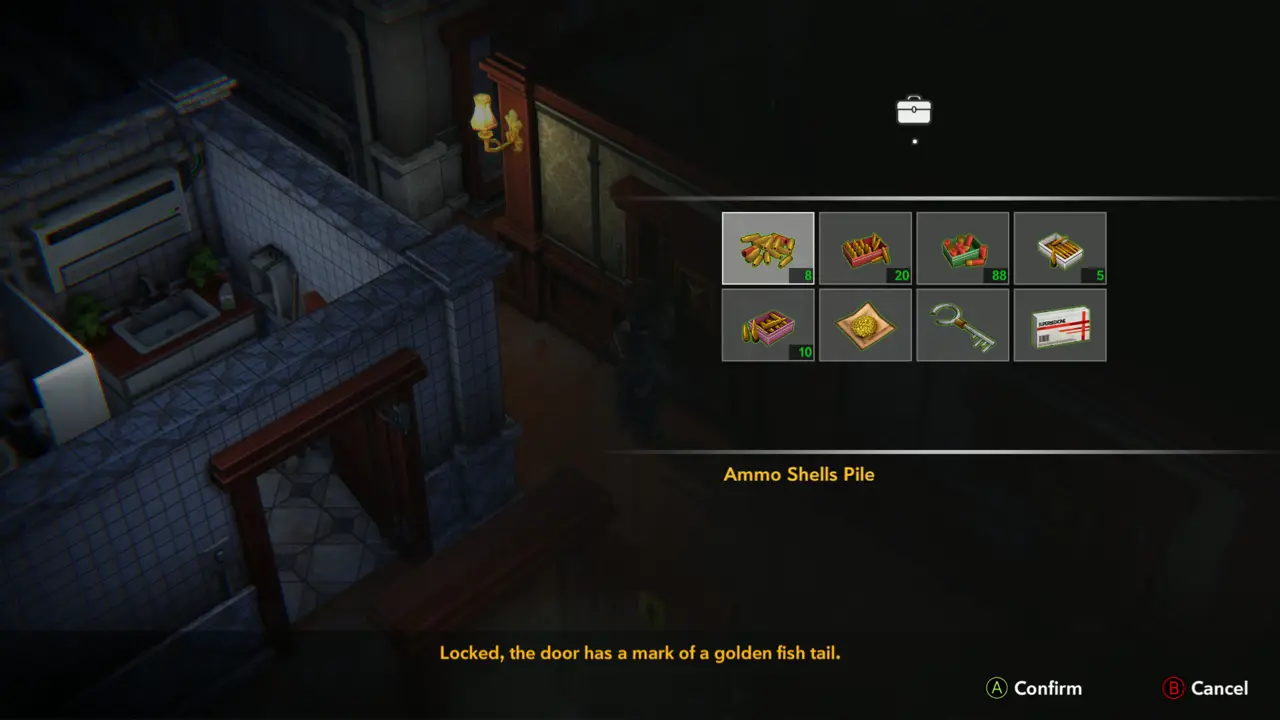
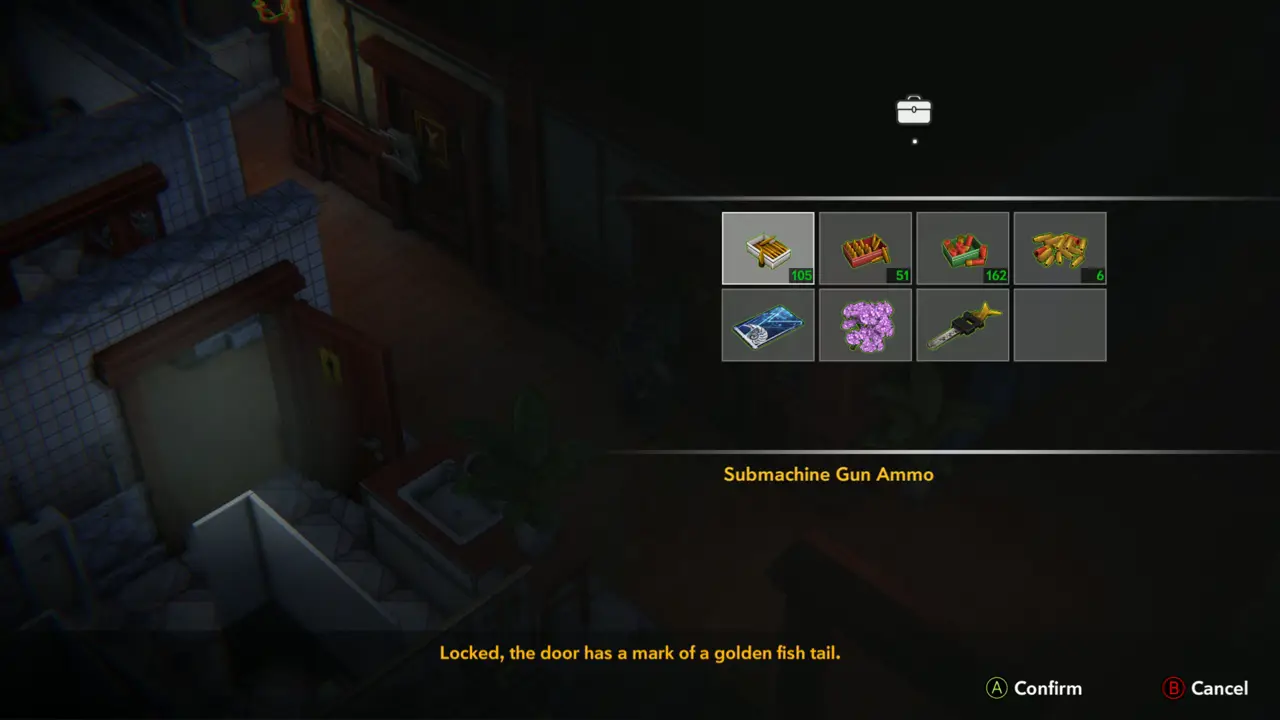
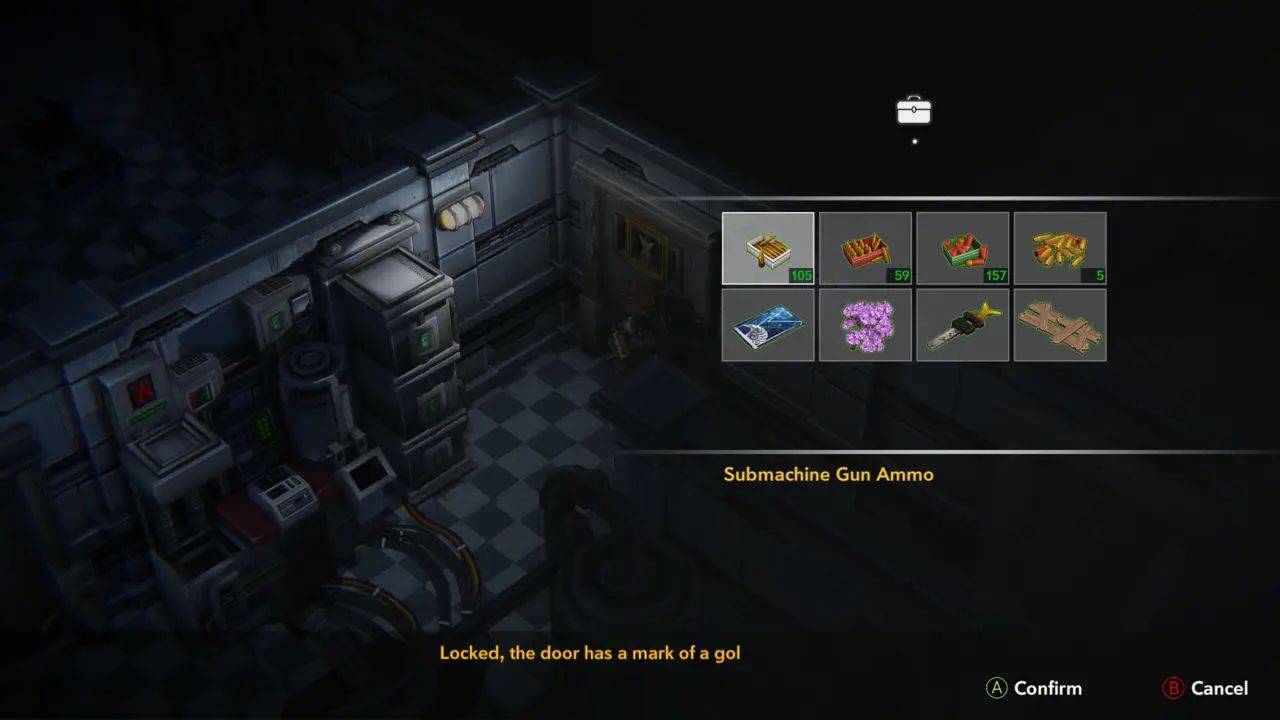
DOOR Try the door with the gold fish plaque: “Locked, the door has a mark of a golden fish tail.” It needs the Fishtail Key, which you find later.
Golden fish tail door locked
Two plaque doors in the corridor
32
Old Lab Building - corridor beside the keypad panel
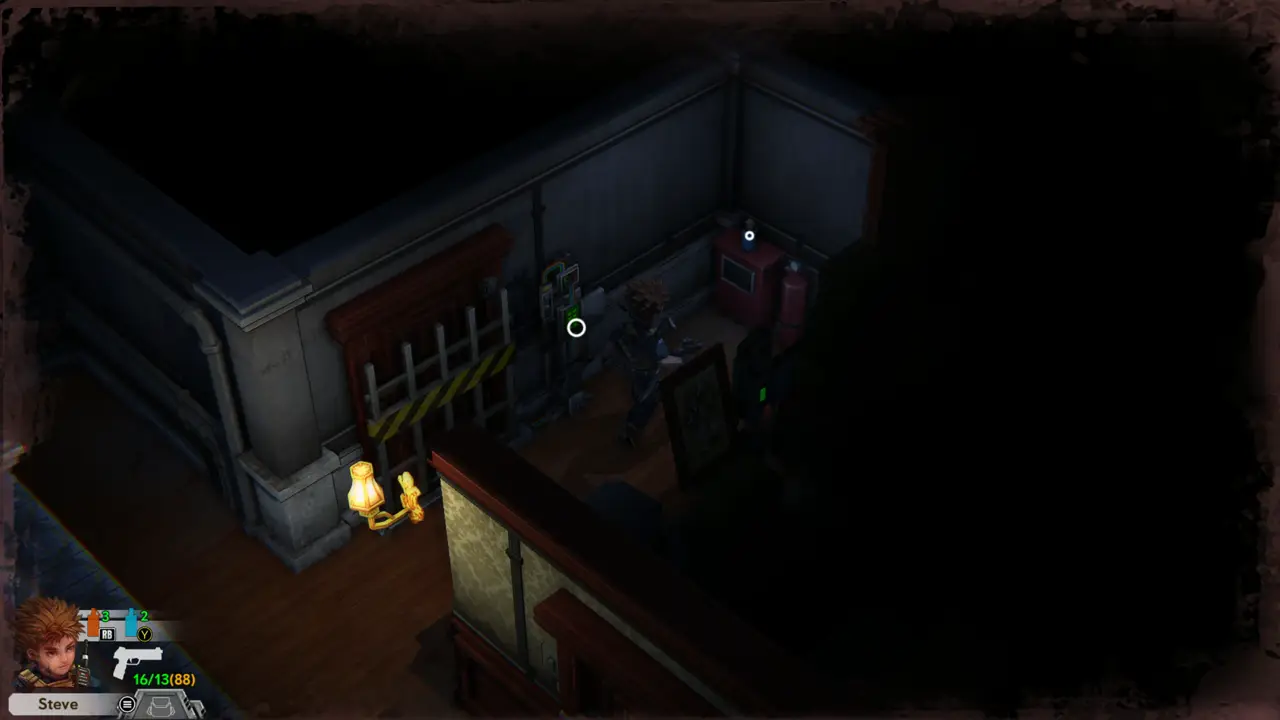
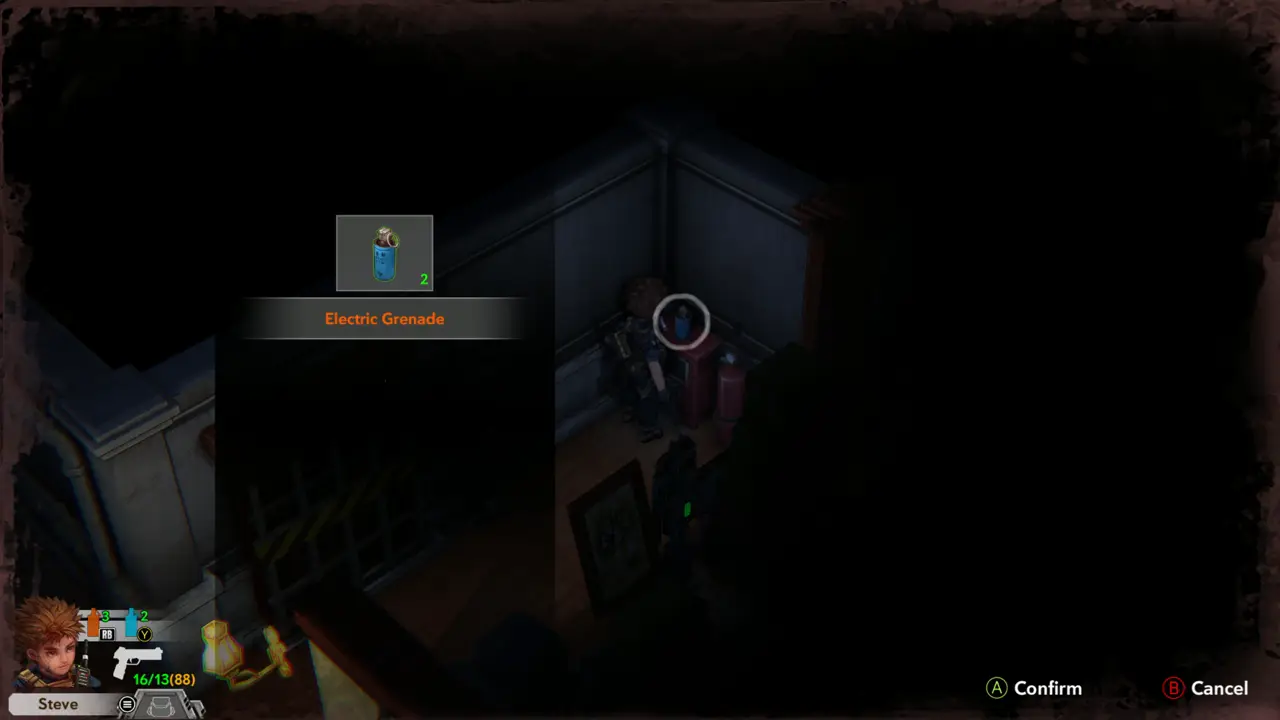
ITEM 97WEAPON Take the second Electric Grenade pickup (x2) from the corner next to the red box and the keypad panel at the end of the corridor.
Corner with red box
Corner with red box
Electric Grenade prompt
33
Old Lab Building - restroom corridor
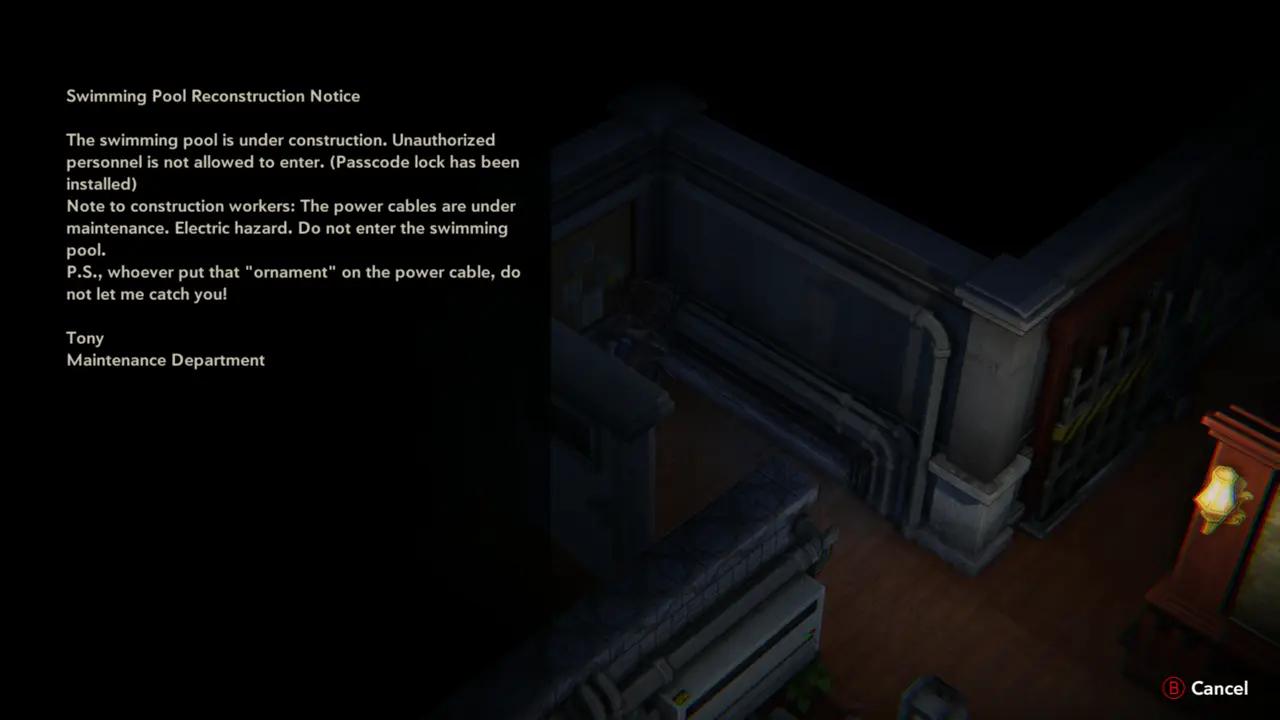
FILE 32FILE 35NOTE Read the “Swimming Pool Reconstruction Notice”: the pool has a passcode lock, the power cables are an electric hazard, and someone put an “ornament” on the power cable.
Pool Reconstruction Notice
34
Old Lab Building - restroom beside the keypad panel
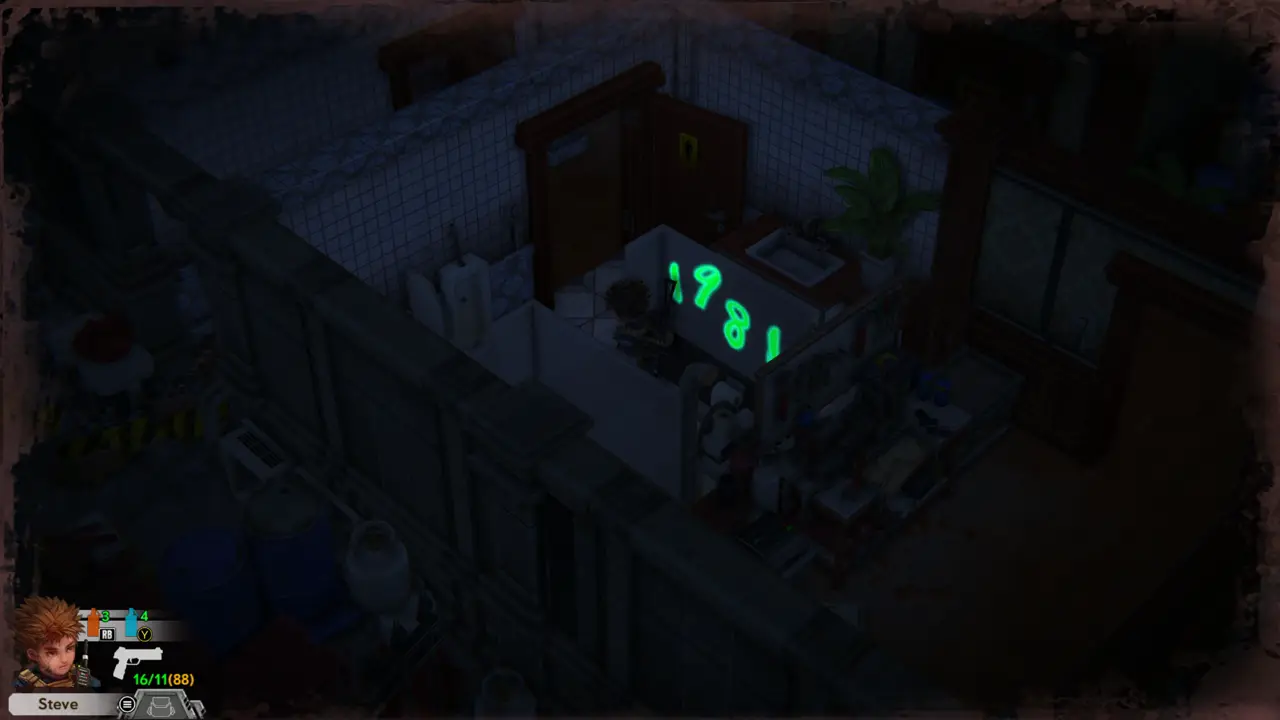
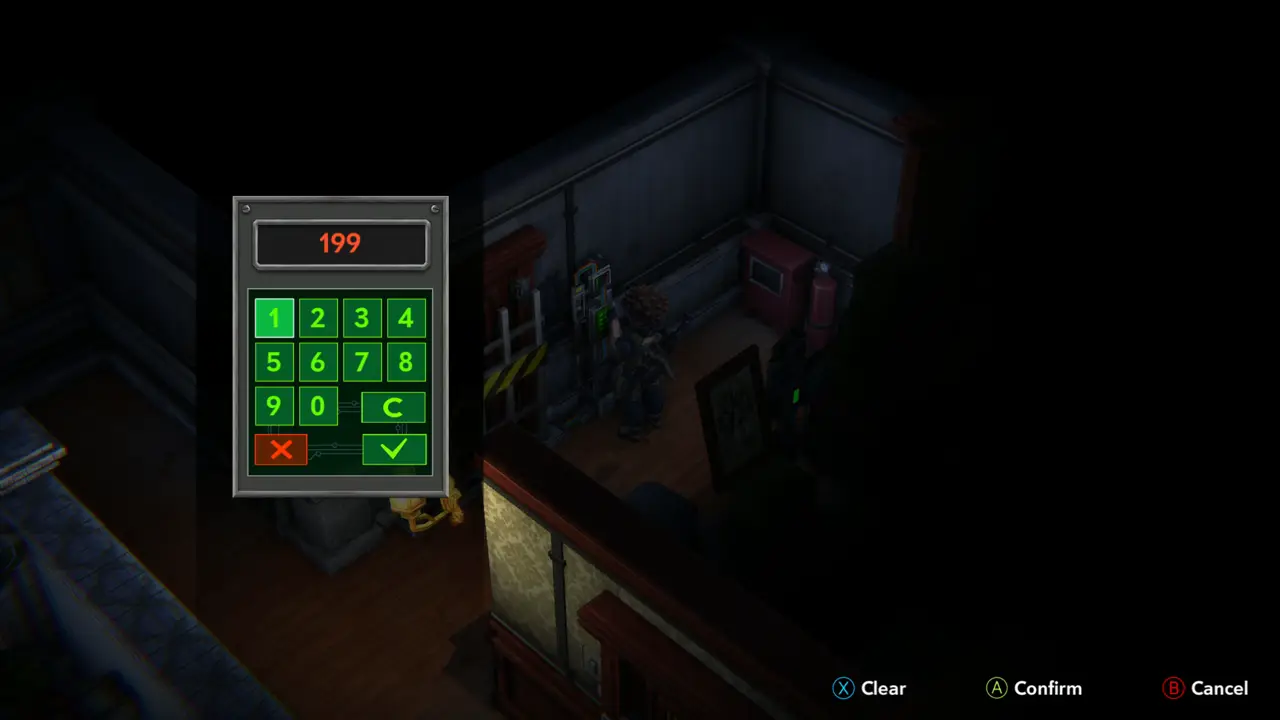
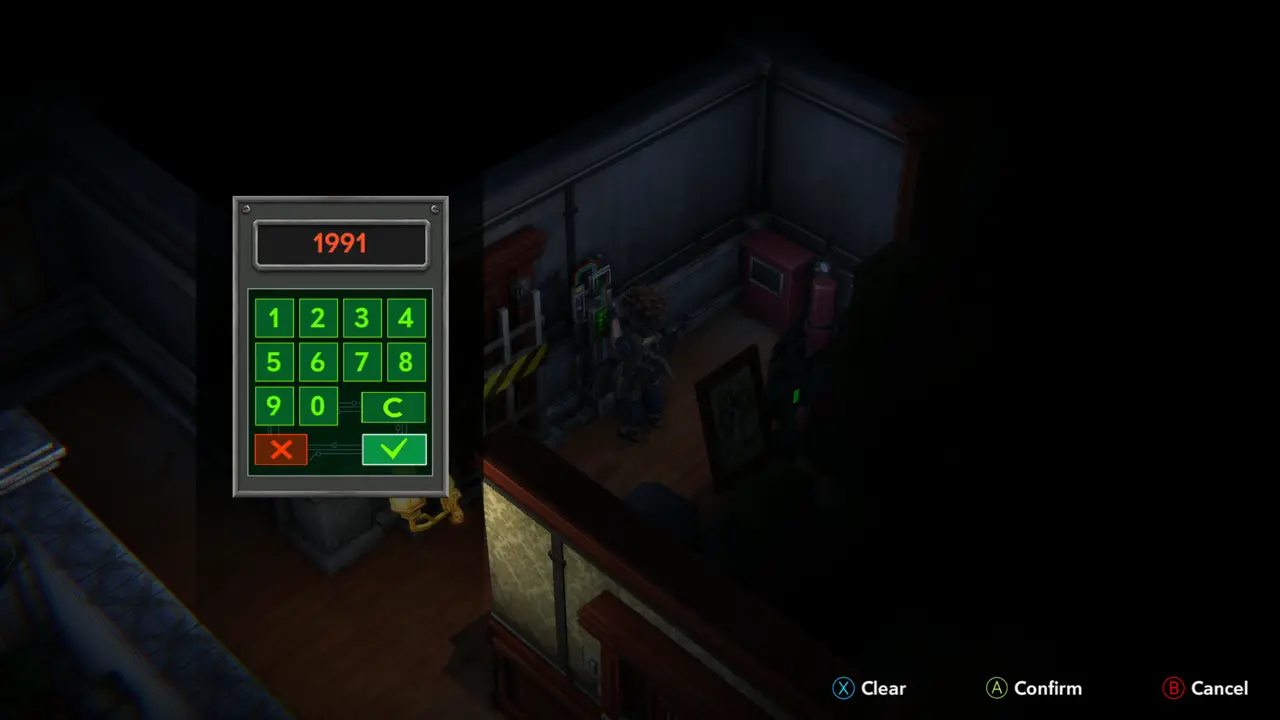
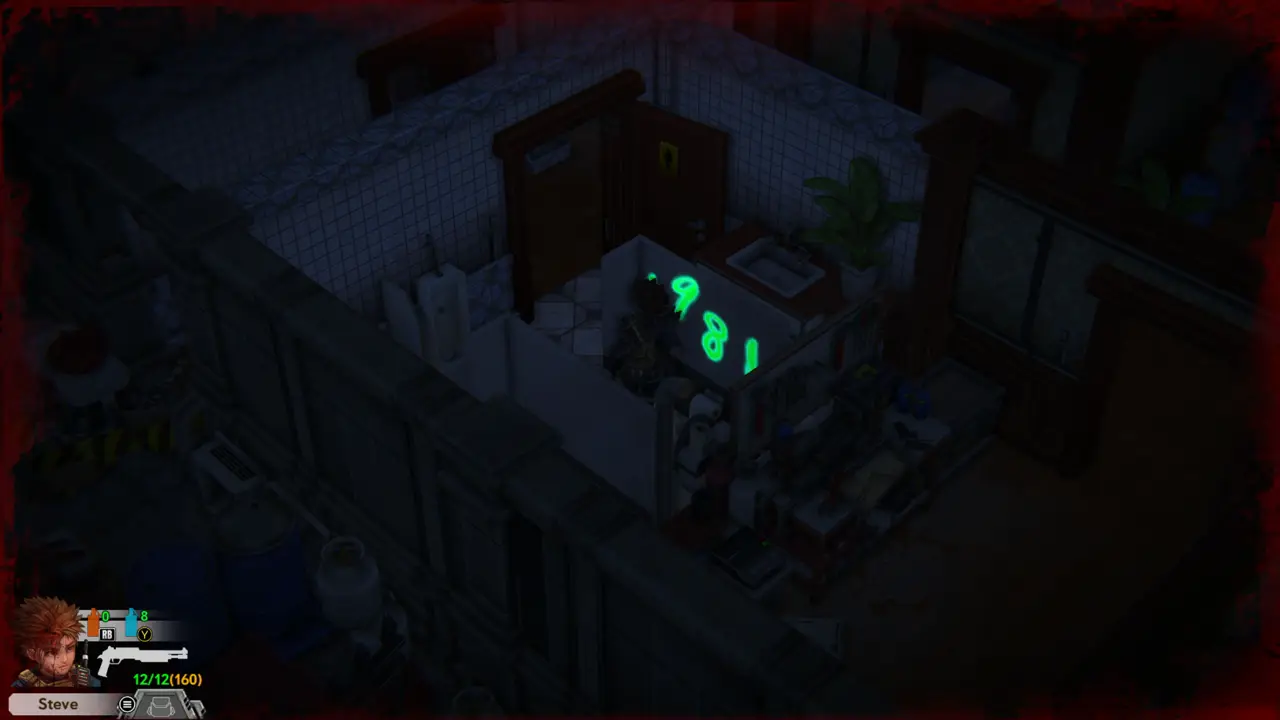
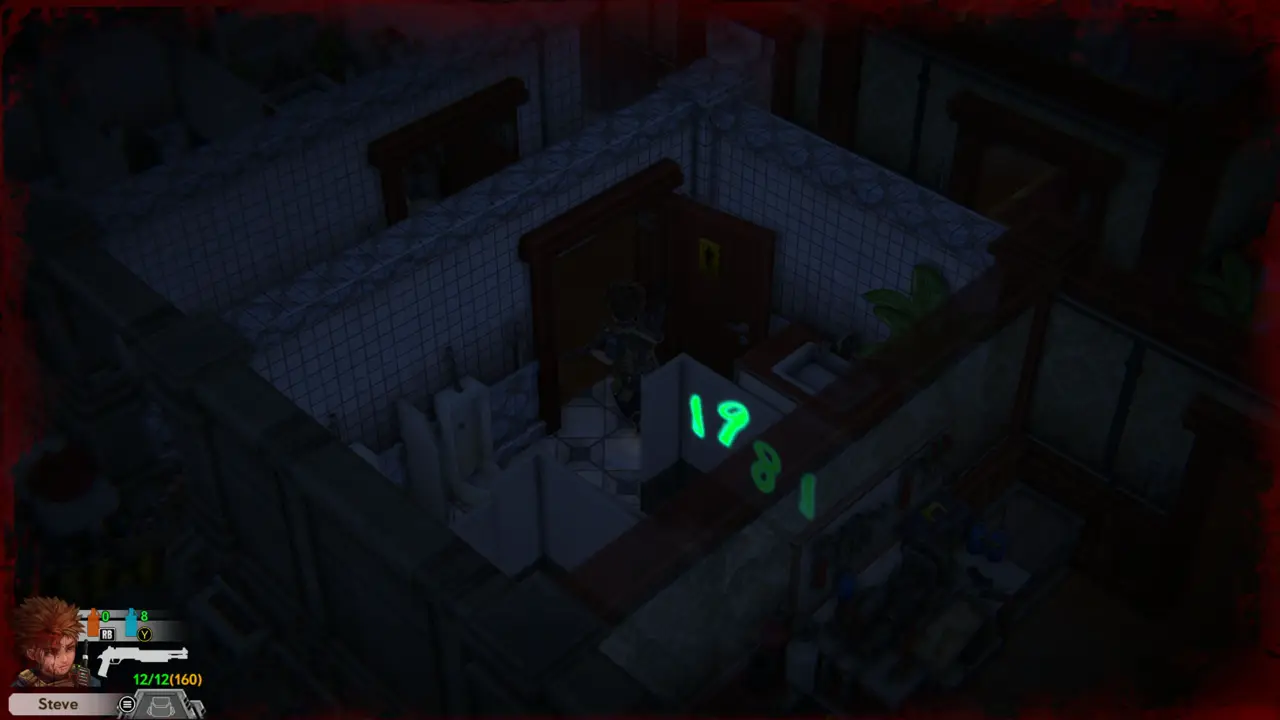
CODE 7PUZZLE 4 Stand in the end restroom cubicle: green numbers “1981” glow on the wall. This is the clue for the pool passcode, but the third digit is drawn smaller: the code that works is 1991.
Green numbers glowing on wall
35
Old Lab Building - storage yard beside the stairs
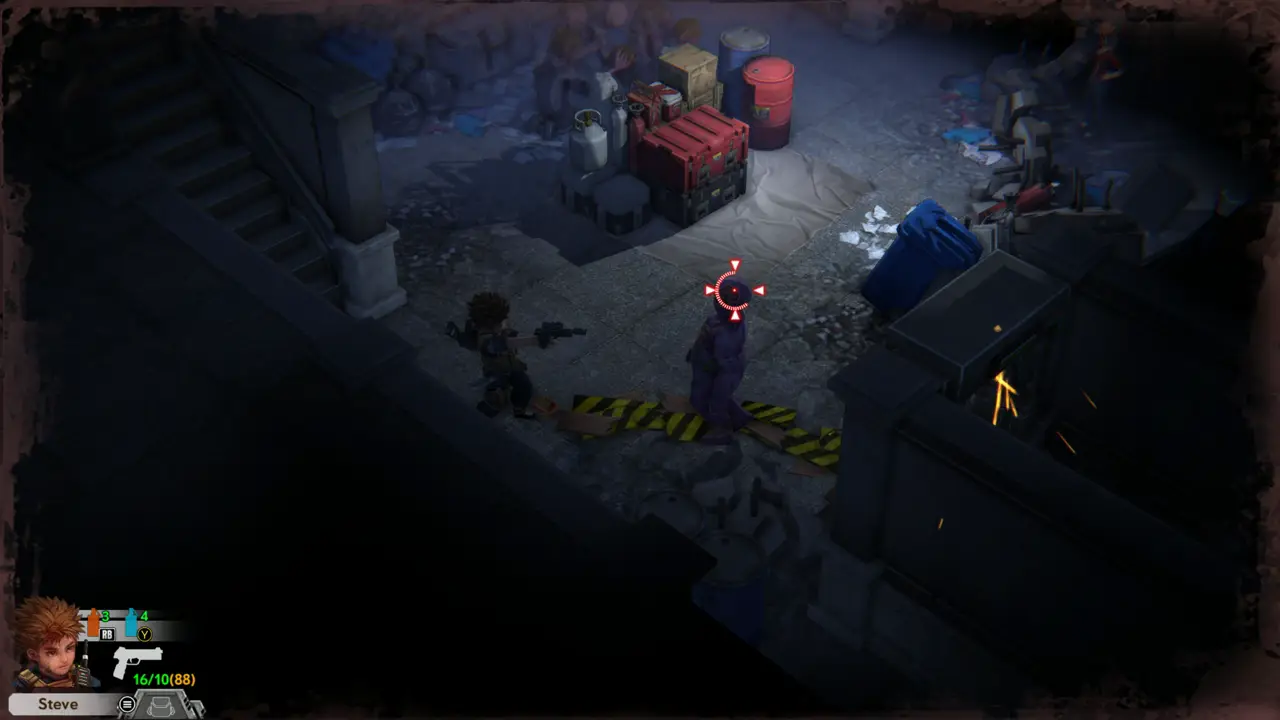
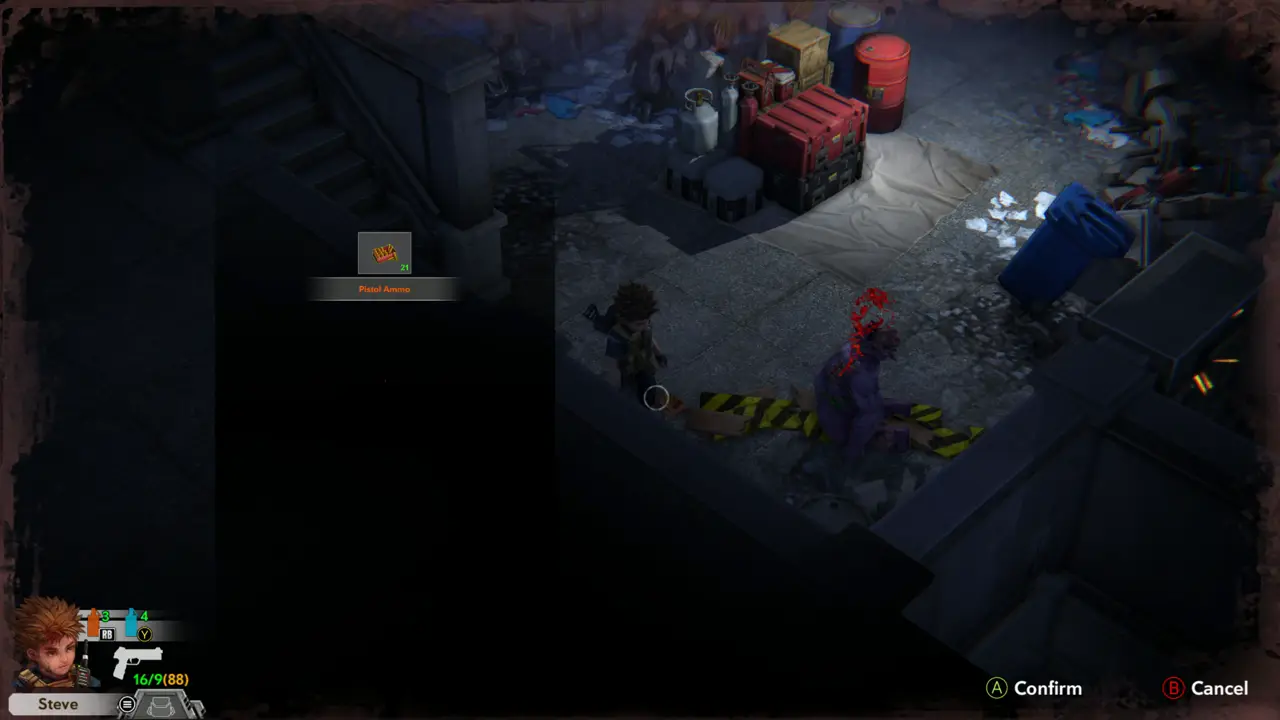
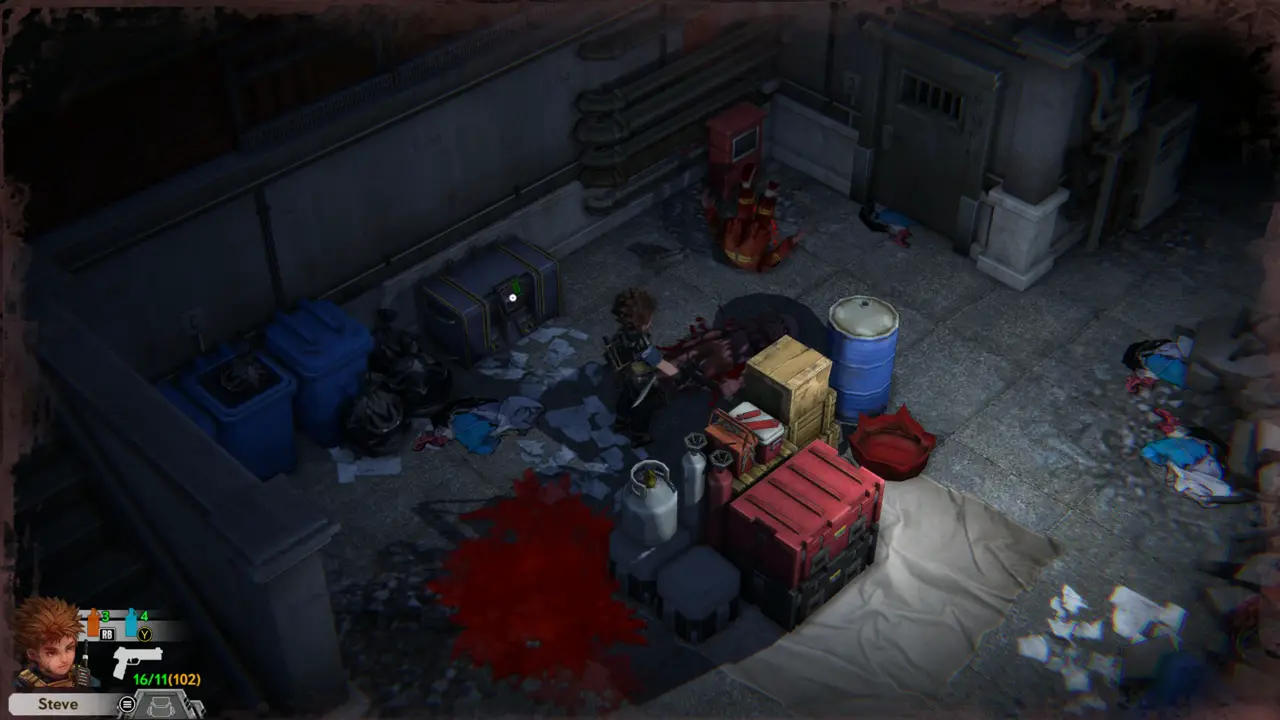
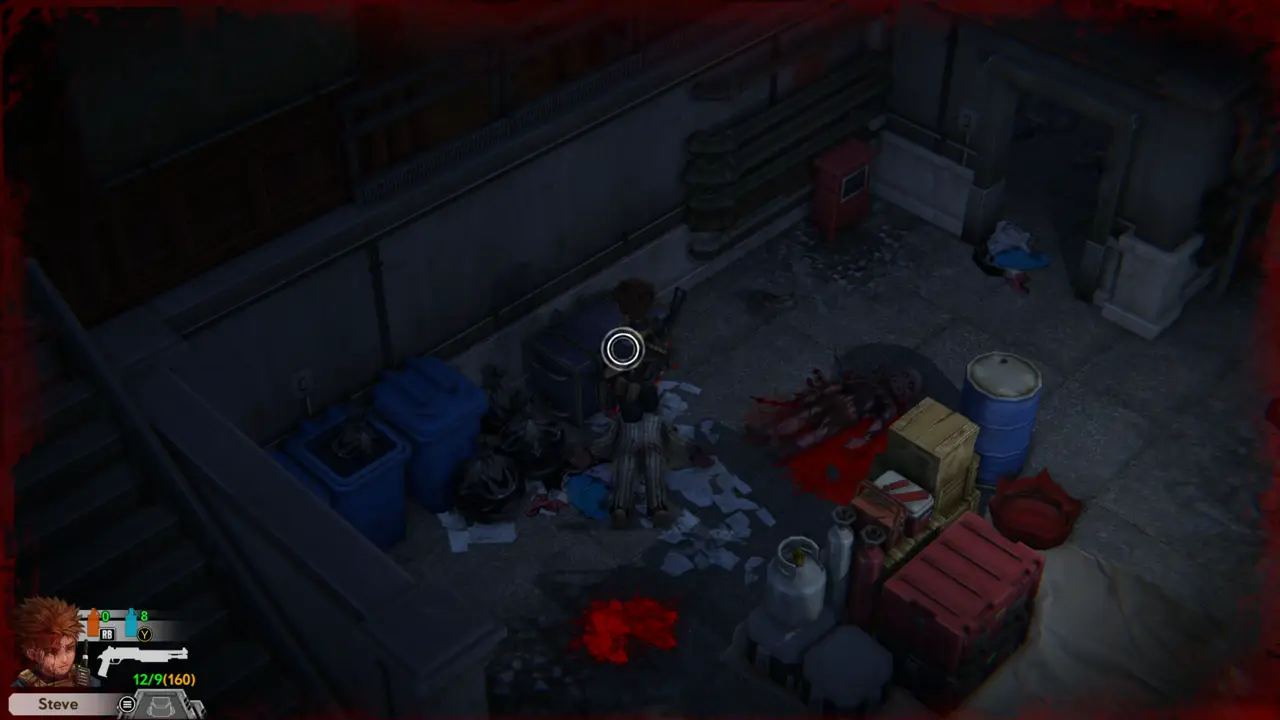
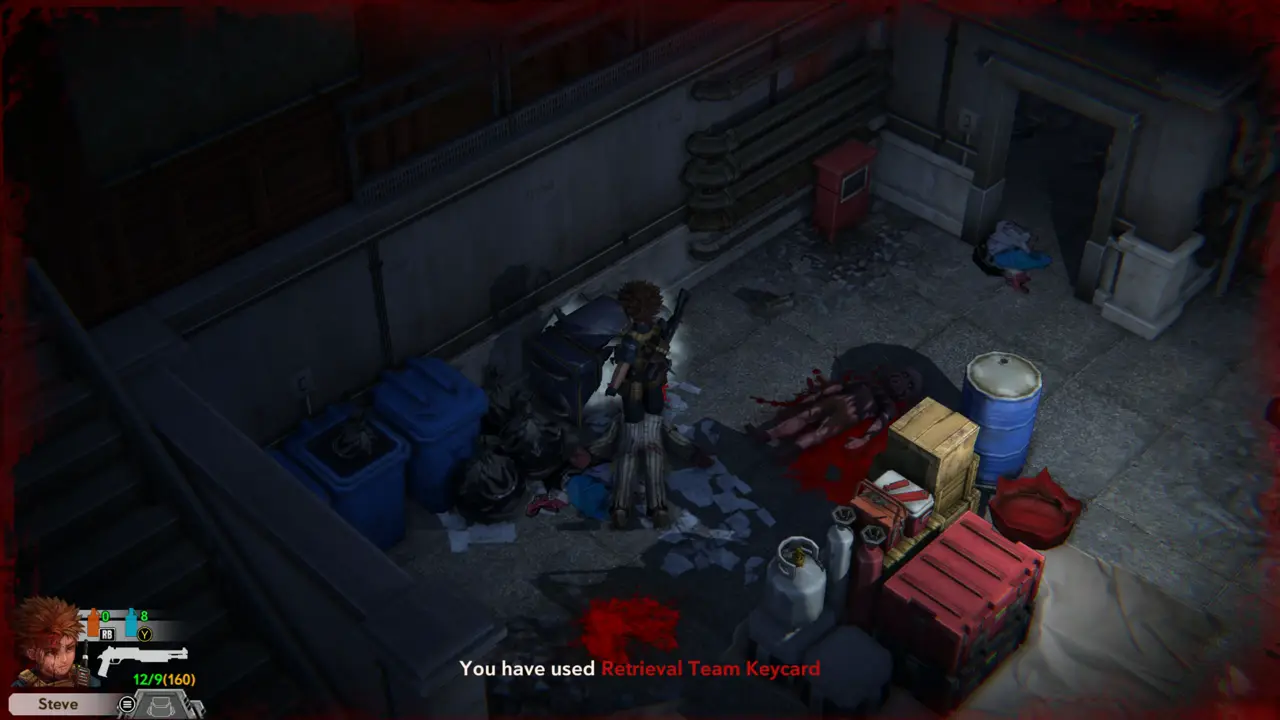
FIGHTITEM 98 In the yard of crates beside the staircase, shoot the purple infected on the hazard-striped floor and take the Pistol Ammo (x21) it leaves.
Infected near crates
Pistol Ammo pickup prompt

Part 9 — Old Lab Building: the prison

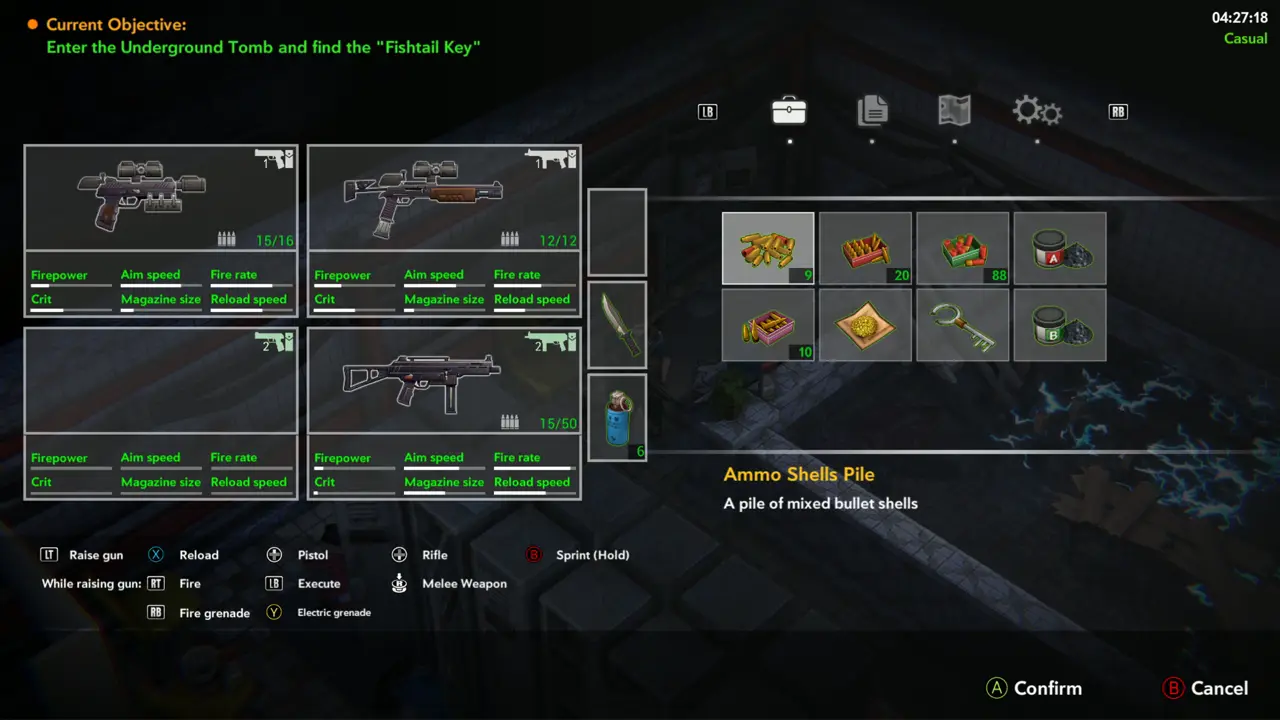
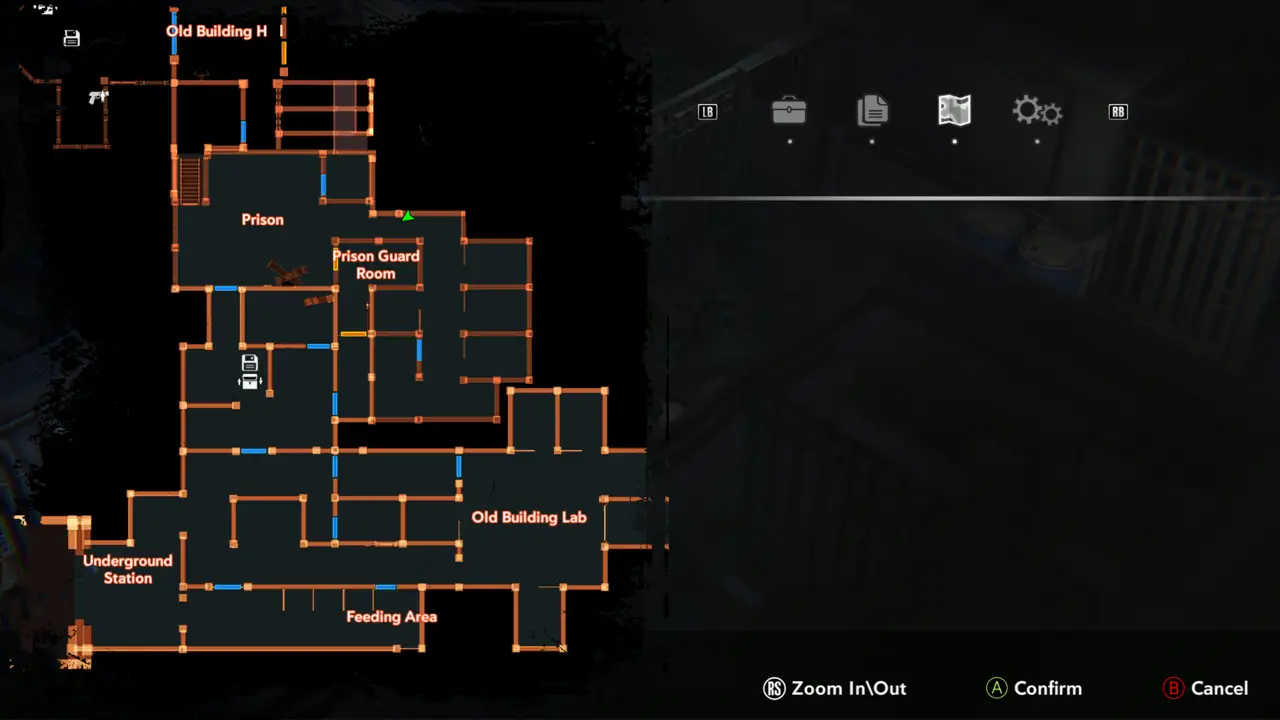
In-game goal. Enter the Underground Tomb and find the “Fishtail Key”.
1
near the prison cells - security desk with monitors
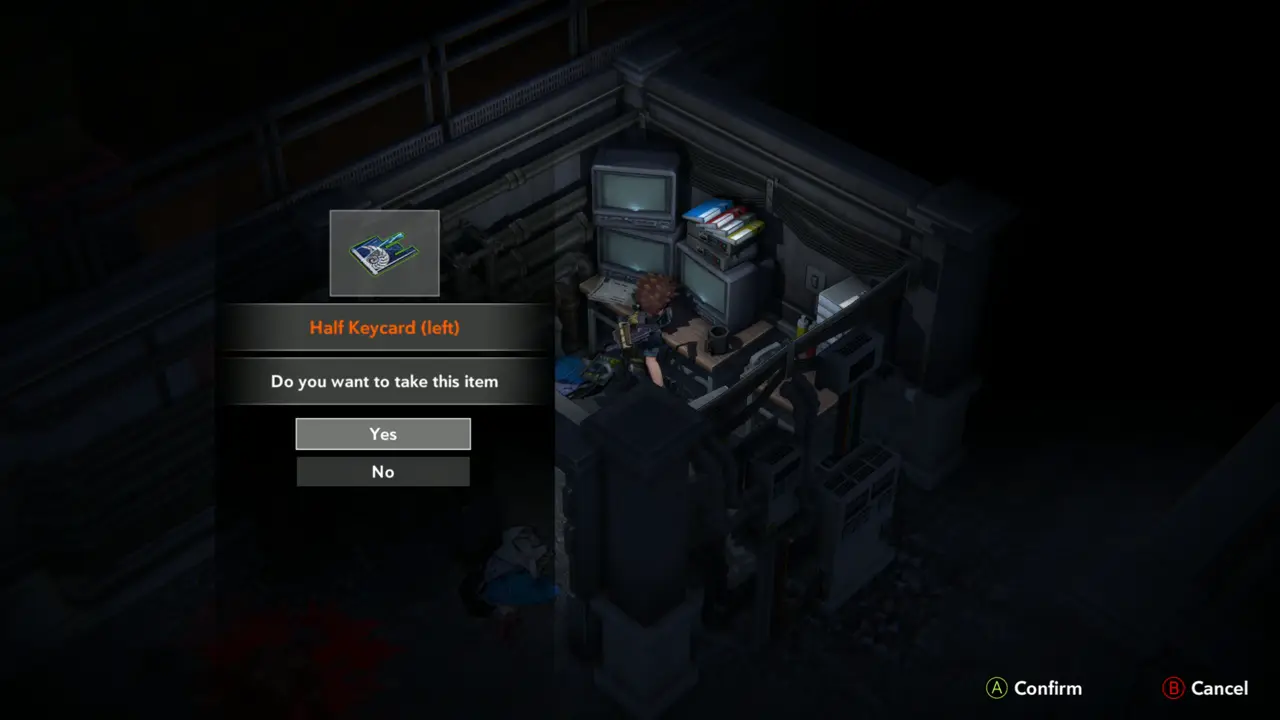
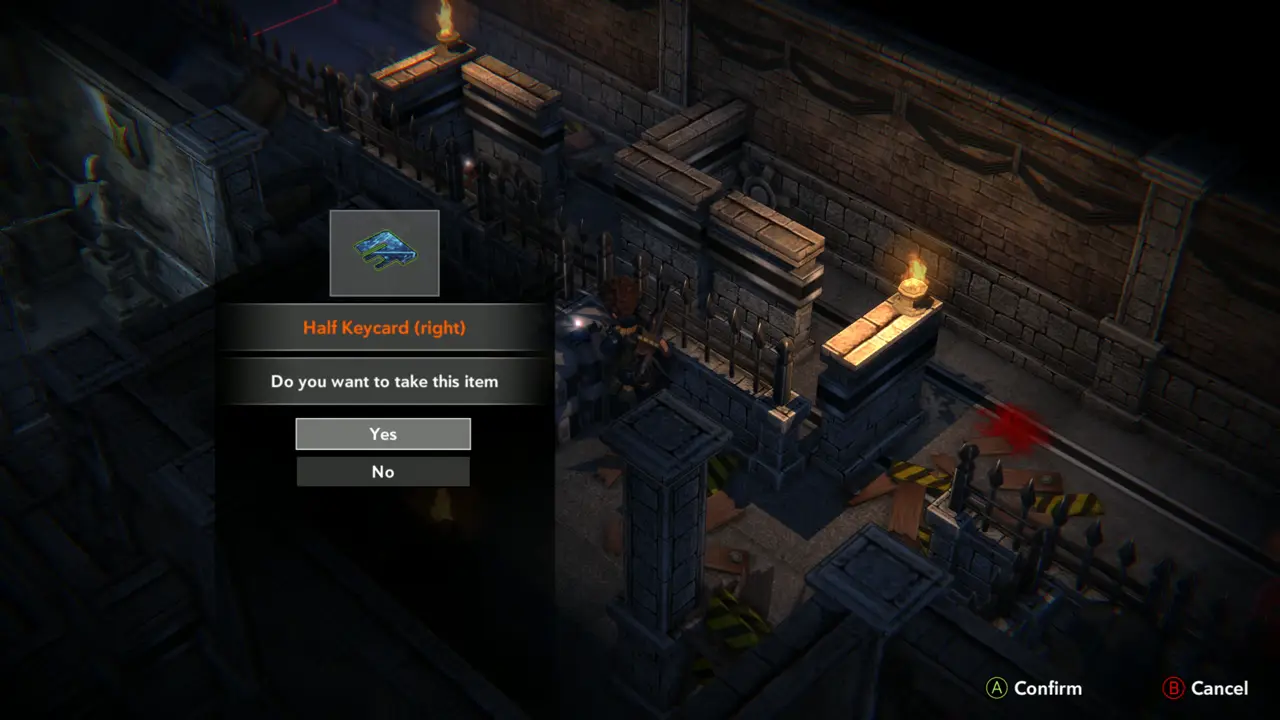
KEY ITEM 15 Take the Half Keycard (left) from the desk with the stacked monitors next to the prison cells.
Desk with stacked monitors
Half Keycard (left) prompt
2
near the prison cells - lab office
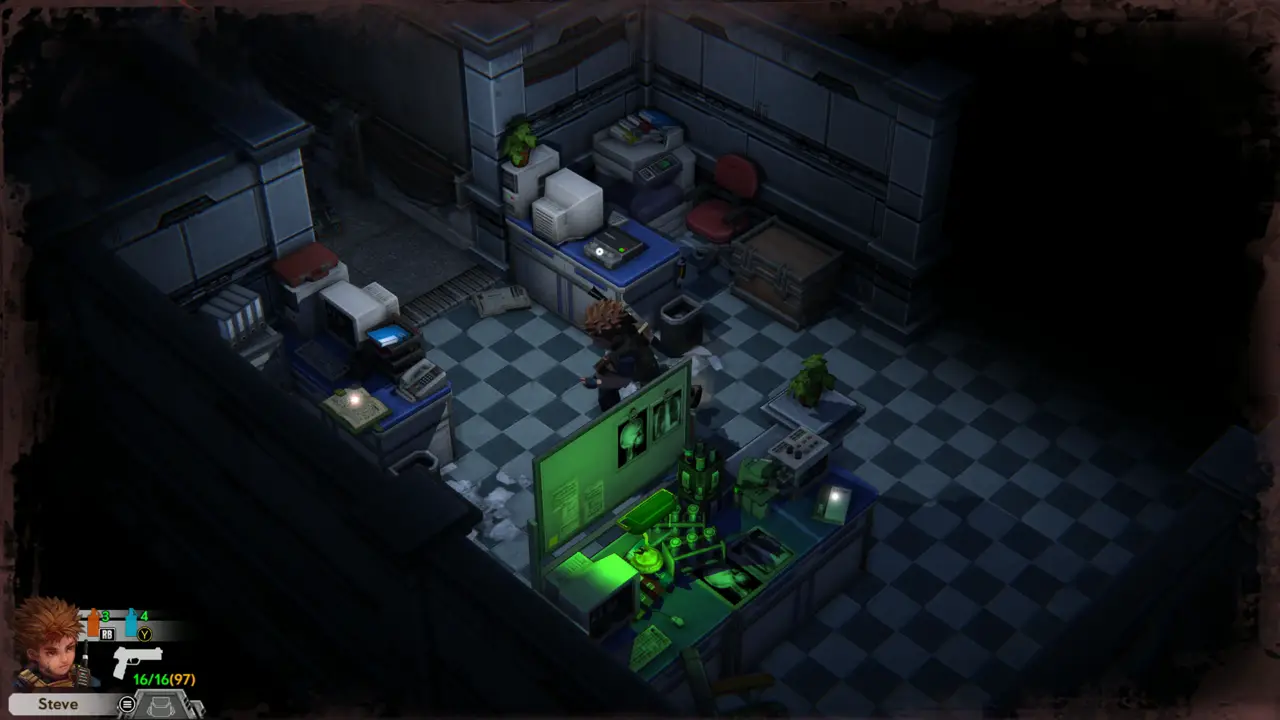
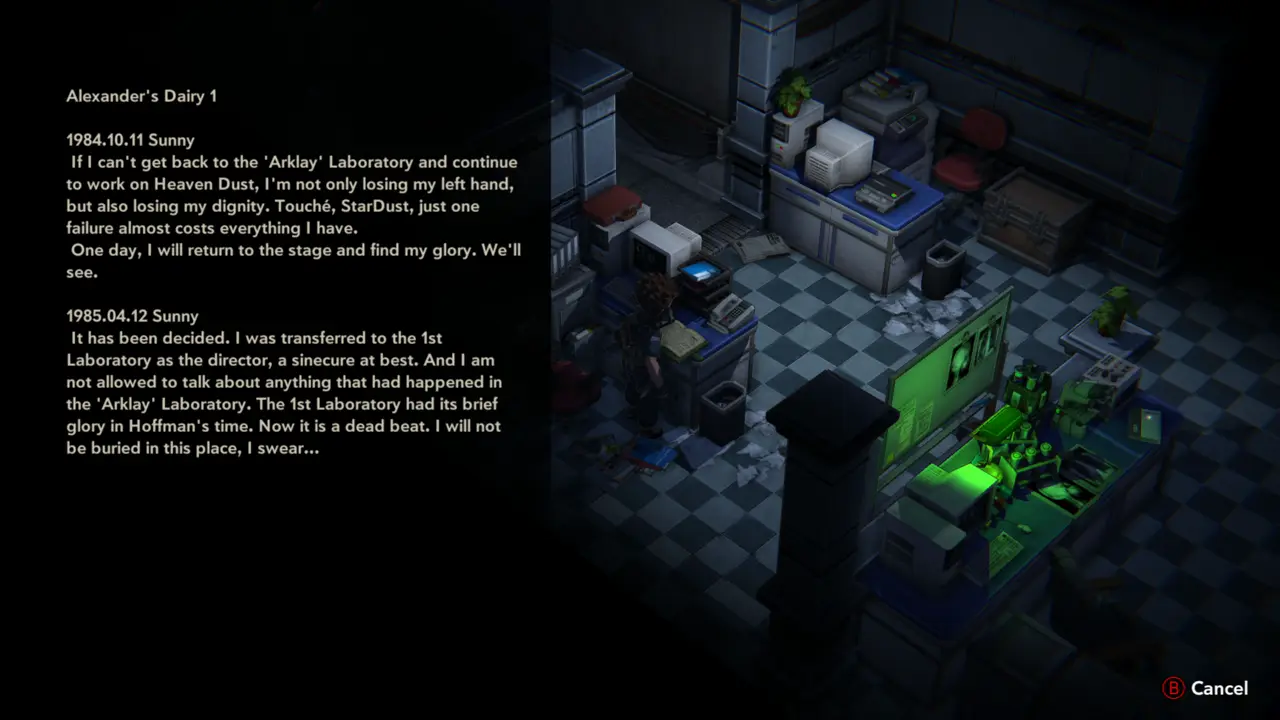
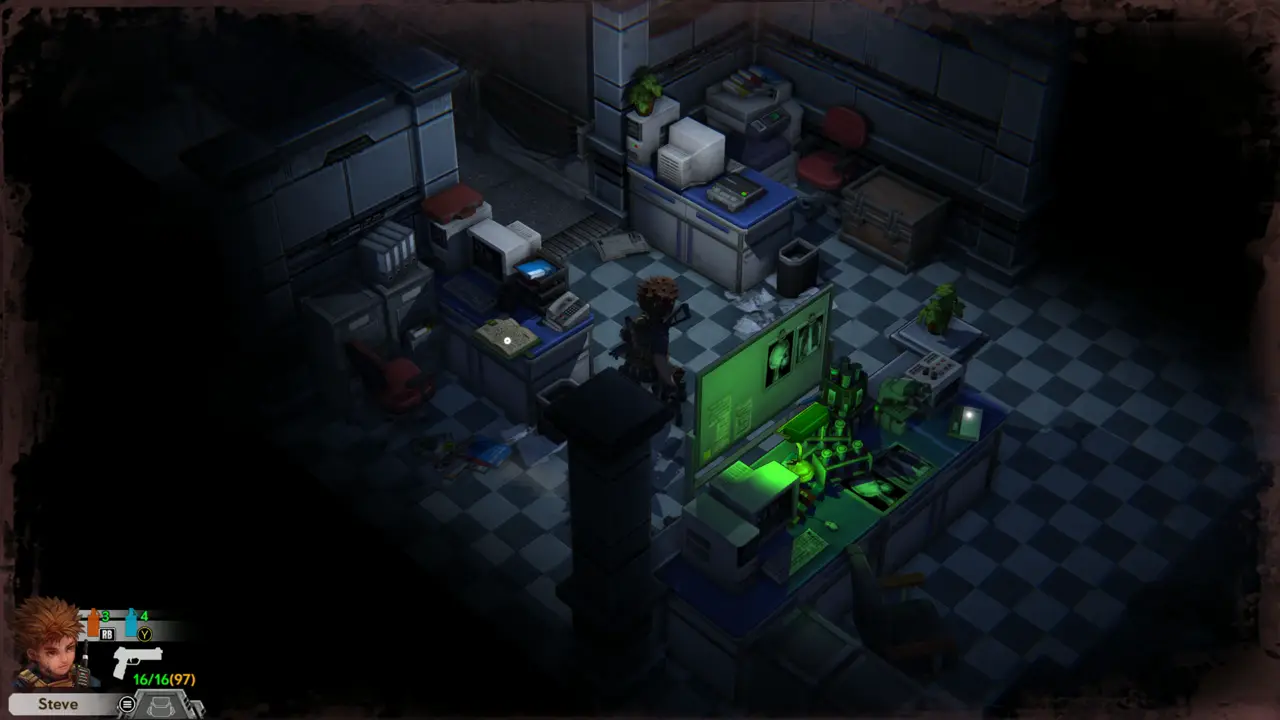
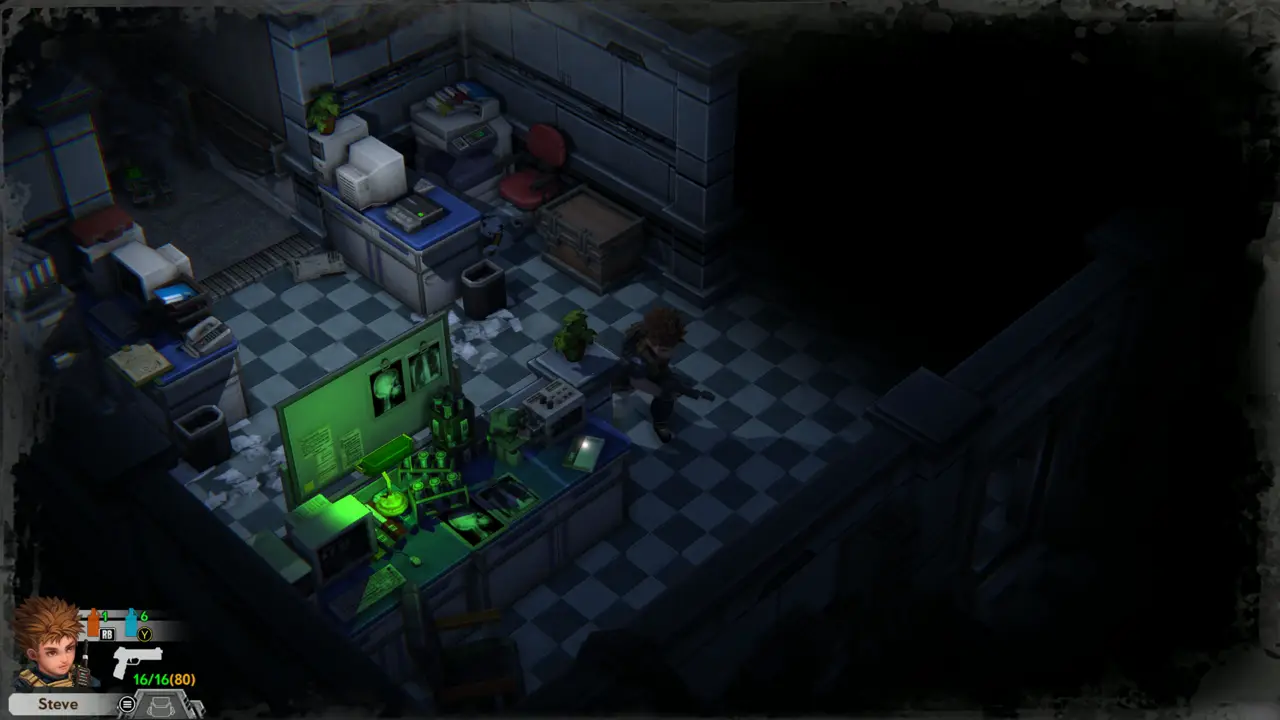
FILE In the checkered-floor lab office with the green lit equipment, take the diary from the desk and read Alexander's Diary 1.
Lab office with the desk
Alexander's Diary 1 text
3
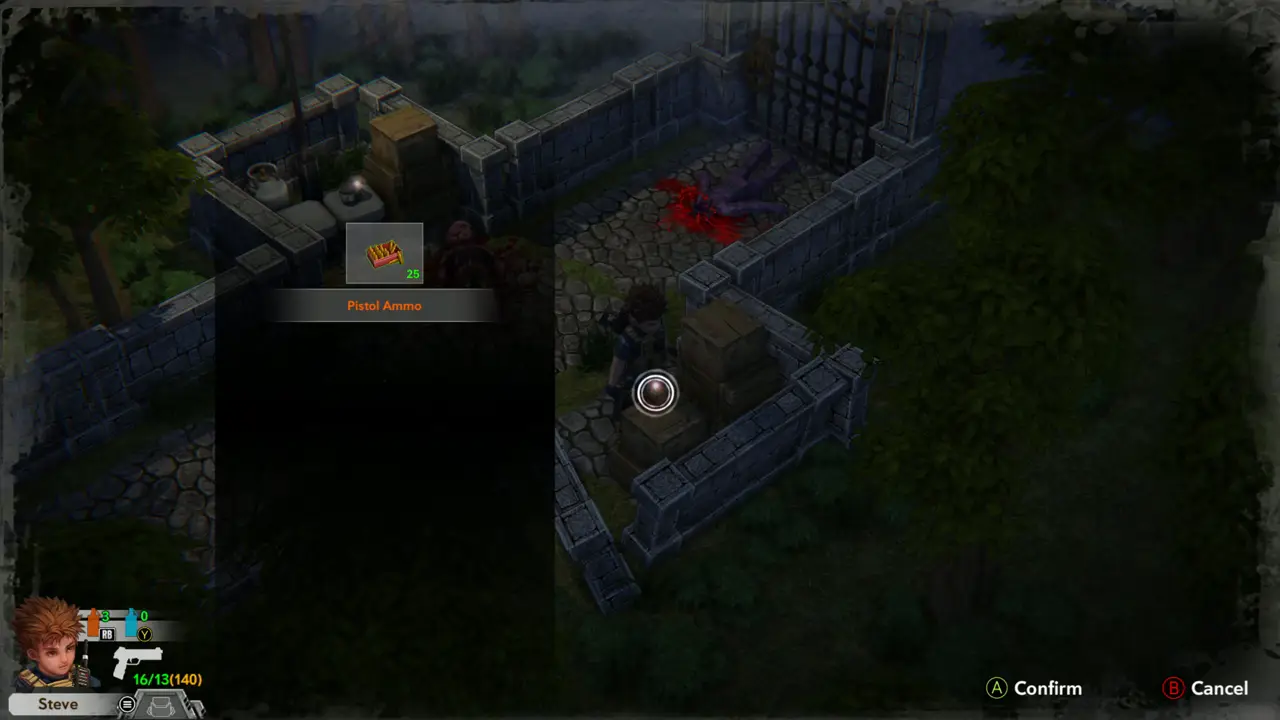
near the prison cells - supplies corner
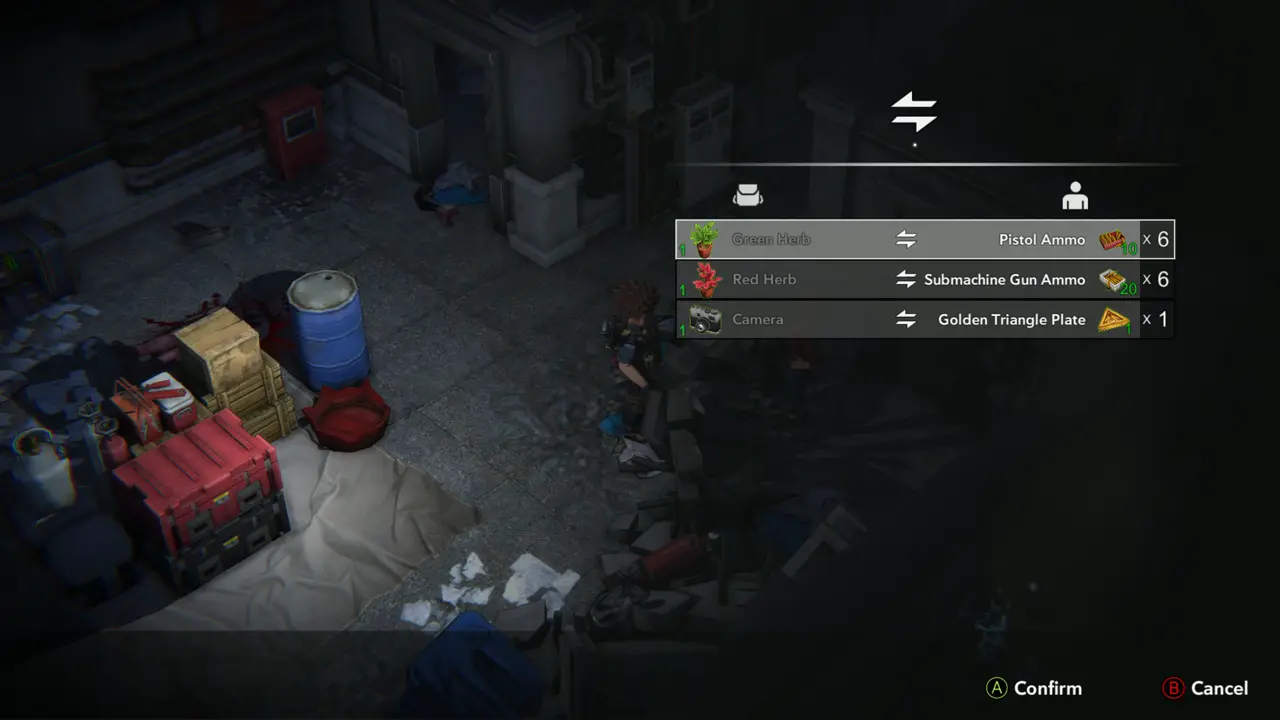
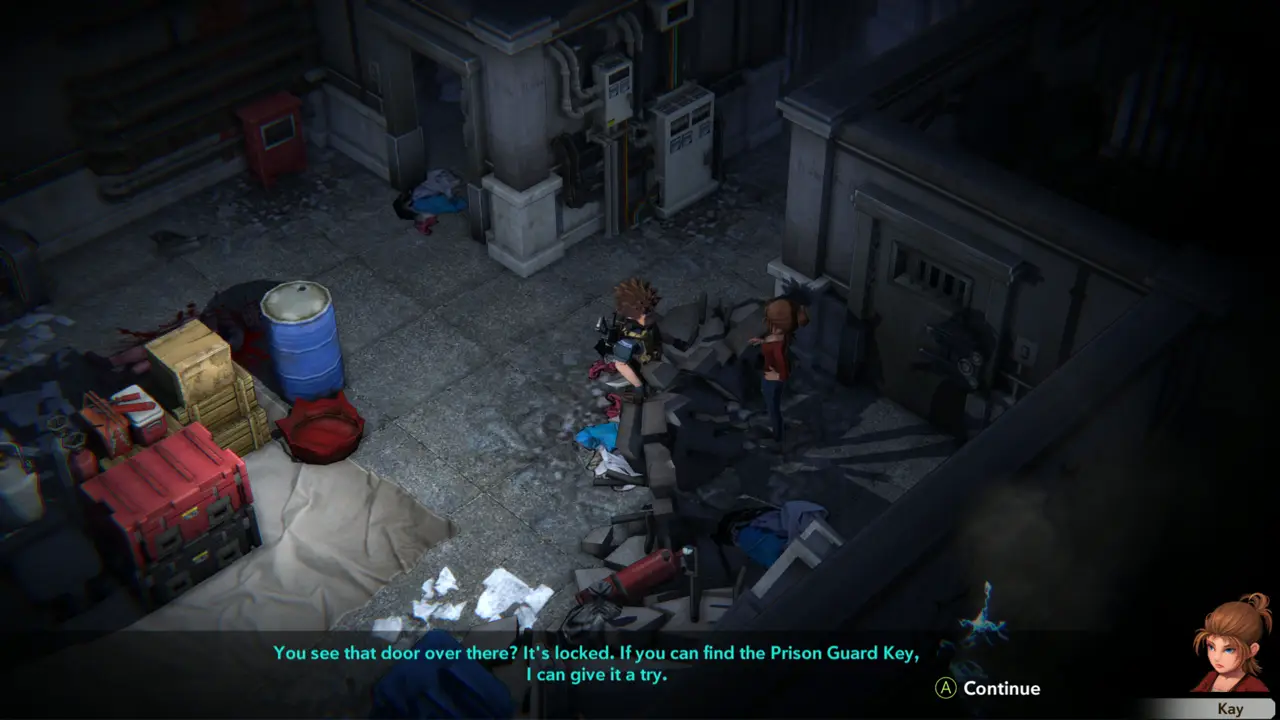
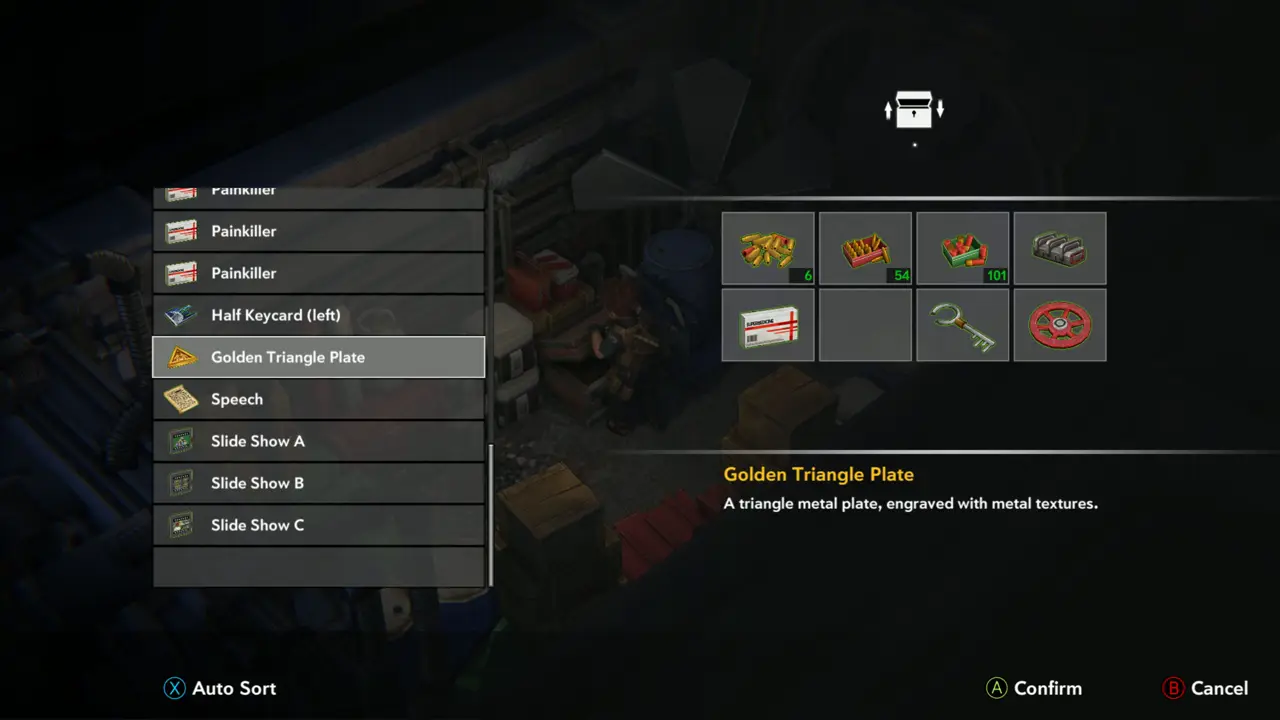
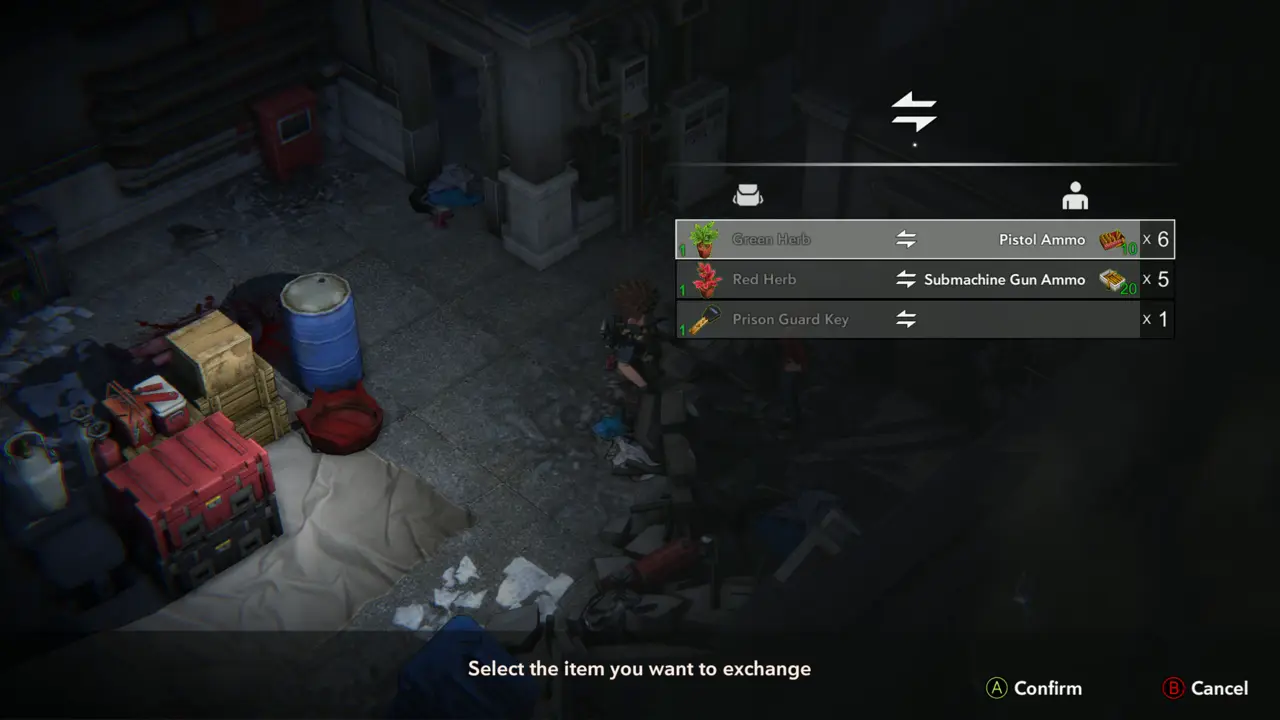
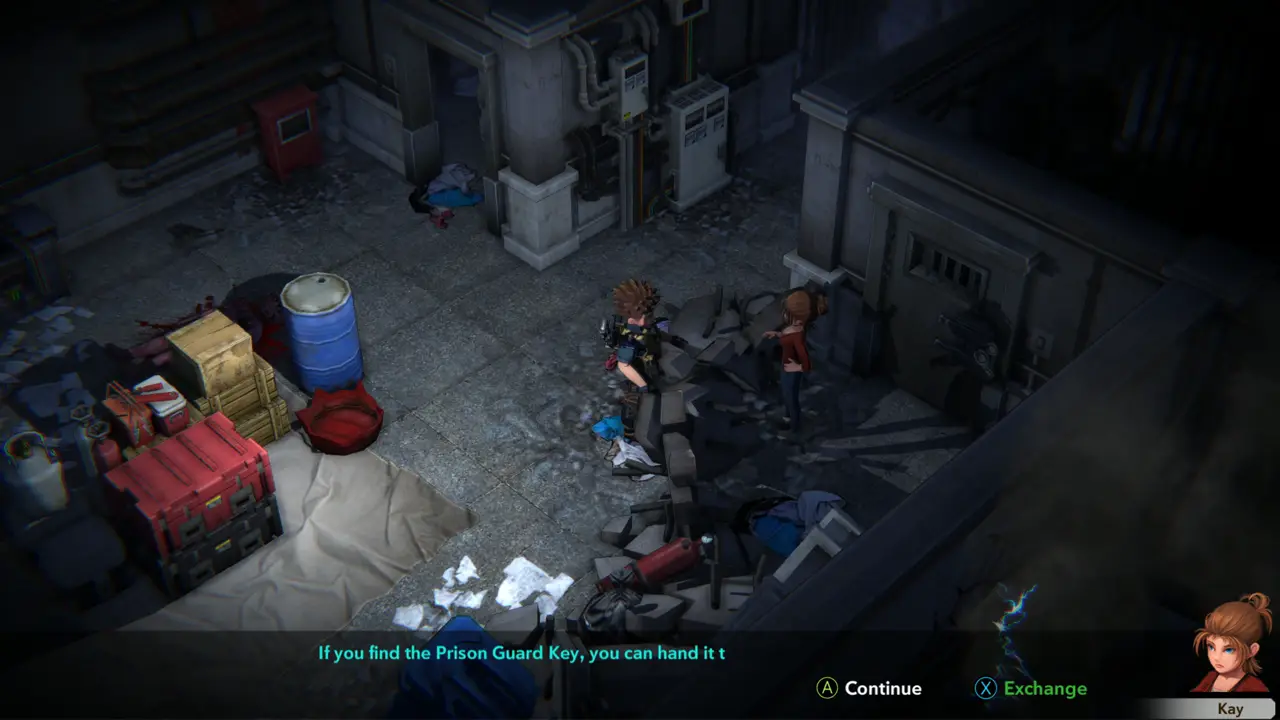
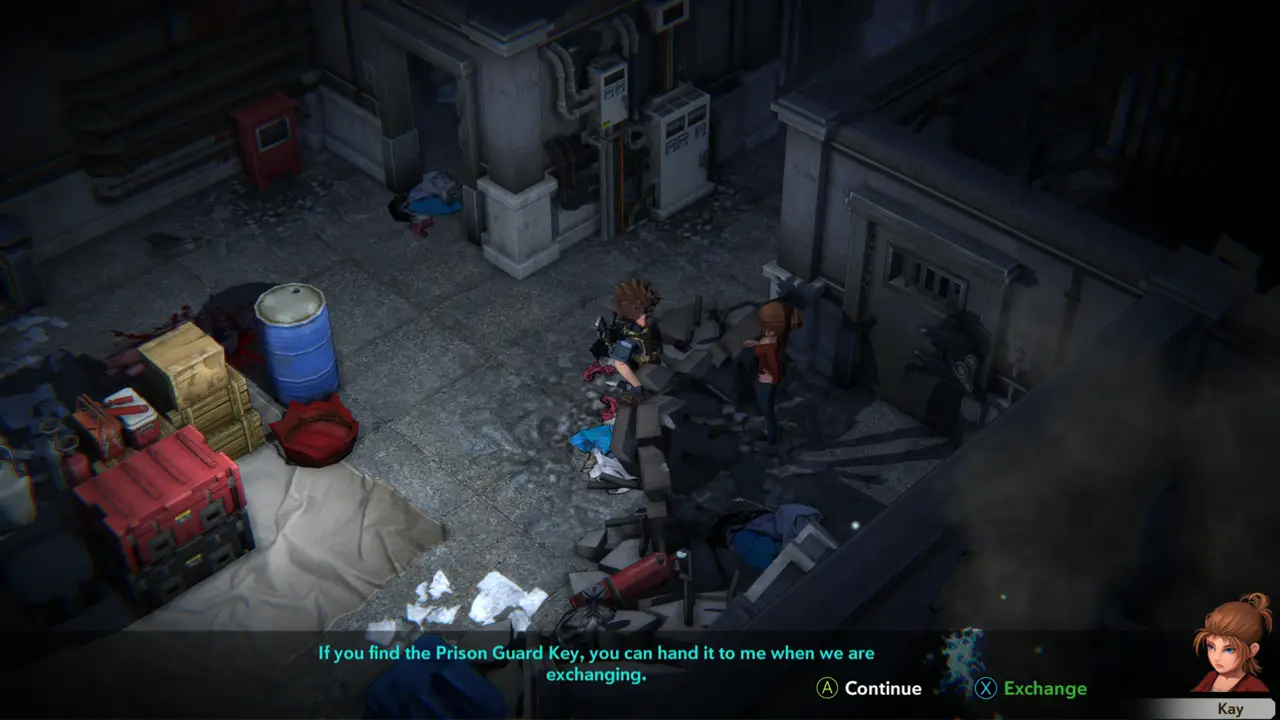
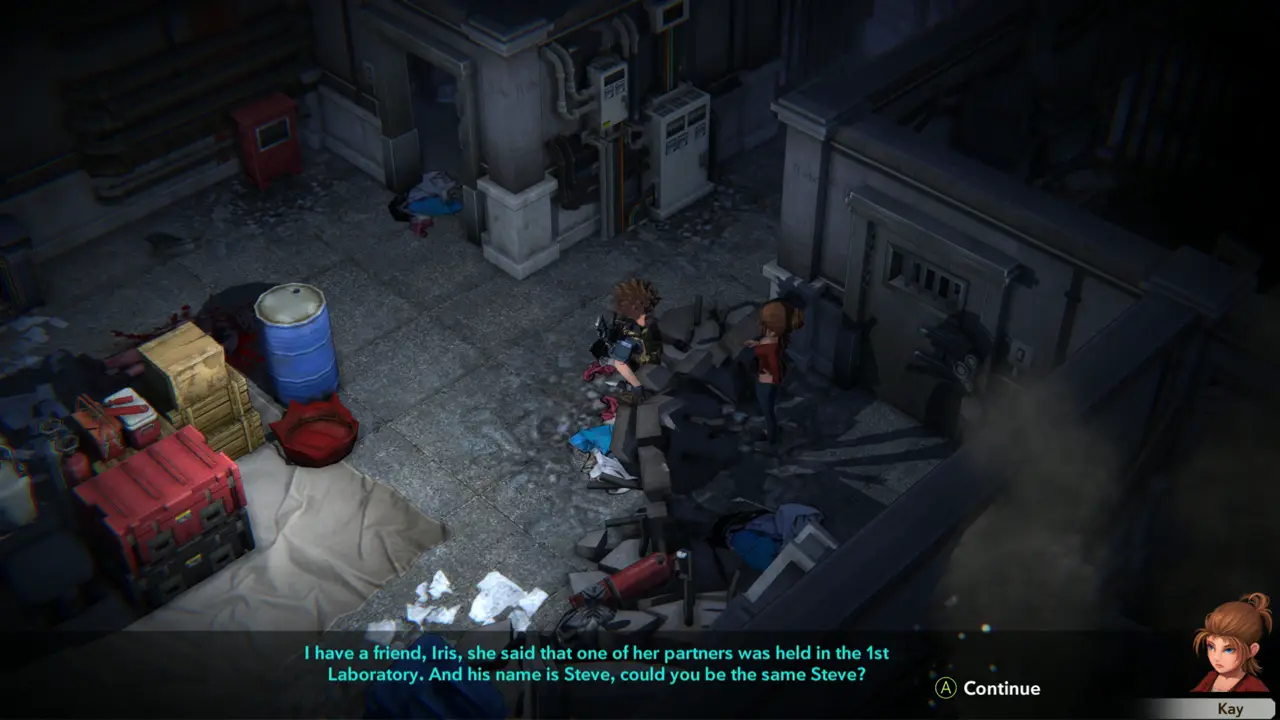
NOTE Go back to the corner with the red crates and the blue barrel and talk to Kay, a survivor. She says Alexander, the lab director, is trapped in his office and she needs something from the botany lab to get him out. Her exchange menu offers Pistol Ammo (x6) for a Green Herb, Submachine Gun Ammo (x5) for a Red Herb, and the Golden Triangle Plate for the Camera. She asks you to retrieve her camera, which a monster in a prison cell snatched away.
Meeting Kay at the supplies
Kay exchange menu
Kay exchange menu
4
near the prison cells (cell gates 101-105)
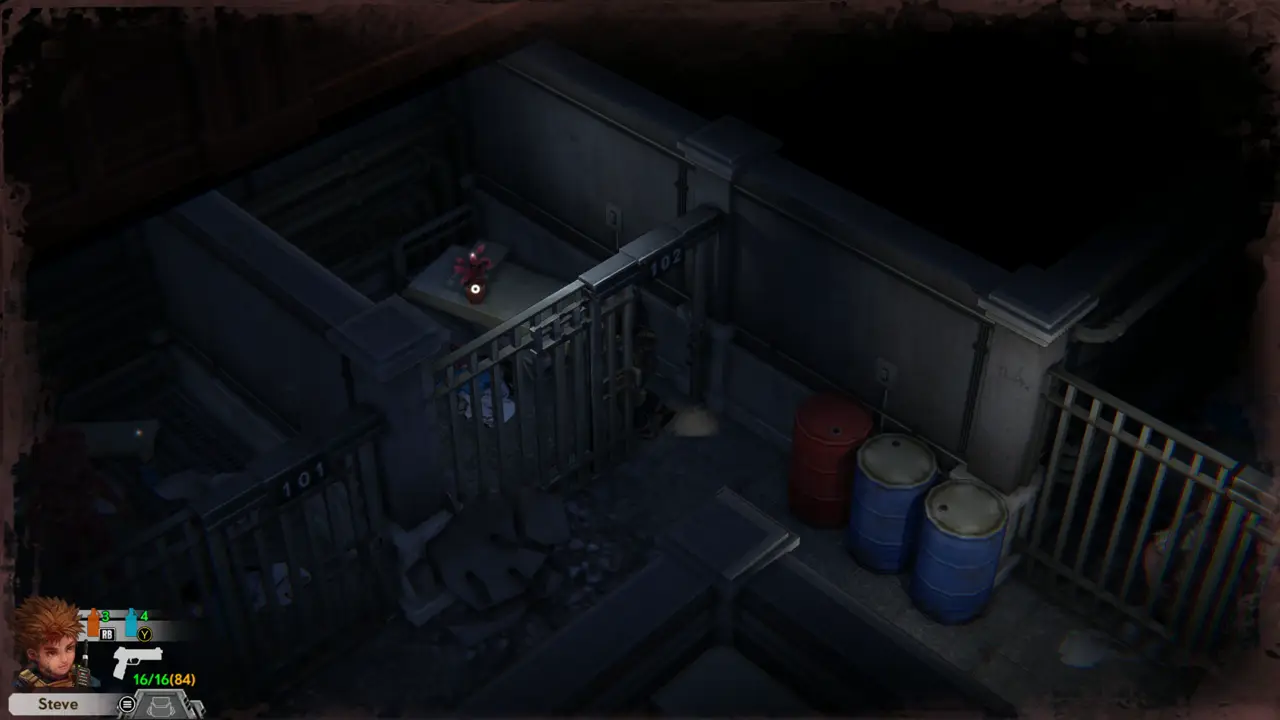
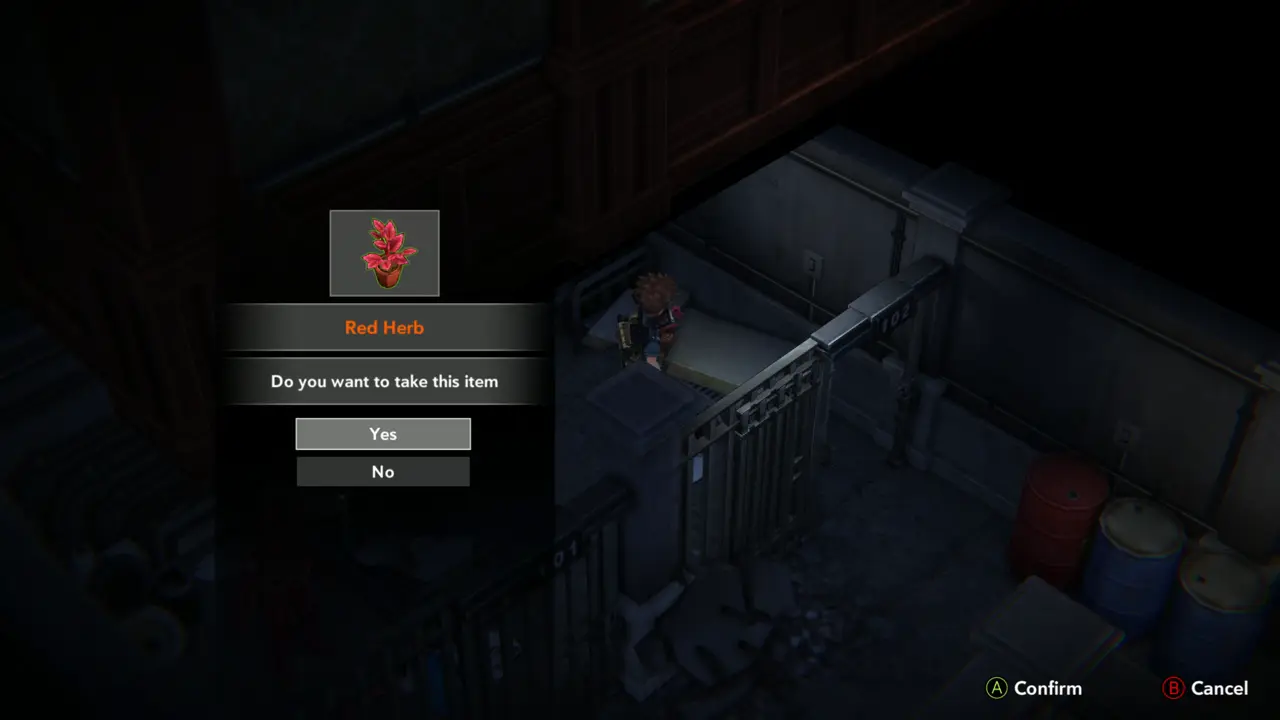
ITEM 99 Walk into the prison corridor and take the Red Herb from the bed in cell 102.
Cell 102 with the bed
Red Herb prompt in cell 102
5
near the prison cells - power switch
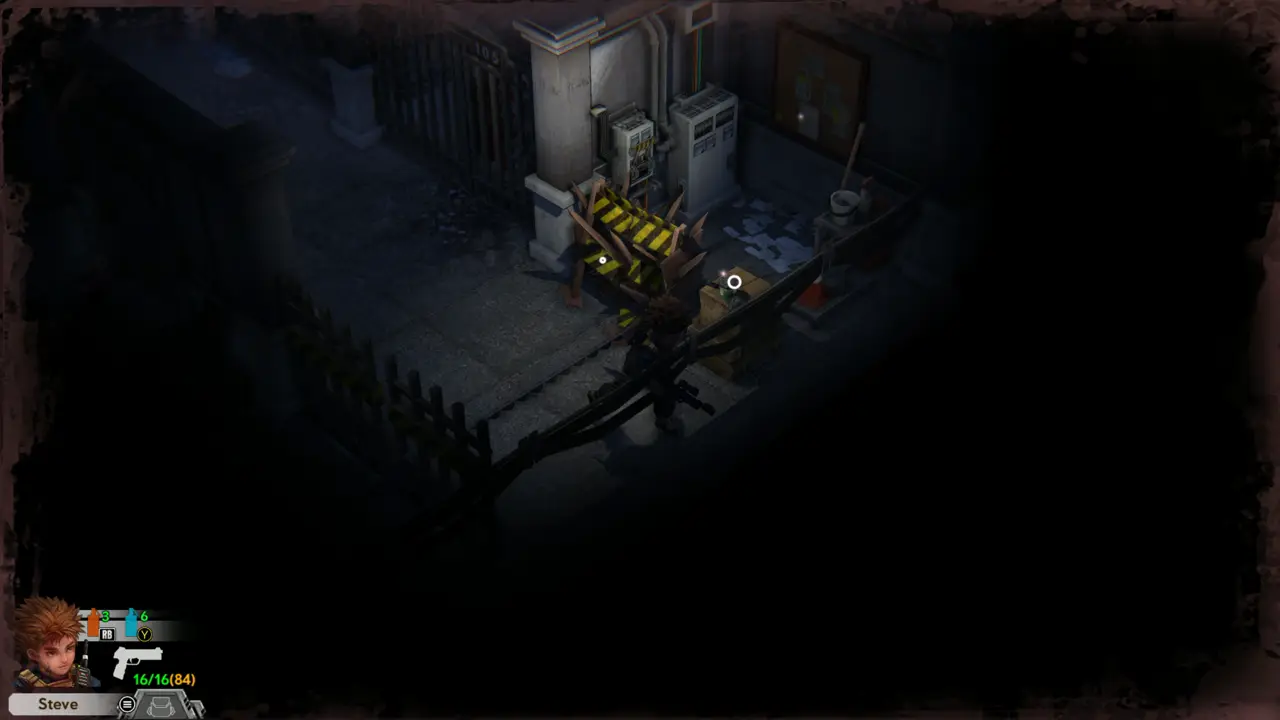
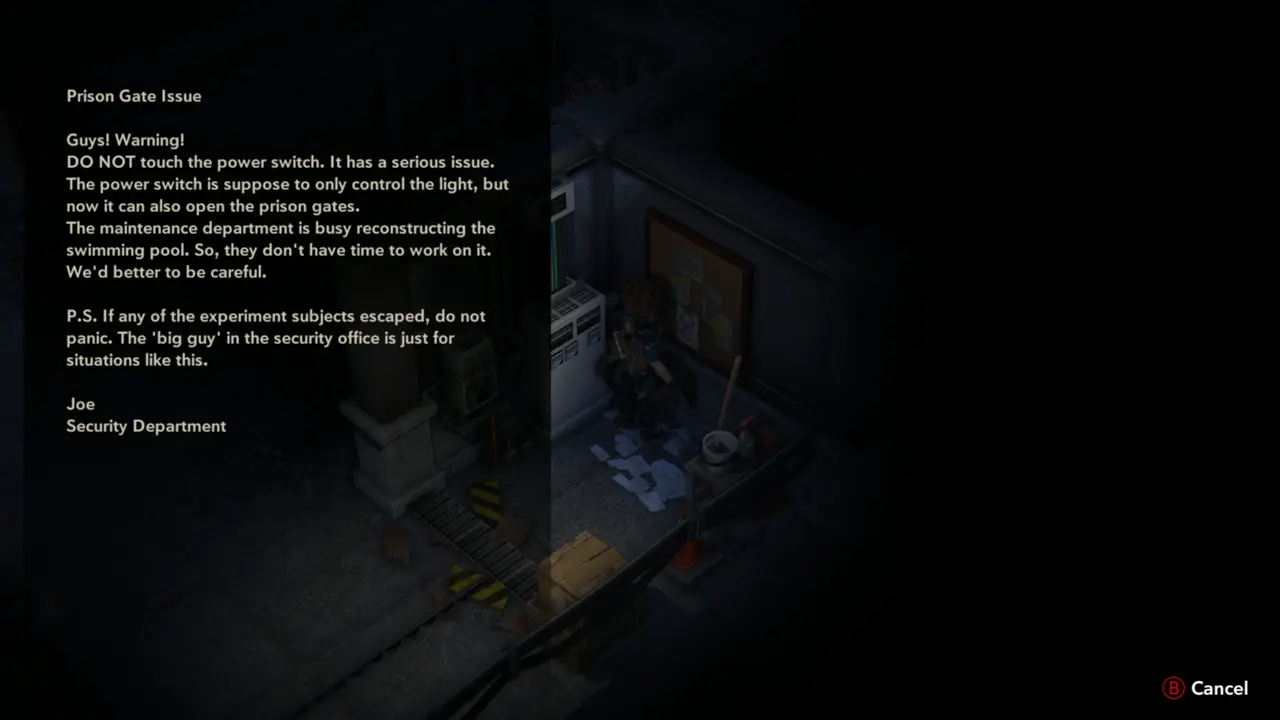
FILE 37NOTE Read the note on the wall by the power switch, “Prison Gate Issue”. The switch controls the light but also opens the prison gates, so do not touch it carelessly.
Power switch with hazard barrier
Prison Gate Issue note
6
near the prison cells (cell gates 101-105)
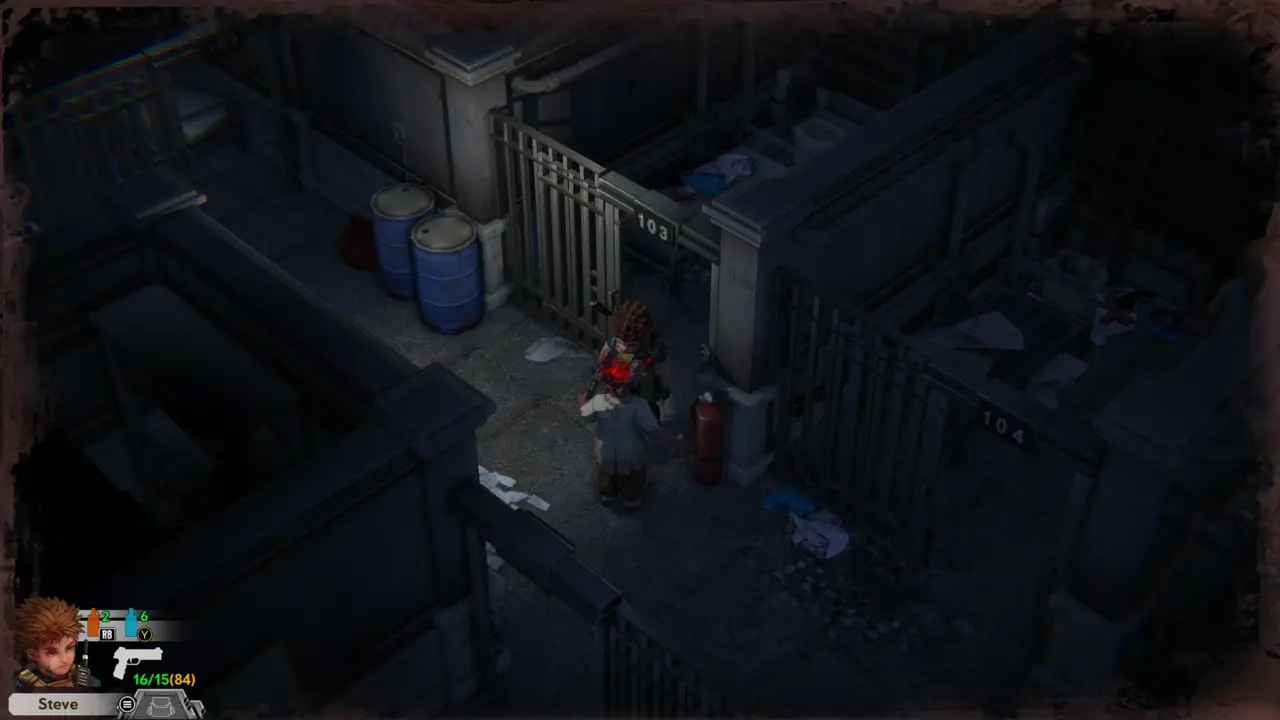
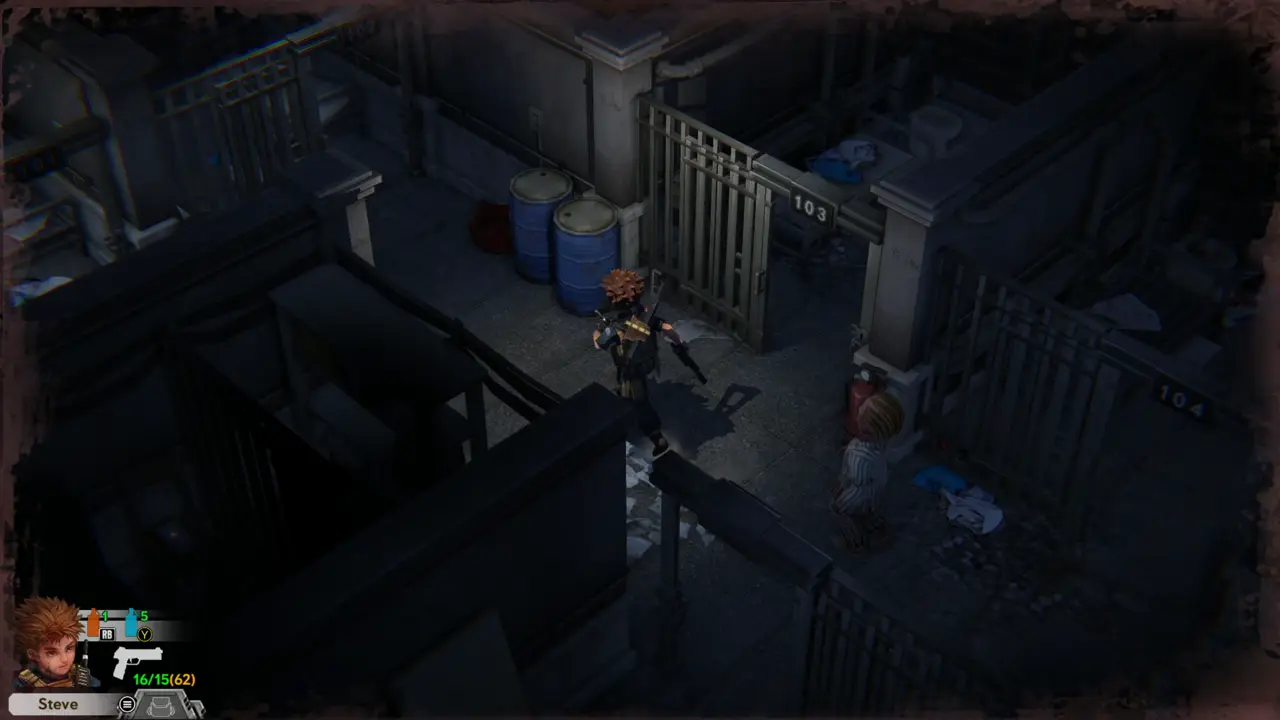
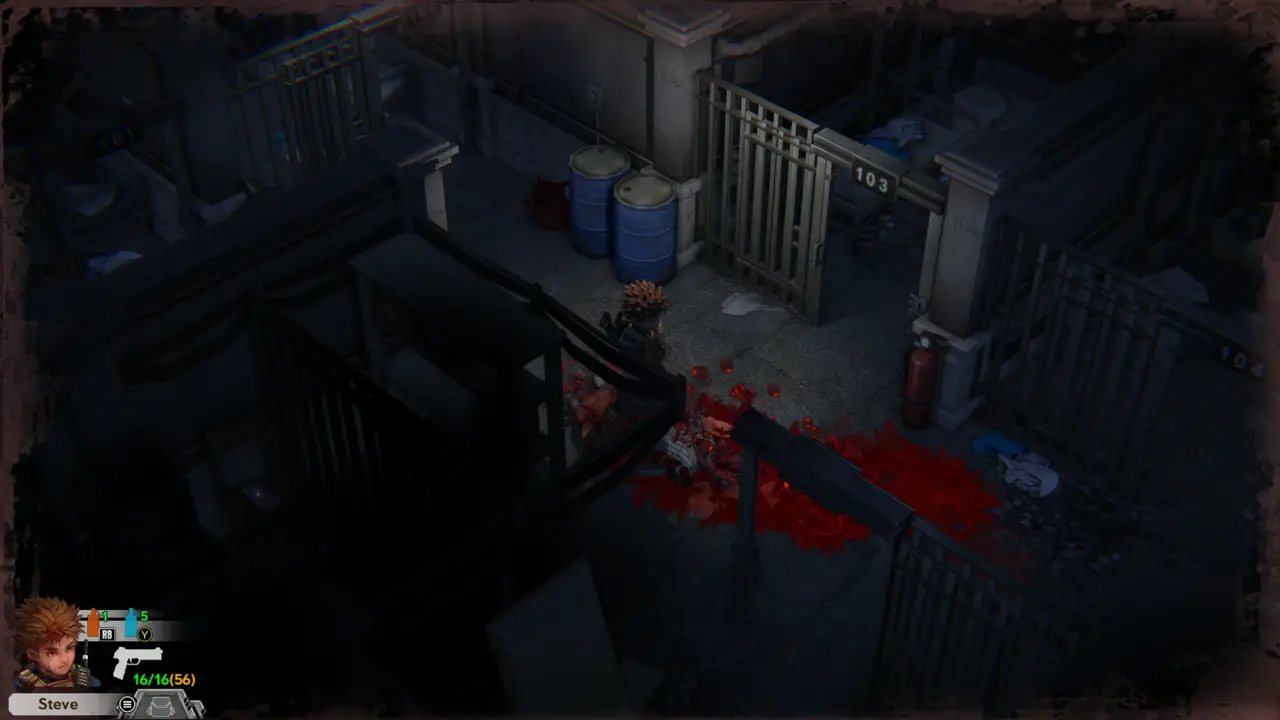
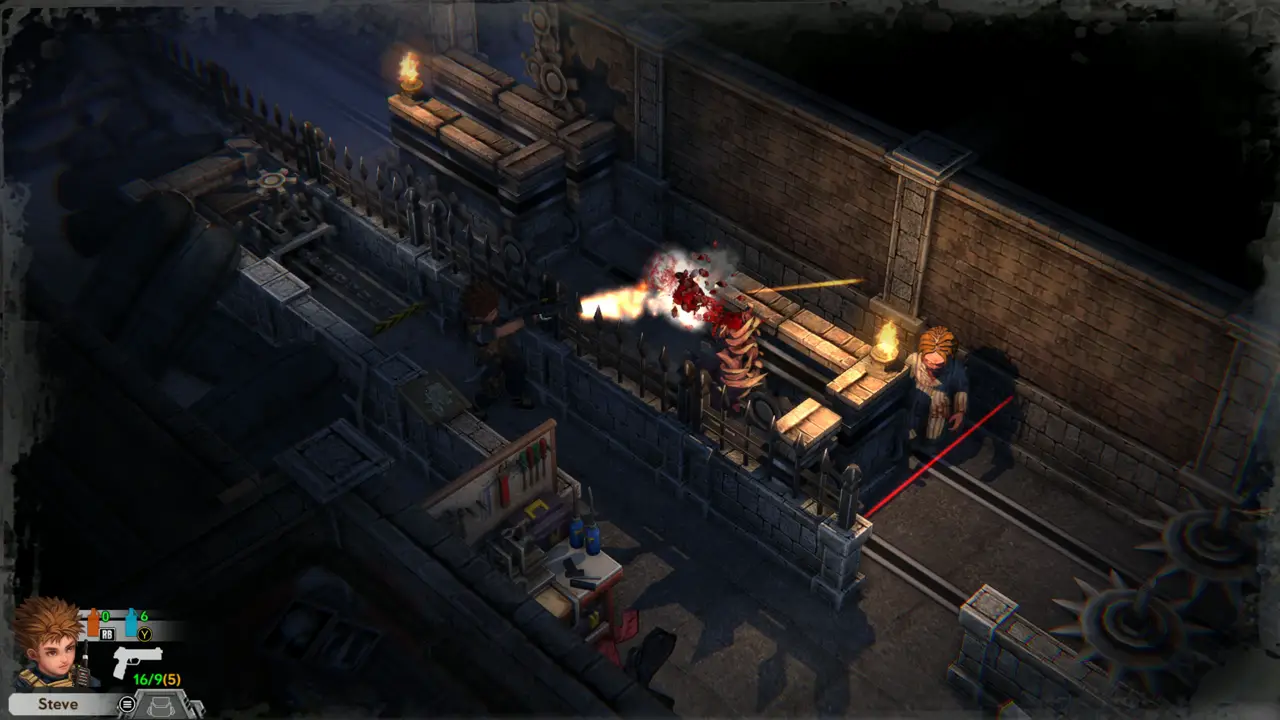
FIGHT Fight through the prison corridor: infected come from the cells and the corridor between gates 103, 104 and 105. Shoot them from range with the pistol and keep moving.
Fighting by gate 103-104
Corridor with cell gates
7
near the prison cells (cell gates 101-105)
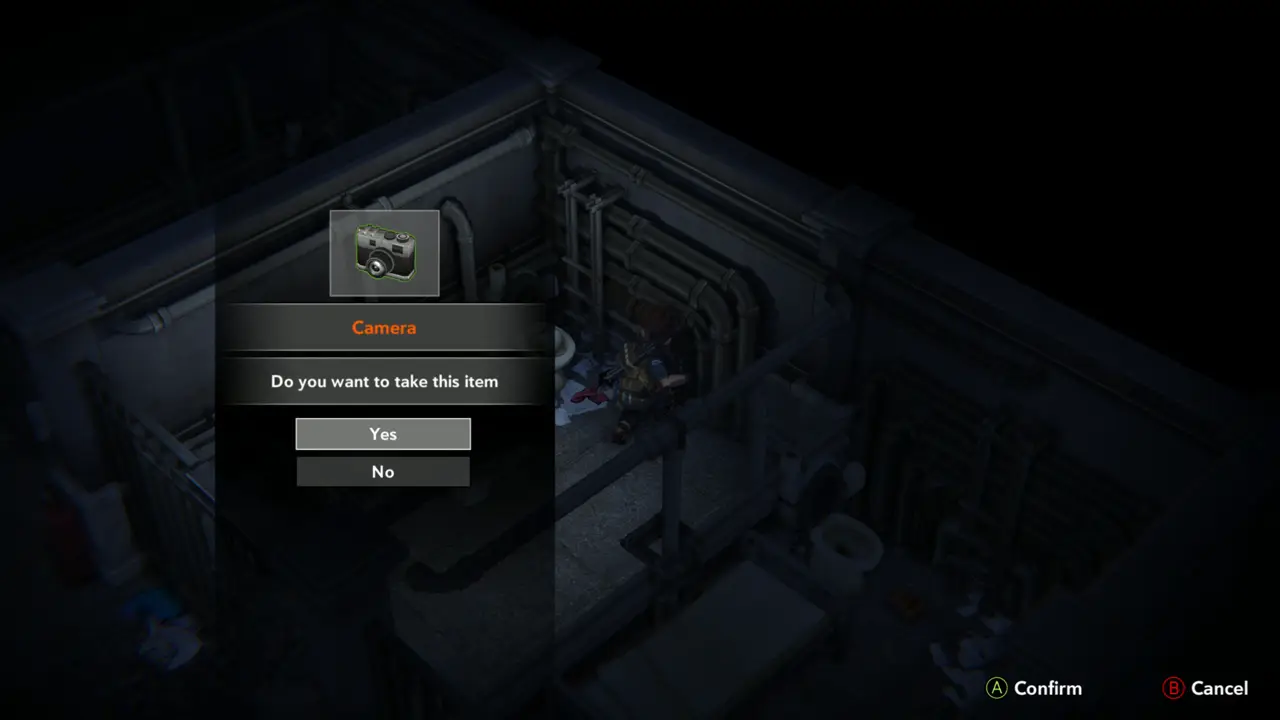
KEY ITEM 16 Take the Camera from the cell with the toilet at the end of the cell block.
Cell with the camera
Camera prompt
Camera prompt
8
near the prison cells - guard room
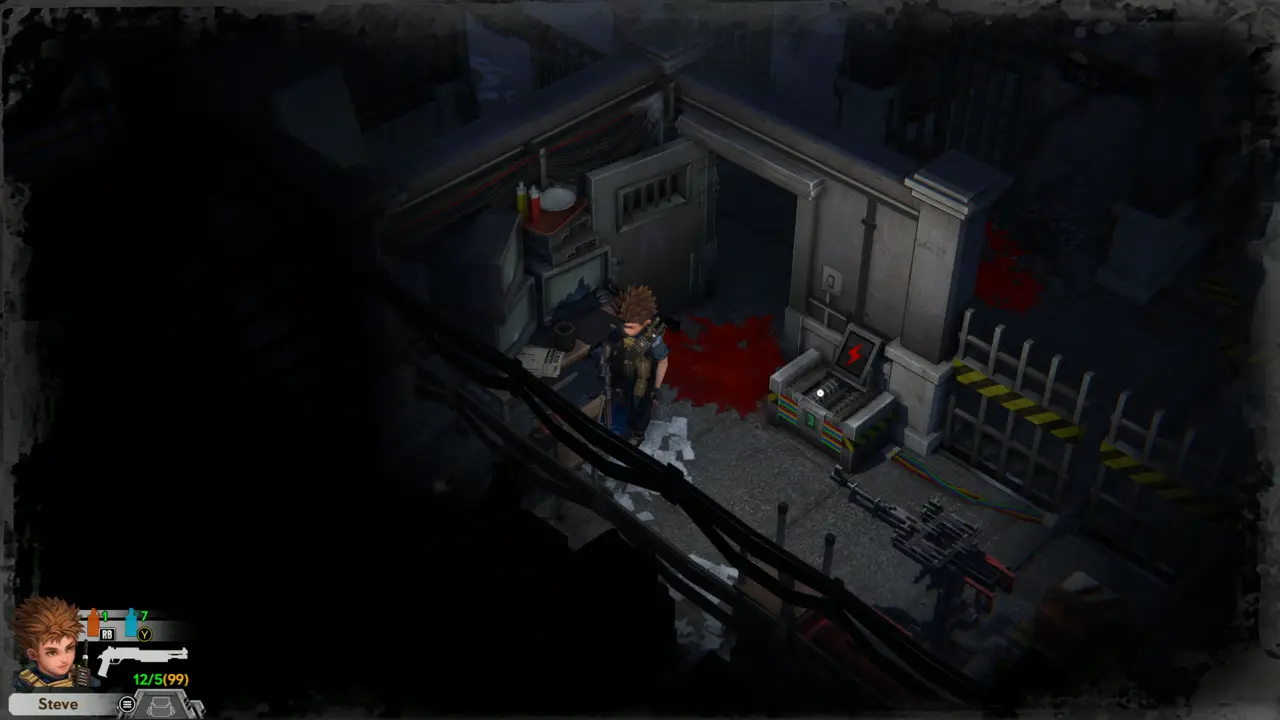
NOTE In the guard room with the monitors, a control box with a red lightning symbol sits on the floor beside a mounted machine gun. Equip the shotgun here.
Guard room with monitors
Box with lightning symbol
9
near the prison cells - supplies corner
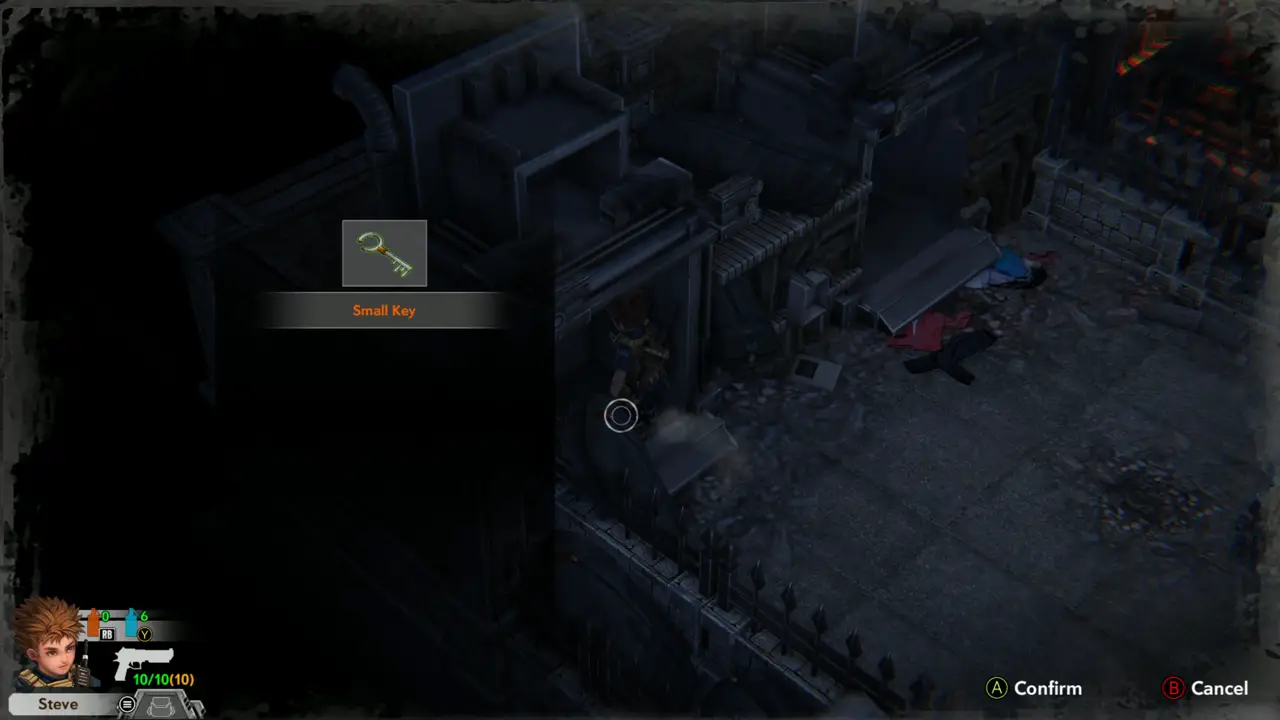
KEY ITEM 16–17KEY ITEM 21DOORNOTE Return to Kay with the Camera and trade it for the Golden Triangle Plate. Kay says you can open the locked door nearby if you find the Prison Guard Key, and that an underground transport station lies south.
Back with Kay
Back with Kay
Kay talks about the locked door
10
near the prison cells - lab office
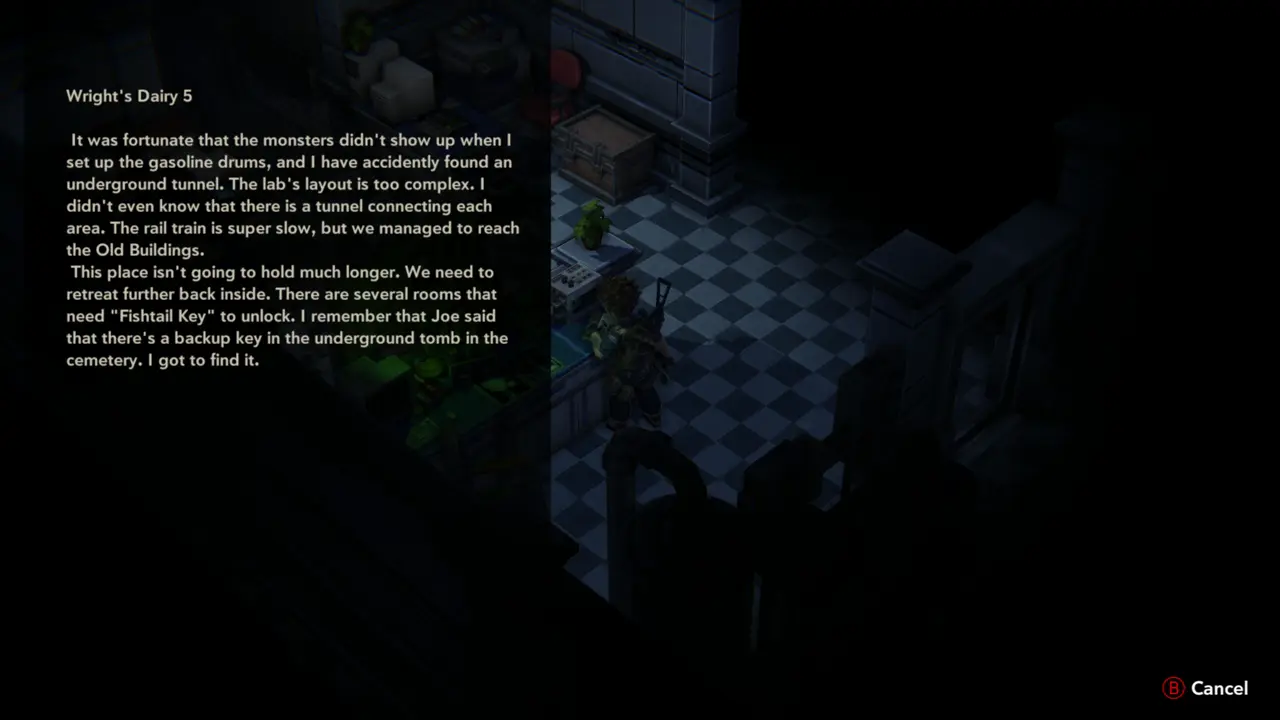
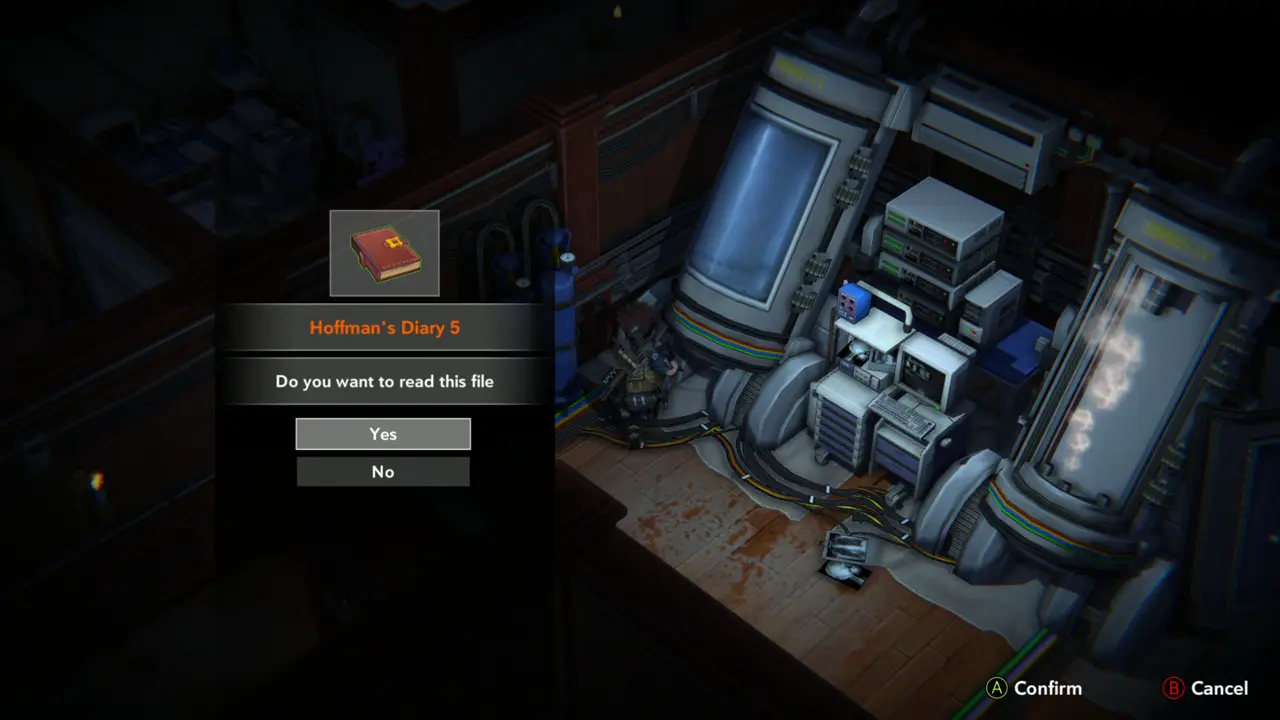
FILE Return to the lab office and read Wright's Diary 5, which names the Fishtail Key.
Wright's Diary 5 prompt
Wright's Diary 5 text
11
Old Building - Lab near the save point
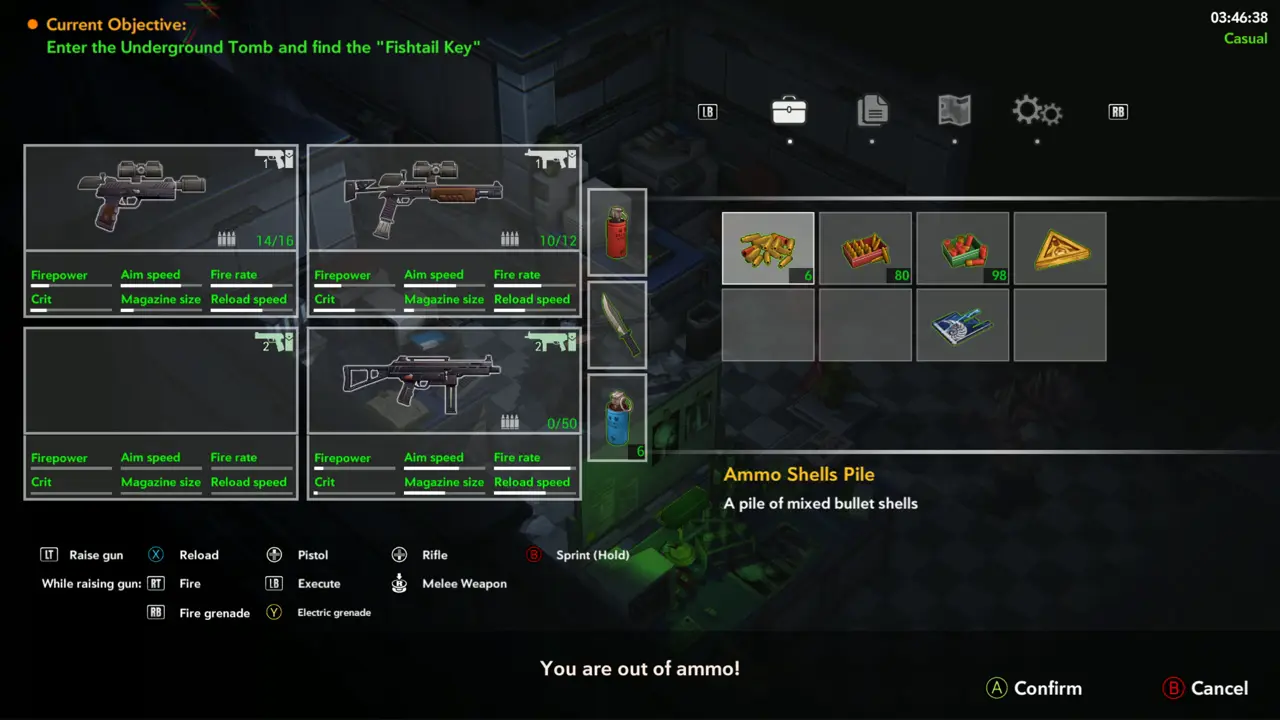
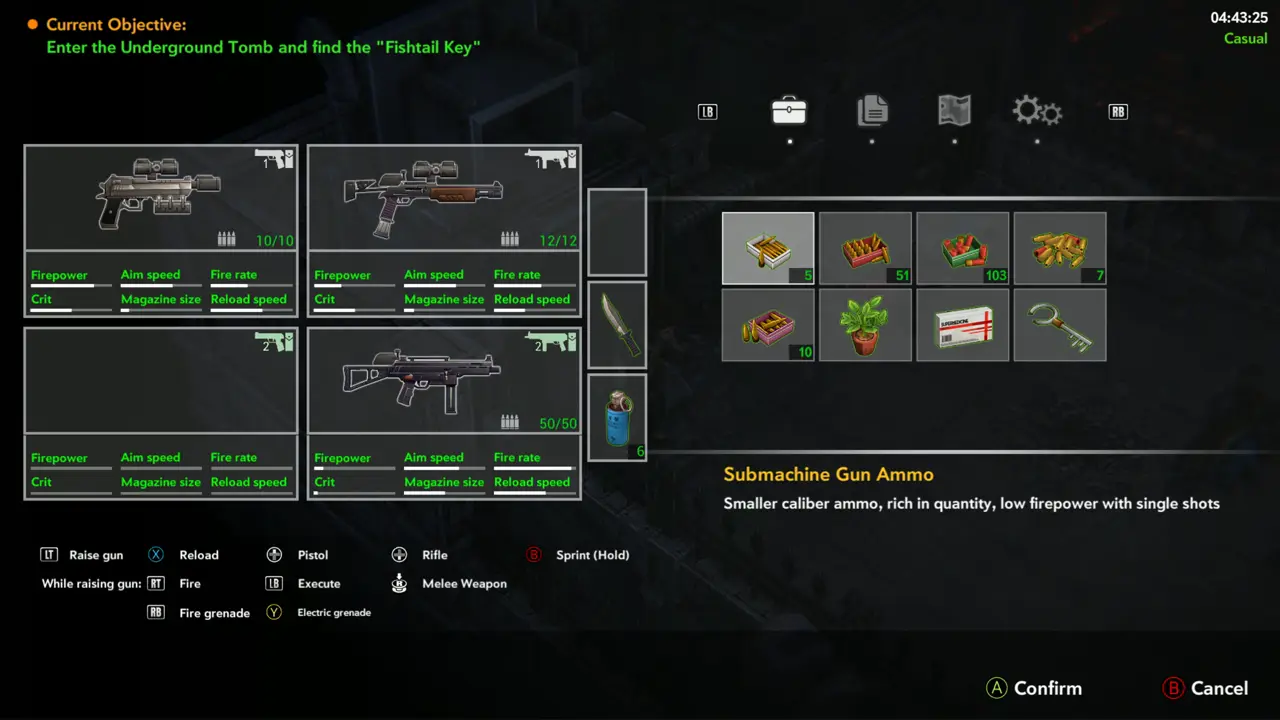
NOTE The Current Objective is “Enter the Underground Tomb and find the “Fishtail Key””. Your submachine gun is out of ammo (“You are out of ammo!”), so rely on the pistol, shotgun, dagger and the 6 Electric Grenades.
Objective: find the Fishtail Key
12
Old Building - Lab near the save point
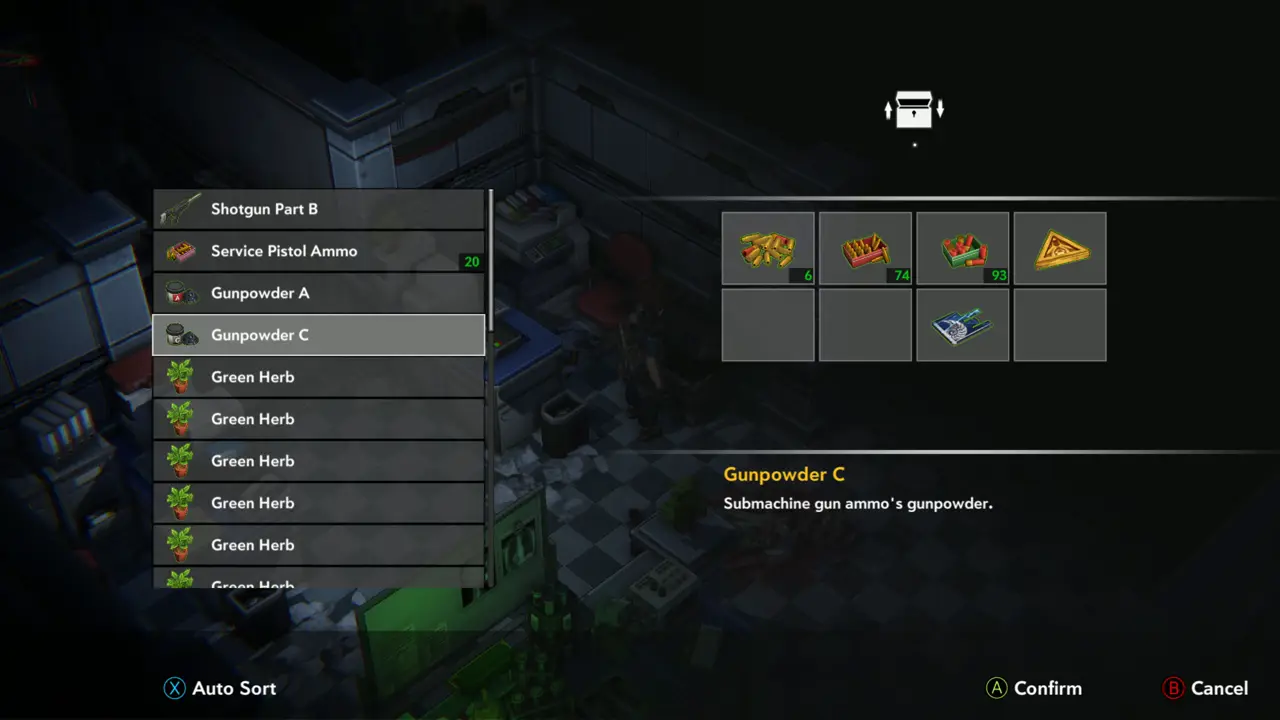
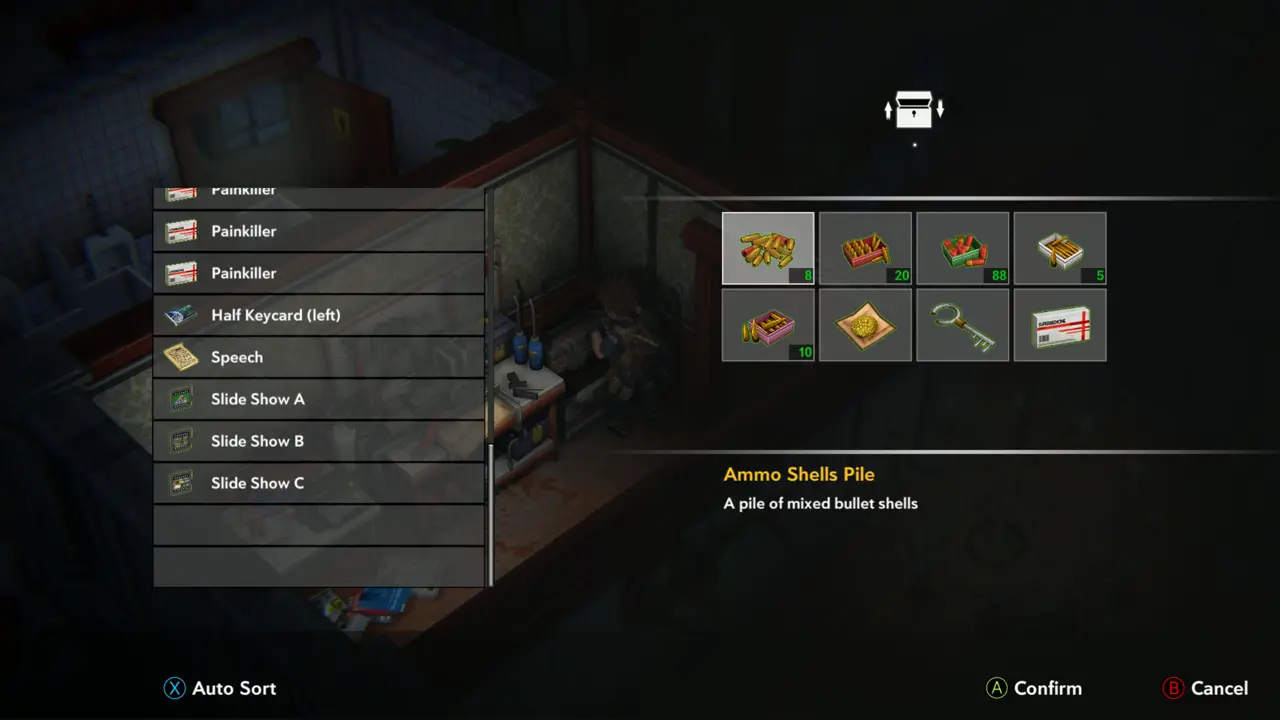
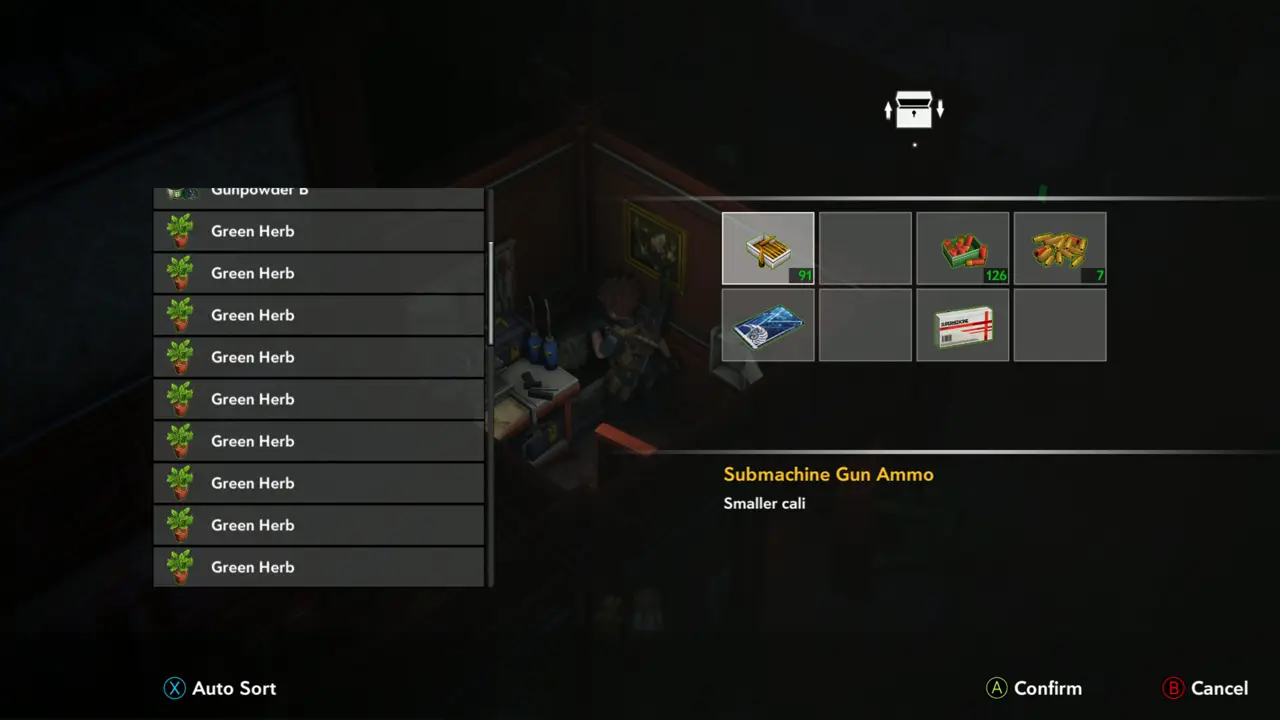
NOTE Use the storage box next to the save point to sort the inventory. It holds Shotgun Part B, Service Pistol Ammo, Gunpowder A and C, Green Herbs, Red Herbs, Mixed Powder, Painkillers, Spore and Slide Shows A to C.
Storage box item list
13
Old Building - Lab near the save point
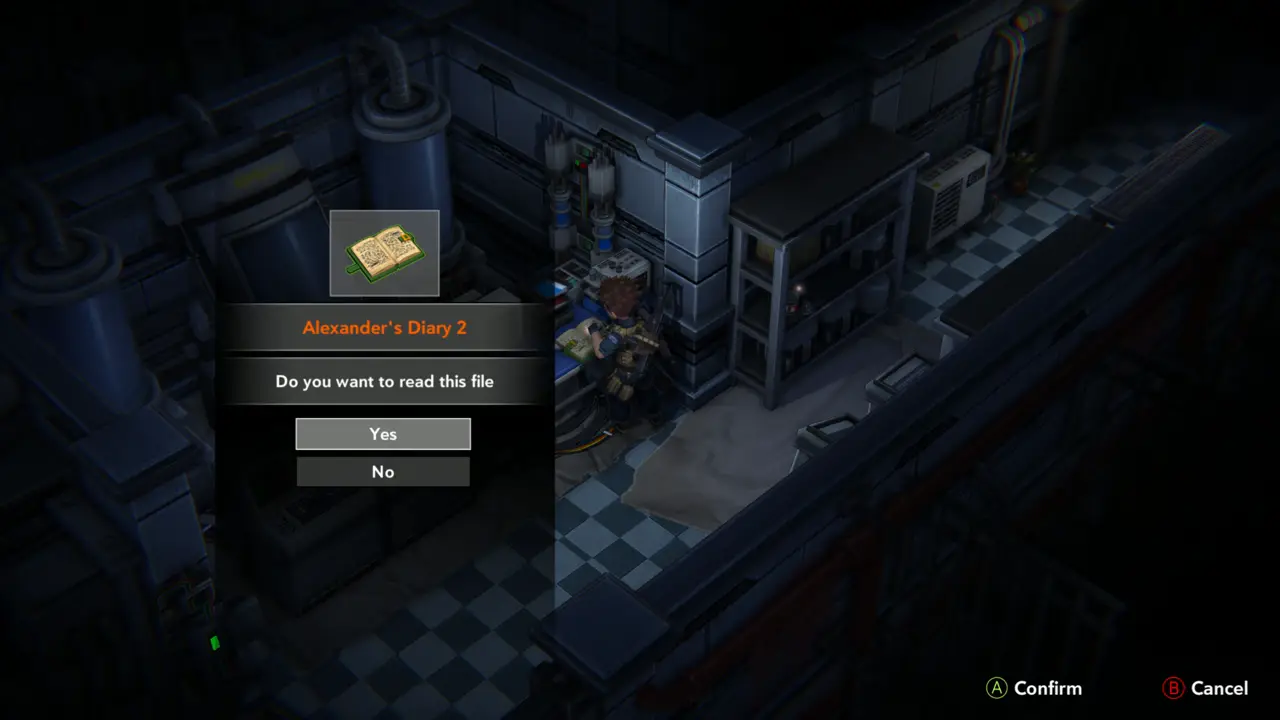
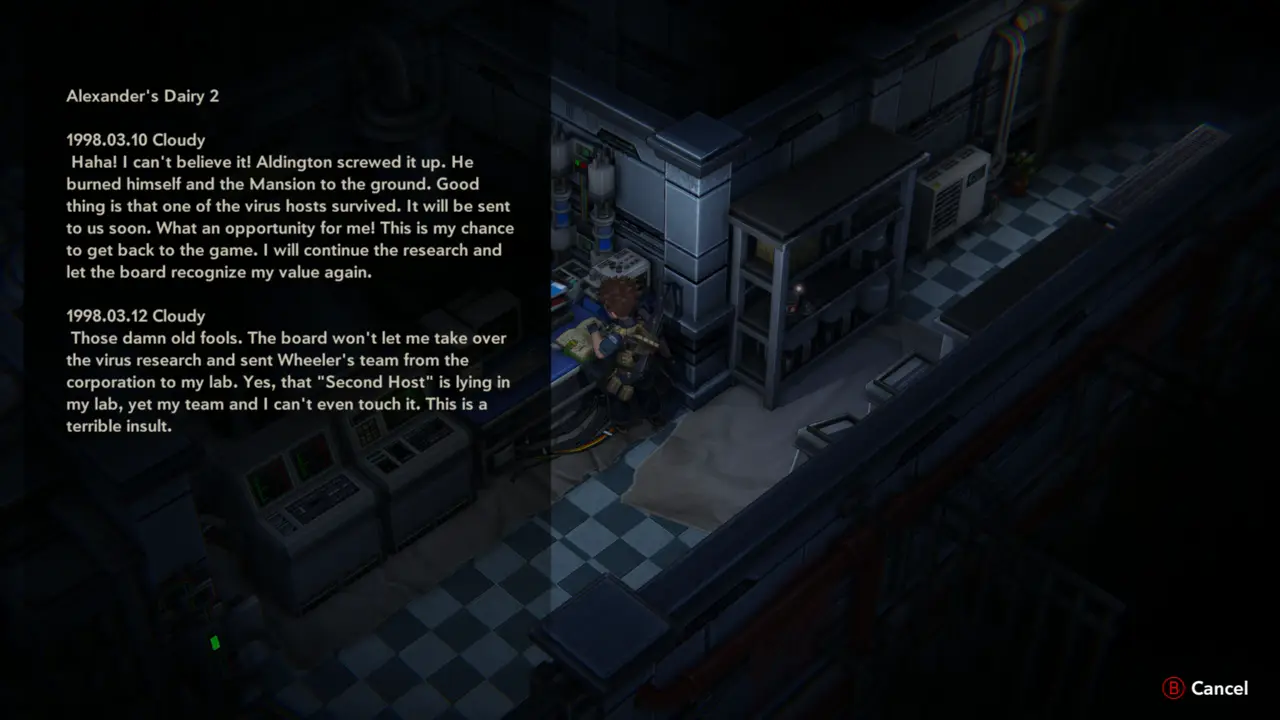
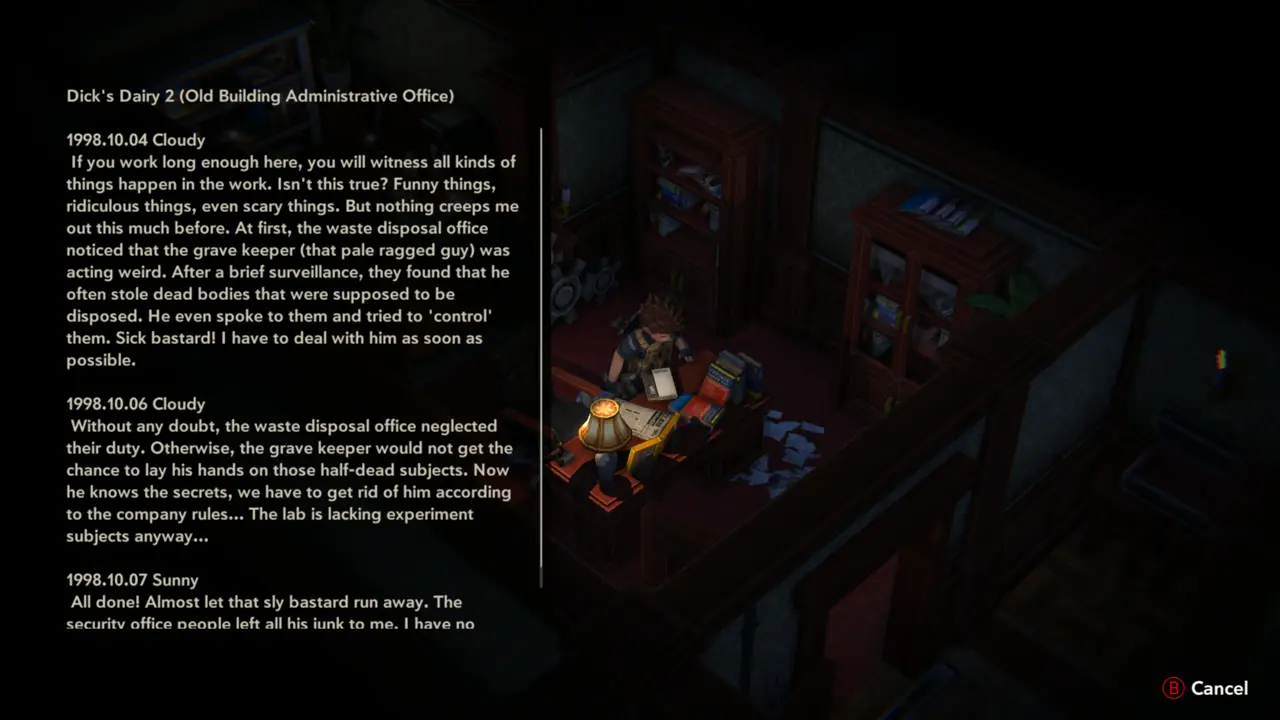
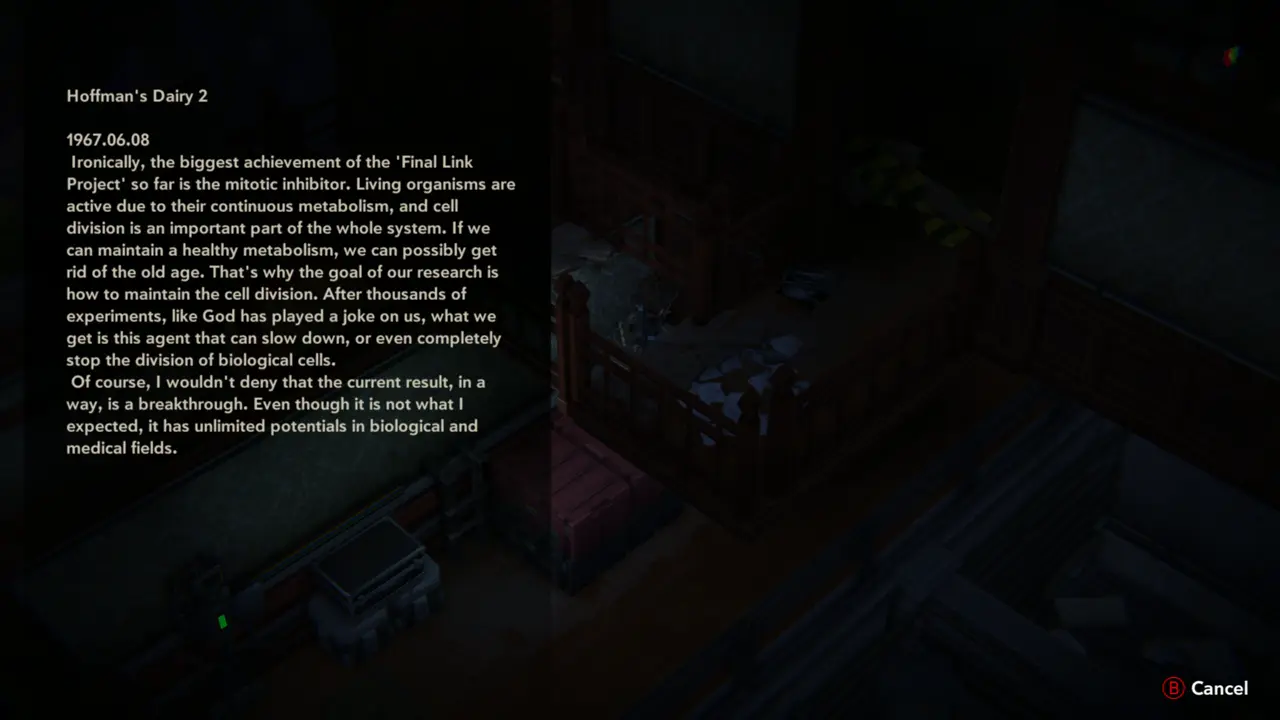
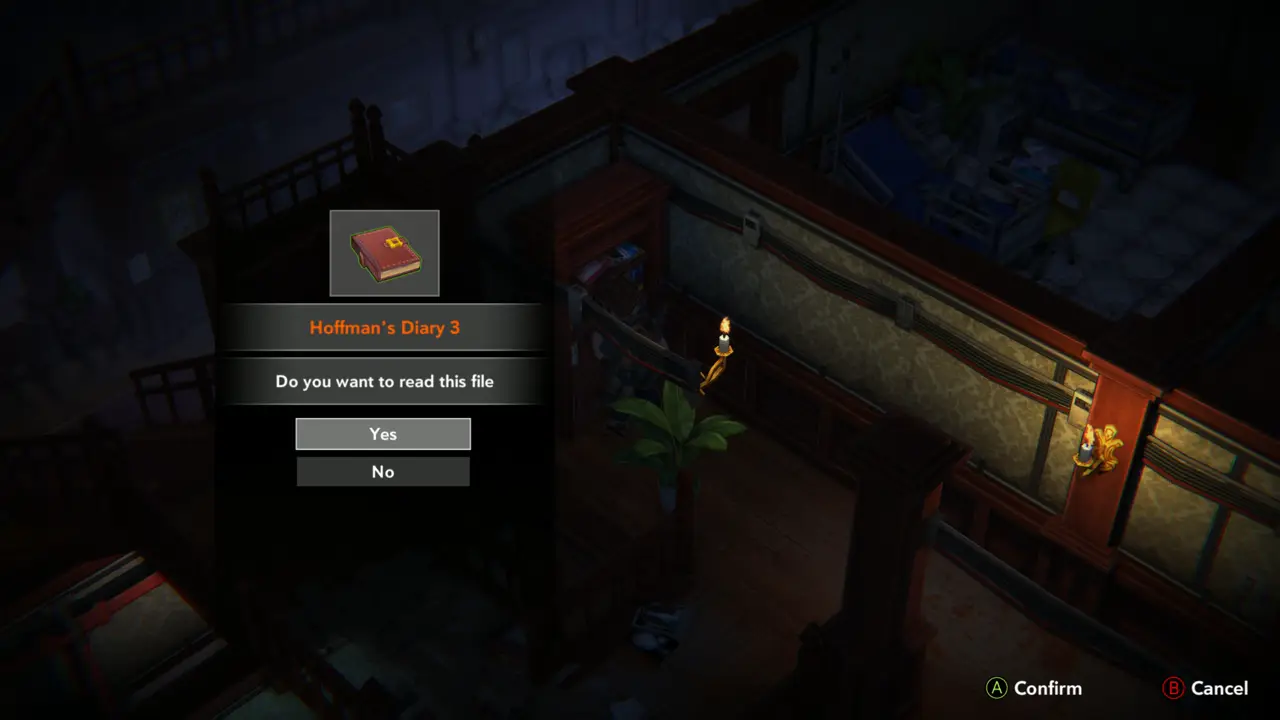
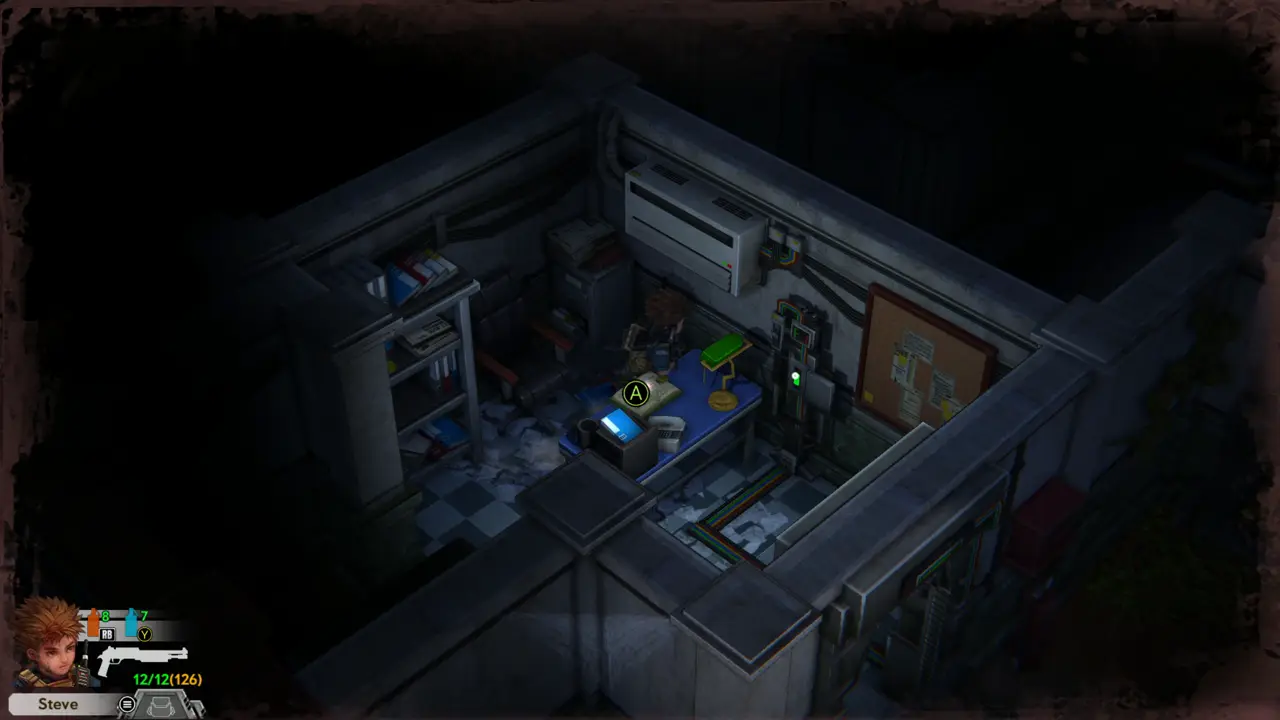
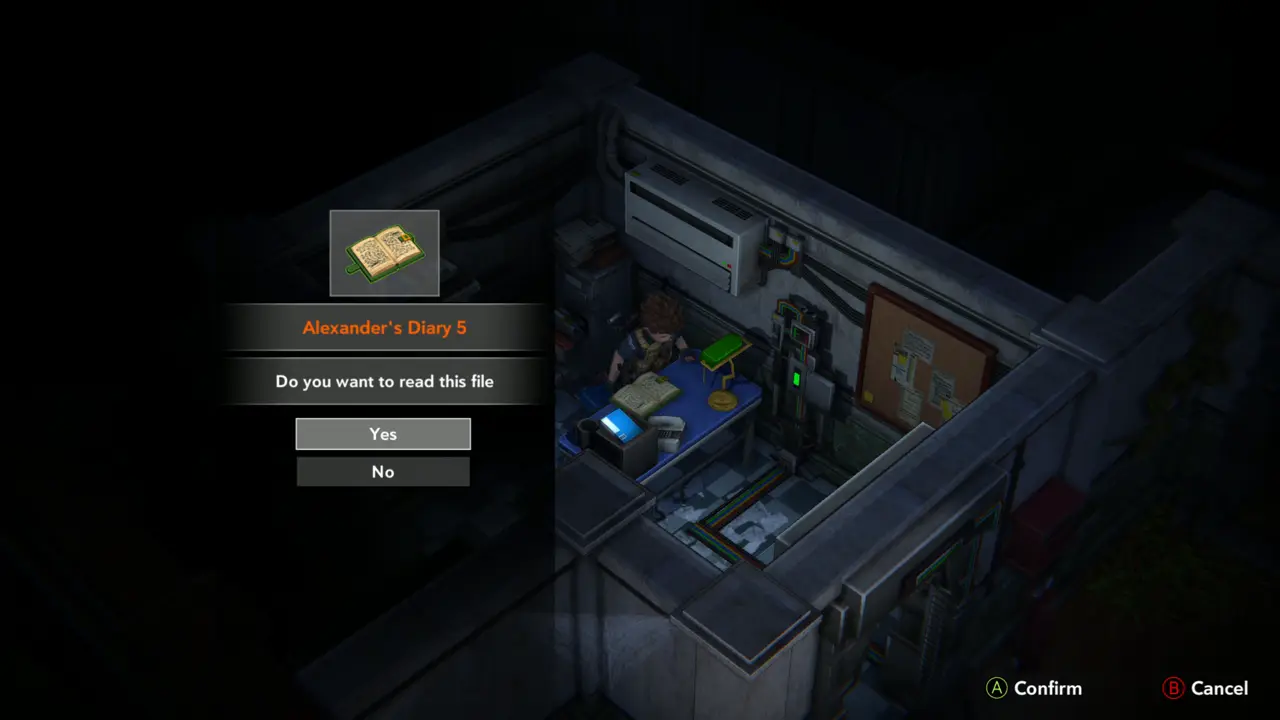
FILE 39 Take Alexander's Diary 2 from the blue desk by the computers and read it (“Do you want to read this file”, Yes).
Diary prompt on the desk
Diary page text
Diary page text
14
Old Building - Lab near the save point
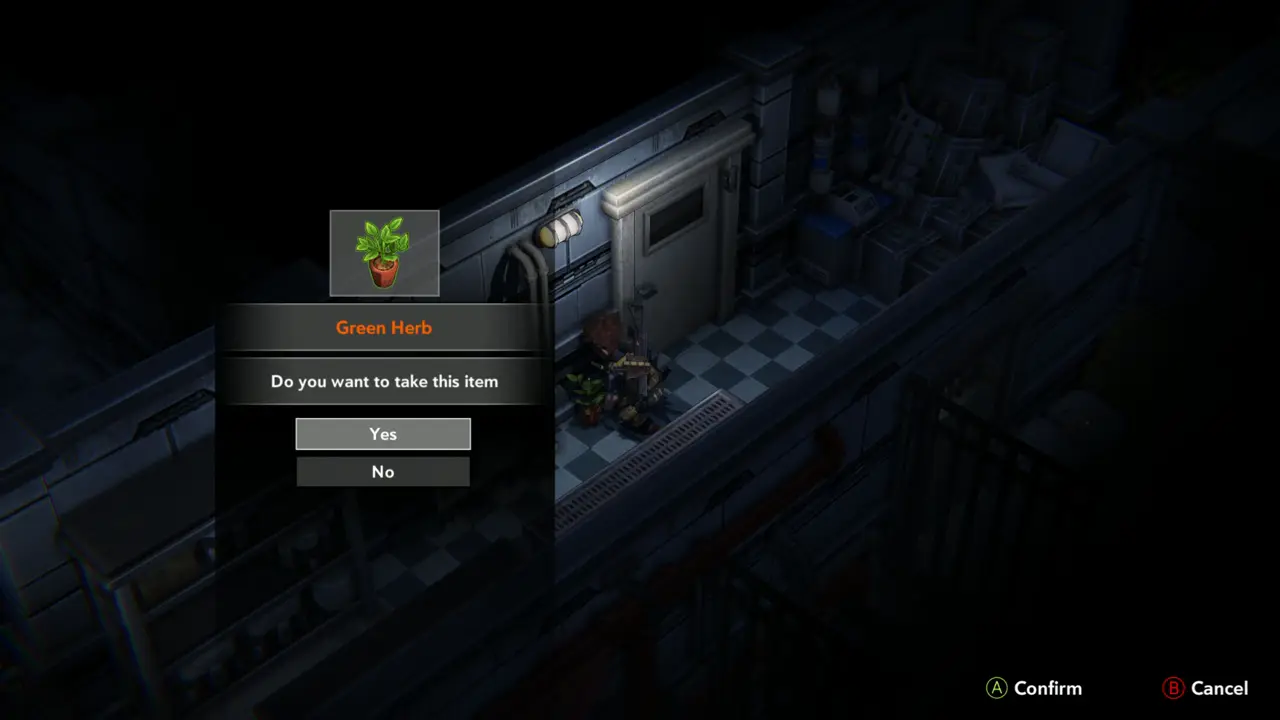
ITEM 100–101 Walk along the wall to the right of the desk and take the Green Herb, then take the Ammo Shells Pile in the corner of the next section.
Green Herb prompt
Green Herb prompt
Ammo Shells Pile prompt
15
Old Building - Lab near the save point
DOOR Examine the door with the yellow plate in the corner of the wall: “Locked, the door has a mark of a golden fish tail.” It needs the Fishtail Key.
Door with golden fish tail mark
The locked door message
16
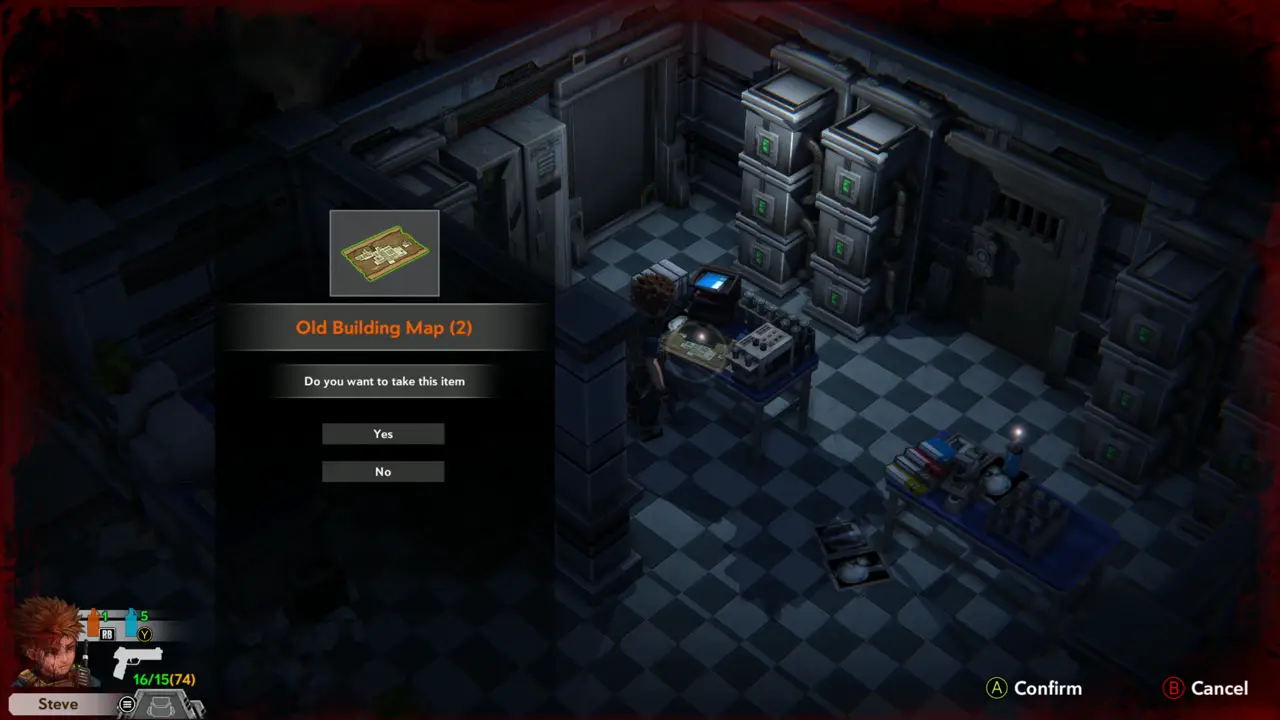
Old Building - Lab near the save point
ITEM 102MAP Go to the blue table with a monitor at the far wall of the next room and take the Old Building Map (2).
Table with the map
Table with the map
Old Building Map (2) prompt
17
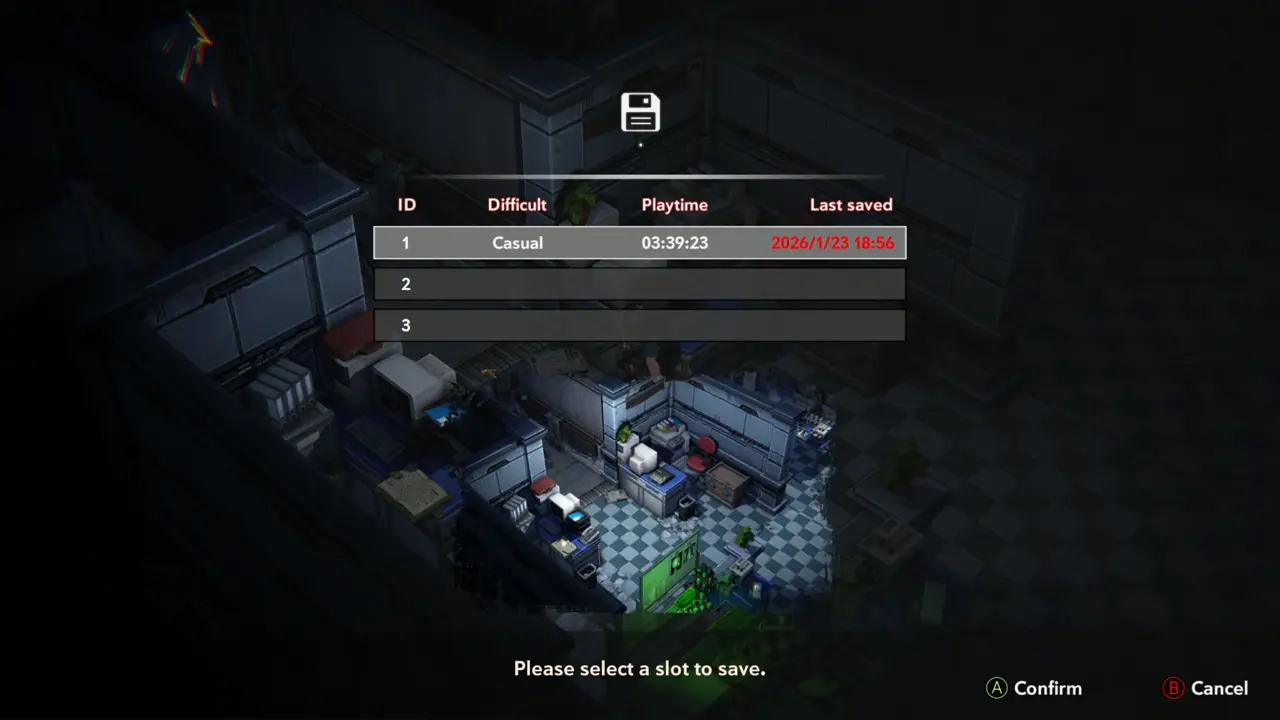
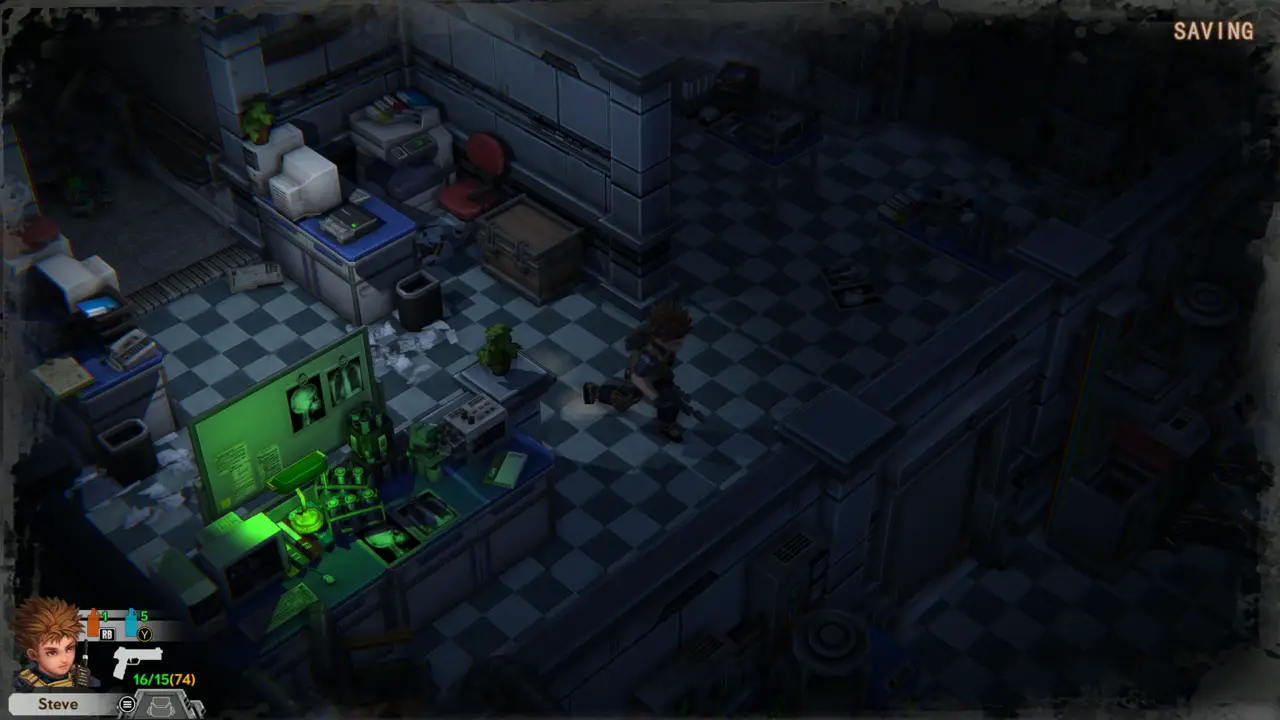
Old Building - Lab near the save point
SAVE 1 Use the save point (floppy terminal) in this lab.
Save slot screen
Save slot screen
Saving
Saving
18
Old Building - Lab near the save point
ITEM 103–104 Use Spore from the inventory on the grenade synthesizers at the machines in the middle of the lab. The Electric Grenade synthesizer gives 2 Electric Grenades per Spore (use it twice) and the Fire Grenade synthesizer gives 2 Fire Grenades. Each Spore is used up, and you must confirm with Yes to take the result.
Electric Grenade x2 prompt
Fire Grenade x2 prompt
19
Old Building - Lab near the save point
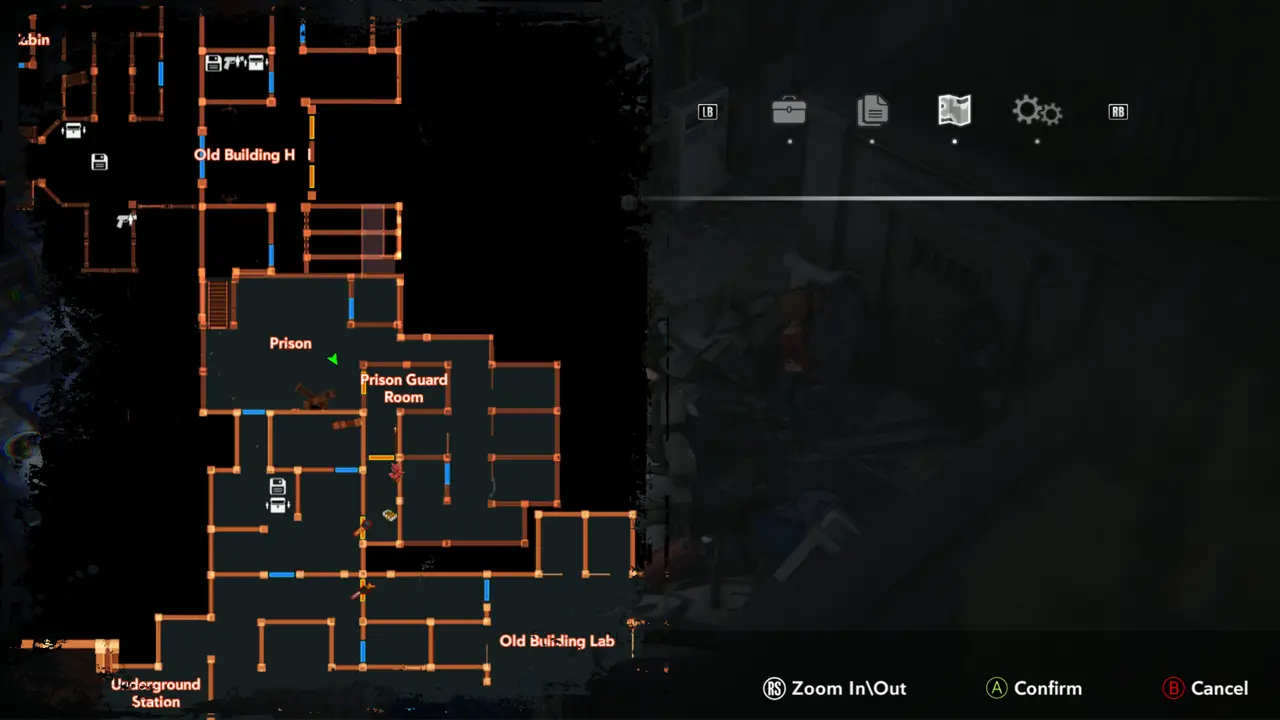
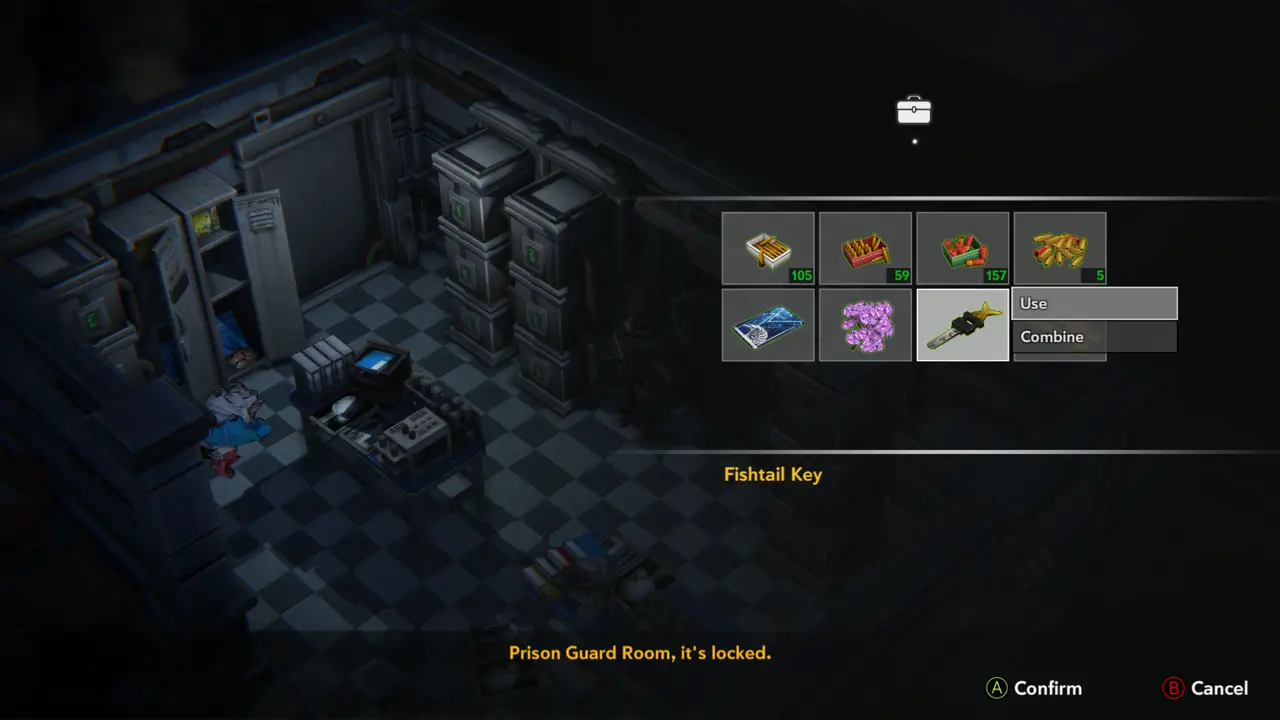
DOOR Try the door of the Prison Guard Room: “Prison Guard Room, it's locked.”
At the Prison Guard Room door
Door message
Door message
20
near the Prison Guard Room - barrel room
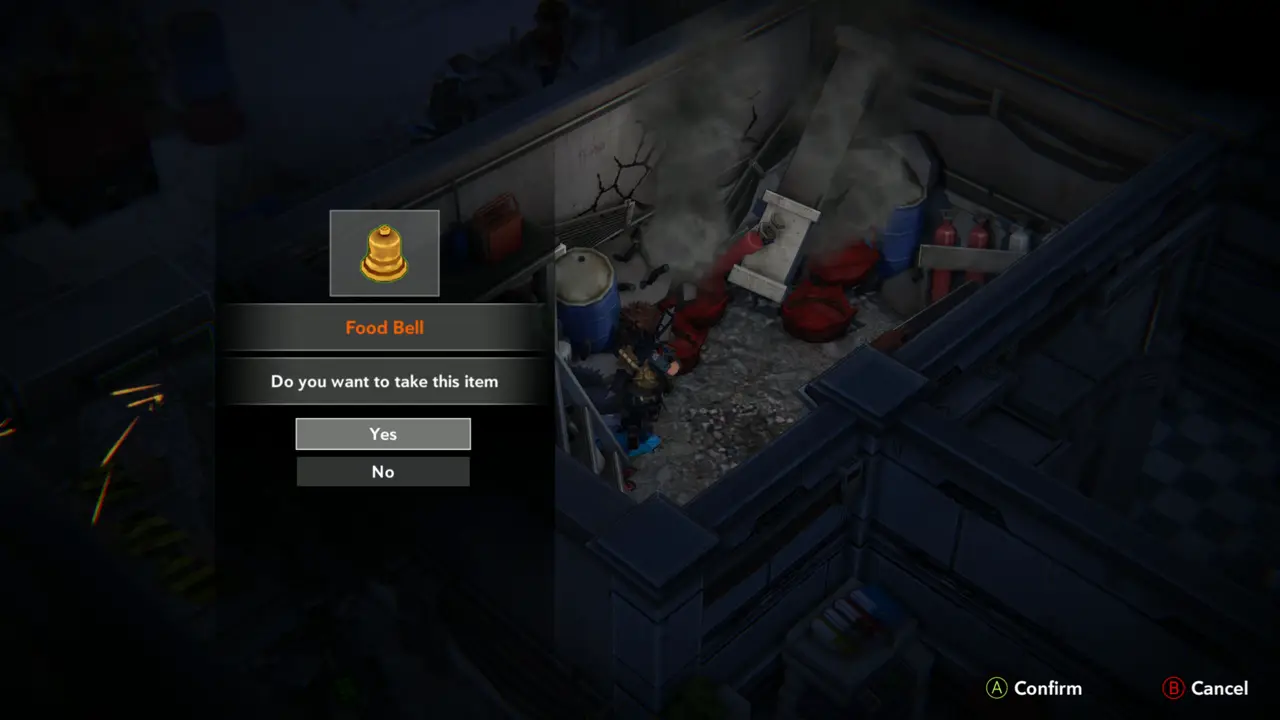
FIGHTITEM 105–106KEY ITEM Enter the small room full of barrels and red gas cylinders (cracked wall at the back). Dog-like monsters attack here: kill them with Electric Grenades and a Fire Grenade. Then take the Food Bell from the floor and the Red Herb at the front corner.
Electric grenade in the barrel room
Food Bell prompt
Food Bell prompt
21
near the Prison - feed trough room
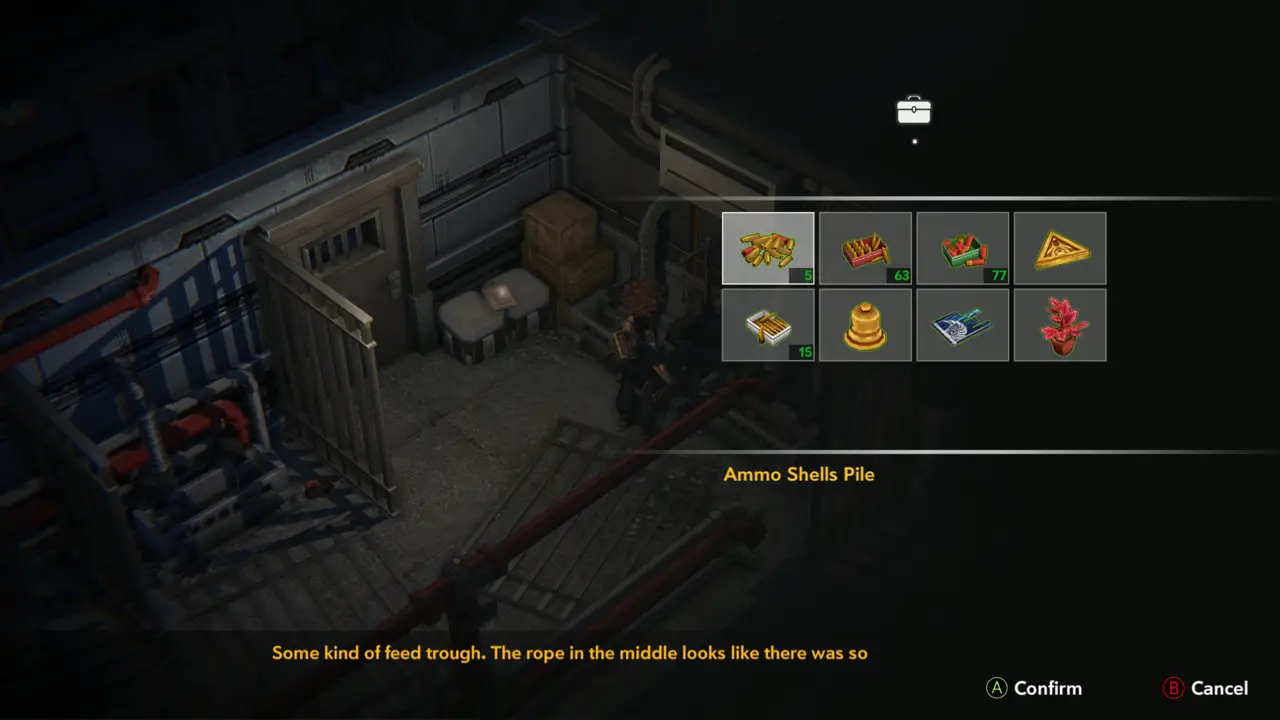
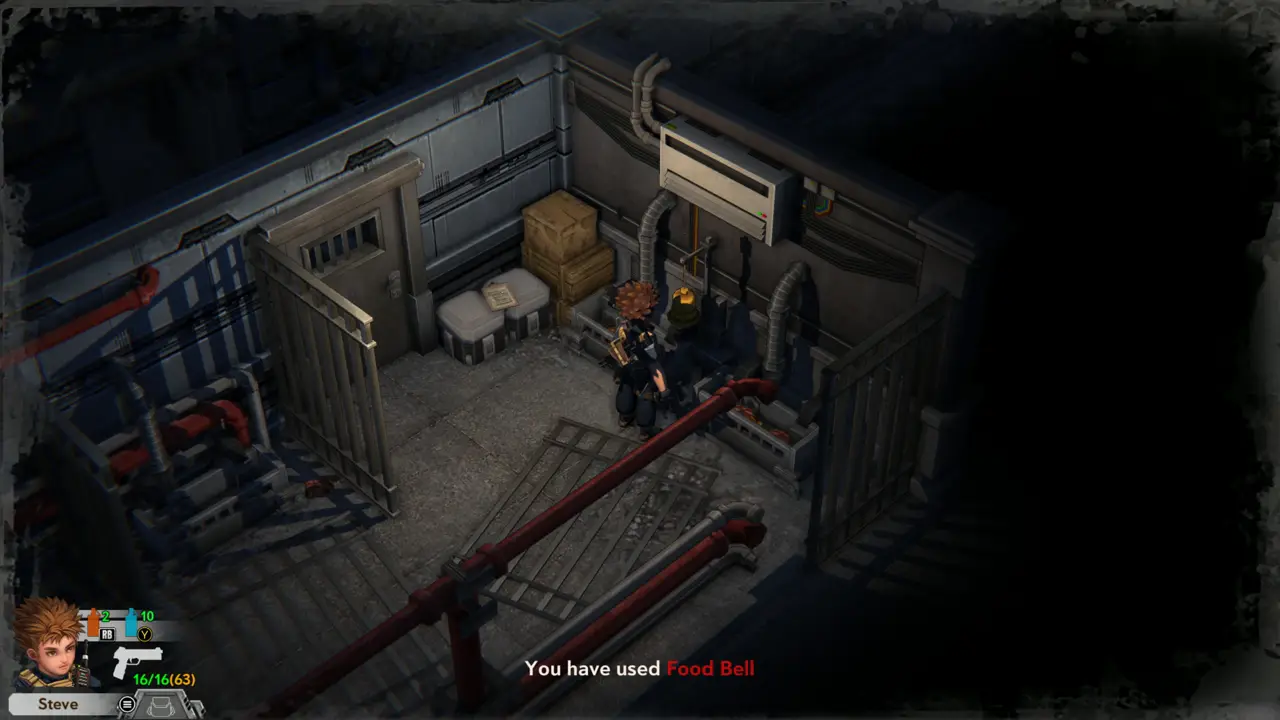
FILE 40PUZZLE 1 Go through the cages along the red railing to the feed trough in the next room: “Some kind of feed trough. The rope in the middle looks like there was something hanging on it.” Use the Food Bell here (“You have used Food Bell”), then take and read Feeder's Note, which says to strike the Food Bell to draw the dog-like monsters.
Feed trough message
Feed trough message
Food Bell used
Food Bell used
22
near the Prison - console room
ITEM 107FIGHT In the room with the green console desks, shoot the infected in the corner, then take the Shotgun Ammo (15) from the body next to the weapon crates.
Explosion kills the infected
Shotgun Ammo x15 prompt
23
near the Prison - console room
WEAPON 10 Take the Gun Barrel Stabilizer from the shelf area with the barrels and cylinders at the end of the room.
Gun Barrel Stabilizer prompt
24
Old Building - Underground Station
FIGHT In the long hall with rails and crates (west of the Feeding Area), a large many-legged creature attacks. Keep moving along the rail and fire at it; it burns when hit by fire.
Creature in the rail hall
Creature burning
Creature burning
25
Old Building - Underground Station
After the fight, take the Green Herb from the red crate by the console. If the game says “Inventory is full!”, eat a Green Herb if hurt and store spare items in the nearby storage box first.
Green Herb prompt
Green Herb prompt
Inventory is full message

Part 10 — Underground Station and the graveyard

In-game goal. Enter the Underground Tomb and find the “Fishtail Key”.
1
Underground Station - save room with storage box
FIGHT Fight the infected that come at you in the cramped storage room. Back up to the corridor wall and shoot each one as it reaches the red crates.
Infected in the storage room
Shooting around the red crates
2
Underground Station - save room with storage box
ITEM 108 Take the Green Herb from the crates by the bed sheet. The objective on the pause screen reads “Enter the Underground Tomb and find the Fishtail Key.”
Green Herb pickup prompt
Current objective on pause screen
3
Underground Station - save room with storage box
SAVE 1 Open the storage box to sort items. It holds Gunpowder A (x2), Half Keycard (left), herbs and the Gun Barrel Stabilizer. Then save at the floppy terminal next to it.
Storage box contents
Save slot screen
Save slot screen
4
Underground Station - corridor beyond the save room
FIGHT Leave the save room and shoot the infected that rush in from the dark left side of the next room as they cross the pipes. This fight can overwhelm you: use the Mixed Powder first (“You have used Mixed Powder”) and clear the room from the aisle between the crates.
Infected rushing in
Infected rushing in
You have used Mixed Powder
5
Underground Station - corridor with red and blue barrels
FIGHT Leave through the right side of the room into the dark metal corridor with the red and blue barrels. A pale infected in a lab coat waits at the barrels: shoot it from range, then clear the second one that follows.
Lab-coat infected at barrels
Barrel corridor fight
6
Underground Station - workshop with gun modding table
WEAPON Continue to the workshop at the end of the corridor. The gun modding table at the bench lets you select a gun or a modding part.
Workshop with modding table
Gun modding table screen
7
Underground Parking Lot
DOOR Step out of the workshop into the Underground Parking Lot. Burning cars and gas fire block the way, so go back to the workshop. You need the Valve to put the fire out.
Burning cars in parking lot
Fire blocks the way
Fire blocks the way
8
Underground Station - save room with storage box
KEY ITEM 12 Open the storage box again. It holds the Small Key, Shotgun Part B, Gunpowder A and herbs.
Storage box open
Storage box open
Small Key description
9
Main Control Room
ITEM 109MAP Enter the Main Control Room, the room full of green monitor racks, and take the Main Control Area Map from the floor. The map shows the room between the Air Chute and the Maintenance Department.
Main Control Area Map prompt
Map: Steve in Main Control Room
10
Main Control Room
NOTE Examine the big control console: “A huge control unit, installed with USB port.” The Small Key does not work on it (“You can not use Small Key”).
Control unit message
You can not use Small Key
11
Main Control Room - air duct with fans
FIGHT Go to the duct with the big fan: “A narrow passage, only a smaller person can squeeze through.” Infected come at you along the fan-lined duct. Shoot them; a grenade clears the group. Take the Ammo Shells Pile lying in the duct.
Narrow passage message
Ammo Shells Pile prompt
12
Underground Station - save room with storage box
KEY ITEM 15KEY ITEM 17 Return to the storage box and take the Golden Triangle Plate (“A triangle metal plate, engraved with metal textures.”). The box also holds Painkiller (x2) and Half Keycard (left).
Storage box list
Storage box list
Golden Triangle Plate description
13
Underground Station - workshop with gun modding table
PUZZLE 1KEY ITEM 7 At the green machine with the triangle symbol on the left of the workshop, use the Golden Square Plate (“You have used Golden Square Plate”). Sparks fly from the machine.
Triangle-symbol machine
You have used Golden Square Plate
14
Underground Parking Lot
PUZZLE 2DOORKEY ITEM 11 Go back out to the parking lot and use the Valve on the pipe beside the burning wreck (“You have used Valve”). The flames stop and white steam comes out of the pipe. Walk past the red pickup truck and the white van and leave through the far side of the lot.
You have used Valve
You have used Valve
Flames put out, steam
15
Outdoors - garden near the tomb
FIGHT Step outside into the walled garden lit by a street lamp. Cross it to the projector and kill the infected between the folding chairs.
Garden with street lamp
Infected among chairs
16
Outdoors - graveyard path
FIGHT Follow the stone path under the trees and shoot the infected on it. A crate stack with a red case sits by the lamp post at the end of the path.
Stone path in the trees
Crates by the lamp post
17
Outdoors - graveyard
PUZZLE 3KEY ITEM 17 At the triangle groove in the small walled grave plot, use the Golden Triangle Plate (“You have used Golden Triangle Plate”).
You have used Golden Triangle Plate
Plate placed in the groove
18
Outdoors - graveyard
ITEM 111–113 Take the Gunpowder A by the grave beds, then the Red Herb and the Green Herb in the planted bed beside the fence, next to the street lamp.
Gunpowder A prompt
Gunpowder A prompt
Red Herb prompt
Red Herb prompt
19
Outdoors - graveyard
FIGHT Clear the red infected between the angel statues. A grenade blast takes out the group at the stone posts.
Infected at the statues
Grenade blast on the group
20
Outdoors - graveyard
PUZZLE 4NOTE Read the two inscriptions on the statue pedestals. First: “Four swords point to the desire, four Goddesses spread their wings and chant: The final curtain of destiny shall rise, the dark tomb's dust shall fly.” Second: “Goddess of Feather gazes upon Stone of Flame; Goddess of Leaf points sword towards the back of the adjacent, the wheel of destiny shall spin again.”
Inscription on the pedestal
Inscription: Goddess of Feather
21
Outdoors - graveyard
ITEM 114 Take the Fire Grenade from the yellow bench seats at the fence, beside the steaming pedestal.
Pedestal with steam
Pedestal with steam
Fire Grenade prompt
Fire Grenade prompt
22
Cemetery
MAP Open the map: you are in the north part of the Cemetery, above the Caretaker's Dorm. The Pool, Power Switch Room, Storage, Graveyard and Wood Cabin lie to the south and west.
Map: Steve in the Cemetery
23
near the electrified pool, locker room door
DOOR Try the wooden door marked with a golden fish tail near the electrified pool: “Locked, the door has a mark of a golden fish tail.” The Small Key does not fit (“You can not use Small Key”).
Locked fish-tail door message
Can not use Small Key
24
near the electrified pool, locker room door
CODE 7DOORSAVE 2 Use the keypad terminal beside the barred gate and type 1991, then confirm. The door opens and the game saves (“SAVING”) as you enter the locker room beside the pool.
Entering the code on the keypad
Keypad with 1991 entered
25
near the electrified pool, locker room
FIGHT Fight the infected in the locker room: they come from beside the lockers and along the pool edge. Switch from the pistol to the shotgun, and use a Painkiller (“You have used Painkiller”) when hurt.
Infected near the lockers
Shotgun fire at the lockers

Part 11 — Underground Tomb

In-game goal. Enter the Underground Tomb and find the “Fishtail Key”. Then: explore the Old Lab Building and find Botany Lab.
1
Pool - locker room
ITEM 115–116 Search the lockers beside the electrified pool: take the Gunpowder B, then Pistol Ammo (18) from the next locker. After the fight with the creatures among the lockers, heal from the pause menu with a Painkiller if you are hurt.
Gunpowder B prompt
Gunpowder B prompt
Pistol Ammo (18) prompt
2
Pool - outside the locker room
ITEM 116–118 Walk out past the grave crosses and the wheelbarrow. Take Service Pistol Ammo (10), then the Ammo Shells Pile from the crates on the brown floor.
Service Pistol Ammo (10) prompt
Ammo Shells Pile prompt
3
Pool - near the electrified pool
When the game shows “Inventory is full!”, open the inventory, select Gunpowder C and choose Combine (“Choose an item to combine”) to free a slot.
Inventory is full message
Inventory with objective
4
near the locked fish-tail door
DOORKEY ITEM 19 Examine the door in the red wooden frame beside the lit wall lamp: “Locked, the door has a mark of a golden fish tail.” You need the Fishtail Key to open it.
Door beside the wall lamp
Golden fish tail door text
5
near the locked fish-tail door
SAVE 1 Open the storage box and put the Painkiller into it. Then go to the workbench desk with the tool board and save the game.
Storage box list
Storage box list
SAVING beside the workbench
6
near the chandelier hall
NOTE Go on through the hall with the chandelier and the planters and examine the stone base: “What is this? A base for a spotlight?” Then step outside to the Graveyard gate between the two lamp posts.
Hall with the chandelier
Spotlight base text
Spotlight base text
7
Cemetery
FIGHTMAP Follow the lamp-lit path into the Cemetery. Cross the graves past the angel statues and the steaming vents, kill the creatures in the way and press on toward the pine trees at the far wall.
Lamp-lit path into the Cemetery
Cemetery statues and vent
8
Underground Tomb entrance
ITEM 119FIGHT Behind the pine trees, climb onto the stone wall of the Underground Tomb entrance and take the Electric Grenade lying on the body bag. Drop into the narrow corridor lined with body bags and shoot the creatures that come at you.
Electric Grenade prompt
Creatures in the body bag corridor
9
Underground Tomb - body bag corridor
FILE Pick up the paper on the floor and read Wright's Diary 6.
Wright's Diary 6 prompt
Wright's Diary 6 page
10
Underground Tomb - workbench room
ITEM 120MAPWEAPON Go to the small room with the shelves and the desk. Open the gun modding table (“Gun modding table: Select a gun or a modding part”), then take the Underground Tomb Map from the desk.
Workbench room
Workbench room
Gun modding table screen
11
Underground Tomb
MAPSAVE 2 Open the map. Steve is in the west part of the Underground Tomb. A save point with a storage box is in the small room at the west end, another save point with a box is in the middle, and the Incineration Room lies at the top.
Underground Tomb map
12
Underground Tomb - cell behind the body bags
ITEM 121DOOR In the cell behind the body bags take the Shotgun Ammo (15). The barred door here is locked: “Locked from the inside.”
Shotgun Ammo (15) prompt
Locked from the inside
13
Underground Tomb - corridor with the fence
FIGHT Walk the long corridor along the fence with the red laser line and the spinning gear. A group of zombies attacks beside the burning crates: stop and kill them all before moving on.
Zombies at the crates
Zombies killed
Zombies killed
14
Underground Tomb
SAVE 3 Go to the west save room. Save at the desk, open the storage box (Shotgun Part B, Service Pistol Ammo, Gunpowder A, Green Herb and more are listed) and combine Gunpowder A (“Choose an item to combine”).
SAVING in the save room
Storage box list
Storage box list
15
Underground Tomb - corridor
WEAPON 11 Take the Meteorite-I Service Pistol from beside the pillar in the fenced corridor. Open the inventory and choose Equip to slot 1: “You have equipped Meteorite-I Service Pistol”.
Meteorite-I Service Pistol prompt
Equip to menu
Equip to menu
16
Underground Tomb - save room
WEAPON 5WEAPON 7WEAPON 9WEAPON 11 At the gun modding table, apply the General Gun Sight (“Enhance weak point aiming speed”) to the Meteorite-I Service Pistol. The General Shock Absorber (“Increase fire rate”) does not fit it: “Invalid modding part!”. The Balefire-I Shotgun already has the same modding part installed.
Invalid modding part message
Gun Sight installed
Gun Sight installed
17
Underground Tomb - saw and laser corridor
NOTEMAP The saw corridor kills you if you rush: run between the spinning blades and stop before each red laser beam. The Incineration Room lies to the north; a storage box and save point sit just south of it, with another pair at the west end.
Red laser across the corridor
Saw blades and laser ahead
18
Underground Tomb - near the corridor of saws
FILENOTE Take Wright's Diary 7 from beside the green-lit wall panel (“Do you want to read this file”, Yes). It warns about a clawed mutant with metal hooks on its back and says the giant eyeball on its back is its weak point.
Wright's Diary 7 prompt
Wright's Diary 7 text
19
Underground Tomb - Incineration Room
BOSSFIGHT Step into the Incineration Room and fight the blue armoured mutant with claws and hooks on its back. Keep your distance, run around the room and shoot the glowing eyeball on its back until the mutant collapses near the burning grates. If it catches you, you die.
Shooting the mutant
Shooting the mutant
Mutant dead on the floor
20
Underground Tomb - Incineration Room
KEY ITEM 12KEY ITEM 19MAP Walk into the alcove at the room's edge and take the Small Key (“Do you want to take this item”, Yes). The objective is still “Enter the Underground Tomb and find the ‘Fishtail Key’”. The map shows a storage box on the east side of the Incineration Room and a save point and storage box just south of it.
Small Key prompt
Small Key prompt
Objective and inventory
21
Underground Tomb - near the Incineration Room
KEY ITEM 12WEAPON 2 If the game says “Inventory is full!”, eat a Green Herb if you are hurt and go to the nearby storage box beside the garment bags to store items. The box holds ammo stacks, the Small Key, Breeze-I Pistol, Shotgun Part B, Gunpowder A, Green Herbs and more.
Inventory is full message
Storage box contents
22
Underground Tomb - saw and laser corridor
KEY ITEM 18NOTE Cross the saw corridor again: the trap explosion and the lasers kill you if you rush. Past the saws, take the Half Keycard (right) at the blood stain (“Do you want to take this item”, Yes). A little further take Service Pistol Ammo x10 from the stone ledge between the torches.
Half Keycard (right) prompt
Service Pistol Ammo x10 prompt
23
Underground Tomb - torch-lit courtyard
KEY ITEM 19 Take the Fishtail Key in the courtyard lit by four torches (“Do you want to take this item”, Yes). The objective changes to “Explore the Old Lab Building and find Botany Lab”.
Fishtail Key prompt
Fishtail Key prompt
New objective
New objective
24
Underground Tomb - dark coffin alcove
ITEM 123 Take the Flower (purple) from the dark alcove. If the game answers “Inventory is full!”, free a slot at the storage box first.
Flower prompt
Flower prompt
Inventory is full message
25
Underground Tomb - storage box
KEY ITEM 12KEY ITEM 15KEY ITEM 19WEAPONSAVE 4 Return to the storage box and put items away; it now lists the Fishtail Key, two Small Keys and the Half Keycard (left) and (right) (“Half of an advanced keycard”). Use the gun modding table beside it (Modify and Disassemble options) if needed, then save at the save point next to the box.
Storage with Half Keycard (right)
SAVING at save point
26
Graveyard outside the Underground Tomb
NOTE Leave the tomb into the graveyard. Follow the path past the crates and the red container, then through the hedged graves, down toward the burning cars and the Research Institute building.
Graveyard gate
Graveyard gate
Crates and red container
27
Near Mountain Tunnel
MAPNOTE Open the map: Steve is west of the Observation Deck, near Mountain Tunnel. The objective is “Explore the Old Lab Building and find Botany Lab”. Walk along the wall marked “Research Institute” to the lawn with party banners and tables.
Map near Mountain Tunnel
Lawn with party banners
28
Underground Tomb - storage box
KEY ITEM 15KEY ITEM 18KEY ITEM 20 Open the storage box and take both the Half Keycard (left) and the Half Keycard (right) into your inventory. Open the pause menu, choose Combine and pick the two halves: a sparkle plays and they merge into one keycard, the Retrieval Team Keycard.
Combining the two keycard halves
29
Courtyard in front of the Research Institute wall
KEY ITEM 20DOOR In the courtyard in front of the wall lettered “RESEARCH INSTITUTE”, use the Retrieval Team Keycard on the Nautilus special force’s supply cache: “You have used Retrieval Team Keycard”. Take the 17 Shotgun Ammo from it. The same card opens every Nautilus supply cache from here on.
Keycard used on the supply cache
Shotgun Ammo prompt
Shotgun Ammo prompt

Part 12 — Old Building: garden, office and lab

In-game goal. Explore the Old Lab Building and find Botany Lab.
1
Outdoor garden near New Building Hall
MAP Open the map: the green arrow is in the garden south-west of the Shooting Range, below New Building Hall. The Current Objective is “Explore the Old Lab Building and find Botany Lab”.
Map: Steve south-west of Shooting Range
Current Objective on pause screen
2
Garden - Supply cache by the red gates
ITEM 124DOOR Go to the dark supply cache beside the blue trash bins next to the open red gates. It needs the Retrieval Team Keycard (“Nautilus special force's supply cache. You need the keycard to open it.”). Use the card and take the Service Pistol Ammo x10.
Cache locked: needs the keycard
Keycard used on the cache
3
Garden - Supply cache by the red gates
KEY ITEM 19 Open the storage chest in the garden and take the Fishtail Key into your inventory.
Storage chest list
Storage chest list
Fishtail Key selected in chest
4
Chandelier hall
NOTEPUZZLE 1 In the hall with the two golden chandeliers and red carpet, examine the stand on the floor: “What is this? A base for a spotlight?”. Then examine the red round medallion on the wall: “Looks like there used to be some sort of ornament here.” Come back with the High-power Spotlight.
Hall with chandeliers
Red medallion on the wall
5
Old Building Administrative Office corridor
DOORKEY ITEM 19 Go to the door marked with a golden fish tail (“Locked, the door has a mark of a golden fish tail.”). Use the Fishtail Key (“You have used Fishtail Key”) to enter the water-cooler office.
Locked fish tail door message
Fishtail Key used
Fishtail Key used
6
Old Building Administrative Office
FILEPUZZLE 2 Read Dick's Diary 3 on the low table in front of the black sofa. It points to number graffiti in the men's restroom: the numbers are almost the same as the natatorium passcode, except the third digit, which is too small.
Dick's Diary 3 prompt
Dick's Diary 3 full text
7
Old Building Administrative Office
ITEM 125–126 Take Gunpowder A beside the table, then the Electric Grenade x2 next to it.
Gunpowder A prompt
Gunpowder A prompt
Electric Grenade x2 prompt
8
Storage
ITEM 127 In the crate-filled room next to the office, take the Wooden Plank from the crates.
Wooden Plank prompt
Wooden Plank prompt
Crate room
Crate room
9
Old Building Administrative Office - Men's restroom
PUZZLE 3NOTE Enter the men's restroom behind the office. Green fluorescent graffiti on the stall wall reads 1 9 8 1, with the third digit (8) drawn smaller. Per Dick's Diary 3 that digit differs from the natatorium passcode, so the pool code is 1 9 9 1.
Graffiti 1 9 8 1
Graffiti 1 9 8 1
Graffiti from higher angle
10
Prison
ITEM 128DOOR In the Prison, go to the second supply cache by the blue bins under the stairs (“Nautilus special force's supply cache. You need the keycard to open it.”). Use the Retrieval Team Keycard and take the Fire Grenade.
Cache with keycard message
Keycard used
Keycard used
11
Prison
NOTEKEY ITEM 21 Talk to Kay by the rubble and press X to Exchange. The trade list: Green Herb for Pistol Ammo x6, Red Herb for Submachine Gun Ammo x5, and the Prison Guard Key (“You do not have this item yet”). Kay says you can hand her the Prison Guard Key if you find it.
Exchange list
Exchange list
Kay dialogue
Kay dialogue
12
Prison Guard Room door
DOOR Try the door of the Prison Guard Room: “Prison Guard Room, it's locked.” The Fishtail Key does not open it.
Map: Prison and Prison Guard Room
Locked message with Fishtail Key
13
Old Building Lab
DOORKEY ITEM 19 In the Old Building Lab, go to the door with the golden fish tail mark (“Locked, the door has a mark of a golden fish tail.”). Use the Fishtail Key (“You have used Fishtail Key”). Behind it a green laser line crosses the checkered corridor, with a hazard-striped cage gate at the end.
Fish tail door
Fish tail door
Key used
Key used
14
Old Building Lab - beyond fish tail door
FIGHT In the large lab with red pipes and a cage, a humanoid enemy with a red target ring stands in a doorway. It kills you if you walk in unprepared, so deal with it before entering.
Lab hall with body
Lab hall with body
Humanoid in doorway
Humanoid in doorway
15
Old Building - concrete yard below the stairs (near the red crates and blue barrel)
ITEM 133DOORFIGHT Kill the lab-coat infected on the way, then examine the dark crate to the left of the red crates (“Nautilus special force's supply cache. You need the keycard to open it.”). Use the Retrieval Team Keycard on it and take the Fire Grenades.
Cache needs the keycard
Keycard used on the cache
16
Old Building Lab - office with the green computer desk
SAVE 1 Go through the doorway at the right of the yard into the lab office. Use the green glowing computer desk to save the game.
Office with green computer desk
SAVING shown top right
17
Old Building Lab
ITEM 134FIGHT At the grey lockers in the corridor next to the red laser fence, take the Submachine Gun Ammo. The red laser grid in front of the gun on the floor is a security trap, and an infected lab worker stands by the cylinder to the right.
Lockers beside laser fence
Ammo spot in front of Steve
18
Old Building Lab
ITEM 135 At the grey locker stack beside the metal fence, take the Gunpowder B.
Gunpowder B pickup prompt
19
Old Building Lab - lab room with the glowing green table
FILE 46NOTE In the room with the big green glowing table and the tank with the creature inside, pick up and read the Researcher's Note on the desk at the right. It says electric shock loosens hard exoskeletons.
Researcher's Note pickup
Researcher's Note text
20
Old Building Lab - lab room with the glowing green table
ITEM 136PUZZLE 4KEY ITEM 21 Open the white container on the floor at the right of the room and take the 2 Electric Grenades. Examine the infected body in the glass tank (“The exoskeleton of this body is extremely hard, there seems something inside.”), step back and throw an Electric Grenade at the tank, then examine it again to take the Prison Guard Key.
Electric Grenade x2 prompt
Electric Grenade zaps the tank
21
Old Building Lab - save room
SAVE 2DOORKEY ITEM 21 Save the game at the save point in the checkered-floor lab room, then walk to the barred gate on the east side of the room. Use the Prison Guard Key on the gate (“You have used Prison Guard Key”).
Saving in the lab room
Prison Guard Key used on gate
22
Prison
ITEM 137 Take the Red Herb from the supplies stacked in the nook behind the gate (crates and cases against the back wall).
Supply nook behind the gate
23
Prison
NOTE Talk to Kay (the survivor in the red jacket) at the cell door on the east side of the Prison. She asks whether you are the Steve her friend Iris mentioned; Steve cannot remember much and says it may be a side effect of the Hibernation Chamber. Kay tells him to deal with Alexander's requests first, so that his memories may come back.
Kay stands by the cell door
Kay mentions Iris
Kay mentions Iris
24
Prison
MAP The Current Objective is still “Explore the Old Lab Building and find Botany Lab”. Open the map and head north out of the Prison, past Old Building H, toward the Power Switch Room and the Pool, which is at the top of the map with the Storage room below it.
Map: Prison and Old Building Lab
Map: Pool, Power Switch Room
25
Pool
PUZZLE 5 The Pool floor is electrified (blue sparks in the water). Stand at the top of the steps and use a Wooden Plank on the water (“It looks like you can put something on it”, then “You have used Wooden Plank”). The planks cover the water so you can cross.
Electrified water at the stairs
Wooden Plank used
Wooden Plank used
26
Wood-floor room next to the Pool
KEY ITEM 22 Open the grey locker against the back wall of the wood-floored room with the water cooler and cabinets, and take the High-power Spotlight.
Grey locker with the prompt icon
High-power Spotlight prompt
27
Pool
ITEM 140 Cross the planks over the Pool to the far end and take the purple Flower floating in the water. If “Inventory is full!” appears, free a slot first: open the storage chest at the desk in the green-walled room and store spare items there.
Flower prompt in the Pool
Item storage box open
28
Chandelier hall near Old Building Hall
PUZZLE 6 In the hall with the large chandelier, place the High-power Spotlight on its base in front of the stone wall panel (“You have used High-power Spotlight”). The lamp lights the golden leaf on the pedestal in front of the panel.
Inspecting the Spotlight in inventory
Spotlight placed in the hall
29
Chandelier hall near Old Building Hall
FIGHT Two zombies attack from the left side of the hall while the lamp is lit. Shoot them from the red carpet, then go out through the double doors into the stone courtyard.
Zombies reach the lamp
Courtyard after the fight
30
Courtyard
SAVE 3 Save the game in the courtyard with the stacked crates and the red generator, then go back inside.
Saving in the courtyard
Courtyard crates and lamp
31
Chandelier hall near Old Building Hall
PUZZLE 7DOOR Interact with the golden leaf on its pedestal to turn it one step at a time and change the shadow it casts on the white panel. The shadow cycles through leaf and feather shapes, and touching the leaf shocks you. Keep turning it until the shadow is a flame (tip towards the upper left), the same flame shown on the plaques of the two bust pedestals; this takes about eight presses. White smoke puffs from the wall to the right of the panel and the wall opens: walk through the gap to the red-carpet stairs of the Old Building main hall.
Steve shocked at the leaf
Flame shadow on the panel
Wall opening
Wall opening
Stairs of the main hall
32
Hospital bedroom
ITEM 141 Walk through the hospital bedroom with two beds and the green chair and take the Ammo Shells Pile.
Hospital bedroom
Hospital bedroom
Steve beside the beds
33
Old Building Hall
MAPITEM 142 On the small table at the foot of the stairs next to the winged statue, take the Old Building Map (3). Open the map to see the Management Office, Medical Department and Old Office.
Table by the stairs
Table by the stairs
Old Building Map (3) prompt
34
Old Building Hall
FILE 47NOTE Read the note pinned beside the stairs, “Vine Horror-Robert's log 6”: regular weapons cannot penetrate the vine armor of the infected, but the vines are extremely flammable, so Fire Grenades work well against them.
Steve at the table by the note
Vine Horror log 6
Vine Horror log 6
35
Old Building Hall
FIGHT Zombies come down the carpeted stairs from the upper floor. Shoot them from the foot of the stairs, then climb to the upper corridor.
Zombie on the stairs
Targeting a zombie on the landing
36
Upper corridor over Old Building Hall
ITEM 143 Walk along the upper corridor with the framed paintings and lamps. Press the button at the grey equipment box to get 2 Fire Grenades (the count goes from 3 to 5).
Corridor with paintings and lamps
Confirm prompt at the box
37
Upper corridor over Old Building Hall
SAVE 4FIGHT Save the game at the end of the corridor and clear the zombie that comes along the walkway at the right.
Saving in the corridor
Zombie on the walkway
38
Corridor near blue barrels
DOORFIGHT The keypad door in the corridor with the blue barrels needs a 4-digit code. You do not have it yet, so come back once you find it. Zombies come from the far end of the corridor.
Fight before the keypad
Empty keypad overlay
39
Management Office area (map shows Steve south of the Management Office label)
ITEM 144DOOR Use the Retrieval Team Keycard on the supply cache (“You have used Retrieval Team Keycard”) and take the Fire Grenade x3.
Fire Grenade x3 prompt
Map: Management Office area
40
Office with whiteboard reading 2013
FIGHTNOTE Enter the large office with the green desk lamps, the whiteboard reading “2013” and the printers. Zombies in lab coats attack here: shoot the one in front of the whiteboard first, then the two near the left desk.
Office with the board
Fighting at the left desk
41
Office with whiteboard reading 2013
NOTE The floor near the right desk is electrified (blue sparks) and hurts you, so cross it quickly and take the items at the desks. If “Inventory is full!” appears, open the chest at the white machine on the left of the room and store items.
Sparks around Steve
Sparks around Steve
Inventory is full message

Part 13 — Management Office and Medical Department

1
Management Office - Whiteboard Office
FIGHTPUZZLE 1 Shoot the zombie in the whiteboard office. The whiteboard on wheels in the right half of the room reads 2013, but typing 2013 at the keypad beside the printers gives “Invalid password!”; 2013 is not the code.
Whiteboard reads 2013
Invalid password message
2
Management Office - Glass Side Office (green desk lamp)
ITEM 146 Take the Lighter from the desk with the green lamp in the glass side office, the room with the sofa and the purple flowers on the small table.
Lighter pickup prompt
3
Management Office - Glass Side Office (green desk lamp)
PUZZLE 2 Examine the small table beside the sofa: “An empty vase.” Open the inventory and use the Flower on the vase: “You have used Flower”. Smoke clears in the corner room behind the side office and its chest opens.
Empty vase text
Empty vase text
Smoke around the corner chest
4
Management Office - Balcony with water jugs
CODEDOORITEM 147 On the balcony above the whiteboard office, a keypad on the wall beside the white door takes a 4-digit code. Take the Wooden Plank from the balcony floor by the chairs next to the white door.
Balcony keypad
Balcony keypad
Wooden Plank prompt
Wooden Plank prompt
5
Management Office - Whiteboard Office
CODE 9PUZZLE 3 In the whiteboard office when it is dark, two digits on the board glow green: 6 and 7. The board therefore reads 2617. Enter 2617 at the keypad beside the printers.
Board glows 2 6 1 7
Board glows 2 6 1 7
Keypad with digits typed
6
Management Office - Modding table room
WEAPON 2WEAPON 6–8WEAPON 10SAVE 1 Go down the stairs past the chandeliers to the room with the gun modding table and the storage box. Open the table and install the Gun Barrel Stabilizer on the Balefire-I Shotgun; the Enhanced Magazine is already fitted. Storm-I Submachine Gun and Breeze-I Pistol answer “It's already installed with the same modding part!” for the magazine. Leave the table to trigger “SAVING”.
Gun modding table menu
SAVING message
SAVING message
7
near the office with the cork board
ITEM 148DOOR In the small office with the cork board and the trash can, open the chest and take the Gunpowder A. The white panel in front of the desk reads “Makeshift barricades. A shotgun can easily break it apart.” Come back with the Balefire-I Shotgun.
Gunpowder A prompt
Gunpowder A prompt
Barricade message
Barricade message
8
near the hospital ward
ITEM 149FIGHT In the hospital ward, take the Ammo Shells Pile beside the beds. Shoot the two zombies that come up the hall and the others in the ward with the pistol.
Ammo Shells Pile prompt
Zombies on the hall
Zombies on the hall
9
Medical Department
ITEM 150FILE 48MAP In the Medical Department, above the Old Office and south of the Management Office, take the Painkiller from the room with the monitor and the cabinet. Read Tormentor-Robert's log 9: Tormentors have no weakness, but after continuous damage they expose a weak point (bulging eye or exposed brain).
Painkiller prompt
Painkiller prompt
Tormentor-Robert's log 9
10
Medical Department
FILE 49 Take and read Hoffman's Diary 1 from the desk against the wall with the candle lamp.
Hoffman's Diary 1 prompt
Hoffman's Diary 1 text
11
Medical Department
WEAPON 7WEAPON 12 Open the chest under the candle lamp in the corner and take the Muzzle Enhancer. It increases damage and is not compatible with the Balefire-I Shotgun.
Muzzle Enhancer prompt
Muzzle Enhancer description
12
Management Office - Study with desk and gears
FILE 50 In the study with the desk lamp, bookshelves and gear wall (north rooms of the Management Office, below the Cable Car Station), read Dick's Diary 2 (Old Building Administrative Office) from the desk.
Dick's Diary 2 prompt
Dick's Diary 2 text
Dick's Diary 2 text
13
Management Office - Study with desk and gears
FILE 51 Read Dick's Diary 1 (Old Building Administrative Office) from the same desk. It mentions the natatorium being turned into an express transport passage and the Equatorial Virus.
Dick's Diary 1 prompt
Dick's Diary 1 text
Dick's Diary 1 text
14
Management Office - Study with desk and gears
FILE 52 On the shelf left of the coffee machine, read Caretaker's Diary 2 (page title Grave Keeper's Diary 2). It says the subject is buried among the trees near the cabin under a tombstone.
Caretaker's Diary 2 prompt
Grave Keeper's Diary 2 text
15
Management Office - Study with desk and gears
ITEM 151–152 Take the Gunpowder D from the shelf and the Portable Shovel leaning in the corner next to it.
Gunpowder D prompt
Gunpowder D prompt
Portable Shovel prompt
16
Management Office - Study with desk and gears
PUZZLE 4 Examine the lampstand at the desk: “An old-fashioned lampstand with half a candle stands on it.” Use the Lighter on it: “You have used Lighter”. Smoke rises and the gear wall opens a new passage.
Lampstand description
You have used Lighter
17
Management Office - Statue room (behind the gear wall)
ITEM 153 Go through the passage into the room with the statues and framed pictures and take the Deer Head Wall Mount from the wall.
Deer Head Wall Mount prompt
18
Management Office
CODE 8PUZZLE 5 Walk through the dark hall to the stairs. The numbers 2, 8, 9 and 1 are painted on the wooden wall panel beside the stairs and read 2891.
2891 on the wall
2891 on the wall
19
Management Office - Machine room
CODE 8ITEM 154KEY ITEM 24 At the keypad in the machine room, type 2891. The bed machine opens and shows a glowing Catalysts. Take it: if the game says “Inventory is full!”, free a slot (use the storage box) and take it again. Catalysts: “Bio-enzyme for catalyzation. Simple mixing of the enzymes can reactivate the 'Mitotic Inhibitor'.”
Keypad with 2891
Keypad with 2891
Catalysts being picked up
20
Old Building - near Old Building Hall (workbench room beside the leaf statue hall)
SAVE 2WEAPON In the small workbench room with the glowing table beside the leaf statue hall, save the game in a free slot (“Please select a slot to save.”). The same table opens the gun modding screen.
Workbench room
Workbench room
Save slot screen
Save slot screen
21
Old Building - near Old Building Hall
MAPNOTE The corridor just east of Old Building Hall is next to Prison and Medical Department. The wooden wall with the round gold frame is missing an ornament; the Deer Head Wall Mount does not fit it yet.
Map: east of Old Building Hall
Deer Head Wall Mount text
22
Old Building - near Old Building Hall
KEY ITEM 20NOTE Keep the Retrieval Team Keycard: it opens the Nautilus supply caches in the Old Building.
Retrieval Team Keycard in inventory
23
Old Building - near Old Building Hall (corridor with the floor hole)
NOTE Walk the corridor with red pipes and a spark-shooting machine to the gap in the floor: “There's a giant hole on the floor, seems like it is under repairmen”. You need a plank to cross.
Corridor with sparking machine
Giant hole message
Giant hole message
24
Old Building - near Old Building Hall (dark room beside the hole corridor)
FILE 53 In the dark room beside the hole corridor, take Hoffman's Diary 2 from the desk by the stacked crates and read it.
Hoffman's Diary 2 prompt
Diary 2 text
Diary 2 text
25
Old Building - near Old Building Hall (corridor with the floor hole)
PUZZLE 6 Use the Wooden Plank at the broken floor: “You have used Wooden Plank”. Cross to the room beyond.
Wooden Plank used
Wooden Plank used
Room beyond the gap
Room beyond the gap
26
Old Building - near Old Building Hall (library room with the bookcase and candle)
FILE 54–55 In the library room with the bookcase, candle and desk lamp, take Hoffman's Diary 3 and Hoffman's Diary 4 from the bookcase and read both.
Hoffman's Diary 3 prompt
Diary 4 text
Diary 4 text
27
Old Building - Graveyard
ITEM 155PUZZLE 7 Leave through the open red double door and follow the stone path into the Graveyard. Examine a dirt mound: “A lump of dirt, if only there is the right tool for it...” Use the Portable Shovel on it (“You have used Portable Shovel”) to dig up 10 Service Pistol Ammo.
Path along the wall
Path along the wall
Service Pistol Ammo x10
28
Old Building - Graveyard
ITEM 156 Dig the next mound with the Portable Shovel to get 2 Fire Grenades.
Fire Grenade x2 prompt
29
Old Building - Graveyard
KEY ITEM 23 Dig the mound inside the small hedge enclosure at the far end to get the Equatorial Virus: “Stolen 'Heaven Dust' mutation virus. It can spread among plants.” Keep it.
Hedge enclosure mound
Equatorial Virus prompt
30
Old Building - Graveyard exit (stone courtyard with stacked crates)
SAVE 3MAP Return to the courtyard with the stacked crates and cases, west of Old Building Hall, and save at the save point beside the storage box (“SAVING”).
Courtyard with crates
SAVING shown
SAVING shown
31
Old Building - near Management Office
ITEM 157WEAPON 2WEAPON 6–7WEAPON 12MAP Near the Management Office, in the lower west part of the block with a gun-modding table, a storage box and a save point, take the Painkiller from the desk with the silver machine. At the modding table the Muzzle Enhancer (“Increase damage.”) is rejected on the Breeze-I Pistol and Storm-I Submachine Gun with “It's already installed with the same modding part!” and on the Balefire-I Shotgun with “Invalid modding part!”.
Painkiller prompt
Painkiller prompt
Modding table opened
32
Old Building - near Management Office
FIGHTITEM 158 A thorny plant monster blocks the hall past the wooden crate. Burn it and shoot it; it dies in a pool of green goo. Take the Ammo Shells Pile from the floor where it died.
Plant monster
Plant monster
Ammo Shells Pile prompt
33
Old Building - near Management Office (alcove with the green-lit door)
ITEM 159KEY ITEM 20DOOR In the alcove with the green-lit door, examine the supply cache: “Nautilus special force's supply cache. You need the keycard to open it.” Use the Retrieval Team Keycard (“You have used Retrieval Team Keycard”) to open it and take 17 Shotgun Ammo.
Cache locked text
Cache locked text
Shotgun Ammo x17
Shotgun Ammo x17
34
Old Building - near Management Office
FILE 56NOTE Push the wooden crate aside and enter the dark room behind it. Read Tree Horror-Robert's log 7: “A virus infected spore, slow and deadly. It has evolved mobile vines and predatory instincts. Fire is one of its not many weaknesses.”
Crate being pushed
Crate being pushed
Log 7 pickup
Log 7 pickup
35
Old Building - near Old Building Hall (computer desk beside the two cryo tubes)
ITEM 160FILE 57 Go back through the library room to the desk by the two cryo tubes. Take 10 Service Pistol Ammo, then take Hoffman's Diary 5 and read it.
Service Pistol Ammo x10
Hoffman's Diary 5 prompt
36
Old Building - near Old Building Hall (tiled lab room)
FIGHT A large red mutant waits behind two red barrels in the tiled lab room and kills you quickly; enter at full health.
Red mutant and barrels

Part 14 — Waste Disposal Area and the Botany Lab

In-game goal. Explore Botany Lab and find Alexander’s “prosthesis”. Then: pass through the Gun Lab to meet Alexander.
1
near Old Office - checkered-floor lab
FIGHT Fight the pink mutants with green tubes in the checkered-floor lab: keep moving around the two crates in the middle, shoot with the Storm-I Submachine Gun until it runs dry, then switch to the pistol. A red screen edge means low health.
Mutants attack around the crates
Firing with screen edge red
2
Old Office
MAPSAVE 1NOTE Go back through the wooden hall to the Old Office (red carpet, desk). It has a storage box to sort ammo and herbs and a save point beside the desk: save the game here.
Map: Steve in Old Office
Saving at the Old Office desk
3
near Old Office - upstairs hall
MAPNOTE Leave the Old Office and cross the hall with the staircase, chandelier and plants. The objective in the pause menu reads “Explore the Old Lab Building and find Botany Lab”.
Hall with chandelier and stairs
Objective on pause screen
4
near Old Office - desk lab room
FILE 32FILE 58 Enter the small lab with the blue desk, computer and notice board. Press A on the book on the desk and choose Yes to read Alexander's Diary 5.
Interact at the desk
Diary 5 prompt
Diary 5 prompt
5
near Old Office - dark storeroom
FILE 59NOTE In the next dark room, press A on the document and choose Yes to read Alexander's Diary 6. It says killing a giant plant needs the Equatorial Virus, Catalysts and the Mitotic Inhibitor.
Approaching the diary
Diary 6 prompt
Diary 6 prompt
6
near Old Office - wooden hall
KEY ITEM 23–24 Return to the storage box in the wooden hall with the lamp. Take the Mitotic Inhibitor (inert), the Catalysts and the Equatorial Virus into your bag; the box also holds the Portable Shovel and the Lighter. Use a Painkiller from the bag (“You have used Painkiller”).
Wooden hall with lamp
Storage list: Shovel, Lighter, Catalysts
7
near Old Office - plant-covered lab
FIGHT Shoot the infected enemy that attacks in the plant-covered lab on the way to the corridor; it catches fire.
Enemy on fire
Enemy on fire
Shooting the enemy
Shooting the enemy
8
near Waste Disposal Area - corridor
NOTEPUZZLE 1 Walk to the end of the corridor, where a giant plant stem and a metal scaffold block the way. Alexander says by radio: “Find my diary. I've written down how to kill this kind of plant.” The objective now reads “Explore Botany Lab and find Alexander's 'prosthesis'”.
Plant stem blocks the corridor
Bag: Mitotic Inhibitor (inert)
9
near Waste Disposal Area - corridor
PUZZLE 2KEY ITEM 23–24DOOR Solve the plant with items, not bullets. Open the bag at the plant and use the Equatorial Virus on it (“You have used Equatorial Virus”): the core turns bright green. The Mitotic Inhibitor (inert) and the Catalysts cannot be used alone. Choose Combine on the Catalysts, pick the Mitotic Inhibitor (inert) and you get the Mitotic Inhibitor (active). Use it on the plant (“You have used Mitotic Inhibitor (active)”). The plant withers away and the corridor opens.
Equatorial Virus used
Catalysts combined with the inhibitor
Plant withering
Plant withering
10
Waste Disposal Area
MAPITEM 161–162FILE 60 Enter the Waste Disposal Area, a large room with a storage box, a save point and four square pillars. Near the metal stairs at the start take the Painkiller, then the Fire Grenade, then press A on the document to read Alexander's Diary 7.
Map: Waste Disposal Area
Fire Grenade prompt
Fire Grenade prompt
11
Waste Disposal Area
ITEM 163 Climb the stairs to the gantry and press A on the crate at the left to take the Service Pistol Ammo.
Interact at the gantry crate
Service Pistol Ammo prompt
12
Waste Disposal Area
SAVE 2 Use the storage box beside the stairs to store ammo and herbs, then save at the save point next to it before the plant fight.
Storage box open
Storage box open
Save slot screen
Save slot screen
13
Waste Disposal Area
BOSSFIGHT Go down to the giant root plant: a glowing green core sits in the middle and yellow bulbs on top. Shoot the core and dodge its roots between the red barrels. The plant kills quickly, so restock from the storage box before you return after a death.
Giant plant comes into view
Green core in the center
14
Near the crane control tower (south of Botany Lab)
BOSSFIGHT A giant tree-like monster with a glowing green core blocks the crane yard and kills you fast if you fight it on the open floor. Fight from the raised crane platform instead. A red explosive barrel hangs from the crane cable and slides along it: shoot the barrel when it is over the monster, and the blast knocks the monster down. Then shoot the green core on its body while it gets up. Repeat until it collapses into green remains.
Tree monster in the crane yard
Barrel explosion
Barrel explosion
Monster collapses
Monster collapses
15
Near the crane control tower (south of Botany Lab)
NOTE Climb onto the scaffold beside the crane control panel. Steve says the Botany Lab is on the other side and he needs the control panel for that bridge. Leave the platform by the far side and head for the Botany Lab.
Steve on the crane control tower
Message about the bridge panel
16
Near the crane control tower (south of Botany Lab)
ITEM 164 Take the Green Herb from the catwalk beside the stacked green and red crates.
Green Herb pickup prompt
17
Near the Botany Lab entrance stairs
ITEM 165 At the top of the metal stairs next to the Botany Lab doorway, take the Service Pistol Ammo (10).
Service Pistol Ammo (10) prompt
18
Botany Lab
ITEM 166NOTE Beside the Botany Lab doorway, take the Spore from the plant with the pink berry. If the game shows “Inventory is full!”, use a Painkiller first to free space.
“Inventory is full!”
Spore pickup prompt
Spore pickup prompt
19
Botany Lab
FILE 61 Inside the green-gas lab, interact with the book on the blue lab table and choose Yes to read Alexander's Diary 3.
Alexander's Diary 3 prompt
Diary 3 text
Diary 3 text
20
Botany Lab
NOTE Answer Alexander's radio call. He asks if you have reached the Botany Lab and says a cable car station is nearby that you can use to come back.
Alexander on the radio
21
Botany Lab
ITEM 167 Take the Gunpowder A from the lab table.
Gunpowder A pickup prompt
22
Botany Lab
KEY ITEM 25MAP In the gas-filled lab take the Prosthesis (Alexander's prosthetic hand); you need it later as a fingerprint key. The objective then reads “Pass through the Gun Lab to meet Alexander”.
Prosthesis pickup prompt
Prosthesis on the floor
23
Botany Lab / Cable Car Station
MAP Go to the Cable Car Station next to the Botany Lab and take the cable car back across.
Map: Botany Lab
Map: Botany Lab
Map: Cable Car Station
24
Near the Cable Car Station
ITEM 169–170 In the storage nook with the gas cylinders and crates, take the Ammo Shells Pile and the Green Herb in the corner.
Ammo Shells Pile prompt
Green Herb prompt
Green Herb prompt
25
Near Office Hall
MAPNOTE Go to the Office Hall, just above the Second Floor Restroom, and cross the courtyard with the leaf-symbol pillars. The gate panel next to the hazard-striped barrier rejects 0147 (“Invalid password!”).
Map: Office Hall
Map: Office Hall
0147: Invalid password!
26
Near Office Hall (vault office)
KEY ITEM 25DOOR In the wood-panelled office, go to the round vault door; it reads “Fingerprint sensor.” Open the inventory and use the Prosthesis on the sensor (“You have used Prosthesis”) to open the vault door.
Round vault door
Round vault door
“Fingerprint sensor.”
27
Near the vault office, hall with the gun blueprint
FIGHT Zombies in striped pyjamas and lab clothes wait in the tiled hall beyond the vault, and a big fang-covered plant sits against the far wall. Shoot the zombies from the wooden railing and keep away from the plant's mouth.
Zombies in the tiled hall
Shotgun on pyjama zombies
28
Near the vault office, hall with the gun blueprint
ITEM 171–173 Take the Ammo Shells Pile from the floor near the desk with the blue cylinder, then the Shotgun Ammo (15) and Submachine Gun Ammo (40) from the blue tables along the east wall.
Ammo Shells Pile prompt
Shotgun Ammo (15) prompt

Items

Every pickup has a permanent number. Click a tag in the walkthrough and it lands on its row here. The documents are in their own tab.

Key items (25)

Everything that opens a door, a gate or a machine.

#ItemQtyWhere you find itPart
1Lab Keycard LV11Lab - dark room beside the tanks — Dark room with a red-lit door past the tank roomPart 1
2Golden Round Plate1near Library - Blue Dumpsters — on the left blue dumpsterPart 2
3Elevator Button1near Library - Elevator — inside the elevator cabinPart 2
4Slide Show B1Second Floor - cubicle room — On the floor in front of the partition boothsPart 2
5Lab Keycard LV21Office Hall - Pool Room — Appears after the wall keypad next to the pool table accepts 8617Part 3
6Slide Show A1Office Hall — On the desk with the green lamp and computer, outside the pool roomPart 3
7Golden Square Plate1Near Second Floor Restroom - Gate Hall — Stone slab in the garden behind the burned planter wallPart 3
8Fire Key1New Building Hall - Lounge — at the winged goddess statue between the two braziersPart 4
9Metal Shield1New Building - Library — Shelf in the Library office beside the red bookcasesPart 5
10Gear1Park - Burning Truck Yard — on the ground next to the burning red truck and fire hydrantPart 5
11Valve1Park - near the water cooler and lunch tables — given by the first podium when Speech is usedPart 5
12Small Key1Park - near the projector — given by the second podiumPart 5
13Slide Show C1Park - picnic area with the projector — used on the working projectorPart 6
14Graveyard Key1Graveyard - wall above the Wood Cabin yard — Supply cache box in the stone wall, opened with code 0147Part 6
15Half Keycard (left)1near the prison cells — on the desk with stacked monitorsPart 9
16Camera1near the prison cells (cell gates 101-105) — in a cell with a toilet at the end of the cell blockPart 9
17Golden Triangle Plate1near the prison cells — given by Kay in exchange for the CameraPart 9
18Half Keycard (right)1Underground Tomb — at a blood stain past the saw corridorPart 11
19Fishtail Key1Underground Tomb — torch-lit courtyardPart 11
20Retrieval Team Keycard1Underground Tomb - storage box — Combine the Half Keycard (left) and the Half Keycard (right) in the inventory. It opens every Nautilus special force supply cache.Part 11
21Prison Guard Key1Old Building Lab — Inside the exoskeleton body in the glass tank, after an Electric GrenadePart 12
22High-power Spotlight1Wood-floor room next to the Pool — Grey locker against the back wallPart 12
23Equatorial Virus1Old Building - Graveyard — Dirt mound inside the hedge enclosurePart 13
24Mitotic Inhibitor1near Old Office - checkered-floor lab — Crates in the pipe alcove at the back of the lab, under the vertical pipesPart 14
25Prosthesis1Botany Lab — In the gas-filled lab, on the floor near the plantsPart 14

Weapons, gun parts and equipment (12)

Guns, the parts you fit at a modding table, and gear you wear or carry.

#ItemQtyWhere you find itPart
1Security Uniform1Lab - room beside the generator — tablePart 1
2Breeze-I Pistol1Security Room — shelf at the backPart 1
3Dagger1Dressing Room — cabinet beside the changing boothPart 1
4Waist Bag1near Library - Kitchenette Room — by the coffee machine on the counterPart 2
5General Shock Absorber1Second Floor - crate stack beside the ladder — On the crate stack; picking it up opens the Gun Modification tutorialPart 2
6Storm-I Submachine Gun1Near LV 2 Door - Target Room — Same locker as Gunpowder CPart 3
7Balefire-I Shotgun1New Building Hall - Shooting Range — prize crate right of the lanes (all three lights green)Part 4
8Enhanced Magazine1New Building - rooftop above the Office Hall — In the opened red crate on the roofPart 5
9General Gun Sight1Outdoor path near Caretaker's Dorm — on the ground beside electric sparksPart 8
10Gun Barrel Stabilizer1near the Prison - console room — among barrels and cylinders at the end of the roomPart 9
11Meteorite-I Service Pistol1Underground Tomb - corridor — on the floor beside the pillar in the fenced corridorPart 11
12Muzzle Enhancer1Medical Department — In the chest under the candle lamp in the cornerPart 13

Other pickups (173)

Ammo, herbs, grenades, crafting parts and maps, in the order the walkthrough finds them.

#ItemQtyWhere you find itPart
1Ammo Shells Pile1Lab - near the blue tanks — On the floor near the tanks, close to the red laser gatePart 1
2Gunpowder A1Lab - computer room — Beside the desk in the computer roomPart 1
3Ammo Shells Pile1Lab - generator room (stairs) — On the floor in front of the generatorPart 1
4Ammo Shells Pile1Lab - near the LV3 door — On the floor in the tank area left of the LV3 doorPart 1
5Spore1Lab - plant room — Taken from the purple plantPart 1
6Ethanol1Hibernation Room — lab bench beside the cryo chamberPart 1
7New Building Map (1)1Hibernation Room — same lab benchPart 1
8Ammo Shells Pile1Lab - cage room with the ladder — inside the cage gatePart 1
9Mixed Ethanol1Inventory — Spore + Ethanol combinedPart 1
10Gunpowder A1Lab - room beside the generator — same table as the uniformPart 1
11Painkiller1Security Room - washroom area — past the deskPart 1
12Wooden Plank1Security Room - next room — table by the shelfPart 1
13Gunpowder A1New Building Lab - past security scanner — cabinet just beyond the scannerPart 1
14Green Herb1Lounge with couch and water cooler — near the couchPart 1
15Ammo Shells Pile1Lounge with couch and water cooler — tablePart 1
16Ammo Shells Pile1near Library - Statue Room — inside statue roomPart 2
17Red Herb1near Library - Fountain Courtyard — on the tiles near the poolPart 2
18Green Herb1near Library - Fountain Courtyard — near the pool gatePart 2
19Pistol Ammo28near Library - Outer Corner — red box against wall by the rainbow rose painting; HUD reserve 25 to 53Part 2
20Gunpowder A1near Library - Kitchenette Room — beside the dead zombie by the tablePart 2
21Painkiller1Second Floor - Restroom (red door) — First-aid box on the back wall of the restroomPart 2
22Pistol Ammo23Second Floor - rooftop behind restroom — On the roof near the first antenna device (reserve rose 30 to 53)Part 2
23Gunpowder A1Second Floor - corridor with sofa and coffee machine — On the corridor floorPart 2
24Ammo Shells Pile1Second Floor - corridor with sofa and coffee machine — Further along the corridorPart 2
25Red Herb1Second Floor - corridor with sofa and coffee machine — In the planter at the end of the corridorPart 2
26Gunpowder A1Second Floor - crate stack beside the ladder — On the crate stackPart 2
27Pistol Ammo23Second Floor - top of the crates by the ladder — On the crates (reserve rose 57 to 80)Part 2
28Gunpowder A1Second Floor - overgrown rooftop — On the stone wall by the cablePart 2
29Ammo Shells Pile1Second Floor - Office Hall — Desk beside the green-lit computerPart 2
30Submachine Gun Ammo60Second Floor - Office Hall — On the desksPart 2
31Gunpowder A1Second Floor - Office Hall — Desk in the middle of the hallPart 2
32Green Herb1Near Second Floor Restroom - Gate Hall — Pickup prompt on the way to the gold-pillar gatePart 3
33Gunpowder C1Near LV 2 Door - Target Room — Locker at the left wall of the target dummy roomPart 3
34Spore1Near Library - Fire Grenade Room — Pink plants on the left of the room with the Fire Grenade synthesizerPart 3
35Fire Grenade2Near Library - Fire Grenade Room — Output of the Fire Grenade synthesizer after using SporePart 3
36Red Herb1New Building Hall - Lounge — on the desks near the wooden crate in the tiled loungePart 4
37Gunpowder B1New Building Hall - Locker Room — in the grey lockers behind the golden-flame doorPart 4
38Gunpowder A1New Building Hall - Locker Room — in the grey lockers behind the golden-flame doorPart 4
39Ammo Shells Pile1New Building Hall - Shooting Range — crate beside the cage right of the lanesPart 4
40Pistol Ammo25New Building Hall - Shooting Range — crate beside the cage right of the lanesPart 4
41Fire Grenade2New Building Hall - Shooting Range — crate beside the cage right of the lanesPart 4
42Shotgun Part B1New Building Hall - Shooting Range — prize crate right of the lanes (all three lights green)Part 4
43Gunpowder B1New Building Hall - Shooting Range — locker at the upper left of the range, beside the archPart 4
44Gunpowder A1New Building Hall - Shooting Range — locker at the upper left of the range, beside the archPart 4
45Shotgun Ammo15New Building - rooftop above the Office Hall — Beside the crate stack among the treesPart 5
46Shotgun Ammo15Outside - next to the Research Institute — Wall corner next to the green cratePart 5
47Ammo Shells Pile1Outside - road to the park gate — On the ground by the red barrel and lampPart 5
48Painkiller1Outside - picnic garden fence — Small box on the fence postPart 5
49Pistol Ammo23Outside - picnic garden fence — Same box on the fence postPart 5
50Ammo Shells Pile1Outside - picnic garden — On the grass beside the lamp and blue cratePart 5
51Park Map1Park - West Lawn — on the ground near the iron fence on the west lawnPart 5
52Gunpowder A1Park - West Lawn — between the yellow chairs near the projector tablePart 5
53Shotgun Ammo14Park - West Fence — beside the iron fence next to the projector screenPart 5
54Half Paper B1Park - West Lawn — on the whiteboard next to the computers (first attempt failed: Inventory is full!; taken)Part 5
55Electric Grenade3Park - Central Stone Path — beside the stone path in front of the generatorPart 5
56Half Paper A1Park - near the east fence — in a blue bin by the east fencePart 5
57Shotgun Ammo15Guard Room — in front of the guard boothPart 5
58Slide Show C1Guard Room — on the desk with computersPart 5
59Pistol Ammo27Underground Parking Lot — beside the barrels at the north wallPart 5
60Wooden Plank1Underground Parking Lot — from the hazard-striped boards by the van and rubblePart 5
61Ammo Shells Pile1Underground Parking Lot — case beside the white vanPart 5
62Green Herb1Park - east fence — on the van roof at the wallPart 5
63Red Herb1Park - east fence — beside the fencePart 5
64Pistol Ammo20Underground Parking Lot - at the white car near the garage — on the ground behind the white car with hazard planksPart 6
65Shotgun Ammo1Underground Parking Lot - near the rubble and a pine tree — next to the burning red truck roadPart 6
66Pistol Ammo21Underground Parking Lot - pit below the keypad platform — on the ground after climbing down the ladderPart 6
67Green Herb1Underground Parking Lot - pit below the keypad platform — pit floorPart 6
68Red Herb1Underground Parking Lot - pit below the keypad platform — pit floor beside the green herbPart 6
69Pistol Ammo1Graveyard - walled yard by the iron gate — beside the crates near the gatePart 6
70Gunpowder B1Graveyard - walled yard by the iron gate — near the gas bottles and sink in the cornerPart 6
71Ammo Shells Pile1Graveyard - near the red crate — on the path in front of the red cratePart 6
72Gunpowder A1Graveyard - near the red crate — beside the red cratePart 6
73Green Herb1Graveyard - hedge corner by the iron fence — green hedge corner at the far fencePart 6
74Shotgun Ammo1Graveyard - wall of the Wood Cabin — at the cabin wall under the street lampPart 6
75Old Building Map (1)1Graveyard - Wood Cabin — on the deskPart 6
76Service Pistol Ammo10Graveyard - supply crates near the Wood Cabin — stone ledge beside the tree next to the cratesPart 7
77Ammo Shells Pile1Graveyard - supply crates near the Wood Cabin — low box by the fence below the cratesPart 7
78Pistol Ammo1Graveyard - supply crates near the Wood Cabin — near the red gate by the bodyPart 7
79Gunpowder A1Graveyard - supply crates near the Wood Cabin — stone ledge under the lamp postPart 7
80Submachine Gun Ammo40Graveyard - along the wall by the red gate — ground at the fence post right of the gatePart 7
81Pistol Ammo20Graveyard - wall by the red gas can — beside the red gas can under the lit gate postPart 7
82Ammo Shells Pile1Graveyard - grave plots — dropped by the zombies on the grave lawnPart 7
83Speech1Graveyard - supply crates near the Wood Cabin — taken from the storage chestPart 7
84Green Seed3Graveyard - fenced flower beds — from the red podium after using the SpeechPart 7
85Green Herb1Graveyard - fenced flower beds — plant grown from the Green Seed in a vasePart 7
86Spore1Outdoor yard - Synthesizer Yard — pink plant at the right of the yardPart 8
87Electric Grenade2Outdoor yard - Synthesizer Yard — made by the machine after using a SporePart 8
88Gunpowder C1Old Lab Building — at the machinePart 8
89Green Herb1Caretaker's Dorm — plant table inside the hutPart 8
90Green Seed1Caretaker's Dorm — plant tablePart 8
91Red Herb1Caretaker's Dorm — plant table, right sidePart 8
92Painkiller1Old Lab Building - restroom west of Power Switch Room — beside the bathtub stall; prompt answered by “Inventory is full!”Part 8
93Ammo Shells Pile1Old Lab Building - lounge with water cooler — on the body near the sofaPart 8
94Shotgun Ammo1Old Lab Building - lounge with water cooler — same lounge, next to the Ammo Shells PilePart 8
95Submachine Gun Ammo40Old Lab Building - lounge with water cooler — same lounge, beside the sofaPart 8
96Electric Grenade2Old Lab Building - billiard room — beside the keypad boxPart 8
97Electric Grenade2Old Lab Building - corridor beside keypad panel — corner next to the red boxPart 8
98Pistol Ammo21Old Lab Building - storage yard beside the stairs — dropped by the infected on the hazard-striped floorPart 8
99Red Herb1near the prison cells (cell gates 101-105) — on the bed in cell 102Part 9
100Green Herb1Old Building - Lab near the save point — along the wall right of the diary deskPart 9
101Ammo Shells Pile1Old Building - Lab near the save point — corner of the next section after the herbPart 9
102Old Building Map (2)1Old Building - Lab near the save point — blue table with monitor at the far wallPart 9
103Electric Grenade2Old Building - Lab near the save point — Electric Grenade synthesizer, uses 1 SporePart 9
104Fire Grenade2Old Building - Lab near the save point — Fire Grenade synthesizer, uses 1 SporePart 9
105Food Bell1near the Prison Guard Room - barrel room — on the floor in the barrel roomPart 9
106Red Herb1near the Prison Guard Room - barrel room — front corner of the barrel roomPart 9
107Shotgun Ammo15near the Prison - console room — next to the infected corpse by the weapon cratesPart 9
108Green Herb1Underground Station - save room with storage box — on the crates next to the white bed sheetPart 10
109Main Control Area Map1Main Control Room — on the floor among the monitor racksPart 10
110Ammo Shells Pile1Air duct with fans — on the floor of the fan ductPart 10
111Gunpowder A1Outdoors - graveyard — by the grave beds near the fencePart 10
112Red Herb1Outdoors - graveyard — red flower bed near the street lampPart 10
113Green Herb1Outdoors - graveyard — planted bed behind the fence by the street lampPart 10
114Fire Grenade1Outdoors - graveyard — on the yellow bench seats beside the steaming pedestalPart 10
115Gunpowder B1Pool - locker room — at the lockers beside the electrified poolPart 11
116Pistol Ammo18Pool - locker room — in an open locker next to Gunpowder BPart 11
117Service Pistol Ammo10Pool - outside the locker room — by the grave crosses and wheelbarrowPart 11
118Ammo Shells Pile1Pool - outside the locker room — in front of the crates on the brown floorPart 11
119Electric Grenade1Underground Tomb entrance — on the body bag at the top of the entrance wallPart 11
120Underground Tomb Map1Underground Tomb - workbench room — on the desk in the workbench roomPart 11
121Shotgun Ammo15Underground Tomb - cell behind the body bags — inside the small cellPart 11
122Service Pistol Ammo10Underground Tomb — stone ledge between two torchesPart 11
123Flower1Underground Tomb — dark alcovePart 11
124Service Pistol Ammo10Garden - Supply cache by the red gates — Supply cache by the red gates, opened with the Retrieval Team KeycardPart 12
125Gunpowder A1Old Building Administrative Office — Beside the low tablePart 12
126Electric Grenade2Old Building Administrative Office — Next to the Gunpowder APart 12
127Wooden Plank1Storage — Crates in the room next to the officePart 12
128Fire Grenade1Prison — Supply cache under the stairs by the blue binsPart 12
129Service Pistol Ammo10Garden - Supply cache by the red gates — Same cache after reloadPart 12
130Gunpowder A1Old Building Administrative Office — Same spot after reloadPart 12
131Electric Grenade2Old Building Administrative Office — Same spot after reloadPart 12
132Wooden Plank1Old Building - near the wood-panelled hall — Plank pile next to the red crate in the crate storeroomPart 12
133Fire Grenade3Old Building - concrete yard — Nautilus special force's supply cache, opened with the Retrieval Team KeycardPart 12
134Submachine Gun Ammo1Old Building Lab — Grey lockers next to the laser fencePart 12
135Gunpowder B1Old Building Lab — Grey locker stack beside the metal fencePart 12
136Electric Grenade2Old Building Lab — White container on the floor in the lab room with the green tablePart 12
137Red Herb1Prison — Supplies in the crate nook behind the Prison Guard Key gatePart 12
138Pistol Ammo6Prison — Exchange with Kay for the Green Herb (trade menu shows x6)Part 12
139Submachine Gun Ammo5Prison — Exchange with Kay for the Red Herb (trade menu shows x5)Part 12
140Flower1Pool — Purple flower in the electrified water at the far end of the planksPart 12
141Ammo Shells Pile1Hospital bedroom — In the bedroom with two hospital bedsPart 12
142Old Building Map (3)1Old Building Hall — Table at the foot of the stairs beside the winged statuePart 12
143Fire Grenade2Upper corridor over Old Building Hall — Grey equipment box beside the paintings (inventory count goes 3 to 5)Part 12
144Fire Grenade3Supply cache near Management Office — Cache opened with the Retrieval Team KeycardPart 12
145Deer Antler Wall Mount1Old Building Hall — Picked up before (description seen in inventory)Part 12
146Lighter1Management Office - Glass Side Office — On the desk with the green lamp in the side office with the sofaPart 13
147Wooden Plank1Management Office - Balcony — On the balcony floor by the chairs beside the white doorPart 13
148Gunpowder A1near the office with the cork board — In the chest beside the desk in the small office with a cork board and trash canPart 13
149Ammo Shells Pile1near the hospital ward — On the balcony hall beside the ward bedsPart 13
150Painkiller1Medical Department — On the cabinet next to the monitorPart 13
151Gunpowder D1Management Office - Study with desk and gears — On the shelf in the corner left of the coffee machinePart 13
152Portable Shovel1Management Office - Study with desk and gears — Leaning in the corner beside the shelf and coffee machinePart 13
153Deer Head Wall Mount1Management Office - Statue room — On the wall of the statue room reached through the gear passagePart 13
154Catalysts1Management Office - Machine room — On the machine table behind the 2891 keypad; not taken, inventory fullPart 13
155Service Pistol Ammo10Old Building - Graveyard — First dirt mound dug with the Portable ShovelPart 13
156Fire Grenade2Old Building - Graveyard — Second dirt mound dug with the Portable ShovelPart 13
157Painkiller1Old Building - near Management Office — Desk with the silver machine, gun modding table boothPart 13
158Ammo Shells Pile1Old Building - near Management Office — Floor of the hall where the plant monster diedPart 13
159Shotgun Ammo17Old Building - near Management Office — Nautilus special force's supply cachePart 13
160Service Pistol Ammo10Old Building - near Old Building Hall — Computer desk beside the cryo tubesPart 13
161Painkiller1Waste Disposal Area — Beside the metal stairs near the entrancePart 14
162Fire Grenade1Waste Disposal Area — Next to the Painkiller near the entrance stairsPart 14
163Service Pistol Ammo1Waste Disposal Area — Crate on the left of the gantry above the stairsPart 14
164Green Herb1Near the crane control tower — On the catwalk next to the stacked green and red cratesPart 14
165Service Pistol Ammo10Near the Botany Lab entrance stairs — At the top of the metal stairs beside the Botany Lab doorwayPart 14
166Spore1Botany Lab — Pink berry on the plant beside the doorwayPart 14
167Gunpowder A1Botany Lab — On the lab tablePart 14
168Spore1Botany Lab — Plant near the ProsthesisPart 14
169Ammo Shells Pile1Near the Cable Car Station — Floor of the gas cylinder nookPart 14
170Green Herb1Near the Cable Car Station — Corner of the gas cylinder nookPart 14
171Ammo Shells Pile1Near the vault office, gun blueprint hall — On the floor near the desk with the blue cylinderPart 14
172Shotgun Ammo15Near the vault office, gun blueprint hall — Blue table along the east wallPart 14
173Submachine Gun Ammo40Near the vault office, gun blueprint hall — Blue table further along the east wallPart 14

Documents

The full text of every file, in the order you find them. The game keeps its own spelling in the titles.

1. Alexander's Note 1

Note — Hibernation Room · Part 1
Steve:
If you just came from the Hibernation Chamber, we don't have much time left. I know you are still disoriented, but you have to try to focus.
Listen up, you need to get out of this Hibernation room first. The passcode of the door is your experiment number. If you can't remember it, take your cloth off and have a look. I wrote it on the backside of it. Come out, quick.

Alexander

2. Alexander's Note 2

Note — Lab - near the blue tanks · Part 1
Steve:
I know that you are confused, and can't remember a lot of things. Don't worry, they are just symptoms after forced hibernation. You will come around.
I hope we can grab some coffee and talk, but we can't. This place is getting more and more dangerous. You need to find a way to ride the elevator to the first floor. If the virus scanner blocks you, find a security uniform, you can pass through the scanner with it.
Also, if you see any suspicious light switches, flick it a few times.

Alexander

3. Alexander's Dairy 4

Diary — Lab - plant room · Part 1
1998.09.01 Rainy
I've made the secret room into a temporary lab. It is close to the "Second Host". So it would be easy for me to collect the samples. Tomas's Equatorial Virus has arrived too. I can do some research on it at the same time.

1998.09.07 Rainy
I tried to use Equatorial Virus to infect some plants. A type of spore plant is more active than other plants. Interesting, I may develop a new strain.

1998.09.15 Sunny
Some of the plants produced purple spores. Their chemical composition is quite complicated. Preliminary tests have shown that they can be simply mixed with some other chemical reagents to improve their chemical efficacy. There is another type of green spore, which is more corresponds to my original demand. It is highly possible that I can extract the iteration of the virus from this one...

4. Basic Tutorial I

Tutorial — Hibernation Room · Part 1
1. Character movement:
Press and hold "W, A, S, D" to move your character.

2. Sprint:
Hold down "Space" while walking to make your character sprint.

* You can press 'K' anytime to call out this hint.

5. Basic Tutorial II

Tutorial — Hibernation Room · Part 1
1. Interaction:
When the character is near an interactable object, a Key Hint will pop up. You can press "A" to interact with the object (Read notes, pick up items, etc.).

2. Menus:
Press "Start" to call out the inventory menu.
Press "LB" or "RB" in the item menu to switch between the menus.

Inventory: Check and combine your items, etc.
Files: Read unlocked diaries and tutorials, etc.
Map: Check the unlocked maps.
System: Load and exit the game, etc.

* You can press 'Directional Pad Right Button' anytime to call out this hint.

6. Moving Crate

Tutorial — Lab - near the blue tanks · Part 1
You can push and pull certain types of the crates. Stand close to the crate and press "A" to grab it, then move "Left Joystick" to push and pull
Press "B" to release the crate.

* You can press the 'Directional Pad Right Button' anytime to call out this hint.

7. Basic Tutorial III

Tutorial — Lab - near the blue tanks · Part 1
1. Save the game:
You can use "Answering Machines" in the scene to save the game. Danger lurks everywhere, be sure to save often.

2. Load the game:
Select "Load" in the system menu (gear icon) to load your game.

3. Storage:
You can store your items in the storage box to save space for your inventory. You can take out your items from any of the storage boxes as needed.

* You can press the 'Directional Pad Right Button' anytime to call out this hint.

8. Combine Items

Tutorial — Lab - plant room · Part 1
You can combine certain items into a new item.

Open up the inventory, select an item, select "Combine" in the option list, then select the other item.

* You can press 'Right Button' anytime to call out this hint.

9. How to Unlock Special Items

Tutorial — Files Menu · Part 1
How to unlock special items:

AK 47 — (Finish the game on Normal difficulty)

MGL Fire Grenade Launcher (∞) — (Finish the game on Expert difficulty within 2 hours)

Harquebus — (Finish the game on Expert difficulty)

Pistol Ammo Cache — (Kill 100 enemies with pistol-type weapons and complete the game)

Shotgun Ammo Cache — (Kill 50 enemies with shotgun and finish the game)

Submachine Gun Ammo Cache — (Kill 50 enemies with submachine gun and finish the game)

Service Pistol Ammo Cache — (Execute 90 headshots and finish the game)

Mixed Ammo Cache — (Finish the game on Normal difficulty within 2 hours)

You can use the items you have unlocked in the new game.

10. Security Department Relocation

Document — Security Room · Part 1
Security Department Relocation

Yes, guys. We are moving the security office.
The reason is the virus scanner by the entrance. The parts are getting old. And, due to special material used in the security uniform, it is just allowing anyone who wears the uniform pass through. The people wearing white coats don't want to see us wandering around in the lab. Well, I don't want to hang out with those screw looses either. So, let's get moving!
We will relocate next Monday. Enjoy your weekend.

Joe
Security Department

11. Suggestions for Newbies

Document — Security Room · Part 1
Suggestions for Newbies

Hi, Wright, well, the newbie that is reading this:
First, you need to equip your weapon. Check your inventory menu for how to raise and shoot.
And, this is important: you need to know how to aim for the weak point. It's actually pretty easy. Just take your time aiming, the gunsight will naturally move to the enemy's weak point. (Of course, not all enemy has weak point though, haha)
Ok, now get your gun. You probably won't ever use it though.

Joe
Security Department

12. Battle Tutorial I

Tutorial — Security Room · Part 1
Battle Tutorial I

1. Equip guns:
Open up inventory, select a gun, choose a slot in the option list to place the gun. (You can equip 4 weapons at the same time, 2 sidearm slots and 2 rifle slots)

2. Switch guns:
You can switch between the equipped guns.
Press "Directional Pad Up Button" to switch to sidearm.
Press "Directional Pad Down Button" to switch to rifle.

3. Reload:
Press "X" to reload your gun.

* You can press "Directional Pad Right Button" anytime to call out this hint.

13. Battle Tutorial II

Tutorial — Lab - generator by the stairs · Part 1
Battle Tutorial II

1. Raise and lower the gun:
When you have a gun equipped, press "LT" to raise the gun.
Release "LT" to lower the gun.

2. Fire:
When raising the gun, press "RT" to fire.

3. Aim:
When raising the gun, move the "Right Joystick" to aim.

4. Weak Point Aiming:
Some enemies or even objects have their "Weak Point". Shooting the 'Weak Point' can cause maximum damage to the target. To aim for the weak point, you need to keep aiming until the pointer narrows down to the 'Weak Point'.

5. Melee:
When you are having a melee weapon equipped, press "R3" to strike (whether having your gun raised or not).

6. Execute:
When the enemy is near-death, it might have a chance to

14. Zombie-Robert's log 1

Document — Lab - crate room · Part 1
Zombie-Robert's log 1

The common Europa virus-infected subject. It is dull on senses and acts slow, always on flesh and blood frenzy. A shot on the head can put it down instantly.

P.S.: This is an objective record of all research subjects of the 1st Laboratory. As a lab records officer, I will not take account of ethics while logging the research results.

15. Mixing your gunpowders (Gunpowder Mixing)

Document — Lounge with couch and water cooler · Part 1
Gunpowder Mixing

Gunpowder A+Gunpowder A=Gunpowder B
Gunpowder A+Gunpowder B=Gunpowder C
Gunpowder B+Gunpowder B=Gunpowder D
All 1:1 ratio

Instructions are posted here. DO NOT get it wrong again!

If there is another explosion happens in the test, I will rip you a new one.

Sherman
Firearm Research Department

16. Bone Fiend's-Robert's log 4

Diary — near Library - Outer Corner · Part 2
After a long period of infection, some of the zombies' ribs or even their skulls could grow out of their skin, eventually forming an 'exoskeleton' that covers their chest and head. This is where the name 'Bone Fiend' came from. Some of them can even instantly open their 'exoskeleton' and spray bone bits and blood to injure or kill their prey from distance.
When facing this kind of monster, aim for the parts that aren't covered by the 'exoskeleton'. If you have to destroy the 'exoskeletons', a shotgun should be a good choice.

17. Boomlad-Robert's log 2

Diary — near Library - Kitchenette Room · Part 2
The rapid metabolism causes excessive amount of gases in some of the zombies' abdomen. If the gas pressure goes overboard, the zombie will explode and release a large amount of energy. Same as the regular zombies, a shot on the head is the best way to deal with this, unless you want to cause a big explosion.

18. Alexander's Note 3

Note — Second Floor - near the elevator door · Part 2
Steve:
I'm glad that you are reading this. At least it means that you are still alive. You must be shocked by what is happening here. Listen, I will explain everything to you, and lead you out of this hellhole. But you need to come and find me first.
If you are wearing a security uniform, you must have a walkie-talkie on you right now. We can use it to talk to each other. However, someone set up some signal jammers in here, so you can't use the walkie-talkie yet. I have detected 3 sets of jamming sources. Find them and destroy them (you can hear the beeping sound when you are near them).
After you finish the job, go to the Office Hall on the second floor. I will contact you through the walkie-talkie.

Alexander

19. Purple Spore Research

Document — Second Floor - Workshop · Part 2
The spore that Alexander provided is intriguing indeed. The chemical components are... interesting. I tried to ask him how did he get it, but he refuses to tell me anything. I'll have to let it go even though I am very curious.
Anyway, I developed an automatic machine utilizing the special properties of the spores. Insert the spores into the machine, it will automatically synthesize it into a fire grenade. It is nowhere near mass production, but it's pretty valuable just for trying.

Sherman
Firearm Research Department

20. Gun Modification (tutorial)

Tutorial — Second Floor - crate stack beside the ladder · Part 2
You can disassemble and install the gun mods you have acquired on gun modding tables.

1. Install parts:
In the gun modding menu, select a gun mod first, then select "Modify" in the option list. Then choose a gun to complete the modification.

2. Disassemble parts:
In the gun modding menu, select a gun first, then select a mod that you want to dissemble in the option list to complete the disassembly.

(You can press the 'Directional Pad Right Button' anytime to call out this hint.)

21. Lab Staff's Last Words

Document — Second Floor - Office Hall · Part 2
Lab Staff's Last Words

We finally escaped to the Second Floor. Alexander locked us out. Ok, you selfish bastard. If you don't let us get in, then we are not letting you get out. We are trapping you inside. You just sit inside and wait for the self-destruct to start.
We can't hold much longer either. Farewell, my dear Sofia...

Scott

22. Modding your weapons (Weapon Modification)

Document — Near LV 2 Door - Target Room · Part 3
Weapon Modification

1. All general mods' dissassembly and installment need to be done on modding tables.
2. General mods can only be installed on I-series guns.
3. General mods can be repeatedly disassembled and installed.

P.S.
Even though I-series are imitation models of common firearms in the market, developing general gun mods for them is a big deal. So yes, do not try to modify your gun by hand, or experiment with random combinations. They are more fragile than they look. These prototypes aren't perfect, but they're still expensive to build!

Sherman
Firearm Research Department

23. Wright's Diary 1

Diary — New Building Hall - Workshop · Part 4
Wright's Dairy 1

1998.03.12 Sunny
Good news, I finally start the job. Starting from today, I'm officially a security staff of the 1st Laboratory. It felt so good when I put my gun on. But it didn't last long before the special force came in and flashed their equipment.
The boss said that it was their first day here too. What a coincidence. We are in different duties, but I hope we could get along.

1998.08.15 Cloudy
Overall, I have adapted to this job. Joe is super nice to us. The entire security department is like a big family. He thinks my diary is silly though, "Who writes diary these days!?" Haha... He taught me a lot at work, my shooting skill is improving fast.
I've been thinking to communicate with the special force more, starting a friendly shooting contest or something. But it seems that they are more focused on their small circle. They are responsible for the security of the dispatch team, and we are responsible for the lab. Our jobs don't intertwine too much... Oh well, we are going to be here for a long time, we have plenty of chances.

24. Shooting Range Instruction

Note — New Building Hall - Shooting Range · Part 4
Shooting Range Instruction

In order to let more people test the newly developed weapons, the Shooting Range is now open to everyone.
We have prepared great prizes for participants, even including a whole new shotgun (An unique internal model, collectible stuff). What are you waiting for, security buddies? Come and get your prizes! Wright, we know you are improving fast. We got have a contest sometime!

Tip: If the shooting challenge is too difficult for you, we suggest you to add accessories to your weapon.

Firearm Research Department

25. The Mosquito Incident 3

Document — New Building Hall - Library · Part 4
The Mosquito Incident 3-Robert's report

The former director Aldington at that time initiated a plan: the lab recruited new staff memebers as virus test subjects. Steve was one of the new staff members. His blood characteristics are quite similar to the Torkuens. The 'Heaven Dust' can adapt well in his body, which makes him a perfect host. Later, the researchers extracted the virus from him and cultivated 'Europa-II Virus'. Steve is known as the 'Second Host' because of this. (There is no information regarding who is the First Host)
Steve was soon caught on gathering evidence and got locked up. That is when the virus leakage happened. Presumably, it was mosquitos passing the virus to staff members outside of the research area, so this biohazard incident was called 'The Mosquito Incident'.
The incident triggered the Mansion's self-destruct protocol. Most of the staff were wiped out along the files. Shockingly, the retrieval team was here soon enough to rescue the 'Second Host' Steve. Though exhausted, he managed to survive. Steve eventually ended up in the Stardust 1st Laboratory.

End of report

26. The Mosquito Incident 2

Document — New Building - Library · Part 5
The Mosquito Incident 2-Robert's report

In 1980, after a series of events, 'Heaven Dust' research was relocated to the USA, at the Stardust Mansion.
Over the next few years, the lab has developed 'Europa-I Virus', 'Europa-II Virus', and 'Equatorial Virus' based on 'Heaven Dust'.
Two urgent improvements are needed for the virus: 1. Temperature adaptability. 2. Elimination of the zombification side effect. 'Europa-I' can survive in the temperate climate, but there is no solution to its side effect. 'Europa-II' has solved both problems, but it is still not perfect. Evidence suggests that the host would suffer deformation and intelligence degradation. 'Equatorial Virus', on the other hand, uses tropical plants as hosts for a secondary extraction, which somewhat reduces the side effect of zombification, but it still can not break the high-temperature limit.
Here is the interesting part: a staff named Steve was collecting evidence to expose the illegal experiments in the Mansion. And this Steve somehow became the key to extract 'Europa-II Virus'.

Continue on next report...

27. Acid

Document — Outside - road by the burning truck · Part 5
Acid-Robert's-Robert's log 3

An early form of the Boomlad. The gas pressure in it can pump the gastric acid out to its prey, causing severe burns. Fortunately, the acid is not poisonous.

28. About Podium

Document — Outside - picnic garden · Part 5
About Podium

This batch of podiums is very interesting. They are installed with voice lock doors. It is like the modern "Open Sesame". Just speak a specific pre-set phrase to the microphone, and the door will open. This is amazing. I can't wait to hide 'something' in it... Hahaha... so fun.

Jason

29. Wright's Dairy 3

Diary — Outside - picnic garden · Part 5
Wright's Dairy 3

1998.11.30 Cloudy
Tomorrow is the anniversary. Joe said we can also go to the conference and have some fun. I heard they have some great caterers coming over. Hope it won't rain tomorrow.

1998.12.01
Oh, God... Monsters are everywhere in the conference, biting everyone, like a horror movie... I can't believe this is real, I pulled out my gun, I got to hurry...

30. Guard Room Note

Note — Guard Room · Part 5
New order, the Observation deck by the cliff will be locked up with a num lock door during the lab anniversary. Last year, someone fell down the cliff, and there was a big fuss about it. We are not taking any chances this time.
However, the problem is that people can't agree on what to use as the passcode. Jason said that he can go to the park and take pictures of four sets of objects, then use them as the passcode. People all liked that idea. Afterward, he made them into a slide show... If anyone asked about the passcode, we just let him take the slide show and go find the objects in the park... Well, another day at the Guard Room. There's nothing better to do. Haha...

Ben
Guard Room

31. Caretaker's Diary 1

Diary — Graveyard - Wood Cabin · Part 6
Grave Keeper's Dairy 1

1998.06.15 Cloudy
The works are stacking up ever since the lab purchased this cemetery. Don't know where they got these many corpses to dispose. But I'm not in a place to be curious. They pay me well, so I will shut my mouth.

1998.07.10 Sunny
I heard the body bag making noises again today. There were rustles yesterday. Shit, am I going nuts? Or is this job making me too lonely that I start to hallucinate?

1998.07.11 Rainy
It's true, the "bodies" are not completely dead.

1998.09.03 Cloudy
Bastards, I think they have found out about 0147. I have to hide the spare key of the cemetery, I need it to retrieve my hidden stash after they fire me so that I can take back the hidden stuff.

P.S.: The key is hiding in the supply cache in the back of the cabin. Password is already written down.

32. Notice

Document — Old Lab Building - hall with chandeliers · Part 8
Notice

Due to the upcoming press conference, all buildings are entering guest mode to keep unauthorized personnel away from sensitive areas. All departments must strictly follow the protocols.
1. Move the 'Spotlight' to the Old Building to the 1st-floor storage unit. Make sure that the stone gate in the main hall remains closed.
2. All departments with sensitive areas need to be prepared for guard and protection in case of intruders.

Old Building Administrative Office

33. Shift Notice

Document — Old Lab Building - billiard room · Part 8
Shift Notice

Tony, the passcode to the cellblock had been changed during your vacation.
The new passcode lines up as: behind the shelf, black, green.
You probably have already guessed it.
And, welcome back.

Joe
Security Department

34. Blood Fiend

Document — Old Lab Building - room south of the billiard room · Part 8
Blood Fiend-Robert's log 5

One of the most tenacious Europa infection subjects. They are covered with rapid self-regenerating mutant cells, we call this layer of mutant cells 'Blood Armor'. The 'Blood Armor' can quickly repair itself when damaged. One of the options is using weapons with a high rate of fire to destroy its 'Blood Armor' off before it repairs itself. A better solution is using Electric Grenade against them. Their mutant cells are sensitive to high-voltage electricity.
Once the 'Blood Armor' is destroyed, Blood Fiend is no different than the ordinary zombies.

35. Swimming Pool Reconstruction Notice

Document — Old Lab Building - restroom corridor · Part 8
Swimming Pool Reconstruction Notice

The swimming pool is under construction. Unauthorized personnel is not allowed to enter. (Passcode lock has been installed)
Note to construction workers: The power cables are under maintenance. Electric hazard. Do not enter the swimming pool.
P.S., whoever put that "ornament" on the power cable, do not let me catch you!

Tony
Maintenance Department

36. Alexander's Dairy 1

Diary — near the prison cells - lab office · Part 9
Alexander's Dairy 1

1984.10.11 Sunny
If I can't get back to the 'Arklay' Laboratory and continue to work on Heaven Dust, I'm not only losing my left hand, but also losing my dignity. Touché, StarDust, just one failure almost costs everything I have.
One day, I will return to the stage and find my glory. We'll see.

1985.04.12 Sunny
It has been decided. I was transferred to the 1st Laboratory as the director, a sinecure at best. And I am not allowed to talk about anything that had happened in the 'Arklay' Laboratory. The 1st Laboratory had its brief glory in Hoffman's time. Now it is a dead beat. I will not be buried in this place, I swear...

37. Prison Gate Issue

Note — near the prison cells - power switch · Part 9
Prison Gate Issue

Guys! Warning!
DO NOT touch the power switch. It has a serious issue.
The power switch is suppose to only control the light, but now it can also open the prison gates.
The maintenance department is busy reconstructing the swimming pool. So, they don't have time to work on it.
We'd better to be careful.

P.S. If any of the experiment subjects escaped, do not panic. The 'big guy' in the security office is just for situations like this.

Joe
Security Department

38. Wright's Dairy 5

Diary — near the prison cells - lab office · Part 9
Wright's Dairy 5

It was fortunate that the monsters didn't show up when I set up the gasoline drums, and I have accidently found an underground tunnel. The lab's layout is too complex. I didn't even know that there is a tunnel connecting each area. The rail train is super slow, but we managed to reach the Old Buildings.
This place isn't going to hold much longer. We need to retreat further back inside. There are several rooms that need "Fishtail Key" to unlock. I remember that Joe said that there's a backup key in the underground tomb in the cemetery. I got to find it.

39. Alexander's Diary 2

Diary — Old Building - Lab near the save point · Part 9
Alexander's Dairy 2

1998.03.10 Cloudy
Haha! I can't believe it! Aldington screwed it up. He burned himself and the Mansion to the ground. Good thing is that one of the virus hosts survived. It will be sent to us soon. What an opportunity for me! This is my chance to get back to the game. I will continue the research and let the board recognize my value again.

1998.03.12 Cloudy
Those damn old fools. The board won't let me take over the virus research and sent Wheeler's team from the corporation to my lab. Yes, that "Second Host" is lying in my lab, yet my team and I can't even touch it. This is a terrible insult.

40. Feeder's Note

Note — near the Prison - feed trough room · Part 9
Feeder's Note

Those dog-like monsters are getting more and more ferocious. Be extra careful around them. If you got chased by them, strike the Food Bell. It will drive them towards it. Keep this in mind, it might save your life one day.
Also, the director had repeatedly emphasized: Do not tell anyone about anything that is going on in this area, especially to the people who just joined the 1st Laboratory. If you want your salary, you keep your mouth shut.

Douglas

41. Inscription (four swords)

Note — Outdoors - graveyard · Part 10
Inscription: Four swords point to the desire, four Goddesses spread their wings and chant: The final curtain of destiny shall rise, the dark tomb's dust shall fly.

42. Inscription (Goddess of Feather)

Note — Outdoors - graveyard · Part 10
Inscription: Goddess of Feather gazes upon Stone of Flame; Goddess of Leaf points sword towards the back of the adjacent, the wheel of destiny shall spin again.

43. Wright's Dairy 6

Diary — Underground Tomb - body bag corridor · Part 11
Wright's Dairy 6

I was prepared to see the worst, but seeing it still made me feel sick. All the body bags are just lying around... The company and Alexander flashed through my eyes, giving me chills... What kind of organization are we protecting? Does Joe know about this?
This underground tomb is like a huge body disposal center. They burn the carcasses here. There are traps in every step for intruders. And that terrible howling, it sounds... familiar. Is it from that grave keeper? Didn't they fire him?
Ok, concentrate, I got to move on.

44. Wright's Dairy 7

Diary — Underground Tomb · Part 11
The monster in that room makes me tremble with fear...
If the monsters I've met so far were just scientific products, then this one is just a poor taste of these mad scientists. What kind of lunatic would put claws on a mutant, and then put metal hooks on its back like long hairs. They decorated and played a living person like some kind of Halloween decoration.
Poor man... I shouldn't have handed him to Dick... But... who would know... I feel the obligation to release it from its misery. I hope that giant eyeball on its back is its weak point. Alright, wish me luck... If I failed, I can at least be free from this horrible dream...

45. Dick's Dairy 3 (Old Building Administrative Office)

Diary — Old Building Administrative Office · Part 12
Dick's Dairy 3 (Old Building Administrative Office)

1998.11.26 Sunny
Chores, chores, chores. Some of these things are not worth writing down, but I need to write something down. Writting diaries is definitely not a rewarding habit...
Alright, here we go. The restroom, the men's restroom to be exact. A place for trouble, isn't it? That's right, someone left some number graffiti on the wall with the hard-to-clean fluorescent markers. I went to take a look. The numbers are almost the same as the passcode to the natatorium, except the third digit(too small). Hope I can catch who did this...

1998.11.27 Rainy
Custodians said that they need some time to clean them off, as always. Good thing is that people can't see it under the light anyway, so I asked the maintenance office to lock the light switch. I'll deal with it after the anniversary. (Oh, and I will have to turn off the power switch to turn off the light.)

46. Researcher's Note

Note — Old Building Lab · Part 12
Researcher's Note

Some of the infected subjects' exoskeletons have evolved to be extremely rigid and difficult to destroy. Alexander showed great interests and claimed that he's branching a new research direction. He wanted the Firearm Research Department to join this research too. But to us, this is just causing us more troubles - making the dissections extremely difficult.
The good thing is that one of our colleagues has discovered that electric shock can loose the exoskeletons. It might be due to the fact that the electricity can stimulate the muscle tissues or something. Anyway, it works. Whoever found it deserves a raise.

Mason

47. Vine Horror-Robert's log 6

Document — Old Building Hall · Part 12
Vine Horror-Robert's log 6
The subject was infected by a hybrid-virus of Europa virus and another virus (the director refused to speak of the origin). The virus has botanical characteristics. It can form vines at the infected parts, providing an additional protection for the zombies. However, the vines can also slow them down.
The regular weapon can not penetrate the vine armors very well, but it is extremely flammable. Fire Grenade might be handy to fight against them.

48. Tormentor-Robert's log 9

Document — Medical Department · Part 13
Tormentor-Robert's log 9

The subject was infected by 'Europa-II'. It is much more suprior than the regular zombies. The rapid metabolism causes the frenetic growth of the muscle tissue, making them grow to abnormal sizes. They are extremely violent and will attack any creature in sight.
Type-II virus holds high death rates. The lab installed life support devices on the subjects to increase their chances to survive.
Normally, Tormentors have almost no weakness (except their intelligence). But, they will expose their weak points after continuous damages. The weak point can be a bulging eye or an exposing brain, it varies with different individuals.

49. Hoffman's Diary 1

Diary — Medical Department · Part 13
Hoffman's Dairy 1

1965.12.01
What is the final form of human evolution?
We have invented the automobile and the aireplane. We have even made our way into space. But what about ourselves? Do we have more autonomy than our ancestors did thousands of years ago? Would modern human be more confident under their suits and ties when facing their death compared to their naked ancestors? No, people have not changed ever since the ancient when facing demise. This has to change, the nature of life has to change. Human needs to evolve to their final form - the eilmination of death and age.
The StarDust's 1st Laboratory has been established. The goal is to break human away from the threat of death. It's an honor that the board has chosen me as the first director. I will start the 'Final Link Project' and dedicate my whole life to it.

50. Dick's Diary 2

Diary — Management Office - Study with desk and gears · Part 13
Dick's Dairy 2 (Old Building Administrative Office)

1998.10.04 Cloudy
If you work long enough here, you will witness all kinds of things happen in the work. Isn't this true? Funny things, ridiculous things, even scary things. But nothing creeps me out this much before. At first, the waste disposal office noticed that the grave keeper (that pale ragged guy) was acting weird. After a brief surveillance, they found that he often stole dead bodies that were supposed to be disposed. He even spoke to them and tried to 'control' them. Sick bastard! I have to deal with him as soon as possible.

1998.10.06 Cloudy
Without any doubt, the waste disposal office neglected their duty. Otherwise, the grave keeper would not get the chance to lay his hands on those half-dead subjects. Now he knows the secrets, we have to get rid of him according to the company rules... The lab is lacking experiment subjects anyway...

1998.10.07 Sunny
All done! Almost let that sly bastard run away. The security office people left all his junk to me, I have no interest in dealing with them now.

51. Dick's Diary 1

Diary — Management Office - Study with desk and gears · Part 13
Dick's Dairy 1 (Old Building Administrative Office)

1998.07.04 Cloudy
To increase 'waste' disposal efficiency, Alexander ordered me to convert the Old Building's natatorium into an express transport passage. Yikes, I've already gotten tons of things to do. Now I have to keep my eyes on the construction team too.

1998.07.06 Cloudy
The virus in the lab was often gone missing. Today, Alexander finally snapped on a missing 'Equatorial Virus' (Rumor says it is a valuable primary sample that he had obtained privately). He ordered me and the security office to investigate into it. Yes, me again. Why do I have to fix every problem in the lab? Does he think that I am not busy enough already?

1998.07.13 Sunny
The head of security told me today that he suspects it was an experiment subject causing all these. The subject was a habitual thief, number '0147'. Further investigation reveals a surprising fact that '0147' was dead two days ago and was buried in the cemetery. What an odd! We can finally end all these shenanigans.

52. Caretaker's Diary 2 (page title: Grave Keeper's Diary 2)

Diary — Management Office - Study with desk and gears · Part 13
Grave Keeper's Dairy 2

1998.07.13 Cloudy
0147 is still alive. His eyes are blank. There's no word is coming out of him. I have to call him after the number on his shirt. I can't bury a live person, but this gives me an idea.

1998.07.14 Sunny
I have settled 0147 in a small cabin, I keep it locked during the day, and train him during the night. His intelligence was severely damaged, he can't learn anything. I think it is the result of the experiments.

1998.08.16 Sunny
0147 is dying. He's weak and refuses to eat anything. I had to bury him among the trees near the cabin, I even carved him a tombstone. I buried that 'thing' in his hand with him.

P.S. The grove is too thick to get through; one could only squeeze in through the withered trees. No one would fumble into that place, I think.

53. Hoffman's Diary 2

Diary — Old Building - near Old Building Hall · Part 13
1967.06.08
Ironically, the biggest achievement of the 'Final Link Project' so far is the mitotic inhibitor. Living organisms are active due to their continuous metabolism, and cell division is an important part of the whole system. If we can maintain a healthy metabolism, we can possibly get rid of the old age. That's why the goal of our research is how to maintain the cell division. After thousands of experiments, like God has played a joke on us, what we get is this agent that can slow down, or even completely stop the division of biological cells.
Of course, I wouldn't deny that the current result, in a way, is a breakthrough. Even though it is not what I expected, it has unlimited potentials in biological and medical fields.

54. Hoffman's Diary 3

Diary — Old Building - near Old Building Hall · Part 13
1970.06.12
The 'Final Link Project' has encountered some issues. It is hitting its bottleneck. But the greatest scientific achievement isn't going to be easy. We need to be patient and resilient.
Kerry's words in today's meeting makes me angry. Human fatalism is widely acceptable in public, but I don't care about it at all. A scientist should be rational and diligent. Modern society isn't built by narrow ethic theories.
Should human beings pursue immortality? It's a sensitive matter. But what if we ask ourselves in a different way: should human seek control over their own lives? Immortality is a complex concept. People tend to associate it with vanity and greed. Set the big words aside, imagine that we are simply wresting control of our lives from nature, as we have done countless times against all the terrible diseases like smallpox and plague. And this time, we are fighting against aging. Why can't we consider aging as a disease? What if there's a disease that takes people's lives when they turn 40? Will people still think that fighting against aging is betraying the god's will? It is laughable that some people think that healing is a type of betrayal.

55. Hoffman's Diary 4

Diary — Old Building - near Old Building Hall · Part 13
1970.06.13
Throughout history, all the justifications for death are nothing more than a compromise and self-anesthesia. If death is beneficial for the human kind, then every single life taken by diseases, hunger, and kill should be deserved, even under god's will. But is it really the case? When facing a kid who is dying from disease, do you prefer to provide comfort or help? How about someone who is dying from old age?
The Final Link project is not aiming to grant immortality. Immortality is just an illusion. Its real purpose is to give people a choice when a human is facing senility. People can choose to grow old and die, or stay young and away from disease. Isn't this the ultimate dignity to the human race. Why can't human have the right to choose instead of just facing death?
This is why Kerry's excoriation will not stand. The board has tons of smart people. No fatuous argument or big words can lead them astray. The board's final decision is the best proof.
I shall lead mankind out of death, whatever it takes.

56. Tree Horror-Robert's log 7

Note — Old Building - near Management Office · Part 13
A virus infected spore, slow and deadly. It has evolved mobile vines and predatory instincts. Fire is one of its not many weaknesses.

57. Hoffman's Diary 5

Diary — Old Building - near Old Building Hall · Part 13
1970.08.15
Exciting news today: the corporation's expedition team has discovered a new blood virus in New Guinea. After the initial observation, this virus could stimulate the host's metabolism, breaking the biological limit and enabling self-repair of biological cells. If this is true, it could become the key element to the 'Final Link Project'.

1970.09.01
Another good news, the corporation decided to let me lead the second expedition team to New Guinea. This is so exciting. As the leader of the 'Final Link Project', I am now leading the research of a new virus. This is a perfect chance to combine both of them together. I can almost feel the breakthrough. But first, I need to calm down, hehe...

1970.09.05
It has been settled: I'm flying to New Guinea the day after tomorrow. The vice director will be running the 1st Laboratory during my leave. Our highest achievement of the 'Final Link Project' - mitotic inhibitor will be sealed until I return, I will decide if we should carry on our research on it.

58. Alexander's Diary 5

Diary — near Old Office - desk lab room · Part 14
Alexander's Dairy 5

1998.09.22 Sunny
The test result came out as a big surprise. The 'Equatorial Virus-II' from the infected spore is super contagious and can infect every species. Even the 'Europa Virus' infected subjects can be infected by it the second time. So far, only the 'Second Host' is immune to it.

1998.09.23 Sunny
Oh, bother, I don't know where did they get the information but some reporters started to accuse that the lab is conducting illegal experiments. Some radical ones even tried to sneak in the lab. The security had caught them multiple times. I need to be careful from now on. I can't mess things up at this point.

1998.10.03 Sunny
A new discovery from 'Equatorial Virus-II' research: Some infected plants had grown drastically. They can grow 3 to 4 meters high in a few hours. These dense rooted plants are extremely hard to exterminate. This may lead to bigger problems. I need to find an efficient way to kill them before the experiments are out of control.

59. Alexander's Diary 6

Diary — near Old Office - dark storeroom · Part 14
Alexander's Dairy 6

1998.10.05 Rainy
Who would thought that Hoffman's only research contribution 'Mitotic Inhibitor' could become the best weapon to eliminate the 'Giant Plants'. Come to think of it, the main reason that they are difficult to eliminate is their crazy growing speed. And the 'Mitotic Inhibitor' is the key to stop their growth, henceforth kill the plant.

1998.10.11 Rainy
The theory is flawless, but the execution isn't easy. The hard part is to inject 'Mitotic Inhibitor' into Giant Plant's core. Once the plant is stabilized, its 'core' (similar to the human heart, it circulates the plant sap) will retreat into the center of its twisted sterns. Right now, the only way to expose the 'core' is to 'fight virus with virus'.
A second injection of 'Equatorial Virus' to the root could stimulate the stabilized plant into a temporary active phase. I can then inject 'Mitotic Inhibitor' to the exposed 'core' at this moment. Also, since 'Mitotic Inhibitor' has been stored for a long time, it needs "Catalysts" to restore its activity.
In short, to kill an 'Equatorial Virus' infected giant plant, I need 3 things: 'Equatorial Virus', 'Catalysts', and 'Mitotic Inhibitor'.

60. Alexander's Diary 7

Diary — Waste Disposal Area · Part 14
Alexander's Dairy 7

1998.10.12 Cloudy
Recent researches suggest that the powerful 'Tormentor' is hard to be infected by 'Equatorial-II', but not when it is near death. It might because the old virus in the near-death body does not have the strength to fight against the new virus. The second-infected near-death body may even suffer gigantism, disturbingly giant sometimes. When I look up to this monster, I can only think of the word 'Titan'.
My research is going sidetracked a little bit... But this is interesting...

1998.11.08 Sunny
What is wrong with the board? Lab 35th-anniversary press conference? This is madness! Not only my researches are going underground, but you can't show Wheeler's research to the public. Damn it.
Ok, calm down. I need to calm down. First, I should just lock down the Old Building and keep the reporters away from there. Wheeler's research areas in the New Building also require blockages. One step at a time, I can do this.

61. Alexander's Diary 3

Diary — Botany Lab · Part 14
Alexander's Dairy 3

1998.04.02 Rainy
I won't stop. They thought that a phone call, an order can stop me. Well, dream on. Don't forget that this is my territory, I have my ways to get my hands on the "Second Host". If my plan goes smoothly, I can beat Wheeler's progress.

1998.08.01 Sunny
Last month, I extracted "Europa-II Virus" from the "Second Host". Today, I got "Europa-I Virus" from Wheeler's discarded experiment subjects. This is going all so smoothly beyond my imagination. Victory shall be mine, isn't that right?

1998.08.05 Sunny
Tomas, that sly bastard, he didn't die in the Mansion! He contacted me today, saying that he wants to start research with me. He will provide the Equatorial Virus (a "Heaven Dust" mutation), and I will research the cross-infection between the viruses. We will share the research results at the end. This guy is ambitious, but this proposal is tempting. I have to think about the possibilities.

Keypad codes

#CodeWhereHow it is worked outPart
1518Keypad on the wall by the Hibernation Room doorAlexander's Note 1 says the passcode is your experiment number, which is written on the back of Steve's cloth.Part 1
2645Green keypad box at the gate to the left of the fountain poolPlace the Golden Round Plate in the groove of the pool pedestal, then count the steam puffs of the three pots on the back wall, left to right: 6, 4 and 5. Type 645 at the gate.Part 2
38617Green keypad on the wall next to the pool tableBlack 8, green 6, yellow 1, brown 7: the pool table text names the black, green, yellow and brown balls and the projector slide shows their numbers.Part 3
42182Keypad on the raised metal platform by the Mountain Tunnel cave-in, Underground Parking LotType 2182 and confirm: the hatch beside the platform flips open. Clue: the Guard Room Note says the passcode comes from photos of four sets of objects in the park, and Slide Show C shows them: the podium, the moveable base, the dinner table and the small generator.Part 6
50147Green-lit wall box on the stone wall at the graveyard fence, up and to the left of the Wood Cabin yardCaretaker's Diary 1 names the number. The box gives the Graveyard Key, which opens the graveyard iron gate.Part 6
65186Keypad box in the billiard roomThe Shift Notice gives the order: behind the shelf, black, green. The wall by the bookshelf shows the red numbers 5 and 1; the rest follows from the notice.Part 8
71991Keypad terminal beside the barred gate next to the fish-tail door (swimming pool)The graffiti in the men's restroom reads 1981 with the 8 drawn small. Dick's Dairy 3 says it is almost the pool passcode except the third digit, which makes it 1991.Part 10
82891Keypad at the machine room beside the wall with painted numbersThe numbers 28 and 91 are painted on the wall next to the machine room.Part 13
92617Keypad in the whiteboard officeThe digits 2, 6, 1 and 7 glow green on the whiteboard in the dark.Part 13

Codes that are rejected

CodeWhereResult
8417Pool table keypadRejected with “Invalid password!”. The working code is 8617.
2013Keypad in the whiteboard officeThe year on the whiteboard is rejected with “Invalid password!”. The glowing digits give the code.
0147Gate panel beside the hazard-striped barrier near Office HallRejected with “Invalid password!”. The number belongs to the Wood Cabin wall box.

Puzzles

Light switch in the dark corridor

Setup. The corridor behind the LV1 door is dark; a wall switch shows the A prompt

Solution. Interact with the switch repeatedly; the door at the end of the corridor is open by 198

Clues. Alexander's Note 2: if you see any suspicious light switches, flick it a few times

Restore generator power

Setup. Generator with purple canister under the stairs has red panels

Solution. Combine Spore with Ethanol to make Mixed Ethanol and use it on the generator; panels turn green

Clues. Ethanol on the bench by the cryo chamber; Spore taken earlier

Goddess pools

Setup. Inscription in statue room; empty circular groove on pool pedestal

Solution. Place the Golden Round Plate from the blue dumpster into the pedestal groove: steam rises from the pool pots

Clues. Inscription: When goddesses in the pools meet eyes, befall the third goddess, brings the seed of flame.

Three signal jammers

Setup. Objective on the pause screen: find and destroy the 3 sets of signal jamming devices, then go to the Office Hall on the second floor. A beeping sound marks them.

Solution. Antenna device on the roof behind the restroom is examined; the tower box seen from the cable walkway is shot (sparks); a device on the stone wall of the overgrown roof is targeted. After this the walkie-talkie works.

Clues. Alexander's Note 3

Pool room keypad

Setup. Green keypad beside a pool table whose ball numbers are worn off; Steve says black, green, yellow and brown balls matter.

Solution. Enter 8617 and confirm; 8417 fails with "Invalid password!". The Lab Keycard LV2 is released.

Clues. Pool table examine text; projector slide of numbered balls (green 6, brown 7, yellow 1).

Plant wall at the gate

Setup. A solid green wall of plants blocks the garden behind the gold-pillar gate.

Solution. Throw a Fire Grenade (RB) at it; the Golden Square Plate lies behind it.

Clues. "Fire might do the trick." Fire Grenade from the synthesizer (Spore).

Shooting Range challenge

Setup. Three lanes with a red status light each; a target in each lane; a prize crate to the right.

Solution. Shoot the target in each of the three lanes with the pistol until all three lights are green, then open the prize crate. It gives Shotgun Part B and the Balefire-I Shotgun, so have two free inventory slots (with a full inventory it says “Inventory is full!”).

Clues. Shooting Range Instruction file on the blue counter

Stone gate mechanism

Setup. Complex device between stone pillars on the central path.

Solution. Use the Gear on it; sparks and the light turns green.

Clues. "A complex device. It is missing a gear."

Park projector power

Setup. Projector is dead, generator beside blue bins is dead

Solution. Throw an Electric Grenade at the generator; projector lights up

Speech podium

Setup. Podium with flowers

Solution. Combine Half Paper A and Half Paper B into Speech, use it on the podium by the tables (Valve) and the podium by the projector (Small Key)

Clues. Half Papers

Park statue laser gate

Setup. Two angel statues with a shield slot, a pillar machine missing a gear, an iron gate with a green sensor and red light.

Solution. Place the Metal Shield, take the Gear from the pit and use it on the pillar machine; the laser then reaches the gate sensor and the gate opens.

Clues. Pillar machine: "A complex device. It is missing a gear." Shield: "A dark groove carves in the center of the shield."

Graveyard podium and vases

Setup. A row of dirt patches with vases ("A mysterious vase filled with rich soil") by the fence and a red podium reading "The only thing that's missing is a speech".

Solution. Take the Speech from the chest, use it on the podium to get 3 Green Seed, use the Green Seed on the vases, wait for the plants to grow and pick the Green Herb.

Clues. Podium text and vase text; Speech item in the storage chest.

Electric Grenade machine

Setup. Machines in the walled yard behind the key-symbol gate

Solution. Take a Spore from the plant, use it on the machine on the right; it outputs 2 Electric Grenades.

Clues. You have used Spore message

Billiard room keypad

Setup. Keypad box in the billiard room

Solution. Type 5186 and confirm

Clues. Shift Notice (behind the shelf, black, green); red 5 1 on the wall by the bookshelf

Food Bell at the feed trough

Setup. A feed trough with a rope in the middle that looks like something hung there

Solution. Use the Food Bell from the inventory at the feed trough

Clues. Feeder's Note: strike the Food Bell to drive the dog-like monsters toward it

Golden Square Plate machine

Setup. Green machine with a triangle symbol on the left side of the workshop

Solution. Use the Golden Square Plate on the machine: message "You have used Golden Square Plate", sparks fly

Triangle groove in the graveyard

Setup. A triangle groove in a walled grave plot

Solution. Use the Golden Triangle Plate on it: message "You have used Golden Triangle Plate"

Clues. inscriptions (four swords / Goddess of Feather and Goddess of Leaf)

Gas fire in the parking lot

Setup. Burning pipe and cars block the lot

Solution. Use the Valve on the pipe: "You have used Valve"

Exoskeleton in the glass tank

Setup. A body with a hard exoskeleton stands in a tank in the lab room; examining it says there seems something inside.

Solution. Throw an Electric Grenade at the tank (electric shock loosens the exoskeleton), then examine it again to get the Prison Guard Key.

Clues. Researcher's Note (Mason)

Electrified Pool

Setup. The Pool water is full of blue electric sparks and blocks the way

Solution. Use a Wooden Plank on the water at the stairs; planks cover the water and Steve walks across to the Flower

Clues. Text: "It looks like you can put something on it"

Empty vase (Flower)

Setup. A small table beside the sofa holds an empty vase: "An empty vase."

Solution. Use the Flower from the inventory on the vase ("You have used Flower"); smoke appears and the chest in the corner room opens with the Gun Barrel Stabilizer.

Clues. Flower already in the inventory

Whiteboard code

Setup. A whiteboard reads "2013" and the keypad refuses it

Solution. In the dark the glowing digits on the board read 2617

Clues. Whiteboard in the Management Office whiteboard office

Lampstand with half a candle

Setup. "An old-fashioned lampstand with half a candle stands on it."

Solution. Use the Lighter on it; smoke rises and the gear wall opens a passage to the statue room where the Deer Head Wall Mount hangs.

Clues. Lighter from the green lamp desk

Machine room keypad 2891

Setup. A keypad with a bed-like machine holding Catalysts

Solution. Type 2891 (numbers 28 and 91 painted on the wall panel)

Clues. Painted numbers on the wooden wall beside the machine room

Dirt mounds in the Graveyard

Setup. Dirt mounds between the crosses give "A lump of dirt, if only there is the right tool for it..."

Solution. Use the Portable Shovel from the inventory on a mound: first mound Service Pistol Ammo x10, next Fire Grenade x2, mound in the hedge enclosure Equatorial Virus.

Clues. The lump-of-dirt message

Giant plant in the corridor

Setup. A giant plant stem blocks the corridor to the Botany Lab

Solution. Use the Equatorial Virus on it, combine the Catalysts with the Mitotic Inhibitor (inert) to make the Mitotic Inhibitor (active) and use that on the plant; it withers

Clues. Alexander's Diary 6 names the three ingredients

Locked Doors

Door or lockWhat it needsPart
Hibernation Room door (keypad)Code 518Part 1
Door marked LV1 in the tank roomLab Keycard LV1Part 1
Fuel generator under the stairs and electric outletfuel (tank is empty)Part 1
Rusty lock on the door right of the barricadea bullet shot at it (gun)Part 1
Wooden barricade beside the generatora shotgun (“Makeshift barricades. A shotgun can easily break it apart.”)Part 1
Rusty round lock on the door at the right end of the generator roomshoot it with the pistolPart 1
Red-beam security scanner gate in the New Building Labwear the Security Uniform (“No virus detected! Security gate is unlocked.”)Part 1
Elevator beside the loungethe missing elevator button (“The elevator is intact, but the button is missing. (I need to find the button first)”)Part 1
Red door with golden flame plaque in statue roomseed of flame (goddess pool puzzle)Part 2
Gate with keypad box beside the fountaincode 645 after Golden Round Plate placedPart 2
Makeshift barricade of planksshotgunPart 2
LV 2 metal door beside the red staircase and restroom doorLV1 Keycard (door text: Require LV1 Keycard)Part 2
Keypad lock next to the pool tableCode 8617Part 3
Planter wall of mutated plants behind the gold-pillar gateFire GrenadePart 3
Door marked LV-2 in the corridor, "Require LV2 Keycard"Lab Keycard LV2Part 3
Round vault door, "Fingerprint sensor."Steve's prosthetic handle (fingerprint)Part 3
White workbench in the workshop, "A square groove."Golden Square PlatePart 3
Door marked with a symbol of golden flame (alcove with ladder, Lounge)Fire KeyPart 4
Nautilus special force's supply cache (dark container by the Research Institute wall)a keycard (message: “You need the keycard to open it.”)Part 5
Gate to the Old Building / Old Lab Building area past the four statuesRay trap on the statues and the Metal Shield (objective: “Find Metal Shield and open the gate to the Old Lab Building”)Part 5
Podium with microphone and flower (voice lock)a spoken phrase (message: “The only thing that's missing is a speech, haha.”)Part 5
West podium with microphone and flowera speech ("You can not use Gear" / "You can not use Half Paper B")Part 5
North podium by the white fridgea speech ("You can not use Half Paper B" / "You can not use Gear")Part 5
Complex device, stone gate mechanism on the central pathGearPart 5
Small generator with red lightning symbolelectric shockPart 5
Barred gate with red light in angel statue courtyardlaser beam lined up via shields in statues; one Metal Shield placed, light still redPart 5
Fallen railing on the parking rampWooden PlankPart 5
Keypad on the platform near the Mountain Tunnelcode 2182Part 6
Iron gate by the statues in the Park (leads to the cemetery)Metal Shield in statue, Gear on pillar machine, laser reaching the gate sensorPart 6
Graveyard iron gate in the wall (red gate area)Graveyard Key (from the supply cache at the wall above the Wood Cabin yard, code 0147)Part 7
Stone gate marked with a key symbol (outdoor yard east of Shooting Range)Small KeyPart 8
Wall locker marked LV3 (supply cache) in the New Building Lab: “Require LV3 Keycard”LV3 KeycardPart 8
locked door near Kay's supplies cornerPrison Guard Key (Kay offers to try it)Part 9
Door with the golden fish tail mark in the labFishtail KeyPart 9
Burning gas pipe and cars in the Underground Parking LotValvePart 10
wooden door with a golden fish tail markcode 1991 on the keypad (Small Key does not work)Part 10
Door in a red wooden frame beside a wall lamp: "Locked, the door has a mark of a golden fish tail."Fishtail KeyPart 11
Golden fish tail door by the water-cooler officeFishtail KeyPart 12
Prison Guard Room doorPrison Guard Key (Kay trades for it); Fishtail Key does not workPart 12
Golden fish tail door in Old Building Lab (laser corridor)Fishtail KeyPart 12
Nautilus special force's supply cache (garden)Retrieval Team KeycardPart 12
Wooden door in the panelled hall marked with a golden fish tailKey with a golden fish-tail markPart 12
Barred gate between the lab room and the PrisonPrison Guard KeyPart 12
Makeshift barricade in front of the deskShotgun shotsPart 13
Hole in the floor of the corridor with red pipesWooden PlankPart 13
Round vault door in the wood-panelled office near Office Hall ("Fingerprint sensor.")Prosthesis, used from the inventoryPart 14

Enemies

EnemyWhereHow it behavesPart
Zombie in red clothesLab - generator room (stairs)Part 1
Zombie (common Europa virus subject)Lab - generator by the stairsShuffle through the barricade; slow; head shot kills (per Zombie-Robert's log 1). Some are in red or pink clothes.Part 1
ZombiesLab - cage roomSeveral in the lab and cage room; head shots, spare ammo fell from 45 to 38.Part 1
Zombiesstatue room and courtyardPistol; they come one at a time through the doorway and gatePart 2
Zombies on walkwaywalkway through the treesShoot as they approach along the rail pathPart 2
ZombiesSecond Floor - RestroomCome out of the stalls one at a time; killed with the pistol.Part 2
ZombiesSecond Floor - corridor and cubicle roomA few in the corridor with the sofa and more in the cubicle room; shot with the pistol.Part 2
ZombiesSecond Floor - Office HallTwo near the server racks; killed with the pistol.Part 2
InfectedNear LV 2 Door - CorridorGroup in the planter corridor; the Storm-I runs out of ammo, finish them with the pistol.Part 3
InfectedNear LV 2 Door - Red StairsCome down the red staircase near the LV-2 door and from the bench area; shoot them as they approach.Part 3
Infected (break room group)Botany Lab - Break RoomA group including a woman and a heavy infected in a suit takes Steve to critical health; healed with Mixed Powder.Part 4
Infected at fountainNew Building Hall - GardenOne infected attacks near the stone fountain; killed with the pistol.Part 4
ZombiesNew Building HallSeveral zombies in the hall; the submachine gun handles them.Part 4
Infected along the wallOutside - next to the Research InstituteCome one by one along the low wall while Steve stands at the green crate; killed with the shotgun.Part 5
Crowd of infected at the archOutside - road to the park gateGathered around the lamp; fire set on them at the lamp, rest shot with the submachine gun.Part 5
Infected in the statue yardOutside - statue yardWait around the shield statues and the red ray; shot before continuing.Part 5
Zombies (park)Park - West LawnOrdinary and purple-skinned zombies among the yellow chairs; killed with gunfire.Part 5
Zombies near the hydrantUnderground Parking Lot entrance roadNear burning truck, cylinders and hydrant; shoot themPart 5
Giant armored wormUnderground Parking LotBursts out of floor and walls; killed Steve once at the red gate; second try lured past barrels with SMG fire until it retreated through the wallPart 5
ZombiesUnderground Parking Lot - rubble by the burning truckSeveral walk at Steve on the road; shots from the pistol and shotgun kill them quickly.Part 6
Purple zombie with flower headGraveyard - iron gateStands behind the iron gate and is shot as it approaches; dead bodies stay at the gate.Part 6
Zombie at cabin doorGraveyard - Wood CabinA zombie by the cabin door is shot down before entering (about 9825).Part 6
ZombiesGraveyard - iron gateA tall zombie and others gather behind the gate; they are shot from a distance with the pistol.Part 7
Zombies and a crawling creatureGraveyard - grave plotsShot with the pistol on the grave lawn; they drop an Ammo Shells Pile.Part 7
Infected in the officeOffice with red cabinetsKilled with the pistolPart 8
Infected from the dark doorwayOld Lab Building hallPistol runs out of ammo during the fightPart 8
Pink imp-like infectedOutdoor path with lamp postSeveral by the lamp post; shoot the red targetPart 8
Purple infectedOld Lab Building - storage yard beside the stairsShot with the pistol on the hazard-striped floor; drops Pistol Ammo x21Part 8
Infected in prison cellsnear the prison cells (cell gates 101-105)several infected inside cells 101-105 and the corridor; one sits on the bed in cell 102; shot with pistol from rangePart 9
Dog-like monstersbarrel room near the Prison Guard RoomKilled with Electric Grenades and a Fire GrenadePart 9
Infected in firefighter-style clothingconsole roomShot with the pistol; one body holds 15 Shotgun AmmoPart 9
Large many-legged creatureUnderground Station rail hallPart 9
Pink/purple infectedUnderground Station - save roomcome in groups around the crates; Steve died once here and reloaded the savePart 10
Lab-coat infectedUnderground Station - barrel corridorshoot from range at the red and blue barrelsPart 10
Infected in fan ductAir duct with fanscleared with fire grenade burst and pistolPart 10
Red infectedOutdoors - graveyardgroups near the angel statues; a grenade blast clears themPart 10
Infected (locker room)near the electrified pool, locker roomseveral infected attack after the door opens; killed with pistol then shotgunPart 10
Creatures in the body bag corridorUnderground TombA few zombie-like creatures; Steve shoots them with the pistol right after dropping in.Part 11
Zombie group at the cratesUnderground Tomb - corridor with the fenceAttack beside the burning crates; they killed Steve and again. The second try succeeded.Part 11
Clawed armoured mutant with hooksUnderground Tomb - Incineration RoomBlue mutant with claws and metal hooks; weak point is the eyeball on its back (Wright's Dairy 7). Killed Steve once; dies after a second attempt; the Small Key is then collected in the room.Part 11
Humanoid with red target ring (lab doorway)Old Building LabKills Steve after entering past the laser corridor. Only the doorway fight was seen.Part 12
Lab-coat infectedOld Building - concrete yardTwo lab-coat infected near the cache are shot down before the cache is opened.Part 12
Infected lab workerOld Building LabStands by the cylinders next to the laser fence; shot from the locker corridor.Part 12
ZombiesChandelier hallCome from the left of the hall; shoot them from the carpetPart 12
ZombiesOld Building Hall stairsCome down the stairs one by one; use the pistol/shotgun at rangePart 12
Lab-coat zombiesOffice with whiteboard 2013Several in the office; the note says vine armor resists regular weapons and burns with Fire GrenadesPart 12
ZombieManagement Office - Whiteboard OfficeShot with the pistol, falls beside the desks.Part 13
Zombies (pale)near the hospital wardTwo walk up the hall below the balcony and more in the ward; shot with the pistol using the aim laser.Part 13
ZombieMedical DepartmentShot with the pistol/shotgun around the corner chest room.Part 13
Thorny plant monster (spore plant)Old Building - near Management OfficeBlocks the hall past the wooden crate. Dies after being burned and shot, leaving green goo; Robert's log 7 says fire is one of its weaknesses.Part 13
Large red mutant in tiled lab roomOld Building - near Old Building HallStands beside two red barrels; Steve died here and retried.Part 13
Pink mutants with green tubesnear Old Office - checkered-floor labSeveral come at Steve in the lab with the checkered floor; one burns after being hit. Beaten with SMG, then pistol; Steve runs out of ammo and the lab is clear.Part 14
Infected enemy (burning)near Old Office - plant-covered labAttacks before the corridor; catches fire when shot.Part 14
Giant plantWaste Disposal AreaFills the floor with roots and a glowing green core in the center, yellow bulbs on its crown, red barrels around. Kills Steve on the first try.Part 14
Giant tree monsterNear the crane control towerHuge tree with a face and a glowing green core on its chest; Steve shoots at the core from the platform and back-steps between crates.Part 14
Pyjama and lab-coat zombiesNear the vault office, gun blueprint hallSeveral zombies in the tiled hall; shotgun shots at the railing kill them.Part 14
Fang-mouthed plantNear the vault office, gun blueprint hallStationary fanged plant against the far wall of the hall; Steve stays out of its reach while looting.Part 14

Save points

WherePart
Lab - computer roomPart 1
New Building LabPart 1
Second Floor - Save Room (recorder next to chest and weapon table)Part 2
Near Library - rabbit statue roomPart 3
New Building Hall (autosave, SAVING)Part 5
Outside - next to the Research Institute (save slot screen)Part 5
Underground Parking Lot (autosave after worm retreats)Part 5
Graveyard - supply crates near the Wood CabinPart 7
Office rooms with wooden floors (white bird statue)Part 8
Outdoor path east of Shooting RangePart 8
Old Lab Building - billiard room (SAVING shown after the code)Part 8
lab office with green equipment (SAVING shown at 12640)Part 9
lab office with green equipment (SAVING shown at 13290)Part 9
Old Building - Lab near the save pointPart 9
Underground Station - save room with storage boxPart 10
near the electrified pool, locker room door (autosave, SAVING shown)Part 10
near the locked fish-tail door (workbench desk)Part 11
Underground Tomb - save roomPart 11
Underground Tomb - save pointPart 11
Old Building Lab - office with the green computer deskPart 12
Old Building Lab save roomPart 12
CourtyardPart 12
Upper corridor over Old Building HallPart 12
Management Office - Modding table roomPart 13
Old Building - near Old Building Hall (workbench room)Part 13
Old Building - Graveyard exit courtyardPart 13
Old OfficePart 14
Waste Disposal AreaPart 14