HEARTWORM

Complete 100% Guide
19
Achievements
3
Endings
10
Possums
~12h
100% Time
$14.99
Steam

Game Overview

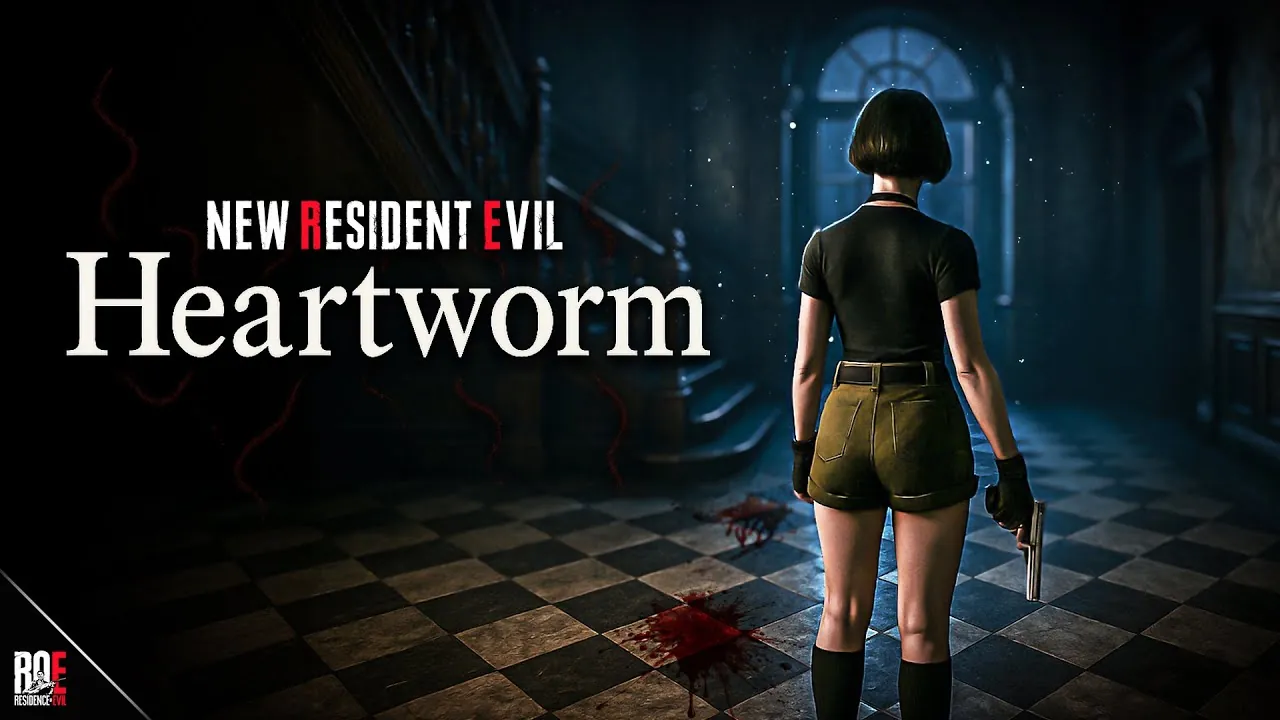
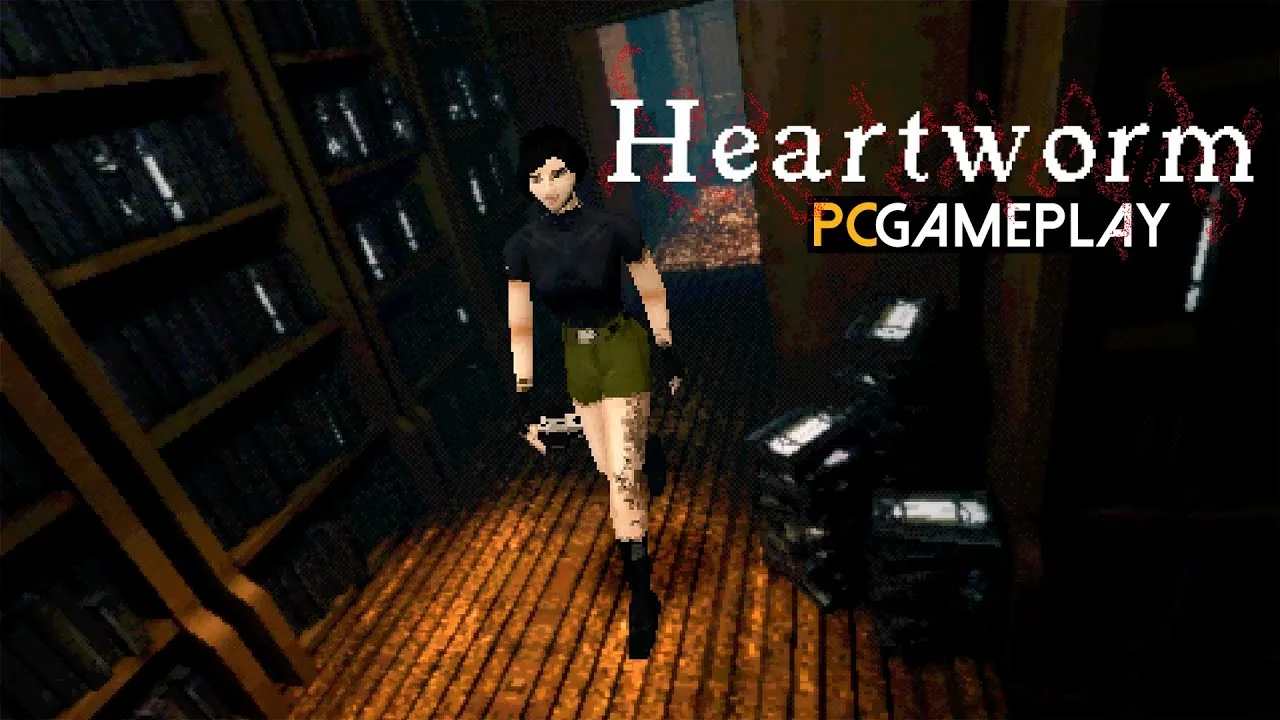
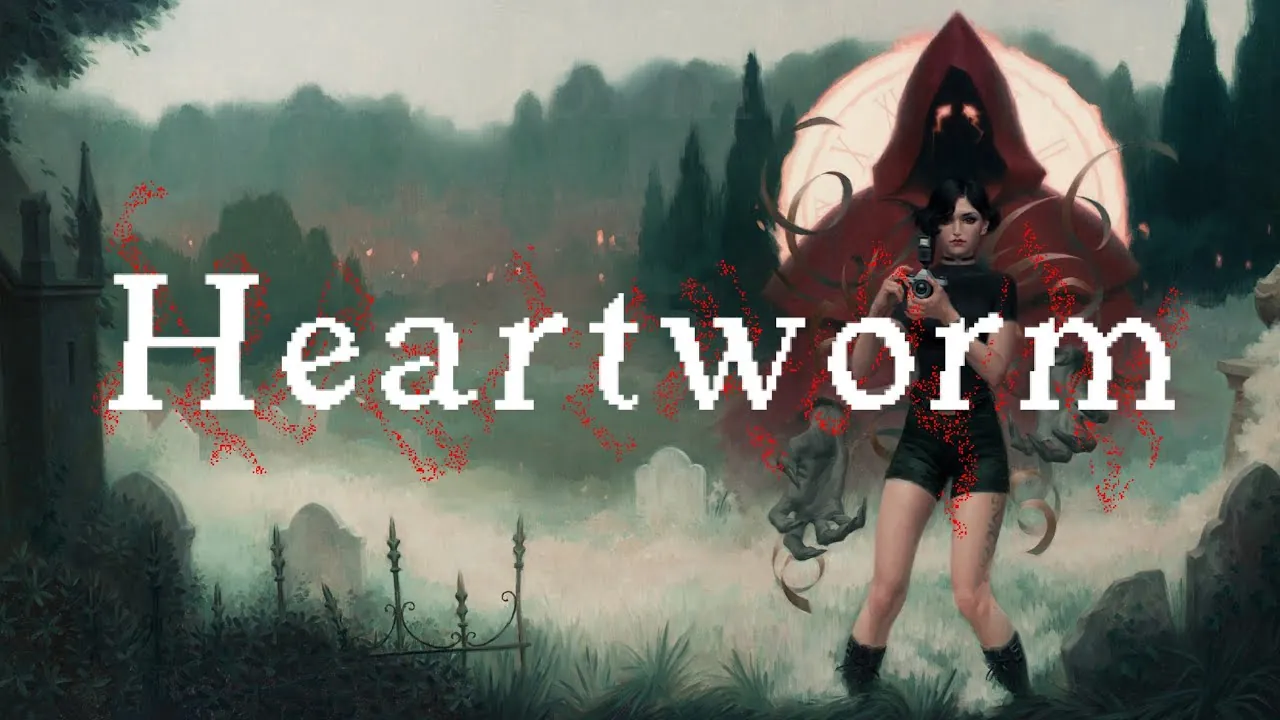
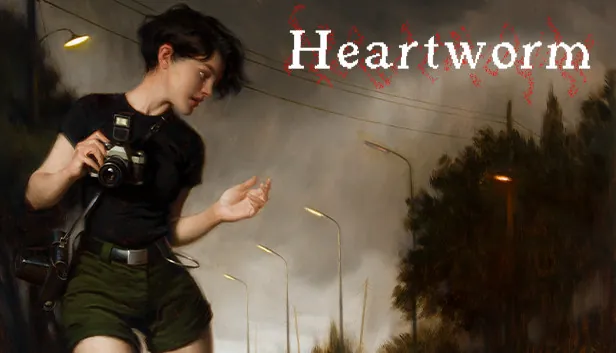
Heartworm cover art — Sam with her camera

Heartworm is a retro survival horror game inspired by Silent Hill and Resident Evil. Developed by Heartworm LLC and released July 31, 2025, it combines fixed camera angles with over-the-shoulder gameplay. You play as Sam, unable to move on from her grandfather's death, who discovers a supernatural house connecting to the other side.
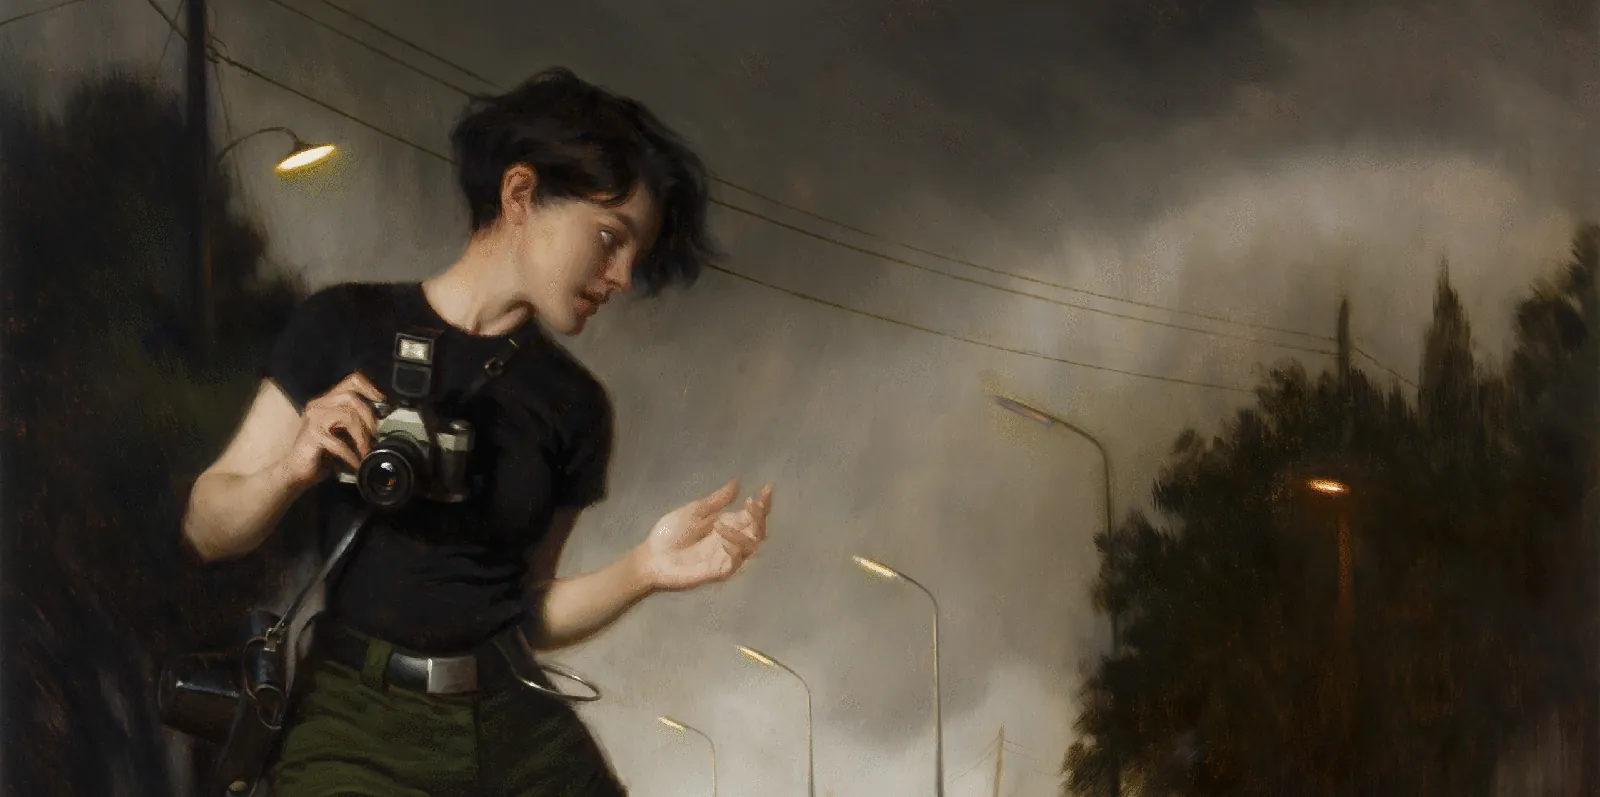
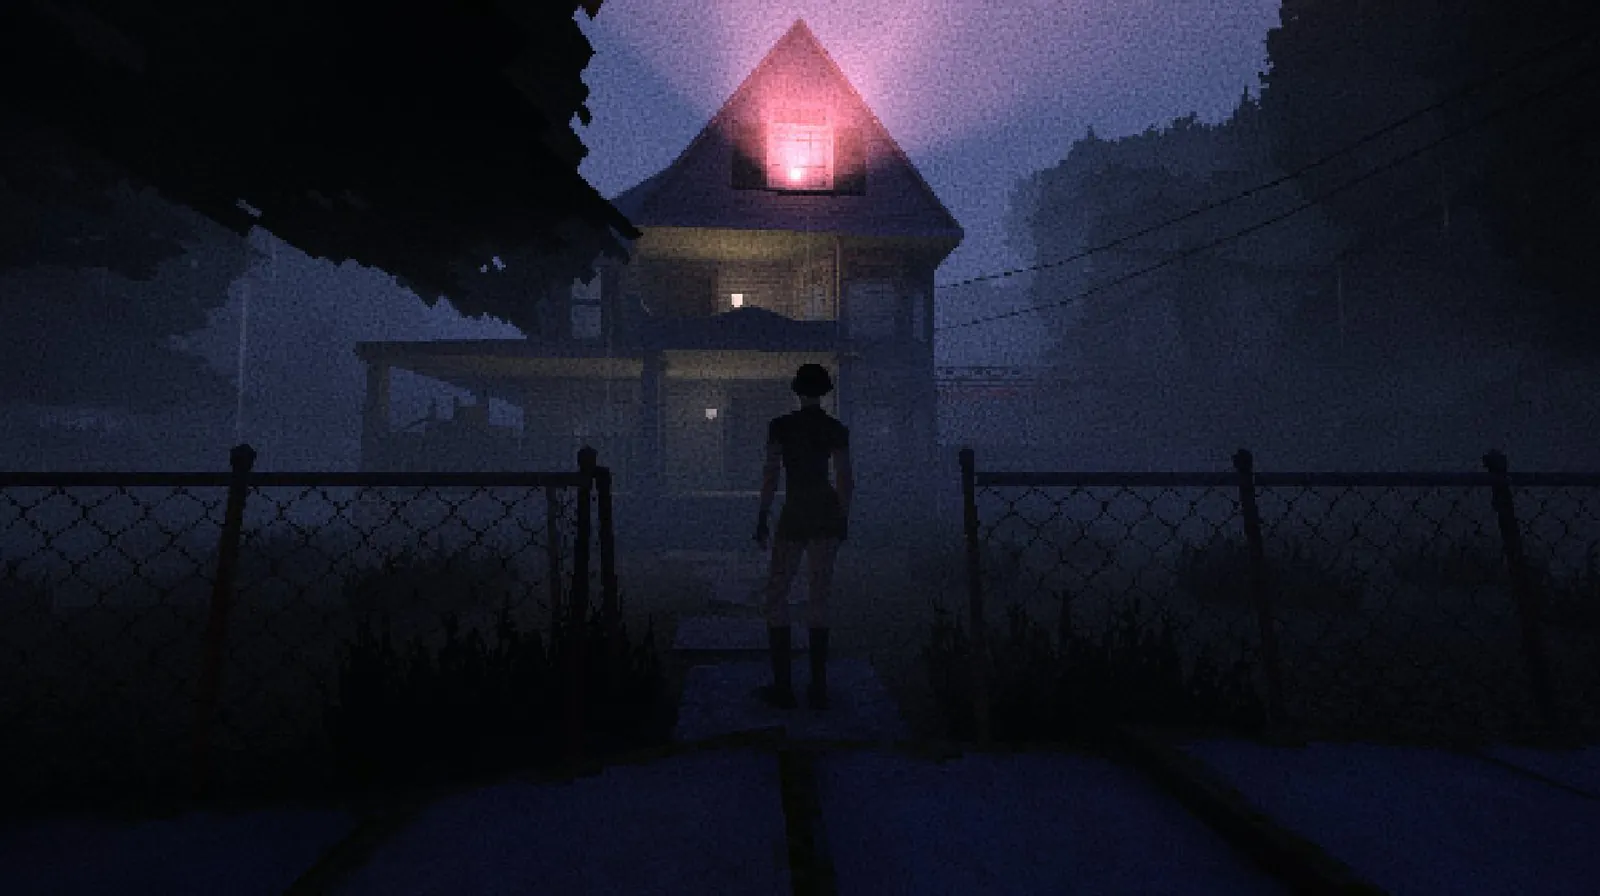
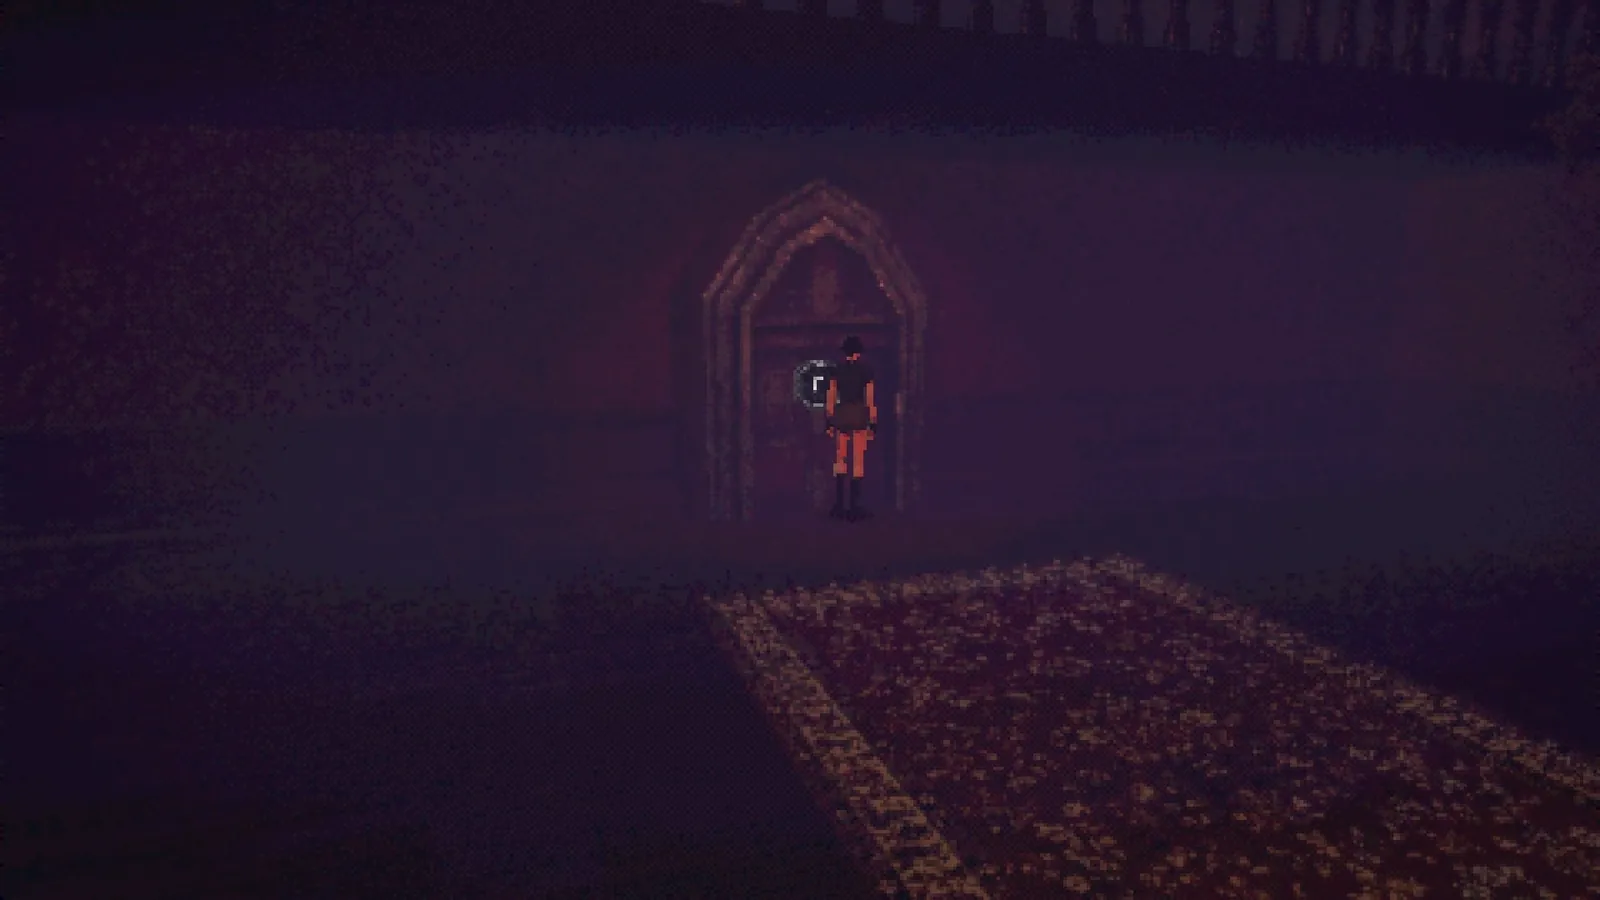
Sam on a misty street
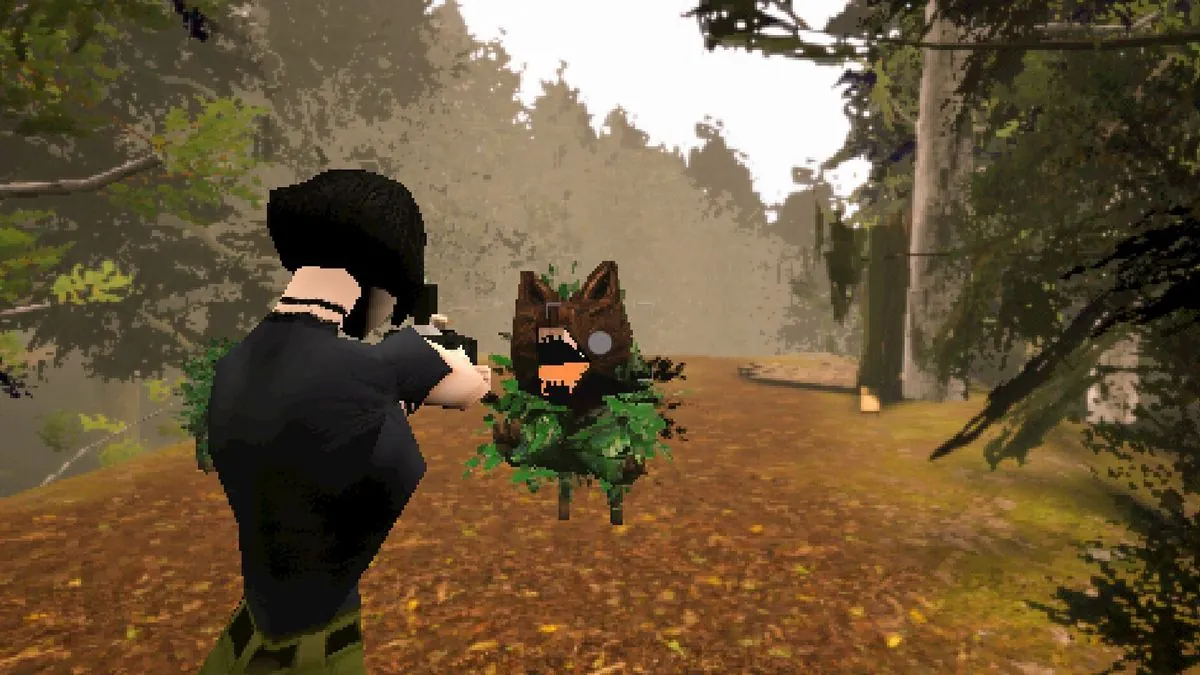
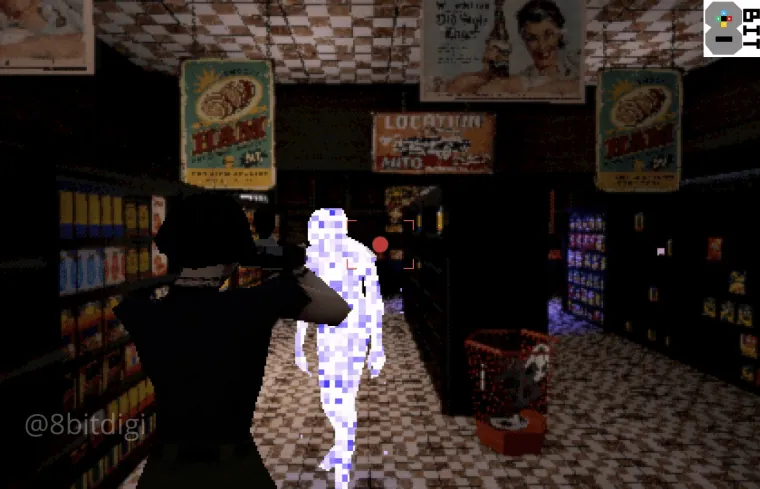
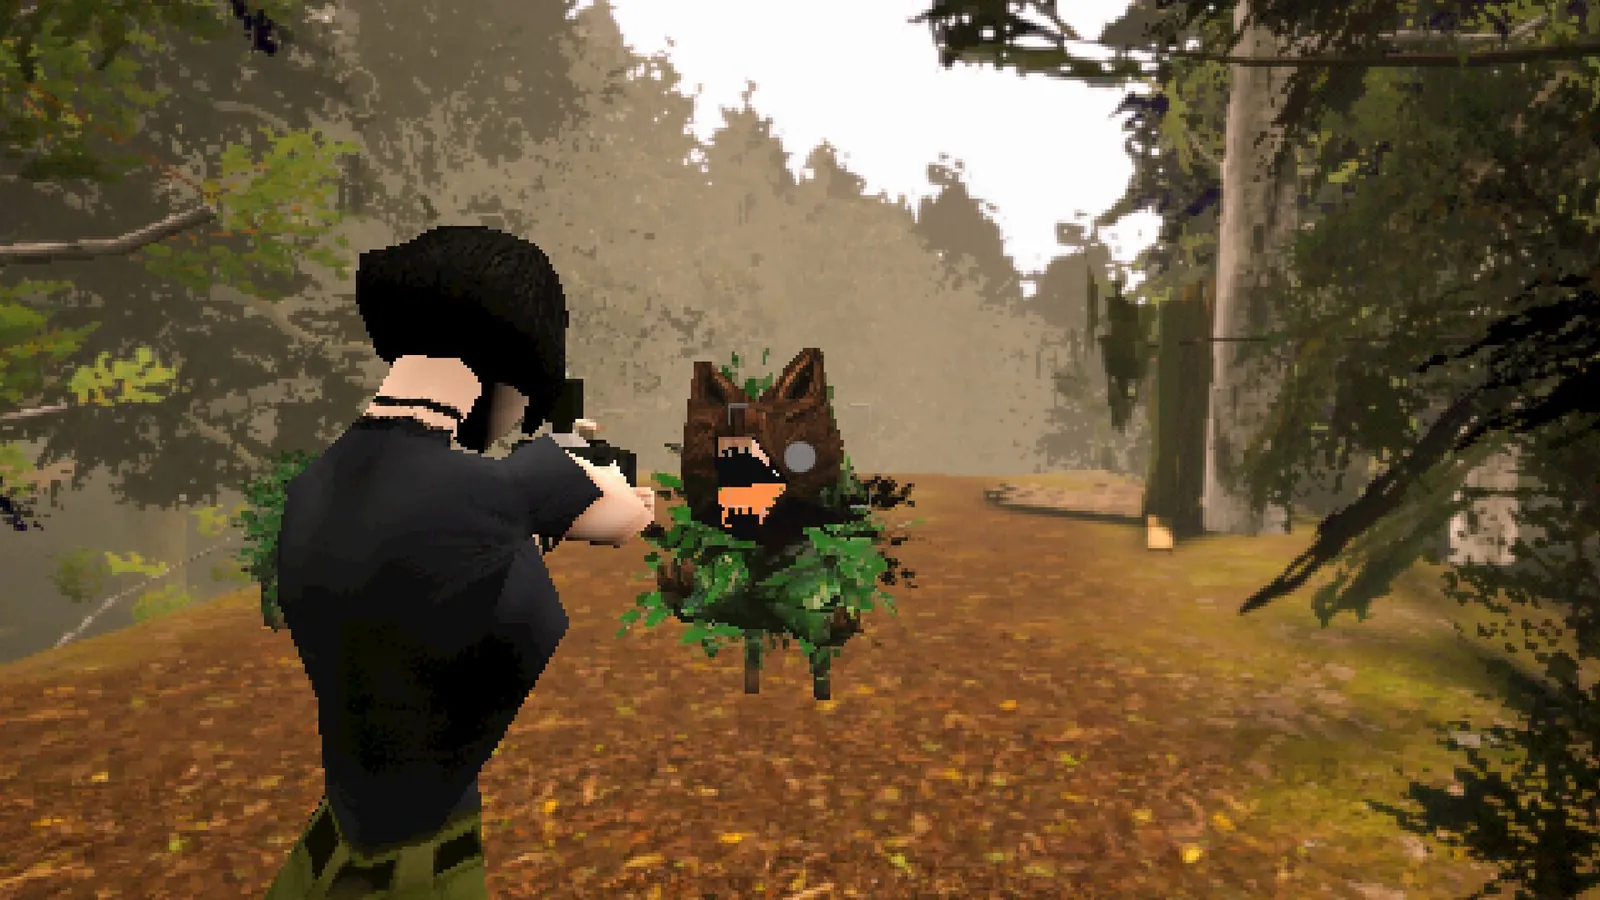
Combat — aiming camera at a forest creature
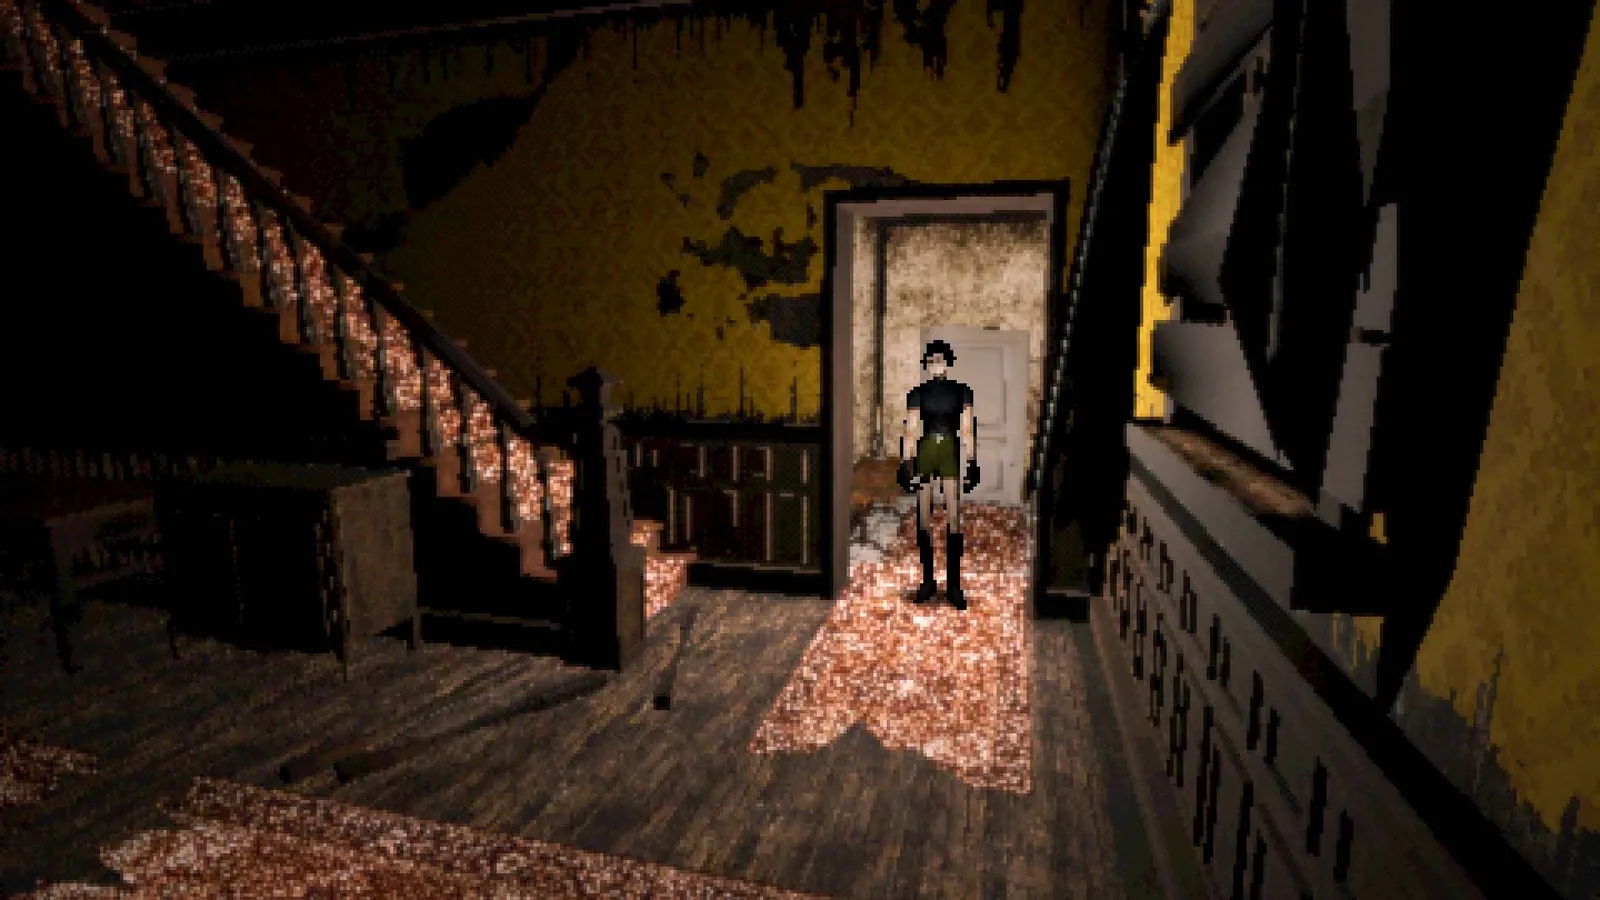
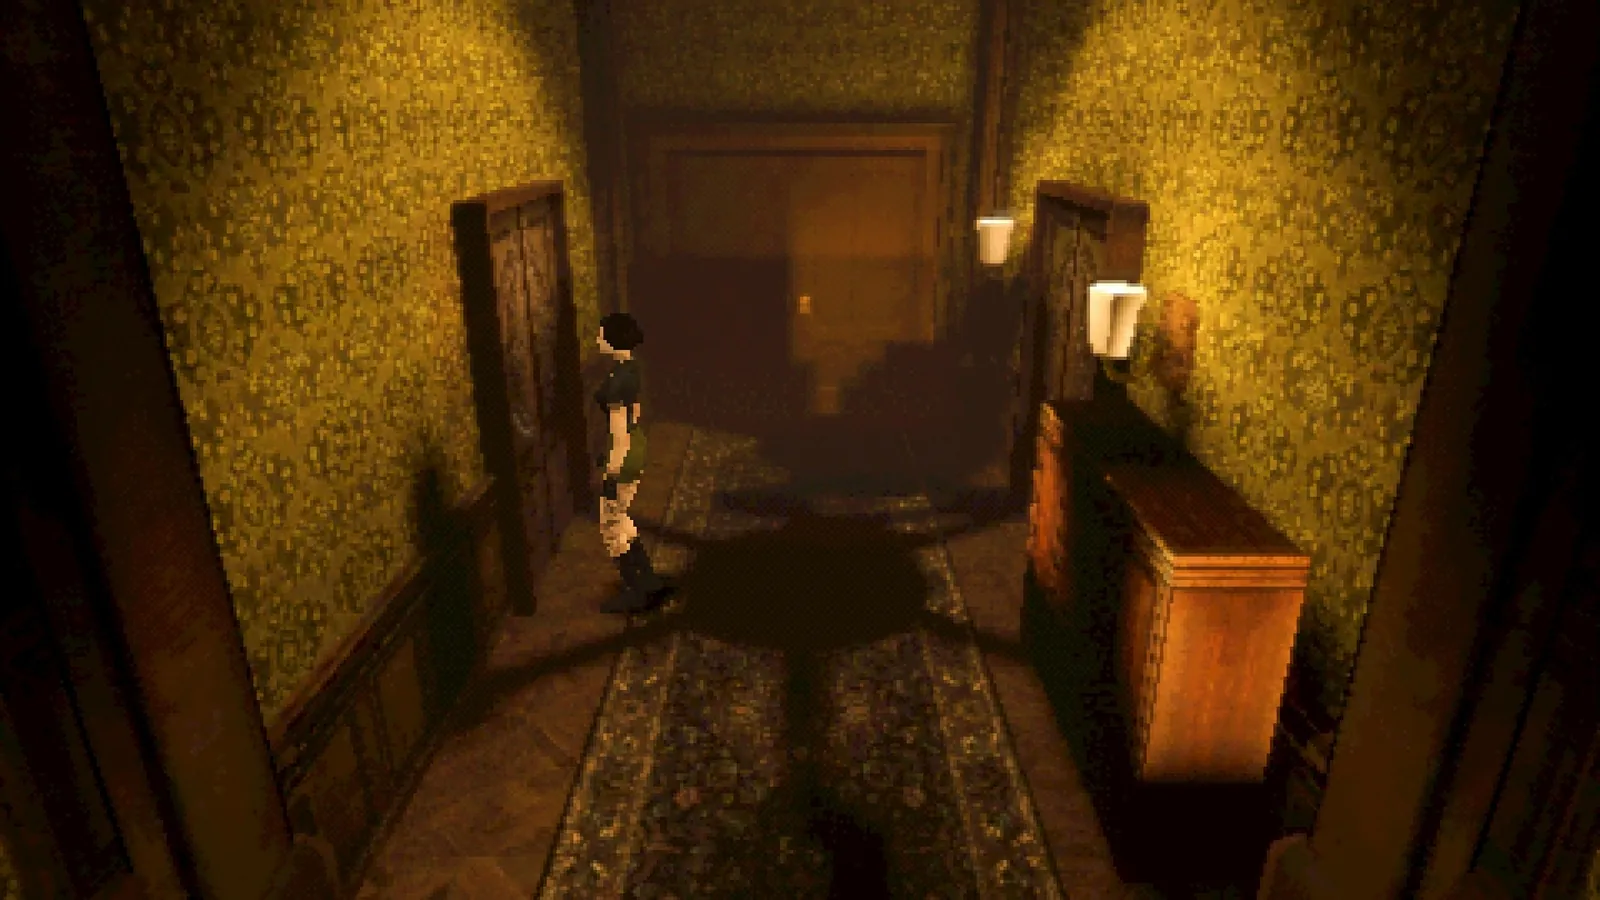
Inside the abandoned house
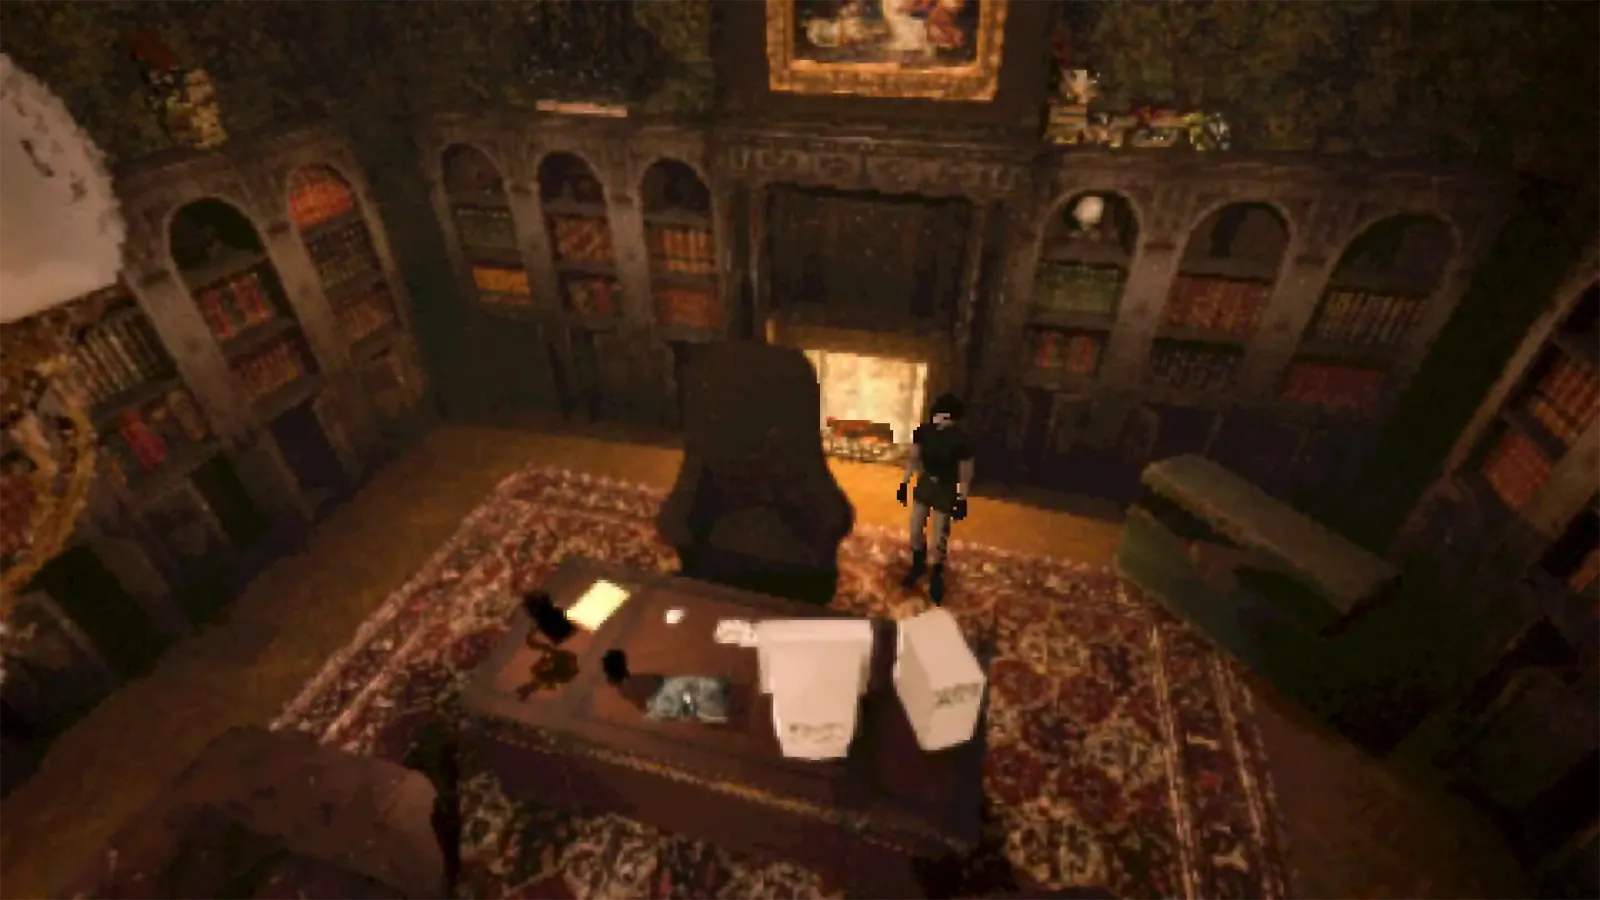
The study room with bookshelves

100% Completion Roadmap

Heartworm — retro survival horror

Playthrough 1 (4-6 hours)

  • Follow the full walkthrough
  • Collect all 3 photos (Garden, Cave, Clock Tower)
  • Photograph all 10 possums
  • Insert all photos into the Archive machine
  • Unlocks the best ending (Stays+)

Playthrough 2 (2-3 hours)

  • Speedrun — complete in under 90 minutes
  • Miss photos for other endings
  • Can combine with challenge runs

Playthrough 3 (optional)

  • Cleanup any missed achievements
  • Try different ending variants
Heartworm explores deep themes of grief

Tips & Tricks

Exploring the dark interiors
Save frequently! Visit safe rooms (PC) often. Backtracking to save is always worth it.
Camera flash is free light. Press R1 to illuminate dark rooms without using film ammo.
Manage inventory. Use item boxes in safe rooms. Limited carry space.
One mod at a time. Only one camera mod can be installed. Swap at item boxes.
Combine items. Bandage + Antiseptic = First Aid Kit.
Aiming at a creature in the forest

Chapter 1: Abandoned House
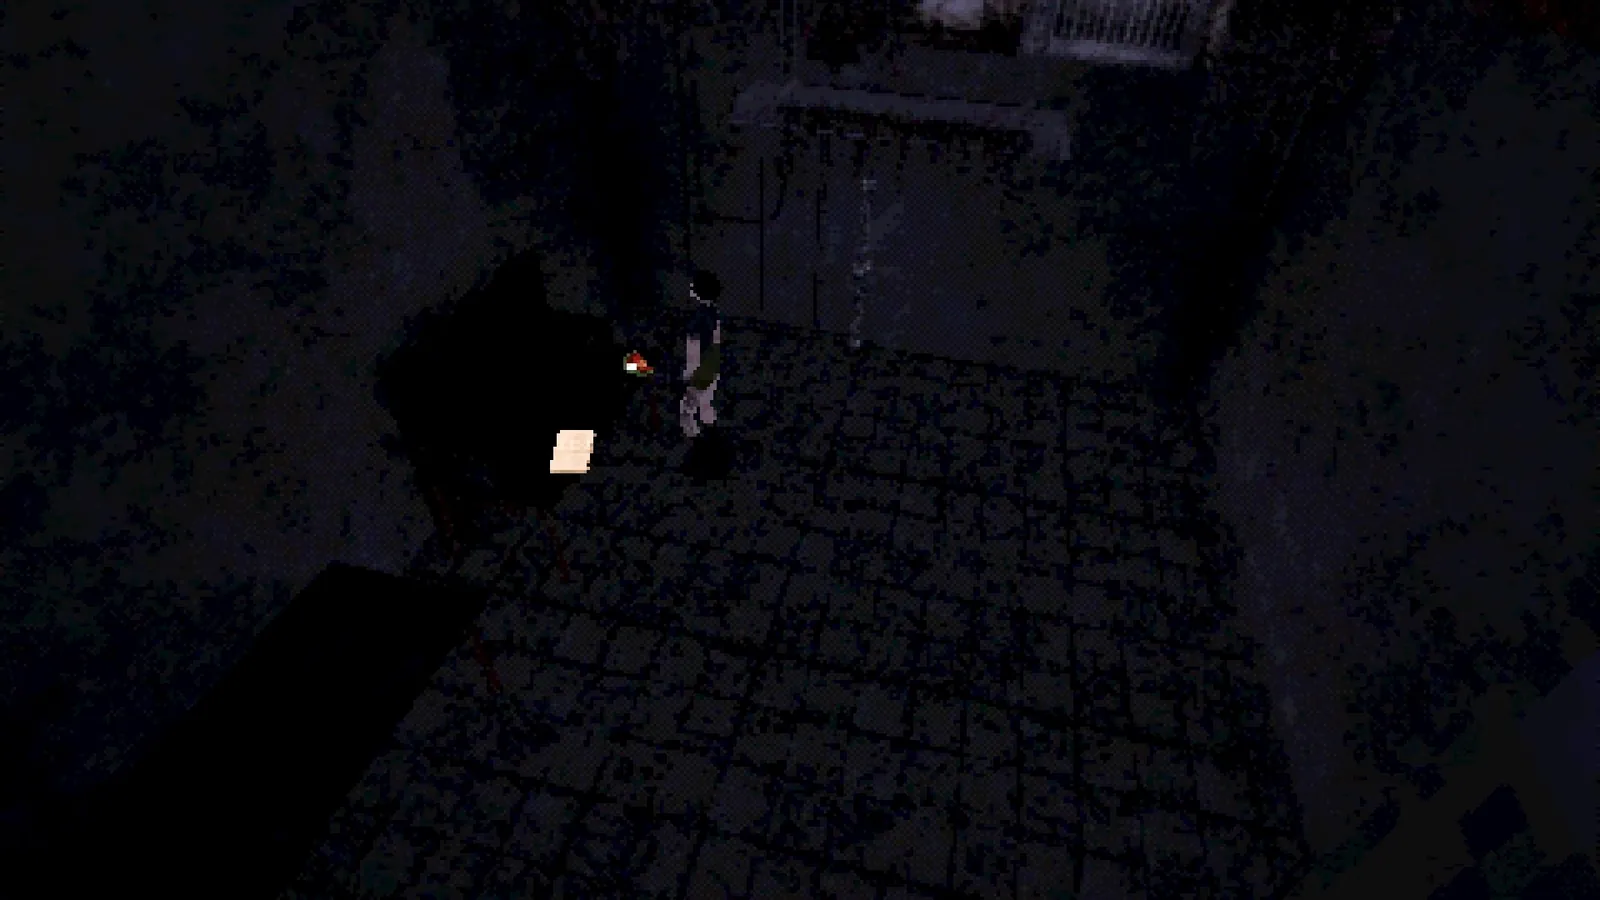
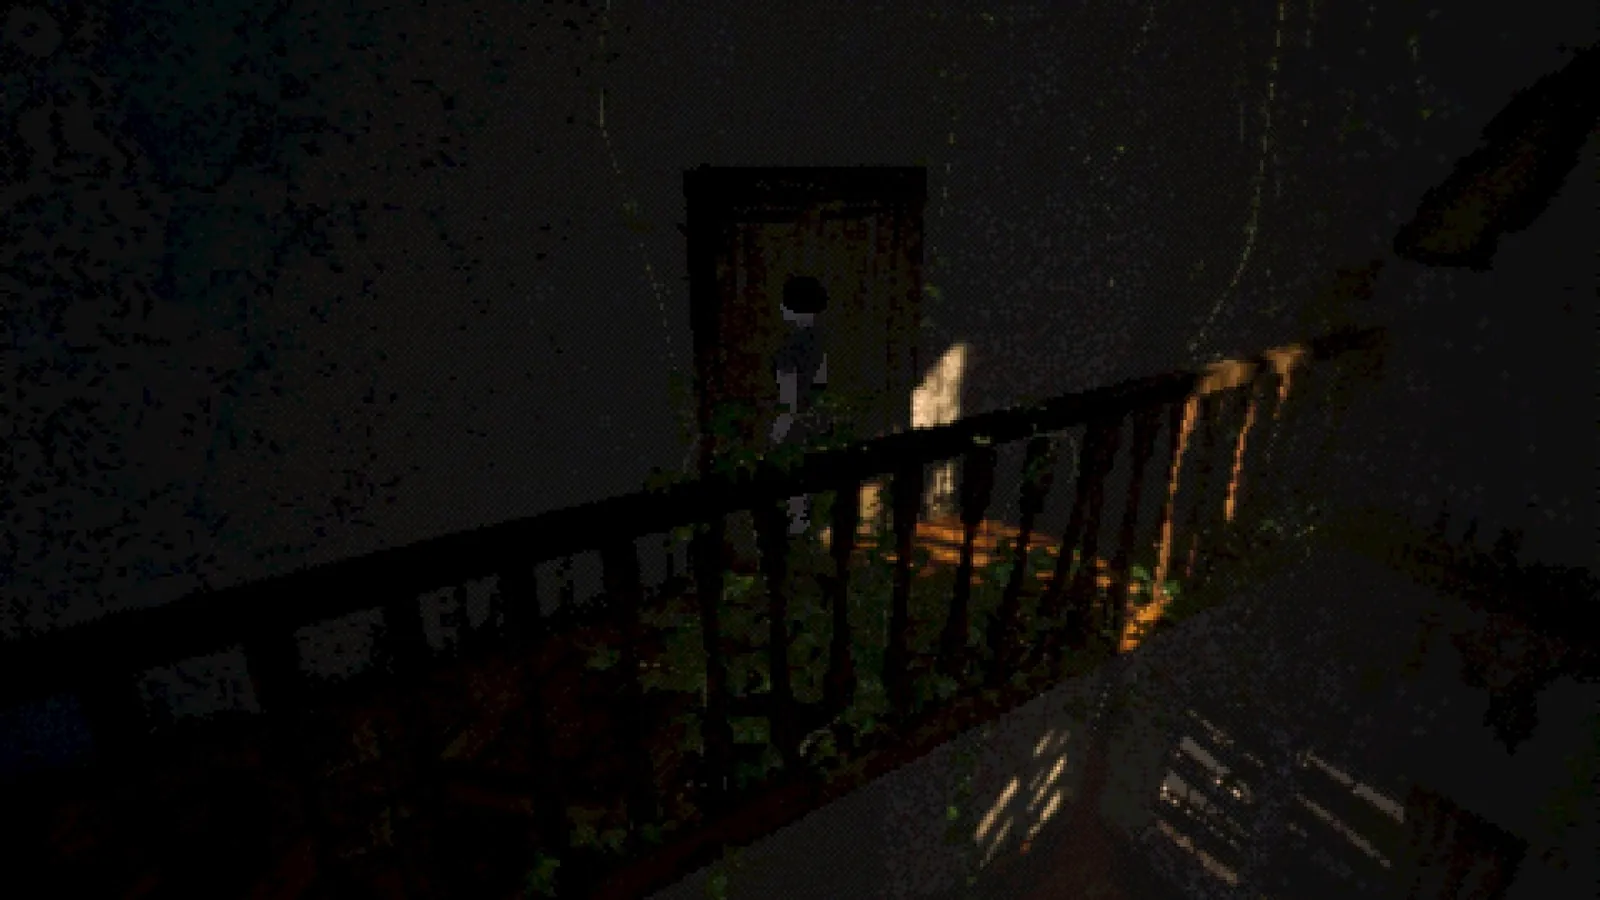
The abandoned house — glowing light from the attic
1
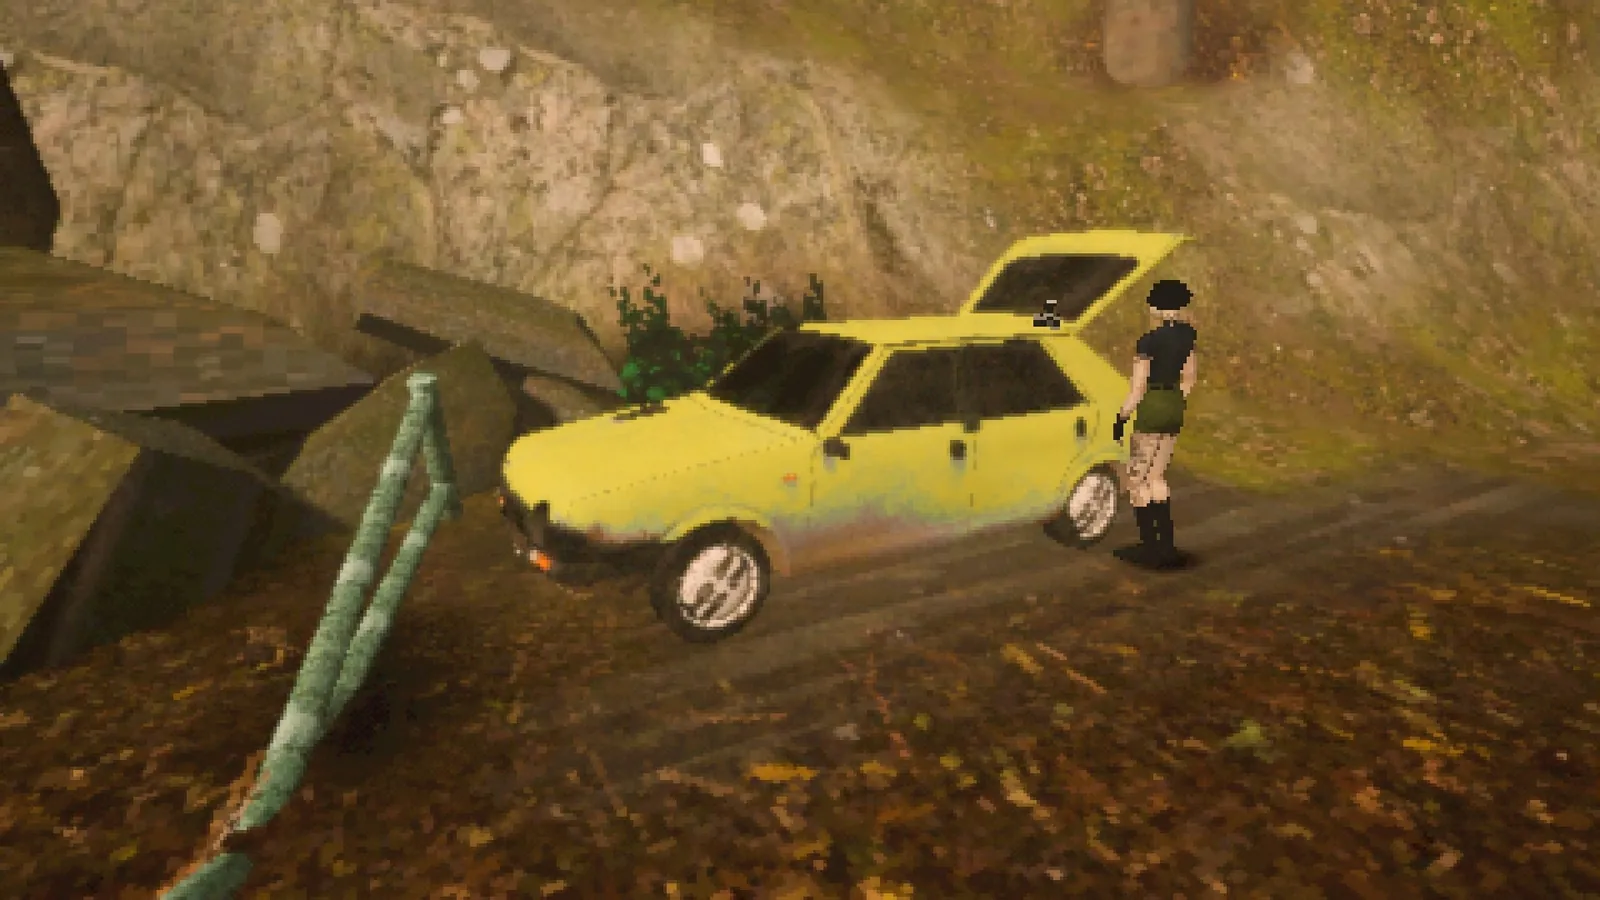
Pick up the camera from the car trunk. This is your weapon and tool.
Sam picking up the camera from the car trunk
2
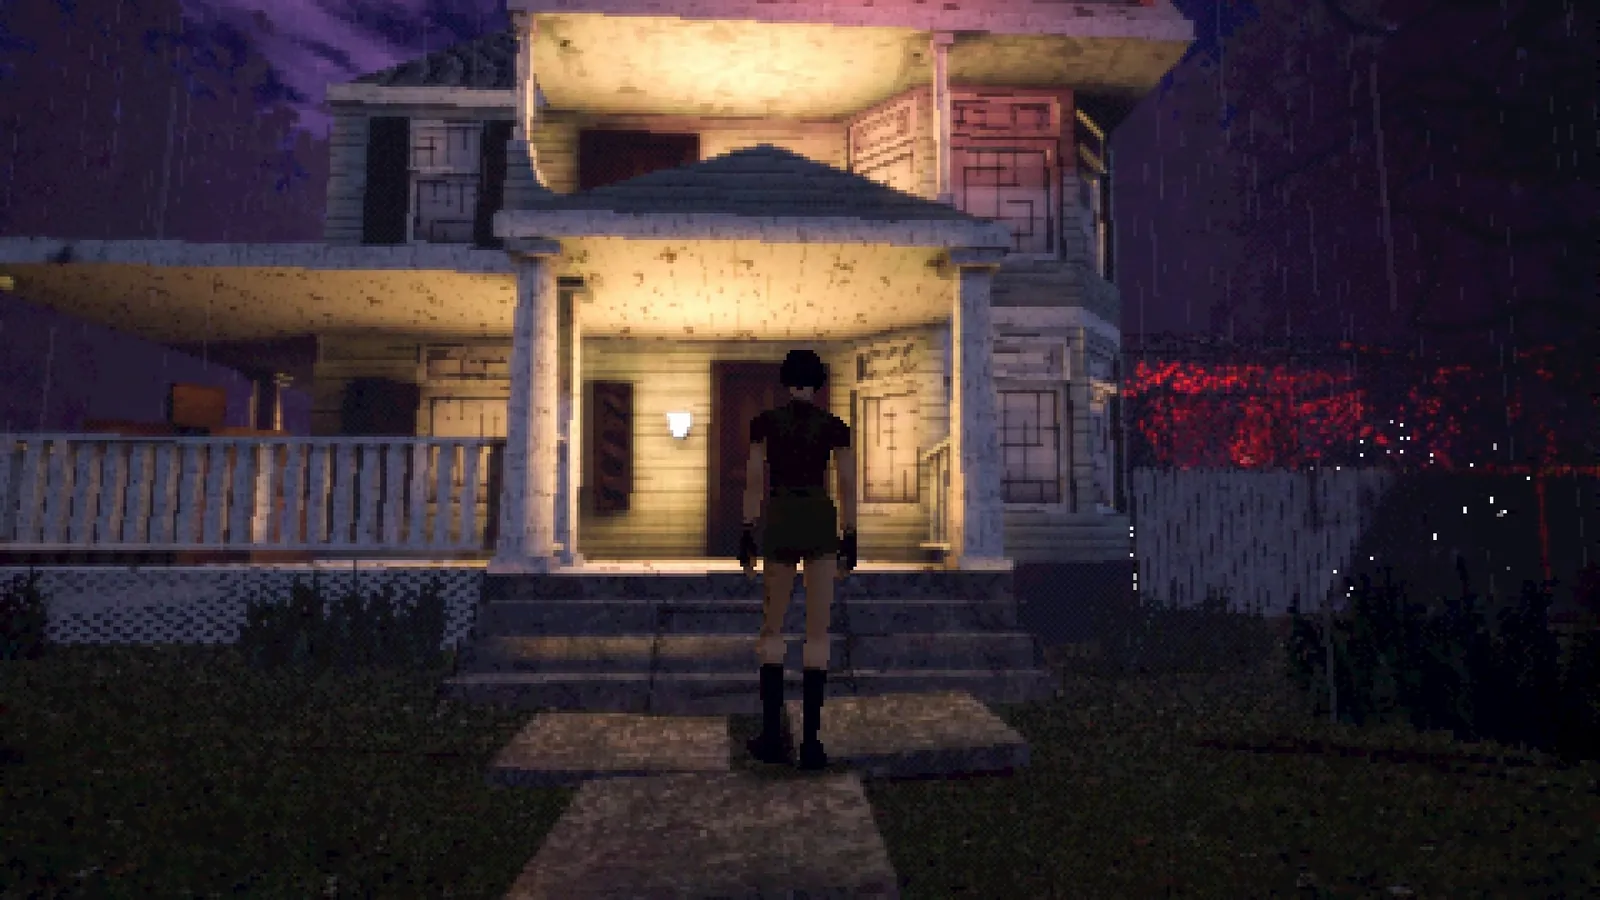
Head up the road to the abandoned house. Read the diary on the porch.
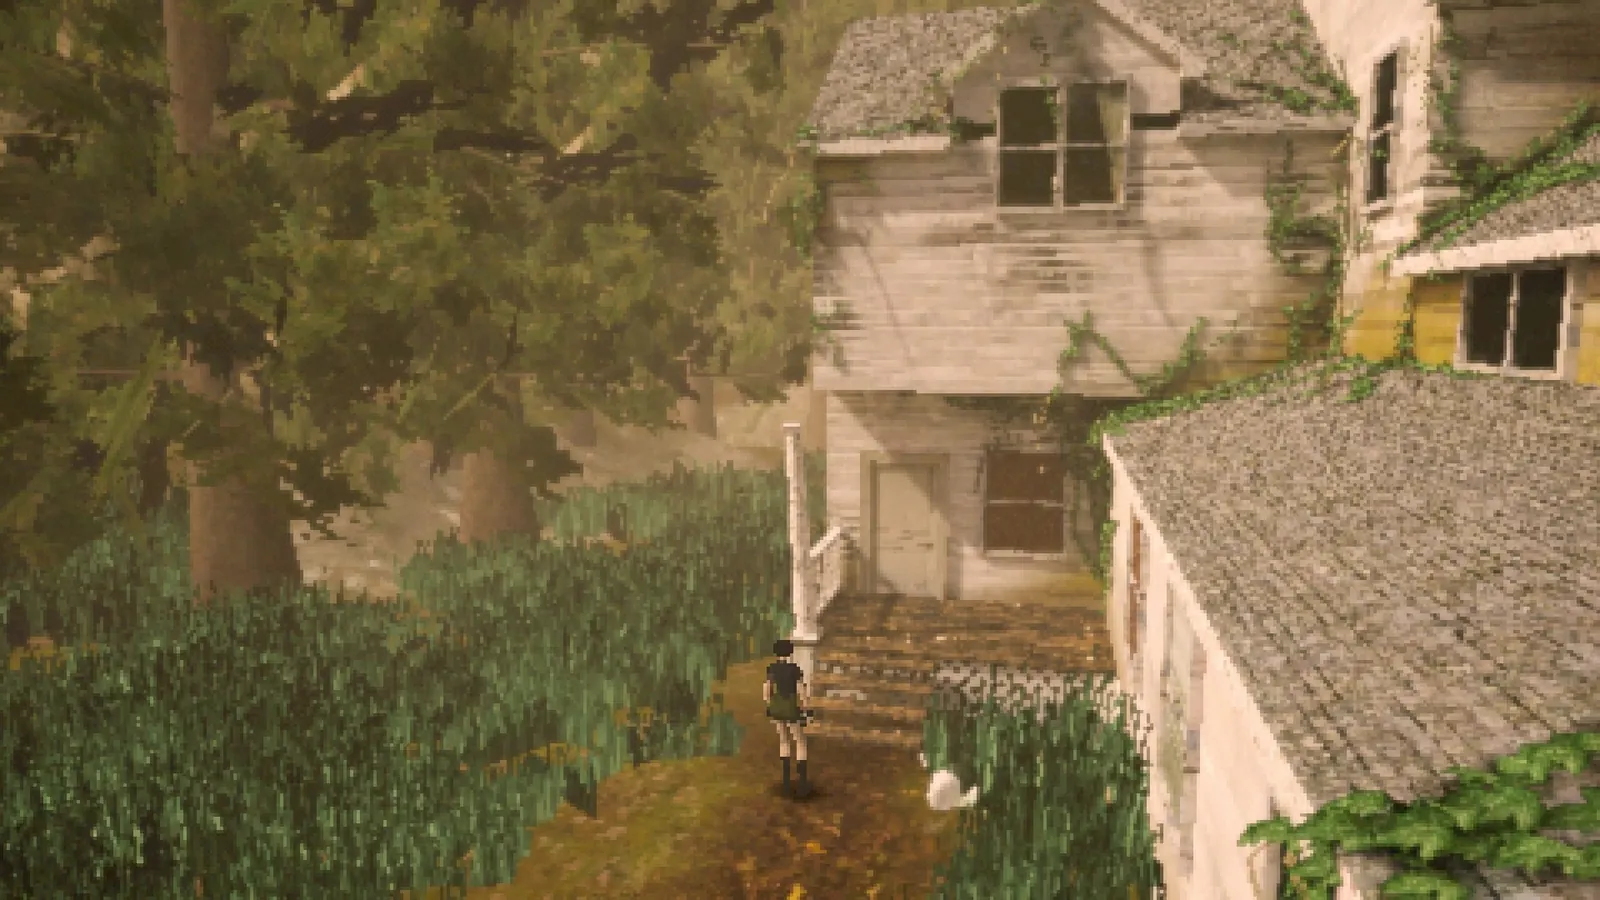
Approaching the abandoned house exterior
3
Use the side door on the left to enter.
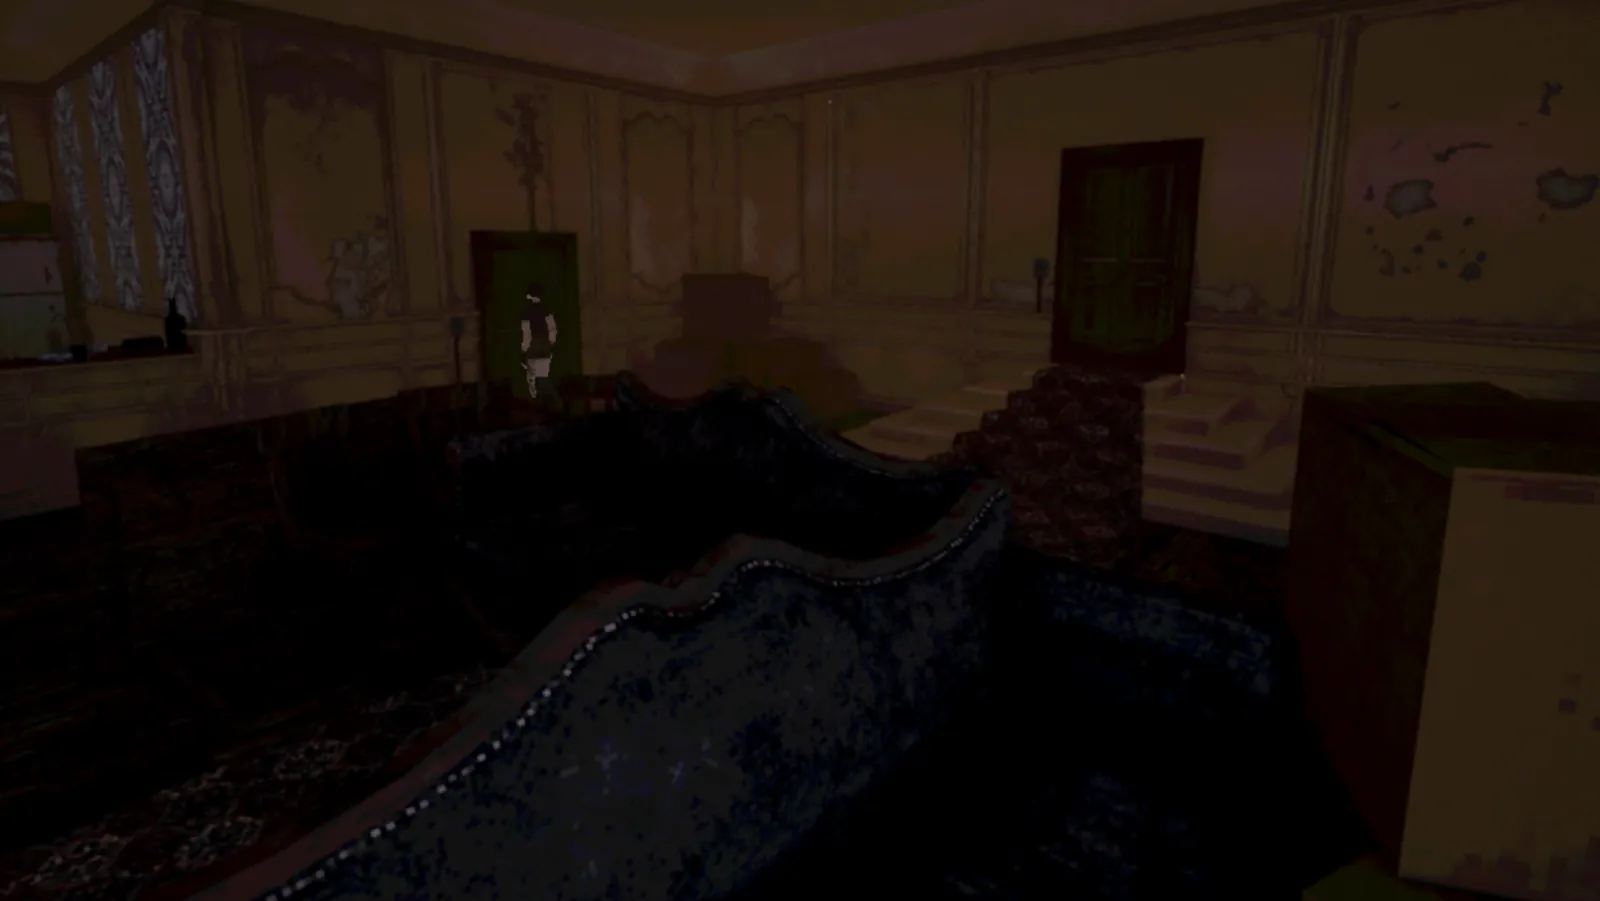
Inside the parlor/sitting room
4
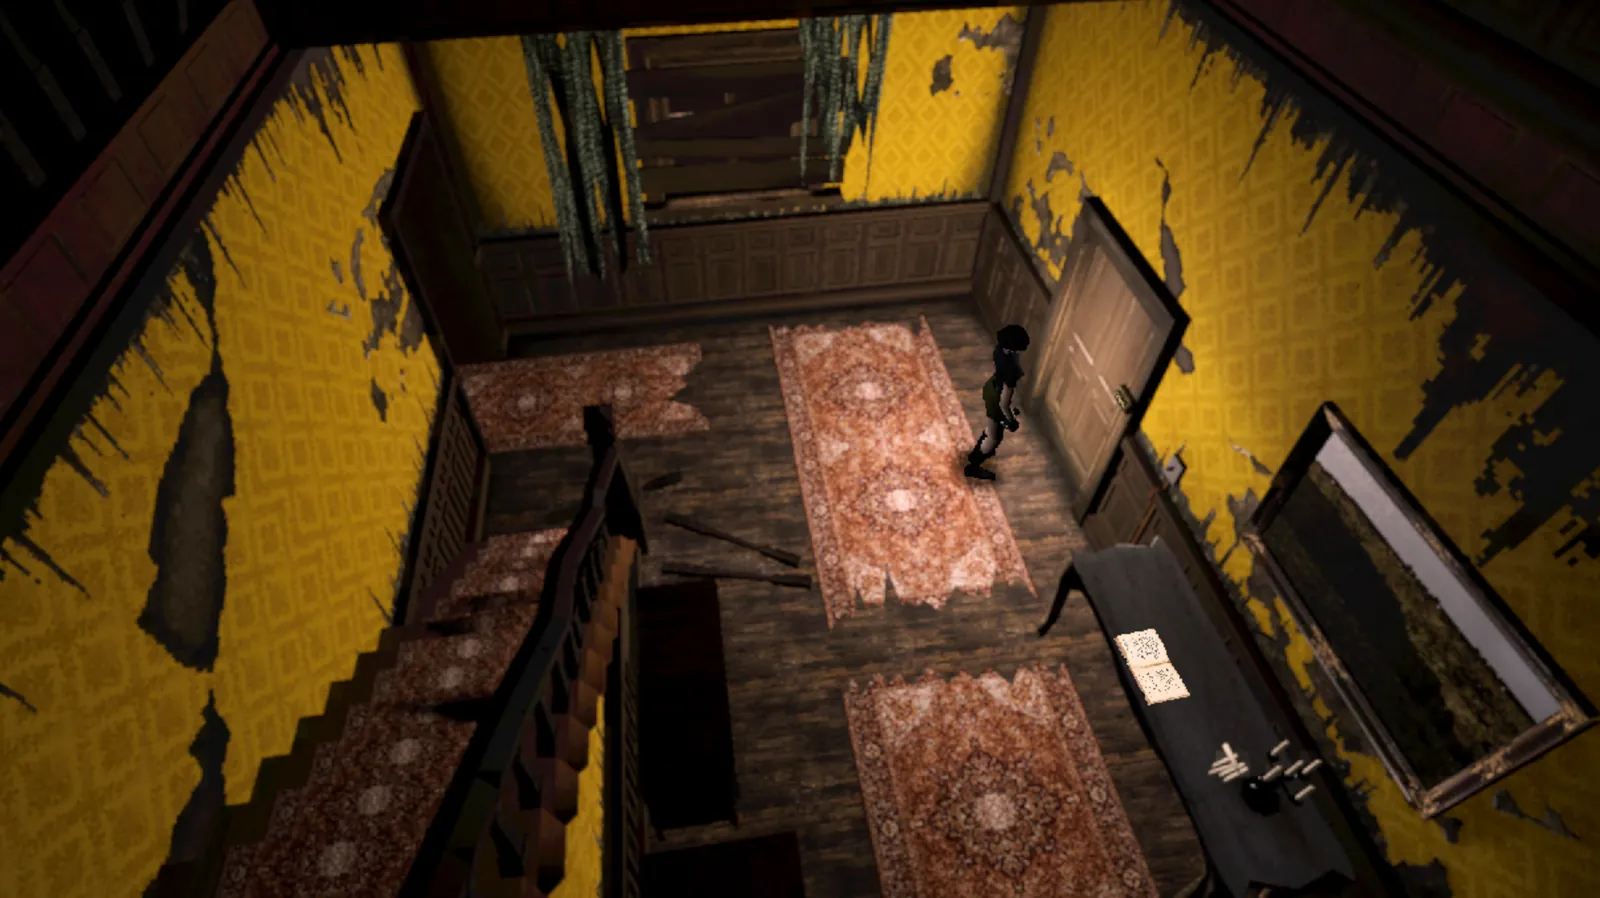
Use camera flash (R1) to light rooms. Check the code-locked door at the bottom of the stairs.
5
Left door leads to a safe room. Save at the PC. Leave cigarettes in the item box.
6
Go to the family room, then dining room. Pick up bandage + antiseptic, combine into First Aid Kit.
7
Go upstairs. Enter the small bedroom furthest from stairs. Read the poem — note time 12:15.
8
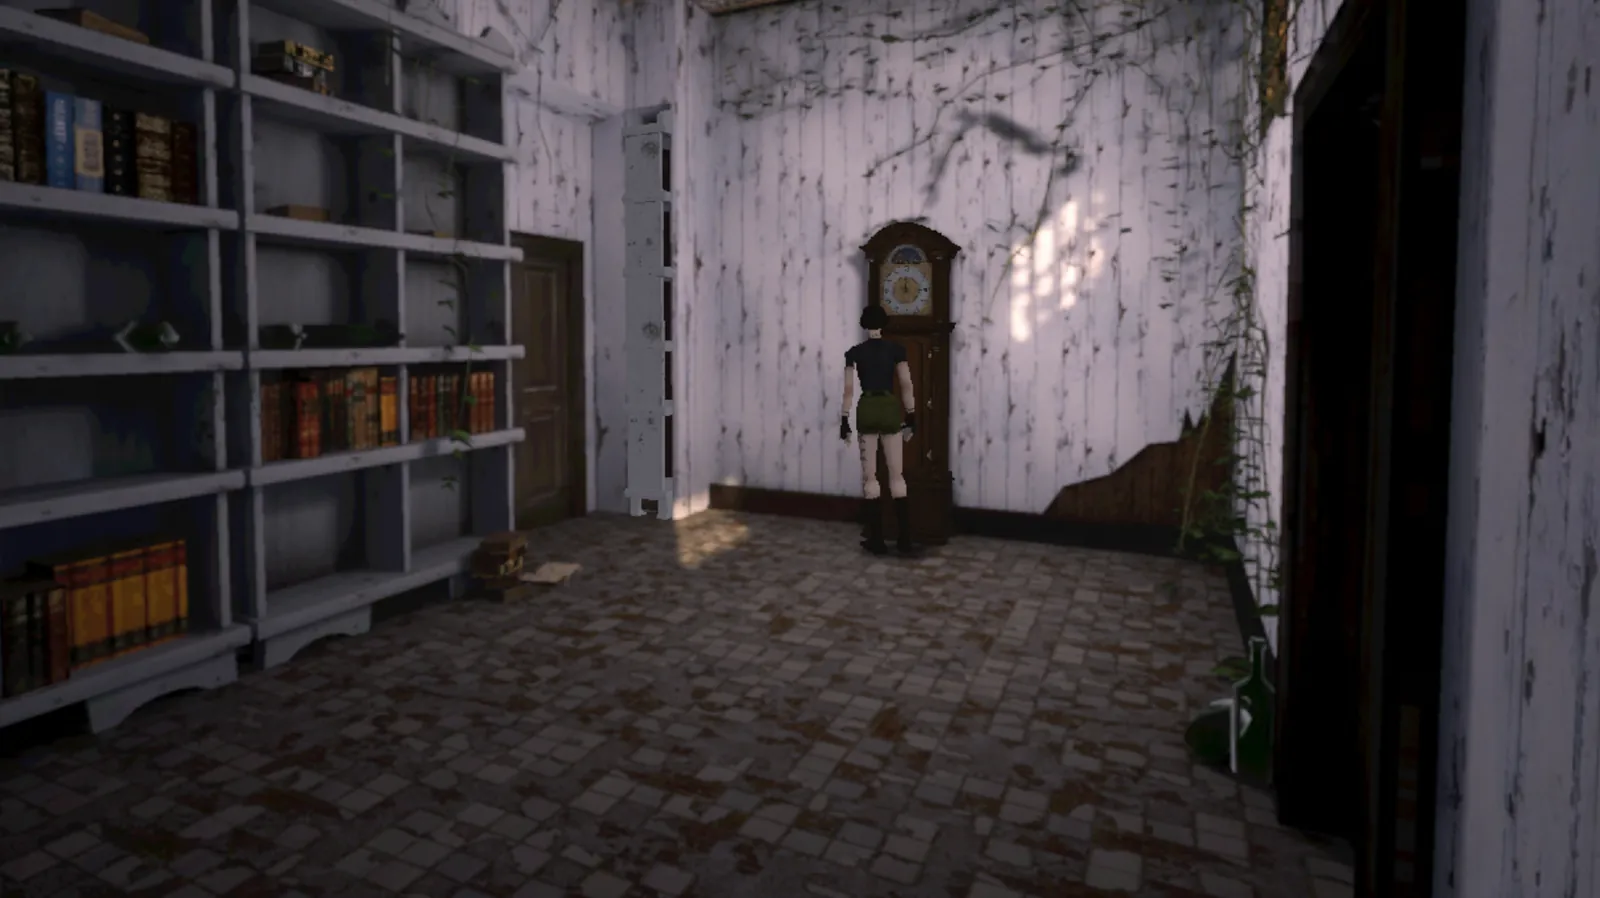
Go to the room with shelves (NE room). Interact with the grandfather clock.
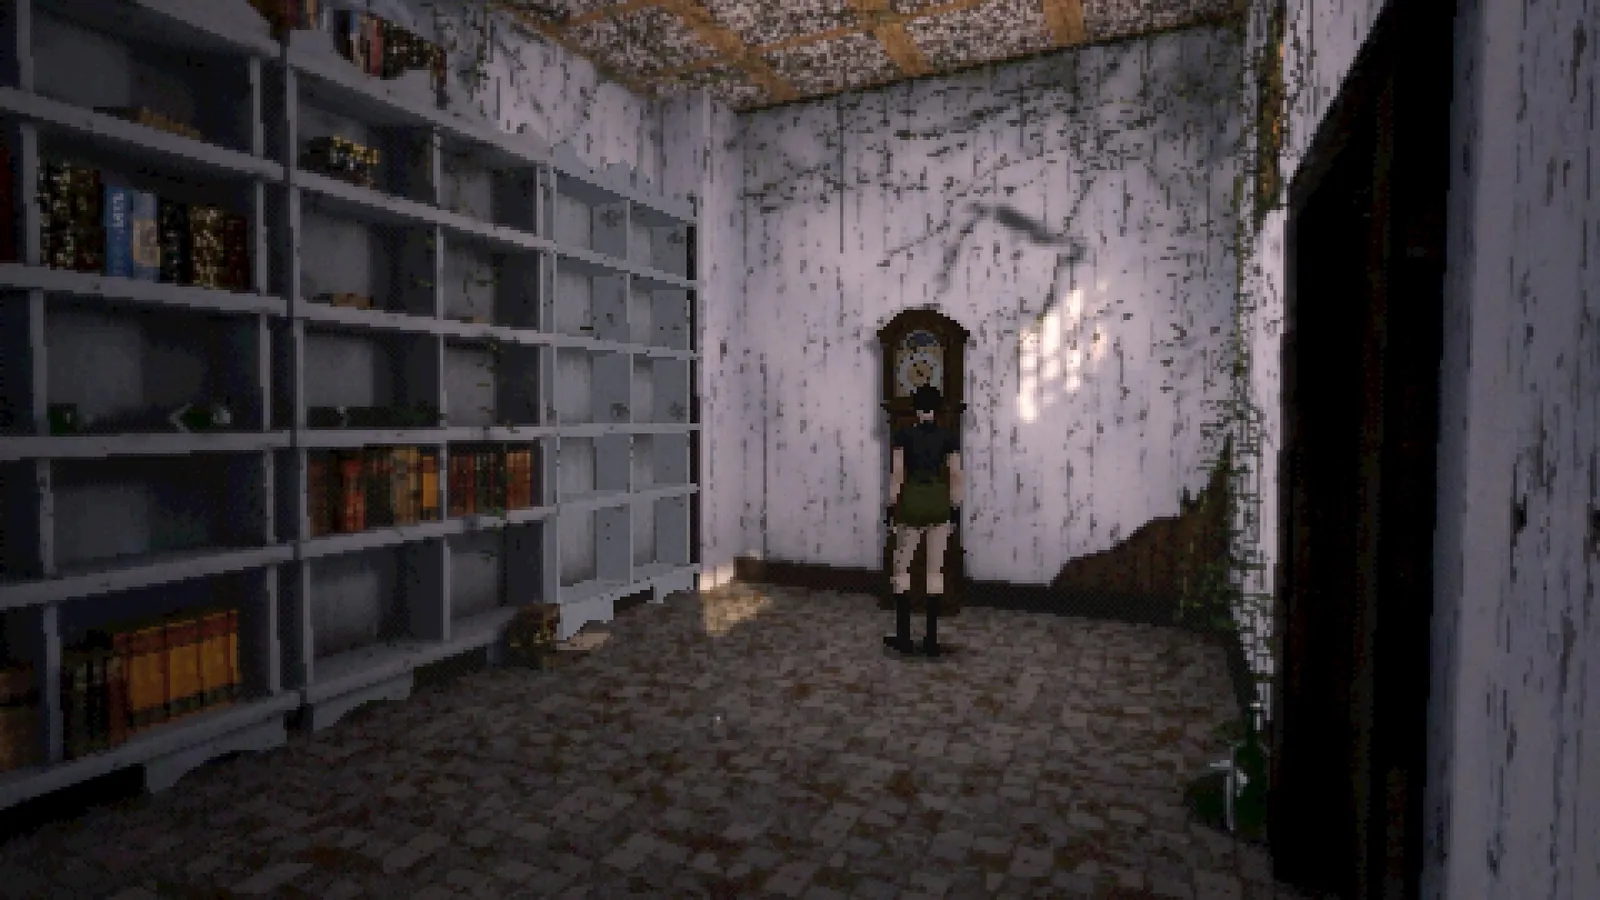
The room with the grandfather clock
🧩 Clock Puzzle
Set the clock hands to 12:15. Reveals a secret door.
Grandfather clock — set to 12:15
9
Enter the revealed room. Pick up the first Emblem Part on the desk.
Hidden room behind the clock — Emblem Part found
10
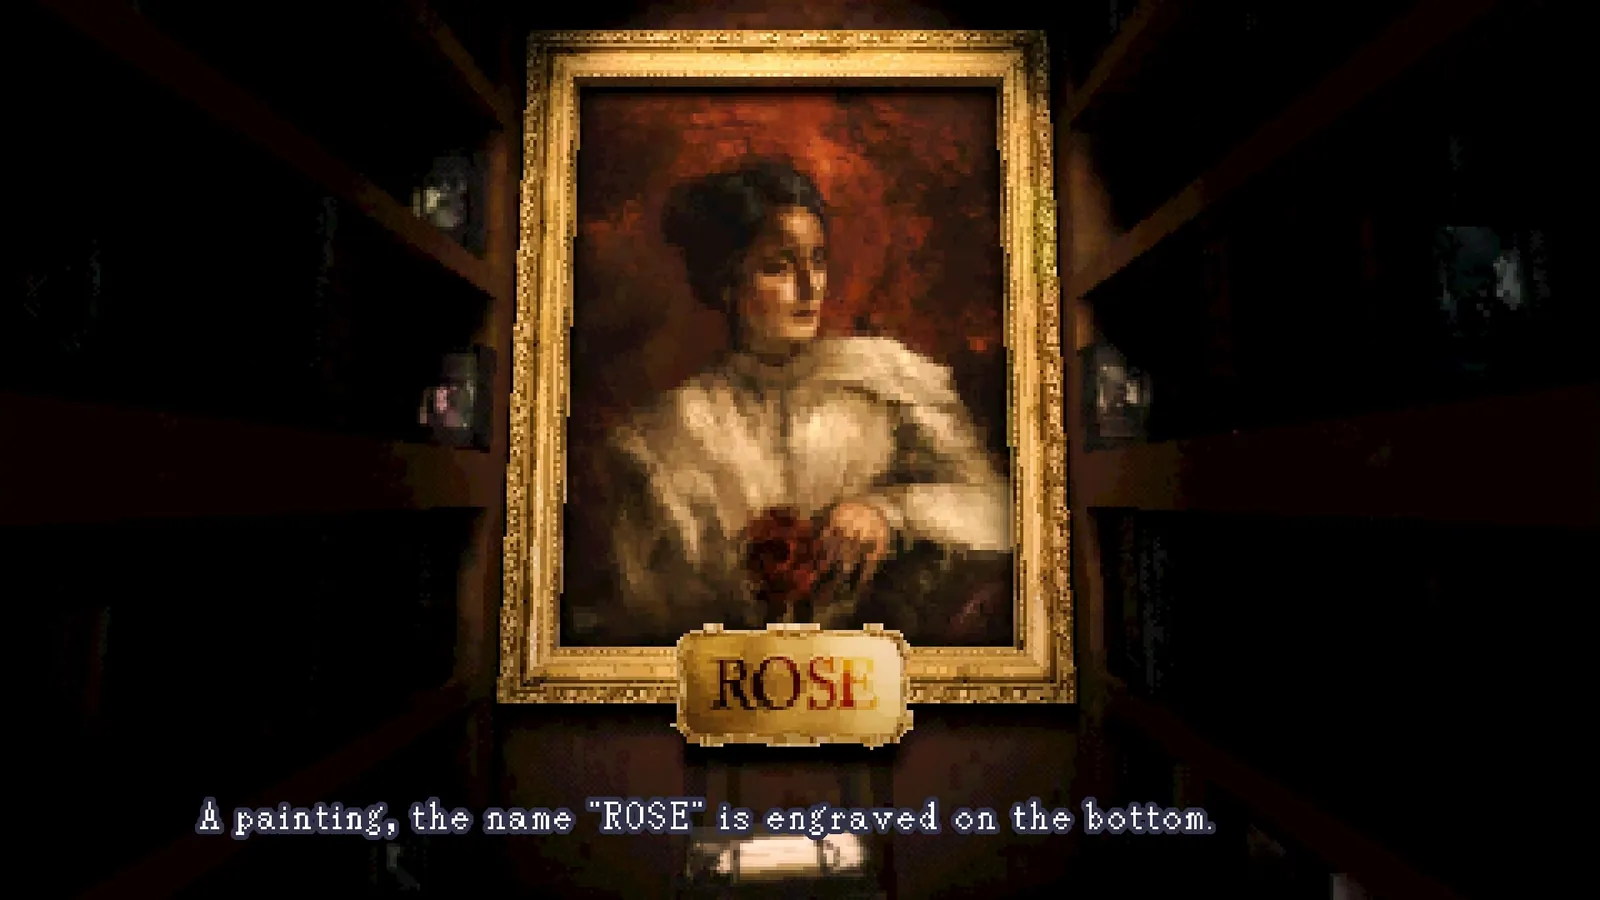
Look at the painting — a woman holding a rose. The name ROSE is engraved.
The ROSE painting — code for the basement door
🧩 Basement Door Code
Input ROSE on the code-locked door in the foyer.
11
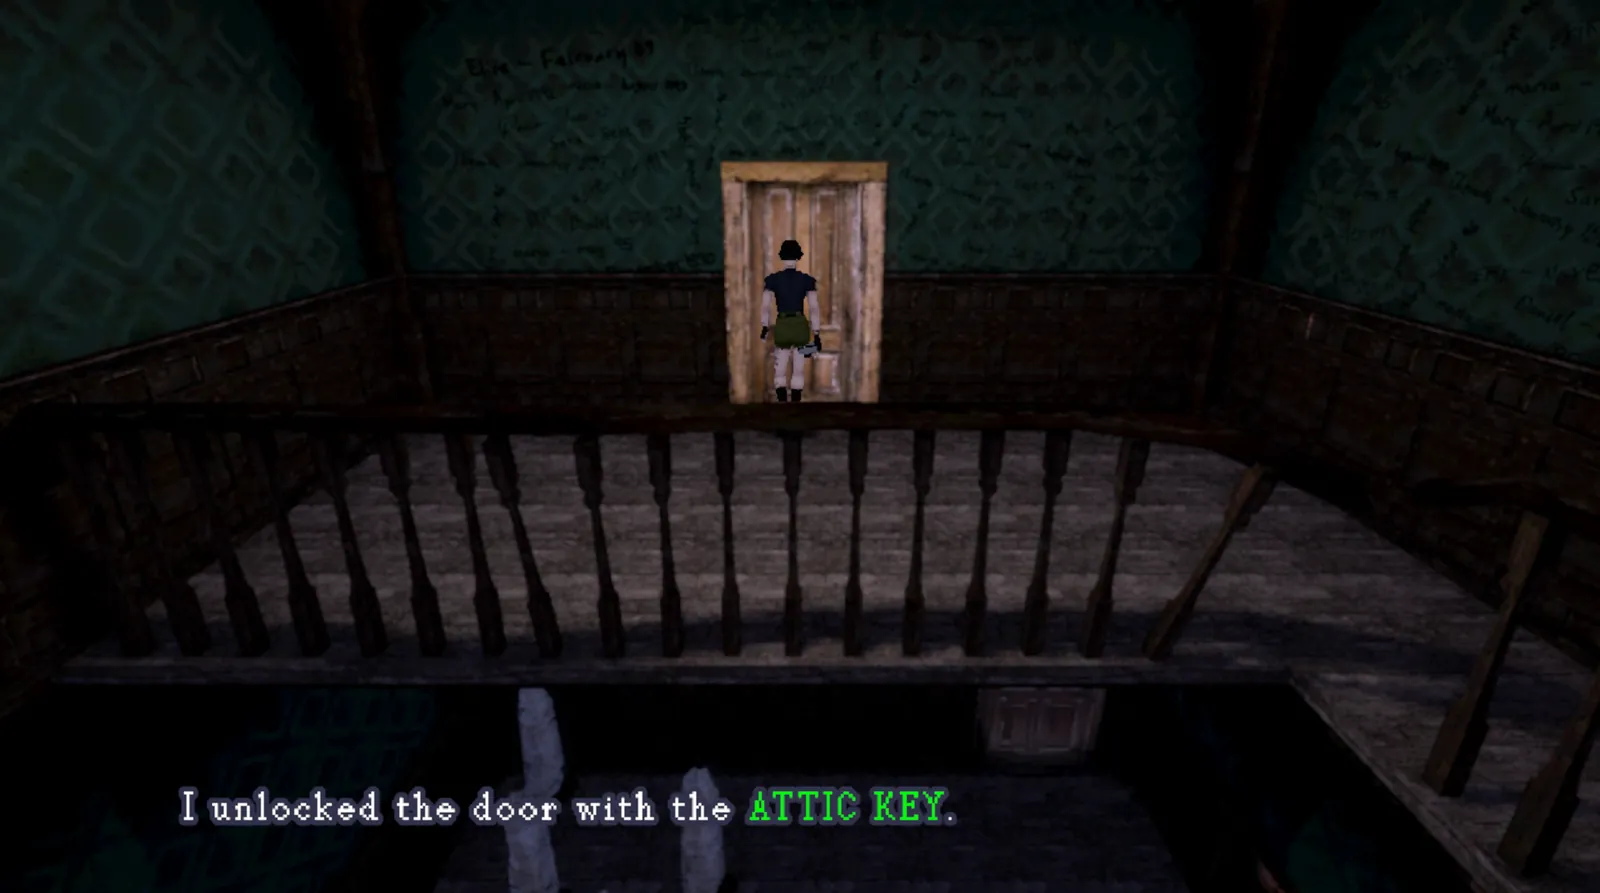
Go to the Master Bedroom. Pick up the Attic Key.
Attic Key found — 'I unlocked the door with the ATTIC KEY'
12
Return to foyer, input ROSE. Head to the basement.
The foyer — where you input the ROSE code
13
Push shelves to navigate the basement maze. Find the second Emblem Part.
The dark basement — second Emblem Part location
14
Combine both Emblem Parts to create the Heart Emblem.
15
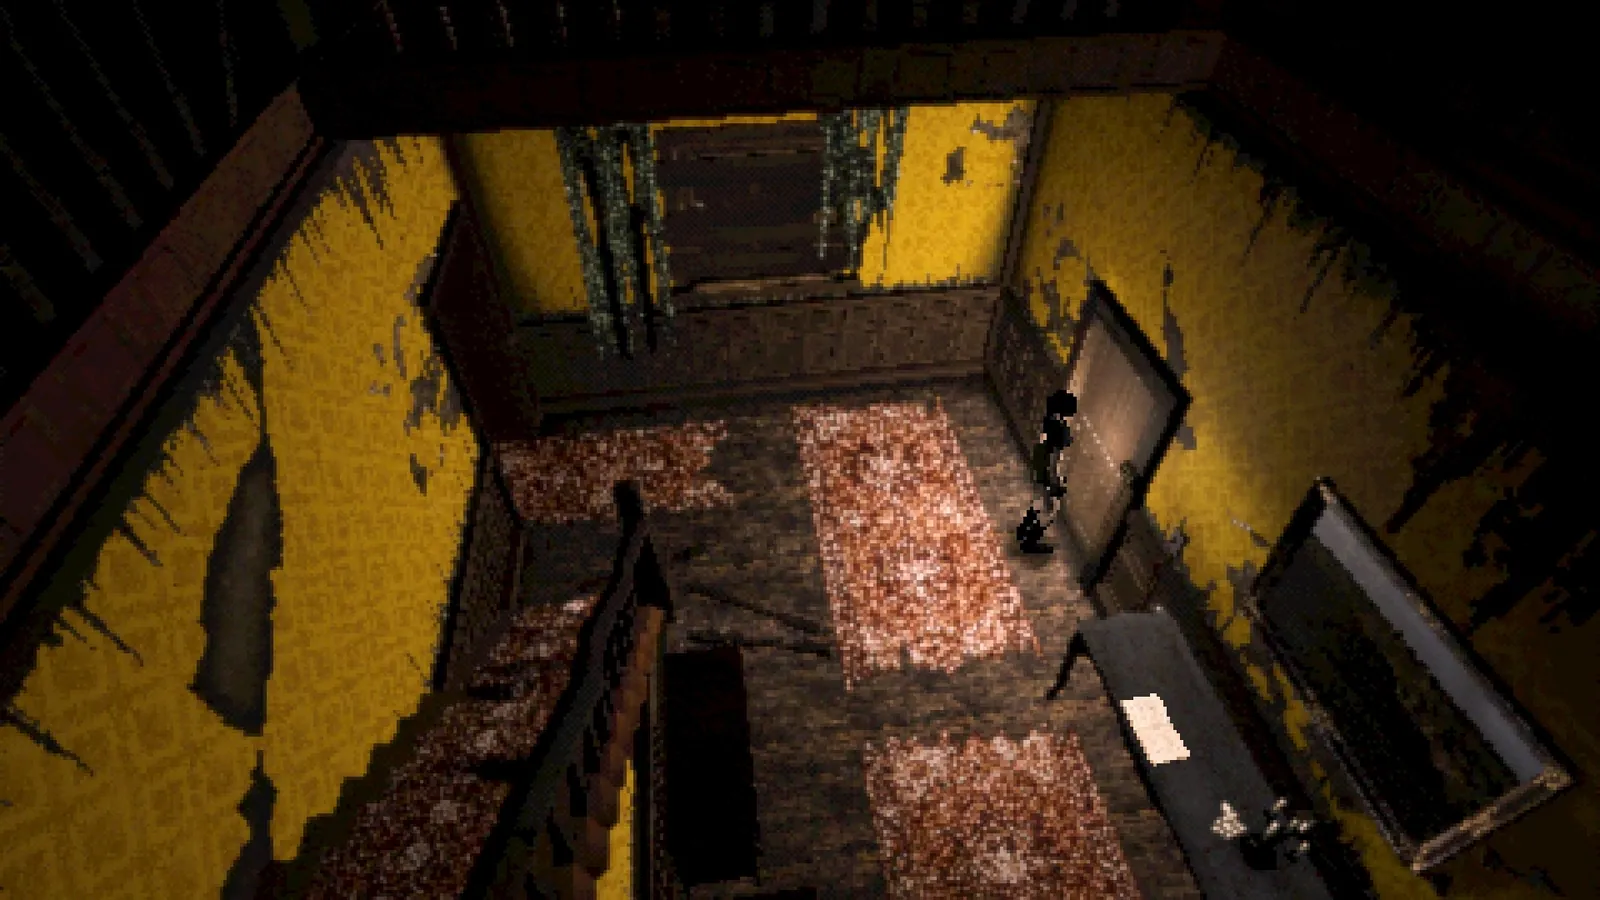
Go upstairs past paintings, through far door, up second staircase.
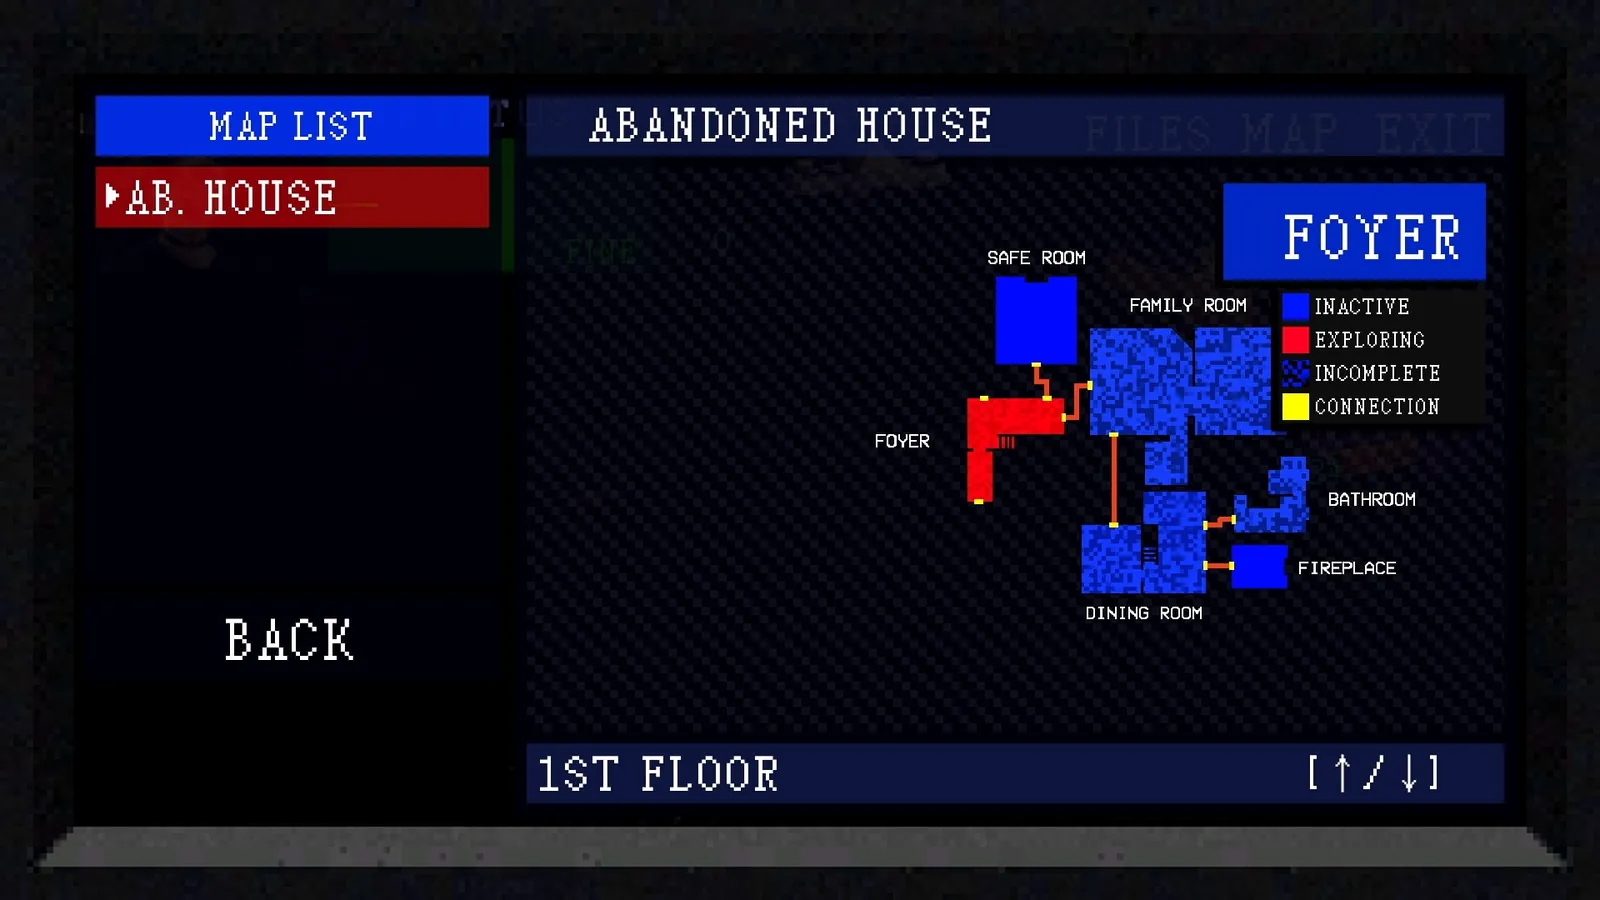
Map screen — navigating the 1st floor
16
Unlock the attic door with the Attic Key.
POINT OF NO RETURN: Once through the attic door, you cannot return to the Abandoned House.
17
Use the Heart Emblem on the strange door. Go through.
18
Walk down the long staircase. Try the door at the bottom — it's locked.
19
Turn around and head back up. The Tape Keeper chases you. Run to the bottom — the door now opens.

Chapter 2: The Archive

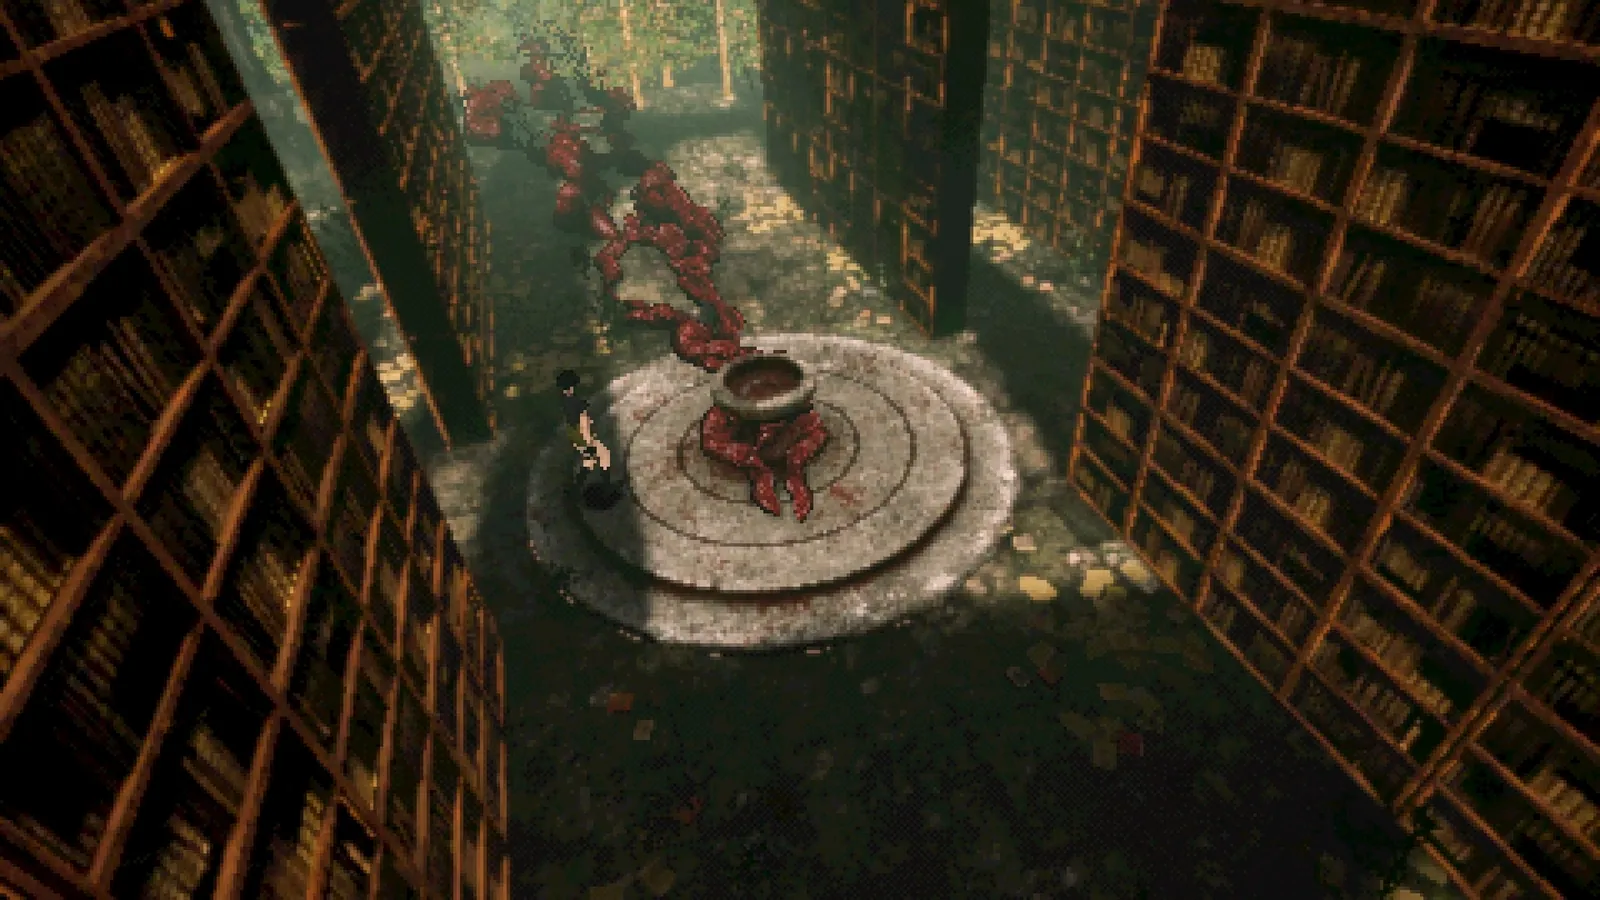
The Archive — massive library with the central book
1
Move forward to the large book. Save at the PC here.
2
Left of the book is a photo machine. Remember this — it determines your ending.
Photo Machine: 0 photos = Bad Ending. 1-2 = Good. 3 = Best (bonus scene).
3
Head left down the hallway. Photograph the flickering barrier to clear it.
4
Continue to the upside-down house for a cutscene.

Chapter 3: The Neighborhood
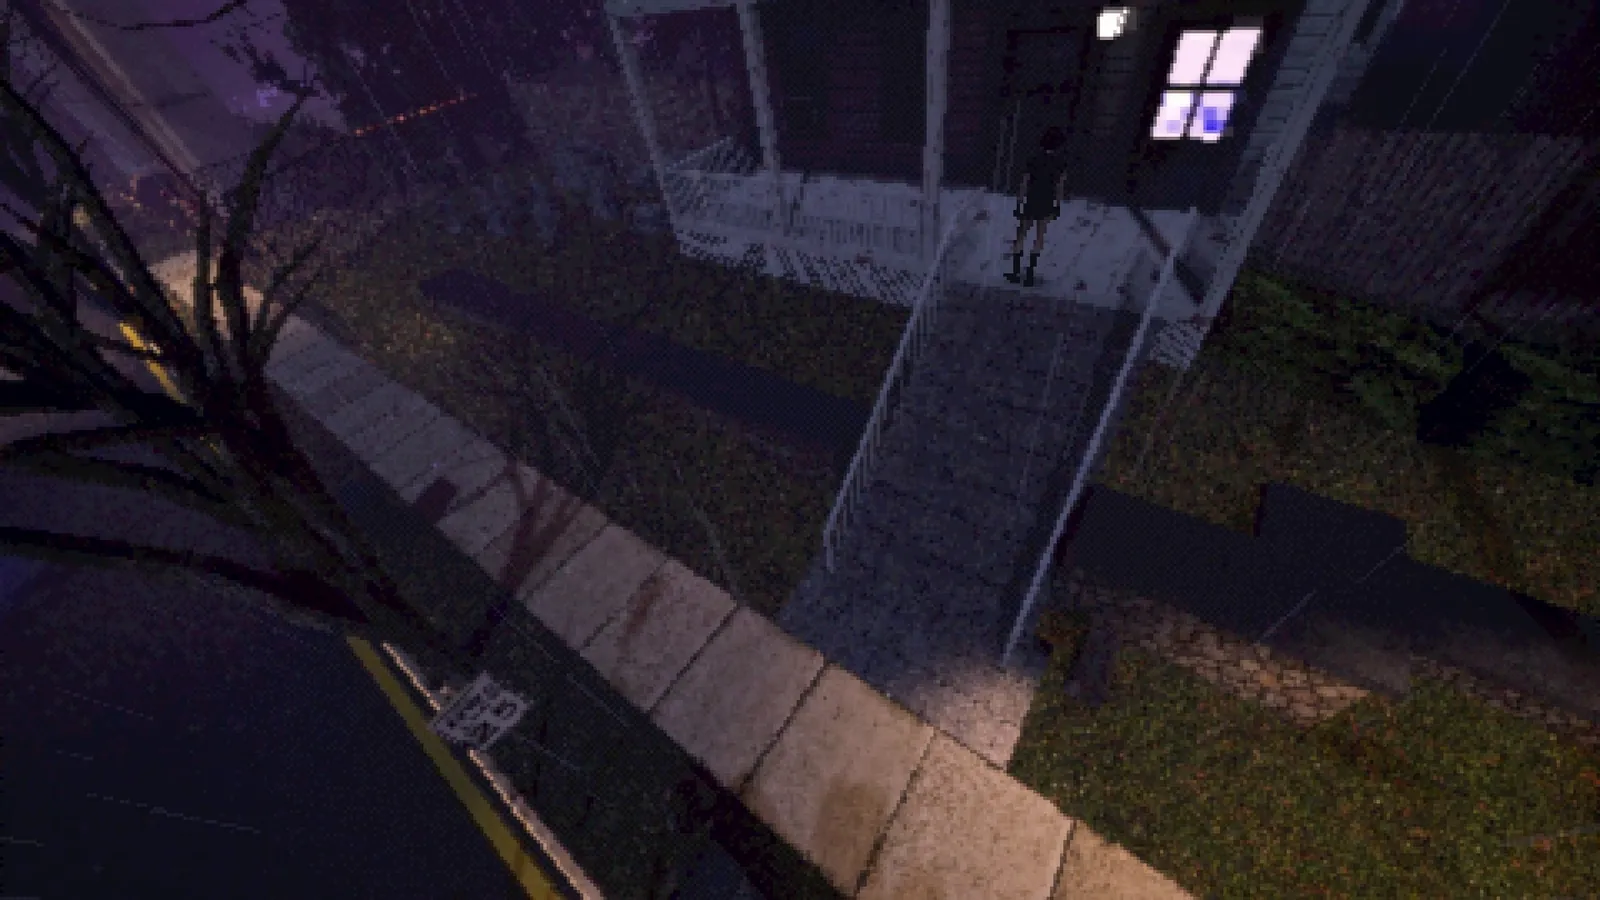
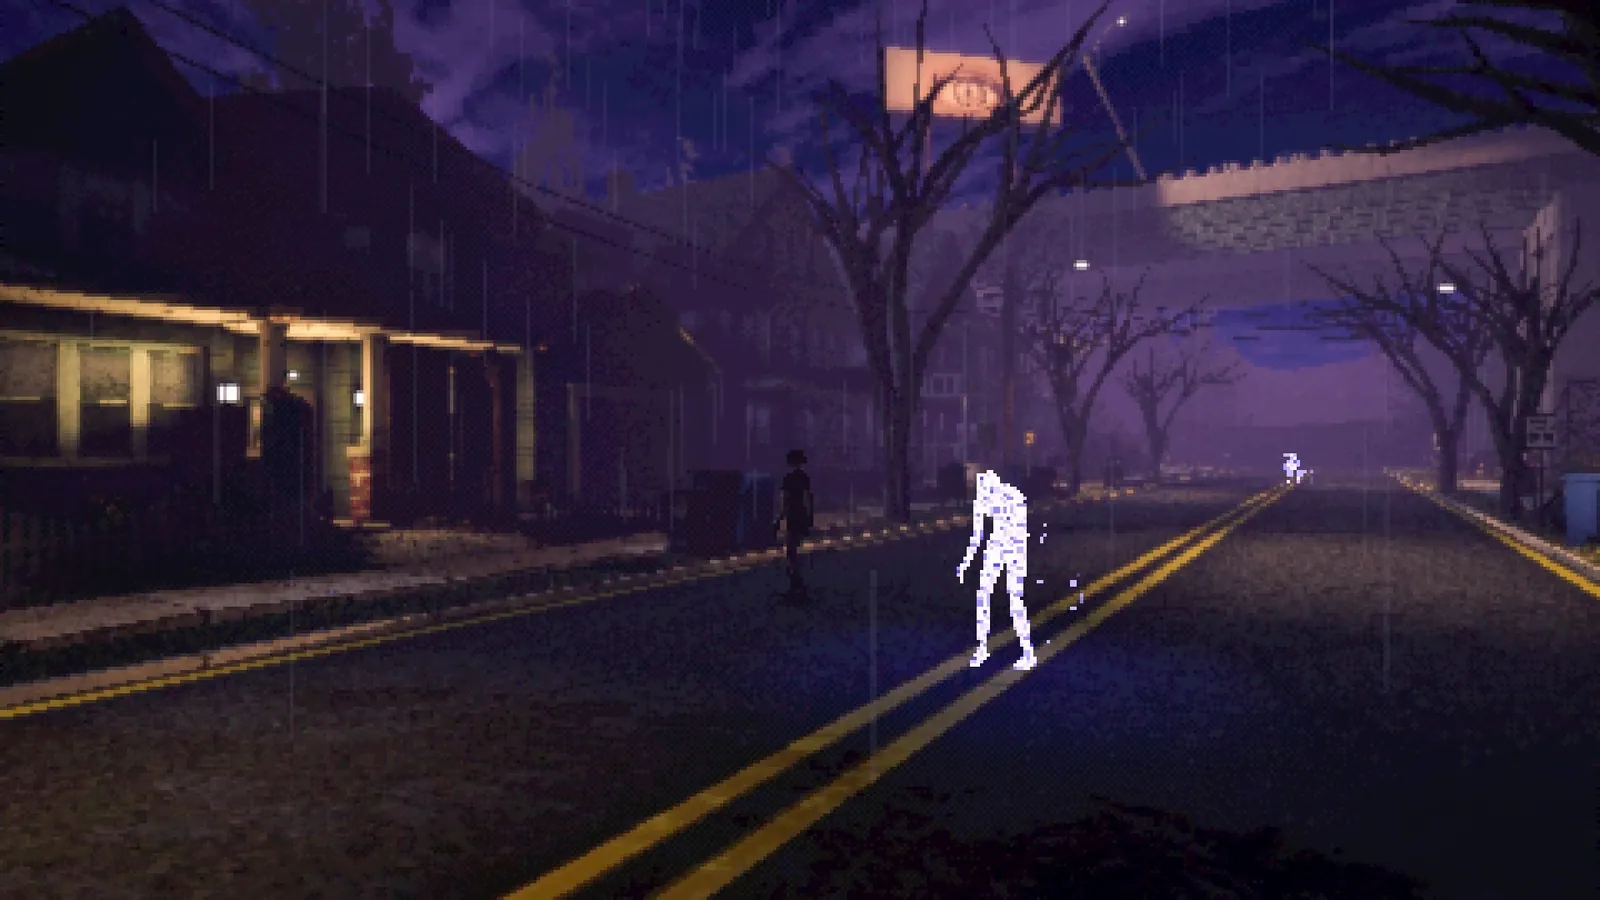
The Neighborhood at night — glitchy figures on the street
1
Defeat the enemy with your camera. Move down the street.
2
Enter the green house on the left — safe room. Save.
3
Find the store with the 'Platt St. Deli' sign.
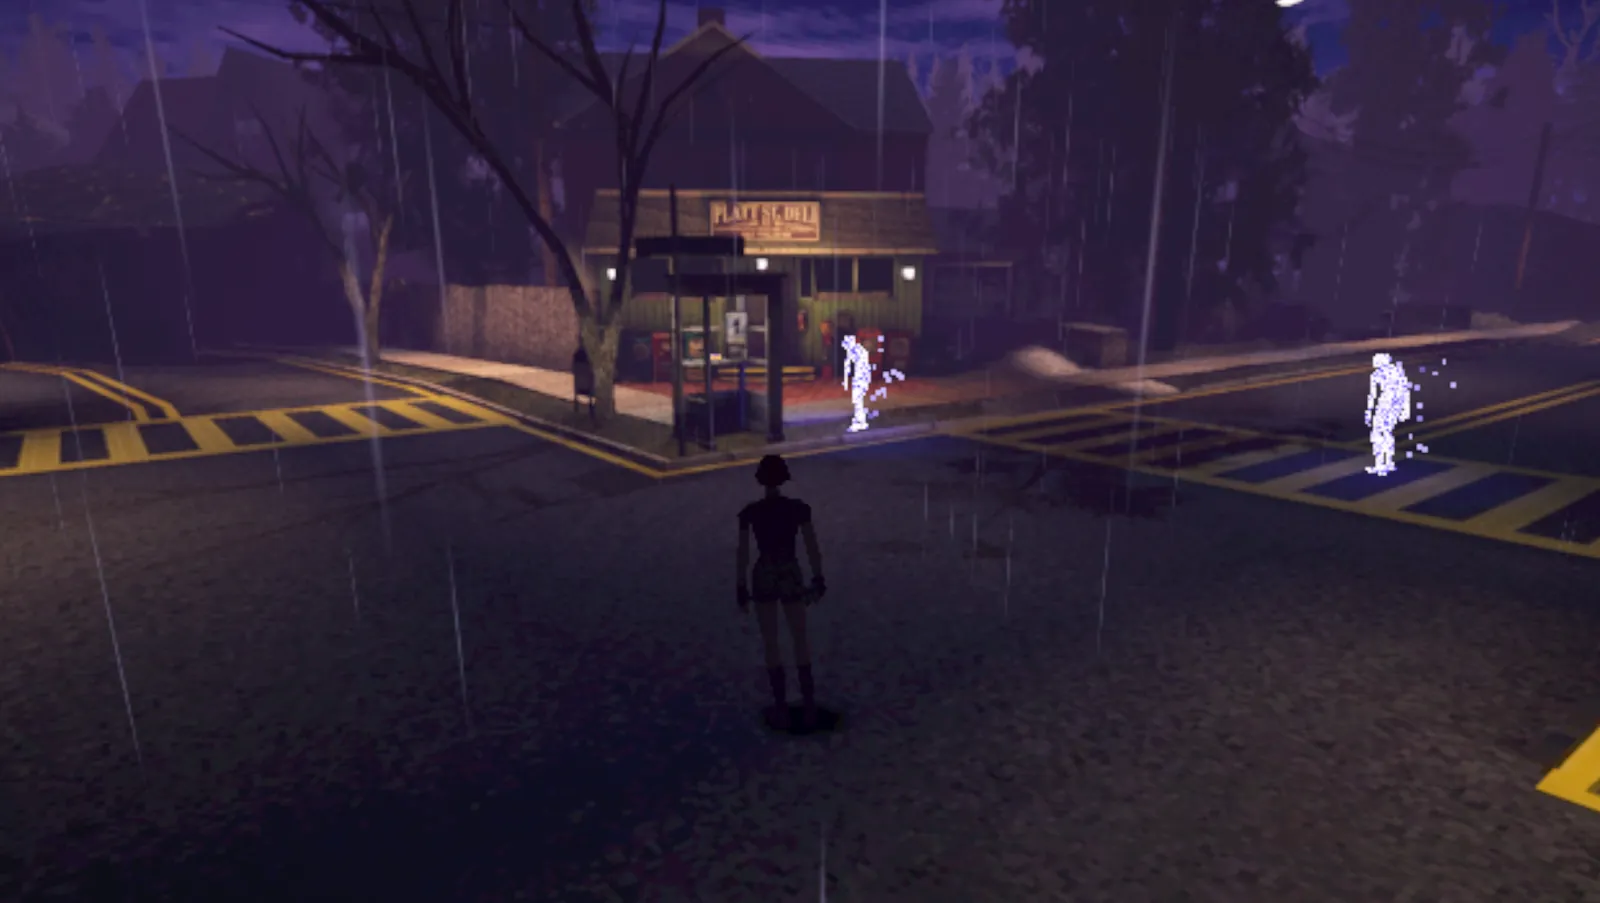
Platt St. Deli — the corner store exterior
4
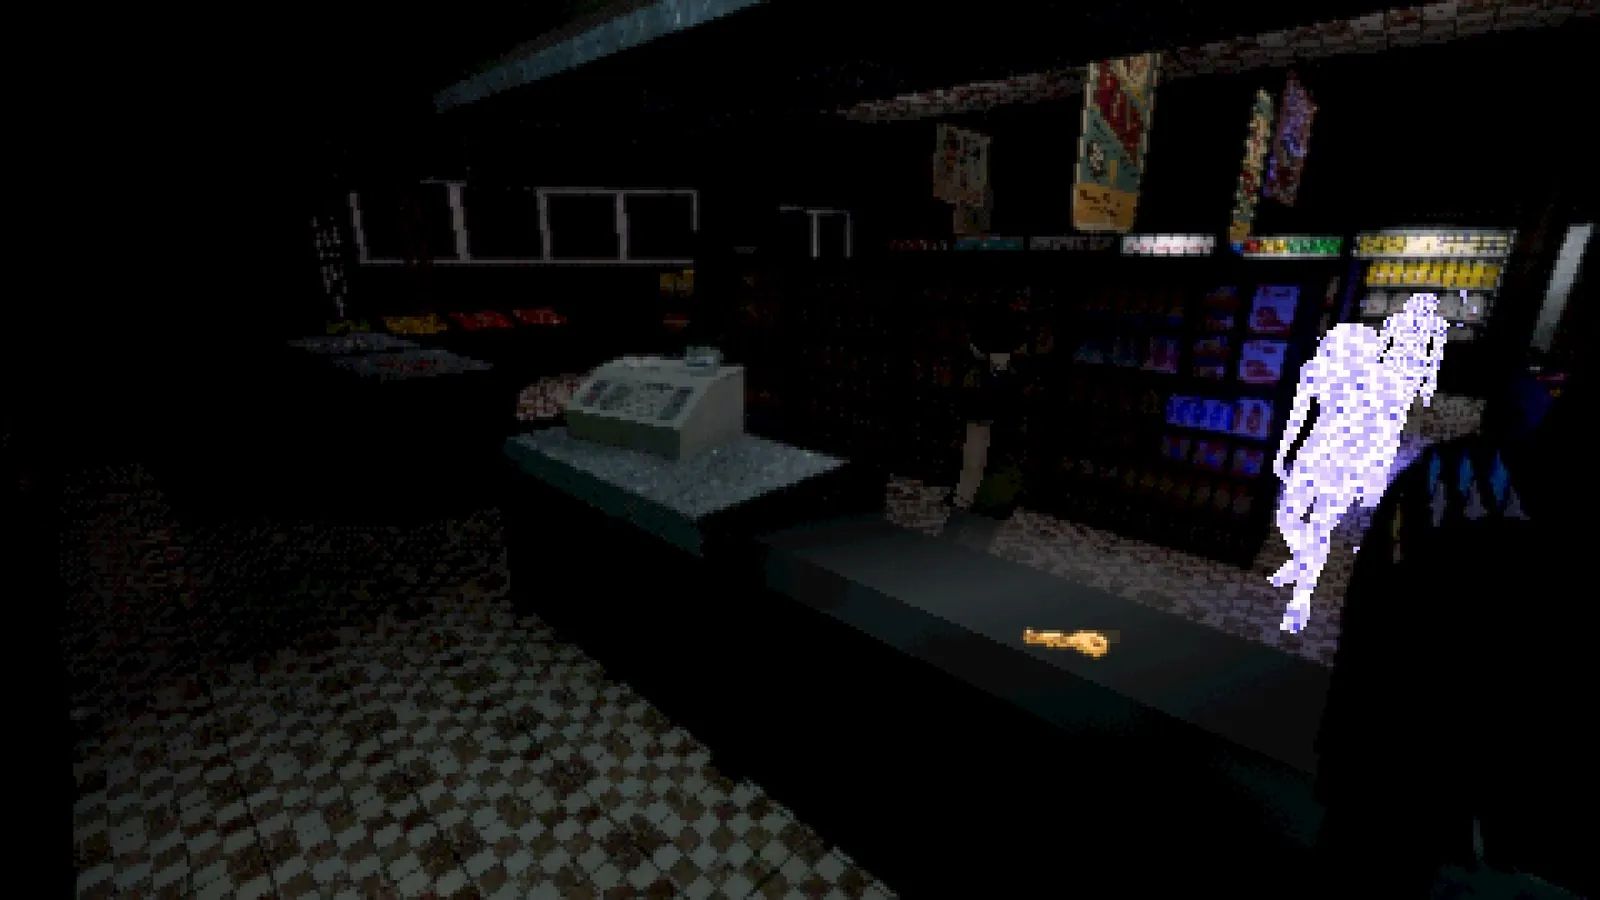
Inside, pick up the golden key from the checkout counter.
Inside the corner store
5
Pick up the glowing key.
The golden key on the checkout counter
6
Go to the first house on the right — grandparents' house. Use the key.
Grandparents' house exterior at night
7
Go to the living room, read the note. Then to Sam's bedroom.
Hallway inside the grandparents' house
8
Read the note on the bed — clue for the chess puzzle.
9
Interact with the chess board.
Chess board puzzle
Chess board puzzle
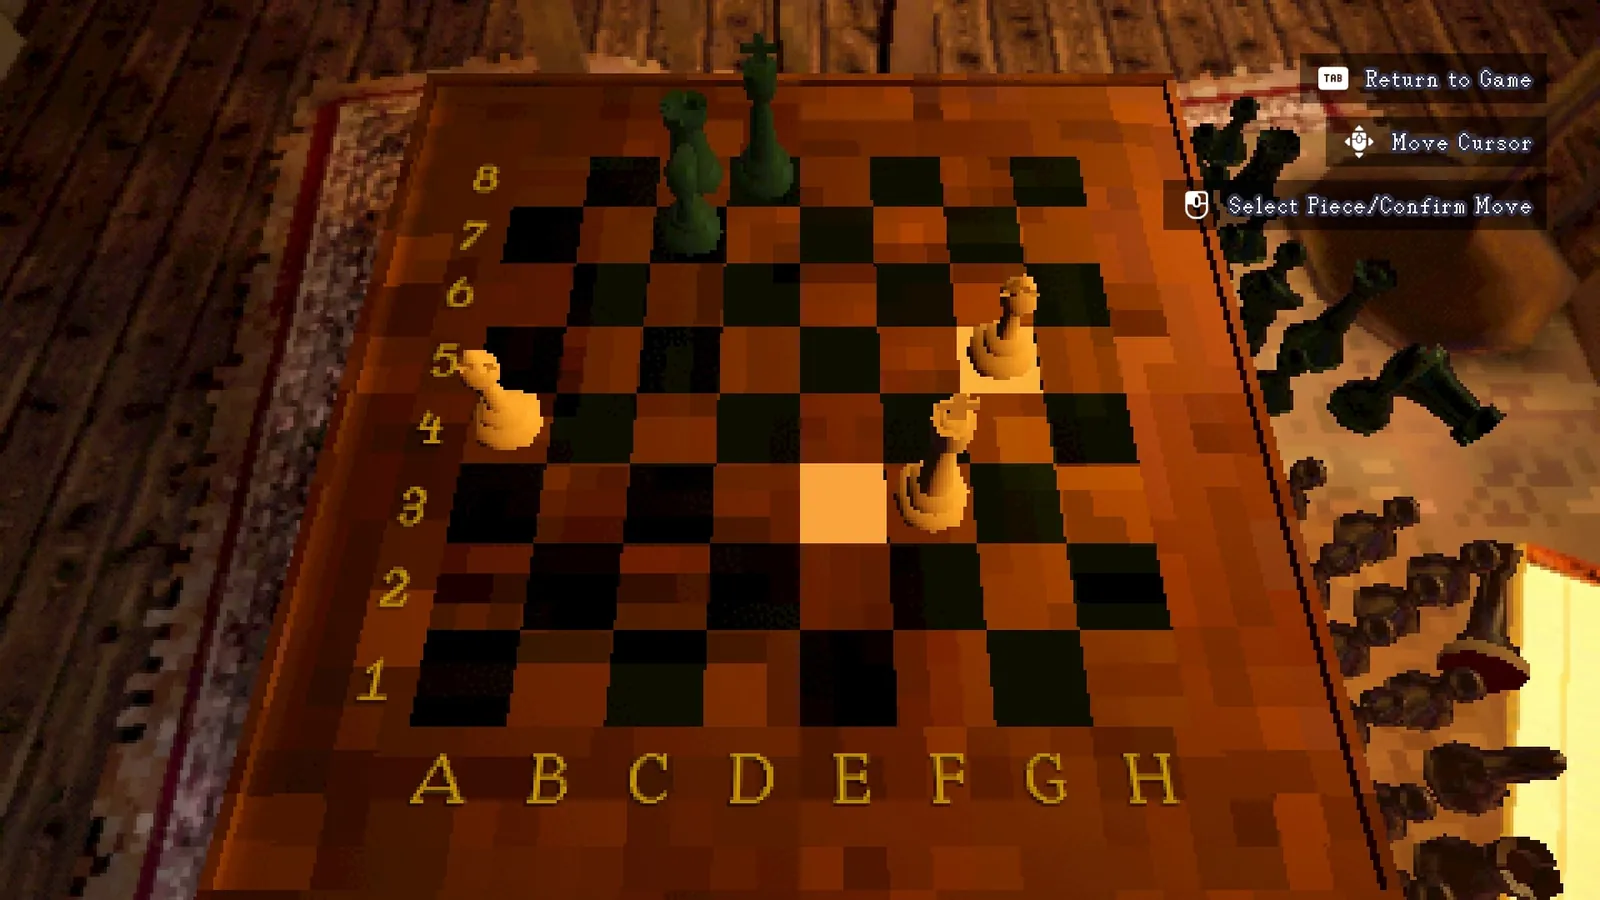
🧩 Chess Puzzle
Move the Bishop from E3 to G5. Rewards a Burst Mod.
10
Combine the Burst Mod with your camera. Now you can take 3 photos at once.
11
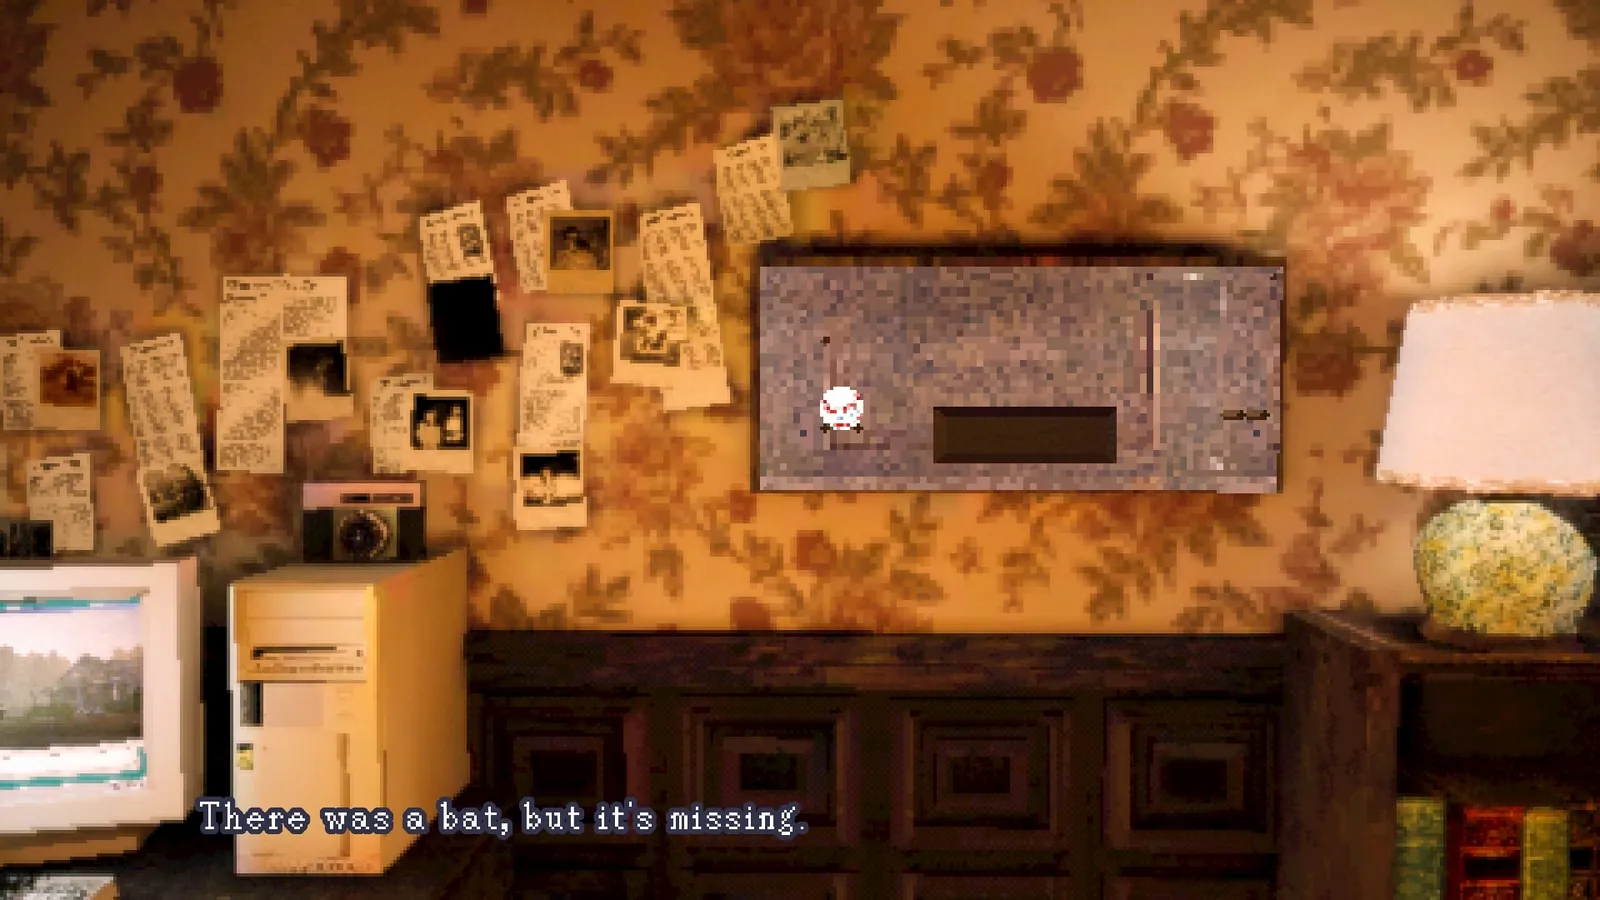
Look at the plaque on the wall — missing baseball bat.
The wall plaque — 'There was a bat, but it's missing'
12
Leave the house, go to the garage. Push a shelf to reveal a fuse box.
🧩 Fuse Box Puzzle
Flip switches 1, 3, and 6 to turn all lights green.
13
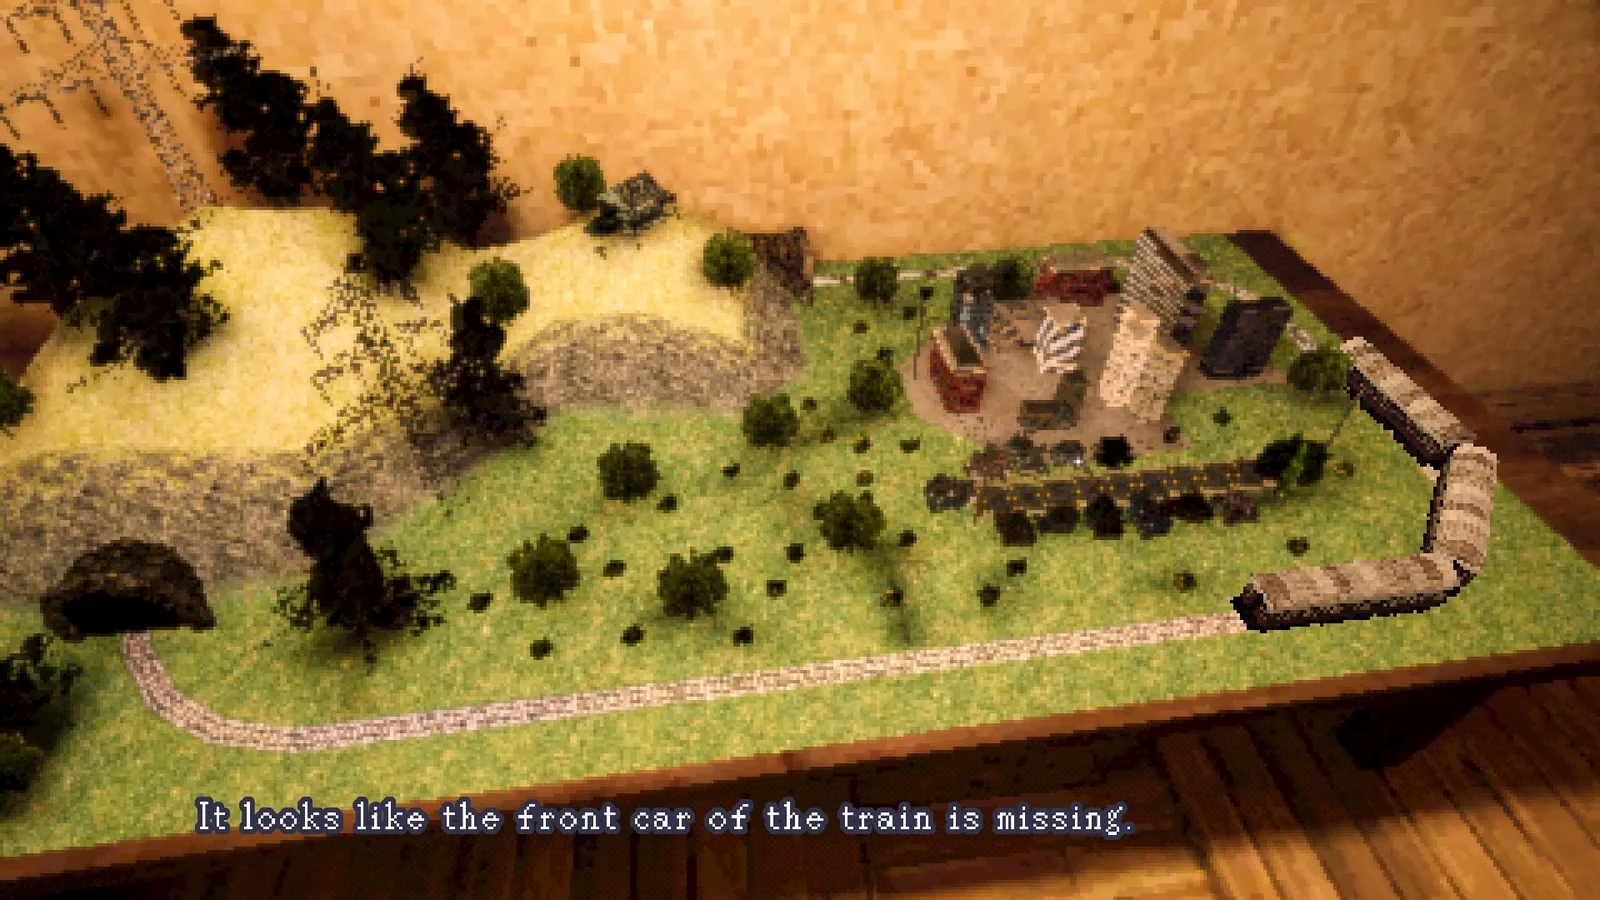
Staircase revealed. Find a Camera Bag upstairs. Note the train set — front car missing.
Model train set — 'the front car is missing'
14
Go to the baseball field. Pick up the bat from the benches.
15
Return to Sam's bedroom. Place the bat on the plaque. Model train revealed — take it.
16
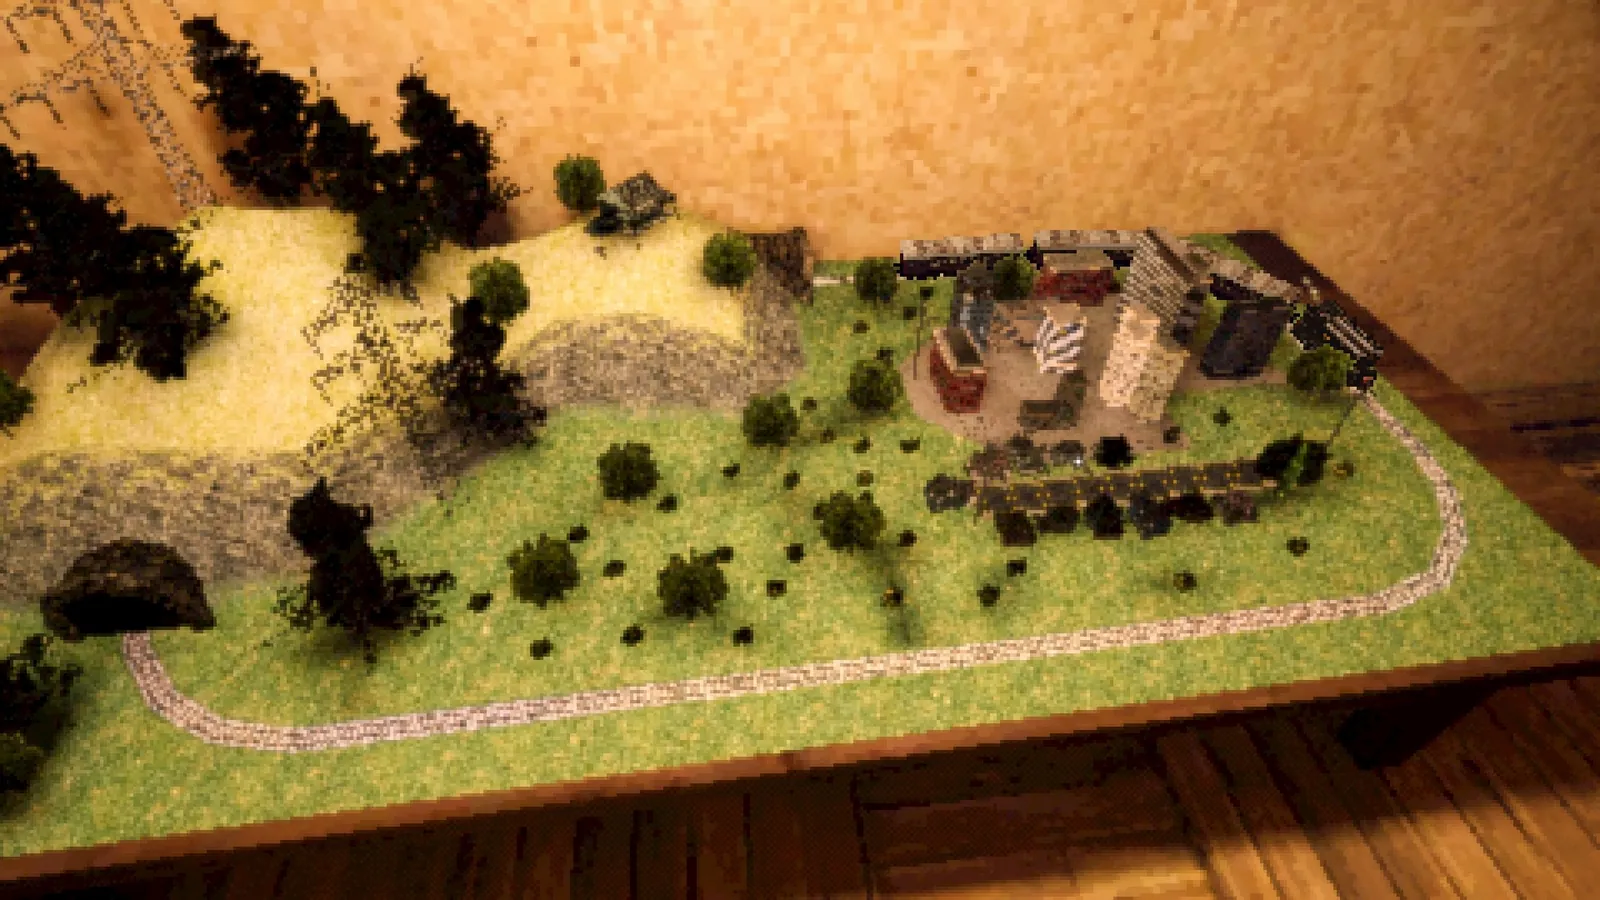
Return to the garage train set. Place the train. Receive a Padlock Key.
Train set completed — front car placed
17
Use the Padlock Key on the chain fence.
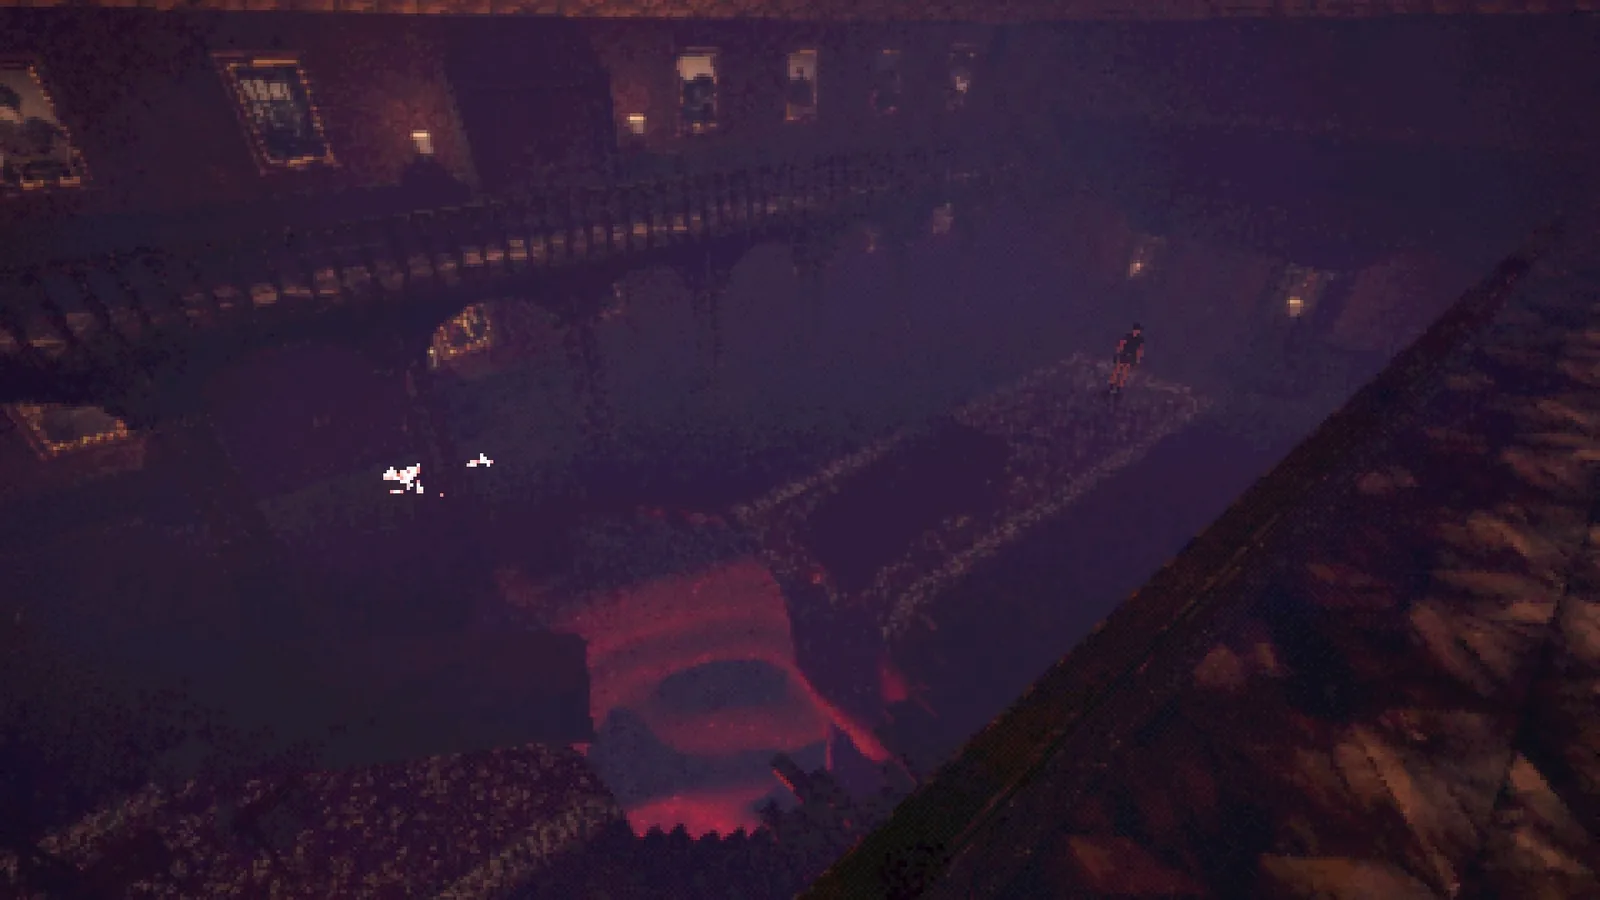
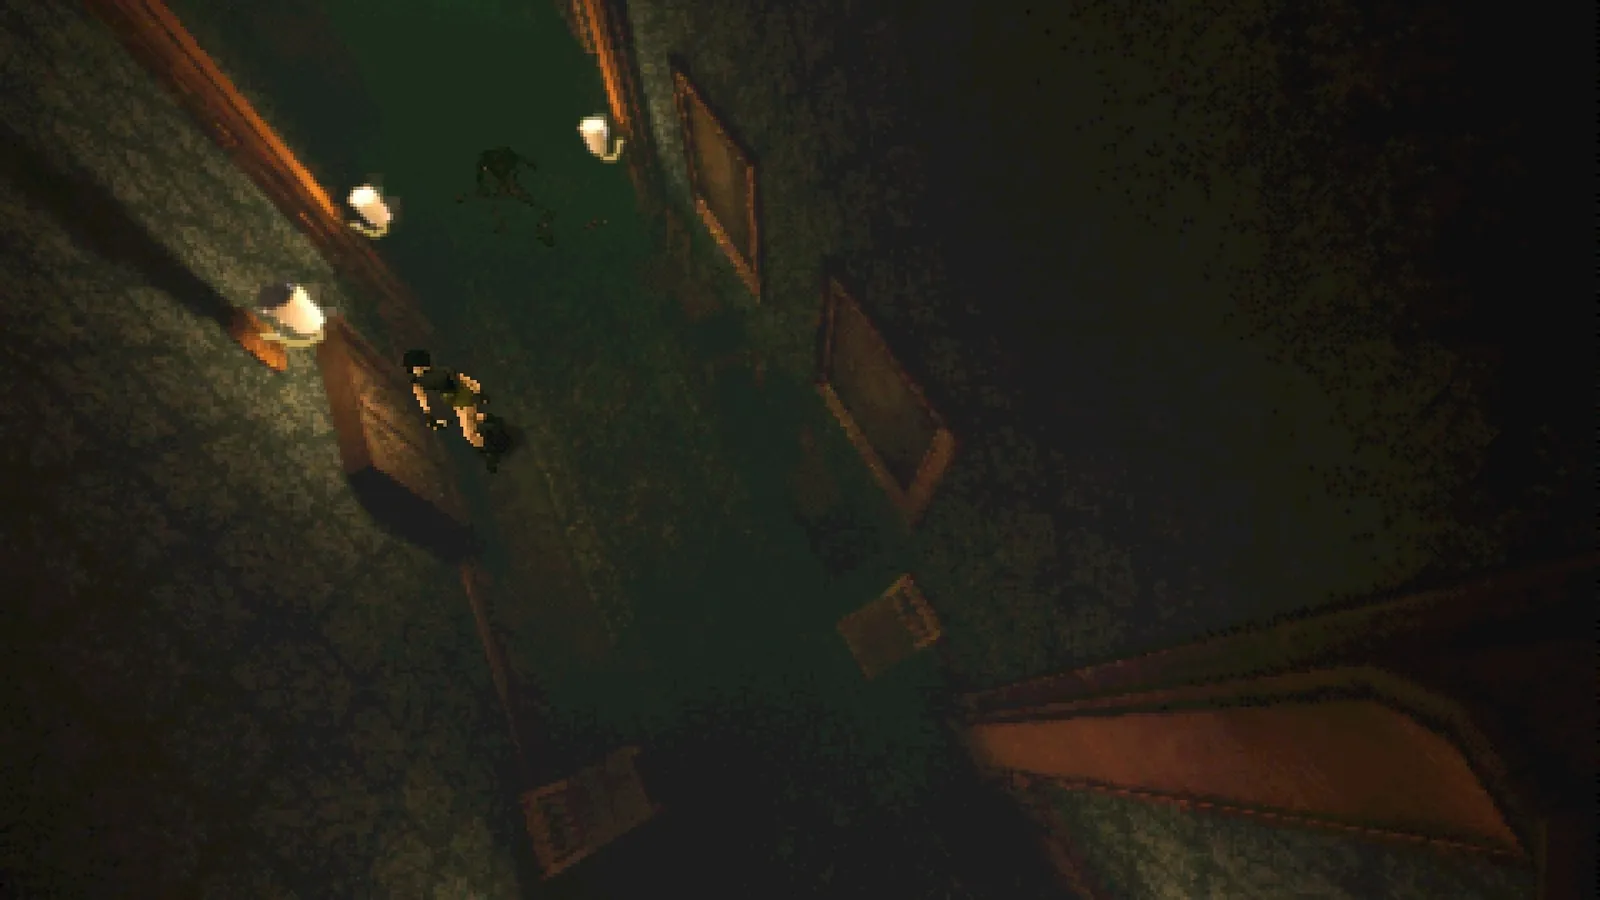
The garden area — high-angle view
18
Photograph the flickering barrier. Photo appears on a bench — Collectible Photo #1.
📸 Photo #1 — Garden
Behind the chain fence. Photograph the flickering barrier.
19
Find the house with three unlit candles. Need to light 3 candles.
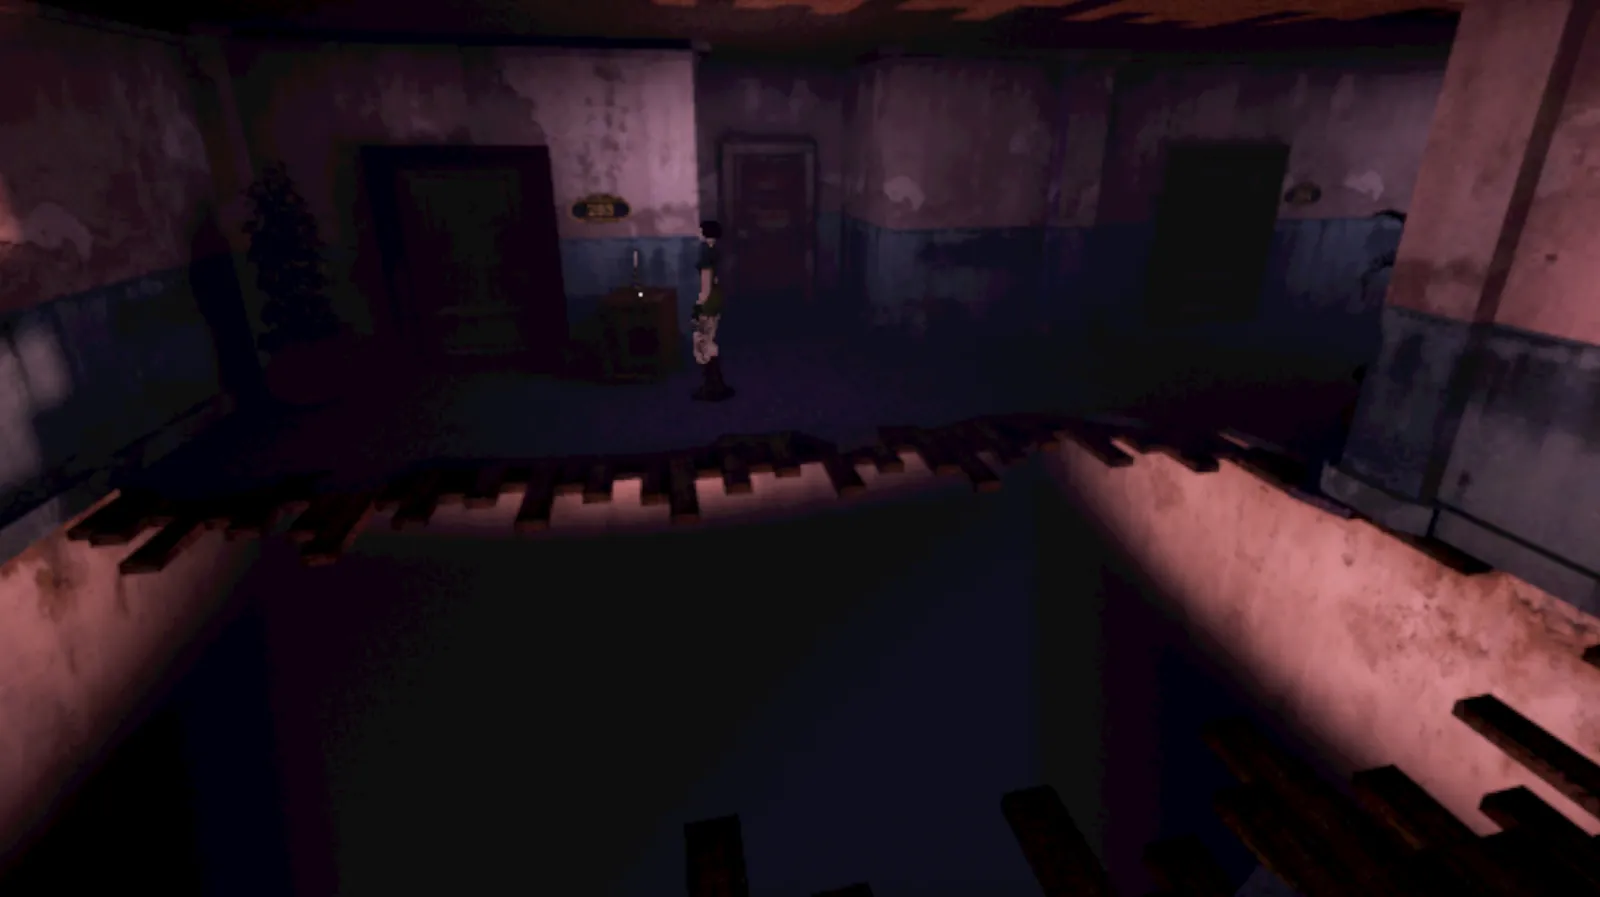
Hallway with a hole in the floor — navigating to find candles
20
Candle 1: In the apartment past the snowy hallway.
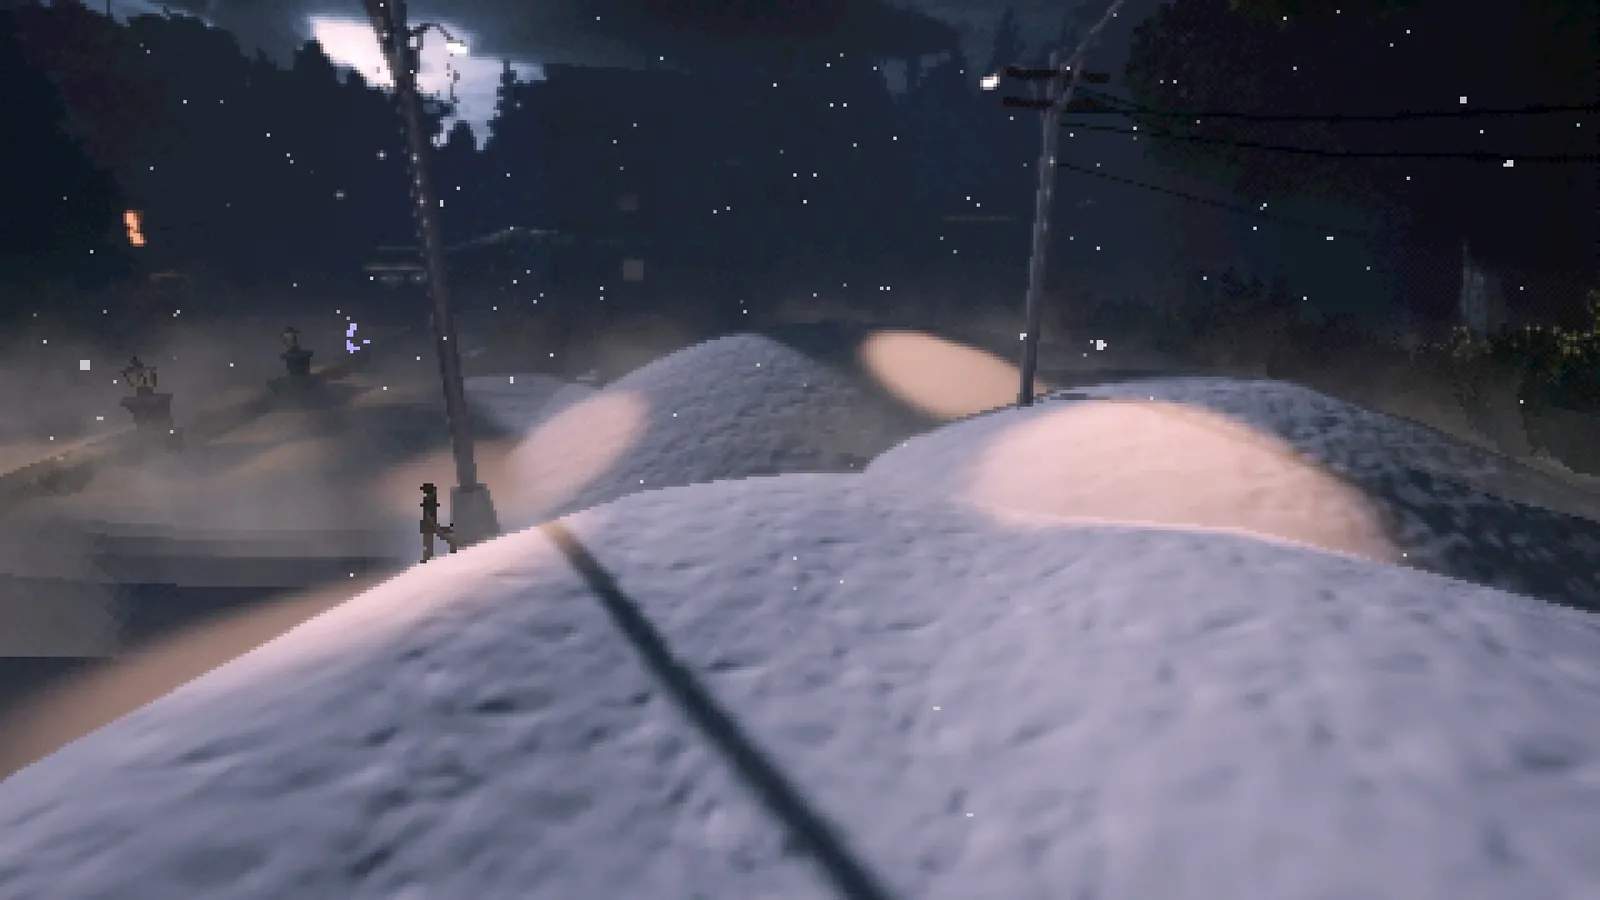
The snowy landscape — Candle 1 area
21
Candle 2: Upstairs bathroom in the house across from the shop.
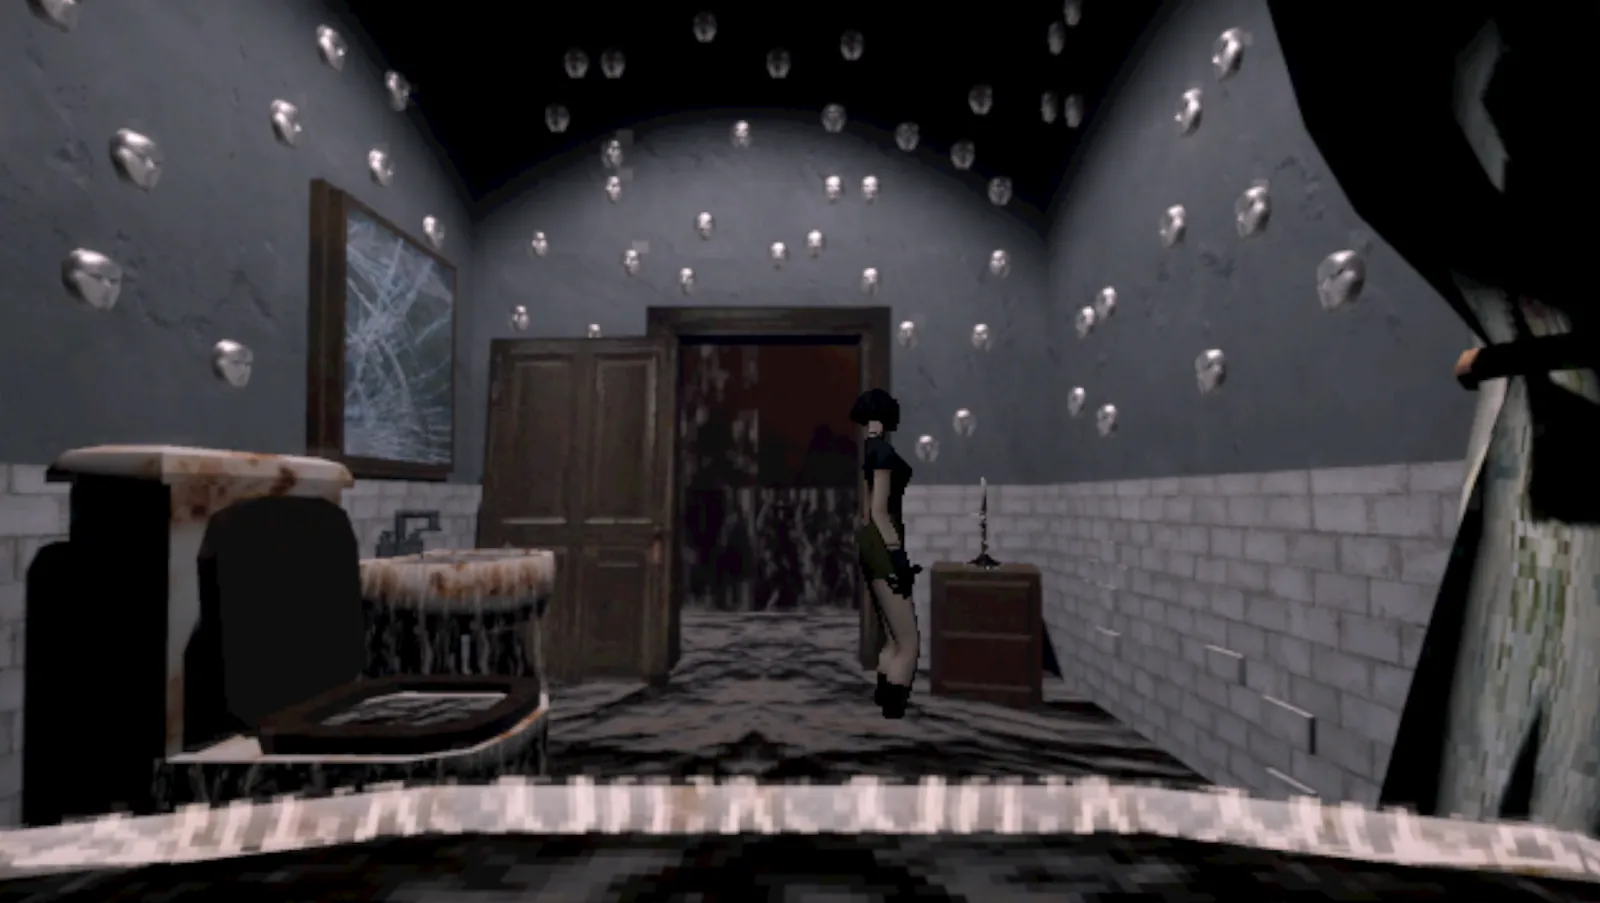
The surreal bathroom — Candle 2 location
🧩 Baseball Field Candle
Run counterclockwise across all three bases. Get back before lights go out. Cage lifts for Candle 3.
22
Return to candle house. Interact with the casket to transport to a new area.
23
Find the church, then the safe room. Save.
24
Enter the warehouse (red light door). Navigate up stairs.
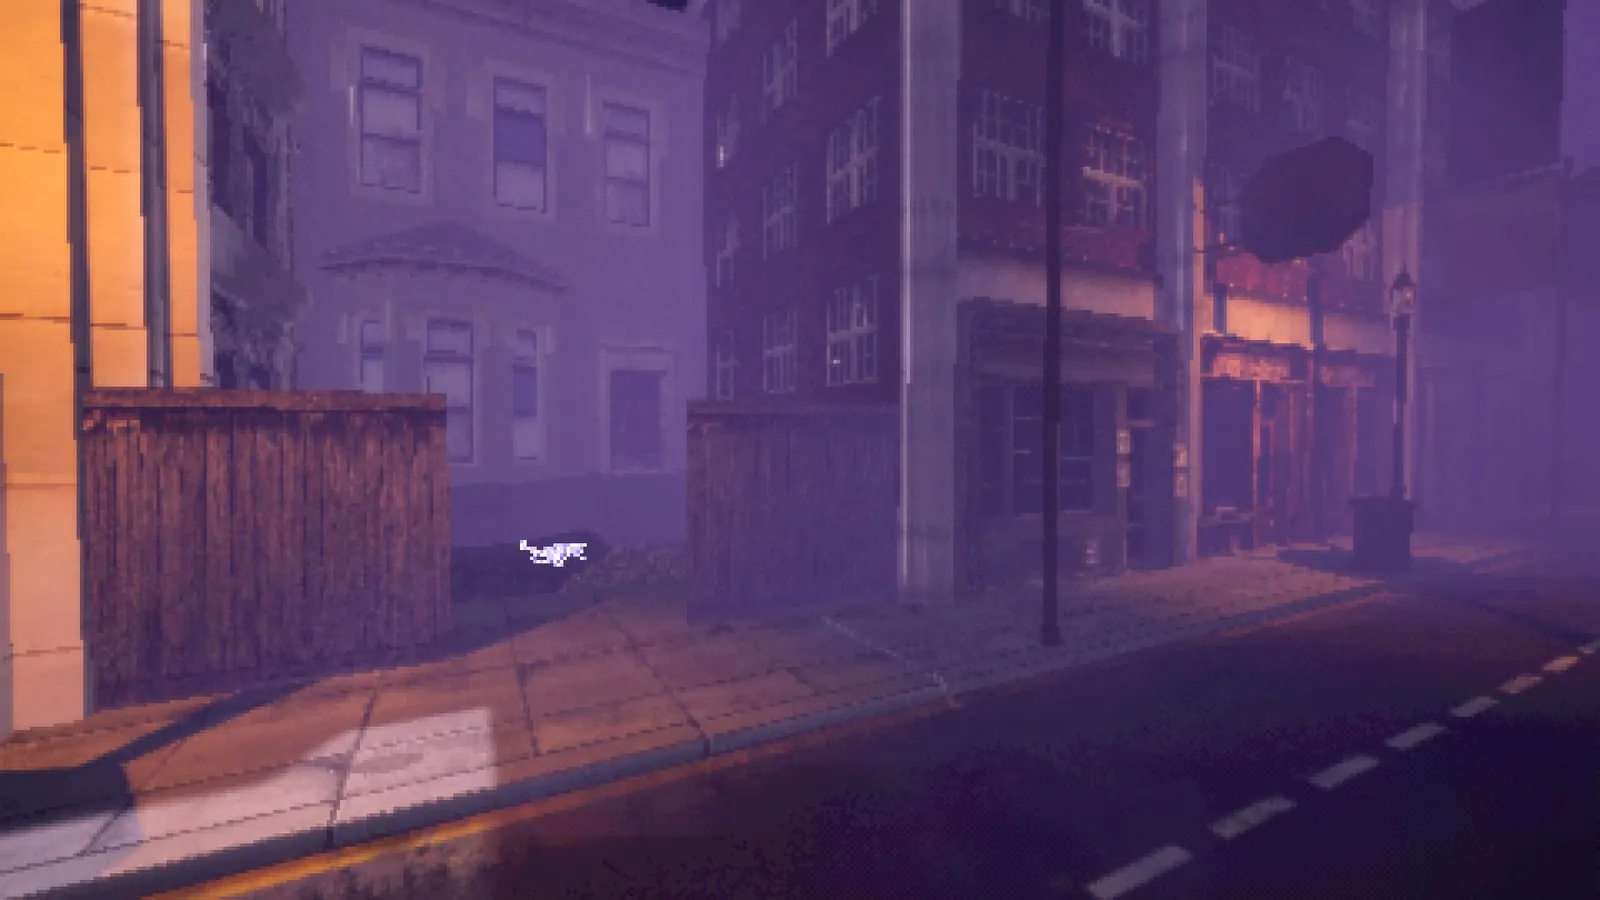
Foggy city street near the warehouse
25
Storage maze — monster chase! Keep moving until boxes block the monster.
26
Grab the crowbar behind the metal fence. Use on boarded-up door.
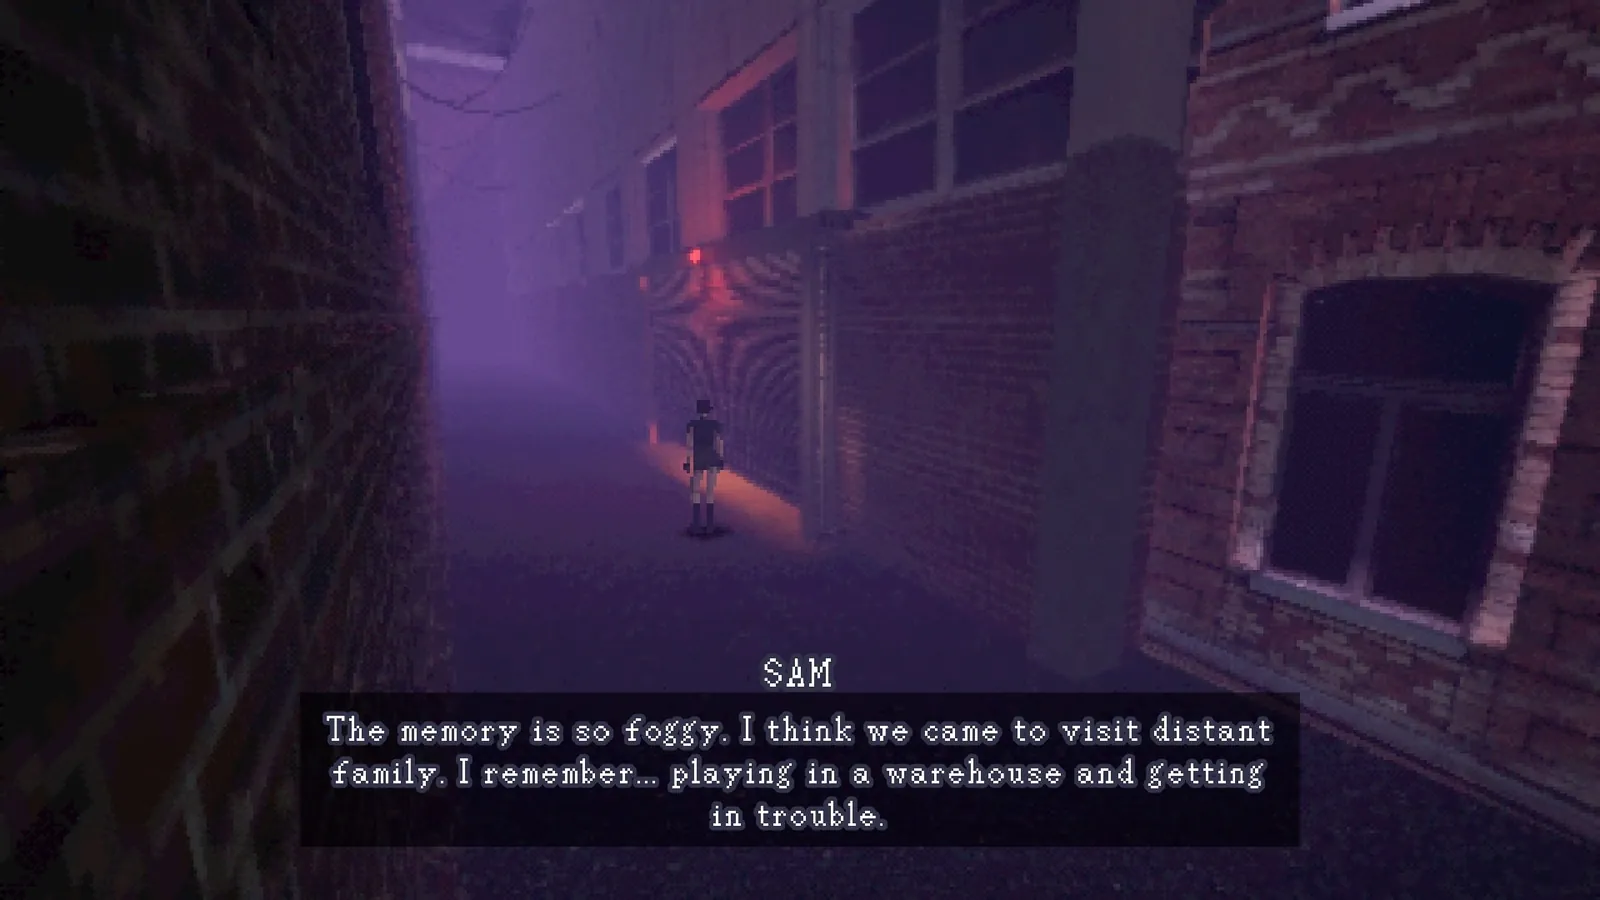
Warehouse alley — Sam recalls the warehouse
27
Use the crowbar on the bus to open it.

Chapter 4: The Wilderness
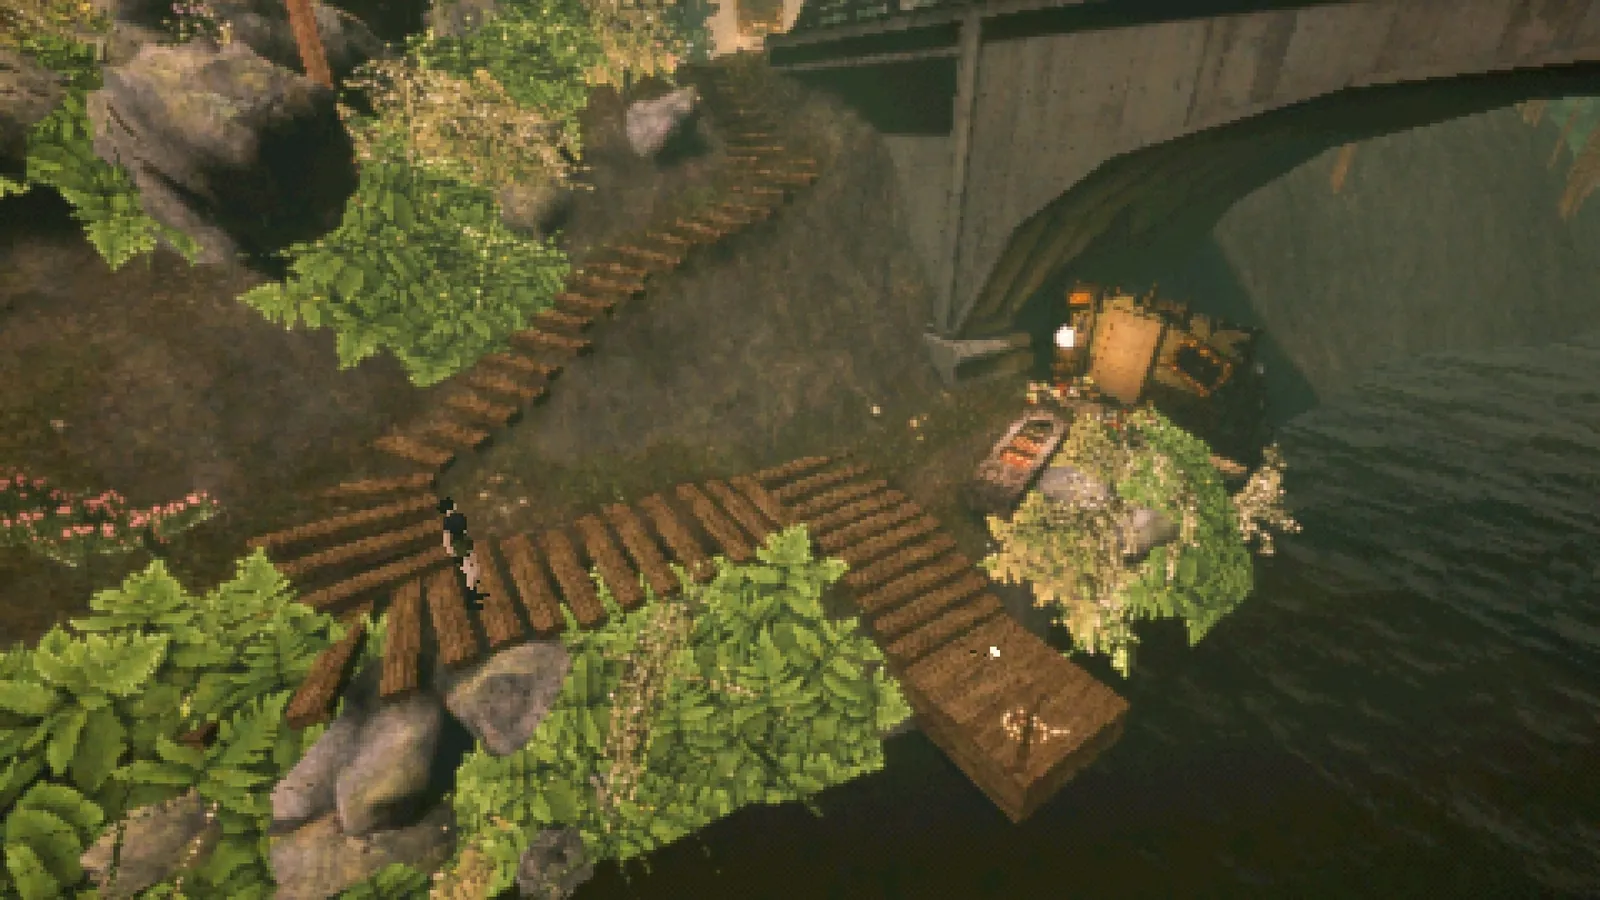
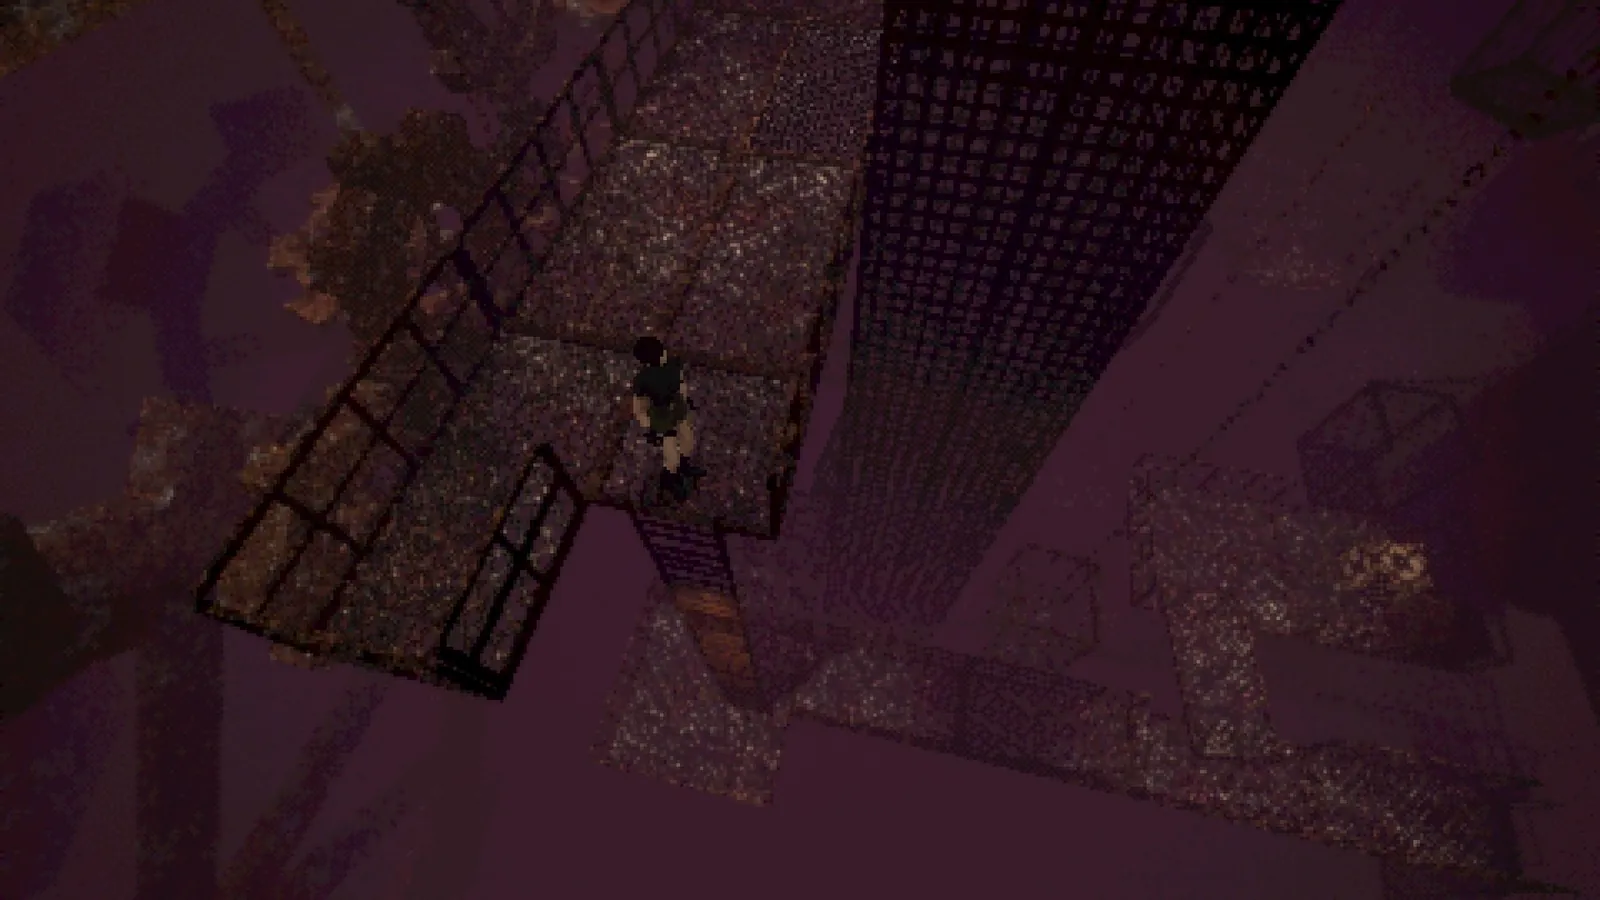
The Wilderness — bridge and staircase area
1
Read the document. Head to the bridge.
2
Go down stairs beneath the bridge. Pick up the key on the dock.
3
Enter the safe room behind you. Save!
4
Cross the bridge. Follow the path to the weeping willow tree. Read the Cassiopeia sign.
5
Activate the switch near the tree base. Find 7 more switches.
6
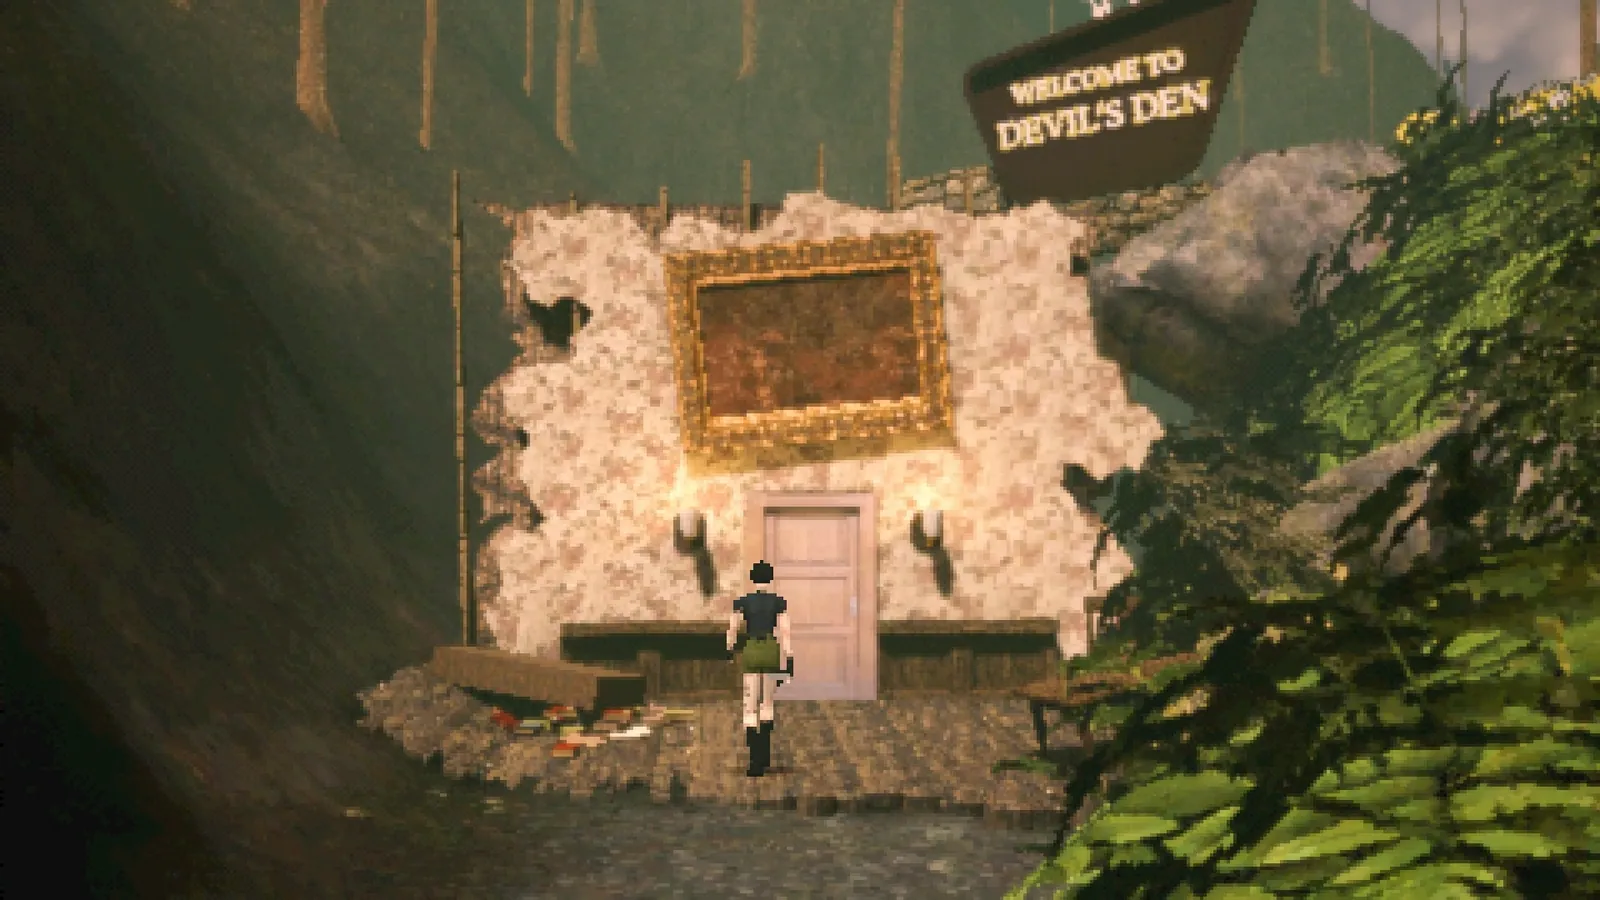
Switch 2: In the parking lot (Devil's Den). Read the Cetus sign.
Devil's Den — switch location
7
Enter the water mill. Read the note on the table.
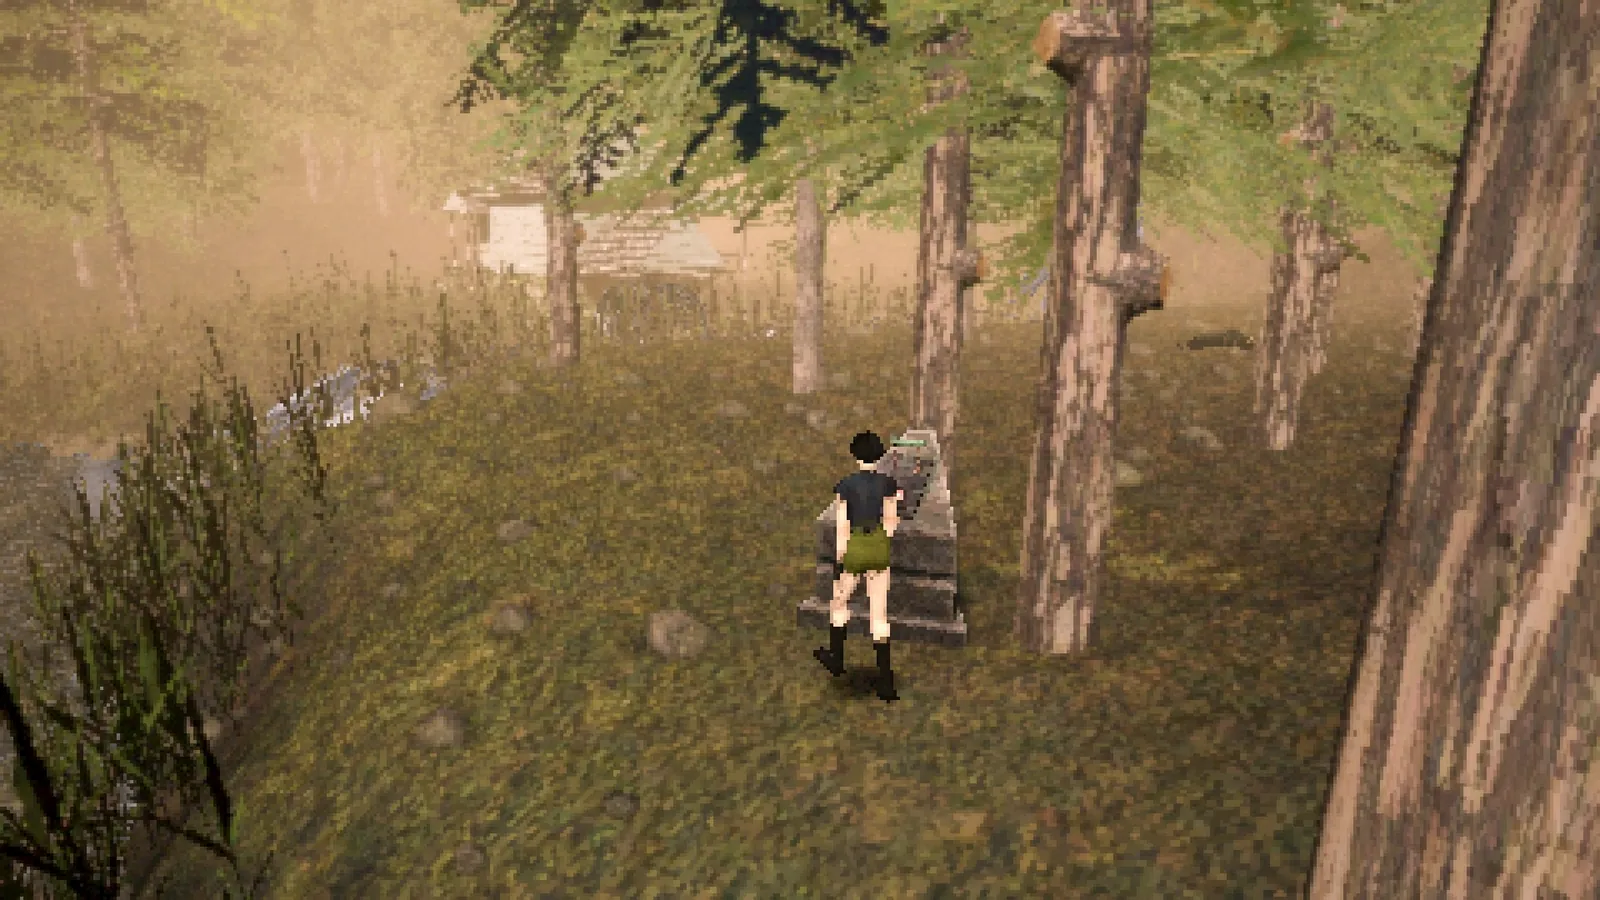
The stone piano structure in the foggy woods
🧩 Piano Puzzle
Play: C, D, Eb, G, F, D, Eb, F. Opens a door behind the waterfall.
8
Go through the waterfall door. In the cave, activate Switch 4, go down the ladder.
9
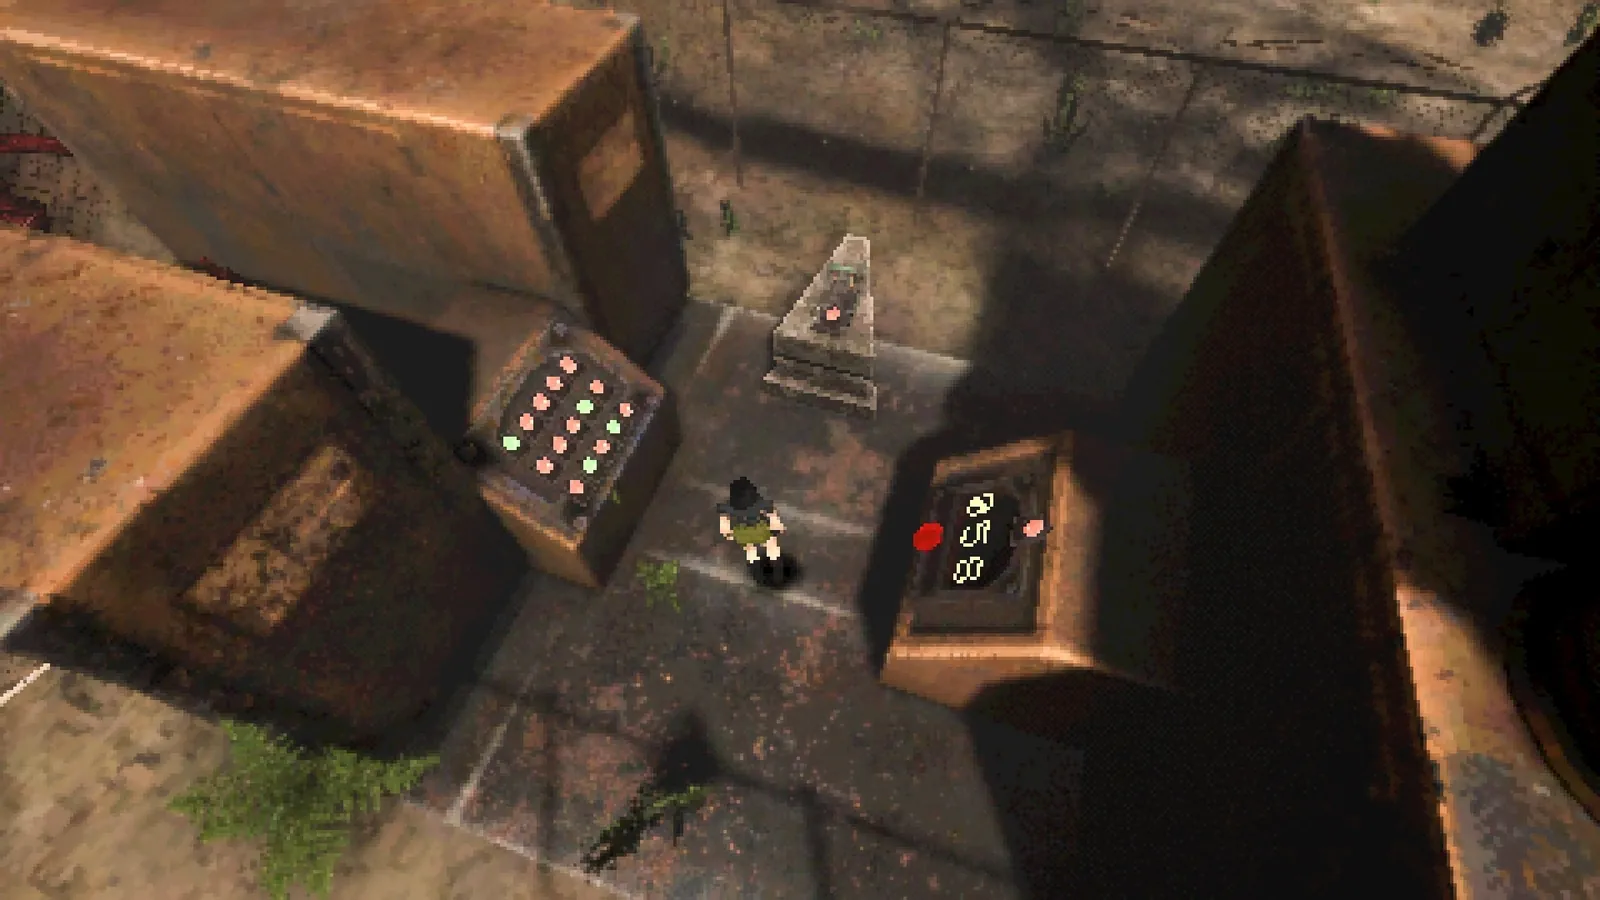
Pick up the Bolt Cutters at the bottom.
Industrial area — bolt cutters on a pedestal
10
Head to the Overlook. Interact with the telescope.
🧩 Telescope Puzzle
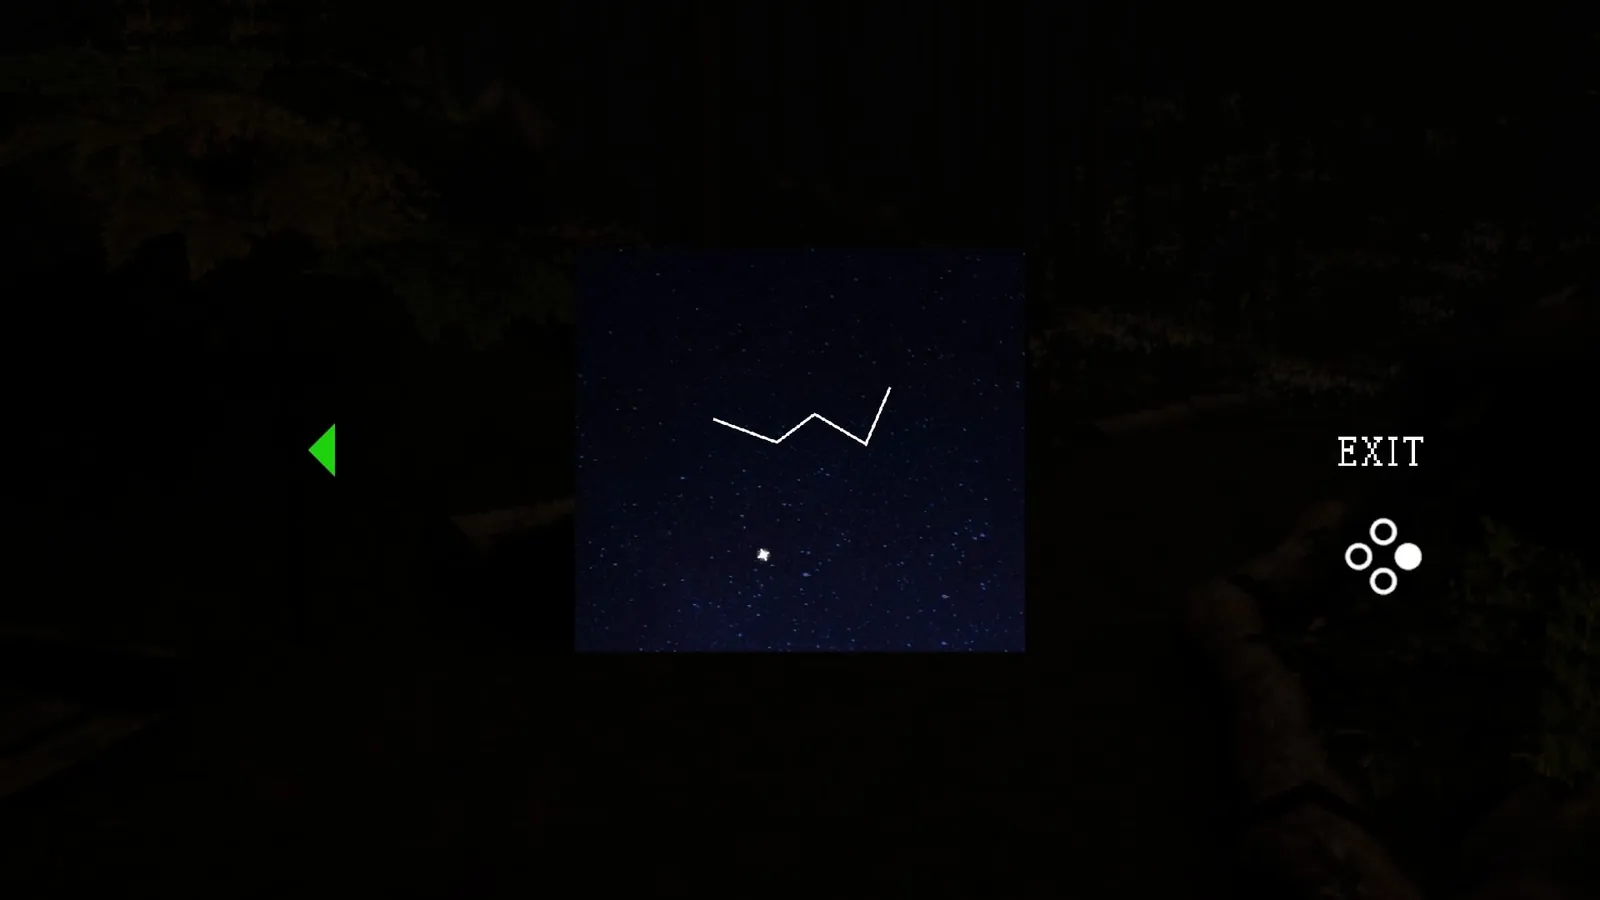
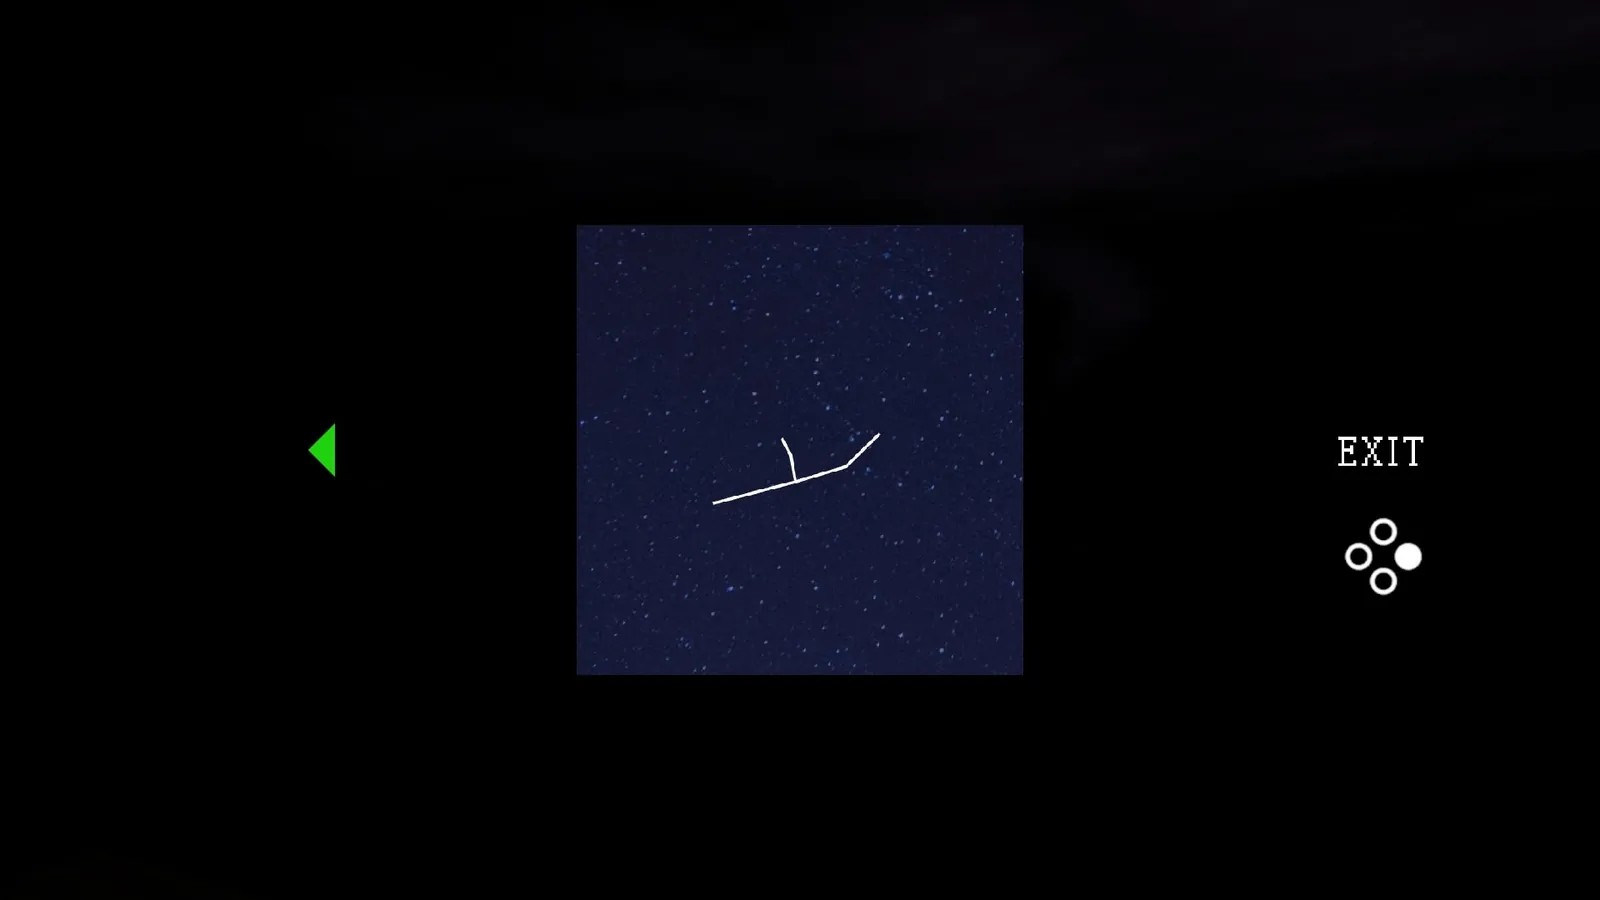
Find three constellations: Cassiopeia → Cetus → Andromeda. Opens a hatch.
Telescope view — constellation puzzle (Cassiopeia — W shape)
11
Find the second constellation (Cetus).
Telescope view — second constellation
12
Take the Blood Kit from the hatch.
Blood Kit on a stone pedestal
13
Use Bolt Cutters on the pylon gate. Activate Switch 5.
14
Head to the train yard. Solve the block puzzle to reach Switch 6.
🧩 Block Puzzle (Train Yard)
Push blocks to reach the switch in the top-right corner.
15
At the clearing, find the broken cottage with the deer corpse. Use the Blood Kit.
16
Find Switch 7 in the maze. Find the outdoor library altar — use Blood Kit.
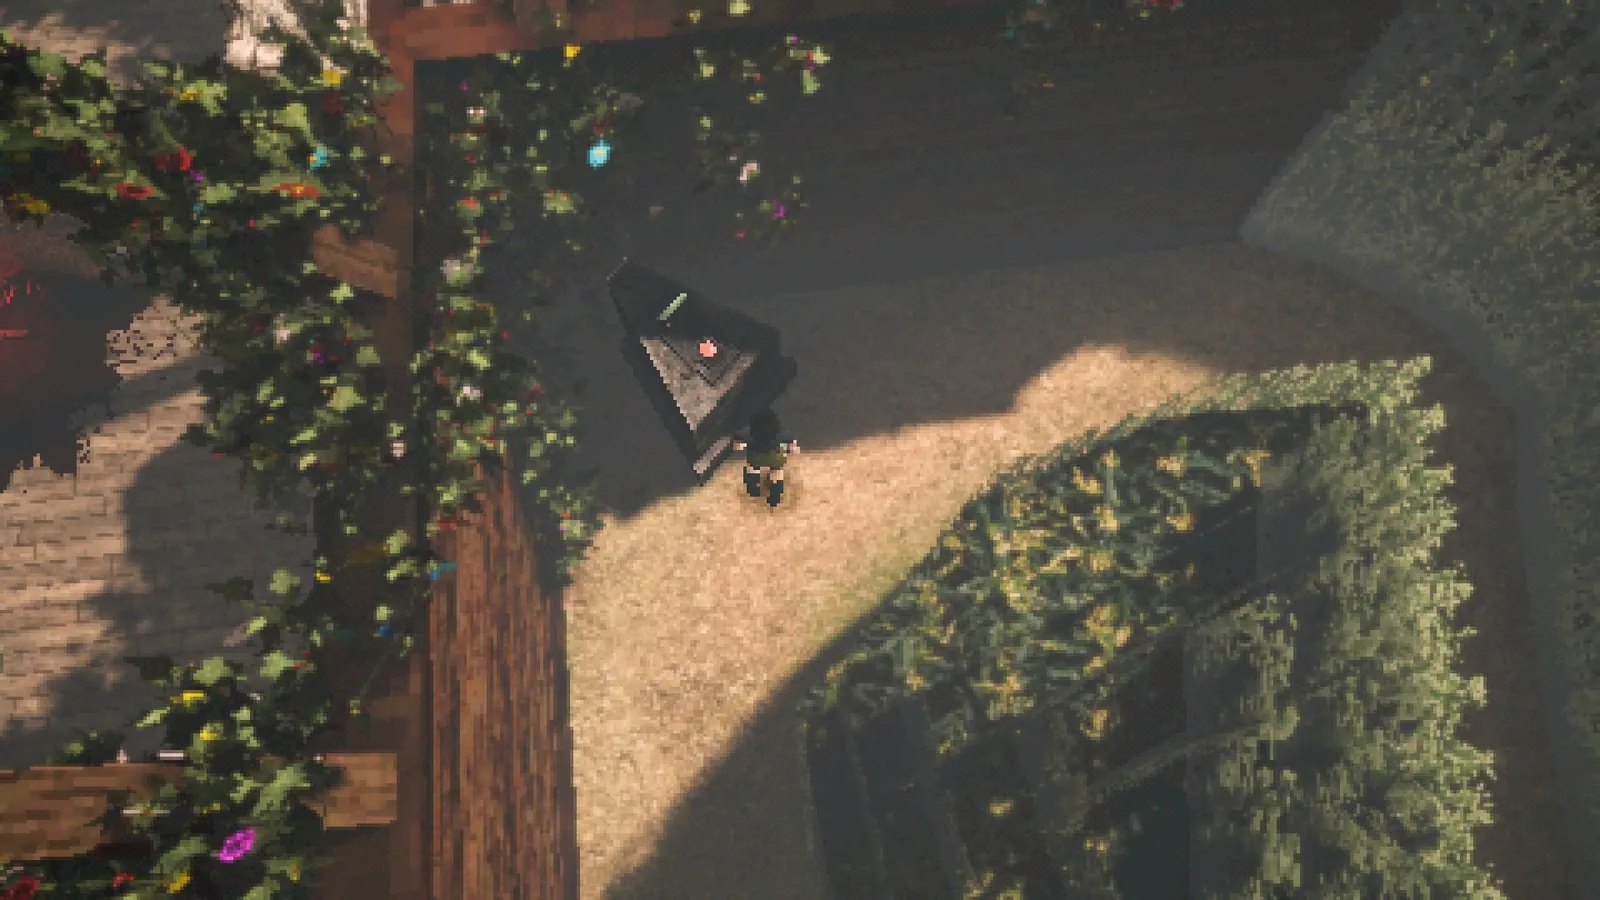
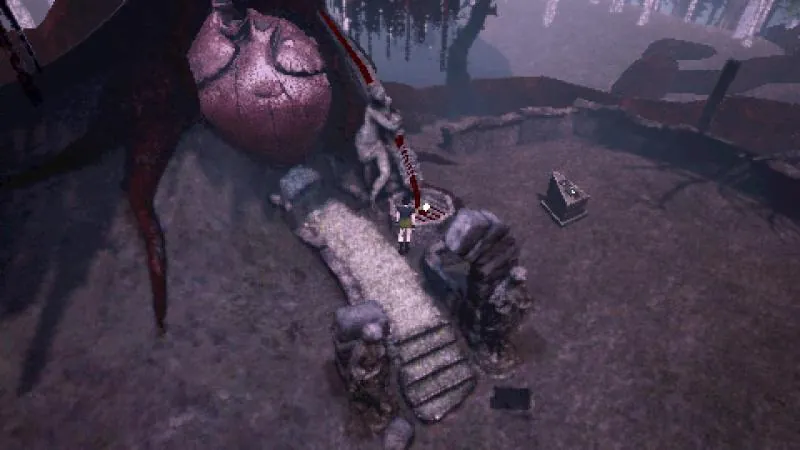
Stone courtyard with heart sculpture — altar area
17
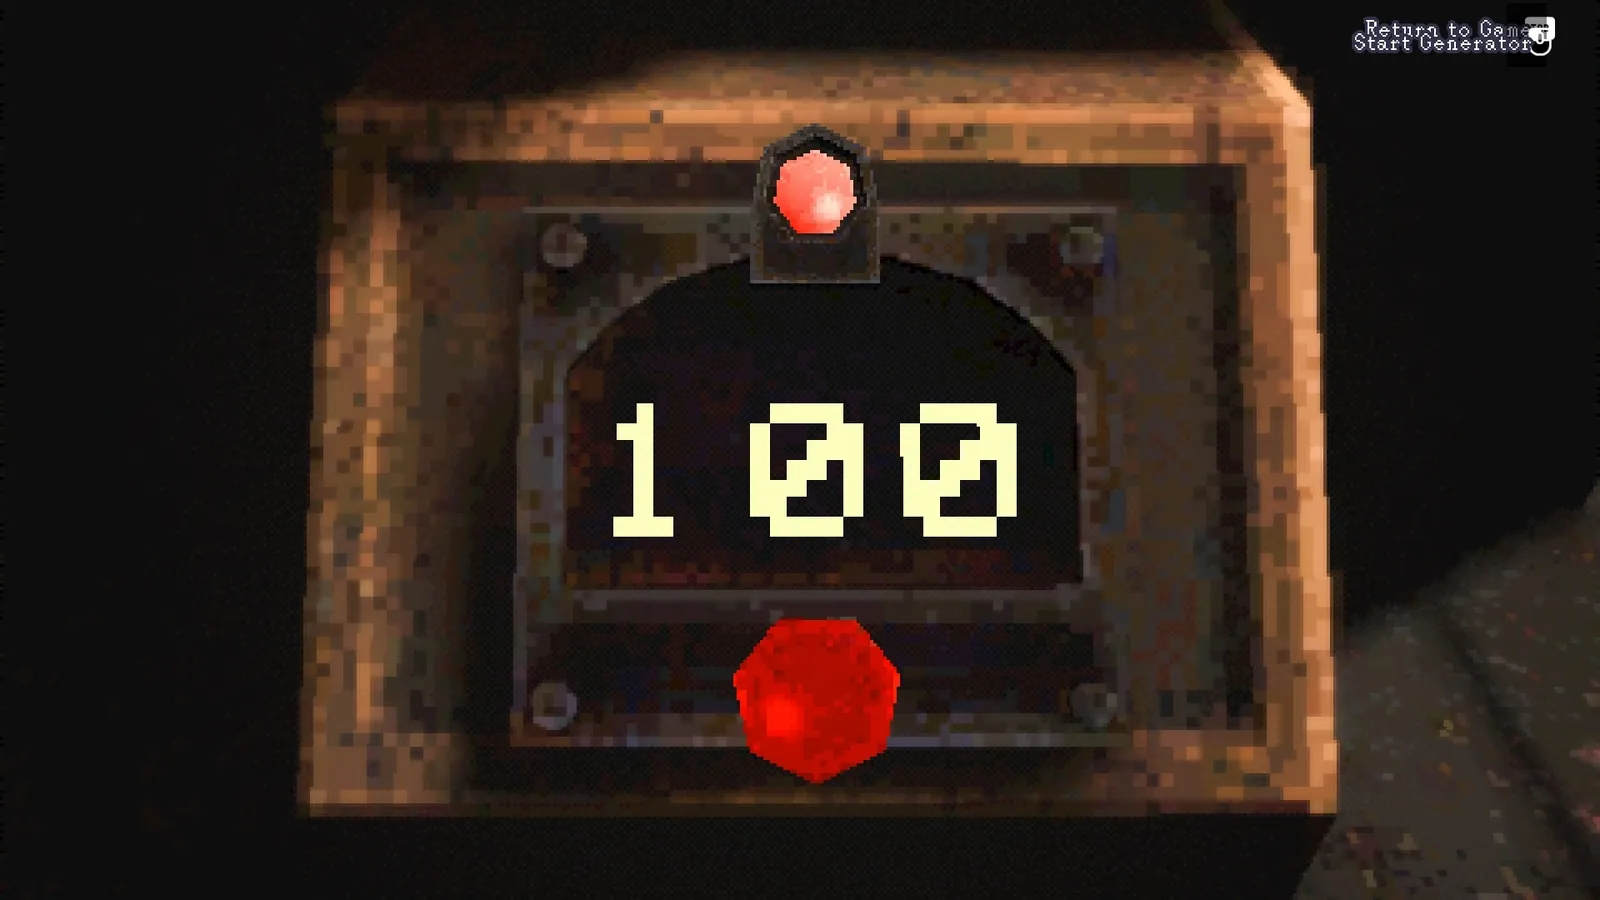
Return to the power station. Indicator should be at 100. Press the red button.
Power station generator — showing 100
18
Find the Hex Crank at the heart of the tree (watch for the statue!).
19
Use the Hex Crank at the waterfall to lower the water level.
20
Follow the path down. Pick up the journal. Go down the staircase into the cave.
21
In the cave safe room — save! Boss coming.
22
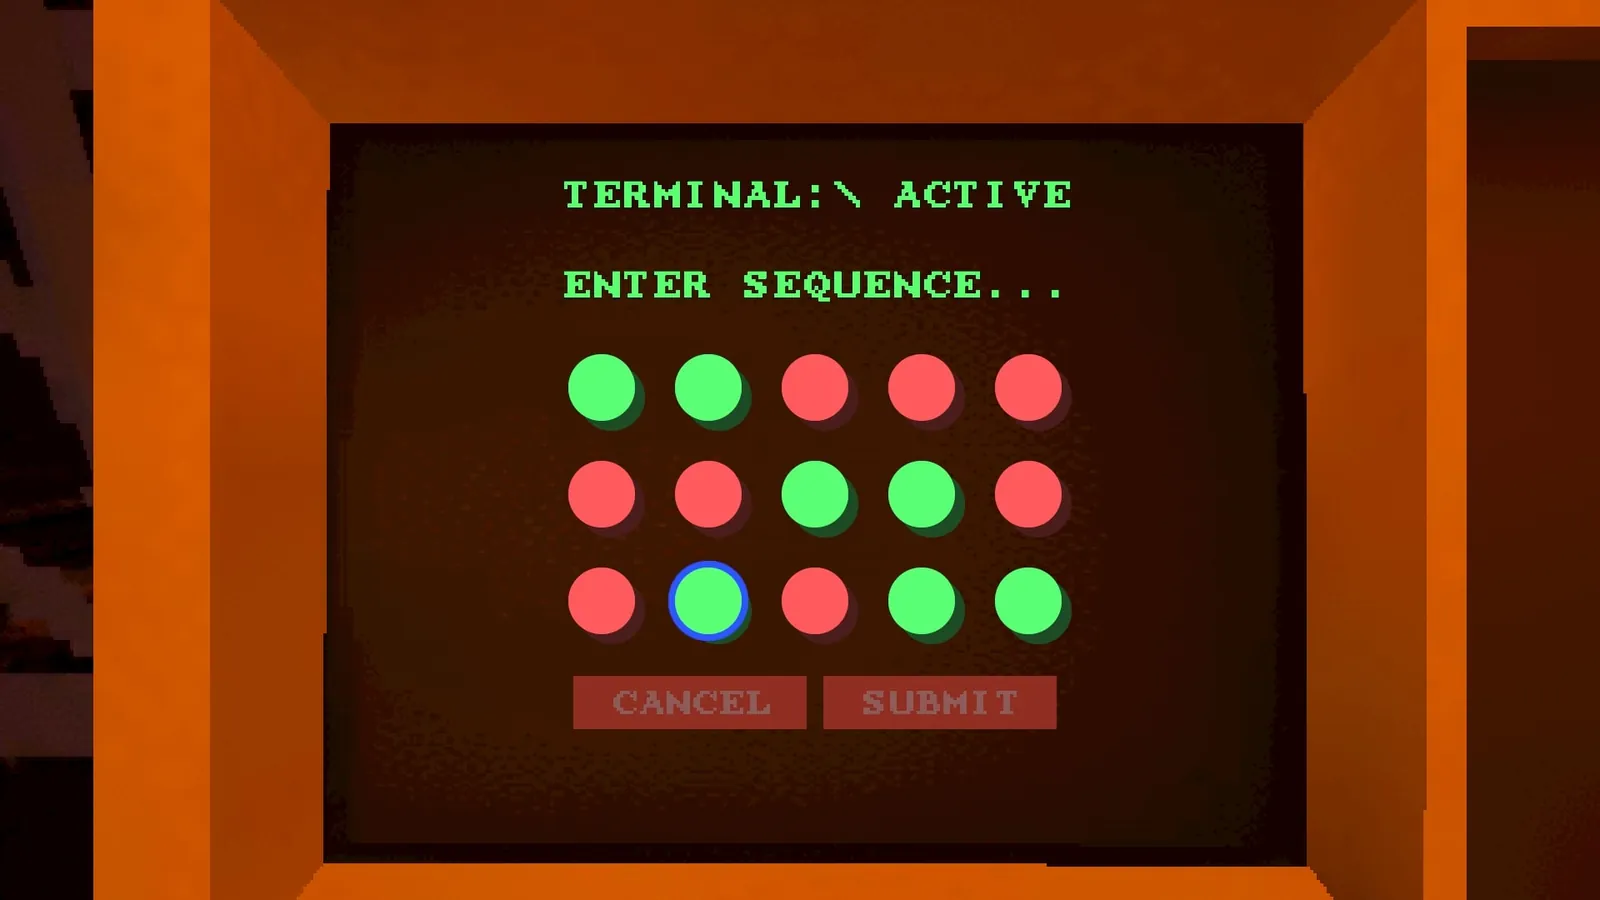
Interact with the computer terminal at the sun gate.
Cave terminal — colored grid puzzle
🧩 Cave Terminal Puzzle
Top: G-G-R-R-R / Mid: R-R-G-G-R / Bot: R-G-R-G-G
23
Go through the gate. Take a photo of the static — Collectible Photo #2!
📸 Photo #2 — Cave
Behind the sun gate. Solve the terminal, then photograph the static.

Chapter 5: Clock Tower

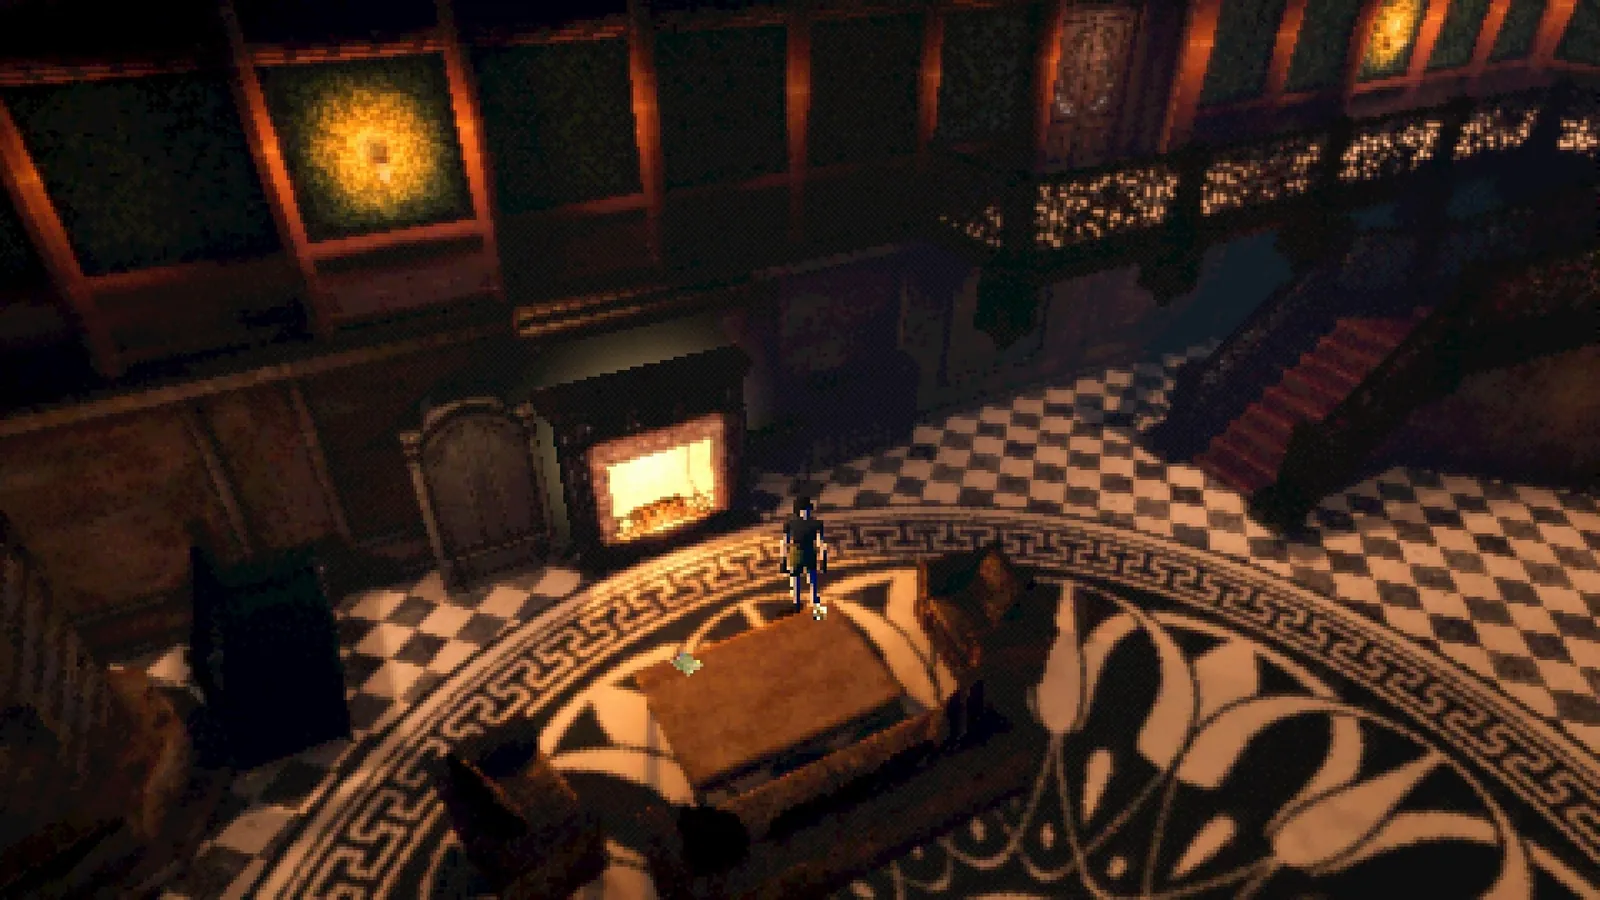
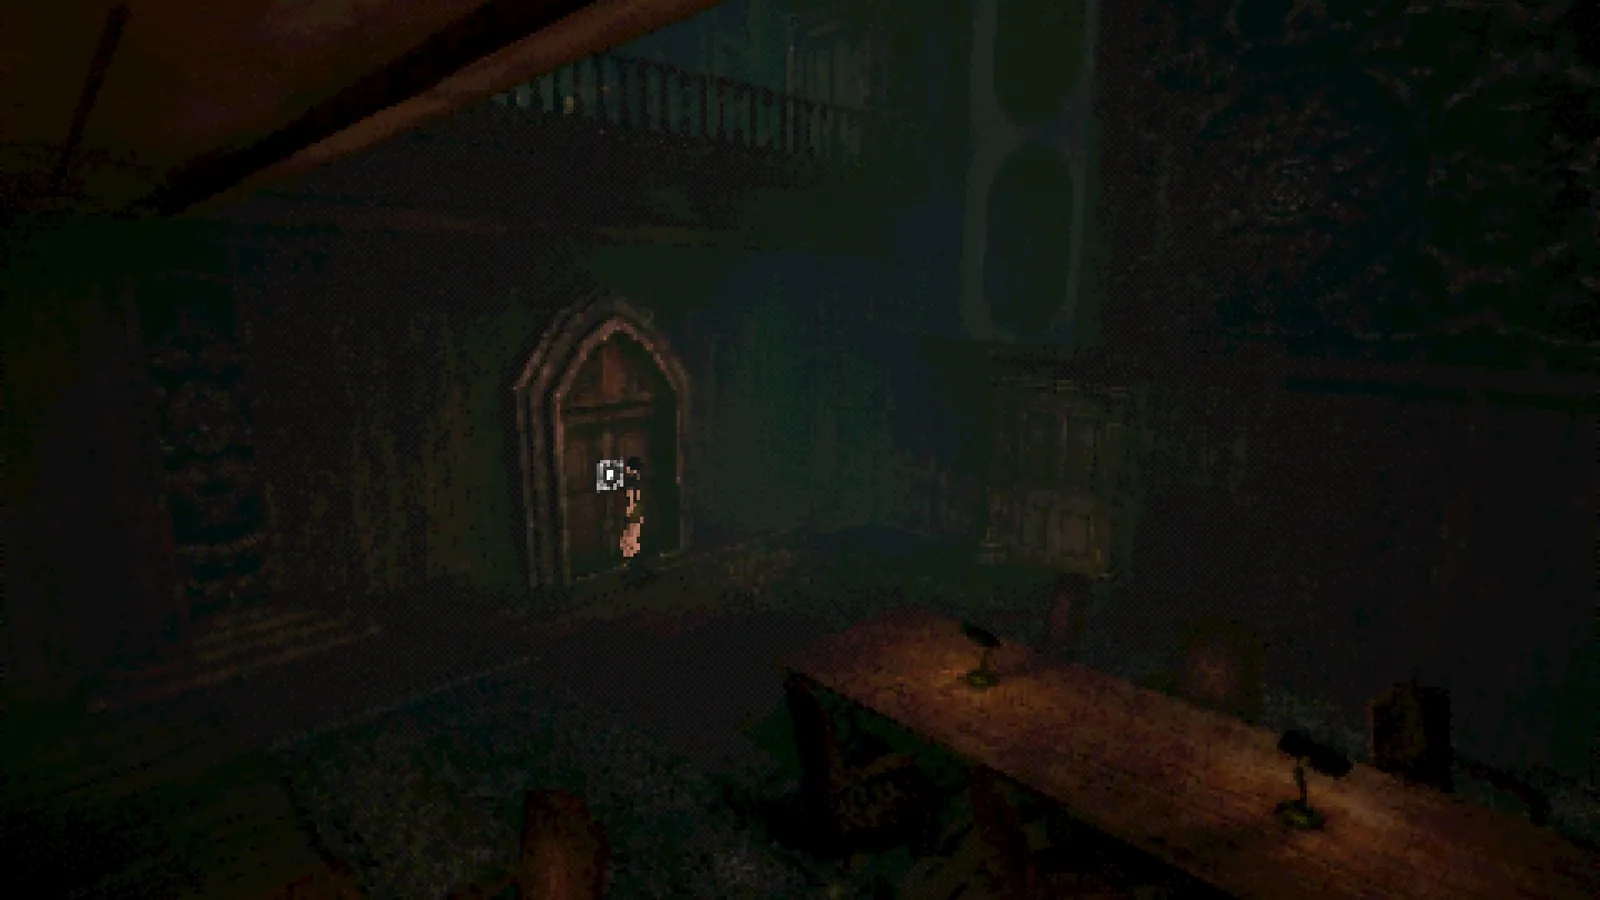
Clock Tower — grand entrance hall
The Clock Tower approach — cemetery with the hooded figure
1
After the cutscene, cross the bridge to the Clock Tower. Interact with it.
2
At the table near the fireplace, pick up the Delta Emblem and read the journal.
3
Go upstairs, through the door on the left to the dining room.
4
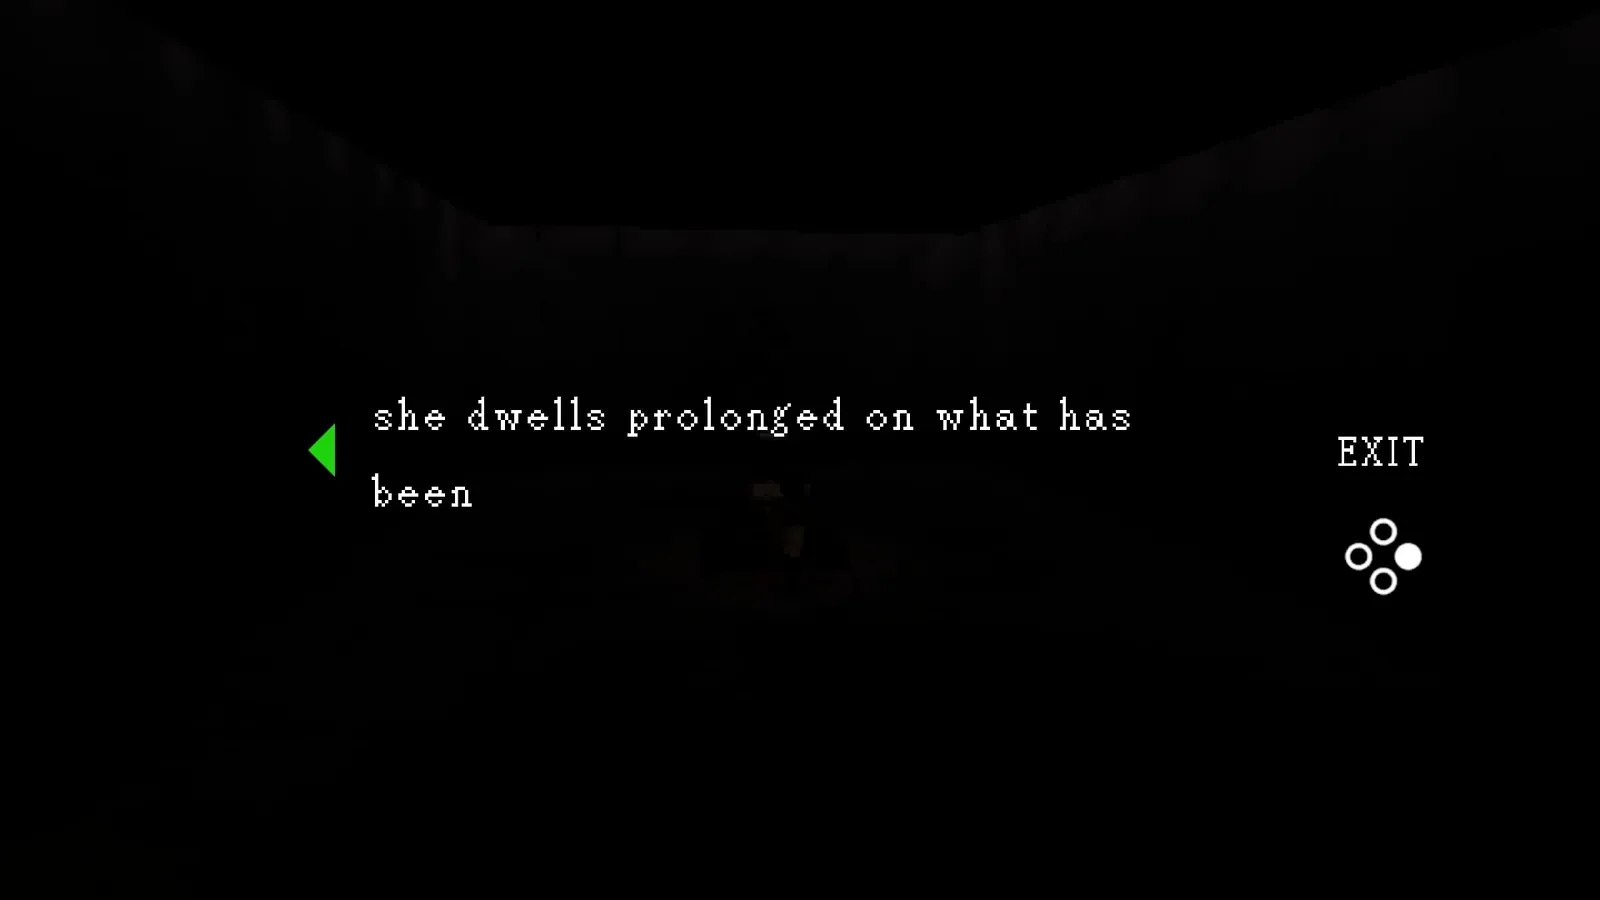
In the gallery, read the note — word: 'dwells'.
Gallery note — 'she dwells prolonged on what has been'
5
Use the Delta Emblem on the door. Enter the hospital.
The cavernous hall inside the Clock Tower
6
Waiting room — four screens flash: Complacency, Uncertainty, Mediocrity, Mortality.
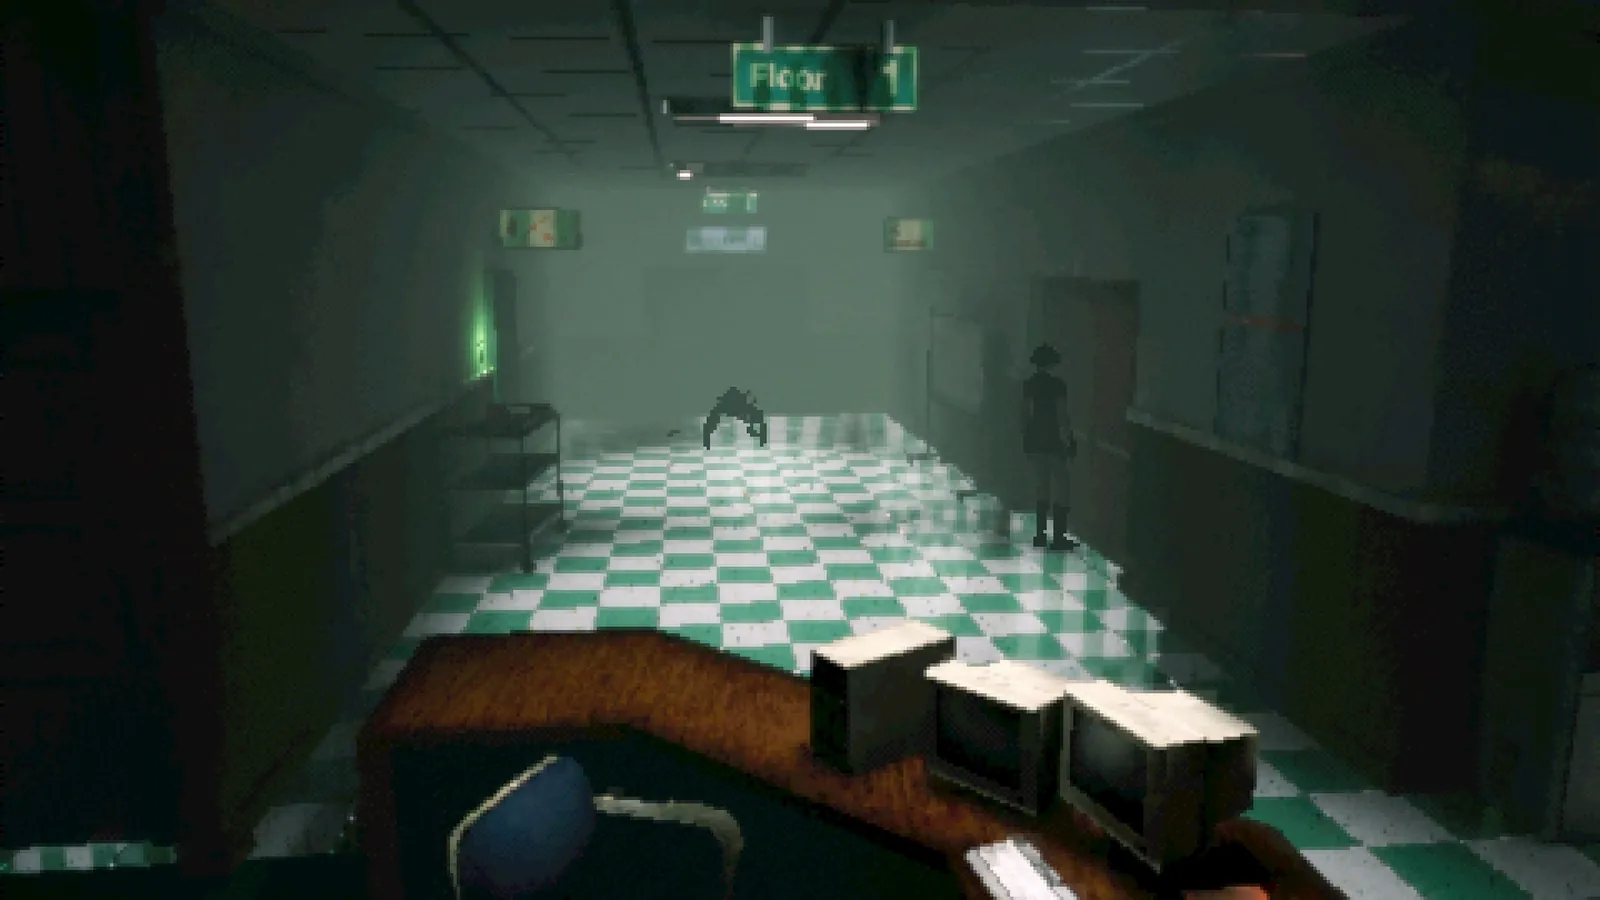
Hospital reception area — Floor 1
7
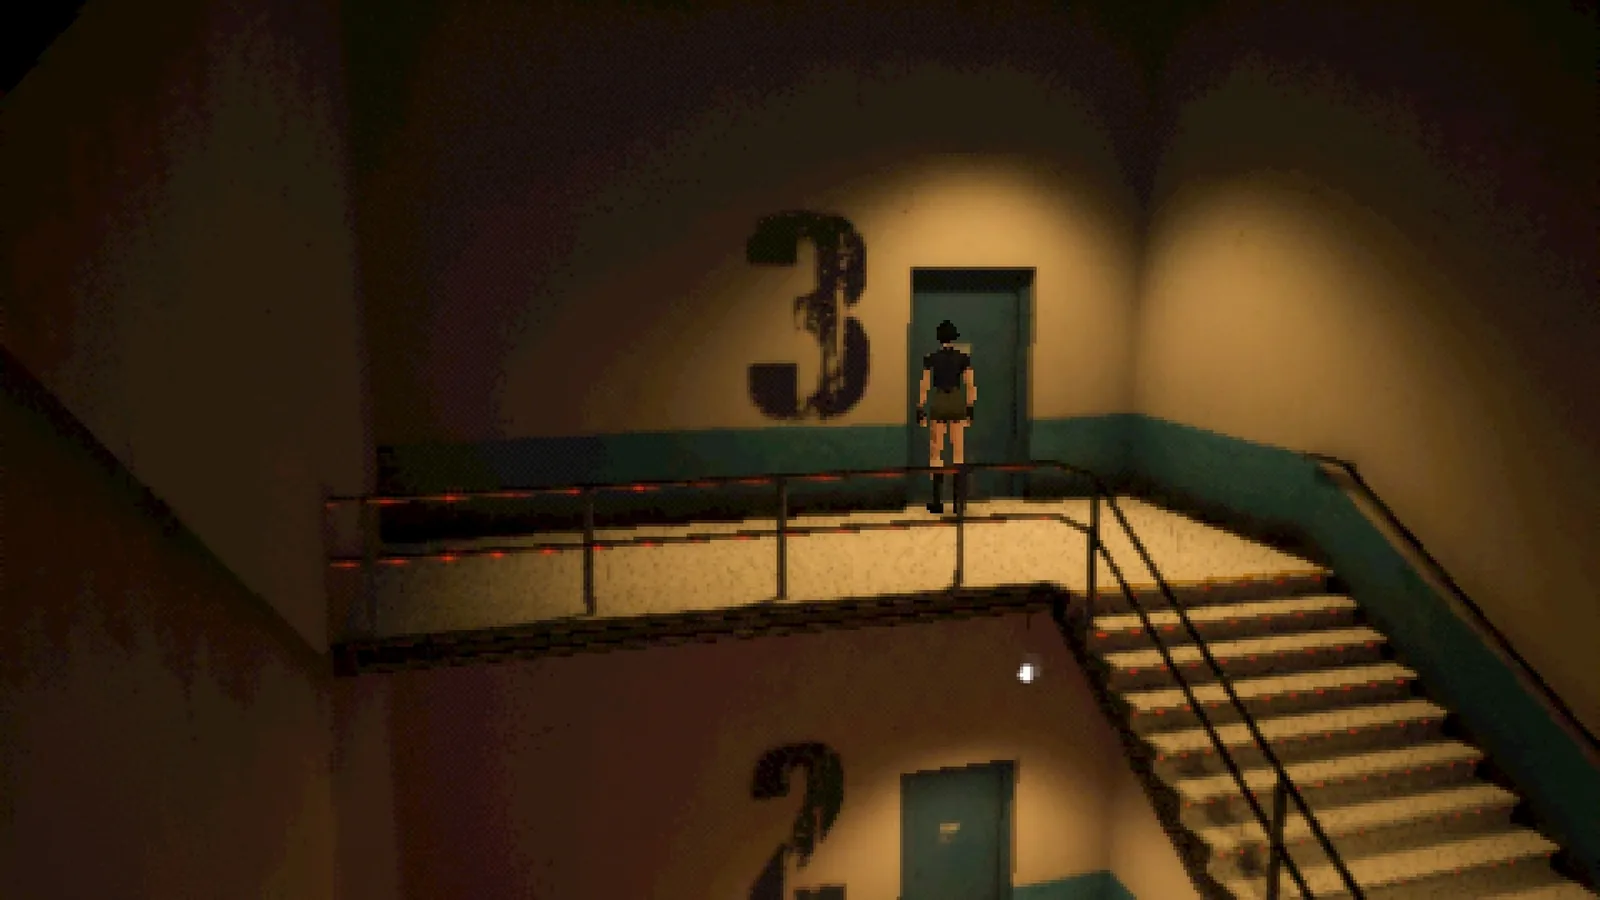
Go to the 3rd floor. Press buttons outside windows in order.
Hospital stairwell — floor 3
🧩 Hospital Button Puzzle
1. Complacency → Couple watching TV
2. Uncertainty → Person falling
3. Mediocrity → Person at desk
4. Mortality → Room with flowers
8
Take the Crucifix from the baby's crib. Teleported back.
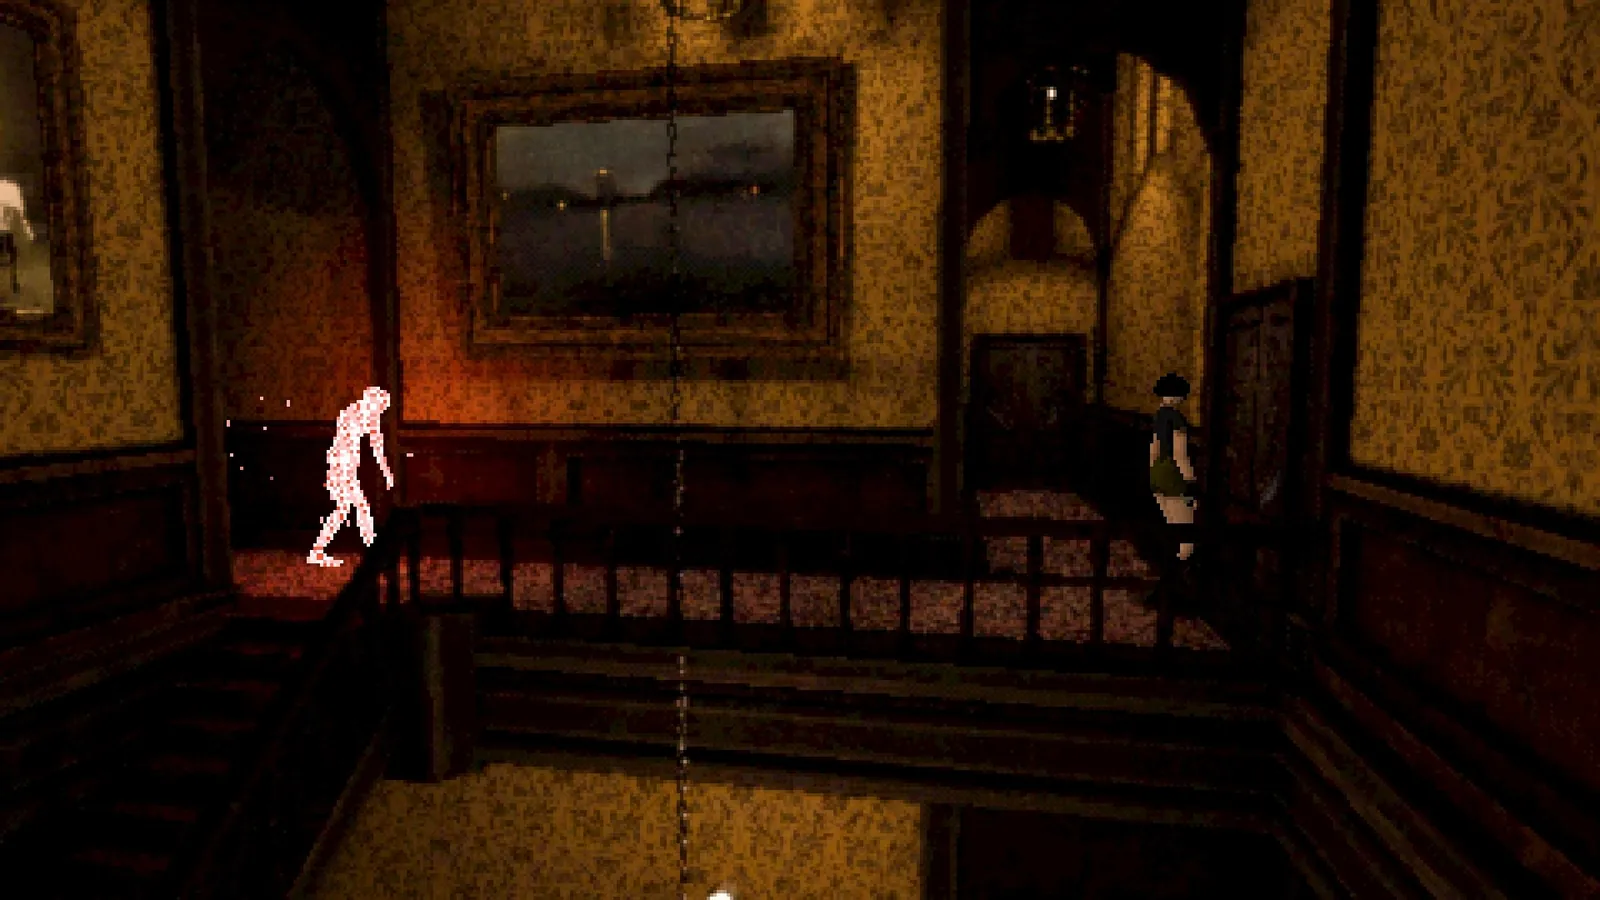
Ornate hallway — ghostly figure approaching
9
Place the Crucifix in the display case.
10
2nd floor, right. Gallery — word: 'desires'.
11
3rd floor, left. Gallery — word: 'deprives'. Pick up Multigrade Developer.
Gallery hallway — examining paintings
12
Push the box into the empty cage. Grab the Beta Emblem.
13
Use the Beta Emblem on the library door.
14
Enter the school. Navigate to the pool area.
Surreal industrial void — the school area
15
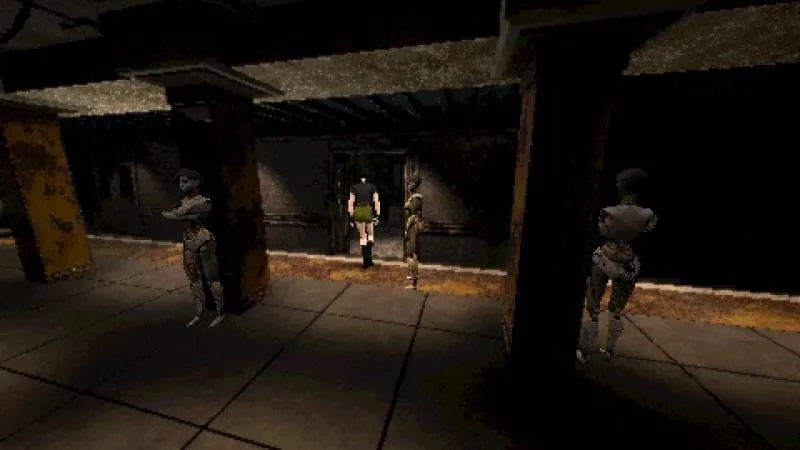
Run through the mannequin hallway — don't fight them.
Industrial hallway with mannequins — just run
16
In the classroom, interact with the TV for a 7-question quiz.
Dark room — the classroom TV area
🧩 Classroom Quiz
Answer all 7 questions. No wrong answers. Return to TV for a tape.
17
Place the videotape in the display case.
18
2nd floor, left, end of corridor. Use Multigrade Developer on the photo.
Ornate hallway junction — near the darkroom
19
Pick up the developed photo (shows safe path). Grab film.
20
1st floor, right door. Use photo to navigate the gap. Take Gamma Emblem.
21
Use Gamma Emblem on the locked door. Enter the subway.
Gothic doorway — entrance to the subway
22
Find the key taped to the service door along the tracks.
23
Photograph the static barrier — Collectible Photo #3!
📸 Photo #3 — Clock Tower
In the subway. Photograph the static barrier along the tracks.
24
Use the key on the locked gate. Enter the train, then the office.
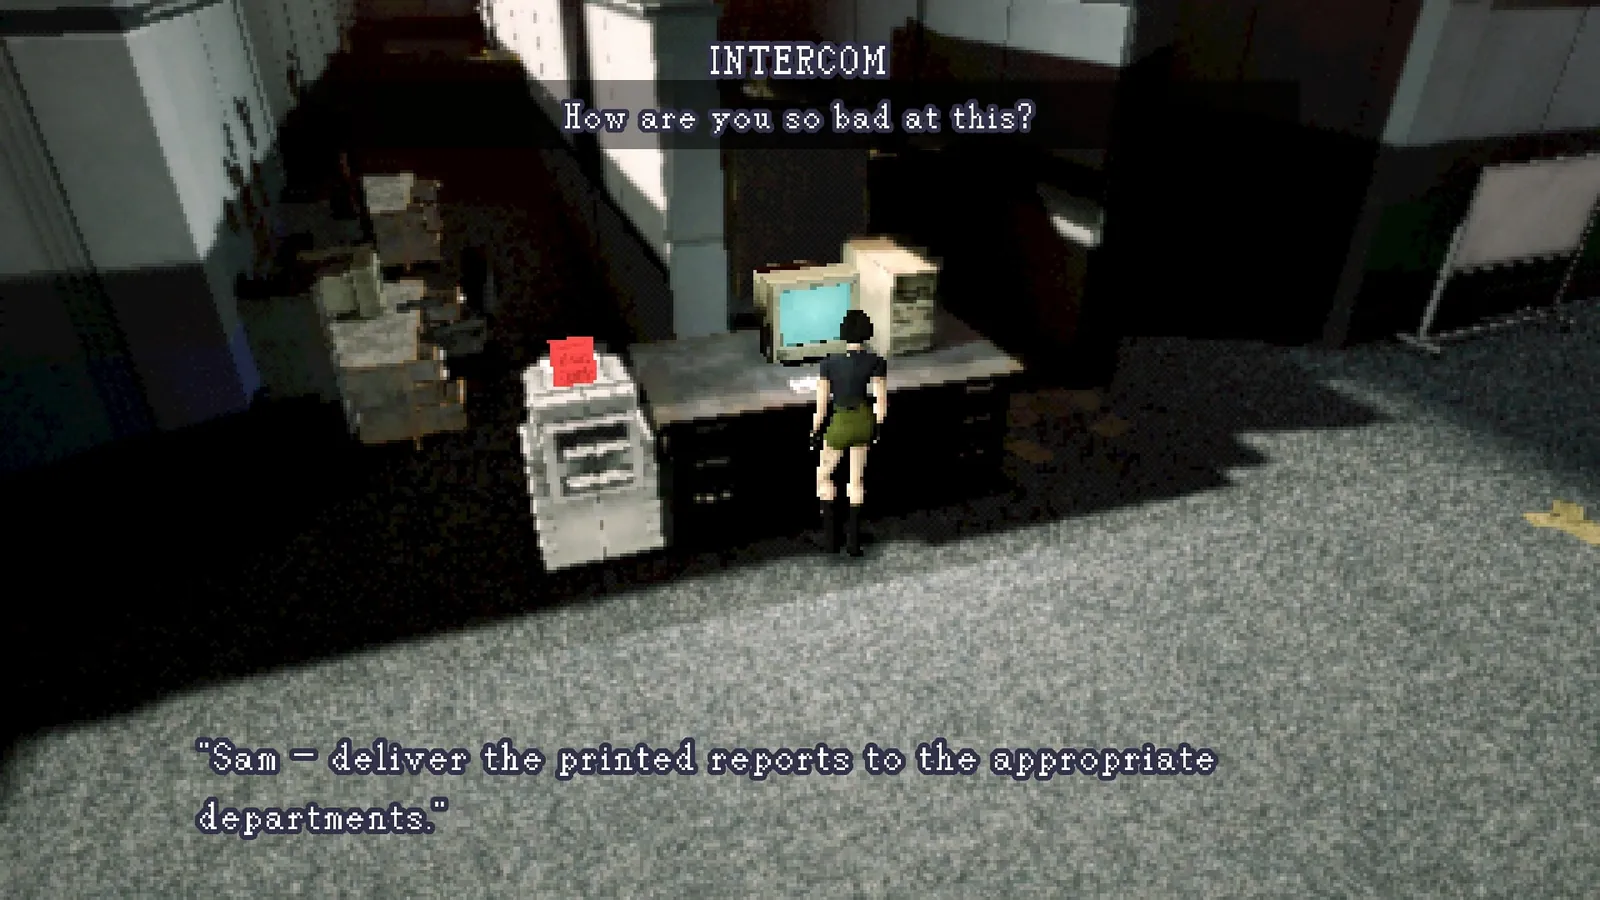
Office area — computer and printer
🧩 Office Color Puzzle
Print colored papers, deliver each to matching receptacle:
1. Red → red
2. Green → green
3. Blue → blue
4. Yellow → yellow
Warning: After yellow, trapped with enemies briefly.
25
Pick up the Work ID. Teleported back — place in display case.
26
3rd floor, right. Gallery — word: 'dread'.
🧩 Gallery Words Puzzle
Select: DWELL → DESIRE → DEPRIVE → DREAD. Take Omega Emblem.
27
Use Omega Emblem on the garden room door.
28
Enter the spooky house through the hole in the wall.
29
Find all 11 grandfather clocks. Each shows a time and image:
Time1=Moon2=Book3=Ship4=Candle5=Cloud6=Water
Image7=Widow8=Time9=Death10=Earth11=Devil
30
Go upstairs to the sliding puzzle.
🧩 Sliding Puzzle
Match pictures to correct positions based on clock times. Positions are randomized.
31
After solving, enter the new room. Read the note. Go through the hole.
32
Pick up the Eulogy at the end of the floating path.
33
Place the Eulogy in the display case — all 4 items collected. Floor R available.
34
Take elevator to floor R. Follow the path to the cutscene.
35
Pick up the Clock Tower Page. Enter the crypt to return to the Archive.

Enemy Types

EnemyHow to DefeatNotes
Static EntitiesTake a photographBasic enemy, 1-2 photos
Flickering BarriersPhotograph to clearBlocks paths, reveals items
DogsPhotograph or avoidFast, dangerous in packs
MannequinsRun pastNo need to fight in school
Small SpidersAvoidCannot be defeated
Tape Keeper (chase)Run awayCannot be fought during chase sequences
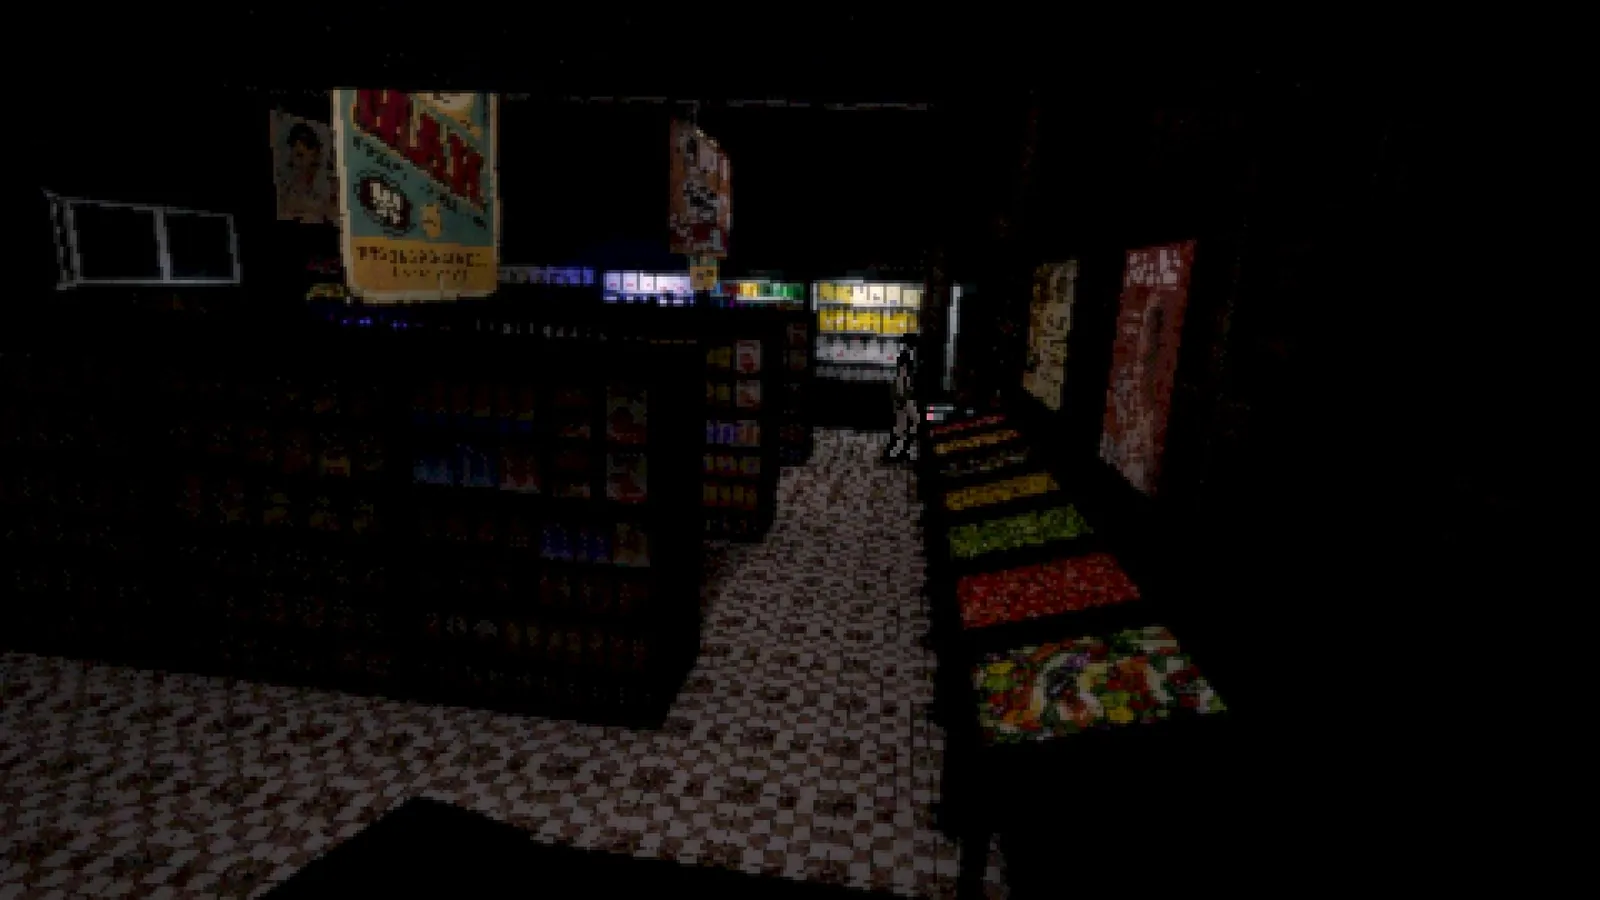
Combat in a grocery store — keep your camera ready

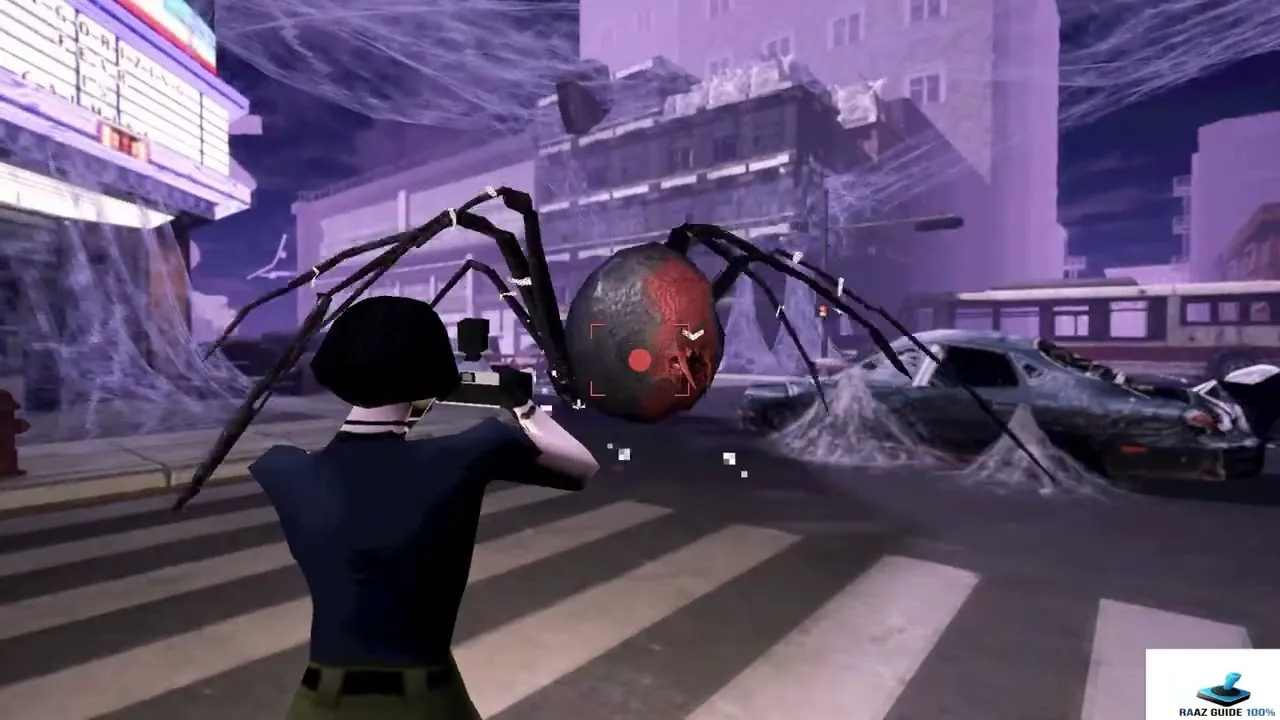
Boss: Spider

Spider boss — on the cobweb-covered street

🕷️ Spider Boss Strategy

Defeated by taking photographs — much more HP than regular enemies (~40 photos needed).

AttackHow to Dodge
LungeStrafe left or right
Web sprayMove out of range
ChargeTake a photo as it charges to disrupt
Small spidersAvoid — cannot be killed
Tip: More static = closer to defeat. Use Burst Mod. Keep distance.

After defeating: receive the Neighborhood Page. Return to Archive, use on the book.

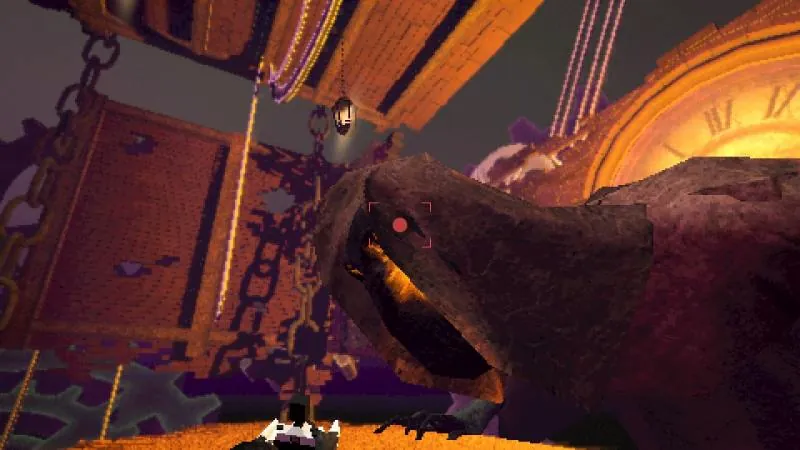
Boss: Deer
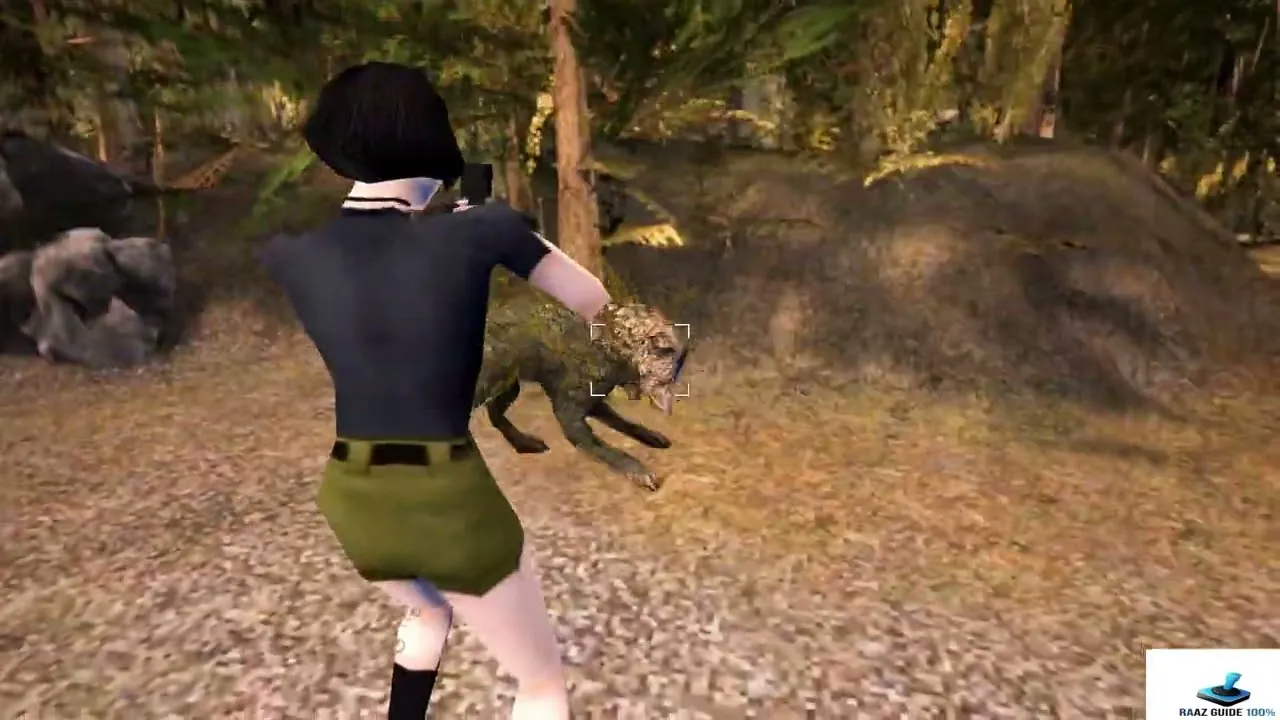
Deer boss — mossy creature in the forest

🦌 Deer Boss Strategy

Hides in the woods and ambushes you. Chase it and photograph when exposed.

PhaseStrategy
HidingExplore the woods to draw it out
AmbushDodge, then photograph when open
Open attackKeep distance, get in as many photos as possible
Watch for dogs! They roam this area and can do heavy damage.

After defeating: receive the Wilderness Page. Return to Archive, use on the book.

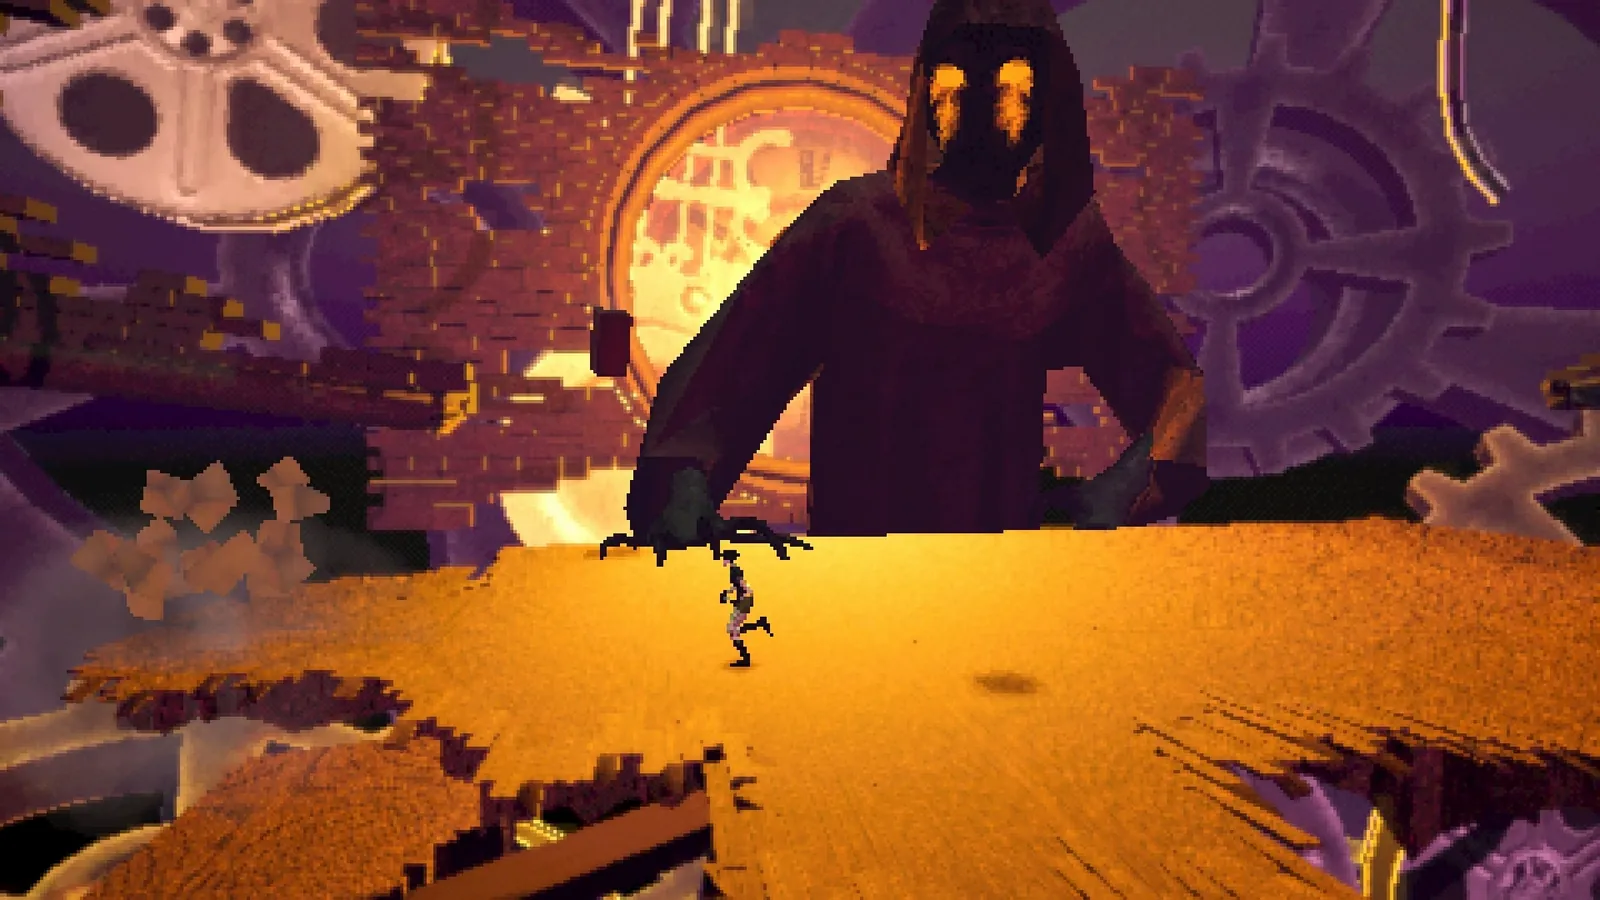
Final Boss: The Tape Keeper
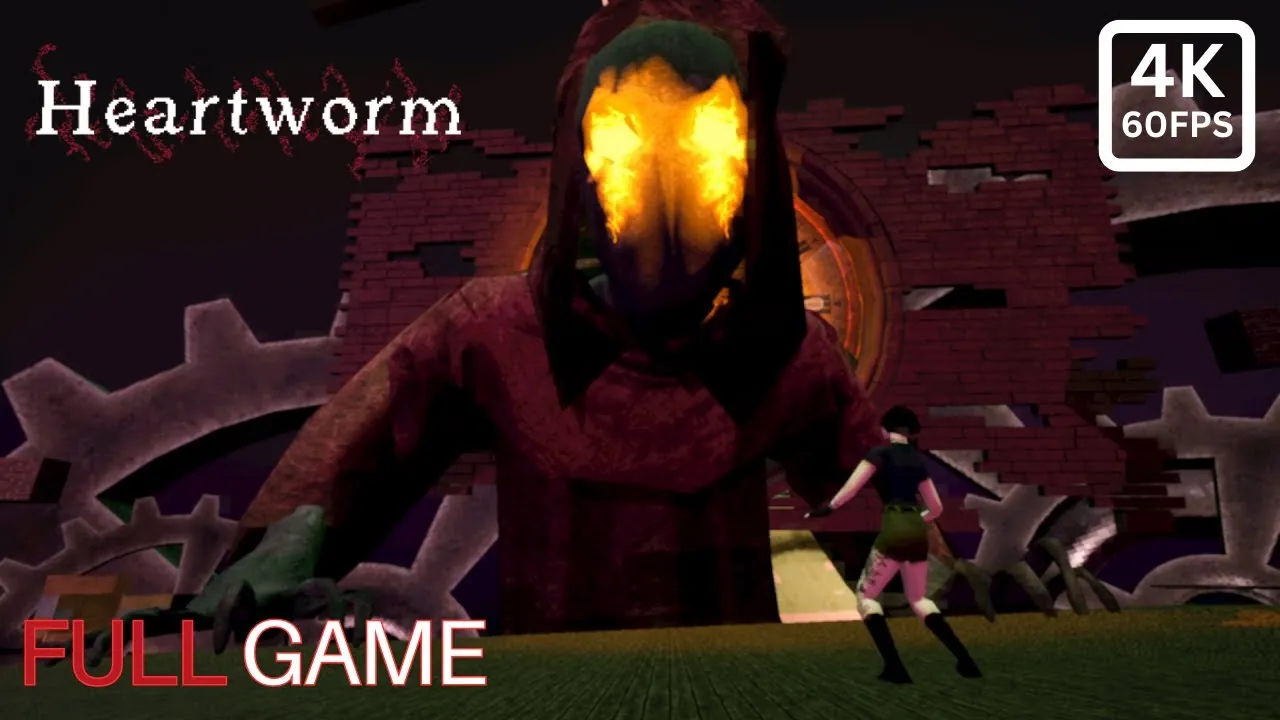
The Tape Keeper — giant hooded figure over the arena

📼 Tape Keeper Strategy (2 Phases)

Phase 1

  • Dodge attacks — cannot damage him yet
  • When lanterns appear, photograph all 4
  • When stunned, photograph the Tape Keeper
  • Repeat 4 times

Phase 2

  • Same strategy + new attacks — keep moving
  • Extra lantern in center of arena — photograph it first
  • Use Burst Mod for more damage
Aiming the camera at the Tape Keeper during the fight
The Tape Keeper boss arena — clockwork void

Endings Guide

MISSABLE: Save before inserting photos. Reload for different endings.

Bad Ending — "Stays"

Insert 0 photos. Sam stays in the supernatural world.

Good Ending — "Leaves"

Insert 1 or 2 photos. Sam leaves, incomplete closure.

Best Ending — "Leaves+"

Insert all 3 photos. Sam leaves with bonus cutscene.

Collectible Photos

These 3 photos determine your ending. Insert into the Archive machine before the final boss.

Photo #1 — Garden

Location: Neighborhood — Behind the chain fence (Padlock Key). Photograph the flickering barrier.

Photo #2 — Cave

Location: Wilderness — Behind the sun gate. Solve the terminal, photograph the static.

Photo #3 — Clock Tower

Location: Clock Tower — In the subway. Photograph the static barrier along the tracks.

All 10 Possum Locations

MISSABLE: Possums can only be photographed during their chapters.
1
Abandoned House — Conservatory
Found in the conservatory attached to the sitting room.
2
Abandoned House — Attic
Near the strange door where you use the Heart Emblem.
3
Neighborhood — Platt St. Deli
Inside the corner store where you find the house key.
4
Neighborhood — Grandparents' House
In Sam's bedroom, near the chess board.
5
Neighborhood — Garage
Upstairs in the garage, near the train set.
6
Neighborhood — Apartment
In the apartment past the snowy hallway, bathroom area.
7
Wilderness — Under the Bridge
Near the dock where you find the watermill key.
8
Wilderness — Water Mill
Inside the watermill building, near the piano.
9
Wilderness — Cave
In the cave system, near the bolt cutters.
10
Clock Tower — Hospital
In the hospital section, near one of the window rooms.

All 19 Achievements

10 achievements are MISSABLE.

Story Achievements (Automatic)

🏆
First Steps — Complete the prologue
🏆
Archive Unlocked — Reach the Archive
🏆
Neighborhood Cleared — Defeat the Spider boss
🏆
Wilderness Cleared — Defeat the Deer boss
🏆
Clock Tower Cleared — Complete the Clock Tower
🏆
Game Complete — Defeat the Tape Keeper

Ending Achievements

🏆
Stays — Bad ending (0 photos) Missable
🏆
Leaves — Good ending (1-2 photos) Missable
🏆
Leaves+ — Best ending (3 photos) Missable

Collectible Achievements

🏆
Photo Collector — Find all 3 photos Missable
🏆
Possum Photographer — Photograph all 10 possums Missable

Challenge Achievements

🏆
Speedrun — Complete under 90 minutes Missable
🏆
No Death Run — Complete without dying Missable
🏆
Pacifist — No optional enemy kills Missable
🏆
Minimalist — Default camera only Missable
🏆
First Aid — No First Aid Kits Missable

Exploration Achievements

🏆
Archive Master — Insert all 3 photos
🏆
Completionist — Unlock all other achievements

All Puzzle Solutions

#PuzzleLocationSolution
1Grandfather ClockAbandoned HouseSet to 12:15
2Basement Door CodeAbandoned HouseInput ROSE
3Chess BoardNeighborhoodMove Bishop E3 → G5
4Fuse BoxNeighborhood GarageFlip switches 1, 3, 6
5Baseball FieldNeighborhoodRun counterclockwise across all bases
6PianoWilderness — Water MillPlay C, D, Eb, G, F, D, Eb, F
7TelescopeWilderness — OverlookFind Cassiopeia → Cetus → Andromeda
8Block PuzzleWilderness — Train YardPush blocks to reach top-right switch
9Cave TerminalWilderness — CaveTop: G-G-R-R-R / Mid: R-R-G-G-R / Bot: R-G-R-G-G
10Hospital ButtonsClock Tower — HospitalTV Room → Door Room → Desk Room → Flower Room
11Office ColorsClock Tower — SubwayDeliver: Red → Green → Blue → Yellow
12Gallery WordsClock TowerSelect: DWELL → DESIRE → DEPRIVE → DREAD
13Classroom QuizClock Tower — SchoolAll answers valid — no wrong choice
14Sliding PuzzleClock Tower — Spooky HouseMatch images to clock numbers (randomized)

Puzzle Screenshots

Clock Puzzle — Abandoned House

ROSE Painting — Basement Code

Chess Puzzle — Neighborhood

Baseball Bat Plaque

Train Set

Piano Puzzle — Wilderness

Telescope — Constellations

Bolt Cutters

Power Station Generator

Cave Terminal Puzzle

Gallery Word — DWELLS

Office Color Puzzle

Devil's Den Switch

Map Navigation

Stone Courtyard

Prefer to watch it?

Every puzzle and boss on this site is also solved on video — no commentary, straight to the answer.

Subscribe on YouTube